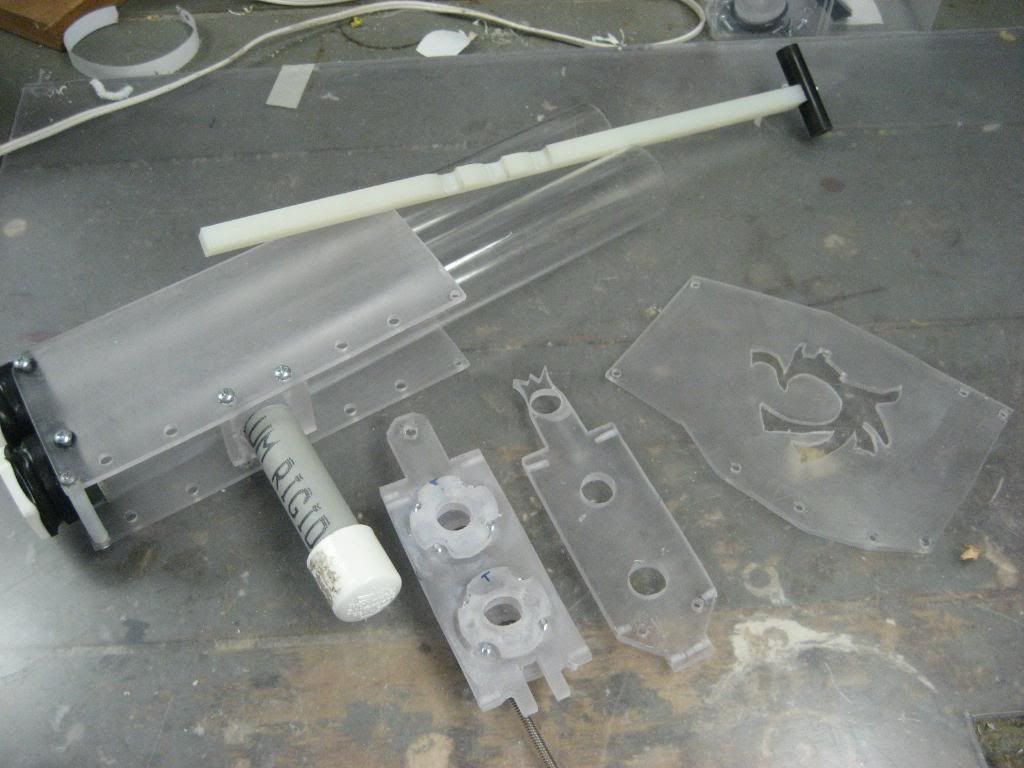
CREDIT:
Captain Slug: For inventing the +Bow, the L+L CS, and for answering all my questions when I first began making homemades.
Louiec3 and Rogue: For coming up with the Double L+L and also for answering my questionsof which I have a lot.
McMaster Carr: Do I really need to explain why?
Split: For the discovery of the skirt seal
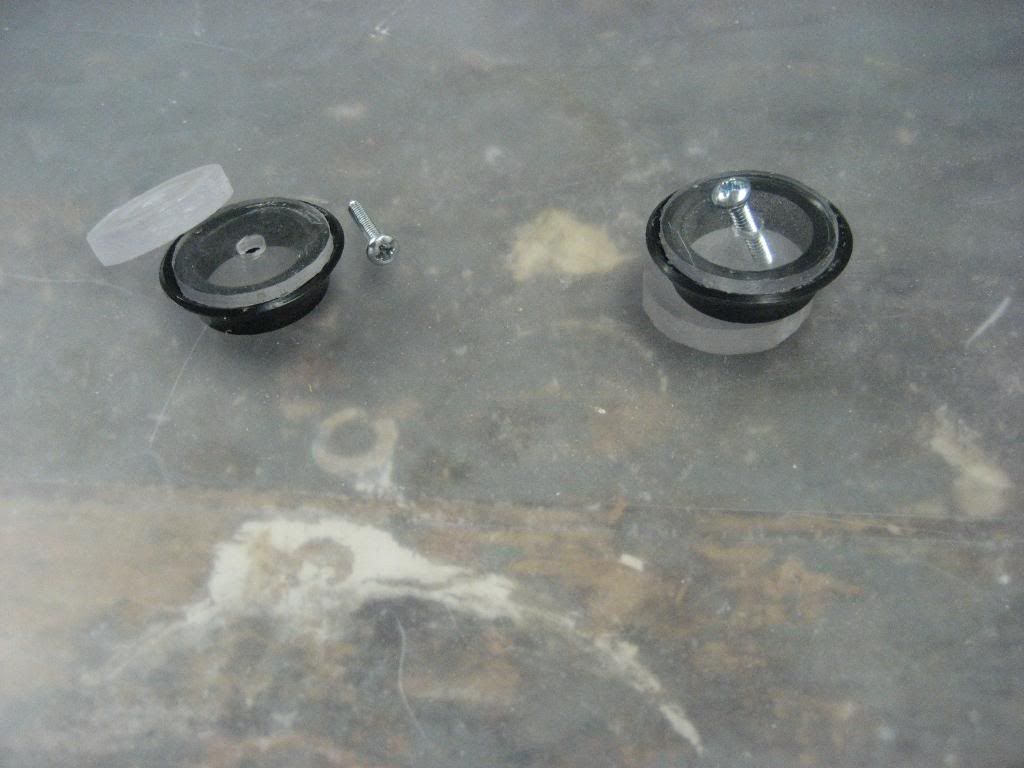
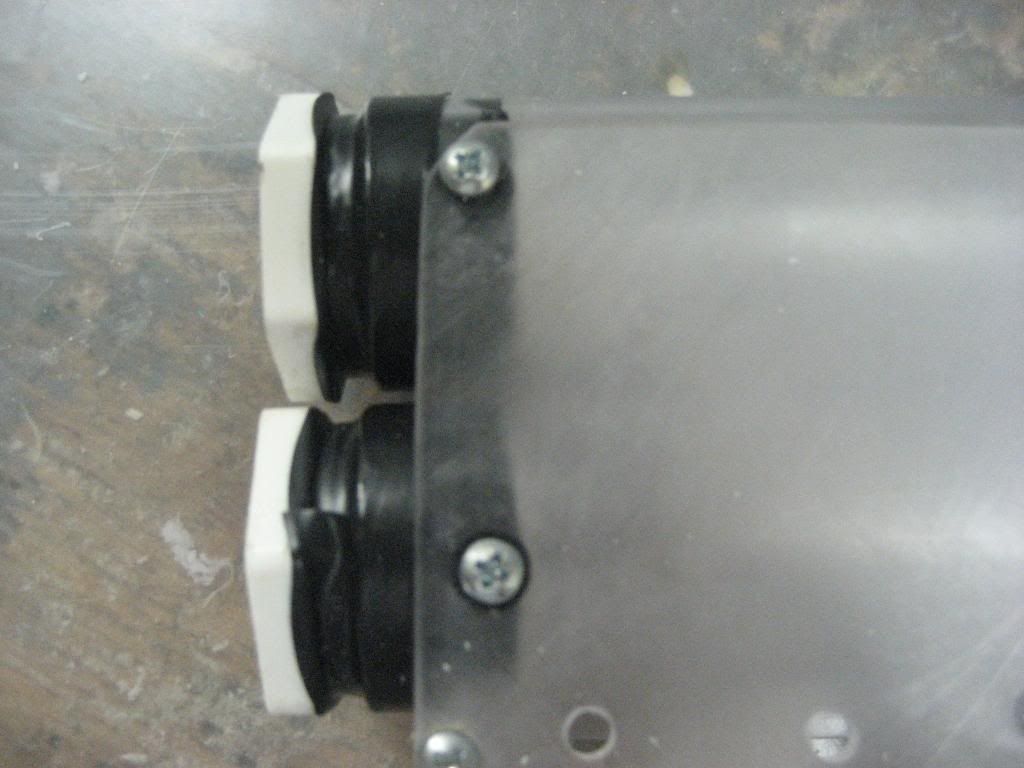
CaliforniaPants: For his idea of using O-rings to seal the hex bushing.
Lt. Stefan: For selling me some of his super special PVC.
Cheesypiza: For turning me onto wood handles by posting his wood handled L+L in the homemades picture thread.
Ben: He's a bit of a lurker on NRev but he did say this in response to the Double L+L:
"Wow all you need to do now is make a +bow version haha"........I hope he sees this.
Explanation:
This gun began to take shape in my mind just after Louie posted the Double L+L and Ben made that comment. +Bow catches and L+L catches are very similar and I thought that I could adapt what Louie did to fit the L+L's badass brother the +bow. I say catches because that's the key point to this gun, how the catch and firing mechanism is configured. I was right; the hardest part of the process was getting the templates right. That took some time and was frustrating as hell. After that it was smooth sailing though, just like making a regular +bow, with a few of my own personal tweaks of course! Now without further adieu, I present to you the Double +bow writeup.
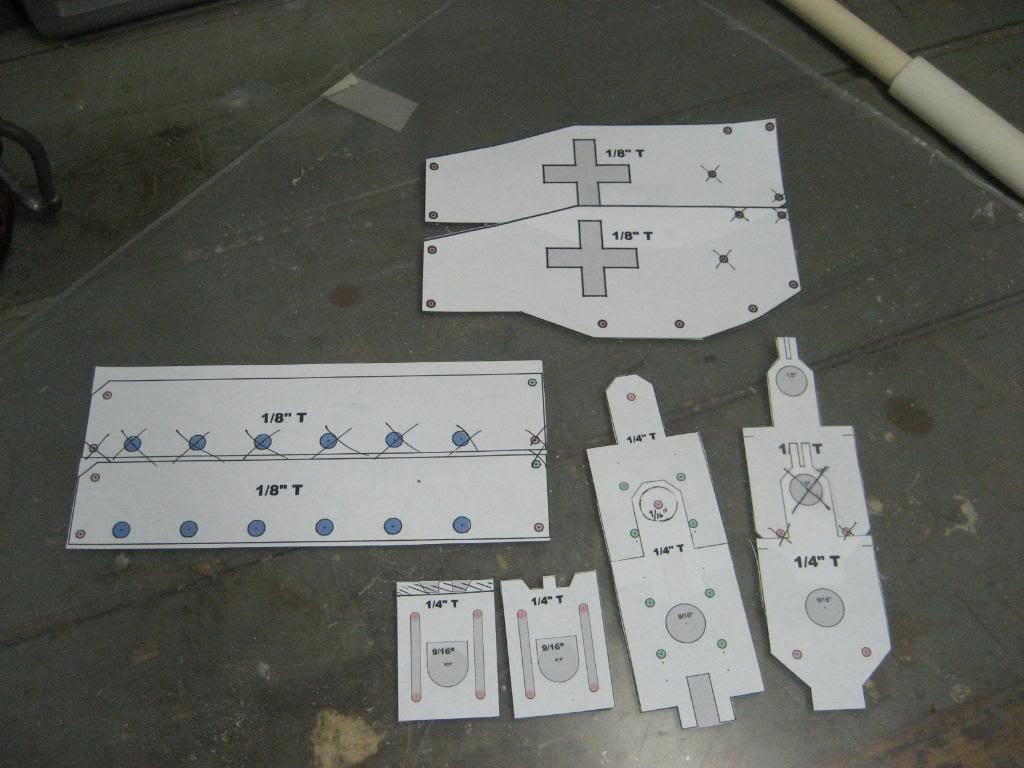
1) Print out 2 sets of +bow templates, cut them out.
2) Grab both of the catches, front catch plates, back catch plates, the four sideplates , as well as all four front frame pieces
3) Combine the templates like so:
Here are the dimensions:
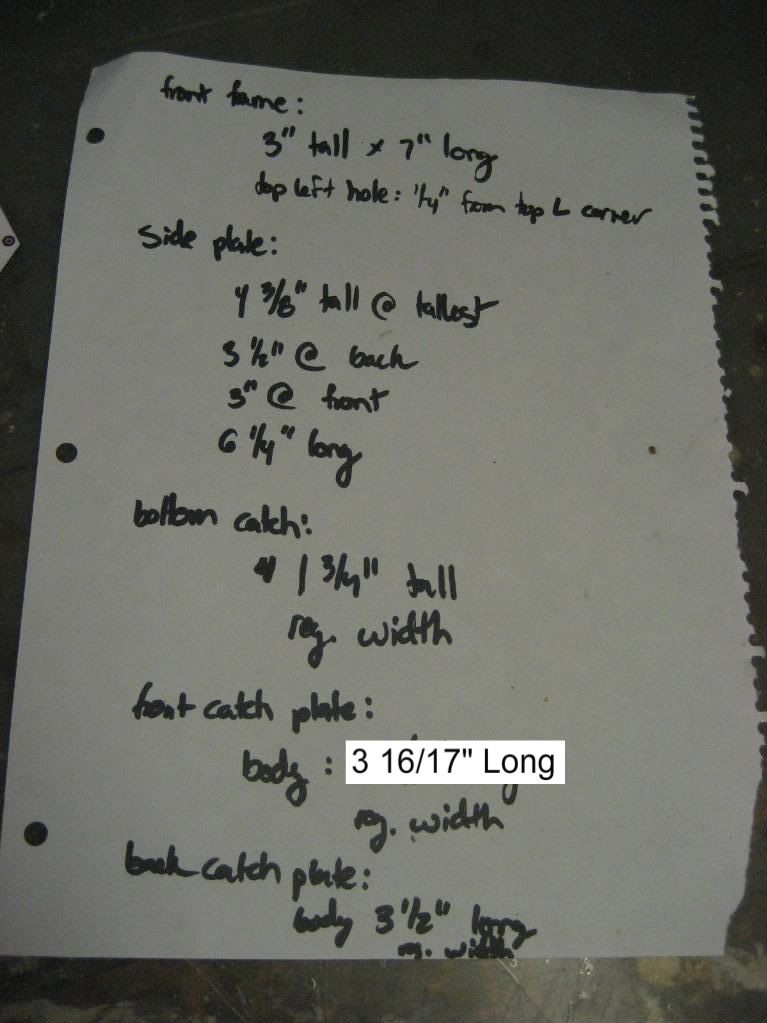
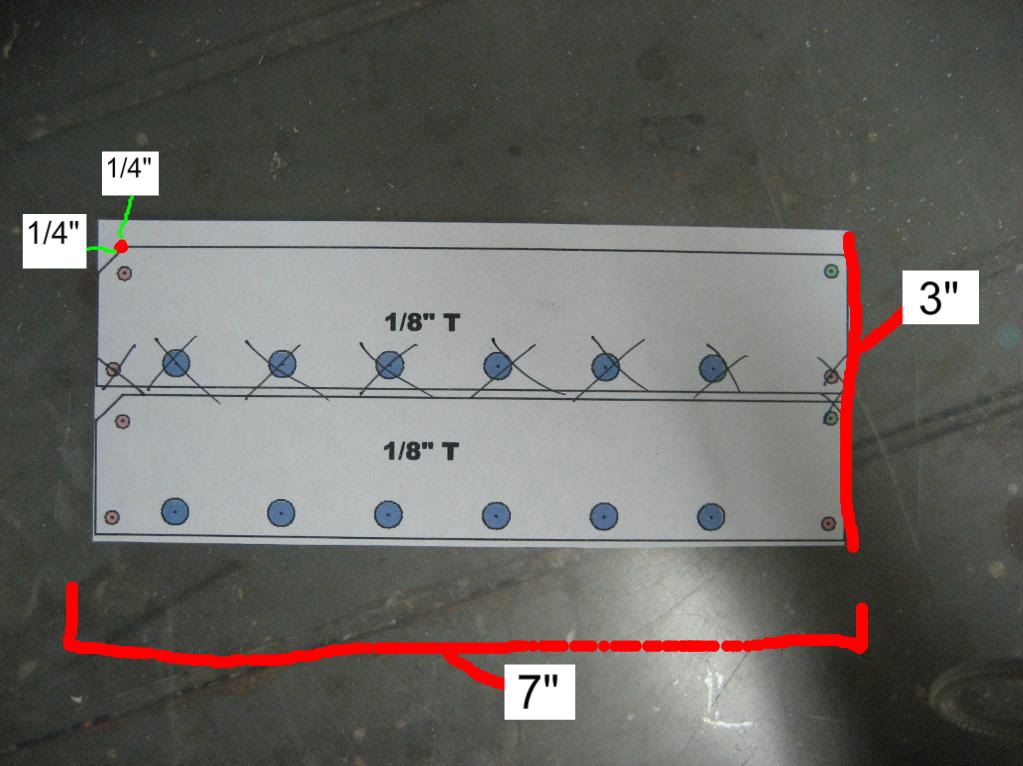
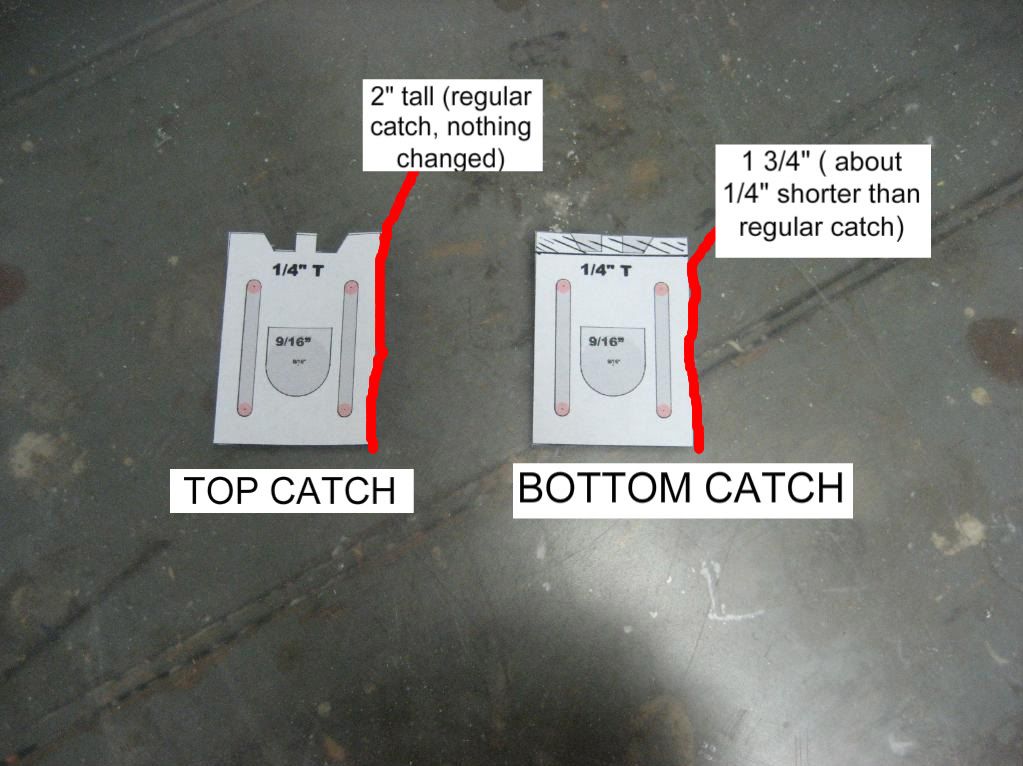
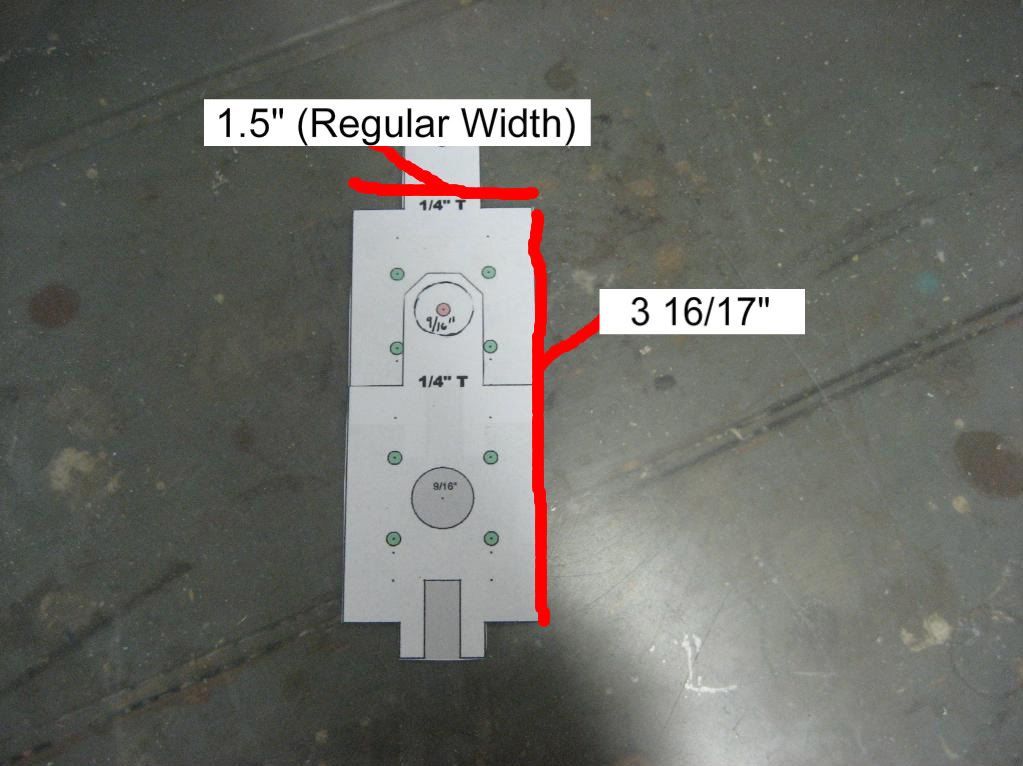
And now more clearly and detailed (I apologize for the crudely edited pictures. I do not have a CAD program at my disposal):
The front frame piece (you’ll obviously need 2):
The side plate ( again you’ll need 2):
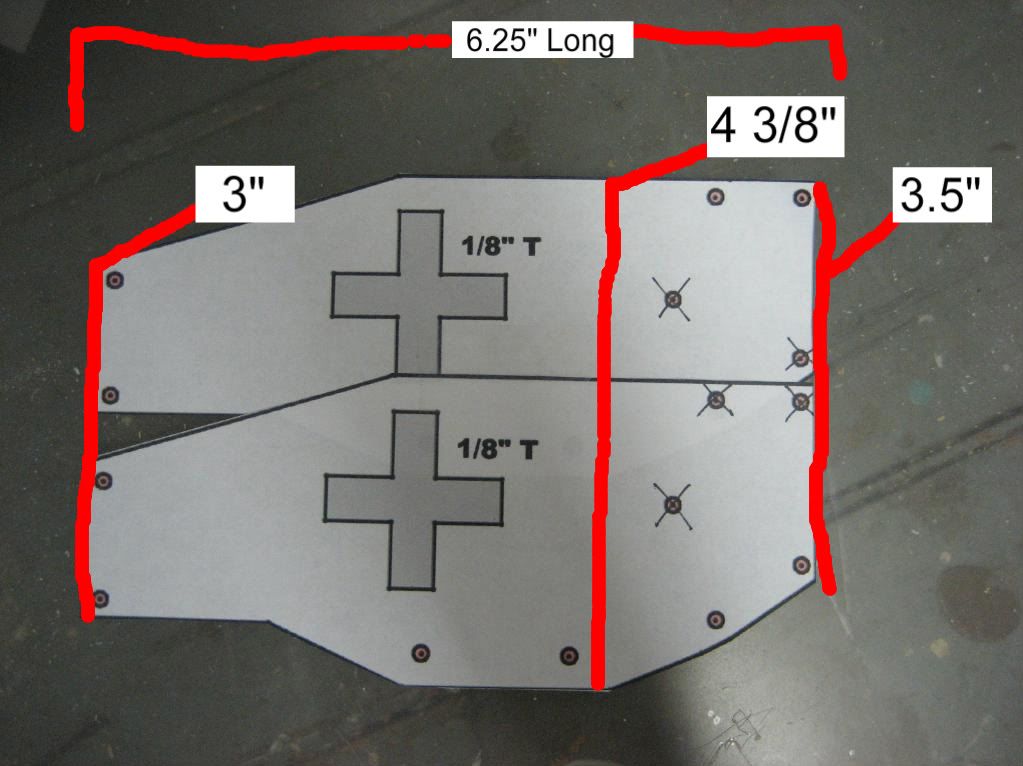
The catches:
The front catch plate:
The back catch plate:
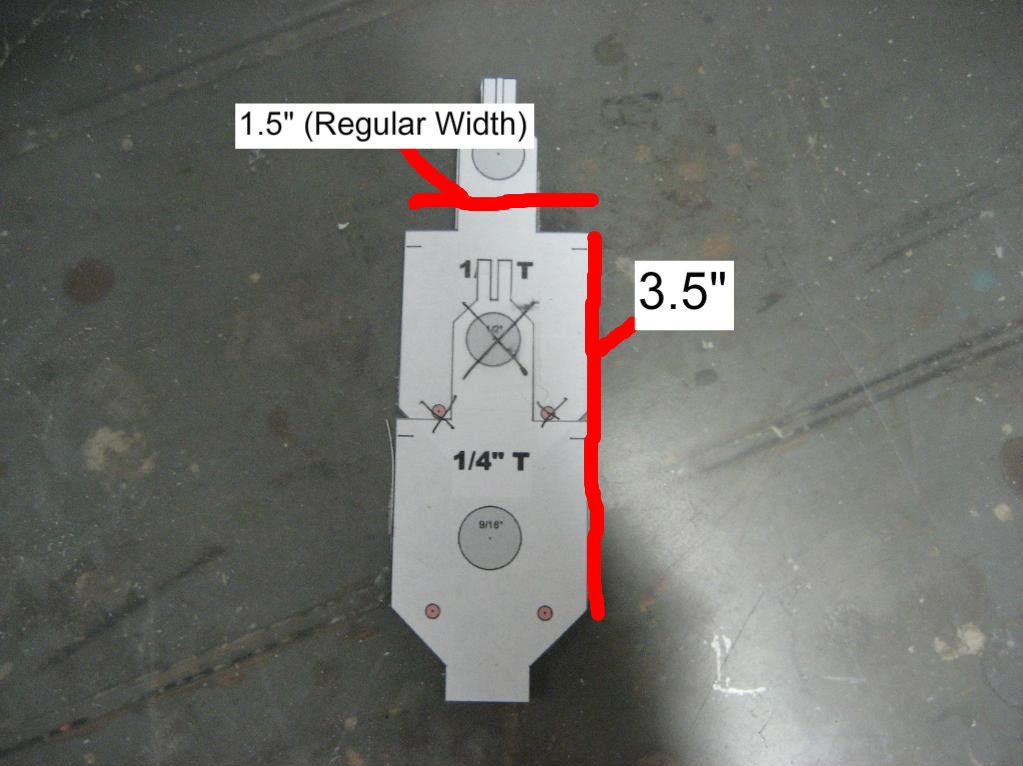
Those are all of the pieces that need to be modified. Any hole with a black X through it is one that I did not drill.
4) Now paste the templates on the appropriate polycarbonate pieces and cut them out.
4.5) For the second front frame piece and the side plates you can trace the piece that you already cut out onto
the protective film on the polycarbonate with a sharpie. Cut that out then line the two pieces up and use the holes that you already drilled in the first piece as a guide for the holes in the second piece.
5) Assemble! This assembles exactly like an ordinary +Bow except for the catch/fire mechanism, it just takes longer, but not twice as long as you might think! See the link to Captain Slug’s writeup in the Links section below. I have included as many in process building pictures as I can.
Here’s how the catch/firing mechanism works:
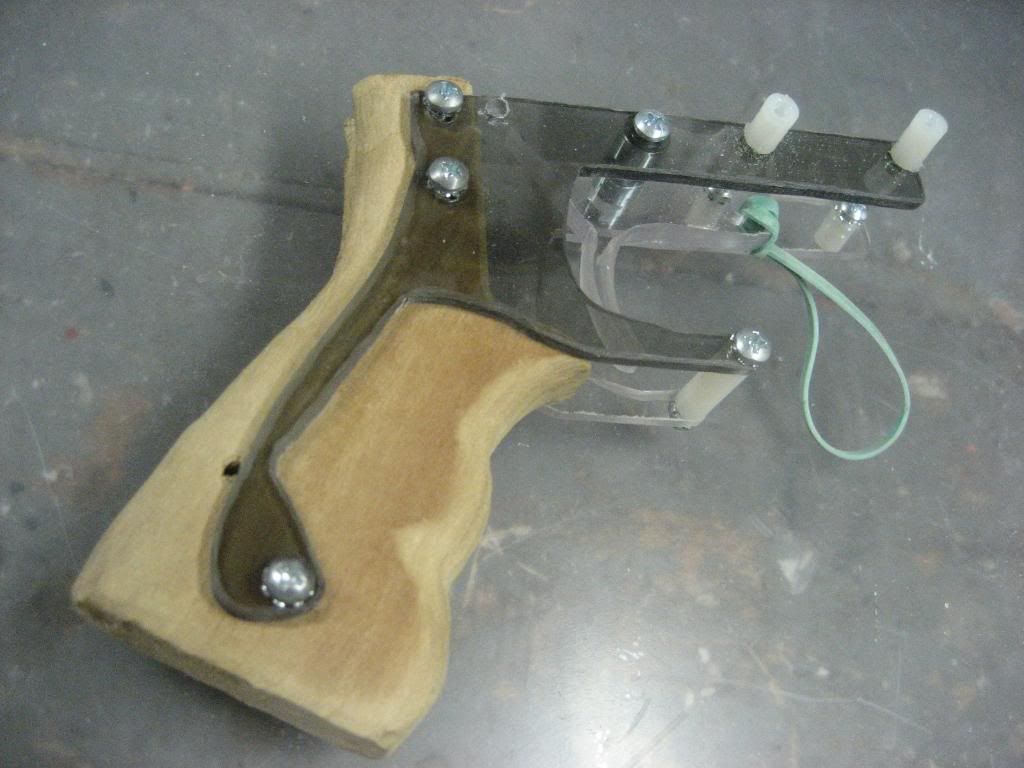
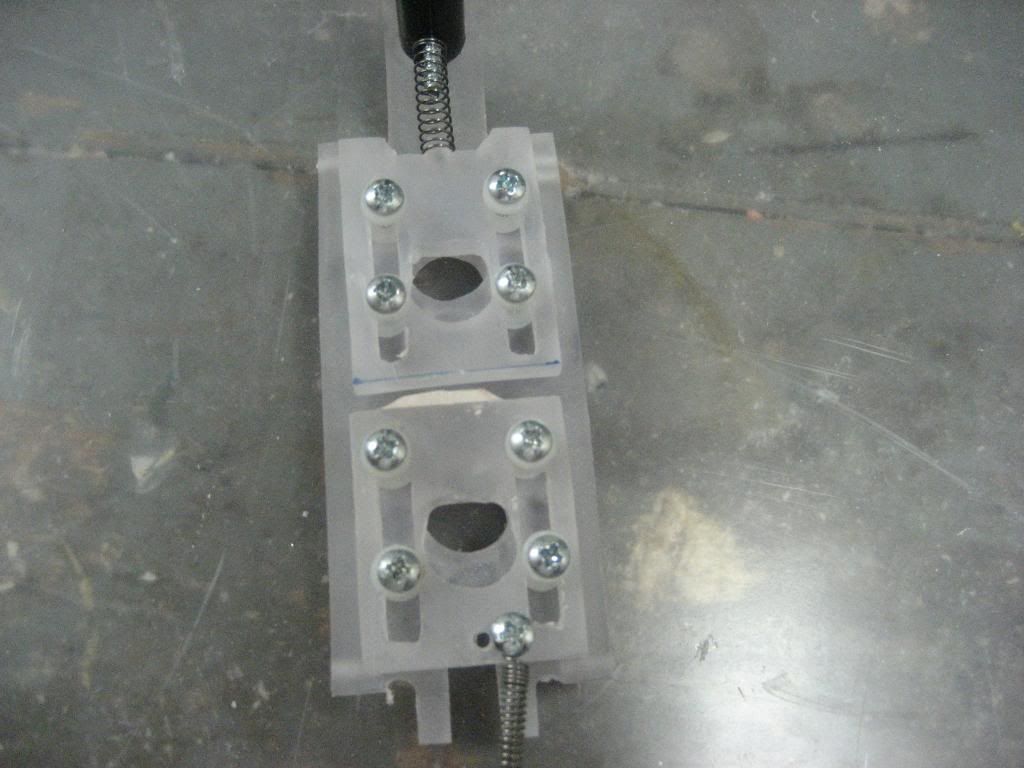
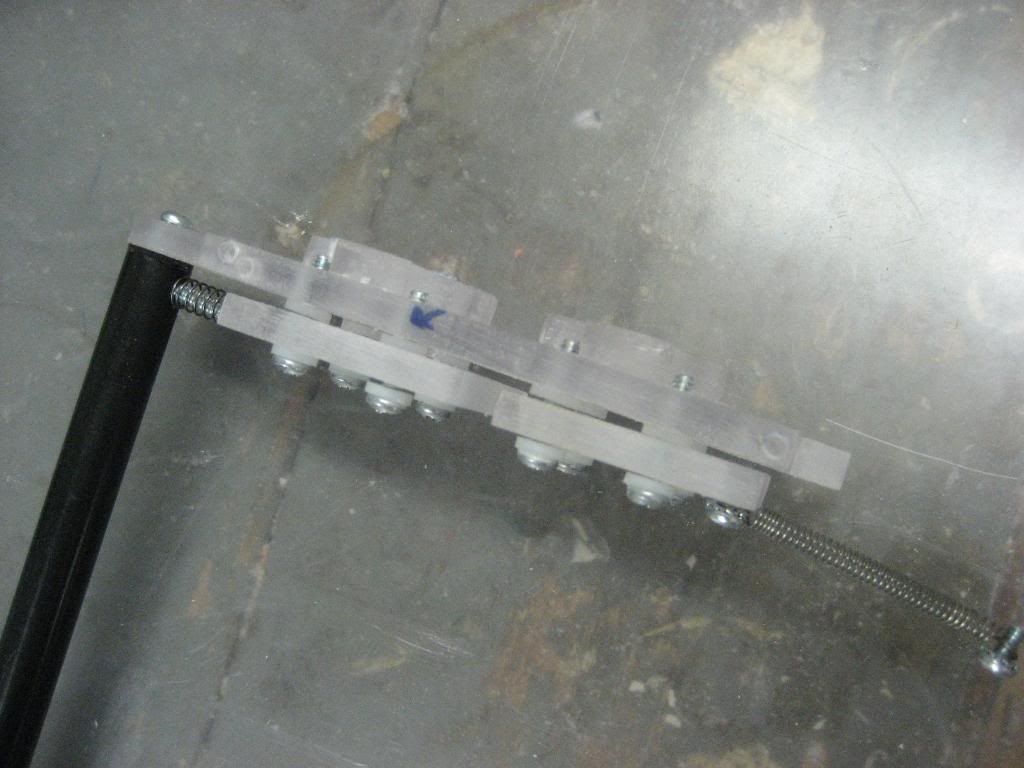
There are 2 catches. One is pushed down by a compression spring like in an ordinary +Bow. The other is held down by an extension spring like in an L+L. The extension spring is anchored both to the bottom catch as well as a hole drilled and tapped into the grip. If you were to think of the grip as a backwards L shape, you know, above where you hold the piece, the hole is drilled into the bottom of the L. If you were using a polycarbonate handle, you might think about popping an extra ¾’ machine screw through the handle to anchor the spring. The bottom catch is just tall enough so that I can prime the top gun and fire it without the bottom one being primed, I can prime the bottom gun and fire it without the top gun being primed, or I can prime both of them and shoot them in rapid succession or fire the bottom gun, walk around, and then fire the top gun. Think a double shot on lots of HGH and without the break action barrels and a lot, well, better in every way.
A list of the pieces that you will need TWO/double the amount of:
-IMPORTANT! A strong extension spring of some sort. I used ACE #71.
-[k26] spring
-Hex bushing
-12” polycarbonate tube
-2” 6-32 bolt
-6-32 lock nut
-Your choice of plunger head ( traditional dry washer, skirt seal, or grommet)
-13” plunger rod (1/2” nylon round bar or other. I used 3/8” nylon square bar.)
-Plunger tube cross
-¾” 6-32 bolts – you’ll need a total of 8
-#6 screw size Nylon washer- you’ll need a total of 16
-E-tape – you’ll need double the wraps
-ACE #61 O-rings if you choose to enhance the seal with them ( I did. )
-PATIENCE
-TIME
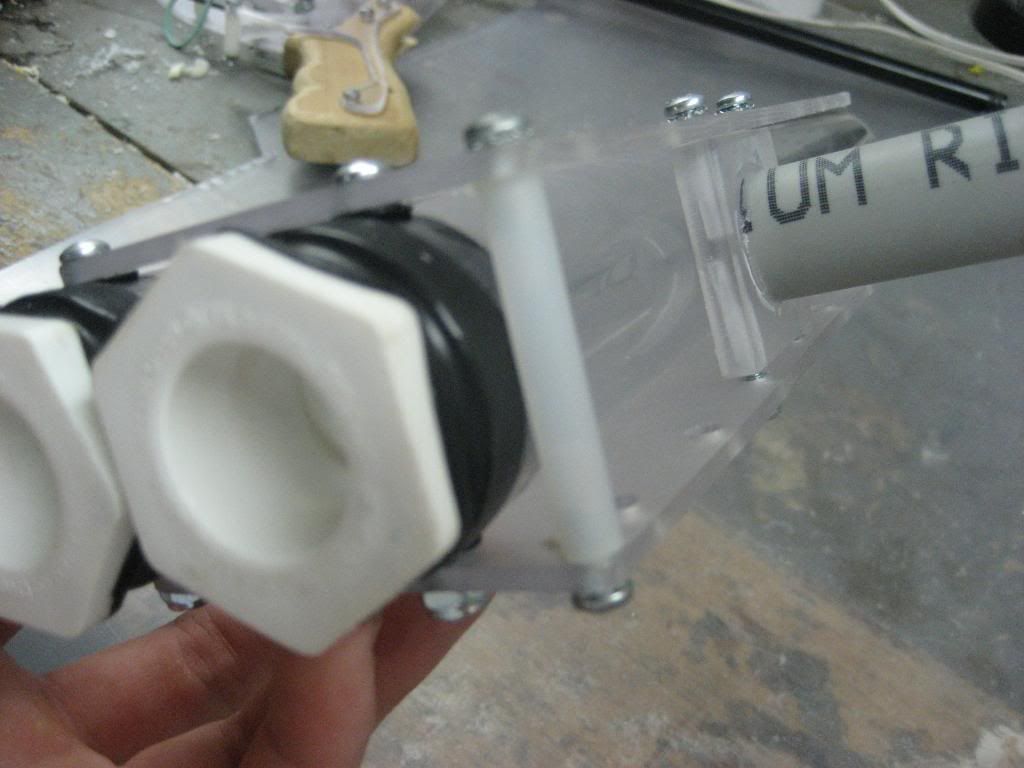
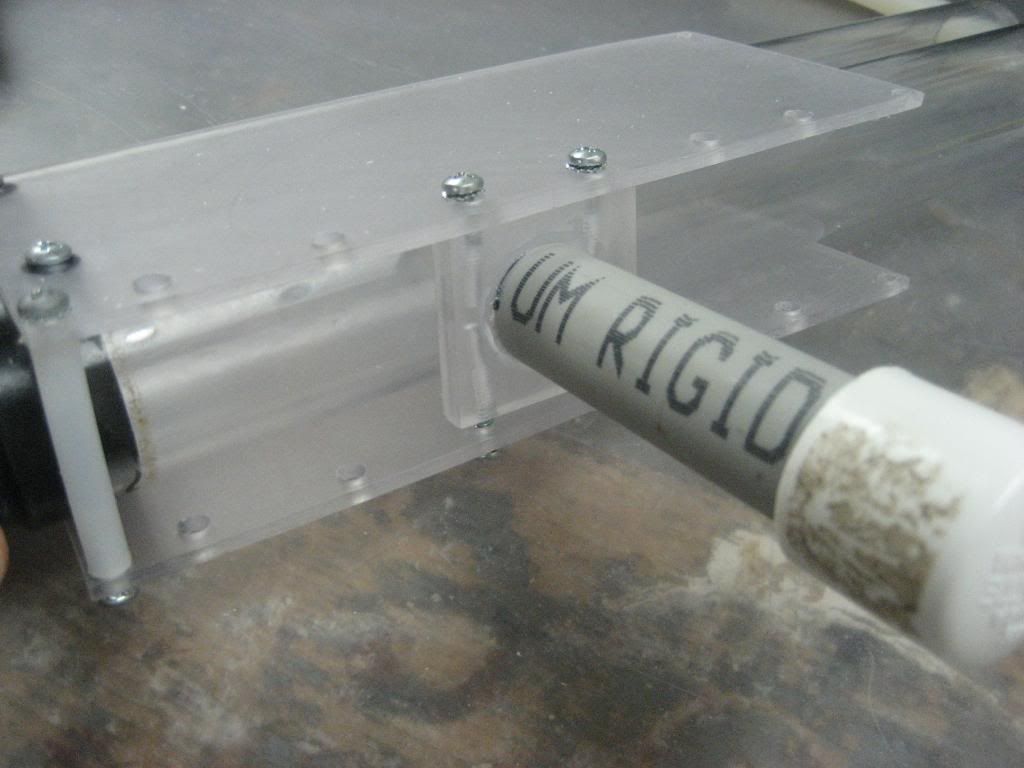
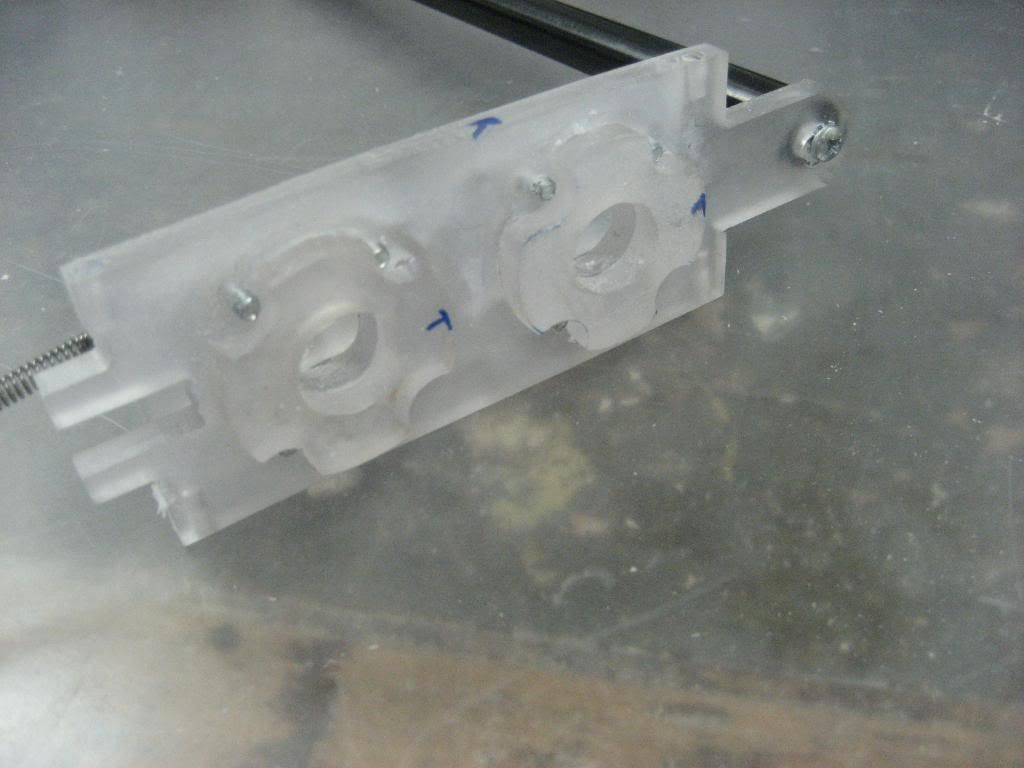
PICTURES!!! I’ll try to explain them as best as I can…

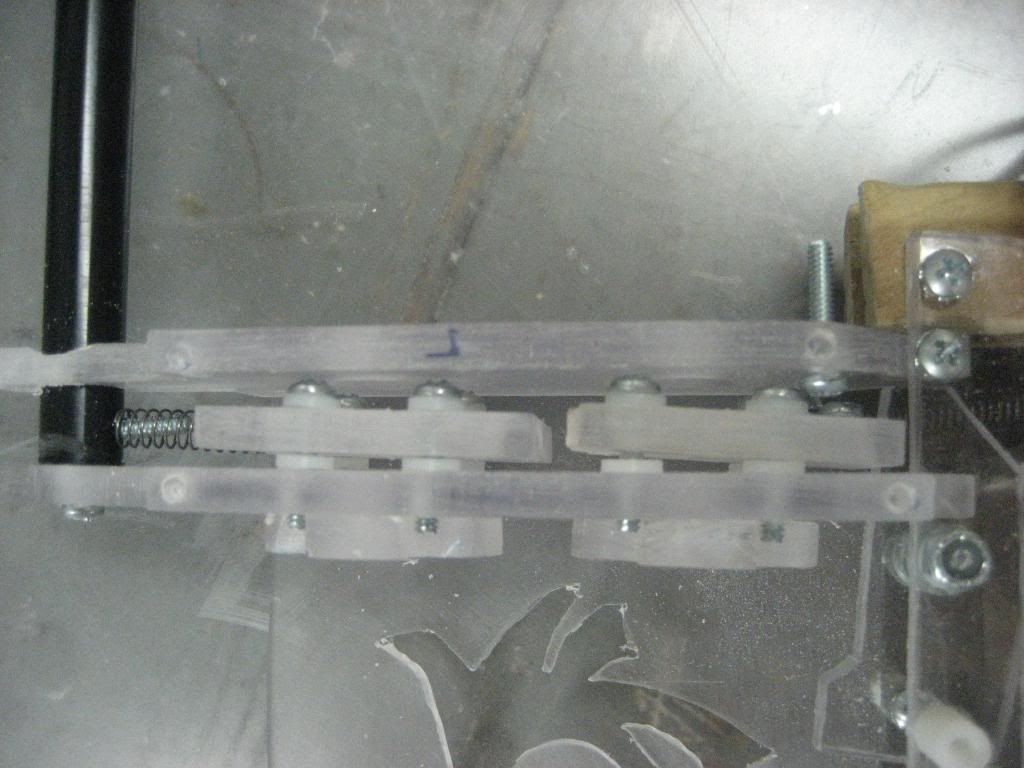
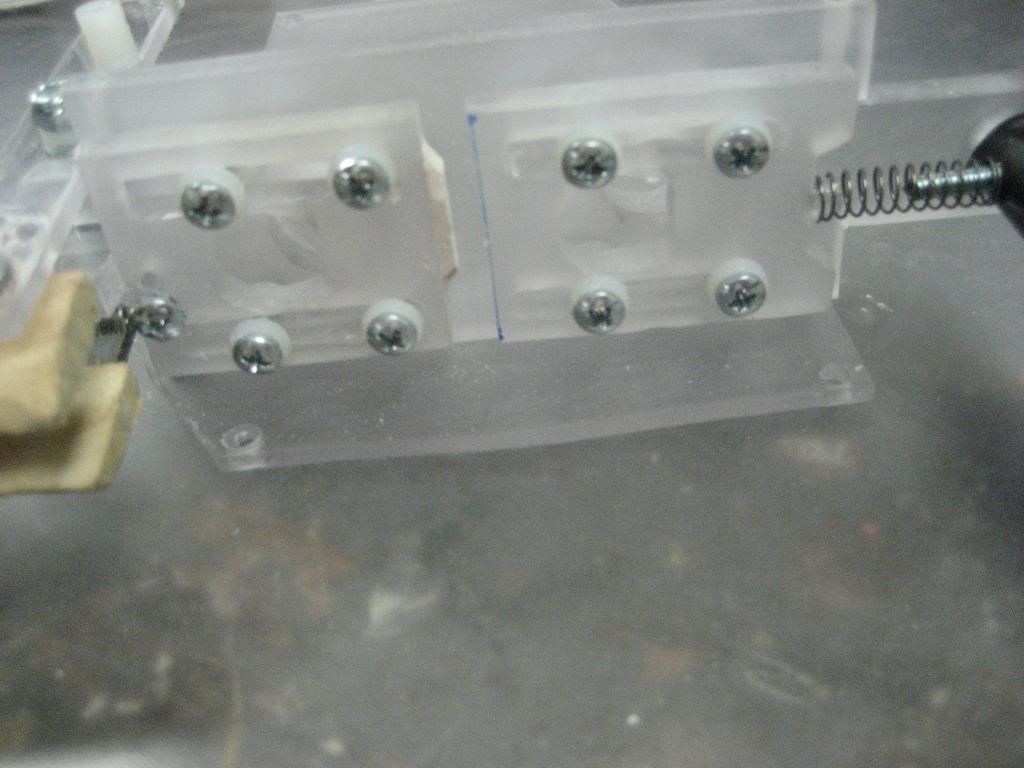
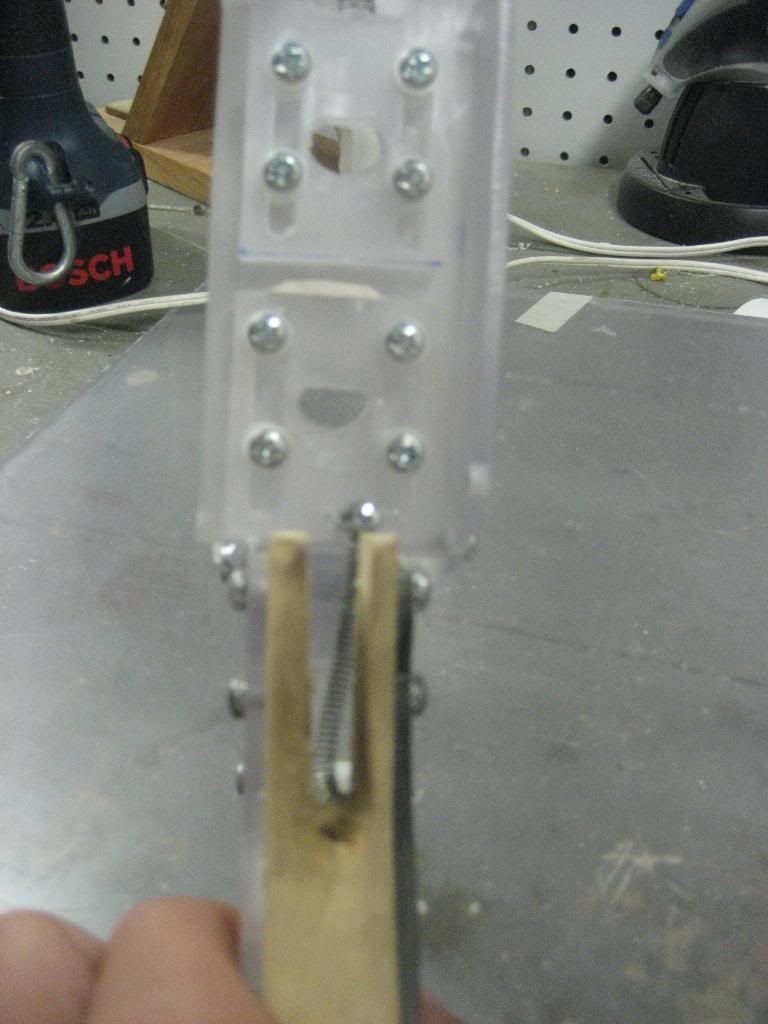
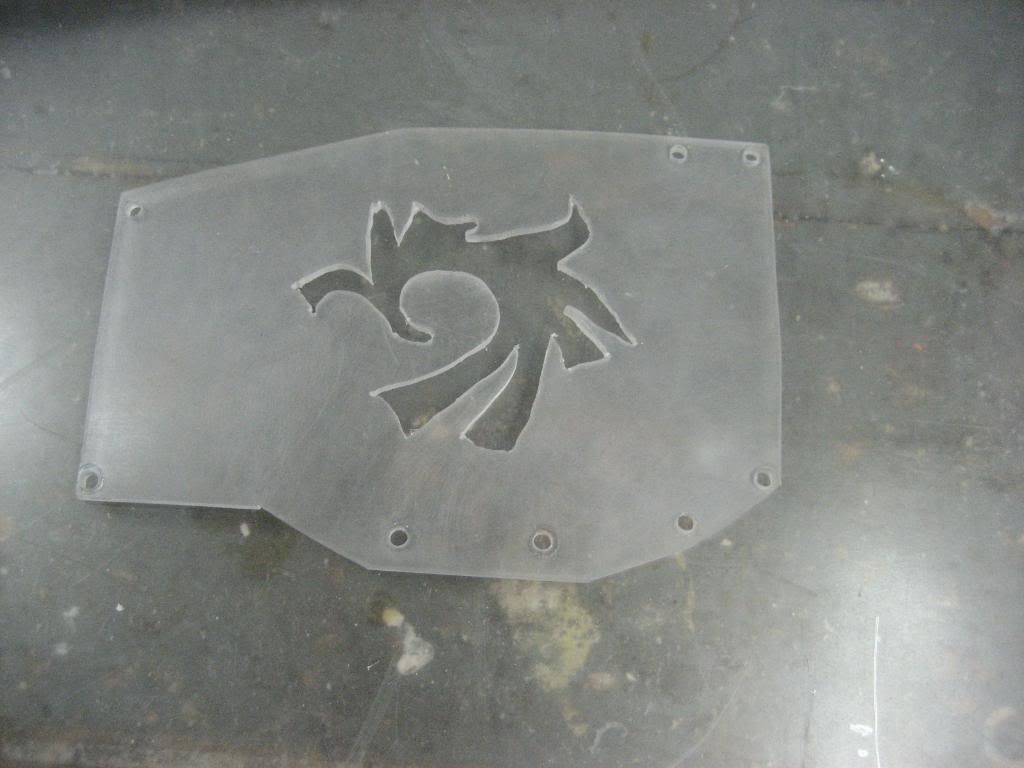
That’s right Louie, you’re not the only one who can do custom side plates!
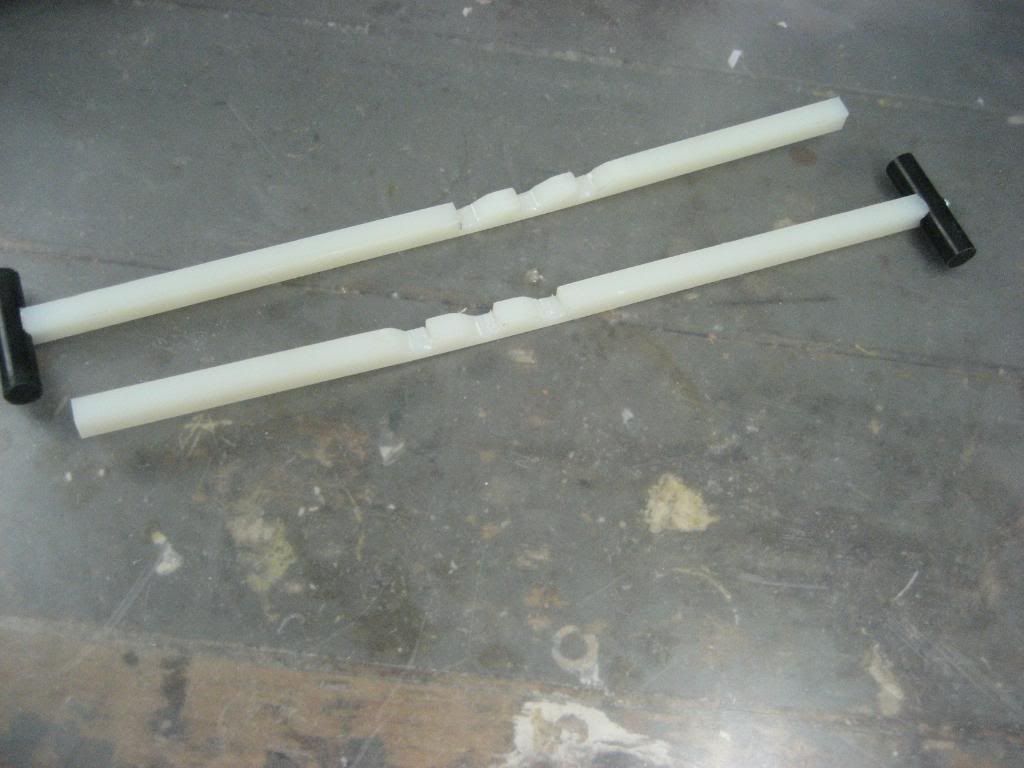
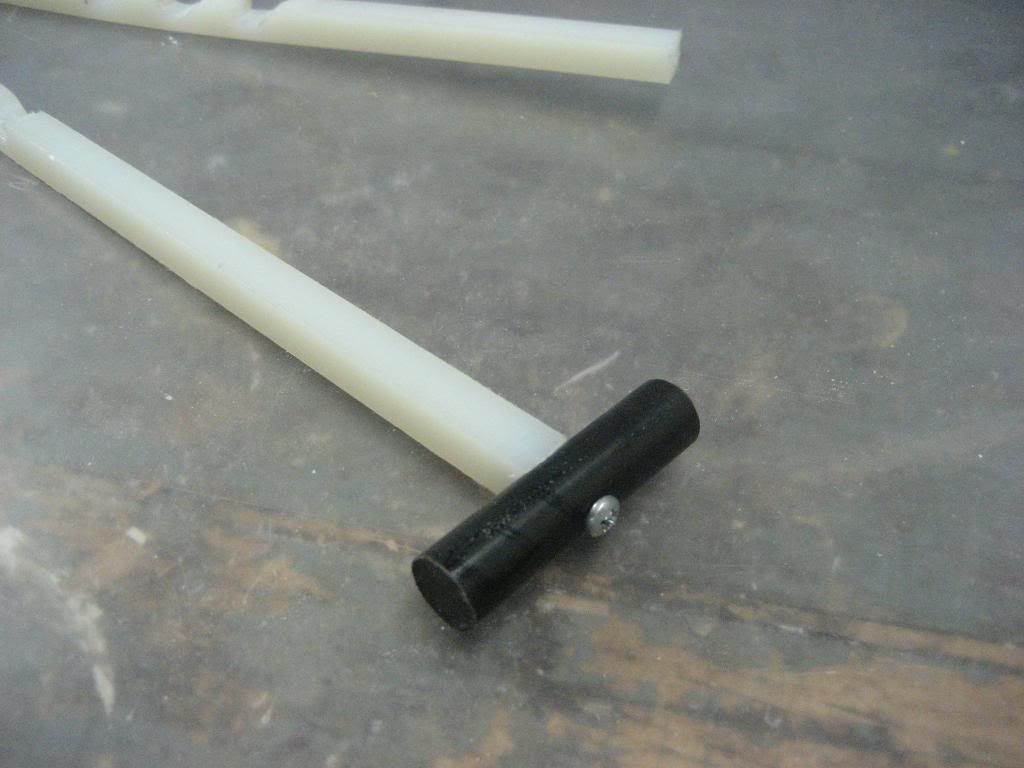
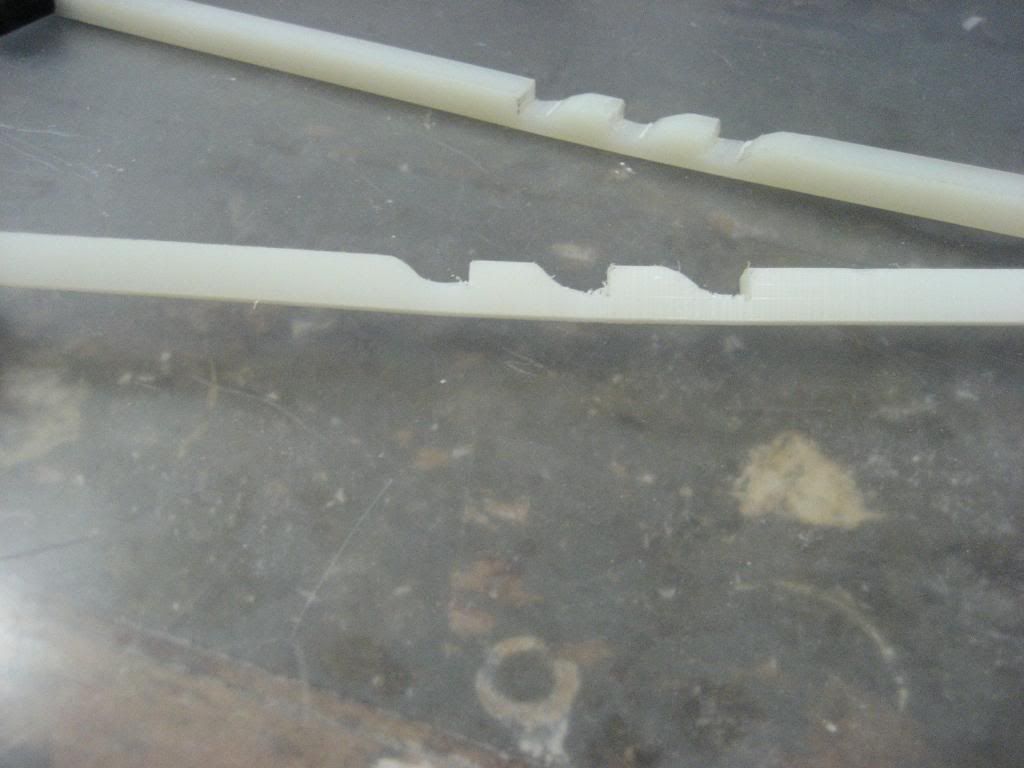
The plunger rods: I used 3/8” nylon square bar because I had it on hand. It is very durable and I have not seen any signs of stress whatsoever. I changed the handles up as you will need to as well because the regular handles will not fit.
PICTURE LIMIT-DO NOT POST
Edited by Whisper101, 23 July 2010 - 07:37 PM.


