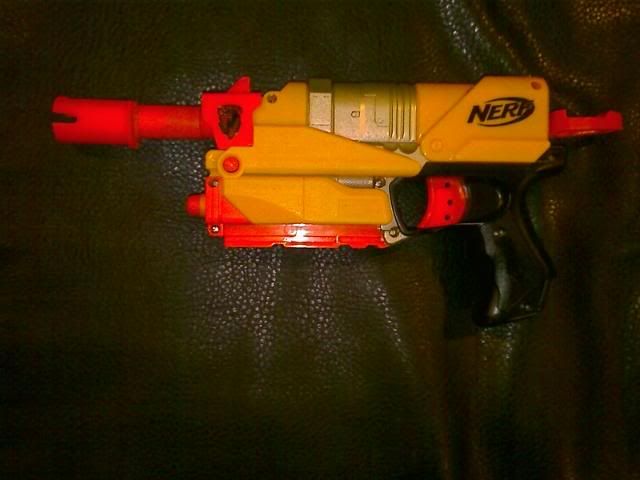
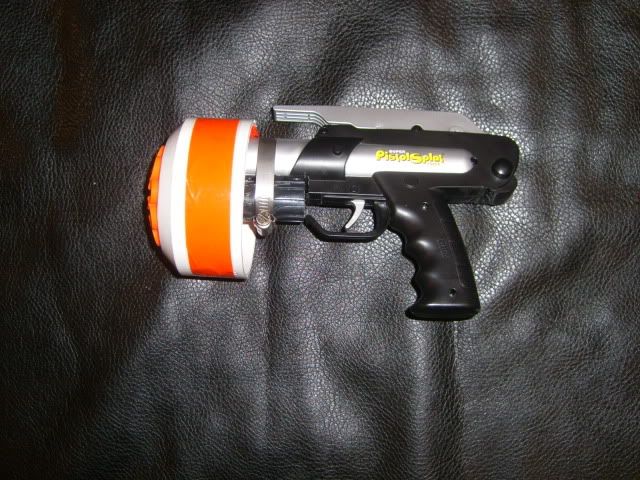
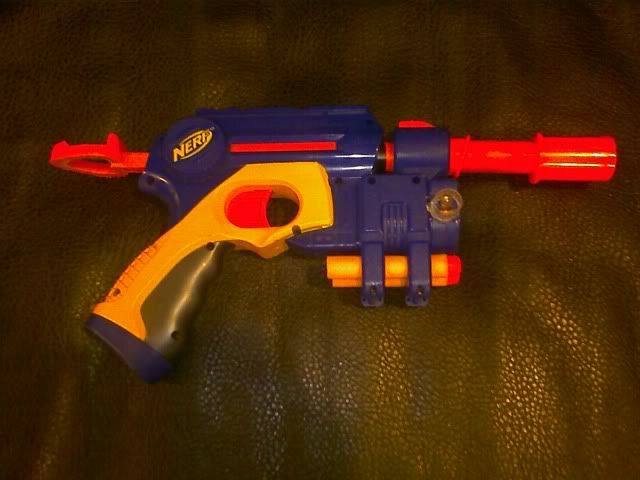
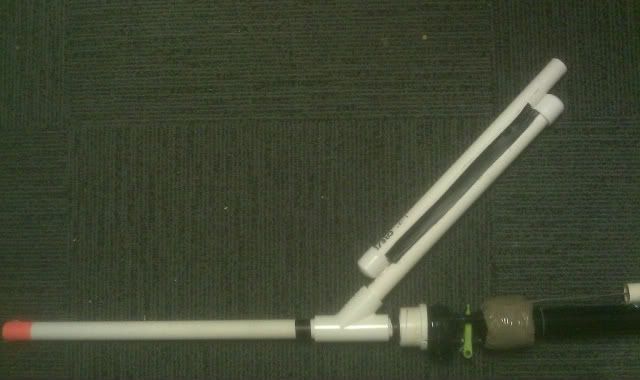
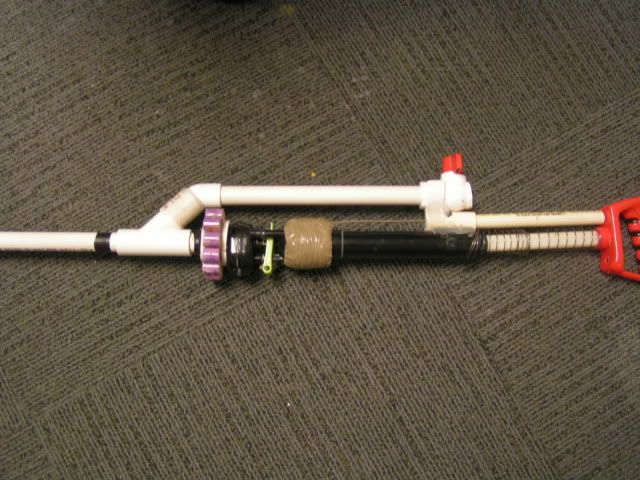
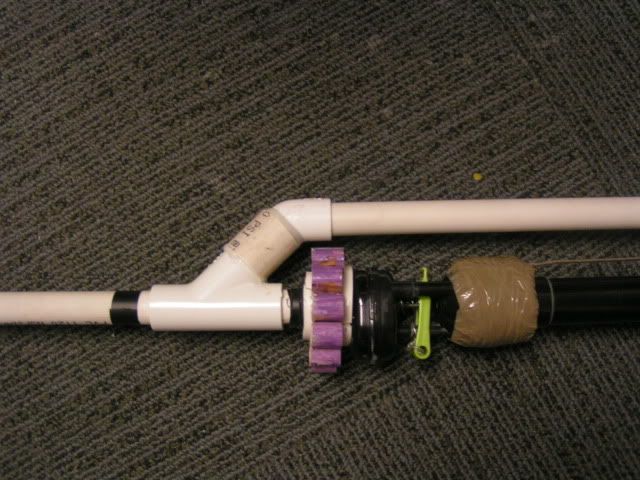
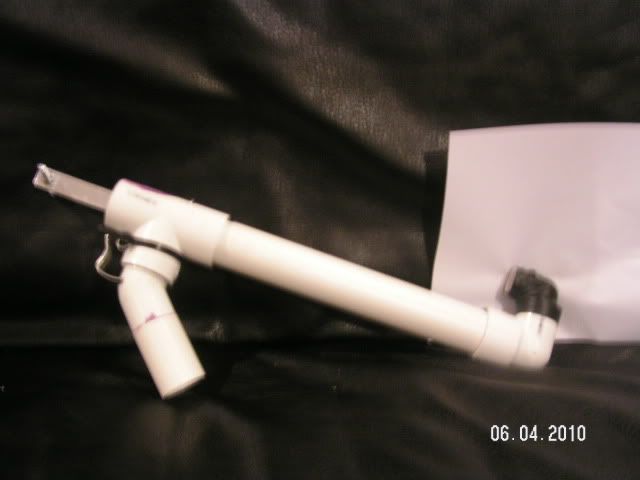
Atomic Blaster + Splat + Ace #199 spring.
There have been 718 items by taerKitty (Search limited from 12-December 96)
 Posted by
on 11 July 2011 - 11:17 PM
in
Modifications
Posted by
on 11 July 2011 - 11:17 PM
in
Modifications
Posted by
on 06 October 2011 - 02:24 PM
in
Modifications
Posted by
on 10 October 2011 - 01:18 PM
in
Modifications

Posted by
on 09 May 2011 - 12:44 PM
in
Modifications
Posted by
on 25 April 2011 - 11:12 PM
in
Modifications

Posted by
on 15 April 2011 - 02:28 PM
in
Modifications
Posted by
on 20 April 2011 - 04:31 PM
in
Modifications

Posted by
on 21 April 2011 - 05:15 PM
in
Modifications

Posted by
on 12 October 2011 - 07:59 PM
in
Modifications

Posted by
on 13 October 2011 - 08:25 PM
in
Modifications

Posted by
on 18 June 2012 - 01:04 PM
in
Modifications


Posted by
on 18 June 2012 - 10:31 PM
in
Modifications

Posted by
on 22 June 2012 - 10:09 PM
in
Modifications

Posted by
on 07 June 2012 - 04:32 PM
in
Modifications

Posted by
on 05 June 2012 - 08:07 AM
in
Modifications


Posted by
on 21 October 2011 - 02:48 PM
in
Modifications

Posted by
on 07 December 2011 - 03:35 PM
in
Modifications

Posted by
on 31 May 2009 - 08:45 PM
in
Modifications

Posted by
on 30 March 2011 - 08:15 AM
in
Modifications
Posted by
on 25 September 2009 - 11:12 AM
in
Modifications

Posted by
on 28 June 2009 - 02:47 PM
in
Modifications
Posted by
on 16 May 2010 - 09:47 PM
in
Modifications

Posted by
on 06 January 2010 - 03:39 AM
in
Modifications
Posted by
on 27 September 2009 - 12:49 AM
in
Modifications

Posted by
on 15 December 2009 - 07:42 PM
in
Modifications


Posted by
on 22 June 2009 - 09:15 PM
in
Modifications
Posted by
on 21 June 2010 - 11:19 PM
in
Modifications

Posted by
on 01 February 2011 - 12:01 AM
in
Modifications

Posted by
on 02 February 2011 - 10:04 PM
in
Modifications
Posted by
on 26 January 2011 - 09:10 PM
in
Modifications


Posted by
on 25 August 2010 - 01:53 AM
in
Modifications
Posted by
on 06 August 2010 - 04:48 PM
in
Modifications
Posted by
on 22 June 2009 - 02:40 AM
in
Modifications
Posted by
on 09 December 2009 - 11:39 PM
in
Modifications

Posted by
on 05 June 2010 - 01:18 AM
in
Homemades
Posted by
on 06 May 2011 - 11:14 AM
in
Homemades

Posted by
on 01 September 2011 - 07:26 PM
in
Homemades


Posted by
on 17 June 2010 - 08:59 PM
in
Darts and Barrels
The way I'm reading this, it's 20' of closed cell foam for $0.62. But...M-D Building Products 71480 Backer Rod for Gaps and Joints
by M-D Building Products
List Price: $4.29
Price: $0.62
You Save: $3.67 (86%)
...
Product Description
Nonabsorbent, closed cell polyethylene pre caulking material. Use before caulking to fill gaps and openings larger than 1 2" x 1 2". Prevents 3 point bonding. No. 71464: 3 8" diameter x 20' L. No. 71480: 1 2" diameter x 20' L. No. 71506: 5 8" diameter x 2
Posted by
on 09 March 2011 - 06:27 PM
in
Darts and Barrels
Posted by
on 29 October 2011 - 04:58 PM
in
Darts and Barrels