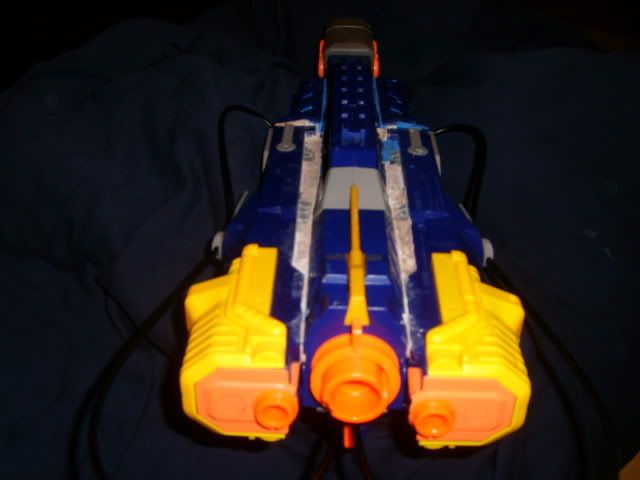
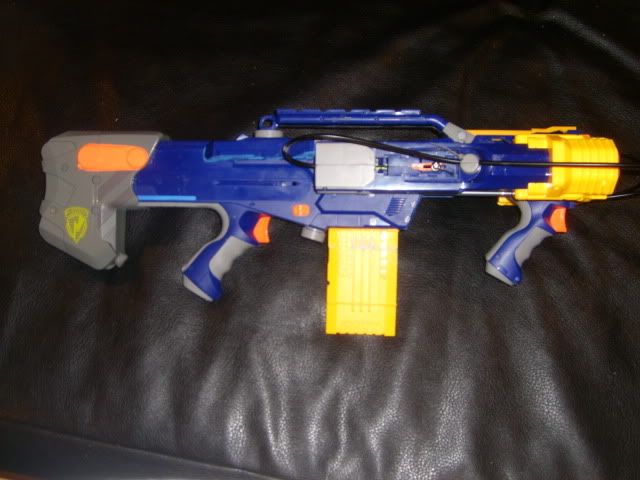
The two front blasters are tied to the pump action vertical handle via cable triggers. The single trigger on the front gun's handle triggers both integrated blasters.
===
This one started out backwards. I wanted to see how the blaster would look first, so I attached the front blasters to the Longshot before doing the cabling. So, the first part was getting the pieces ready.
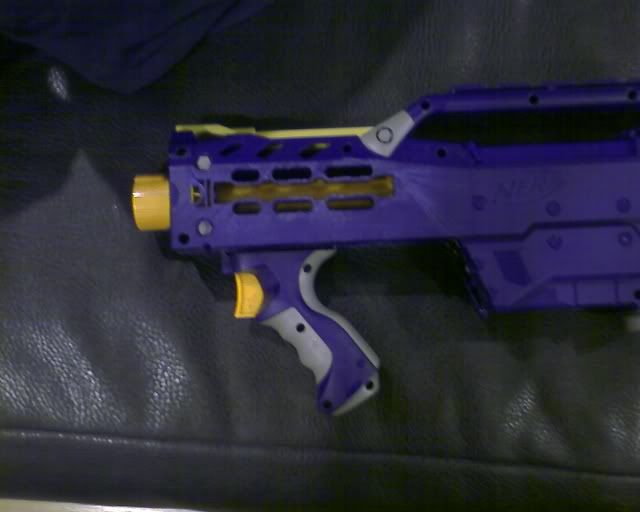
As much as I like the nameplate, it had to go - I needed the sides level.
===
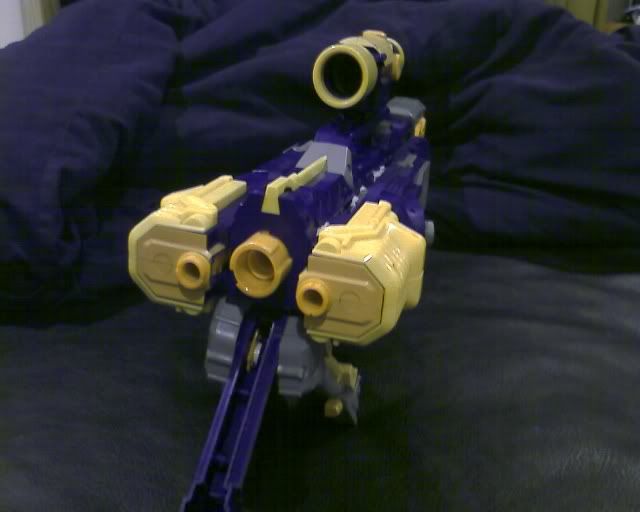
I glued the front blasters to the sides carefully, only by the 'upper' halves (more detail below.) The bipod assembly serves as a makeshift stand to hold the blaster upright for photographing, nothing more.
===
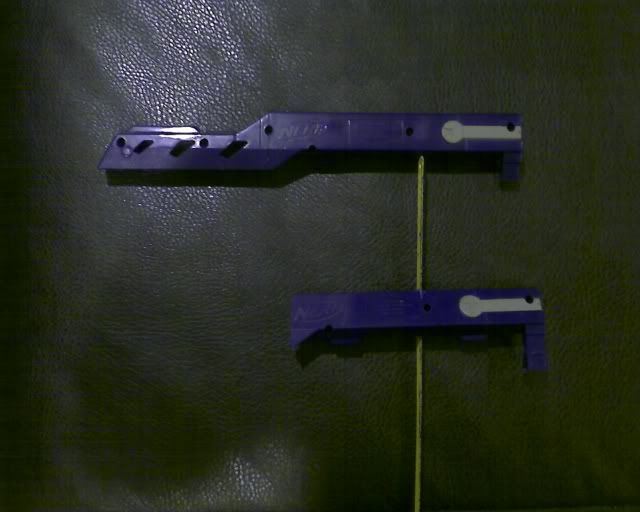
As part of the fit-and-finish, I used part of the front blaster's upper section to 'reduce' the end of the front blaster from where it abruptly squares off, instead using the angles to guide it back to the Longshot's body:
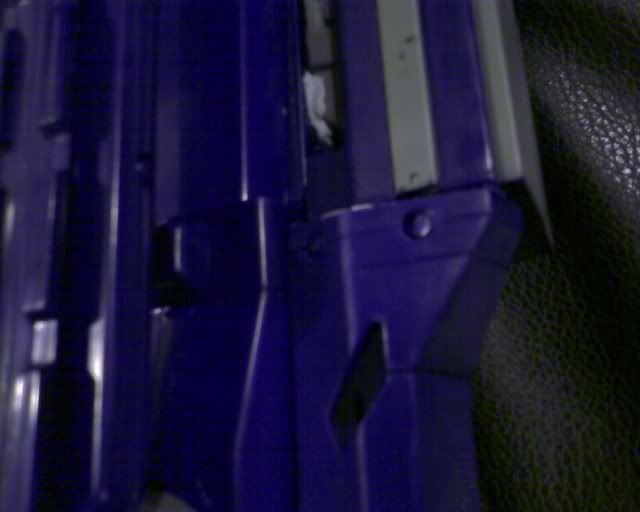
In case there's confusion, this is the part in question:
===
This is what I mean by gluing the 'upper' halves of the front blasters:
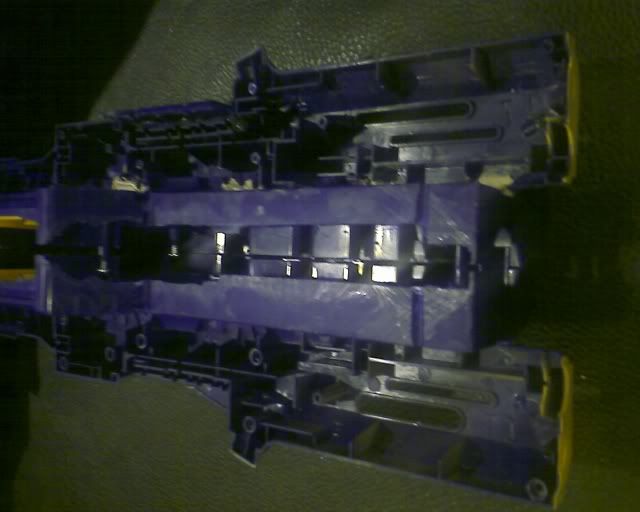
I have two front blasters, and each has a left and a right half. The left front blaster half will be the upper half on one side of the Longshot fore-end, and the right front blaster half will be the upper half on the other side.
===
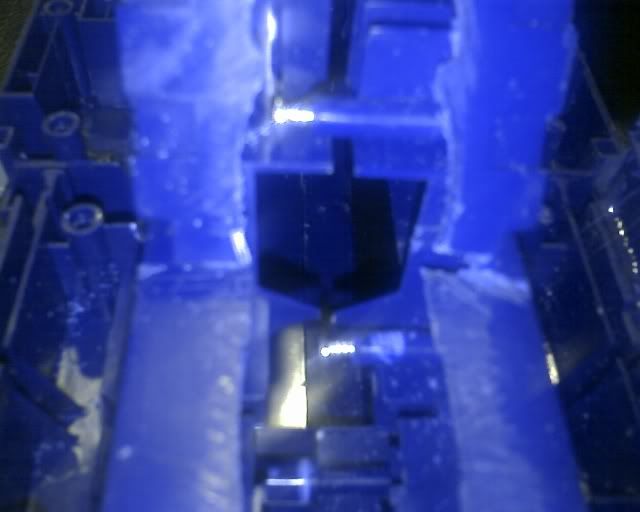
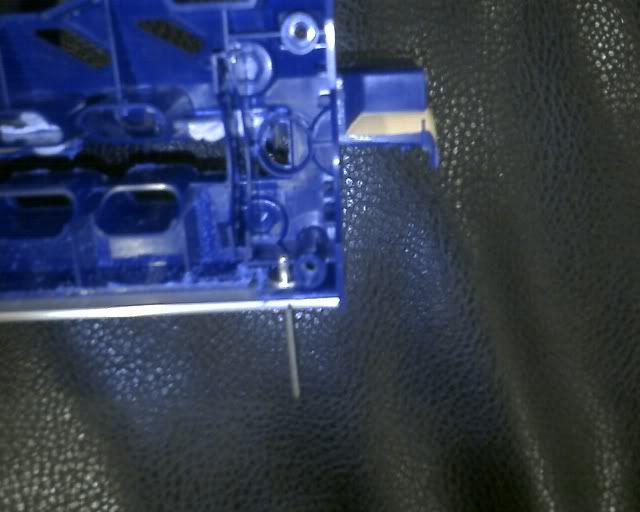
The YALPAM I was thrown together. The YALPAM II gives me a chance to make some corrections, specifically to how I did the fore-end. Firstly, instead of fastening the rails with clothes hanger wire, I cut notches in the magazine well for them to nest and be securely affixed to:
Then, I used pop rivets this time:
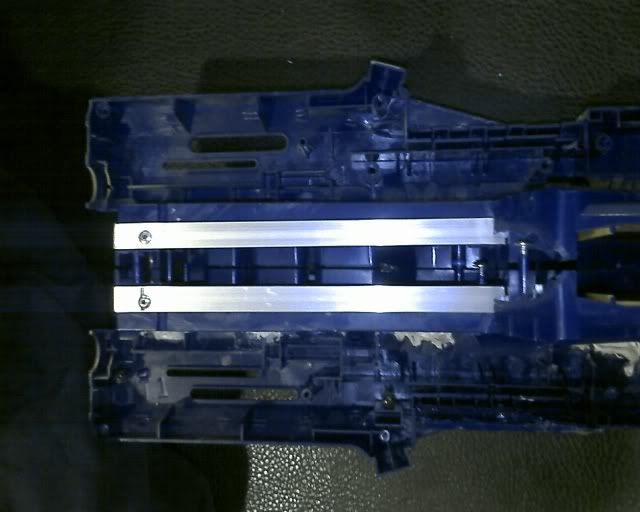
The notches hold the rails in the rear; the rails themselves are longer than the track distance:
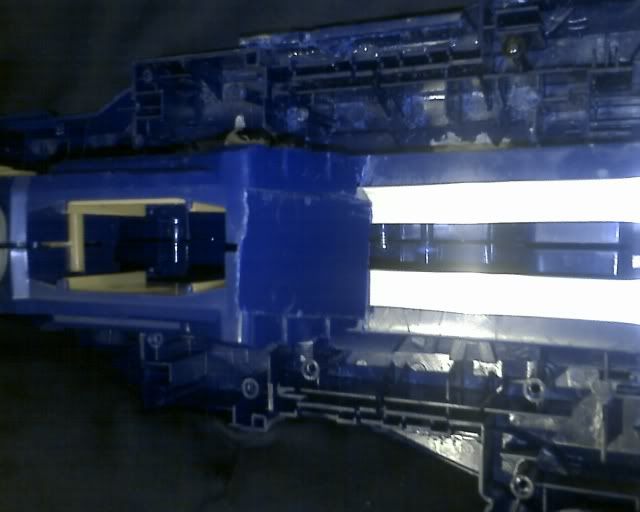
And I cut a flat sheet from the bolt cover instead of leaving the canted edges. Every centimeter of the fore-end is needed for the slide action:
===
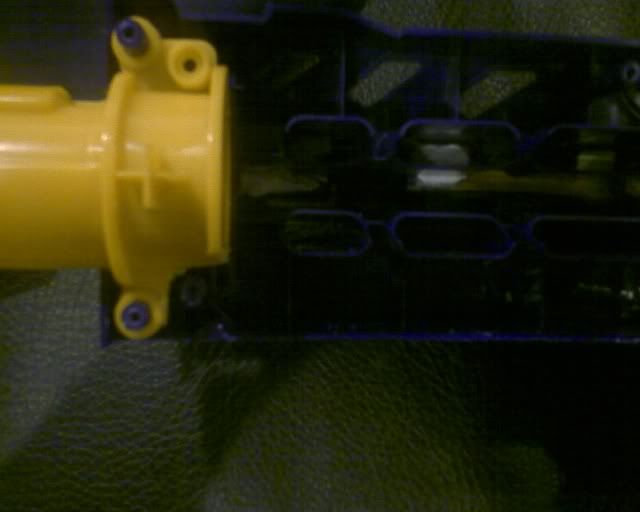
Speaking of every centimeter, I also removed a good portion of the lower half of the barrel collar so the front blaster handle would have room to slide:
===
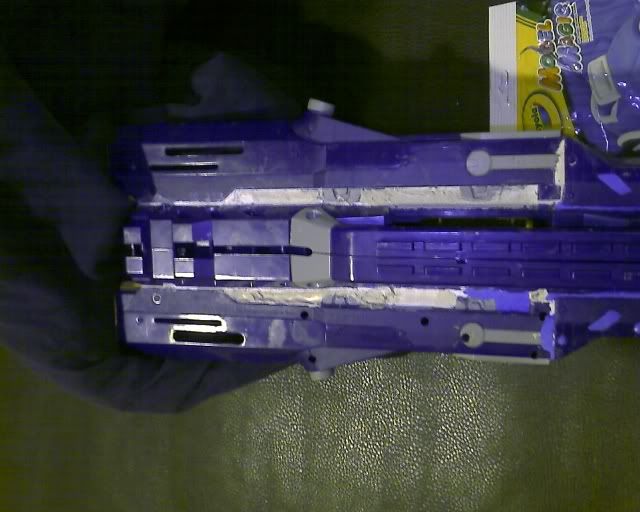
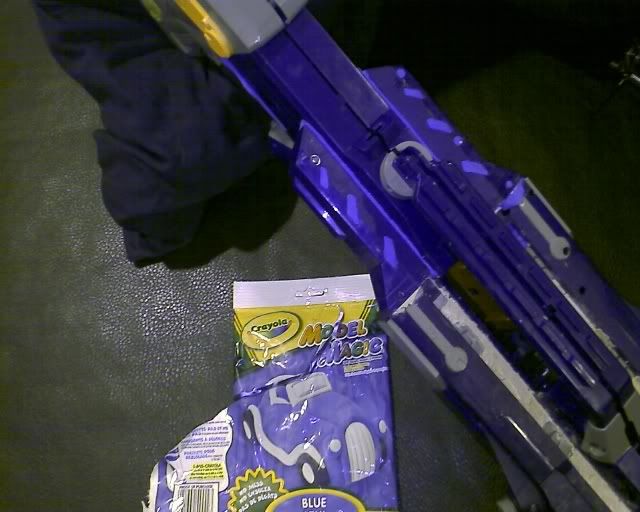
That's pretty much it. I tried to use some epoxy putty and tried also some body putty to fill in the gaps, but they cured too quickly. I also tried some Crayola "Model Magic" air-hardening foam, but that didn't cure to the requisite strength. The end result is that the front blasters are securely, but sloppily mounted to the Longshot.
===
The Model Magic also filled in the empty space in the 'reducing trim'. I just don't like it being open.
===
The blasters themselves are only lightly modded for performance.
The Longshot's air restrictor is removed and its leak hole is plugged. The piston head has a few inches of Teflon tape, but no extra springs. It gets a respectable 45' to 55', more-or-less flat. I'm not deliberately angling it, but I'm also not attaching a bullet level to the blaster to verify.
The front blasters have their air restrictors removed, and have been lubed down with Tri-Flow silicon lube. They get 30' - 35' or so, but I see them as more last-ditch weapons.
The system is a little front-heavy, but the vertical foregrip alleviates it. It only feels unwieldy when I try to single-hand it, and that's only good for one shot.
The cable trigger controls both blasters. It's a stiff trigger, and there must be something snagging in the system because the trigger does not return to true by itself. The catch-points are staggered, as well. This isn't by design, but there's something logical about behing able to trigger off only one shot of the two. When fired 'all the way', the two front blasters manage to keep the darts in a tight grouping with the main Longshot blaster.
I've not tested the 12-round clip 'Slam Fire style', but I wouldn't be surprised if I get off all dozen rounds in under seven seconds. I can see myself firing two a second. Now, accuracy, that's another matter....
Edited by taerKitty, 22 June 2009 - 07:47 AM.


