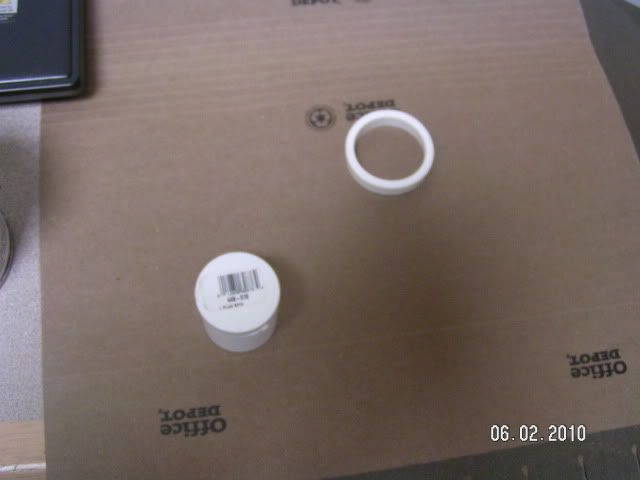
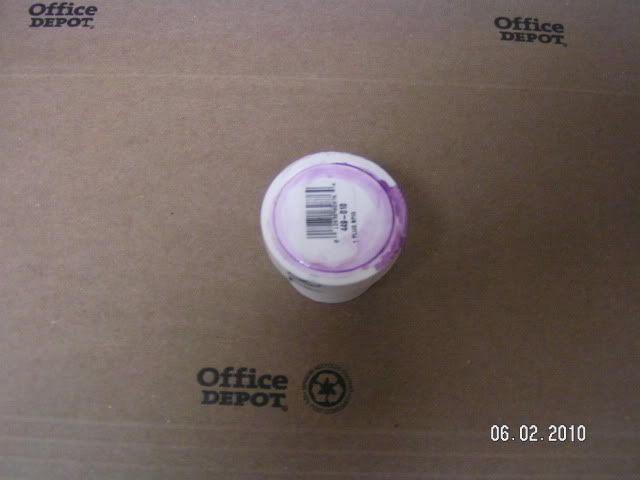
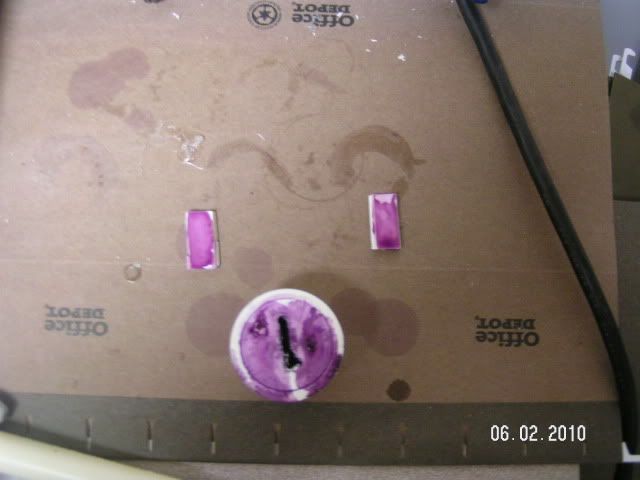
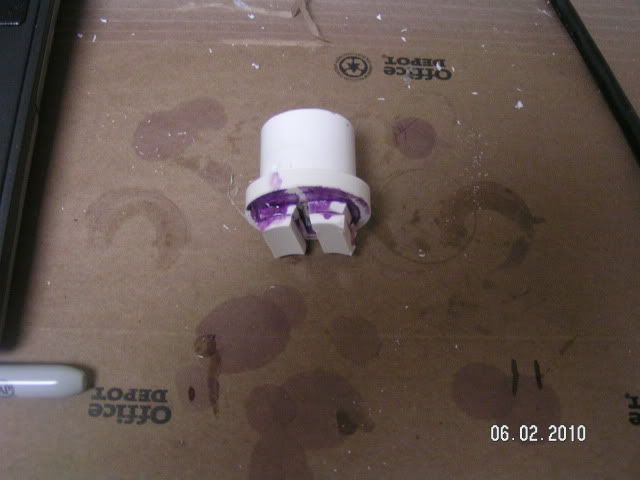
Secondly, it's a WIP. I got it to the firing stage and wanted to show a fellow NHer who tried to follow my emailed description during the build.
Lastly, it doesn't use the SNAP line's trigger or plunger assembly, but it's still a Snap in spirit, especially given the Snap-4bp, above.
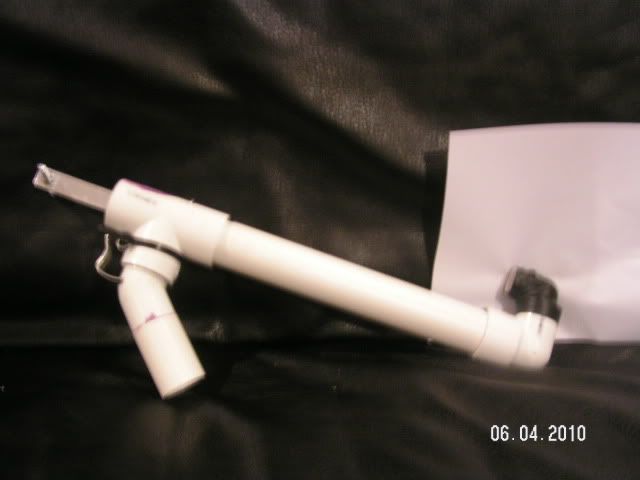
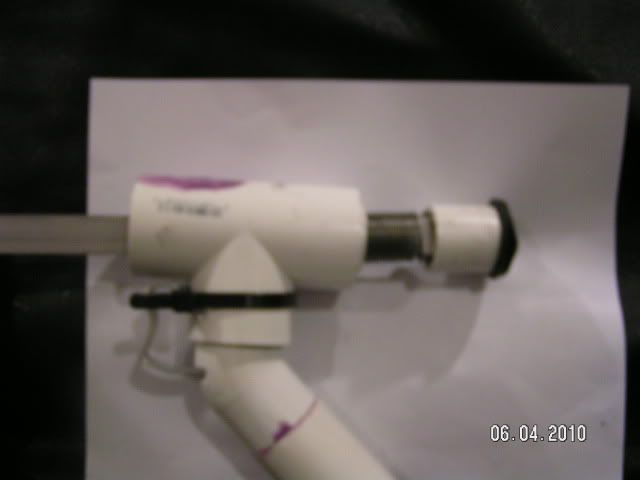
Let's jump to the chase. Here's what it looks like currently:
It ends in a 1/2" PVC elbow, ready to take whatever breech or magazine you want to throw at it.
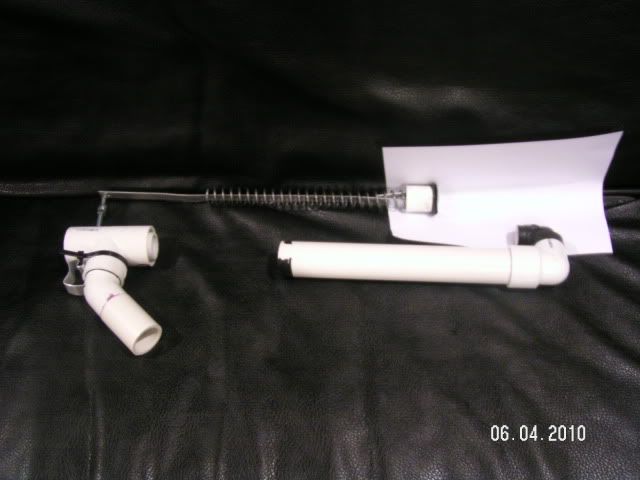
Here's the 'field stripped' image (field stripping consists of taking the cocking bolt at the front of the plunger rod off):
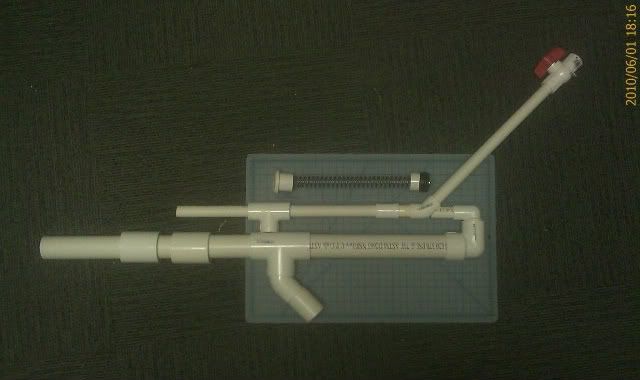
This shows the intended end product, with a pump-action fore-end to protect the rather vulnerable plunger rod:
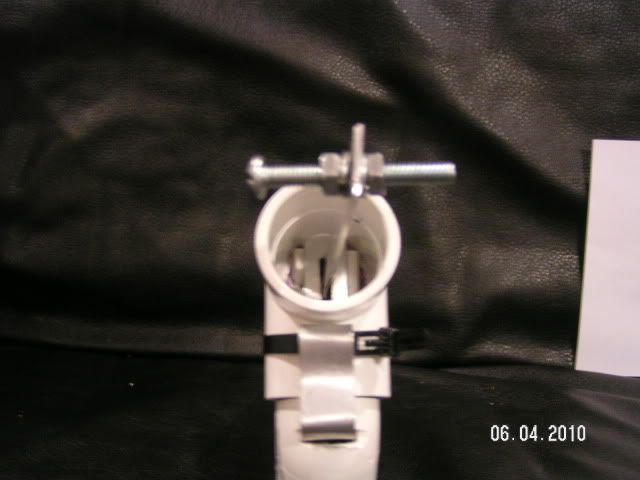
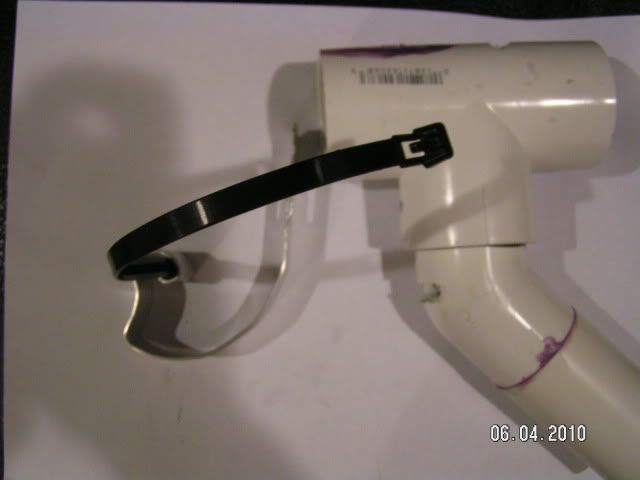
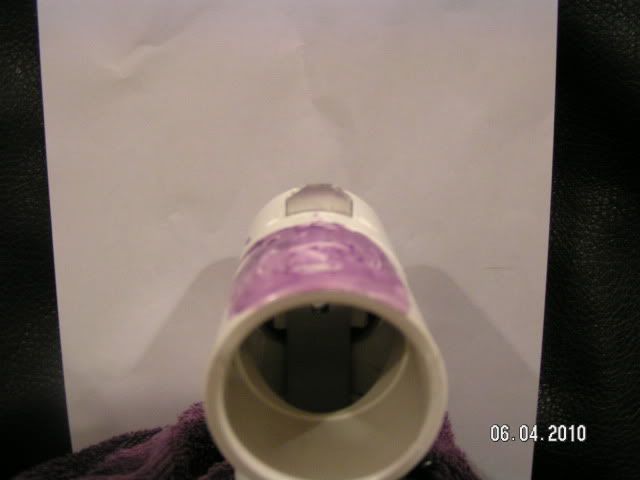
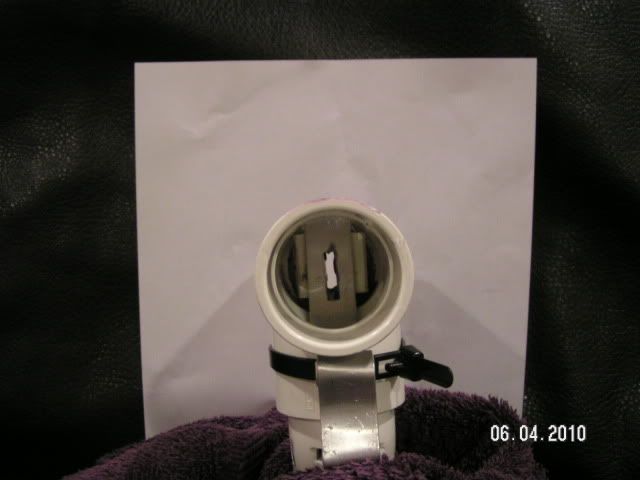
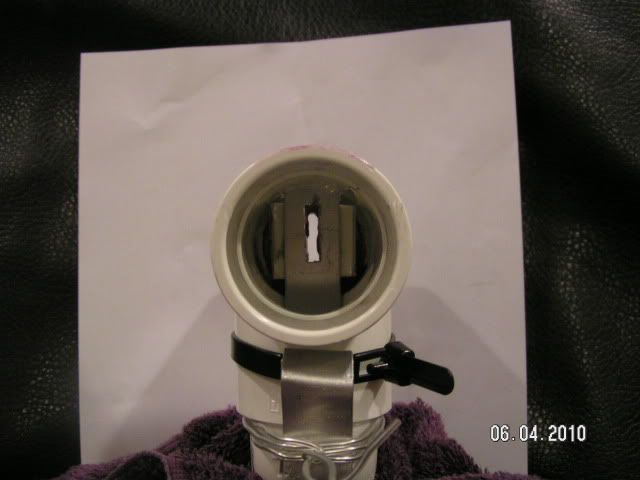
Here's the 'business end', showing the catch system.
===
Alright, let's start with the build. This will only cover the core unit, not the fore-end or hopper clip.
Tools and supplies:
- Assorted files, large and small
- Ratcheting plastic pipe shears
- PVC primer and cement (Hot glue alone won't do)
- Power drill with 3/16" and 1/4" bits
- Hot glue gun
- Electrical Tape
- Tongue-and-groove pliers (two, preferably)
- Plunger lubricant - I used silicone grease
- Ruler
- Calipers
- Boltcutters
1 Ace Hardware 1/4" ID Cone Washer TBD TBD
1 Ace Hardware 36" x 1/2" x 1/16" Aluminum Bar TBD $4.87
2 HomeDepot 1" PVC Schedule 40 Plug Spigot 449-010HC (745274) $0.96
2 HomeDepot Crown Bolt 3/16" x 1-1/2" Washer Neoprene 89378 (597960) $0.80
3 HomeDepot 3/8" Lock Washer, Medium, Galvanized 12806.0 (252898) $0.21
1 HomeDepot 1/4" x 2" Machine Screw, Round Head, Stainless Steel 10-pack 33272.0 (442276) $4.97
3 HomeDepot 1/4" Hex Nut, Coarse, Zinc 08426 (655414) $0.06
1 HomeDepot 3/8" Flat Washer, Zinc 25-Pack Bag 08054 (328154) $2.81
1 HomeDepot 1-1/4" x 1" PVC 90 Degree Elbow 406-168HC (743637) $1.38
1 HomeDepot 3/4" x 1/2" PVC Schedule 40 90 Degree Reducing Elbow Slip x Slip 406-101HC (610801) $0.63
1 HomeDepot 1-1/4" x 10 Ft PVC Schedule 40 Plain End Solidcore Pipe PVC 07100 0600 (312940) $3.46
1 HomeDepot 1-1/4" PVC Tee 401-012HC (294144) $1.27
1 HomeDepot 1" PVC 45 Degree Elbow 417-010HC (188034) $0.87
1 McMaster-Carr Continuous-Length Compression Spring Spring-Tempered Steel, 11" L, .844" OD, .08" Wire 9637K26 $10.49
HomeDepot.com part numbers are followed by the SKU in parentheses, which will also be used in the brick-and-mortar stores.
Total parts cost: just over $35 (not including tax for local purchases, and S&H for the springs from McMaster-Carr) However, the springs come 5 to a package, so the actual cost per blaster will be more like $17.50 when factoring in the number of blasters you can make with the multi-packs. Put another way, the $35 will buy you a lot of PVC and springs to make other Snaps.
Note: 1/2" PVC is shown in the 'end product' image, but barrelling material is up to you. In playing with it, I also had good results with OMC PETG shoved into a 1/2" CPVC coupler, and a foot of 1/2" CPVC crammed into a short length of 1/2" PVC. Dart fit and barrel material will vary based on your darts, hence the core unit only ends with the 1/2" elbow.
===
Handle
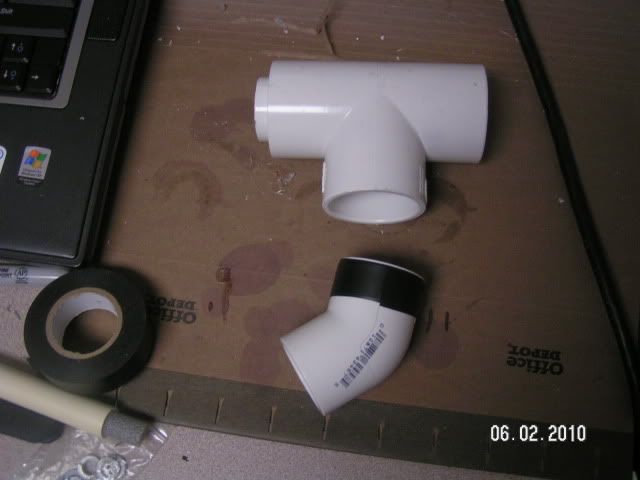
Let's start with the simplest part. Cut a 2" length of 1-1/4" PVC. This is where the ratcheting plastic pipe shears comes in handy. 30 seconds of grunting beats two minutes of cussing with a hacksaw. Of course, if you have a table or bandsaw, props to you.
Use the PVC primer and cement to attach it to the end of the 1" 45-degree elbow. Use some tape to keep in aligned, then leave it alone for however long the PVC cement can says.
===
Plunger
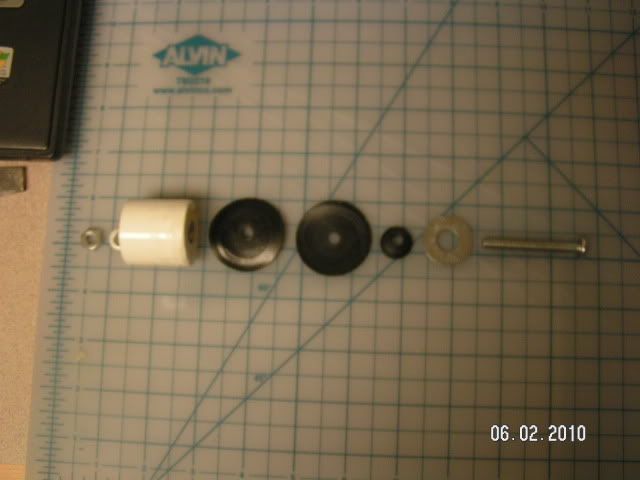
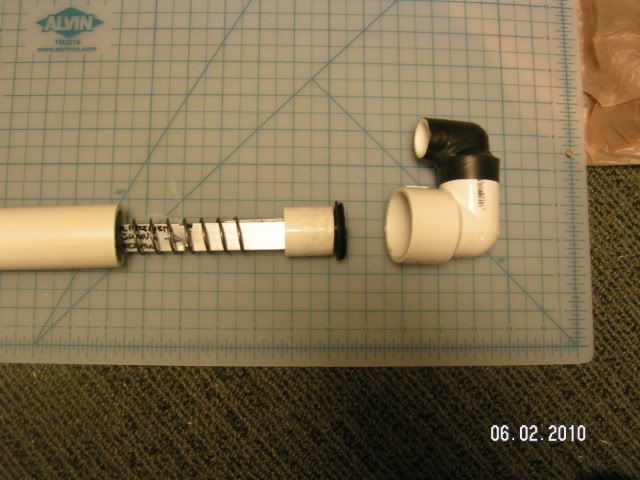
Take one of the 1" spigot plugs and sand it down so the slight lip around the end is gone. You should now have a giant PVC thimble. Drill a 1/4" hole in the center. Assemble the washer sandwich as follows:
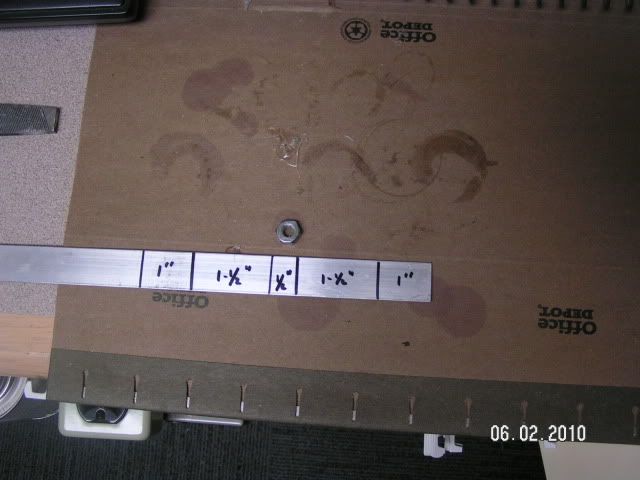
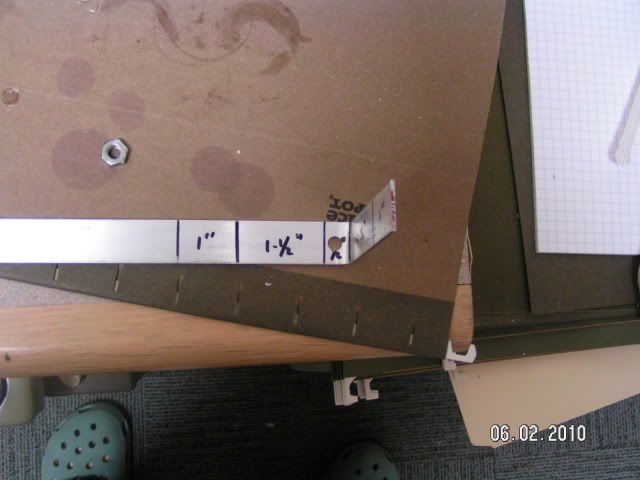
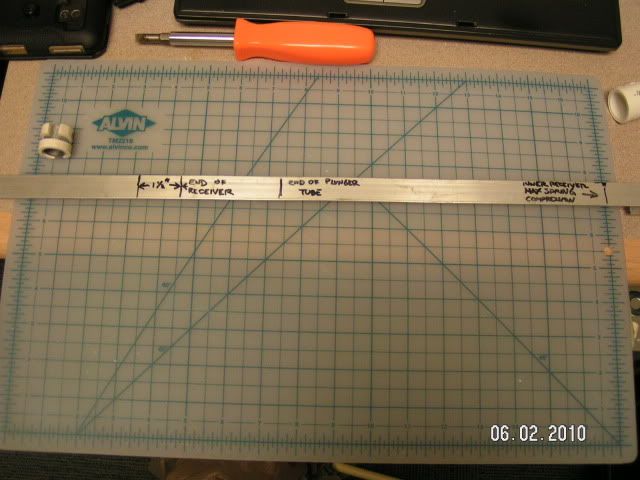
Take the aluminum bar and measure out a 1/2" interval 2-1/2" from the end. Ignore the 1-1/2" + 1" mark, that was for some bending that ended up not being needed.
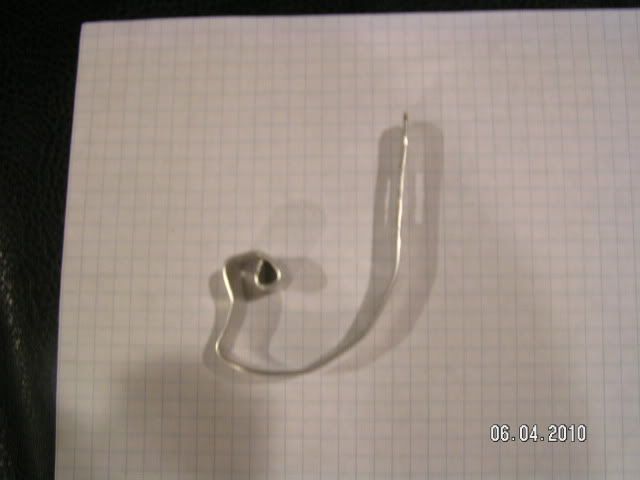
Bend it 90 degrees at the start of the 1/2" interval. Then drill a 1/4" hole in the middle of the interval, and finally bend it 90 dgrees at the end of the 1/2" interval.
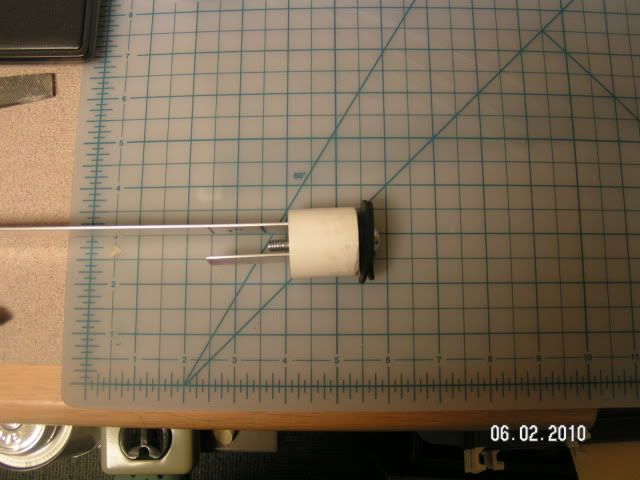
Attach the plunger head to it by working the bolt through the hole in the bar, then thead on a lock washer and nut.
Insert plunger rod through the spring. It is a very snug fit, and should 'lock' under the 1" spigot plug so it doesn't rattle when un-primed.
===
(to be continued due to image count limit.)
Edited by taerKitty, 07 June 2010 - 09:05 AM.


