Bolt Action Woes
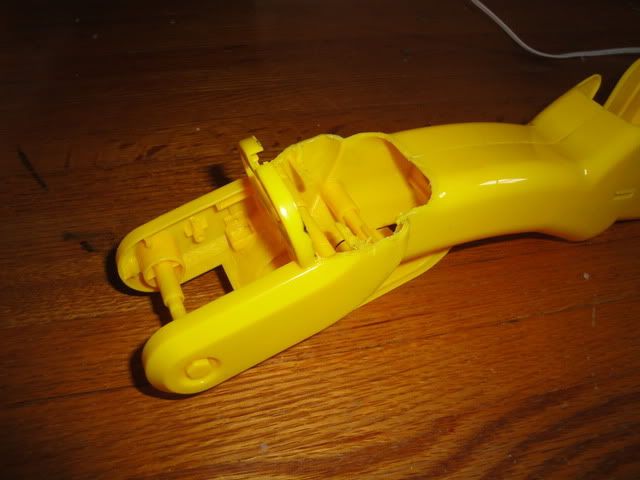
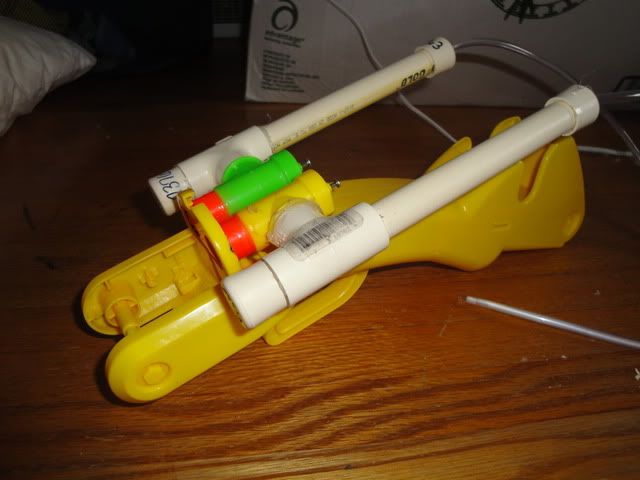
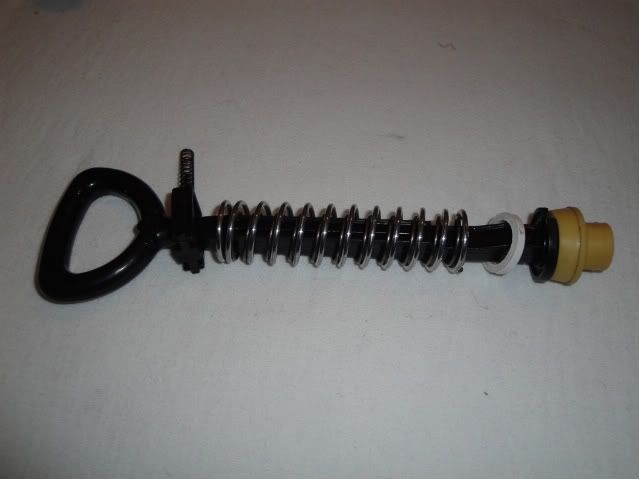
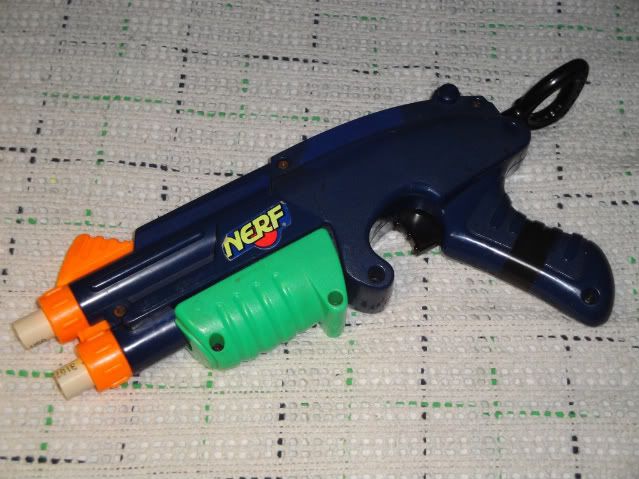
I have been working on this bolt-action blaster project of mine for quite some time now, and have a working prototype version completed. Sadly, one of the pieces (for this thread I will refer to it as the cocking slide) is not strong enough to withstand the leverage/stress it is required to hold. This blaster is loosely designed around the blaster found here: , by Wes.
I would really prefer to use a more Bolt action type priming mech in my blaster as opposed to his (but they function very similarly). Here is my video showing the functionality of my blaster, as well as how the piece in question primes the blaster. (Sorry for the crappy video. Hopefully, even through the painfully pixel-y picture you can see how this thing functions)
For those who might be better reading than watching, the bolt action handle is lifted and is pulled backwards on the blaster. This handle is connected to the “cocking slide” that pulls the entire plunger rod back into the catch. At this point, the spring is not compressed. The plunger rod is caught (by the rainbow catch), and the cocking slide is then returned to it’s original position thus priming the spring against the plunger head. The trigger is pulled, and the plunger rod shoots forward. Return to step one.
The “cocking slide” currently is made of a ¾ to 1/2 reducer that has been reamed out so that my ½ in CPVC plunger rod can slide through it.
My question to everyone with homemade knowledge is: Is there a way to attach the bolt action handle to this “cocking slide” piece so that it can be strong enough to prime a [k26] in the levering position it is in? I have tried Goop, Super Glue, and PVC cement. Any help or suggestions would be great.
(This blaster isn’t finished yet obviously. Still needs some cosmetic work, but worked for a while before the cocking slide to bolt action handle was broken)
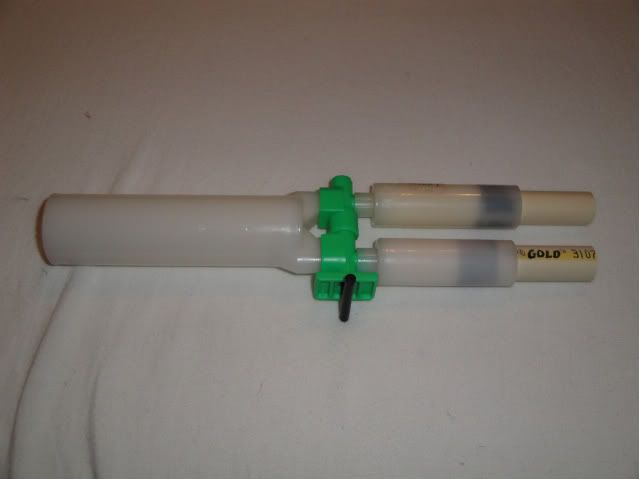
Specs: 1-1/4 PT, ~7 inches of draw, full [k26] inside. Has a hardware store cup seal on a cpvc PR. It’s a monster to prime, but hopefully with proper material strength it will become easier. Ranges easily break 100.
- NerfHaven
- → Viewing Profile: Topics: Phree Agent
Phree Agent
Member Since 19 Feb 2009Offline Last Active Sep 12 2020 12:14 PM
Community Stats
- Group Members
- Active Posts 402
- Profile Views 11,262
- Member Title Member
- Age 34 years old
- Birthday November 11, 1990
Topics I've Started
Bolt Action Blaster Stress Breakage Issue
11 May 2013 - 06:14 PM
Deluge Tanks Doubleshot Mod
09 June 2010 - 04:28 PM
Phree's Doubleshot Mod: Make your doubleshot not suck....as bad
Main Objectives:
1. Functional break action loading system
2. Keep ability to fire both barrels independently
3. Ranges of at least 50 feet
4. Be cheap
Secondary Objectives:
1. Look as close to stock as possible
2. Be aesthetically pleasing
All objectives were met, minus the subjective opinions that it is not aesthetically pleasing.
Business:
1. Get air tanks
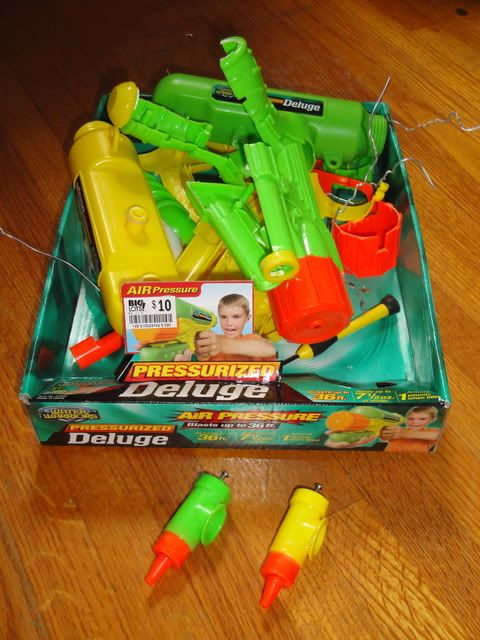
I chose the Super Soaker Deluge tanks because they were small enough to not require a total shell overhaul for the DS and were cheap. Any other tank could be used I guess, you would just break the "Cheap" objective and it would require some extra structural steps.
First disassemble the pair of Deluge blasters and salvage the tanks. Also save the triggers, we will need those later. The rest is unneeded for this mod.
2. Assemble tank expansions
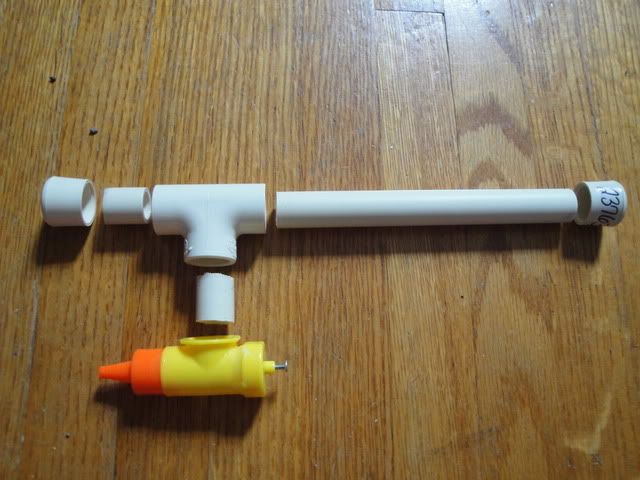
I did not test these tanks without expansions, but based on size I figured they were worthless without the extra volume. I used cpvc and various cpvc fittings to create my tank expansions.
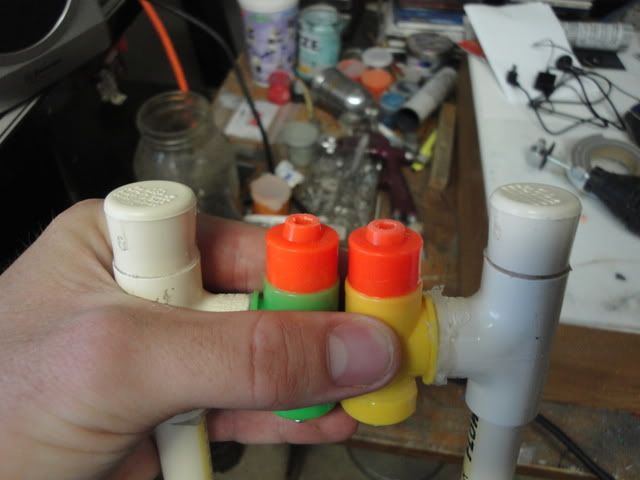
This picture shows the expanded view of my tank expansion. The length of the expansion could be changed if you wish.
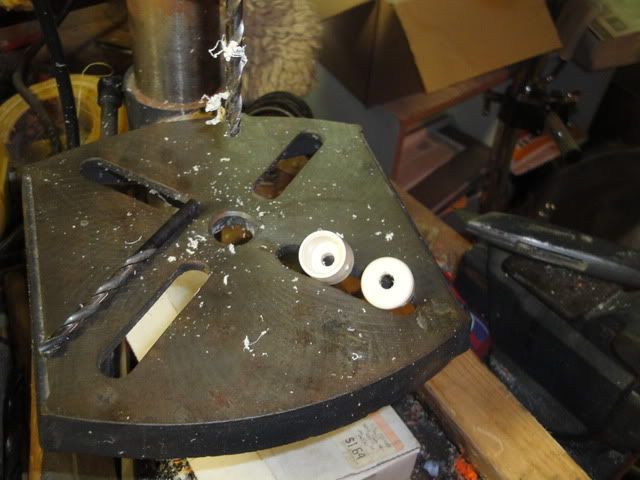
Drill 1/4 holes in 2 of the endcaps for the air input. These endcaps could be used as the front of the tank expansion, or the back depending on how you want to run your tubing. I chose to do mine from the back because originally I was going to run my tubing internally.
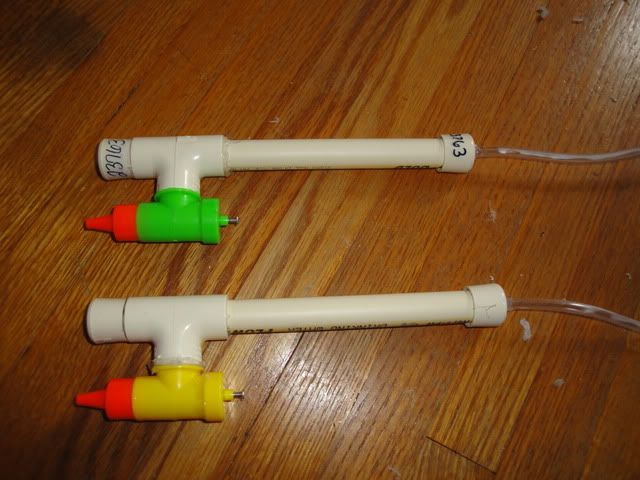
Glue your tank expansions together and attach your 1/4 tubing to the end using whatever glue/attaching process you like the best. I used superglue for the joints, then sealed over those with hotglue.
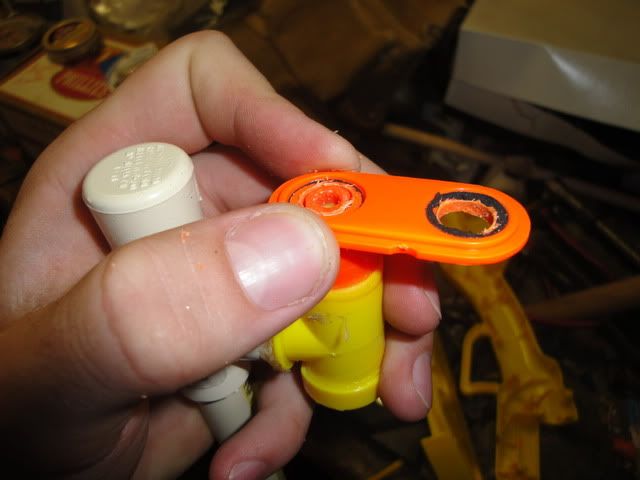
Next cut off the nubs on the end of the original tanks. Leave a little more than 1/8 inch of the nub so that it fits nicely into the double shot plate. (This will become clearer in the next picture)
I forget which bit I used, but drill out the orange plate from the DS until the tank nubs fit nicely in it on both sides.
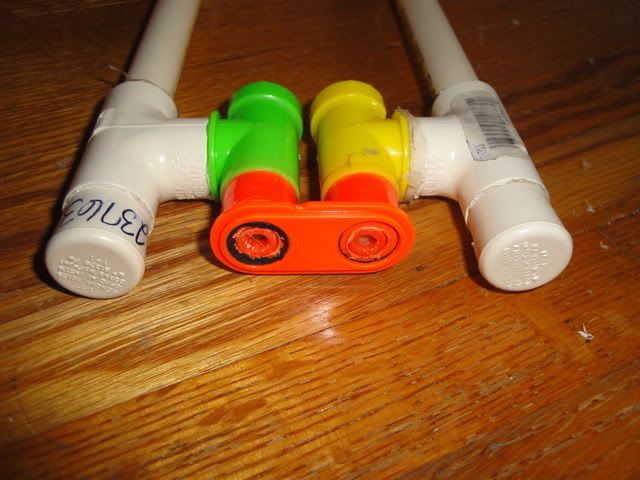
Glue the tanks onto the plate. It should look like this when finished.
3. Preparing the DS shell for the tanks
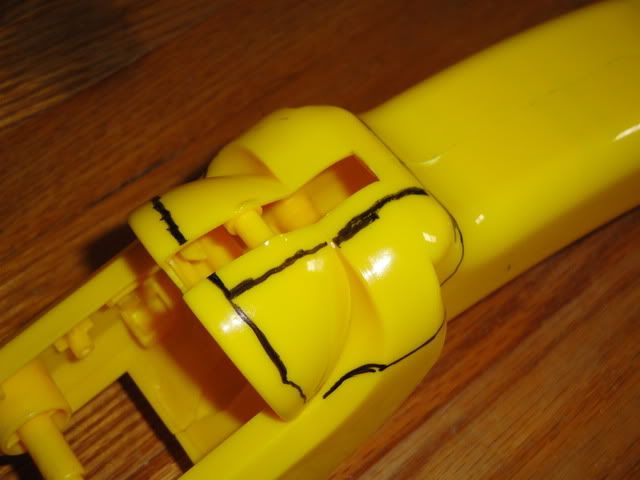
Mark off your DS shell, and cut it with your cutting disk on your dremel. If you have no dremel.....a hacksaw MIGHT work here. (NOTE: The black line down the middle of the piece I am cutting off is obsolete. Cut along the bottom line)
This is what the shell should look like after cutting. Clean the edges up with an exacto if you so please.
Dry fit your tank assembly in the newly cut shell. If the sides of the DS shell need to be cut down slightly to accommodate the expansions do so with a knife. The tanks should be supported by the shell though, not just hanging on the front plate.
4. Trigger assembly
DISCLAIMER: Before I say how I did the trigger, I would like to say that there are probably better ways to do this part of the mod. Mine was a lot of guess and check and the finished product is still inconsistent at times and finicky.
First get the pair of triggers from the Deluge blasters.
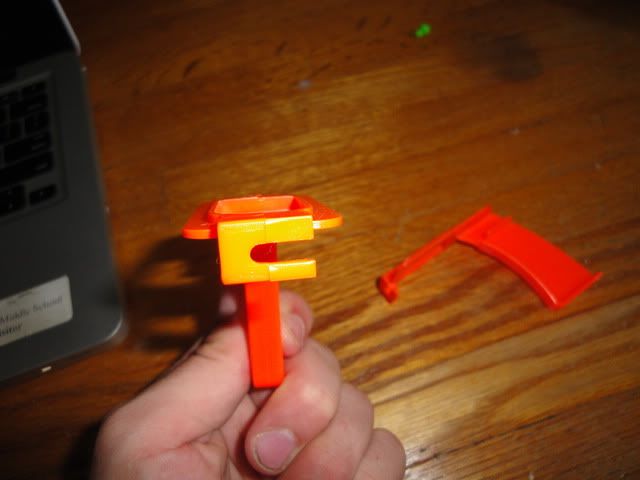
This piece of the trigger pulls the tank pin. Cut the "U" peice off the rest of the trigger. Do this for both triggers.
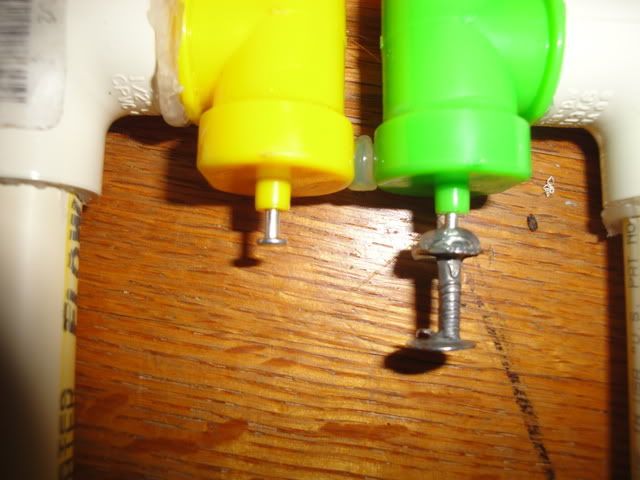
Next, I had to extend the trigger pin on one of the tanks so that I could have the independent trigger pulls. I used a nail, but there are probably countless ways to achieve this same effect.
The next part of the mod is difficult to describe because I just used the guess and check method to cut what needed to be cut, and glue pieces where they needed to be glued. Like I said earlier, if you try to recreate this, this is probably the part where you could find a better way to rig the trigger. Good luck to you. Hopefully my pictures help to show how I did mine, and I will try to describe what is going on as well.
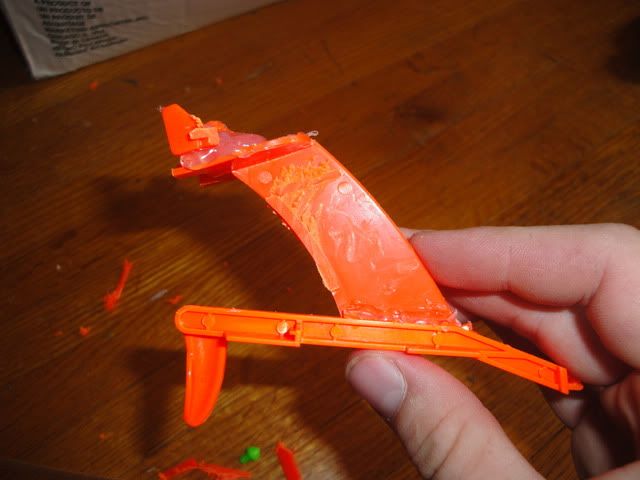
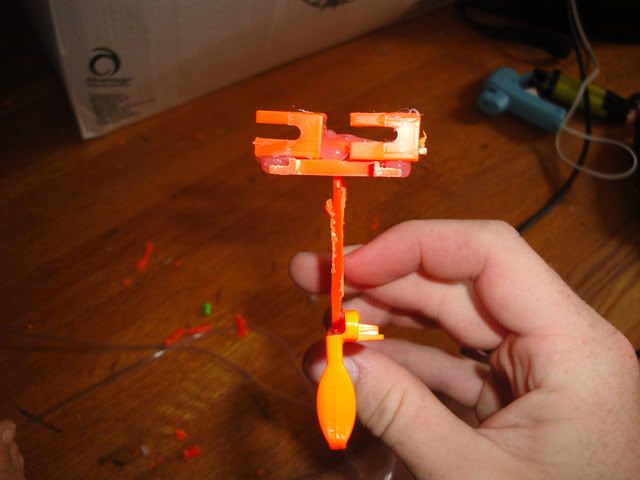
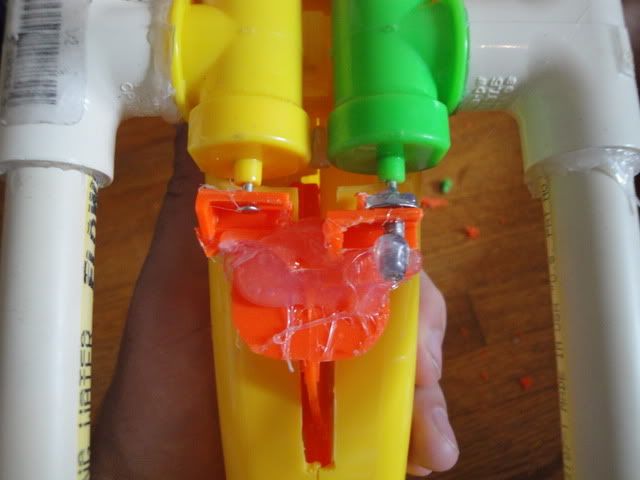
Essentially what has happened here is that I used the rest of the Deluge trigger and glued that onto the doubleshot trigger. I had to cut the Deluge trigger at an angle so that when the DS trigger is in the blaster, the "shelf" that holds the "U" pieces is parallel to the tank pins. I then dry fit the "U" pieces on the "shelf" so that one pulled the first tank pin immediately, and the second "U" was staggered back about 1/8 inch behind the first one.
You can see in this picture that the first "U" (left side) is ready to immediately pull the pin when the trigger is pulled. Then the second "U" (right side) must travel about 1/4 inch before it starts to pull the second tank pin.
CONTINUED DUE TO PICTURE LIMIT! DON'T POST
Basic Sharpshooter Ii Mods/repairs
16 March 2010 - 12:04 AM
Basic Reinforcement/Repair and Barrel/Spring replacement for a Sharpshooter II
Not many Sharpshooter II mods out there so I figured I would dig mine out of box of goodies and fix it up. It ended up being much better than I expected.
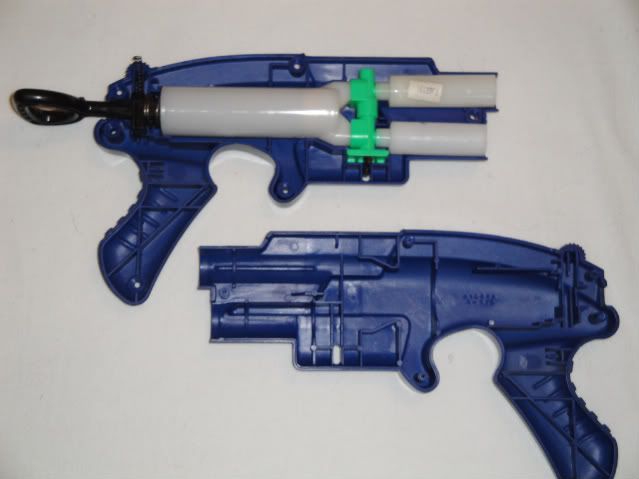
First is first: Open up the gun. No tricks here.
Basic Internals. Plunger tube is fairly large. (Trigger is missing in this picture, but it's not really important)
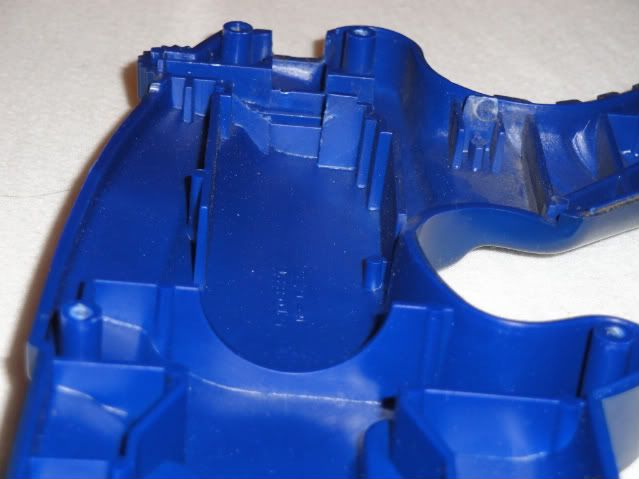
I then noticed in my blaster specifically (But I have heard of many other people with this problem as well) that the spring rest was cracked and even broken off in some places.
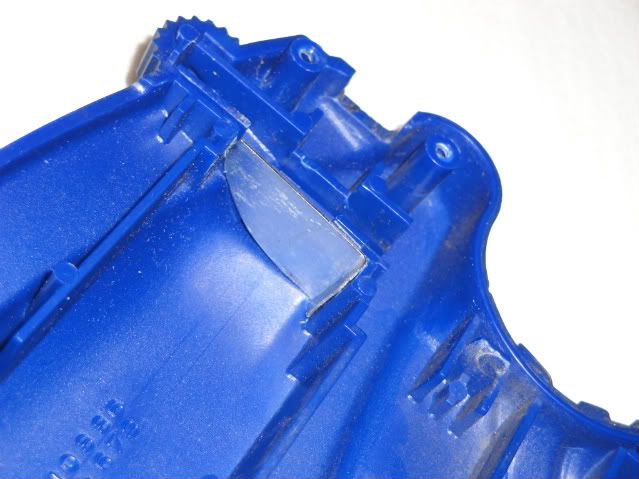
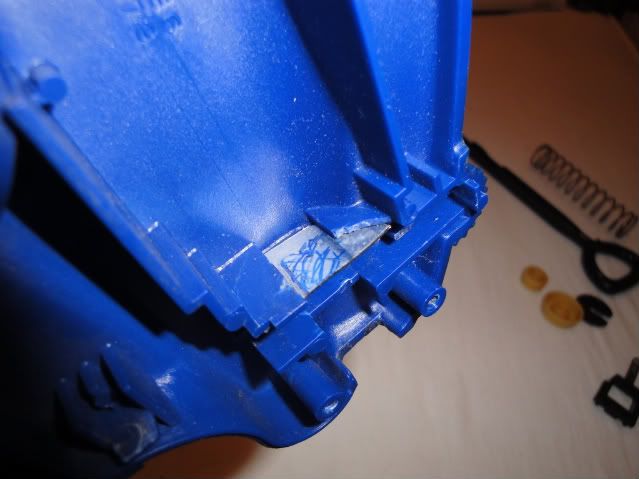
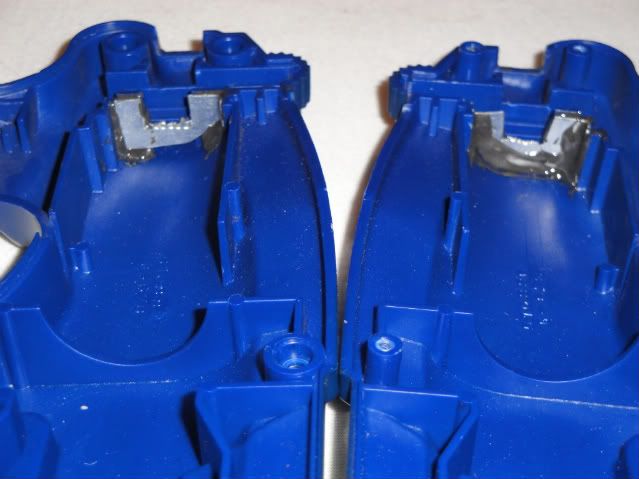
To combat this problem, I grabbed my sheet aluminum and tin snips. I cut a piece out for each spring rest. After dry fitting the pieces for size, mark where the plunger rod square hole needs to be cut.
Once everything is cut and fits nicely, epoxy the aluminum plates in.
Now that the spring rests are bulked up, we can now move on to a basic spring and barrel replacement.
Remove the plunger head and add whatever springs you wish. I have a random spring I found in my parts, and an Ace 49 in mine. I added a small PVC spacer to compensate for my replacement springs being slightly shorter than the stock one.
Next take out the plunger tube assembly. I use CPVC for my barrels. After a wrap or two of electrical tape the CPVC fits very snuggly into the stock barrels. I glued them in, and then glued the barrels to the green barrel selector part just for good measure.
Now lube and reassemble the blaster, and enjoy.
This blaster is much better than I thought it would be after just simple mods. The spring rests are still holding strong with no sign of cracking or breaking. Looking back I could have replaced the plunger head, but I didn’t have the time or the materials at the time.
Ranges with 3/0 sinker Stefans at chest level, indoor not counting dart skip: 58 (top), 62 (Bottom)
First write up, hope it went well.
Comments/Questions?
- NerfHaven
- → Viewing Profile: Topics: Phree Agent
- Terms of Service and Privacy Policy
- Code of Conduct ·