A long time ago, I posted a version of the sodizzle breach. That version only worked with modded stefan clips. After that, I was able to acquire a Pak D clip where the darts are positioned in the center of the clip. That version was not able to use these center-aligned clips because the bolt wasn't able to travel far enough to clear the back of the dart.
In my cleaning, I found a longshot that I had intended to sodizzle. So I up and started in again and this time, was determined to make use of this Pak D clip. I won't go into detail about creating the sodizzle breach, but will explain what I've done specifically for this version. Please view some videos or a write-up to get more details on a sodizzle breach:
My sodizzle write-up
Sodizzle's video on his breach
Bolt
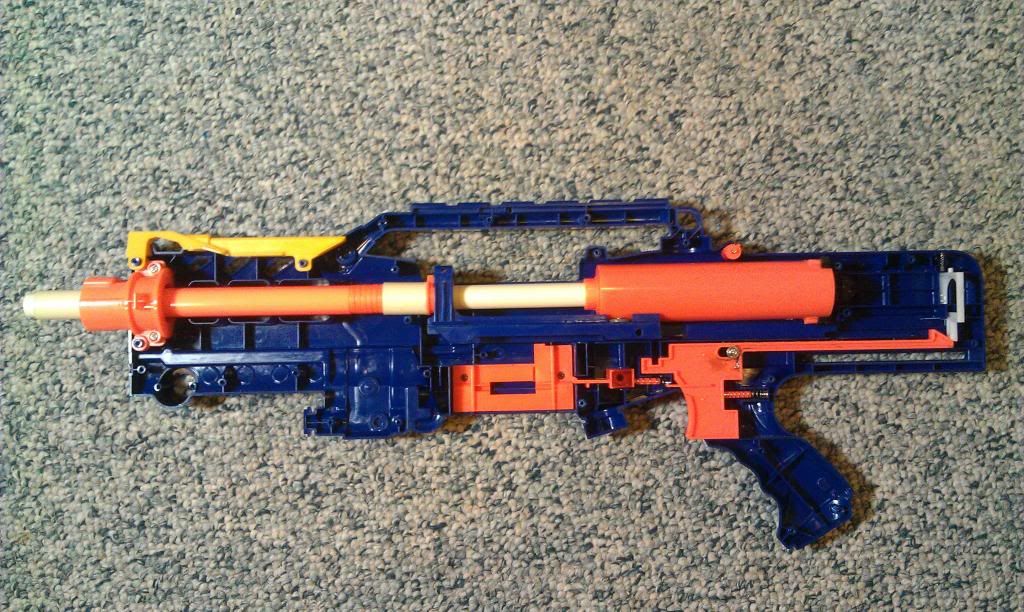
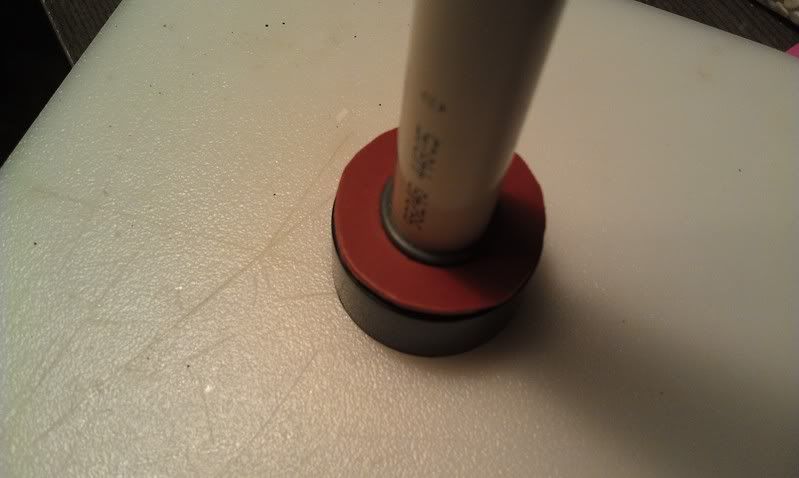
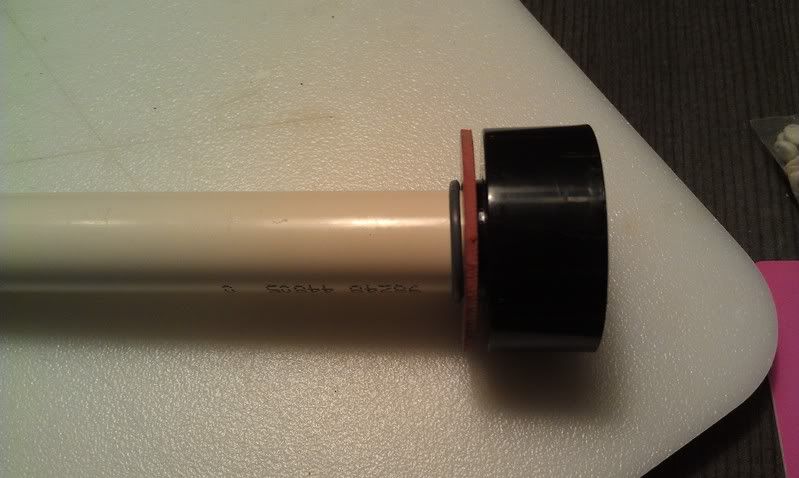
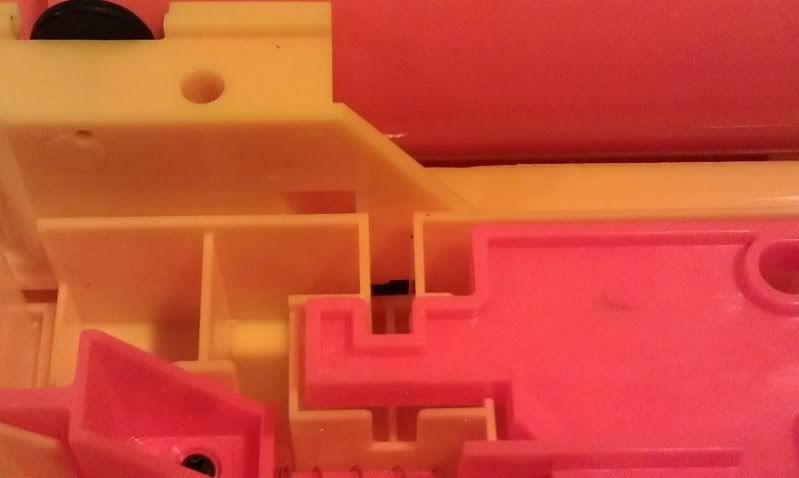
The bolt is really the tricky part. Once I got this measurement down, I adjusted the barrel to work with this length. This is really the part that you want to get working correctly before you determine the placement of your barrel. It has the usual 45 degree angle and is coned out to help with feeding. The lip of the bolt to the front of the plunger tube is 4.5" and probably another .5" that is embedded into the base of the bolt that is inside the plunger tube.
The bolt length may or may not affect the spring(s) that you are able to use as well. In my tinkering, I didn't have the plunger rod + spring when testing the length. When it was all assembled, I found the travel was off because of the spring, so keep that in mind if you are trying this out that you may have to tinker with this measurement based on your spring set up.
I am currently using a length of k18 spring.
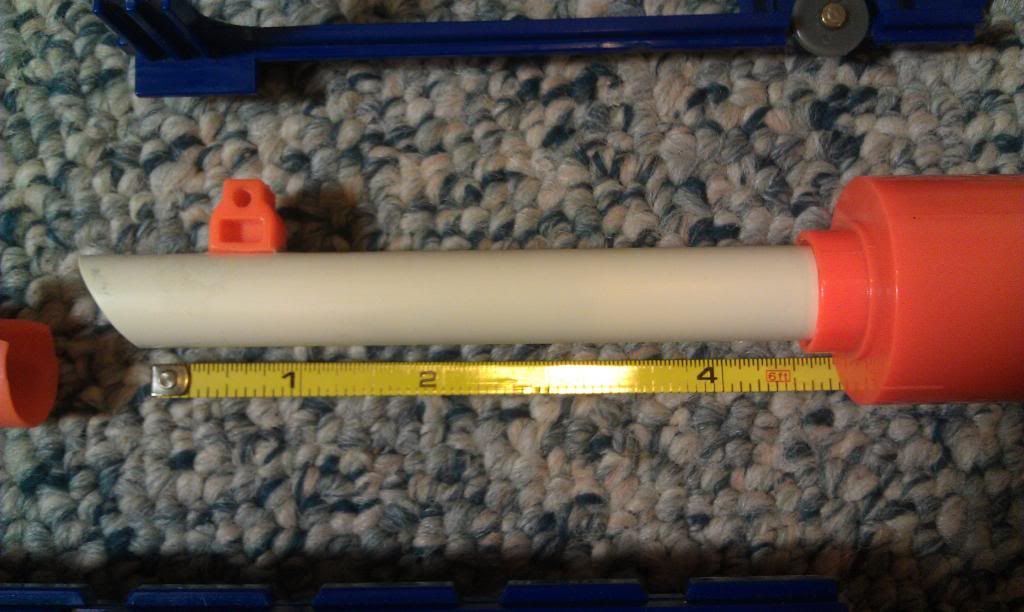
Barrel
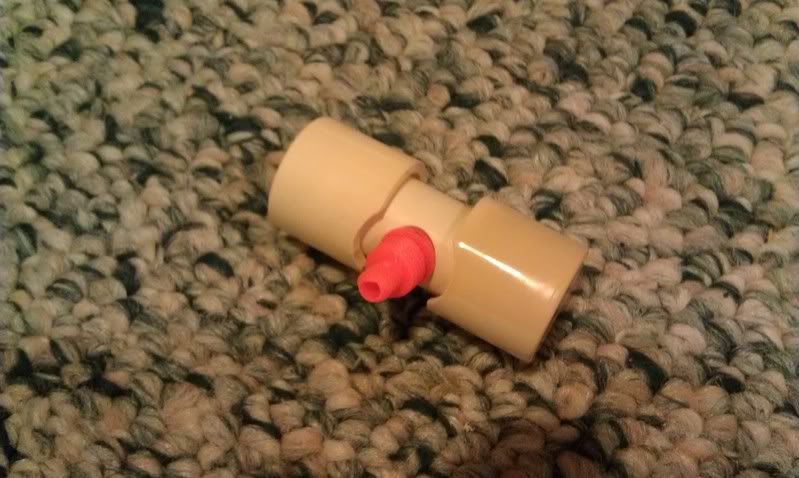
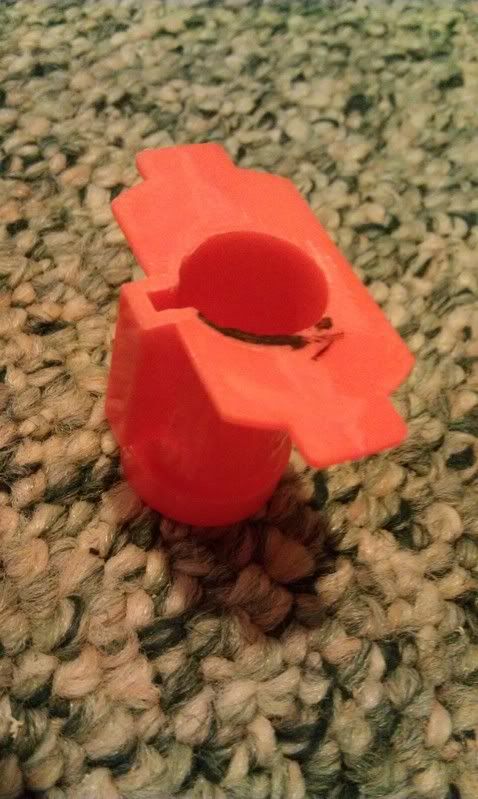
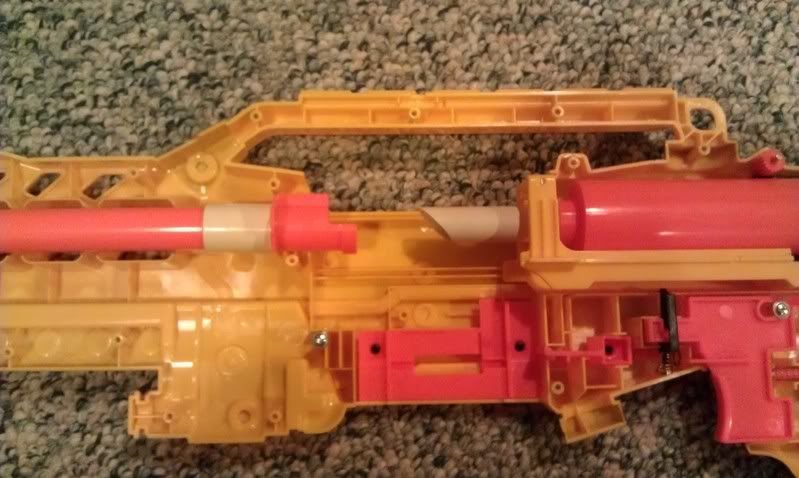
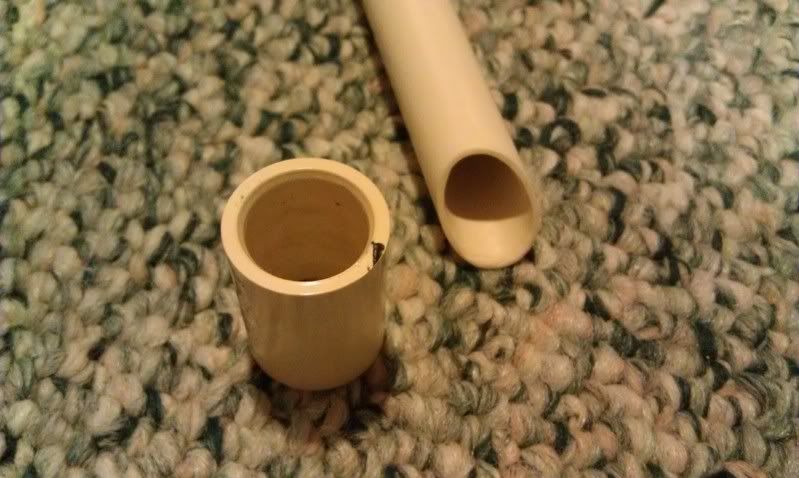
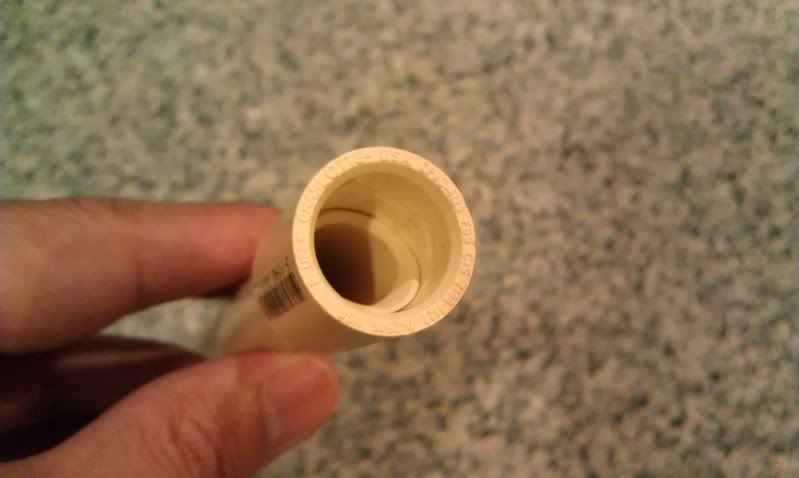
For the barrel I used a 10" length of CPVC. I wasn't able to easily use the stock dart tooth as a ramp in this version because the barrel had to be moved further back. I used Maverick AR's as spacers to get the correct placement of the coupler and used a cut down version of the stock dart tooth (ramp) to help feed darts. The ramp is glued directly to the coupler. In order to have the barrel not move backwards, a spacer will be used at the front part of the barrel. Here I am using a length of 2k pump that will be glued in place. I had to completing afix the barrel in place, so I am thinking of using another method so that the barrel can be removed if needed.
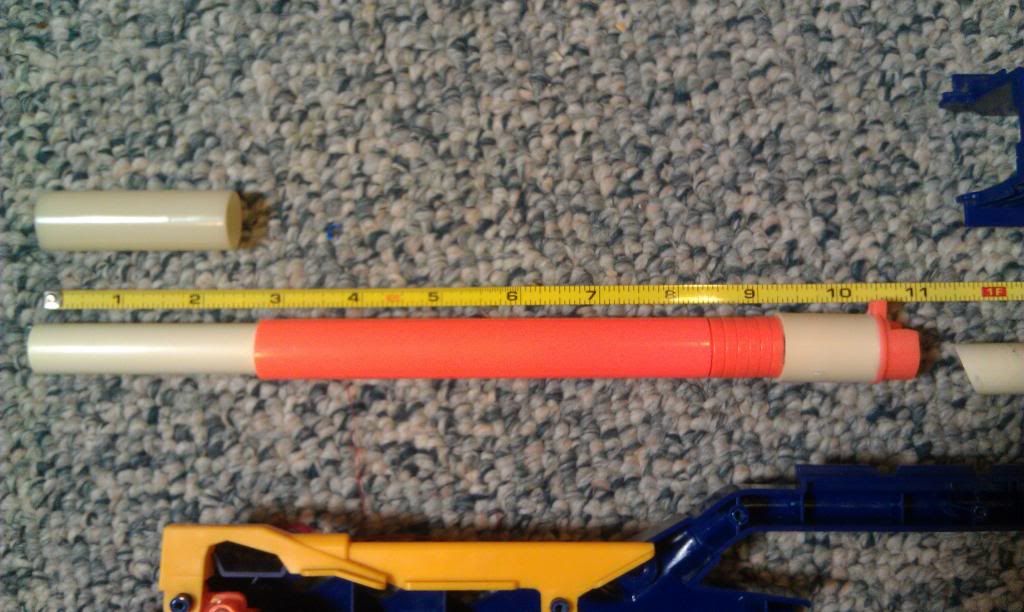
The seal of this is okay. It's not completely air tight around the coupler, but it's pretty close. I pondered attaching an o-ring within the coupler, but decided against it. Overall, this mod was to be able to work with the different clip, but I believe it will be able to work with both types of clips now. And apparently, I threw out the plunger head, so it's working with a make shift one at the moment. The seal is good, but hopefully I can find a stock replacement one soon.
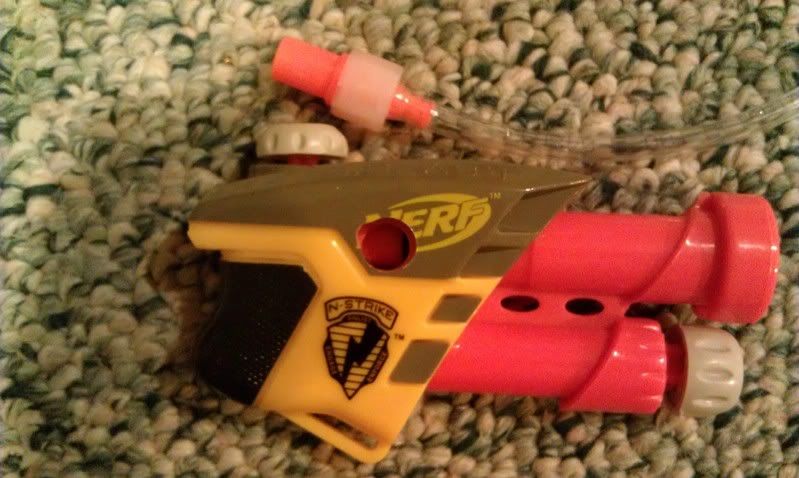
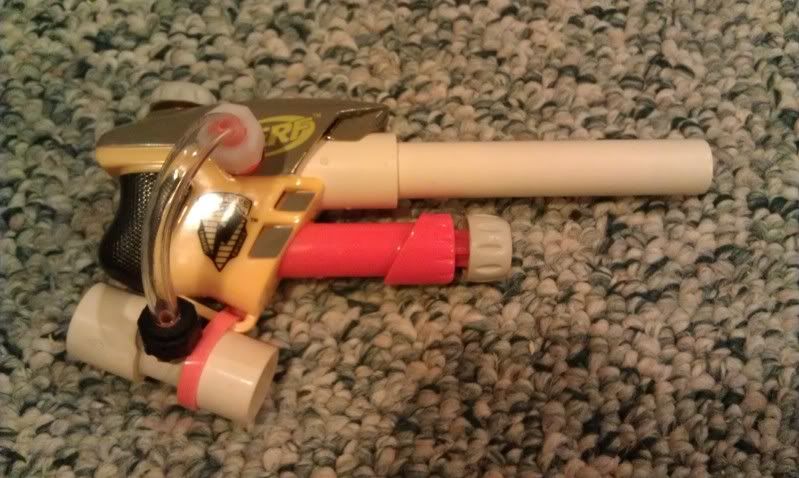
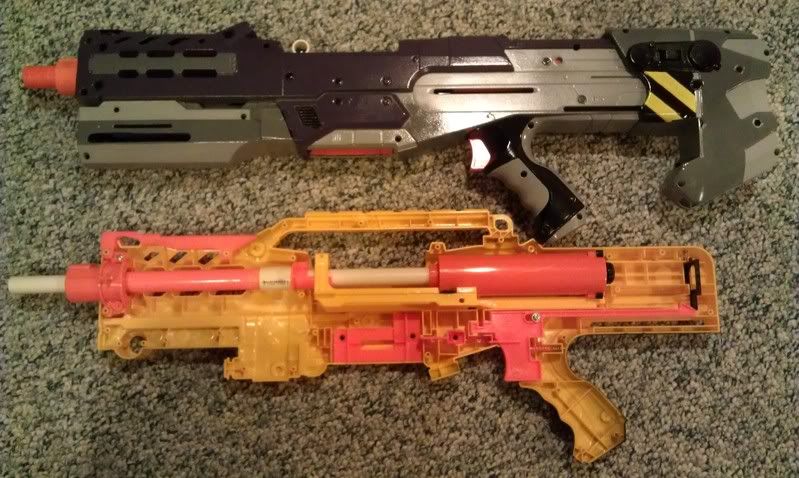
Expanded and completed views
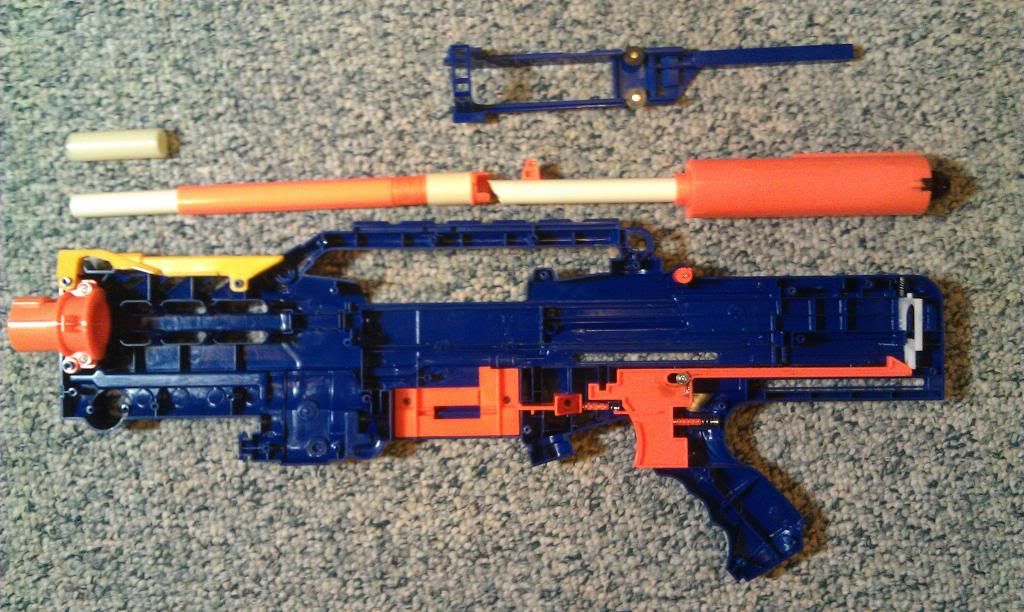
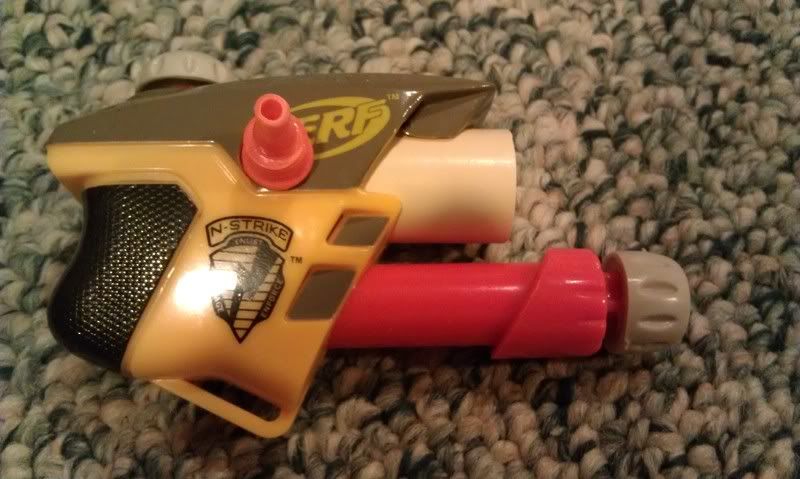
Close up of barrel and bolt
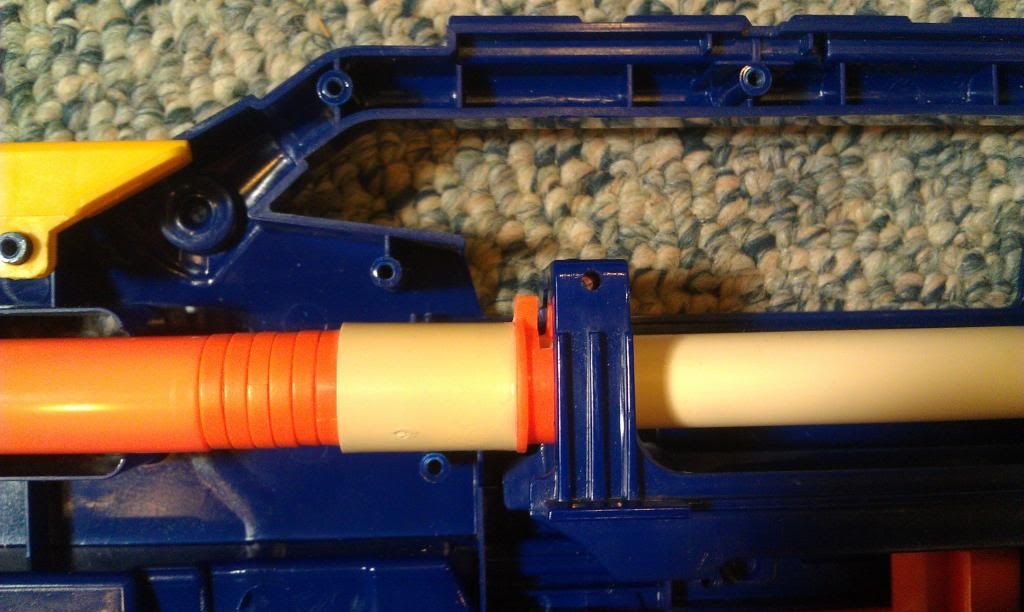
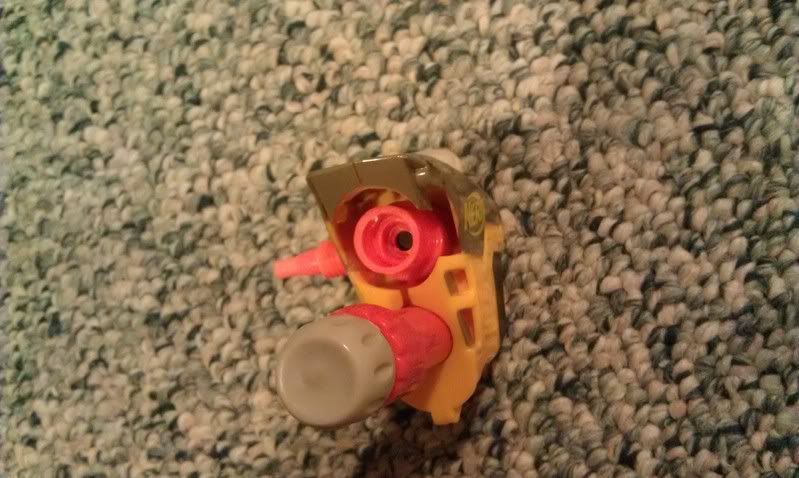
Close up of the front barrel
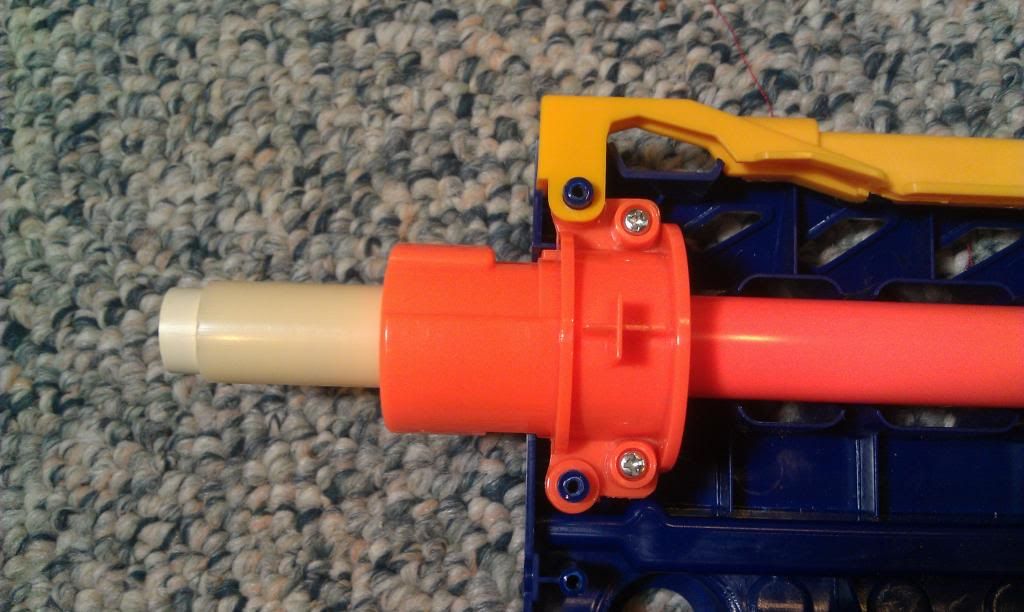
This is definitely not the cleanest mod, but I believe it works well and this time I had a better sense of what I needed to accomplish.
- NerfHaven
- → Viewing Profile: Topics: popatachi
popatachi
Member Since 17 Oct 2008Offline Last Active Jul 20 2022 09:32 AM
Community Stats
- Group Members
- Active Posts 206
- Profile Views 11,896
- Member Title Member
- Age Age Unknown
- Birthday Birthday Unknown
User Tools
Latest Visitors
Topics I've Started
Sodizzle Longshot v2
15 February 2014 - 12:02 AM
stefan stampede clip
15 April 2012 - 10:55 PM
This may be more or less common knowledge, so excuse me if I'm late to the party. Here's how I thought about creating a stampede clip that will allow you to use stefans and still have it able to use stock darts without opening up the clip. This is essentially a slight variation on the same mod as done by WicketTheModder619.
NOTE: This method can work on a 6-dart clip, but you need to determine where the center coil is located and put the post on the other side of the clip. This may mean that you must reverse the clip (cut off the top tab and add a clip lock slot on the opposite side of the clip) in order to use the clip in your blasters.
The Youtube Video
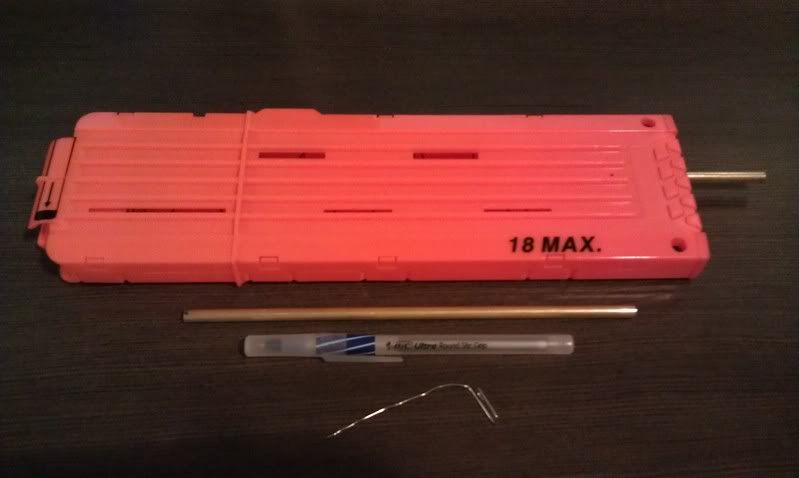
MATERIALS:
TOOLS:
ANOTHER NOTE: long ago when placing an order for brass tube, I accidentally ordered 7/32" tubes instead of 17/32". Years later, I'm glad that I kept them around.
Step 1: Prepare the clip
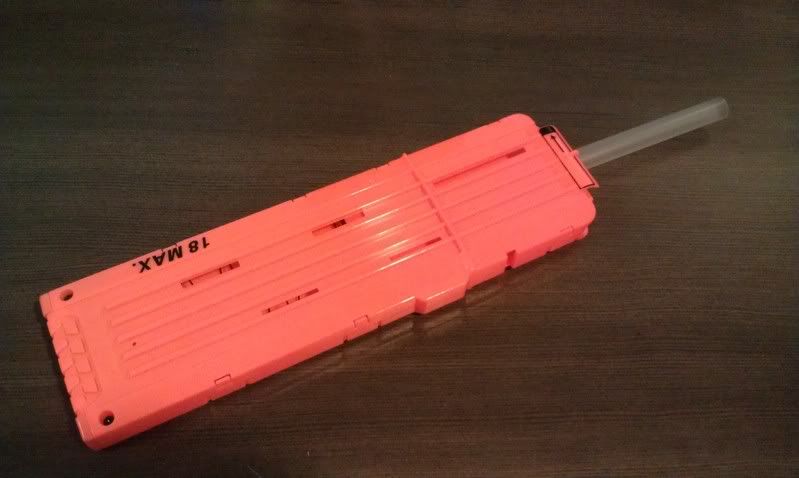
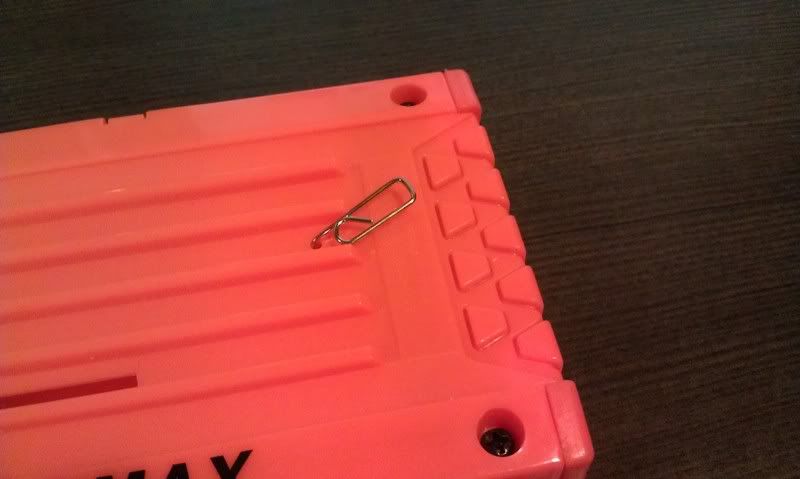
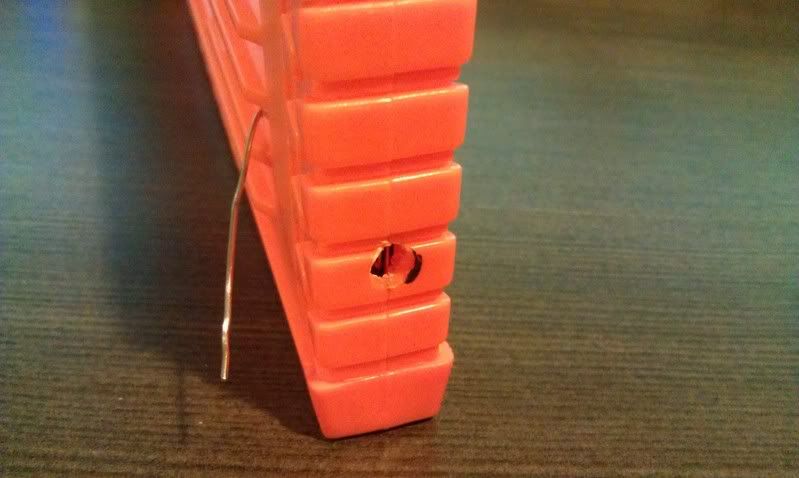
You will want something to slide and hold the dart pusher all the way down at the bottom of the clip. I had a piece of plastic tubing, but anything will do. With that securely in place, drill a tiny hole through the shell and dart pusher. For this I use a pin vice or a hobby hand-drill with a small bit. Either way, the hole should only be wide enough to allow a straightened paper clip through. This will lock the dart pusher in place.
Alternatively, if you have a method to secure the dart pusher in place without having to drill the hole, you can do that too.
Step 2: Drill it!
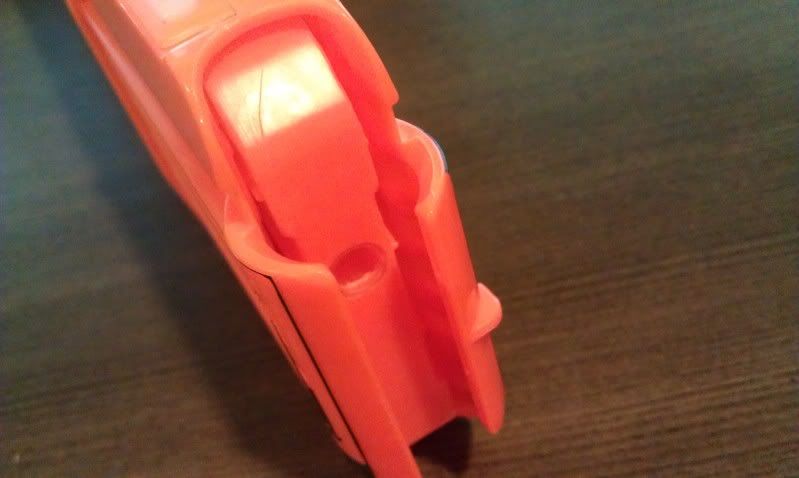
Mark the location for the post. The location would be the same spot where you would normally glue the side rails allowing for your darts to rest comfortably. Make sure to use the same diameter bit as your rod/tube. You will want the shell hole to have a snug fit where the dart pusher hole will need to be widened to accept the sleeve. Either way, drill through the shell and dart pusher.
Step 3: Add a sleeve
(This sleeve is fairly clear and a little hard to make out)
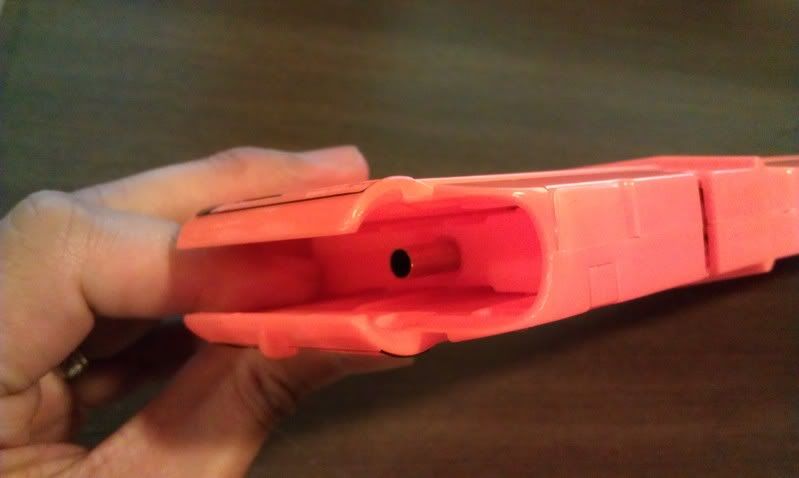
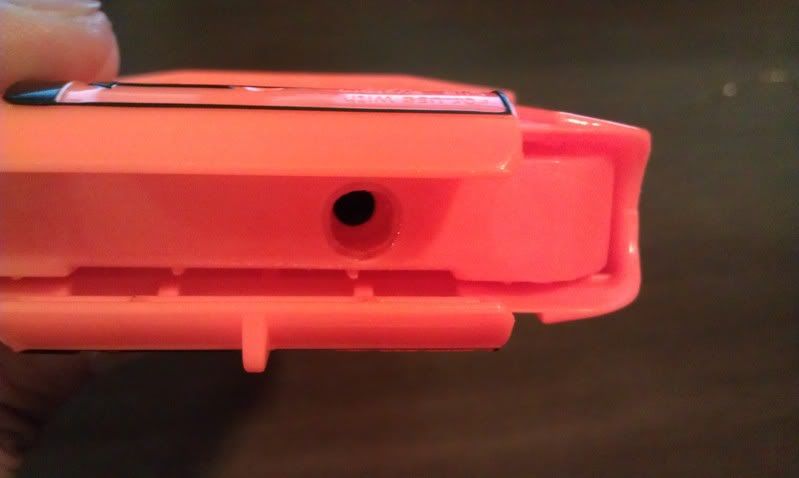
Release the dart pusher and insert the rod through the bottom of the shell and prop up the dart pusher so that it cannot slip down. With this secured, widen the hole in the dart pusher to accept the sleeve. Make sure that the sleeve that you choose will allow the rod/tube to easily slide. This should not be a snug fit at all. Once the sleeve is in place, secure it will glue and file/sand the top of the dart pusher.
Step 4: Cutting of the tube
Set the dart pusher to the lowest point with the side of the clip. This is where you will want to set the top of the tube/rod. Since this is the point where the dart tooth/barrel will be resting (hence why you need the sleeve). Once that location is set, mark the tube where the excess is sticking out of the bottom of the clip. Cut this excess off and glue a washer on.
Step 5: All Done!
Insert the rod and now you have a stefan/stock stampede clip all without having to chop the clip open. Enjoy!
The Youtube Video
NOTE: This method can work on a 6-dart clip, but you need to determine where the center coil is located and put the post on the other side of the clip. This may mean that you must reverse the clip (cut off the top tab and add a clip lock slot on the opposite side of the clip) in order to use the clip in your blasters.
The Youtube Video
MATERIALS:
- 7/32" brass tube or compatible rod/tube (longer than a stampede clip ~ 11")
- ~1/2" length of a pen (this will act as a sleeve to the above tube)
- paper clip
- stampede clip
- #6 or #8 washer or something compatible
TOOLS:
- drill or drill press
- round file
- 7/32" bit or one that will fit the size you have
- pin vice or bit that is small enough for a paper clip
- glue
ANOTHER NOTE: long ago when placing an order for brass tube, I accidentally ordered 7/32" tubes instead of 17/32". Years later, I'm glad that I kept them around.
Step 1: Prepare the clip
You will want something to slide and hold the dart pusher all the way down at the bottom of the clip. I had a piece of plastic tubing, but anything will do. With that securely in place, drill a tiny hole through the shell and dart pusher. For this I use a pin vice or a hobby hand-drill with a small bit. Either way, the hole should only be wide enough to allow a straightened paper clip through. This will lock the dart pusher in place.
Alternatively, if you have a method to secure the dart pusher in place without having to drill the hole, you can do that too.
Step 2: Drill it!
Mark the location for the post. The location would be the same spot where you would normally glue the side rails allowing for your darts to rest comfortably. Make sure to use the same diameter bit as your rod/tube. You will want the shell hole to have a snug fit where the dart pusher hole will need to be widened to accept the sleeve. Either way, drill through the shell and dart pusher.
Step 3: Add a sleeve
(This sleeve is fairly clear and a little hard to make out)
Release the dart pusher and insert the rod through the bottom of the shell and prop up the dart pusher so that it cannot slip down. With this secured, widen the hole in the dart pusher to accept the sleeve. Make sure that the sleeve that you choose will allow the rod/tube to easily slide. This should not be a snug fit at all. Once the sleeve is in place, secure it will glue and file/sand the top of the dart pusher.
Step 4: Cutting of the tube
Set the dart pusher to the lowest point with the side of the clip. This is where you will want to set the top of the tube/rod. Since this is the point where the dart tooth/barrel will be resting (hence why you need the sleeve). Once that location is set, mark the tube where the excess is sticking out of the bottom of the clip. Cut this excess off and glue a washer on.
Step 5: All Done!
Insert the rod and now you have a stefan/stock stampede clip all without having to chop the clip open. Enjoy!
The Youtube Video
Shorty Maverick
24 October 2011 - 10:12 PM
This is a quick write up on how I created the shorty Maverick. I apologize for not having better WIP pictures or measurements. Some of these were taken after the fact and props to Slowguitarman for his write-up.
1. Turret
Start with the turret. This could probably be shortened even more. I was going to cut this down to be 1.5" long (the length of a stefan) but I also wanted to keep the front orange piece. It can be done, but I wasn't sure at the time.
When you open the turret, the front is hollow until some guides in near the back.
Then cut the top of the main housing to cover the orange barrels.
In the picture below, the top ridge is resting on the guides from the back of the housing.
Test fit your barrels and get those to fit within the orange piece and the guides.
You will need need to open up the back piece to allow for rear-loading. And assemble everything together.
2. The Shell
I wanted to reduce as much space as I could so put the completed turret into the shell and marked where the front of the turret was on the frame and cut a little back from that mark. The front of the shell was then trimmed down to match the turret space.
I used hotglue to hold the two pieces together so that I could align the shell and glue it. When that was dry, I sanded and filed down the joining areas to make it smooth. There are still small gaps, but those can be filled pretty easily after I've done the final sanding.
The rest is just trimming off all the bits off the shell that you don't want. The styrene will help to support everything together.
3. Plunger Tube
There are two parts to get the plunger tube to work with the turret.
Trim down the back arm of the turret. There are two nubs that I needed to sand down so that the arm can pass under the new plunger tube piece and because these nubs were in the way of the new piece.
I cut a square out of a longshot jam door that was big enough to cover a barrel in the turret and cut out a matching hole in the shell. The lip of the plunger tube also needed to be trimmed down so that when pushed back, everything was flush. Make sure not to make this opening too large. The plunger tube uses that wall as a stop.
I glued the new piece in place and with everything together, I dropped a marker down the barrel to see where to drill a hole.
And all of that rambling will hopefully turn into this.
Questions? Comments?
And the youtube video
Shorty Maverick Youtube video
SSPB (Secret Strike Pocket Blaster) Expanded Tank
10 October 2011 - 07:00 PM
The tank expanded SSPB is an easy project if you're looking to fill some time or mess around.
Thanks to BrokenSVT and TaerKitty for the pictures and original mod.
Youtube Video
Materials:
- SSPB
- Optional: CPVC Coupler / Barrel
- CPVC endcaps (2) / 1/2" CPVC - 1.5" length
- 1/4" OD hose
- Optional: 2 nozzles from Titan/Hornet/Air Tech blasters
- Optional: Zip tie
Tools:
- Dremel/Drill
- Files
- Glue (Zap-a-Gap/CPVC Cement)
Step 1: External Tank
Take the 1.5" length of CPVC tube and create a hole using a dremel/drill for either your hose or nozzle in the center of the tube. If you are using a nozzle, make sure there is enough clearance for the nozzle cap when the CPVC end caps are attached. Glue the nozzle and CPVC end caps and check for any leaks.
Step 2: SSPB Cutting
Using your dremel/drill, carefully create a hole in the SSPB tank. Do not drill very deep as the check valve is in the center of the tank. Once you have an opening widen the hole for either your tubing or nozzle. Make sure to clean the tank as possible from any filings and plastic bits.
Cut down the barrel according to the barrel you are going to use. I chose to keep some of the barrel intact to help support the CPVC coupler. Your setup may differ. Once that is cut, remove the support underneath the barrel and clean it up.
Step 3: ARR
Use your dremel or needle nose pliers to remove the AR and clean it up as best as possible. Try to not touch or get too close to the front of the check value and clean it up as much as possible.
Step 4: Shell Work
Try to eyeball where the tank's opening is in the shell and create a hold that will align with the tank. If you are going to use a CPVC coupler, you will need to widen the original barrel opening. I had to cut open some of the side walls but I was able to not have to cut through the top screw port.
If you are using a nozzle, make sure that you can still remove the shell with the nozzle attached. The nozzle I used as a small ridge that I almost didn't catch.
Step 5: Glue
Glue the nozzle/hose to the SSPB tank and the coupler/barrel to the SSPB barrel. And let that dry. Check for any leaks in the SSPB tank by plugging the barrel. Air may leak out a little as the check valve doesn't fully seal until there is a bit of pressure behind it.
Step 6: All Done!
Assemble all the pieces together and zip tie the tank to the bottom of the SSPB and you're all done.
Youtube Video
Ranges: Average 85' flat.
Tank fills with about 20 - 25 pumps.
Overall, this mod is really easy and fun. Minus the drying time for glue and finding the right nozzle pieces, it was probably 4 - 5 hours to complete this mod.
If you have some time to kill or just want to have a secondary project going, I would recommend this one.
CPVC Breach (Sodizzle) Longshot
06 October 2011 - 10:57 PM
Here are my thoughts after completing a Sodizzle Breach
I have been wanting to try this out for some time and was finally able to get the project going. Overall, this is a fairly easy project where the most of the time spent is trying to find the correct measurements for the barrel and bolt based on where you want to put the coupler.
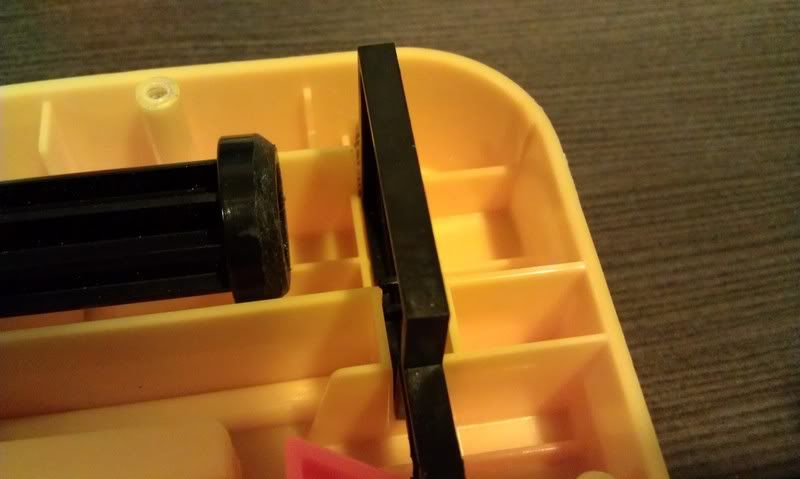
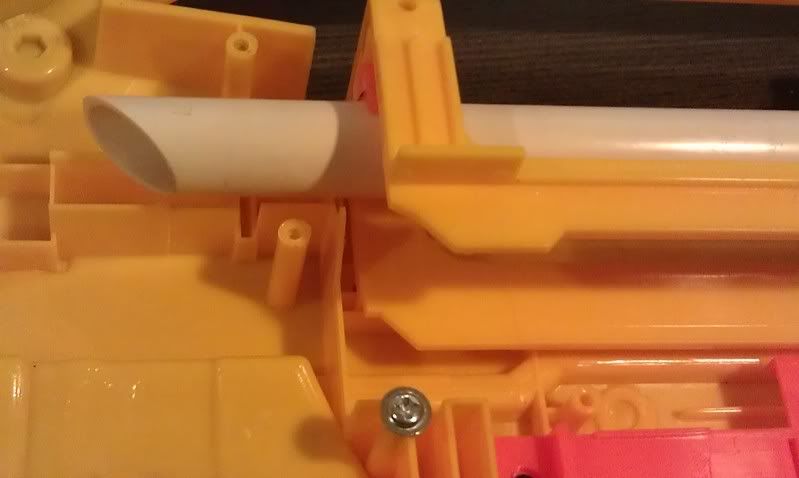
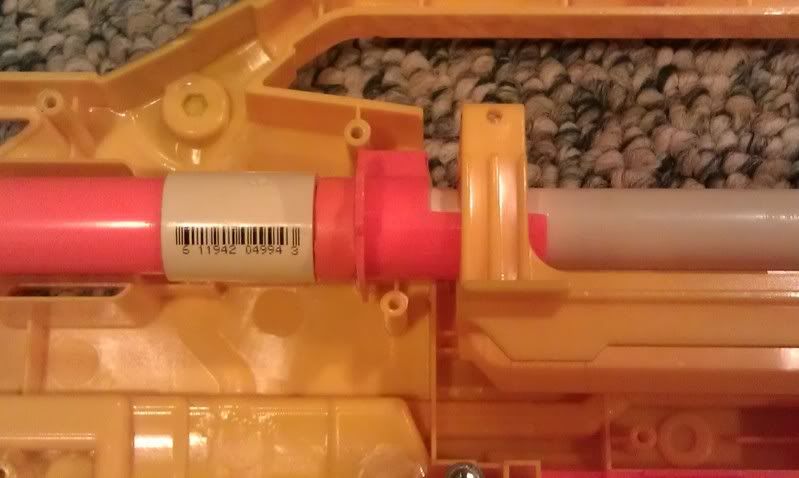
I also really like this setup as you only really need CPVC and a coupler as your only materials.
For tools, I used a dremel, files, scroll saw, hobby saw, and Zap-a-gap.
Youtube Mod Video
Youtube Firing Video
Either way here are some of the details that I changed in my tinkering.
Bolt assembly:
I added a circle of rubber gasket (or a suitable sized rubber washer) to the base of the bolt assembly. CPVC didn't fit as snug through the plunger tube and this is just to help give it an extra seal. I don't know if it really helps or not (I didn't try it with or without the gasket) but it can't hurt.
Dart Guide:
Sodizzle originally uses a piece of thin wall PVC to help guide darts into the barrel. I ended up using the dart chamber instead. This is the front of the chamber that connects to the barrel to the first wall that slots into the shell. Flip this around and cut it half and you have a guide for the bolt, the dart and have support for the clip as well.
Barrel:
The barrel is glued to the coupler and uses the faux barrel as a spacer so there does not have to be any glue and everything can be shifted or replaced as necessary. Both the bolt and barrel were coned and smoothed so it is easier to feed and push darts.
OOPS:
When determining where to attach the bolt connector for the bolt sled I did not have the plunger rod attached which caused the alignment to be off due to the draw length being different. Here are some of the fixes to that mistake. (Rather than try to remove the connector and re-attach)
Basically the bolt was too far forward which meant everything needed to be shifted and so......
Plunger rod:
I originally thought that the priming draw of the bold sled went all the way to the plunger tube but that is incorrect. It stops before the plunger tube due to the priming indicator and the end of the plunger rod. Removing the priming indicator and some of the plunger rod allowed me to use the extra space to lengthen the draw enough for my setup. Make sure to bevel the end of the plunger rod to allow it to pass under the catch smoothly.
Bolt sled:
Remove the front nubs of the bolt sled to allow the sled to travel further forward.
Coupler:
The faux barrel was cut down to move the coupler forward and a spacer from another barrel was glued to the dart guide.
WAIT:
What I really should have done was just cut down the bolt. (DUH) I removed a small bit from the bolt and presto! I was able to move the barrel assembly back to the original position and loading darts worked great!
Youtube Mod Video
Youtube Firing Video
Range Tests:
LS + BBB Combo: Average 85'
K18 Single: Average 80'
K18 + BBB Combo: Average 115'
The K18 is slightly easier to prime than a [k26] and it doesn't feel like it will rip everything apart. This is a great spring for the LS.
Thanks to Sodizzle for the original build. This is a fun mod that I'll probably be doing to the rest of my Longshots.
- NerfHaven
- → Viewing Profile: Topics: popatachi
- Terms of Service and Privacy Policy
- Code of Conduct ·