Jump to content


Drev

Member Since 17 Jul 2013
Offline Last Active Aug 11 2017 06:02 PM

Topics I've Started

Anyone have an interest in Foam

04 July 2014 - 10:28 AM

Foam has been ordered. Pre-orders are no longer accepted. Please wait for the sales thread.

It is time for everyone to send their payments. Just to be clear, it is $1 per meter and those ordering 30m or greater will get the bonus. Please send the payments through Paypal to dpittenger3@comcast.net. As soon as I get all of the payments, I will order the foam and it should get to my house in about 20 days (shipping from china takes a long time). After that, I will take all of your shipping information and calculate shipping. After that, you will send me the shipping costs through Paypal and I will ship you the foam. Thanks to everyone who has pre-ordered and made this foam ordering happen. I am making a list on the bottom of this post to keep track of everyone who has paid.

Update 7/10/14: Good news, everyone. The company just informed me that I can buy all 3000 meters, but I don't have to ship it all at once. I'm thinking of shipping 1000 meters here, which means shipping will be one third of the price and everyone will get their pre-orders and bonuses. There will also be some foam left over for me to sell normally. I'm switching the total back to 600 meters. The total is currently 571, so one 30m order could let me order the foam. Please spread the word, because if everyone follows through with their payments, this foam can be ordered very soon. I just need one more commitment of 30 meters and I can order it.

Update 7/8/14: I want to start off by thanking everyone who has committed so far. The total is now 556. That total would be really good if It had to be 600 meters, but the company got back to me with the shipping costs and they were much higher than I calculated based on my previous order. Due to these shipping costs, the total has to get up to 863 meters. I know it is a lot and it is a weird number, but that is the total. If you want this foam, that is how high the total has to get. If everyone wants this foam, please spread the word to people you know that might want foam. If the total got to 600 meters in just a few days, I believe that it can get to 863 within a week. I know that we will be able to get this foam, but for now please spread the word. Also, I am putting a foam counter at the top of the page and I will constantly update it. If you want to pre-order/commit, reply to this thread, pm me, or email me at Drev453@gmail.com.

Update 7/6/14: The total is currently 455 meters and maybe 505 soon. It is getting close. Thanks to everyone so far. Just so everyone knows, if you pre-order 30+ meters you will be a getting 1/3 of your foam bonus. For example, if you ordered 30m, you would get 40 meters total.

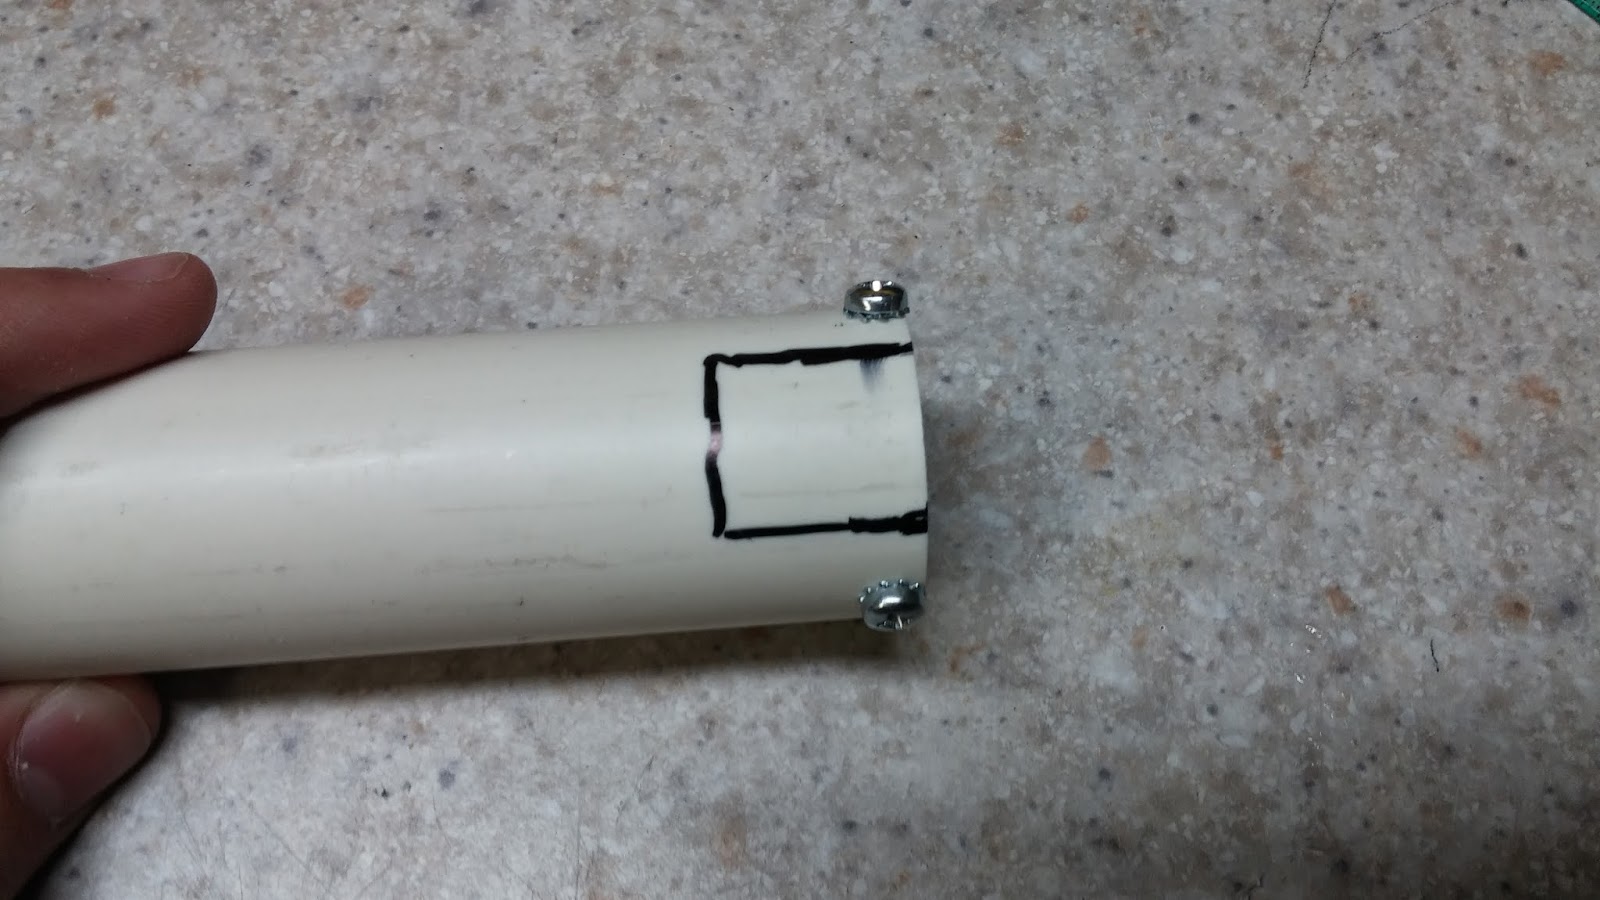
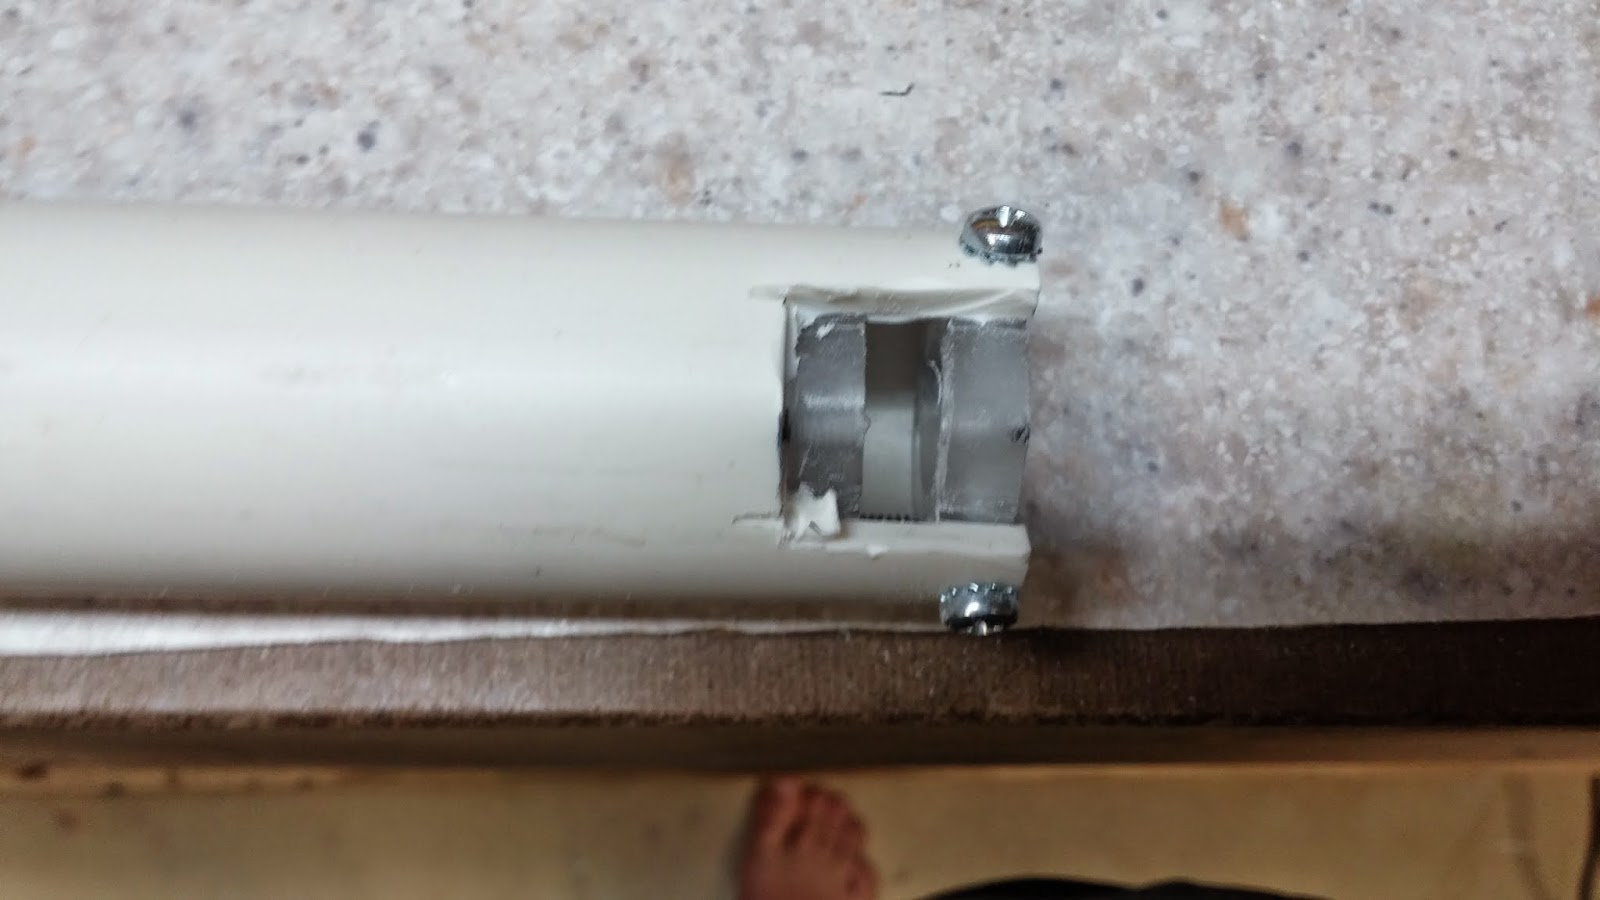
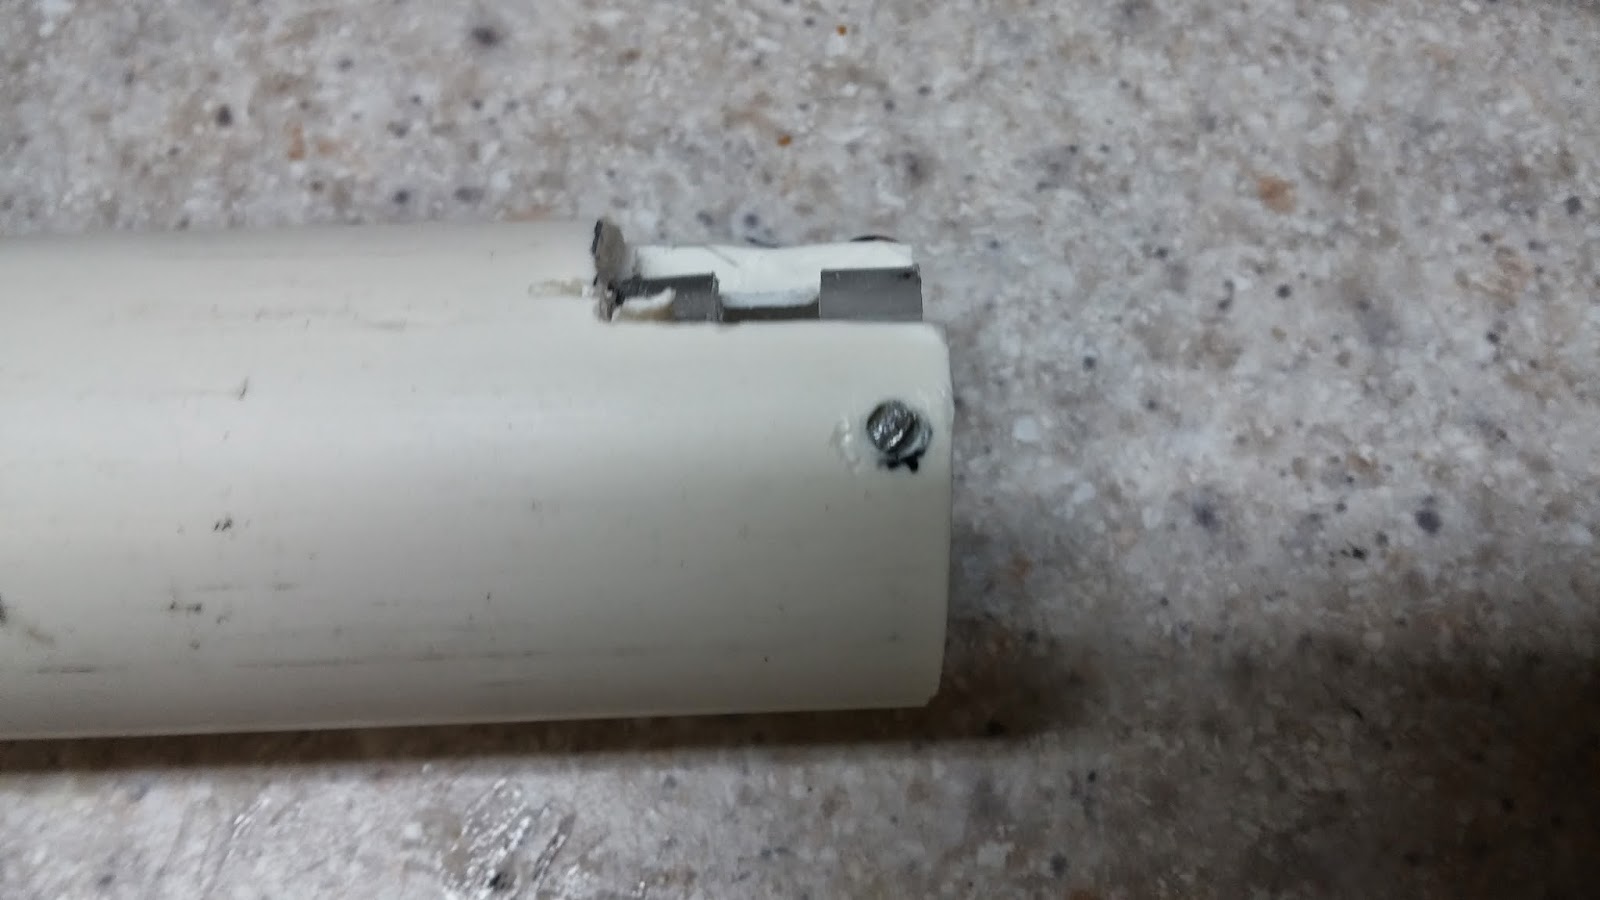
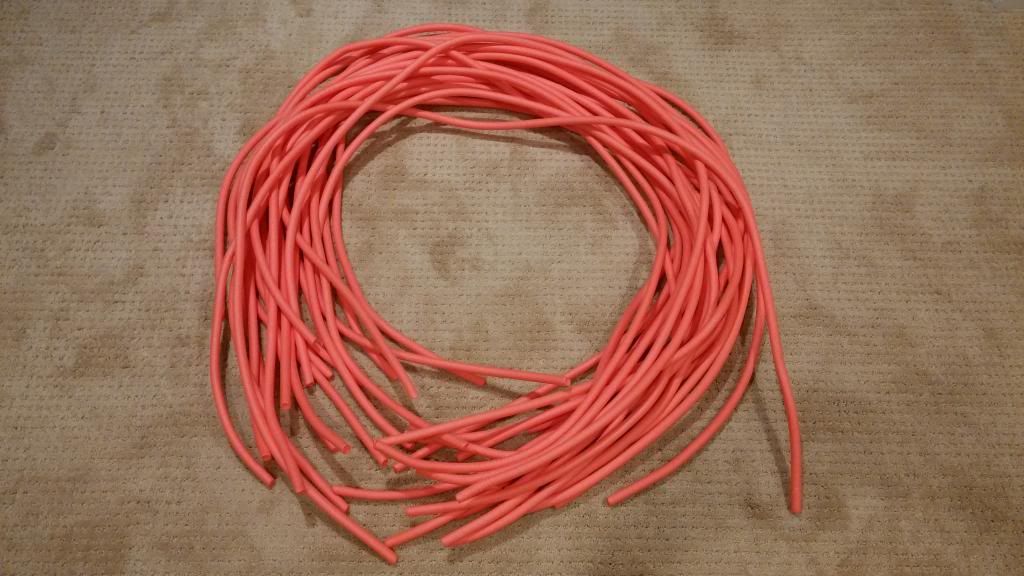
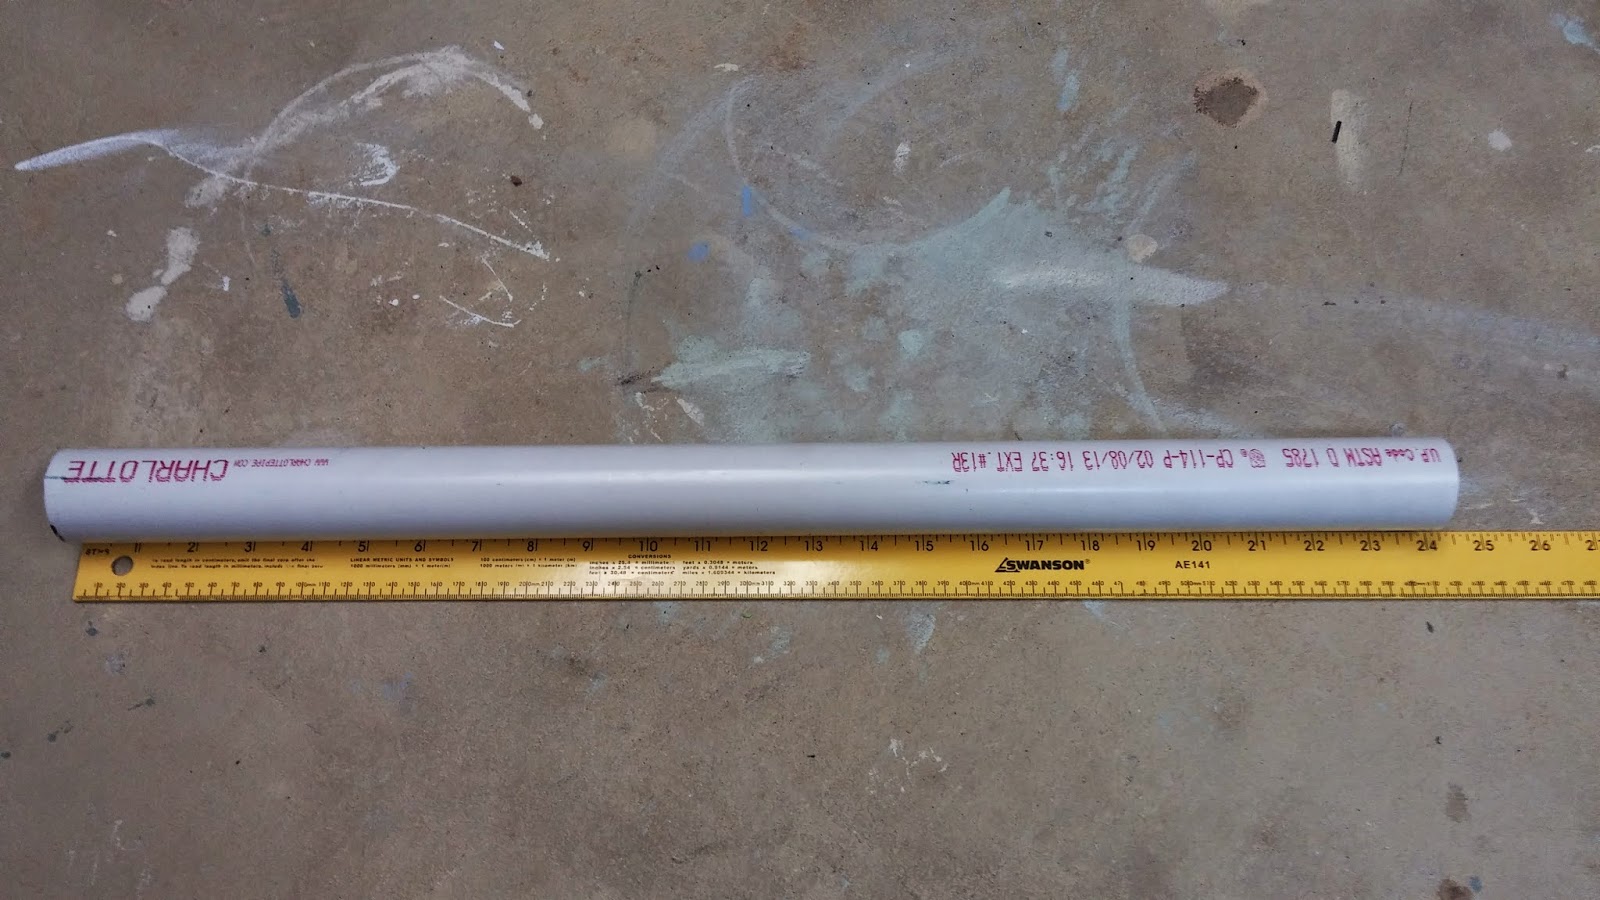
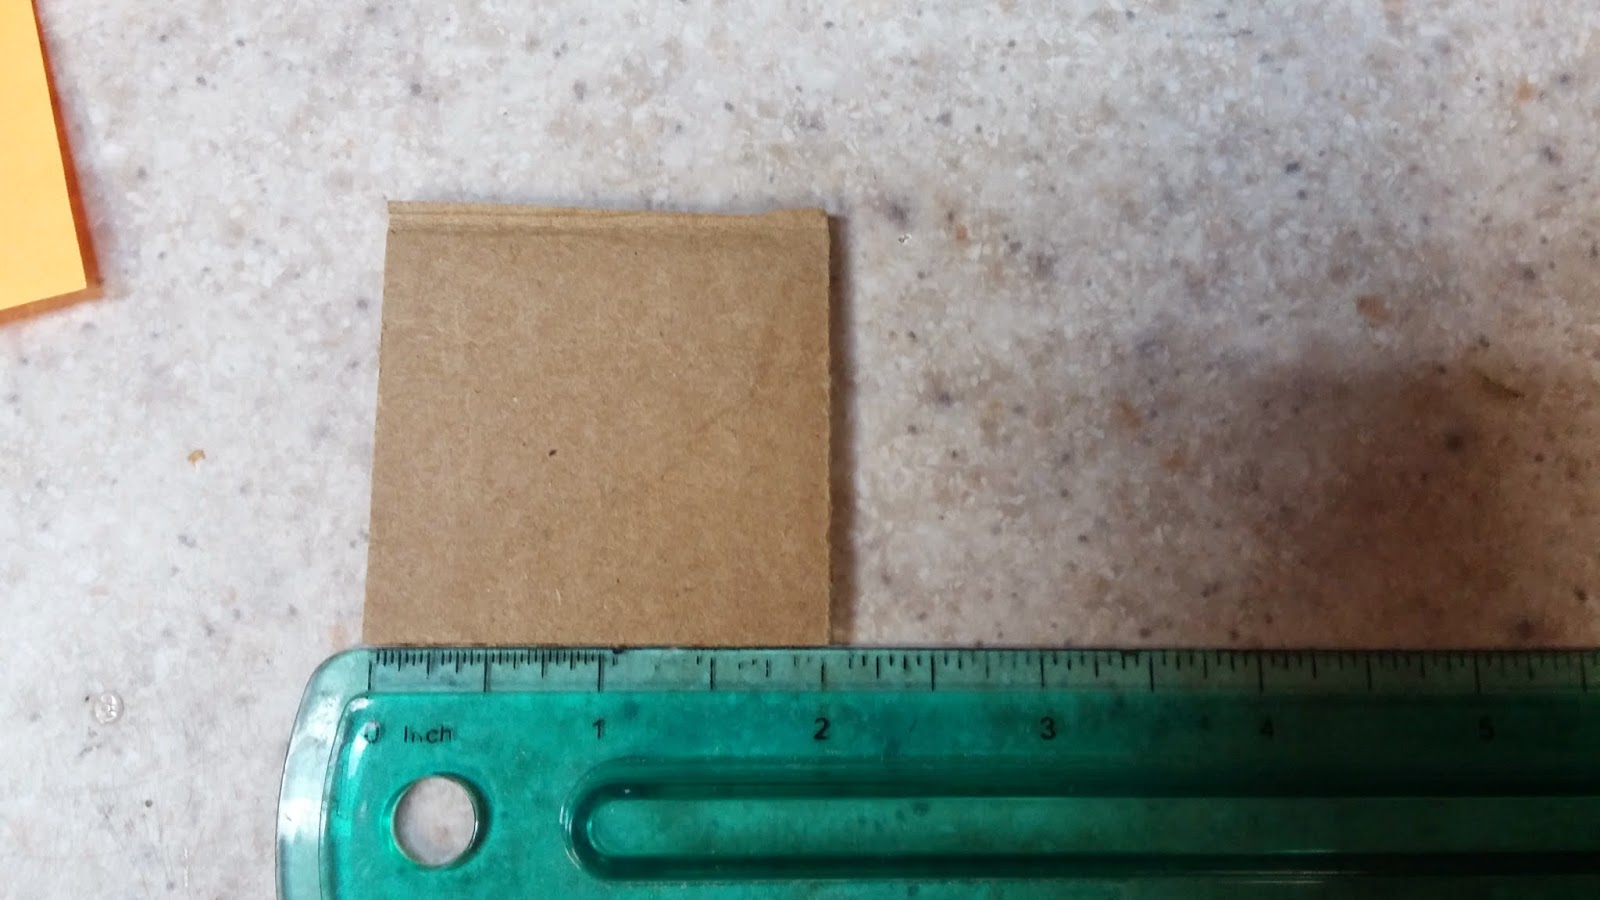
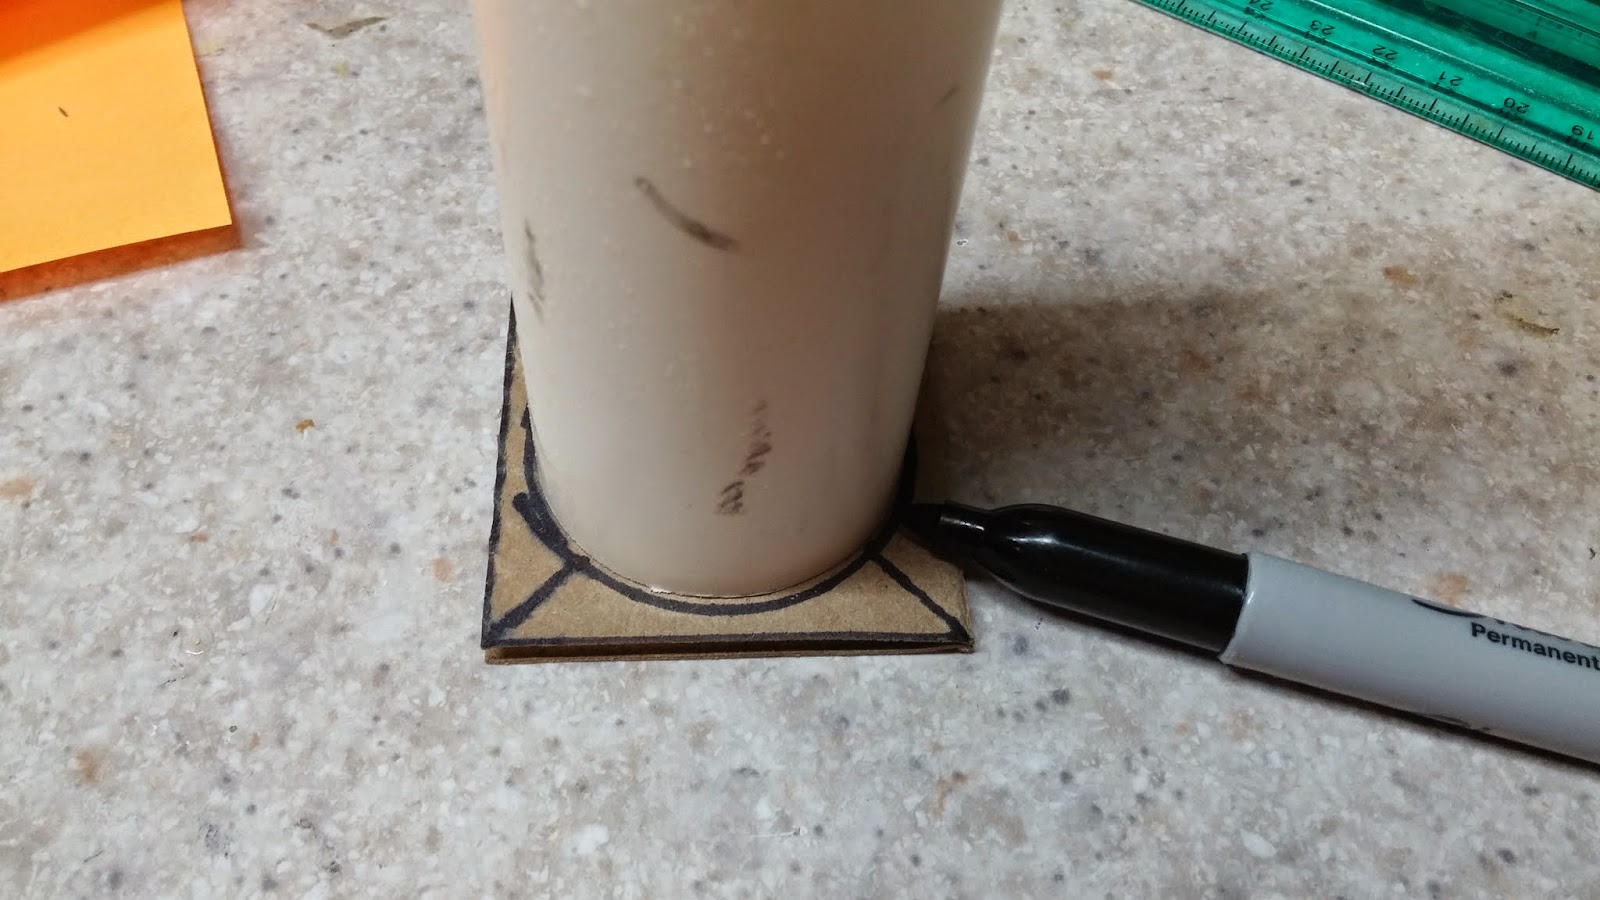
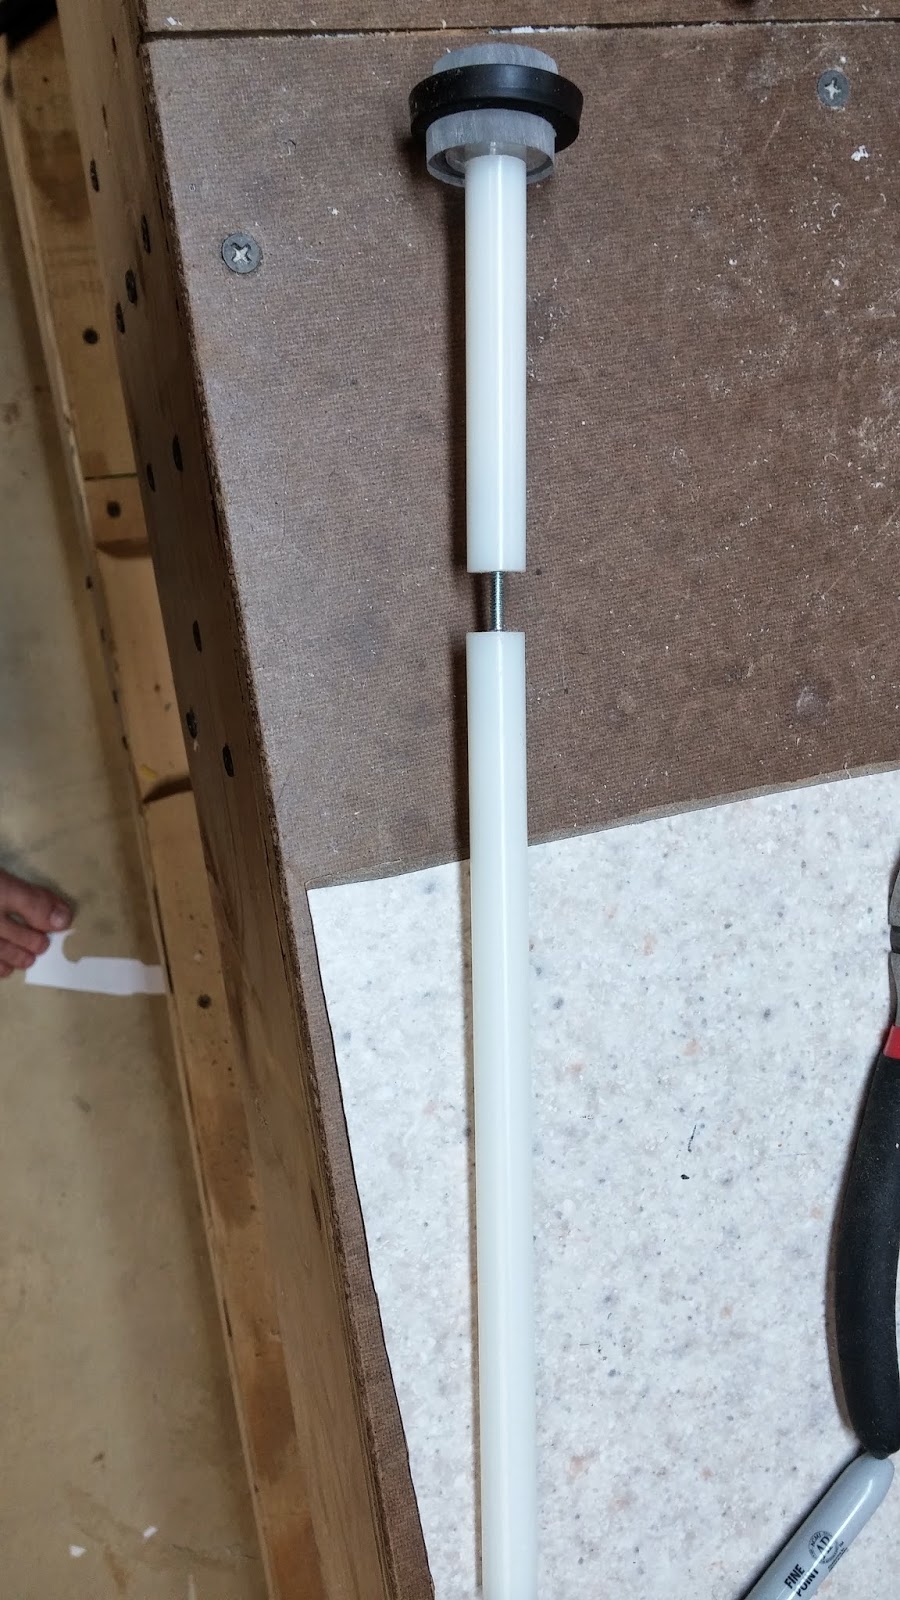
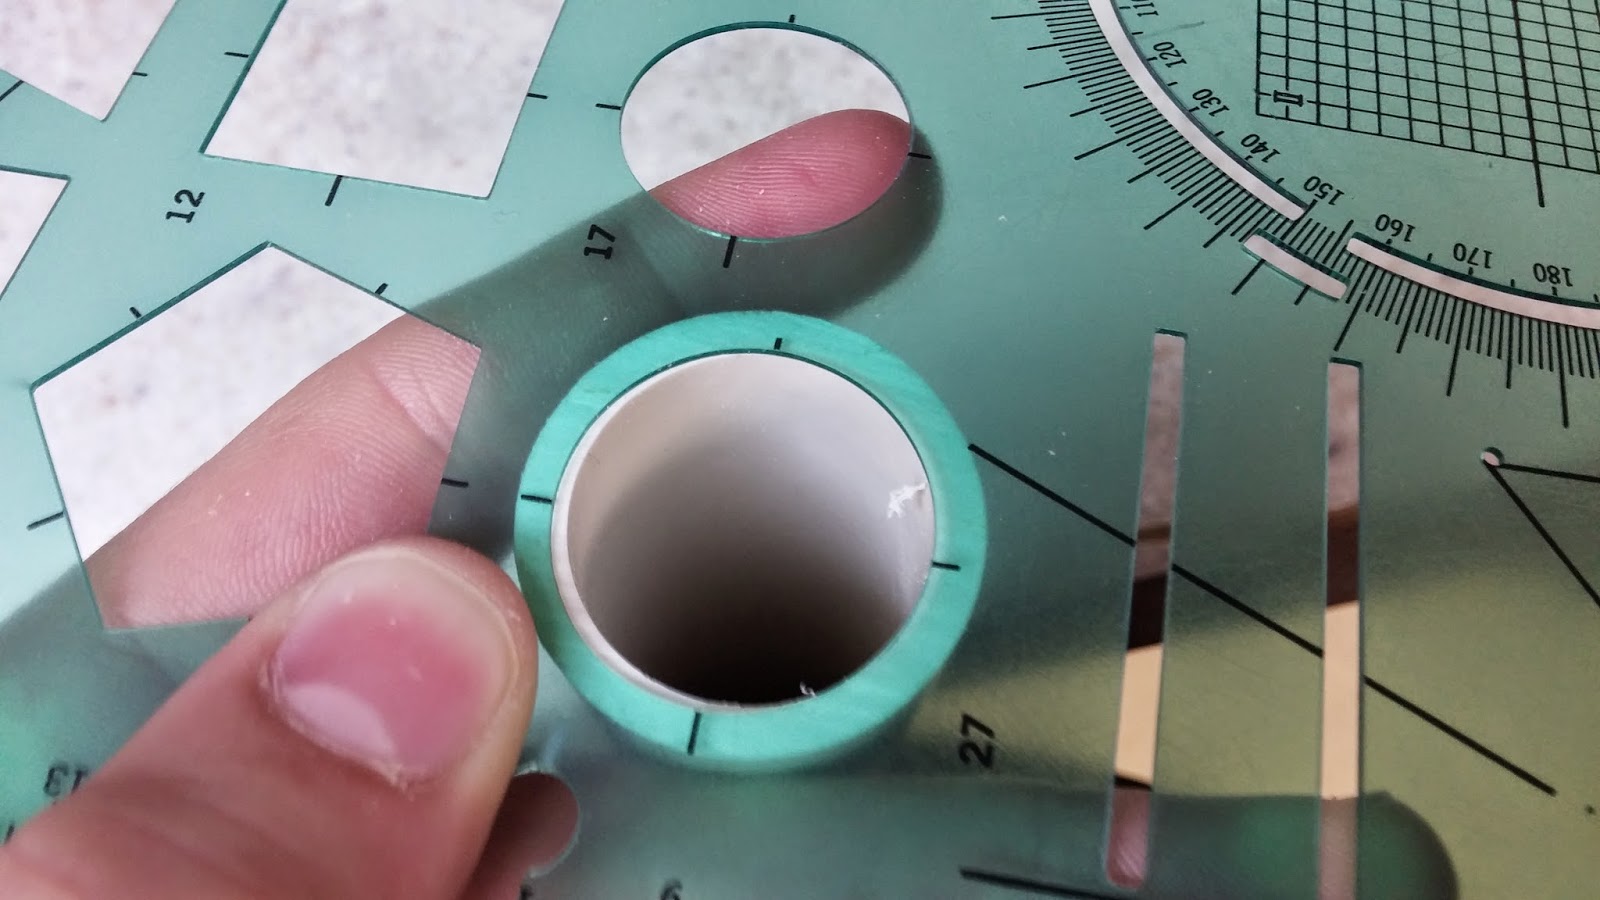
Update 7/5/14: The foam will definitely be blue and it will be in 1 meter long segments. This helps with shipping and people buying odd numbers of foam. So far, the total number of meters ordered is 305. That is half way there. Remember, the more you order, the bigger the bonus of foam. For those of you pre-ordering under 30 meters, I would encourage you to go up to 30 meters just to help move this along. I don't wan't to pressure you to do this, but it would be a big help. I am thinking that since I am ordering so much foam, for everyone that pre-orders 30 meters they will receive 10 meters bonus. That is a very good bonus. Anyways, I am confident that this is going to happen and I want to say thank you to everyone that has said they will commit so far. Here is the video testing the barrel fit of my current foam: Barrel Fit Test Here is a vise test on my foam to show durability: Vise Test. Lastly, here is a video of the vise test on beige foam. This was just something that I filmed after the fact because it surprised me: Beige Vise Test I'll also post these links below.

Update 7/4/14: The company has informed me that I would need to buy a completely new batch in order to get blue foam. That is, unless any of you want white foam of the same quality. This minimum order is 3000 meters! That is a lot of foam. That means I need people to commit to about 600 meters before I order. That is a lot of meters. For this to happen, I will need a lot of people to commit. It is also a fantastic time to buy all the foam you will ever need. You can adjust all of your barrels to work for this foam if you buy enough. This foam will definitely be blue though and I will have 2400 meters extra after that to supply to the community for a very long time. Just for an example, if 20 people bought 30 meters each, it would add up to $600 and the foam could be purchased. If more people bought more foam, we would need fewer people. I think this is possible considering 8 people are already interested in the first day. A bonus to buying this much is that we can decide how long the segments of foam are. They are giving a choice. I'm guessing people will want 1 meter or 2 meter segments. Which one? TL;DR The minimum order quantity for blue foam is 3000 meters so I need people to commit to 600 meters instead of 200. This is a great opportunity to buy a large amount of foam and it will supply blue foam to the community for a very long time.


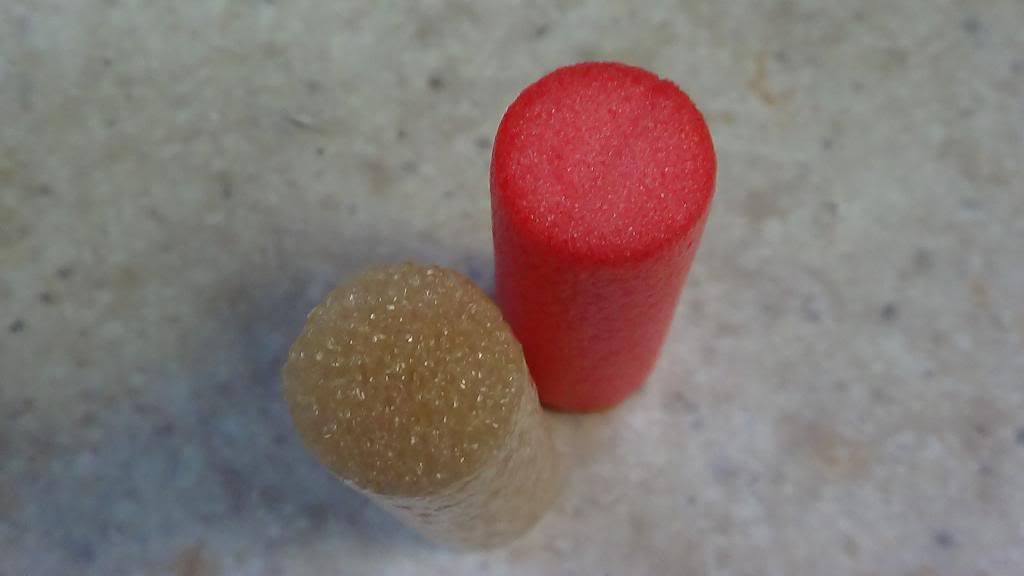
Hi everyone, as some of you may know, I sold foam a few months ago. The information can be found on this thread. I ran out of that foam to sell and now I am thinking of ordering more foam. Last time, my foam had very positive feedback from the people that I sold it to, and I also think the foam is very nice. It is good quality foam and the bright colors make your darts look cool and be easy to recover.
Posted Image

I did a few tests for the foam on the previous thread to show its durability and it held up very well. I have had no problems with this foam that I haven't had with any other foam. It is overall just a really great foam. My old post about this foam said that it doesn't work well with high temp hot glue guns. It turns out that the glue gun I was using was extremely high temp. I got a new high temp one that isn't as hot and it works just fine.
Barrel Fit
Vise Test
Beige Foam Vise Test
Posted Image

I will be ordering 400 meters of this foam. That is equivalent to 1312 feet. I know it is a weird measurement in feet, but the company does their measurements in meters. The foam comes in 2 meter segments, so each order has to be an even number because cutting the foam is pointless. The pricing for the foam will be $1 per meter or $2 per 2 meter segment. This is cheaper than what I sold the foam for last time. The coolest part about this foam is that the color hasn't been chosen yet. The colors I am offering are red/pink (what it was before), blue, and purple. I am leaning towards purple since no one has purple foam and it would differentiate from the other foams out there. It isn't definite that it can be one of these colors, but the odds are good. If it isn't blue or purple it will probably be red/pink. Please tell me what color you would be interested in. All colors are easy to spot and they all make your darts look cool. It looks like people are leaning towards blue right now.

If I were to order this foam, I would need enough people to commit to it to add up to 200 meters. This is because the import costs are very high and instead of losing money I would like to break even. This means that the people would have to pay for the foam in advance (not shipping yet) and I would then order the foam. Once it gets to my house I would ask for shipping information, have you pay for shipping, and then ship it to you. If the foam doesn't work out and it never arrives or something, you will get your money back. This situation is doubtful though since I have worked with the company before. Once you order this foam in advance, there is no backing out. If you ordered the foam, you are getting it*. Since the people ordering the foam in advance are helping me with this, they will each be getting a free amount of foam depending on their order size and maybe even cheaper shipping (I will pay for some shipping).

In summary, this is a great foam that looks awesome and performs well. In order for me to order it, I need people to buy at least 600 meters before I order it so that I have enough money to ship and import it into the U.S. The people that order the foam in advance will get bonus free foam and possibly cheaper shipping to their house.

If you have any questions about this foam or this post in general, please ask me. Also, if you want me to do any more tests on the foam, let me know.

*Unless the foam arrives defected in some way.

People who pre-ordered (strikethrough=paid)
Nerfgirl36
iModify
Sam-Underscore
kbk652
naturalman7
evilbunnyo
toxic
droid31
Draconis
Azrael
Anonymous
Thorn
Conith
Crazy Modder
therealnerfjunkies
Nerf Gra
Ospak
Ivan S

Bullpup Variant Writeup

26 May 2014 - 08:21 PM

Here is the writeup for the bullpup. This blaster does take time to make, but if you have used a scroll saw and a dremel before, you will be fine. Since this blaster involves using those tools, it will be in the +bow category.

20140330_163301.jpg

Credit:
- The rainbow clan for inventing the rainbow catch
- Ryan201821 for the Rainbowpump and the handle templates
- Makeitgo for making the Multiple Orgasm

Tools:
- Screw Cutter/Mini Bolt Cutter
- Circle templates (little thin plastic thing with shapes to draw)
- A Dremel/Rotary Tool
- Sanding Drum
- Cutting disc
- A Scroll Saw
- A Drill
- 7/64, 5/32, and 11/64 bits
- A countersink bit
- 1/2" spade bit
- Tapping wrench
- 6-32 tapping bit
- A saw that can cut PVC
- Hobby Knife
- A ruler
- A yardstick/long architectural ruler
- Sand paper with sanding block
- Sanding Sponge
- Sharpie

Before I start the parts list, I highly recommend buying the 1" and 1.25" PVC from your local hardware store to cut down on shipping costs. However, you can find most of the parts you need at http://www.mcmaster.com/ . I will include the part numbers so you can easily find everything. For screws and other hardware, I am overestimating the amounts so you have extras. In order to find the screws and hardware on McMaster, just type in the info for the screw into the search bar.

- 8538K18: 1/2" nylon rod
- 9637k26: [k26] spring
- 4880k44: 1.25” PVC tee
- 4880K21: 1/2" PVC 90º elbow (2x)
- 48925K91: 1/2" PVC Pipe
- 48925K93: 1" PVC Pipe
- 48925K94: 1.25" PVC Pipe
- 4880k314: 1” to ½” PVC reducing bushing
- 9245k51: PETG tube 2” OD 1.75” ID buy 1'. OR buy 1.5" thinwall PVC.
- 2044T43: 1/2" ID PETG tube. This is the kind used for barrels.
- 8574k281: ¼” polycarbonate sheet 6”x6”
- 9691K56: U-Cup seal 7/8" ID 1-3/8" OD
- 91735A146: 6-32 3/8" panhead machine screws--You need about 20 if you don't buy 50
- 91735A151: 6-32 3/4" panhead machine screws--You need about 8
- 90126A007: #6 Zinc-plated washers

You will also need to purchase from a hardware store:
(Buy more than two of each screw)
- 6-32 1 1/4” machine screw (3x)
- 6-32 3/4" flathead machine screw (2x) OR thin 3/4" wood screws
- 6-32 locknut (1X)
- Silicone/White Lithium Grease
- Plumber's Goop
- 3/4" thick wood. It doesn't matter what kind, but make sure it isn't too soft. Poplar is great for this.

Not from hardware store of McMaster:
- Maverick/Nitefinder catch spring or any catch spring with a diameter similar to those. You can probably find a small spring similar to these in a hardware store though.

You're going to want to start off by cutting out a 24" length of 1.25" PVC. Use a hacksaw, dremel, or scroll saw to cut it nice and square.
20140325_111044.jpg


Next, make a simple quartering jig. This one is the most simple one out there. Cut out a 2" by 2" cardboard square.
20140325_110231.jpg

Try to place your PVC in the center and trace around it with your sharpie.
20140325_110341.jpg

Line up the corners of the cardboard with the ruler and draw lines like this. Use the lines to make marks on your PVC.
20140325_110417.jpg
20140325_111202.jpg

Use your ruler to draw four straight lines starting from the marks on the PVC to the other end.
20140325_111607.jpg

Now onto the bushing. You will notice that there is a part of the bushing that isn't the part that couples to the 1/2" PVC. Make a sharpie mark on this part of the bushing. Line up the bushing with the PVC like you are putting it in the pipe. Use the sharpie mark to make marks on each of the four lines of where you will be drilling the holes.
20140325_112050.jpg

Wrap packing tape around the bushing until it fits snugly into the PVC. You want an air-tight seal, but you also want to make sure you can still fit the bushing in. Once you have used the desired amount of tape, cut of the excess.
20140325_112741.jpg

Put goop around the bushing like so and put it in the PVC.
20140325_113005.jpg

Drill the holes where you made the marks and tap into the PVC with your 6-32 tapping bit. Use your countersinking bit on the holes and then screw the 6-32 3/8" panhead screws into the holes. If you did the tapping right, you shouldn't need to use more goop here.
20140325_113615.jpg
20140325_114303.jpg

Set the pipe with the bushing away to dry. Meanwhile, you will be making the handle. Print out the templates made by Ryan201821. These templates can be found on his Rainbowpump writeup here. There are, however, many modifications to be made to these templates. I just used a pencil to do this.

First, extend the handle length by 2cm or 3/4" if you have a ruler without cm. Shorten the top of the handle by drawing a line 3/4" up from the small horizontal section. The picture explains it much better than I can. On the trigger guard (rectangle piece), draw a line to split it in half (2cm). On the trigger sideplates (big rectangle), draw a line 2cm in.
20140326_103648.jpg

Cut out the pieces and attach the handle and trigger guard to the 3/4" thick wood. Attach the handle sideplates to your polycarbonate.
20140326_105126.jpg

Cut out these pieces on your scroll saw. Once you are done, it should look like this:
20140326_110519.jpg

Drill the holes using the key from the template (5/32 for the polycarbonate, 7/64 for the trigger guard). After that, take the paper off.
20140326_115723.jpg
20140326_120122.jpg

The final part of the templates is the trigger. I attached the trigger template to the polycarbonate and then modified it to look like this. You can make the trigger in any way you want except you have to have the 1.5cm rectangle part at the top. This can be seen in the picture and it is very important.
20140326_140108.jpg

Next cut out the trigger. You can sand it down to make it more comfortable if you want.
20140326_141321.jpg

Now you want to put the handle together. The first thing you want to do is to attach the trigger sideplates to the trigger guard with 3/8" 6-32 screws. You can also attach the trigger without the washers to help with alignment. To do this just use a 1 1/4" 6-32 screw and a 6-32 locknut. Line up the trigger sideplates on the handle like so and mark where the holes are with a pencil. Drill the holes on both sides with a 7/64" drill bit.
20140326_141621.jpg

Screw on the handle with more 3/8" 6-32 screws and put five washers on each side of the trigger (if five washers is too tight, use fewer). Your handle assembly is now finished.
20140326_142539.jpg

Next is the plunger head and plunger rod. To make the plunger head, you will need polycarbonate and the u-cup. First put the u-cup under the circle template and find a circle that is a little bit bigger than the u-cup.
20140327_102037.jpg

Trace two of these circles onto the polycarbonate. You will also want to trace the inside of the u-cup onto the polycarbonate. Do your best to draw a dot in the center of all three circles. A good way of doing this is by making two perpendicular lines through each circle and drawing the dot at the intersection.
20140327_102337.jpg

Cut out the circles with the scroll saw and drill a 5/32" hole through each center dot. It can be hard to cut circles on a scroll saw, so what I recommend is to cut a crude circle-ish shape bigger than the needed circle and then sand it down with a dremel or even sandpaper until it resembles a circle.
20140327_103611.jpg

For the plunger rod, you will want two 1 1/4" 6-32 machine screws and the nylon rod. Cut the nylon rod to 13". Now on the piece of nylon rod, measure 3 1/4" into it and make a cut using any kind of saw that you want.
20140327_104105.jpg

Make dots in the center of the ends of both rods except for the long one. The long rod only needs one hole. Drill a 7/64" hole into the rod where you made the dots and make sure that the holes are about 3/4" deep. Tap the holes with your 6-32 tapping bit.
20140327_105206.jpg

Secure the plunger head assembly on to the 3 1/4" piece of nylon rod with a 1 1/2" 6-32 screw. The small polycarb circle should be in the middle of the u-cup and the other two pieces should be on the top and bottom.
20140327_105449.jpg

Now take another 1 1/2" 6-32 screw and cut the head off of it like the one in the picture below. This can be done with mini bolt cutters or some kind of cutting tool that looks like the one below. You can also cut the head off if you clamp down the screw and use a hacksaw.
20140327_105702.jpg

Thread the screw into both pieces of nylon rod. Screw it in evenly and make it so there is about a 1/2" gap between the rods. I recommend gripping the screw with pliers to help get it into the rod. To make sure the whole plunger rod assembly is straight, slide the piece of 1/2" PETG over it. If it isn't straight, make adjustments until it is.
20140327_110603.jpg

Now that the plunger assembly is finished it is time for the catch! This catch is a modified version of the rainbow catch that is scaled down to fit into 1" PVC. To start off you want to find a circle template that would almost fit in 1" PVC. It's ok if it is a little bit bigger but it can't be smaller. Draw three of these circles onto your polycarbonate, make a mark in the center, and drill a 5/32" hole in them.
20140328_102149.jpg
20140328_102901.jpg

Using the 1/2" spade bit, drill holes into the circles using the previously drilled holes as a guide. You are going to also want to cut catch piece like what is seen in the top circle. There are no specific measurements for this, but just try to replicate it the best you can.
p+(1).jpeg

Here are the pieces cut out. Make marks on the circular pieces of where you are going to drill the holes. To help with this, line up the middle (catch) piece with the hole in the circle piece and then make the marks on the outside of the catch piece. The marks should be around the area of where they are in the picture.
20140328_105650.jpg

Drill those holes and tap them with the 6-32 tapping bit. There are four holes in the picture because I actually messed up the first time and made the holes too close together. Ignore the holes on the top and bottom of the pieces.
20140328_114000.jpg

Screw together the catch using 3/4" 6-32 screws. It is good if the screws are hanging off the side a little bit. This picture shows the two circular catch plates and the actual catch piece fitting in between them. If your catch plate does not fit, sand down the edges until it does.
20140328_113513.jpg

Once you make sure that the catch is put together properly (the catch piece can freely slide through the catch plates and the catch fits in 1" PVC), you can sand the overhanging screws down. Do this with your dremel's sanding bit or it will take forever. Now the catch should be able to fall all the way through 1"PVC. Cut the 1" PVC to 11.5"

Line up the actual catch piece with the 1" PVC like this and draw lines on the outside of the catch piece.
20140328_125618.jpg

To fasten the catch to the 1" PVC, you want to out the catch plates in the PVC so that the screws already in the catch are facing away. Make sure that the catch is flush with the end of the PVC and make 3 marks of where you are going to drill. You will be drilling into the front catch plate without the screw heads. Drill the three holes with a 7/64" bit and tap them with the 6-32 tap. Finally, fasten the catch with three 3/8" 6-32 screws. Everything is better explained in the picture.
20140328_130709.jpg

Extend the lines you drew earlier to be the length of the catch.
20140328_131023.jpg

Cut out these lines with a cutting disc on the dremel. The below picture will also help with figuring out how to fasten the catch.
20140328_131652.jpg

Cut the heads off of the screws that you used to fasten the catch. Use the same tool that you used earlier to cut the long screw. Screw the catch back in. I could screw the screws in all the way without using any tools, but if you are having trouble grip the screws with some pliers and screw them in.
20140328_133909.jpg