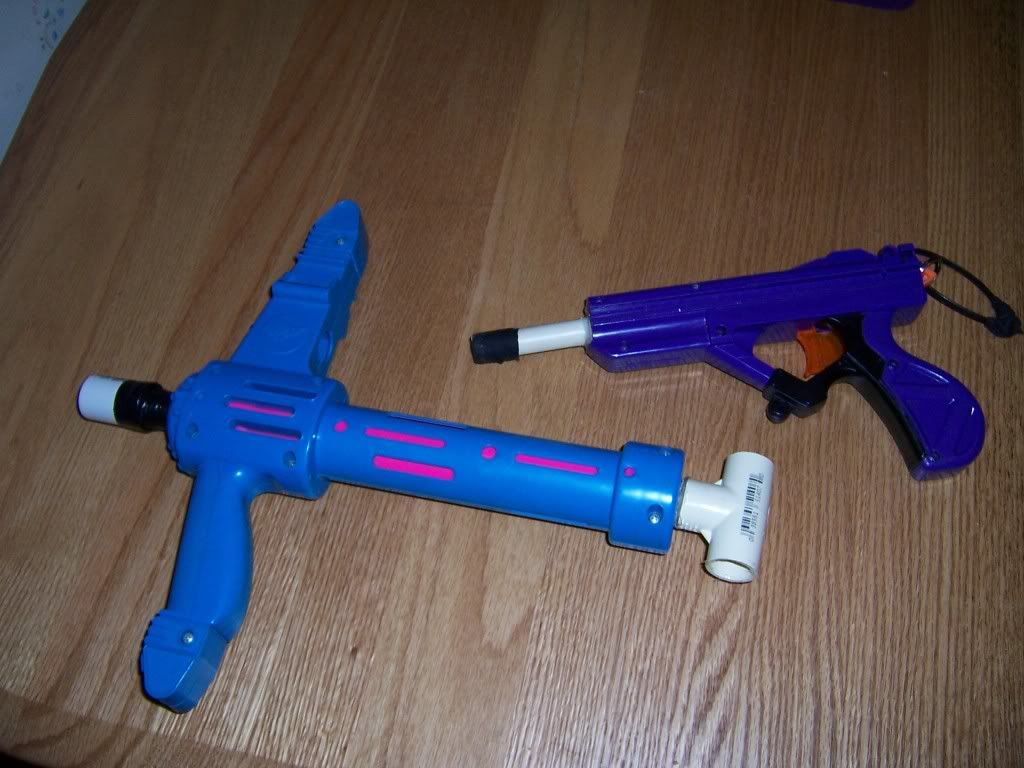
Remember this guy from the 1990s? I found one in my attic a few months ago, set out with an over-ambitious project, got frustrated, and finally simplified it into the contents of this thread. I hope you enjoy.

Here's a general outline:
1. Basic BnA mods
a. Materials needed
b. Plunger + plunger tube
c. Bungee anchor
d. Reinforcements
2. Selectable barrel system
a. Materials needed
b. How it works
c. Construction and end result
3. RSCB breech
a. Materials needed
b. How it works
c. Exploded view
d. Construction and end result
4. Homemade arrows
a. Materials needed
b. Construction
c. Concept arrows
5. Finishing touches
a. cosmetics/ergonomics
c. Priming handle bungee centering knob
1. Basic BnA Mods
a. Materials needed
- Hotglue + gun
- Epoxy Putty
- 1/2" USS metal washer
- 20mm Metric washer
- 016x1/2" Brass strip
- 4 small screws and nuts
- 10 1/2" Bungee
- some other form of thin, long reinforcing material
b. Plunger + plunger tube
Assuming you've already opened the blaster (incredibly easy, 8 big screws), take out the pink plunger tube and yellow plunger.
Cut off the white tab at the tip of the plunger tube, as seen here:

I used a sharp razor blade
Remove the black cushion, rough up the plastic, lay down some hot glue, center the foam again and place it back on. Then fill the remaining hole with glue. Should look like this:

The seal was already pretty good, being able to vacuum load stefans, so I left it.
Next, take your pink plunger tube, cut the "barrel" until you have a 1/4" nub. Epoxy a 1/2" PVC coupler and set it aside. (I do not have pictures of this because I cut a flush cut on the plunger tube and spent about a week trying different adhesives to get my PVC bushing to actually stay on. More surface area = better bond, so use part of the original barrel if you can.
c. Bungee Anchor
I had trouble finding a spring suitable for this guy, so I went with the tried and true method of attaching a bungee to the shell. Unfortunately, I could see that with time, the bungee might pull the shell apart. Let's delay this process, start with the 3 slots towards the front of the shell:

Drill/dremel an opening at the back of the middle slot. Take a thin piece of reinforcing material (some kind of brass would work), I used part of a steel bristle from a street cleaner.
 Secure it, and test your bungee hook, make sure it fits, like so:
We will be covering this with epoxy putty later. This provides a durable, secure, and load-distributing area for the bungee to attach to.
d. Reinforcements.
These reinforcements should be done towards the END of the modification process.
According to what sort of barrel/coupler/RSCB setup you settle on, any degree of dremeling will be required. Although I had to do surprisingly little, I still had to knock down some plastic walls and then rebuild them in other areas while reinforcing the blaster. The BEST way to do this is to fill the shell with putty and then press your FINISHED plunger tube setup into the putty, close the shell and then immediately open it up again and remove the plunger, smoothing out any clinging bits. Here's a picture of what I eventually reinforced:


1. I epoxied a 20 mm metric metal washer inside of the plunger tube. (this prevents the plastic from flexing, and cracking the e-putty which attaches the coupler/bushing)
2. I also replaced the flimsy plastic ring that holds the spring against the shell with a 1/2" USS metal washer.
NOTE: You DEFINITELY need to reinforce the front handle.
Also, although not being functional... yet. I thought that the pink "bow arms" were a little flimsy:

So I reinforced them with 016x1/2" brass strips. I beveled one side to fit with the curves of the arm and drilled two holes, one at the top of the arm and one at the bottom. I may "string" these like the original BnA, I may not. At least now they're much stronger. Here it is, firmly attached:

More to come.
Edited by Fome, 18 February 2010 - 09:57 PM.