Jump to content


Photo

The Official Internals Directory


103 replies to this topic

#51 cheesypiza001

cheesypiza001

    Member

  • Members
  • 752 posts

Posted 21 February 2010 - 08:14 AM

Slight problem my friend...
Where is the Furyfire?


I just got back from vacation so I will hopefully be able to update this soon. As for the Furyfire, I guess I missed it during the last update. It will be added shortly.
  • 0

#52 nate the great

nate the great

    Member

  • Members
  • 219 posts

Posted 21 February 2010 - 09:08 AM

Cheesy-here is a internal pic of the furyfire from NerfRogue83 Furyfire pic

Edited by nate the great, 21 February 2010 - 09:09 AM.

  • 0
QUOTE
PRI you are a fucking idiot.

2 slingshot weights is basically a steel bullet with a foam sabot
-Mr BadWrench

QUOTE

You have a tampon on your gun. There's your problem.
-Hi Yah!

Join the Revolution!

#53 cheesypiza001

cheesypiza001

    Member

  • Members
  • 752 posts

Posted 21 February 2010 - 09:18 AM

Cheesy-here is a internal pic of the furyfire from NerfRogue83 Furyfire pic


Thank you, but finding the picture for the Furyfire is not the problem. Here's an even better picture from jerm78's blog. Every so often when I feel that there have been a decent amount of internals pictures posted throughout the internet, I save them all to my computer, note where they came from, rename the files, alphabetize them, upload them, and post the picture links with their corresponding sources. It is much more practical to process all of the internals pictures in batches, so that's what I do. I will be updating the directory shortly, so don't worry.
  • 0

#54 soccerbeast003

soccerbeast003

    Member

  • Members
  • 206 posts

Posted 14 March 2010 - 03:03 PM

Here's the inside of a tetrastrike tank:
Posted Image
Posted Image
  • 0
Christine Everheart: You've been called the Da Vinci of our time. What do you say to that?

Tony Stark: Absolutely ridiculous. I don't paint.

#55 stuper bunny

stuper bunny

    Member

  • Banned
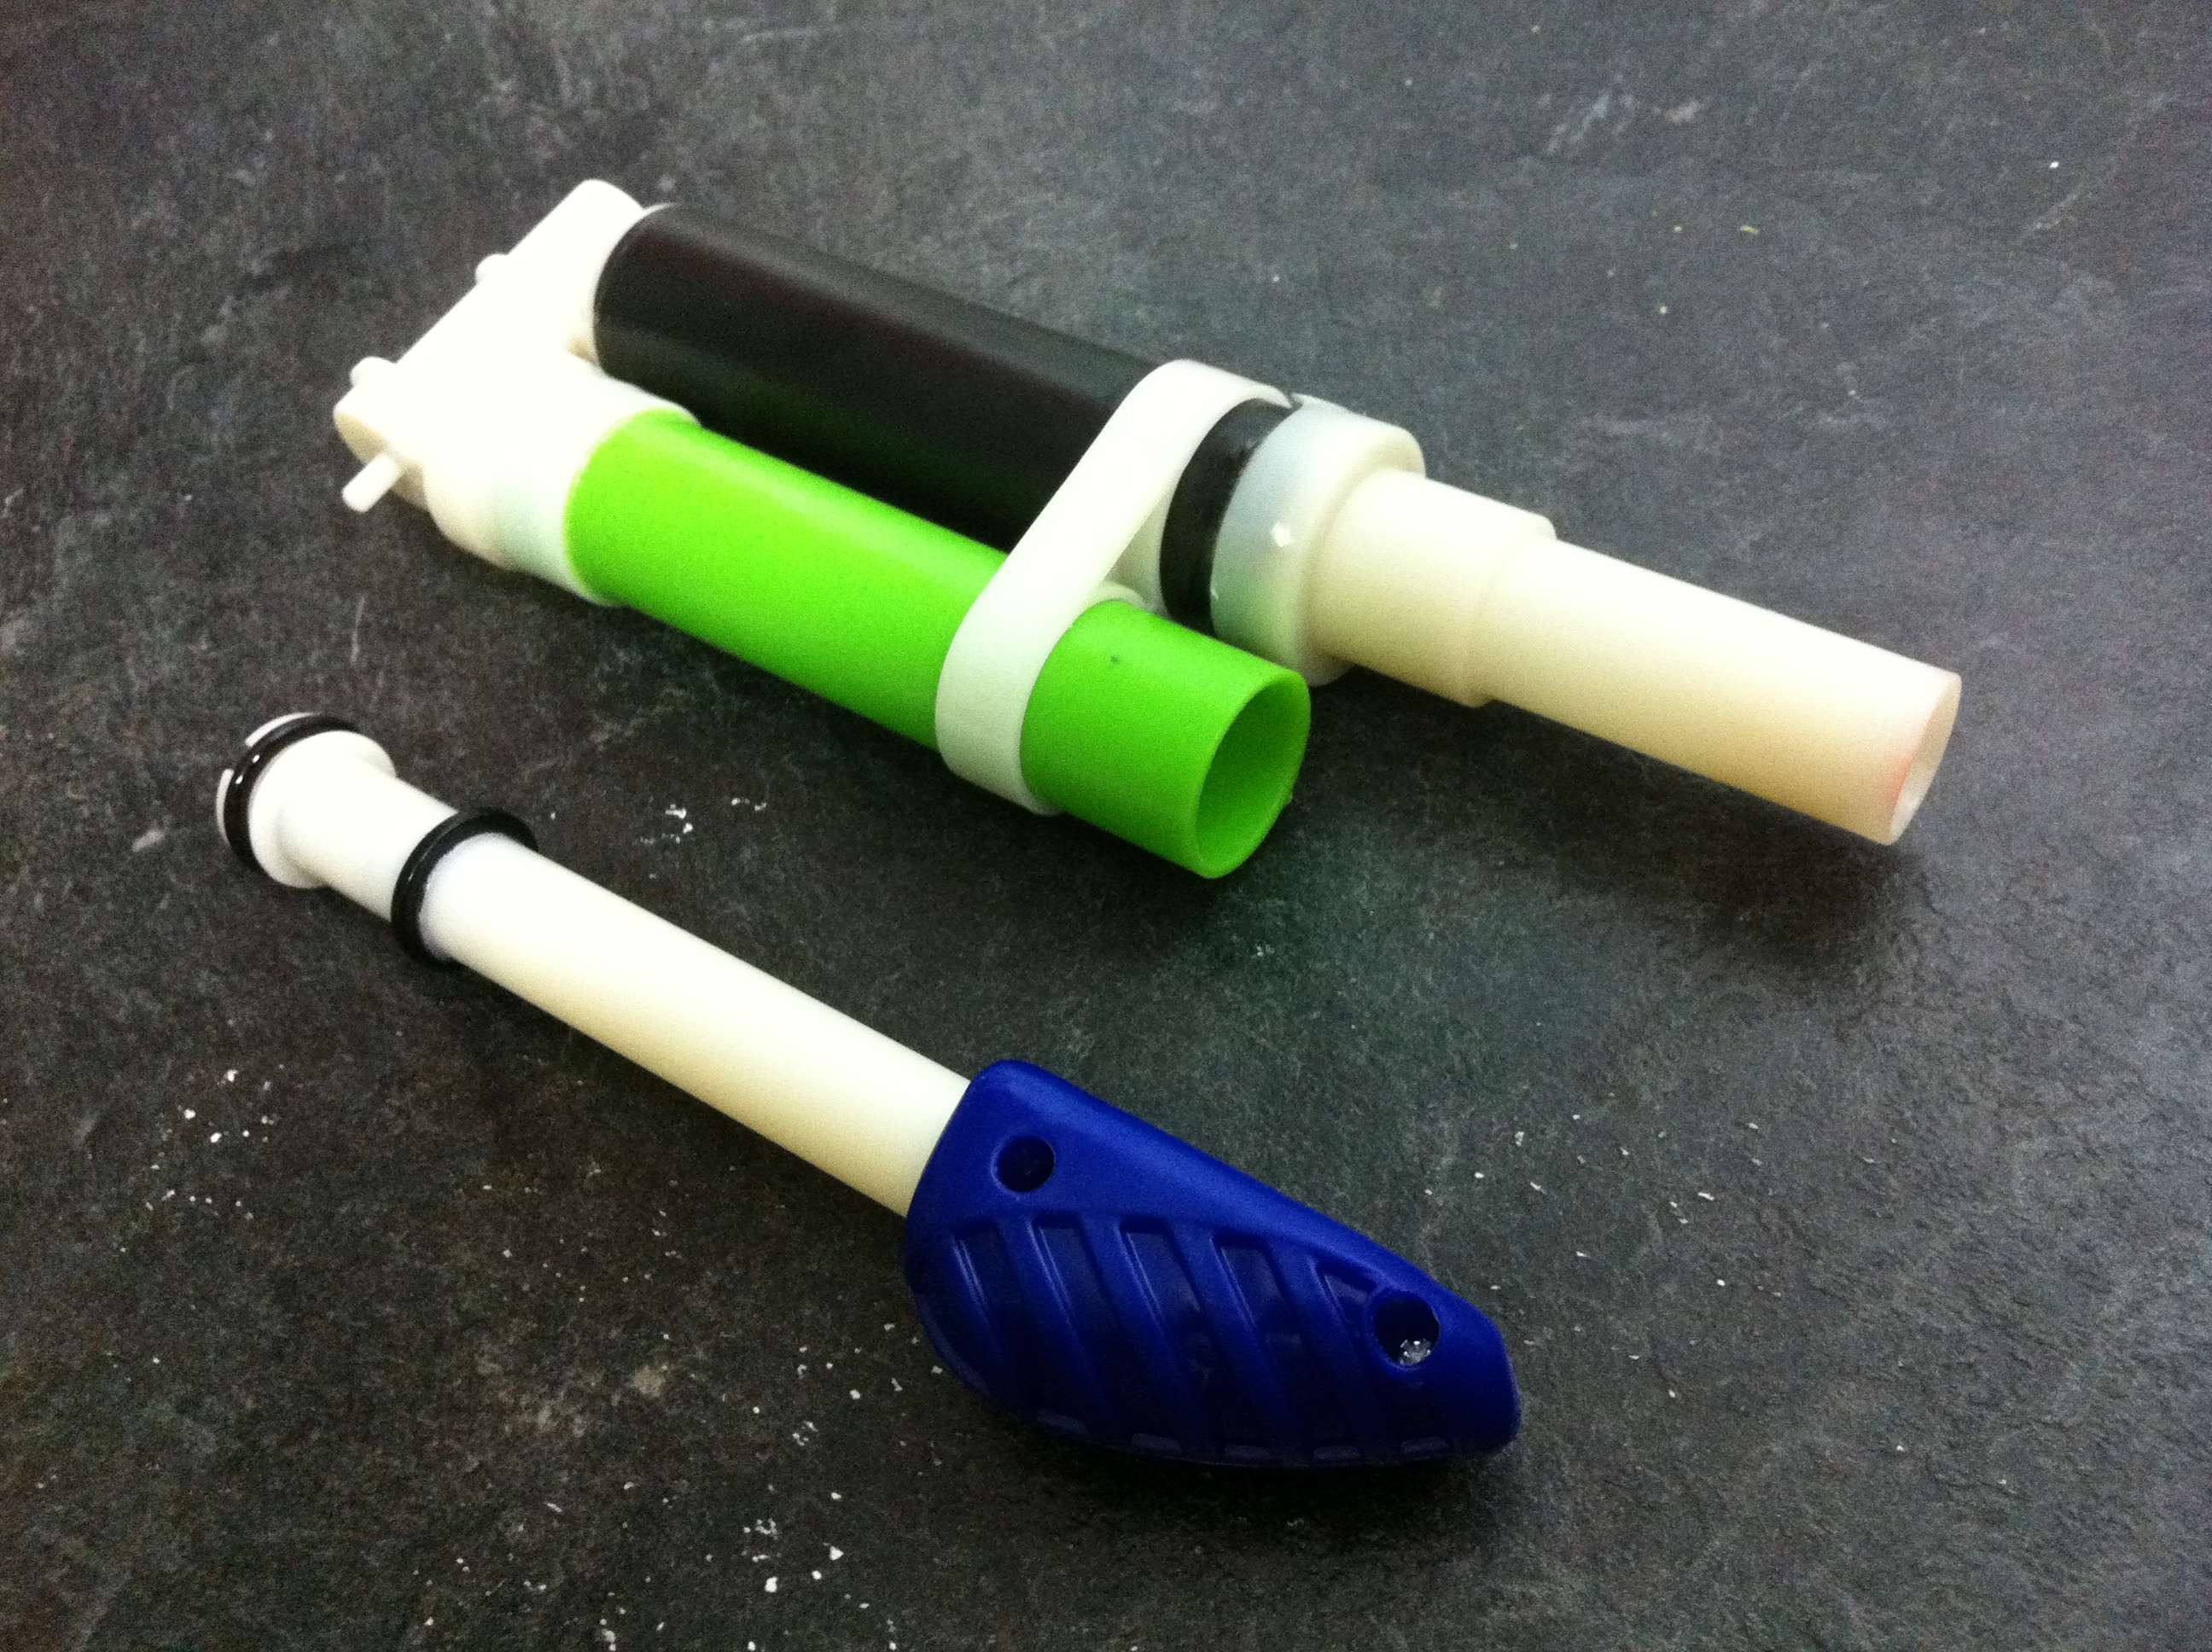
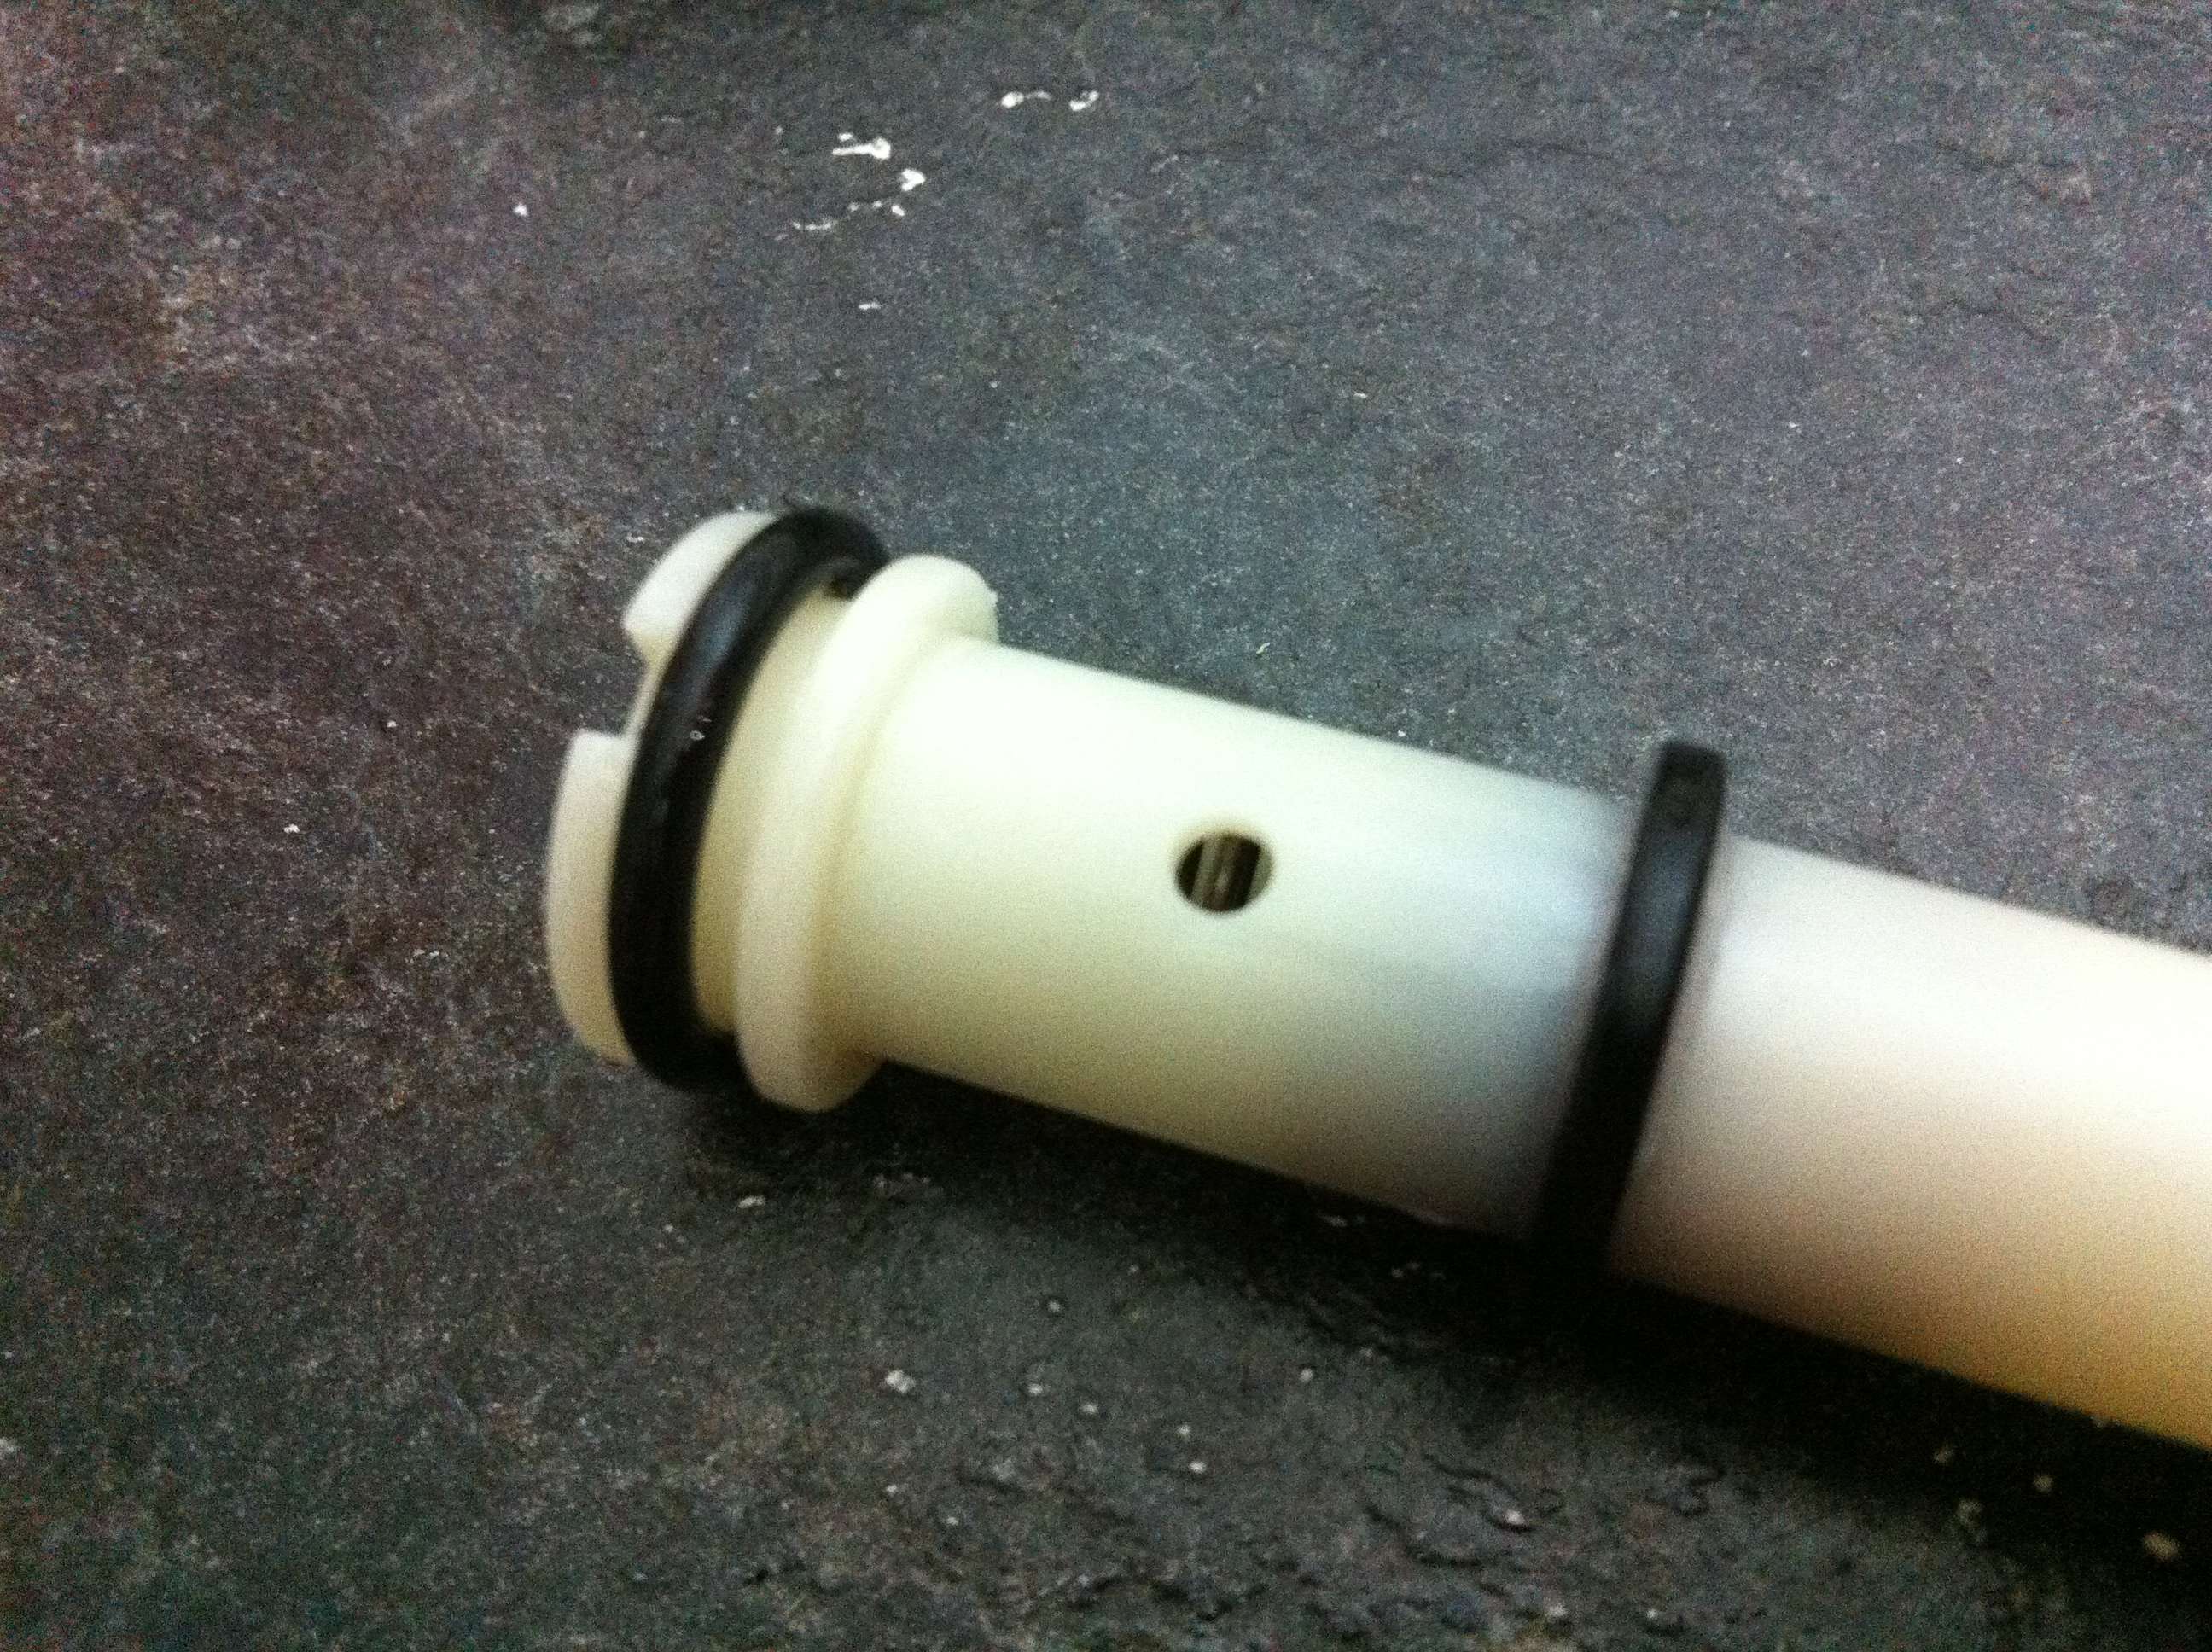
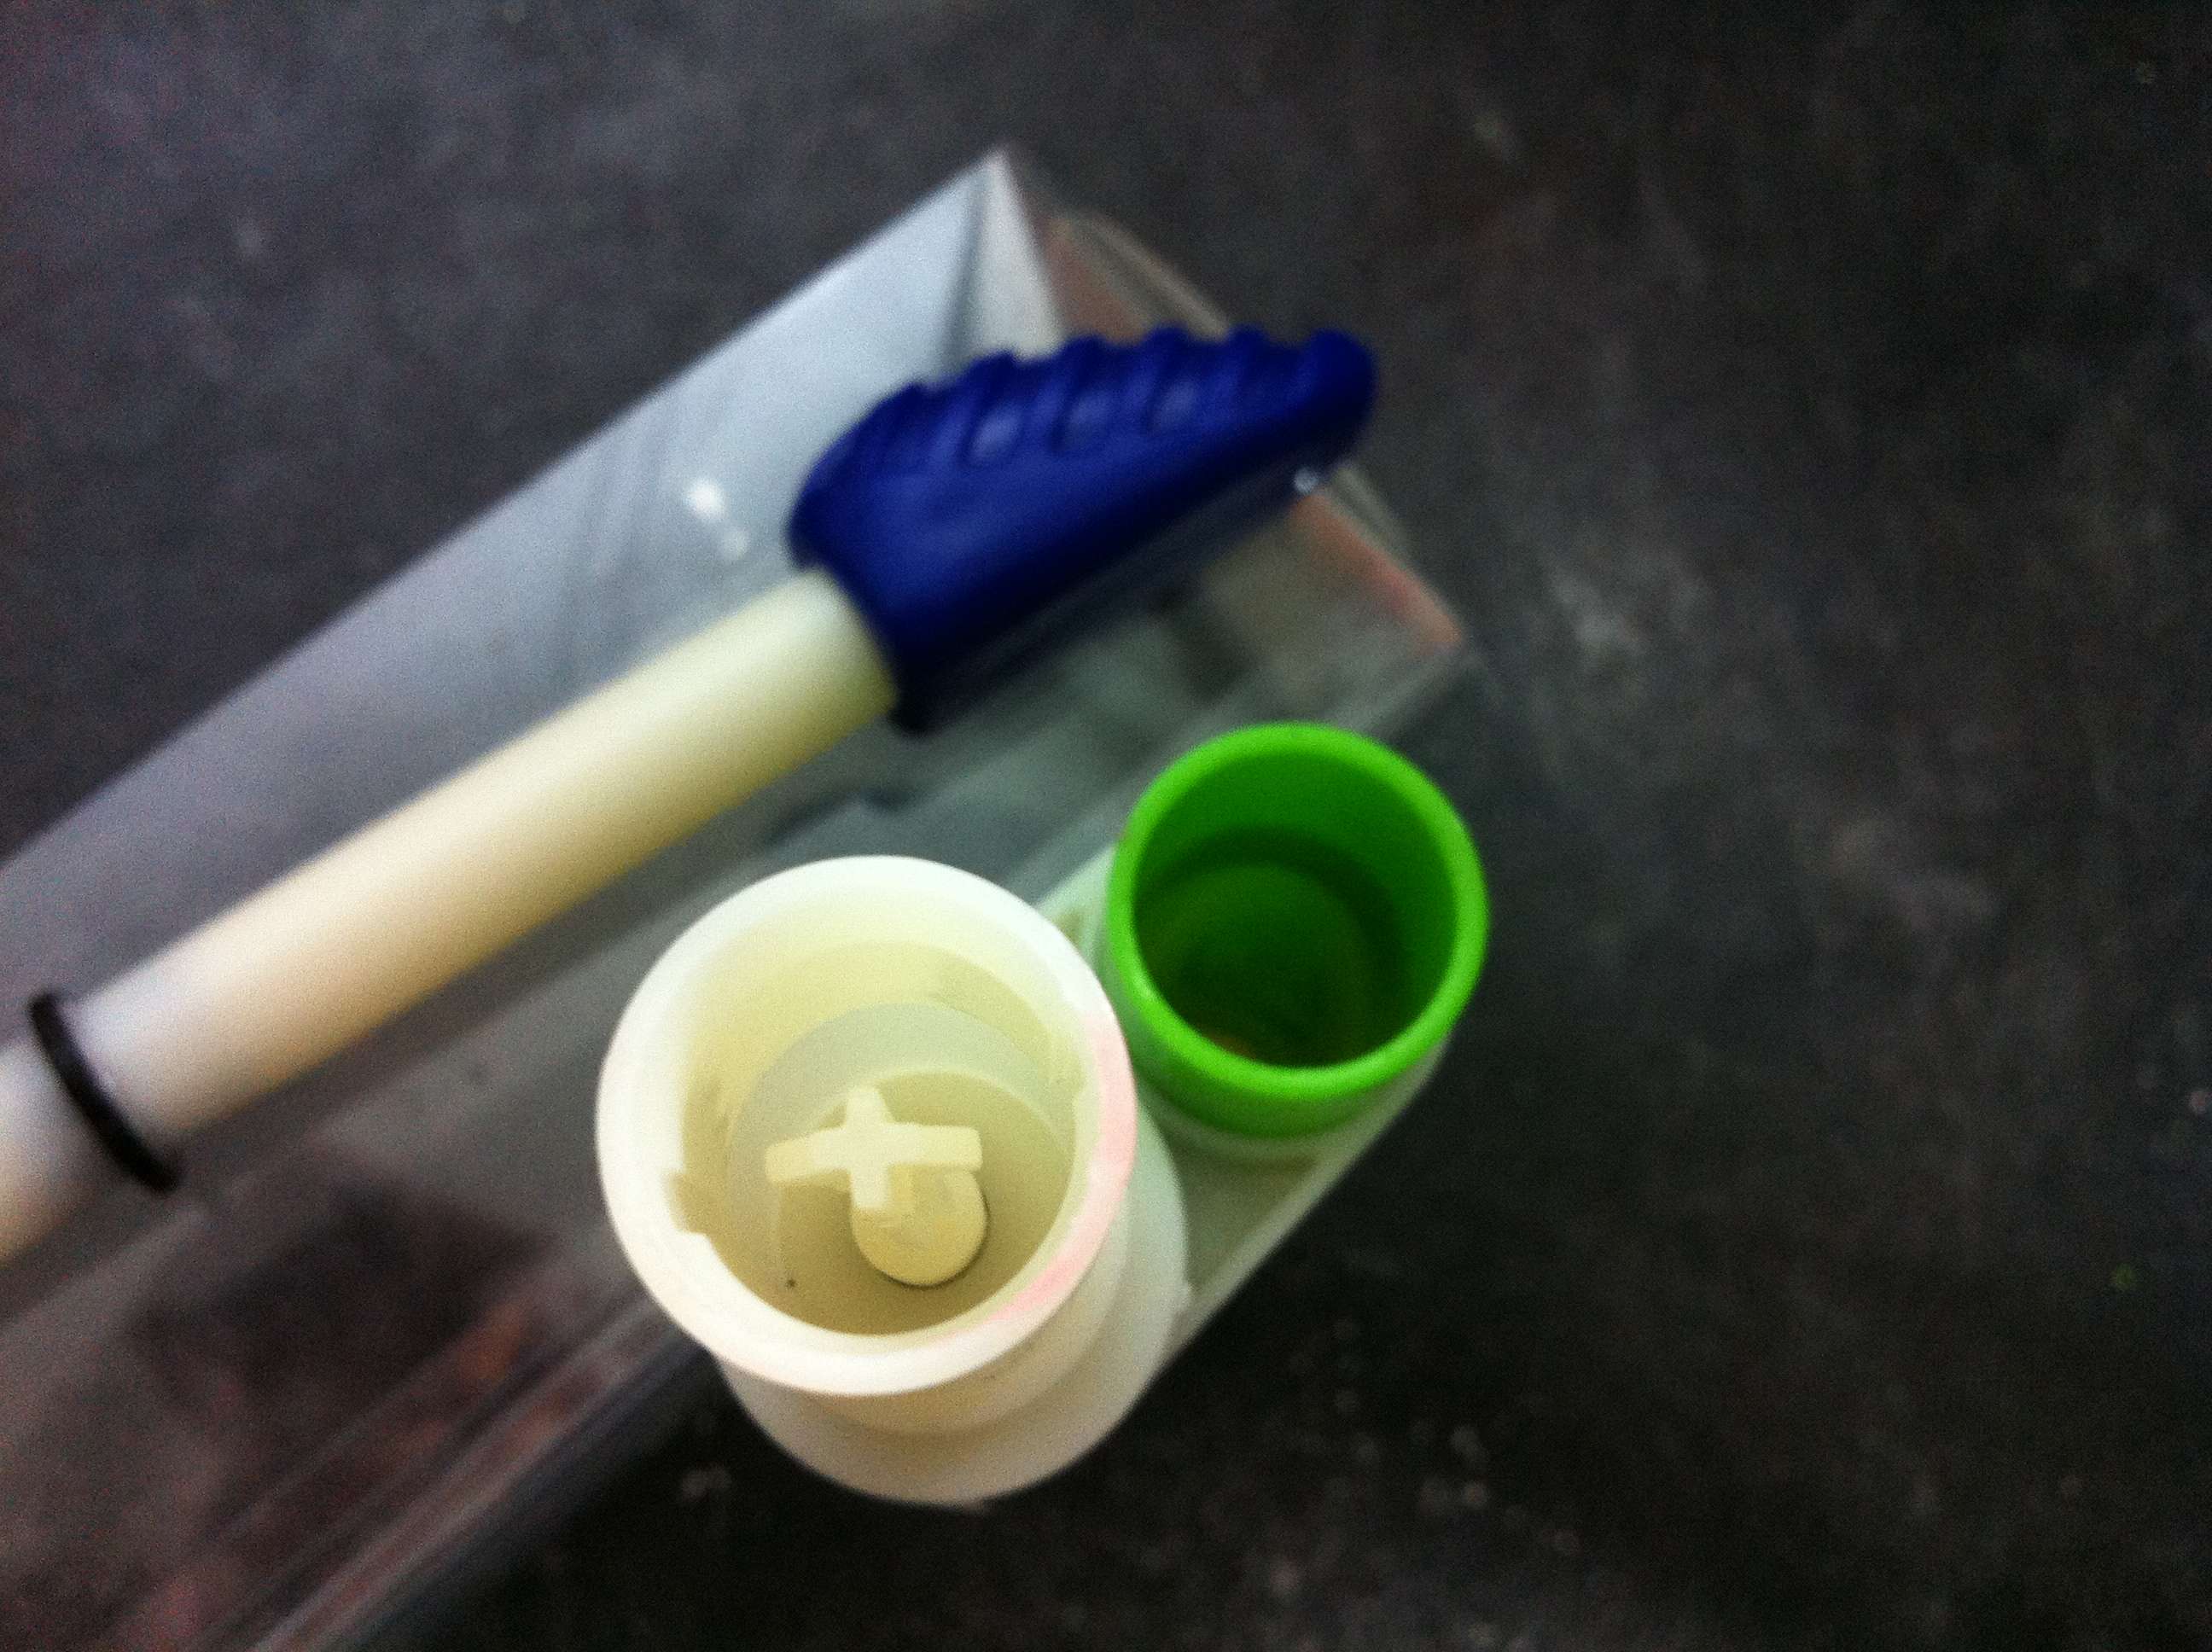
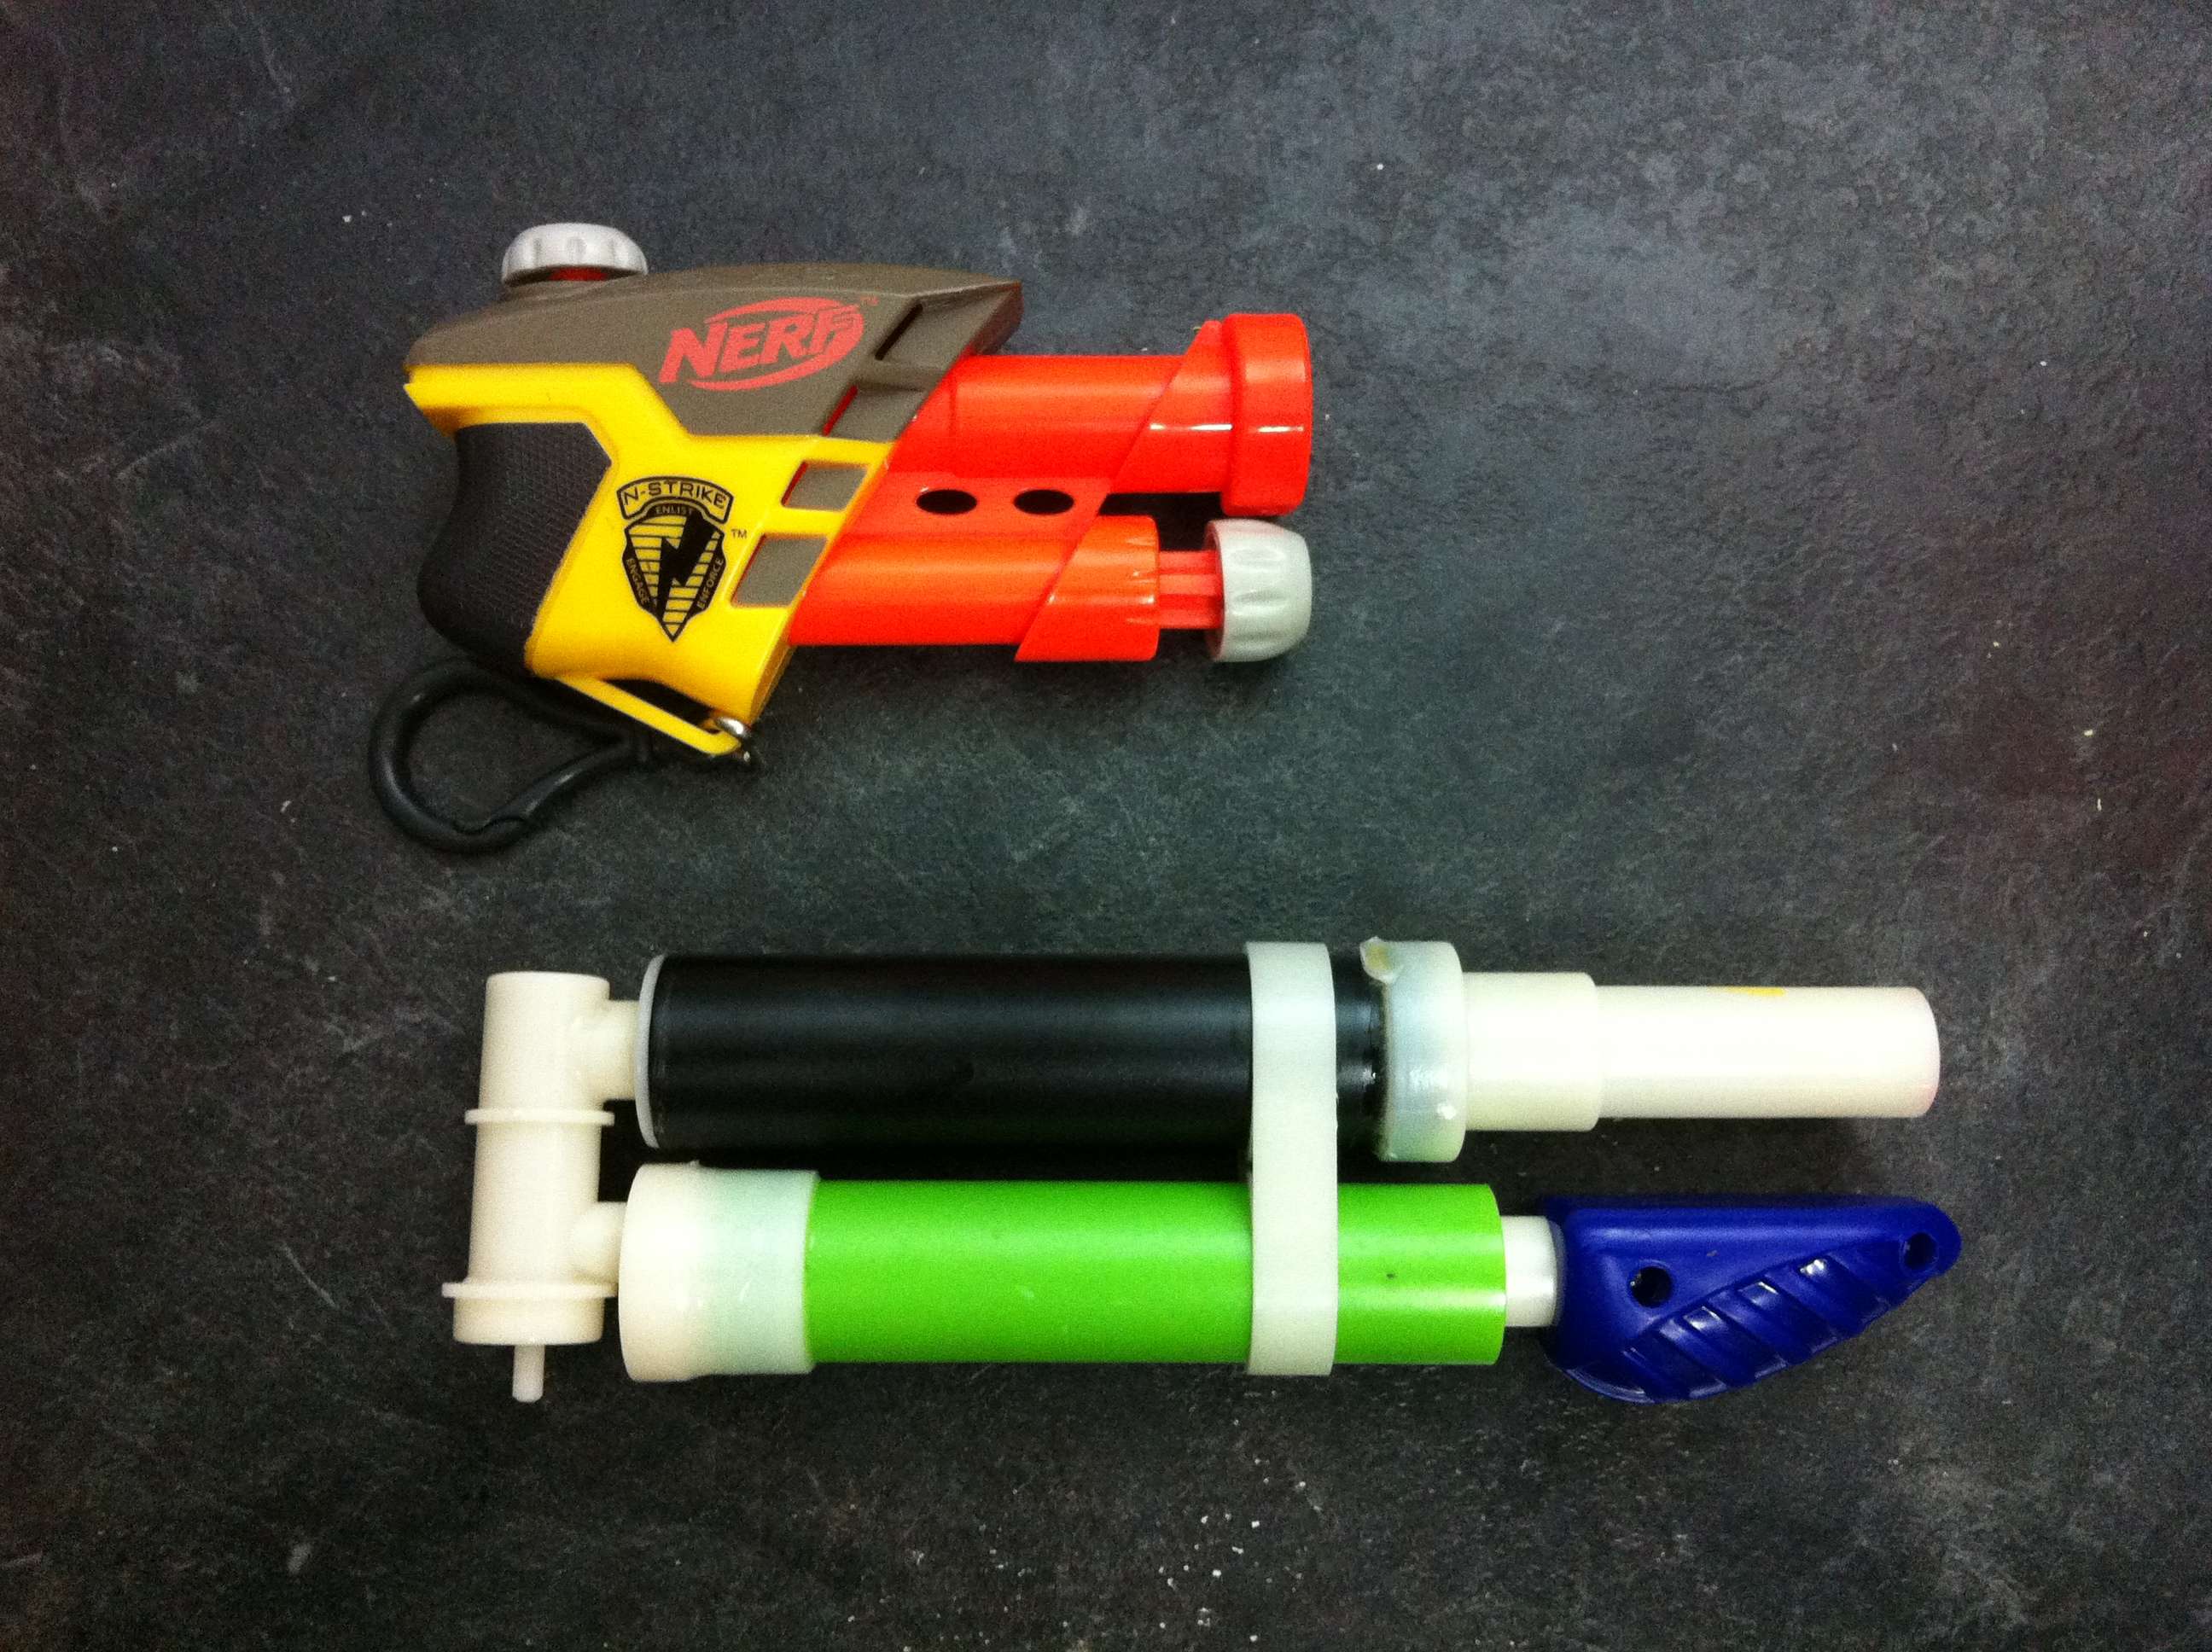
  • 42 posts

Posted 01 April 2010 - 09:19 AM

Ozymandias from the HvZ forums (he's validating right now) has a writeup about CPVC'ing this. HERE is the link

#56 SonReeceSonJensen

SonReeceSonJensen

    Member

  • Members
  • 662 posts

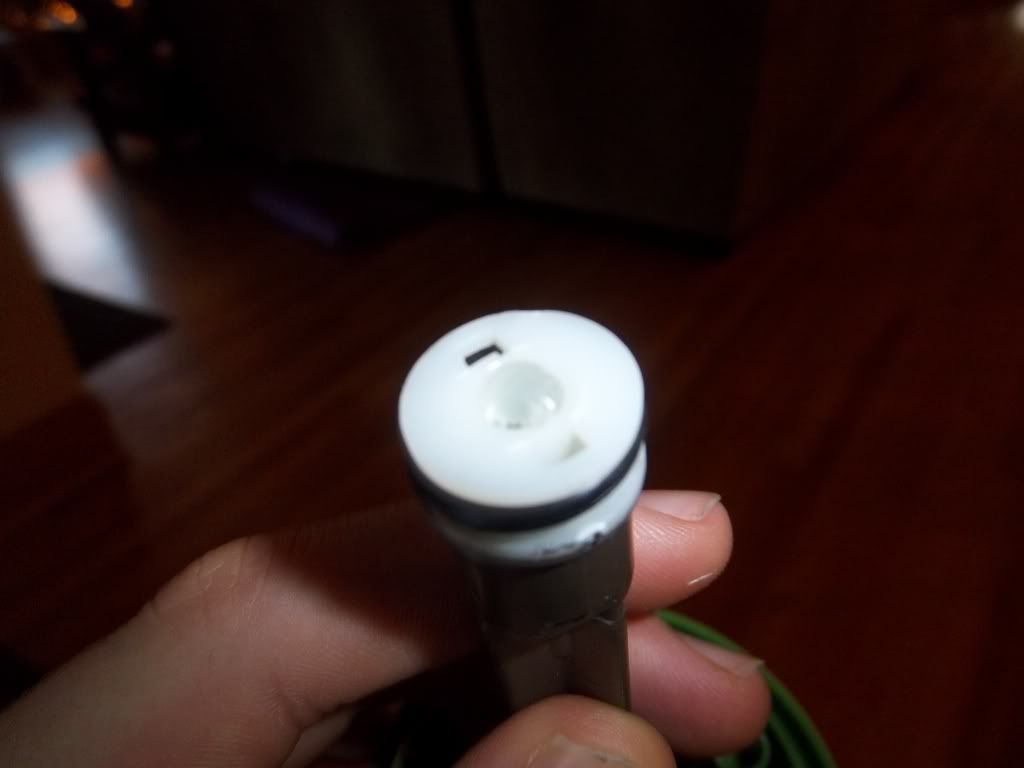
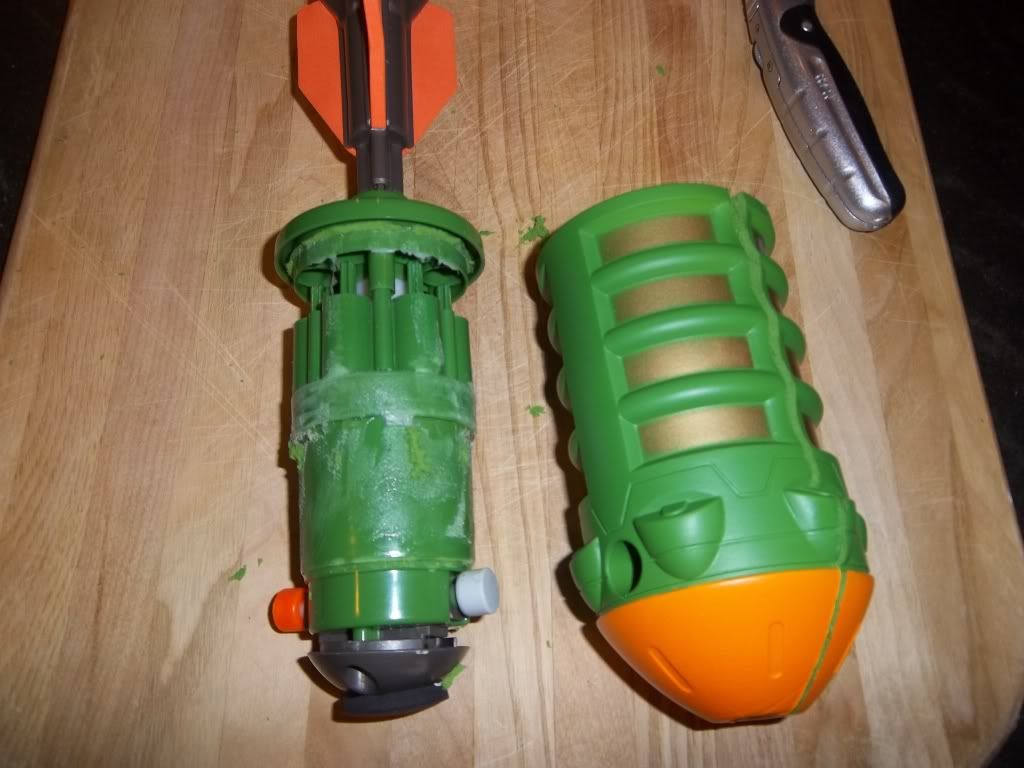
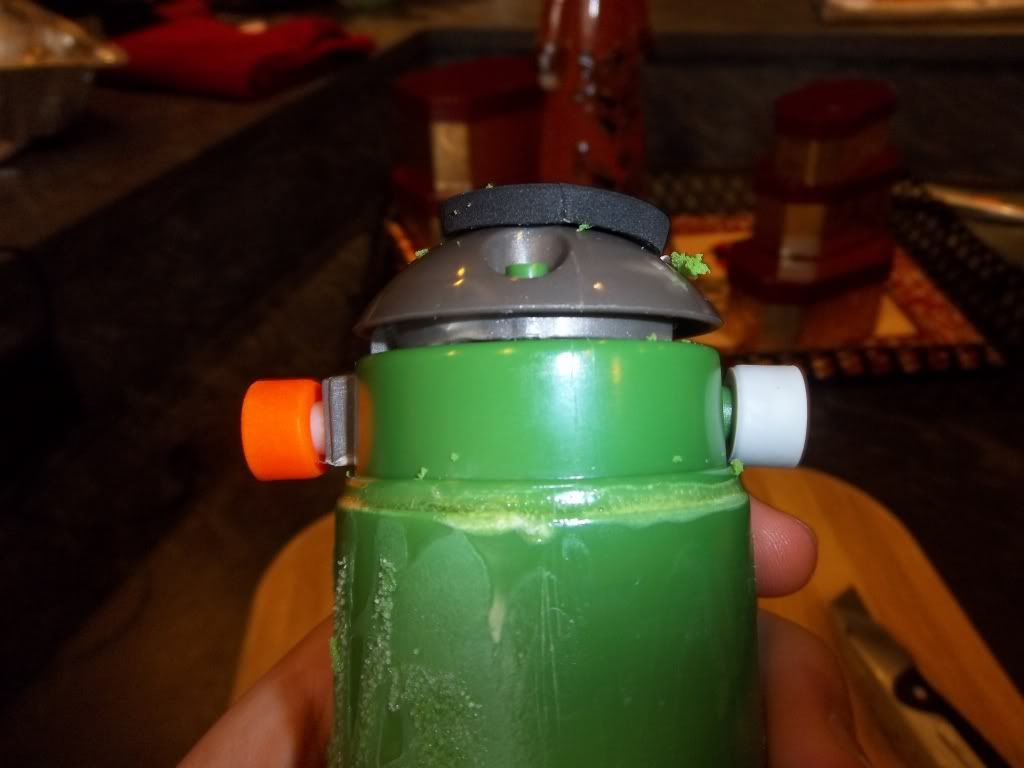
Posted 28 April 2010 - 12:51 PM

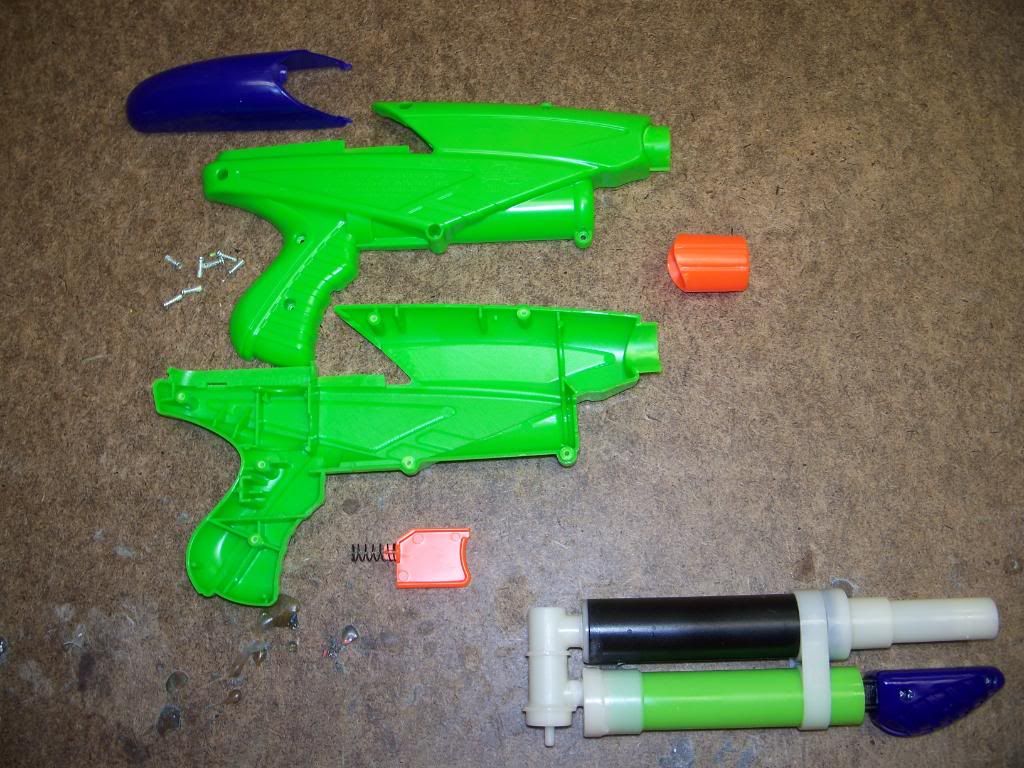
Internals to the Ironman Launcher. I finally wrecked on beyond repair so at least others can now benefit.

Posted Image
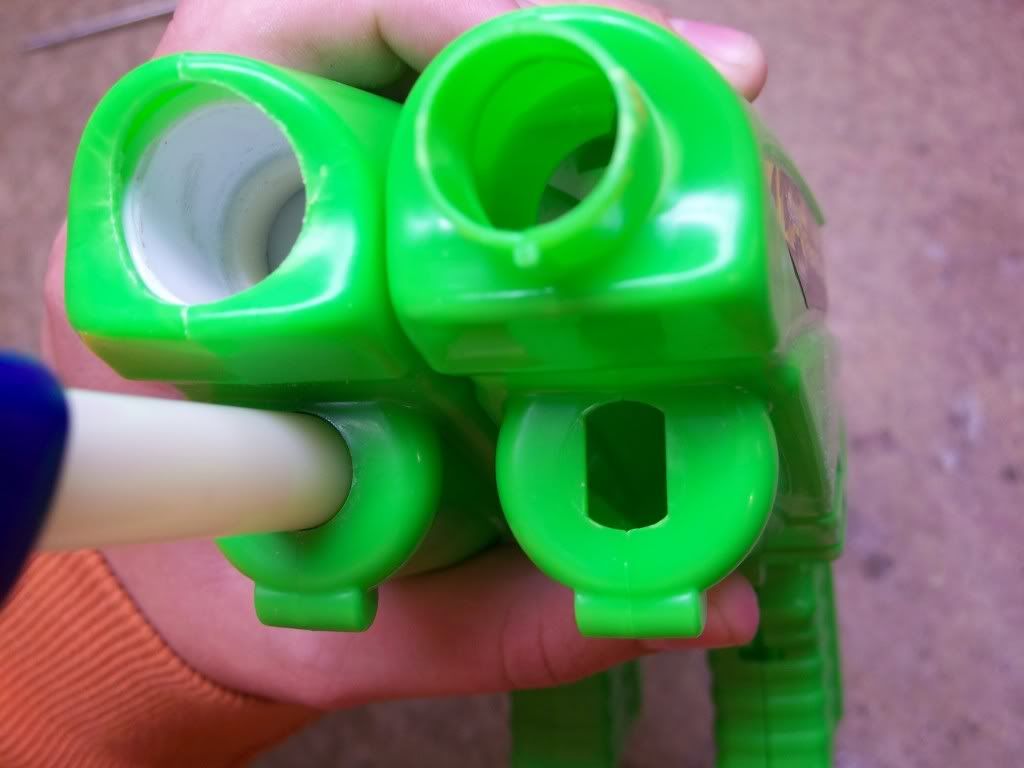
Inside the plunger base, OPRV circled there.

Posted Image
Cut open launcher base. The tube runs al the way up to the end of the shaft.

Posted Image
The bottom of the launcher base, the hot glue on the left cover the safety hole normally cover by a marble that prevents shooting it anyway but straight up.

Posted Image
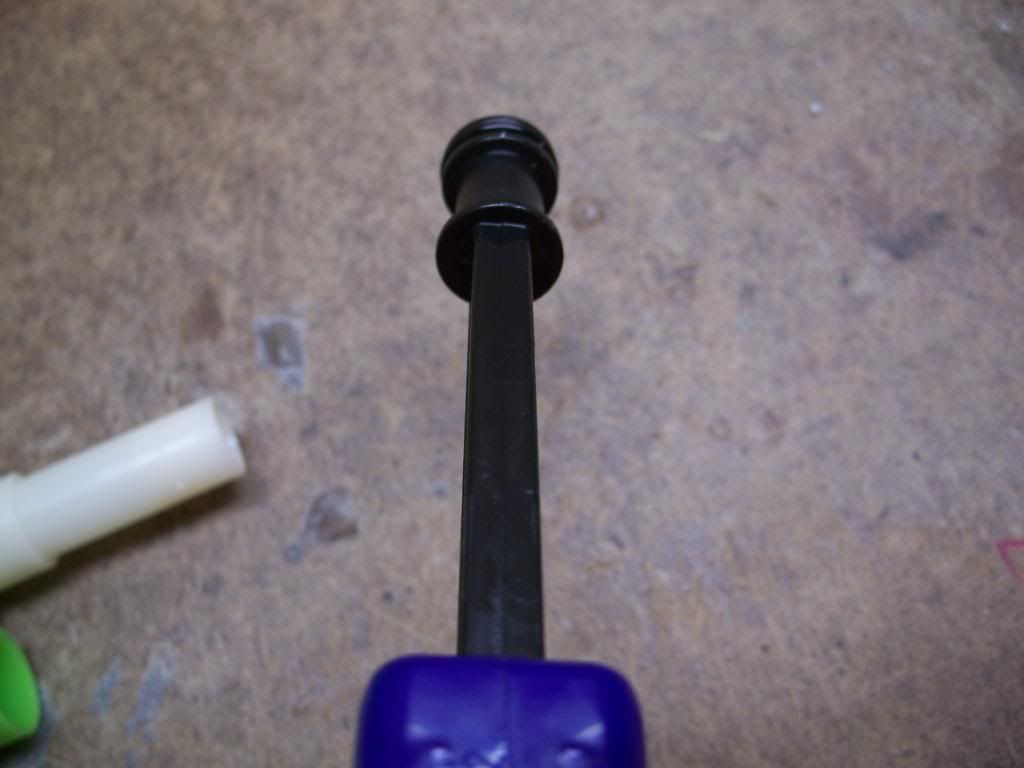
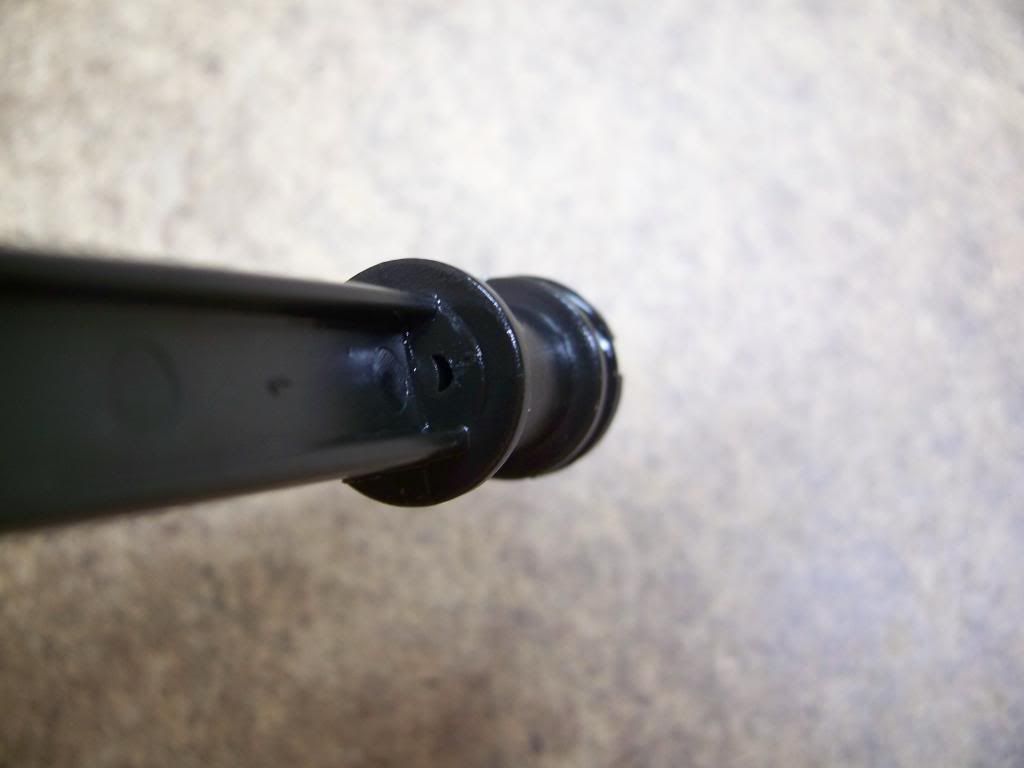
This is the tip of the rod and shaft that connects to the main air source. You have to cut either the tip off or widen the base hole but this was easier.
  • 0
The Difference:
-Guns shoot bullets that kill people
-Blasters shoot darts that tag people

I do not play with guns.

#57 pjotrkuh

pjotrkuh

    Member

  • Members
  • 259 posts

Posted 17 July 2010 - 11:26 AM

Lanard Shell Shock X-6 internsals:

Posted Image
  • 0
When the shit hits the fan, you'd better wear a rain coat.....

#58 TimberwolfCY

TimberwolfCY

    Member

  • Members
  • 249 posts

Posted 26 July 2010 - 09:51 PM

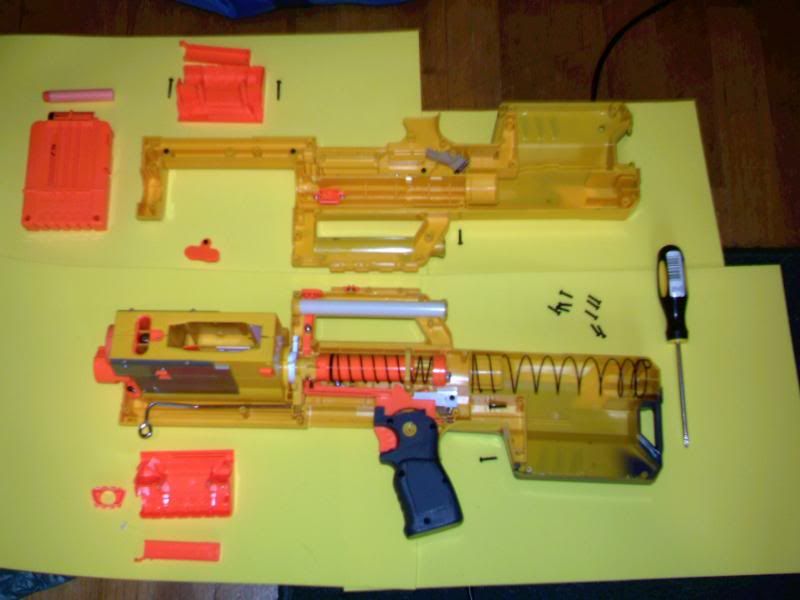
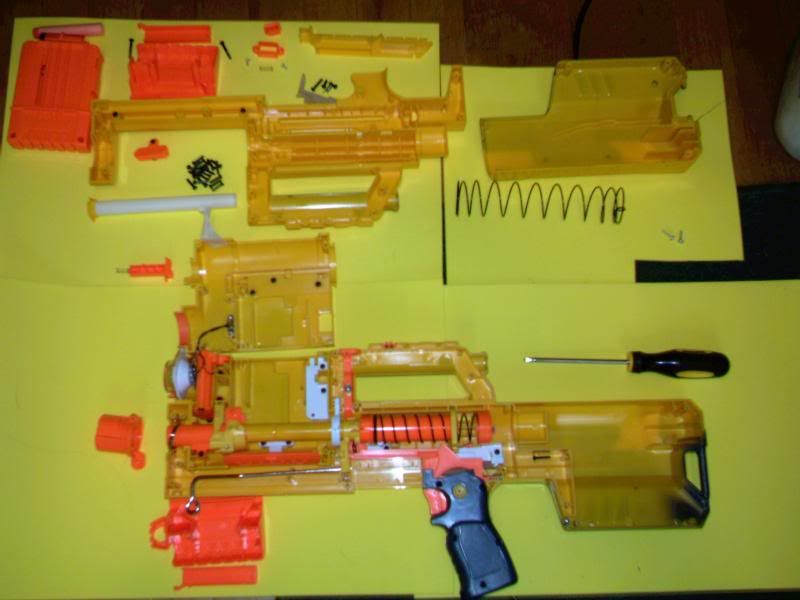
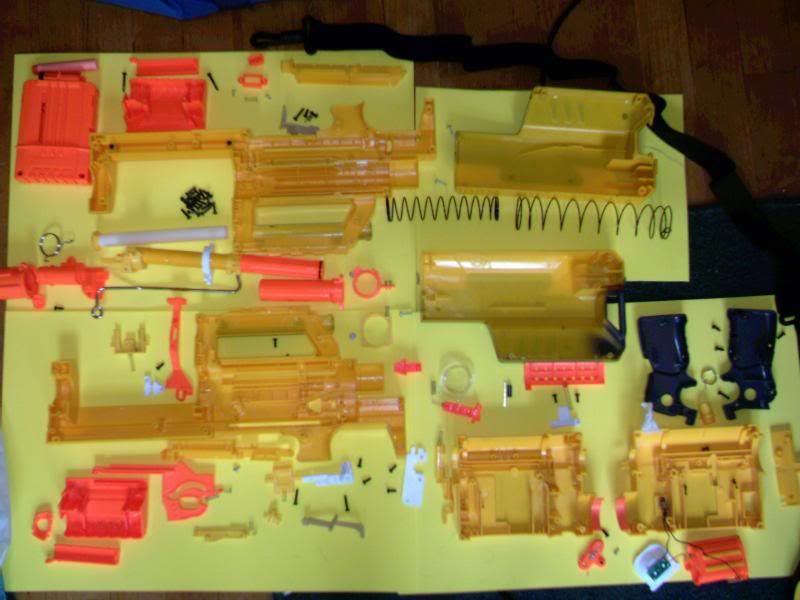
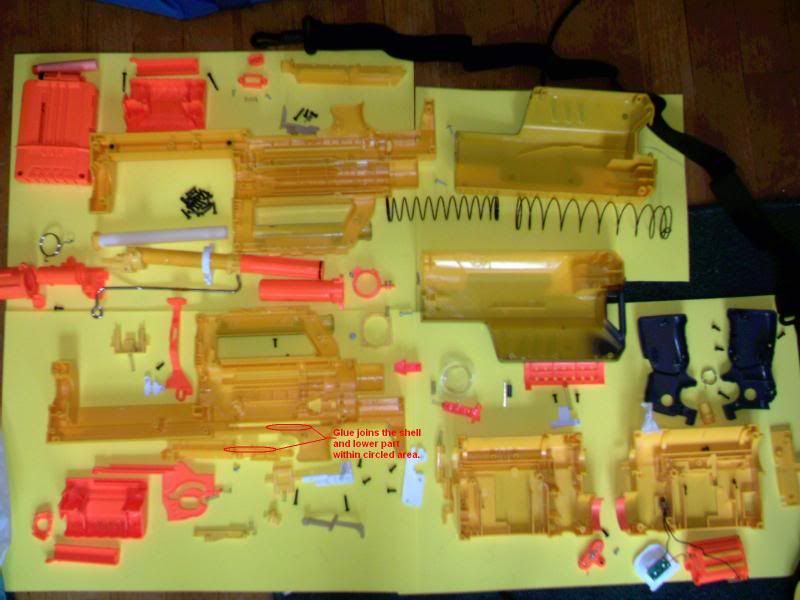
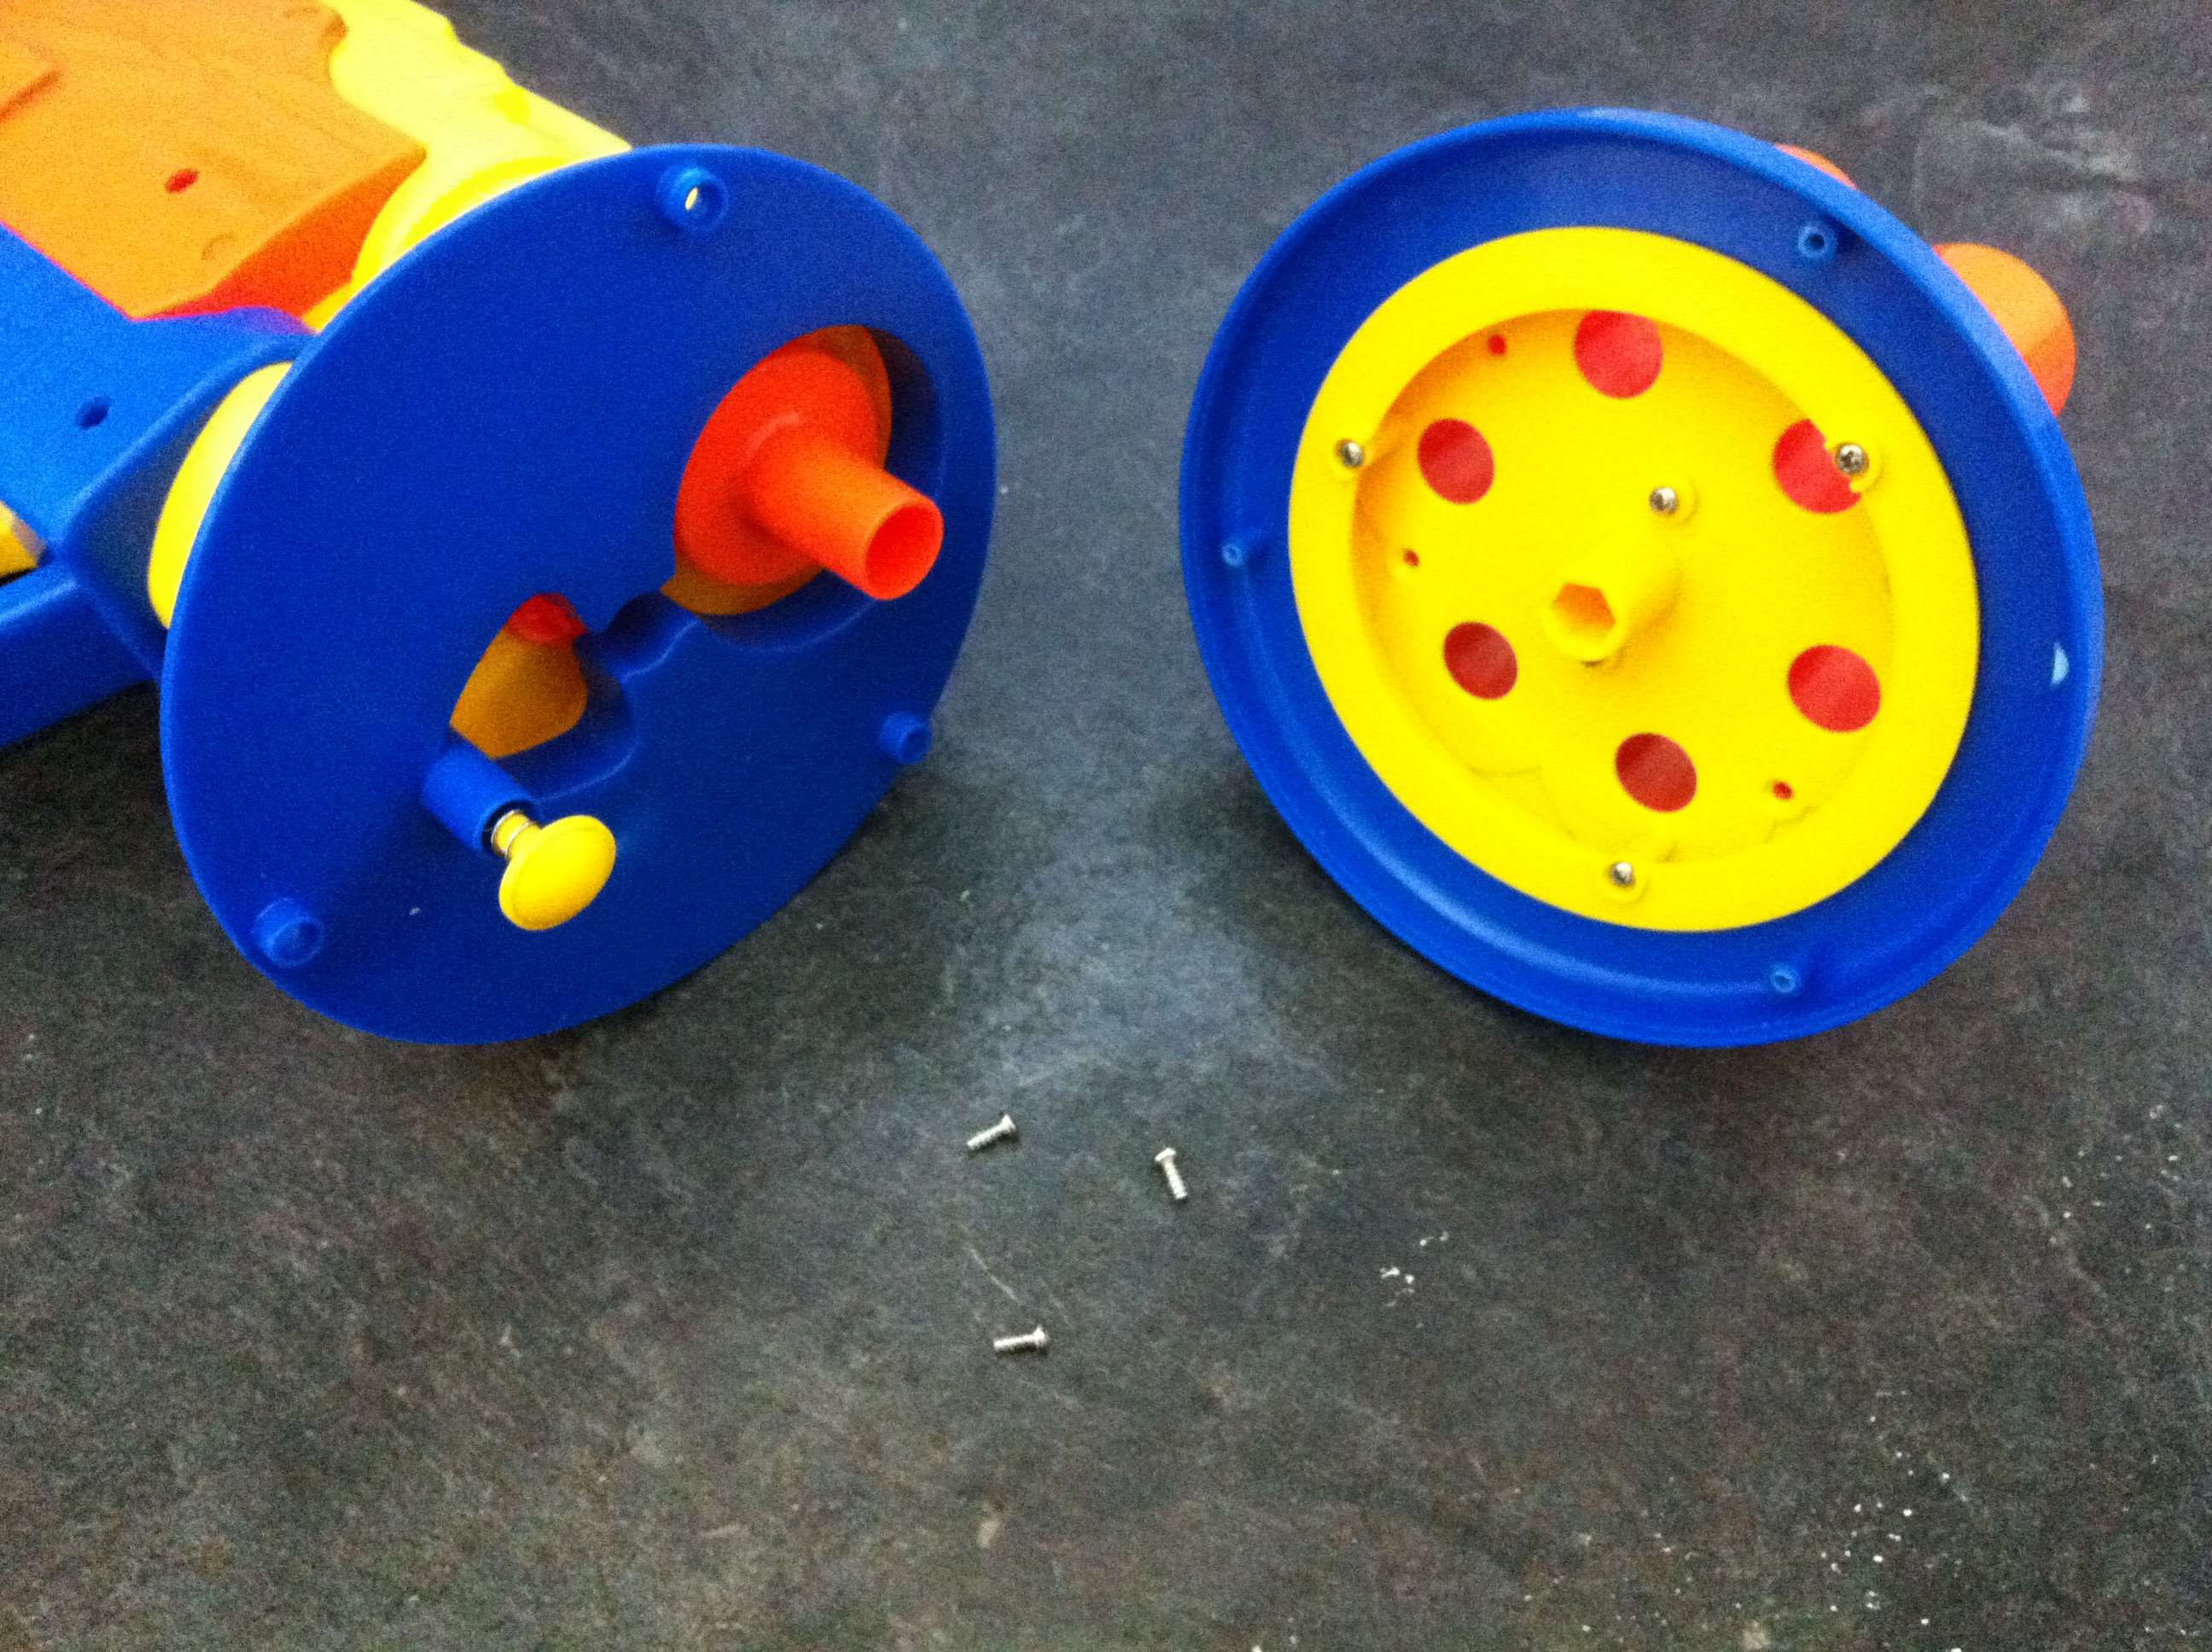
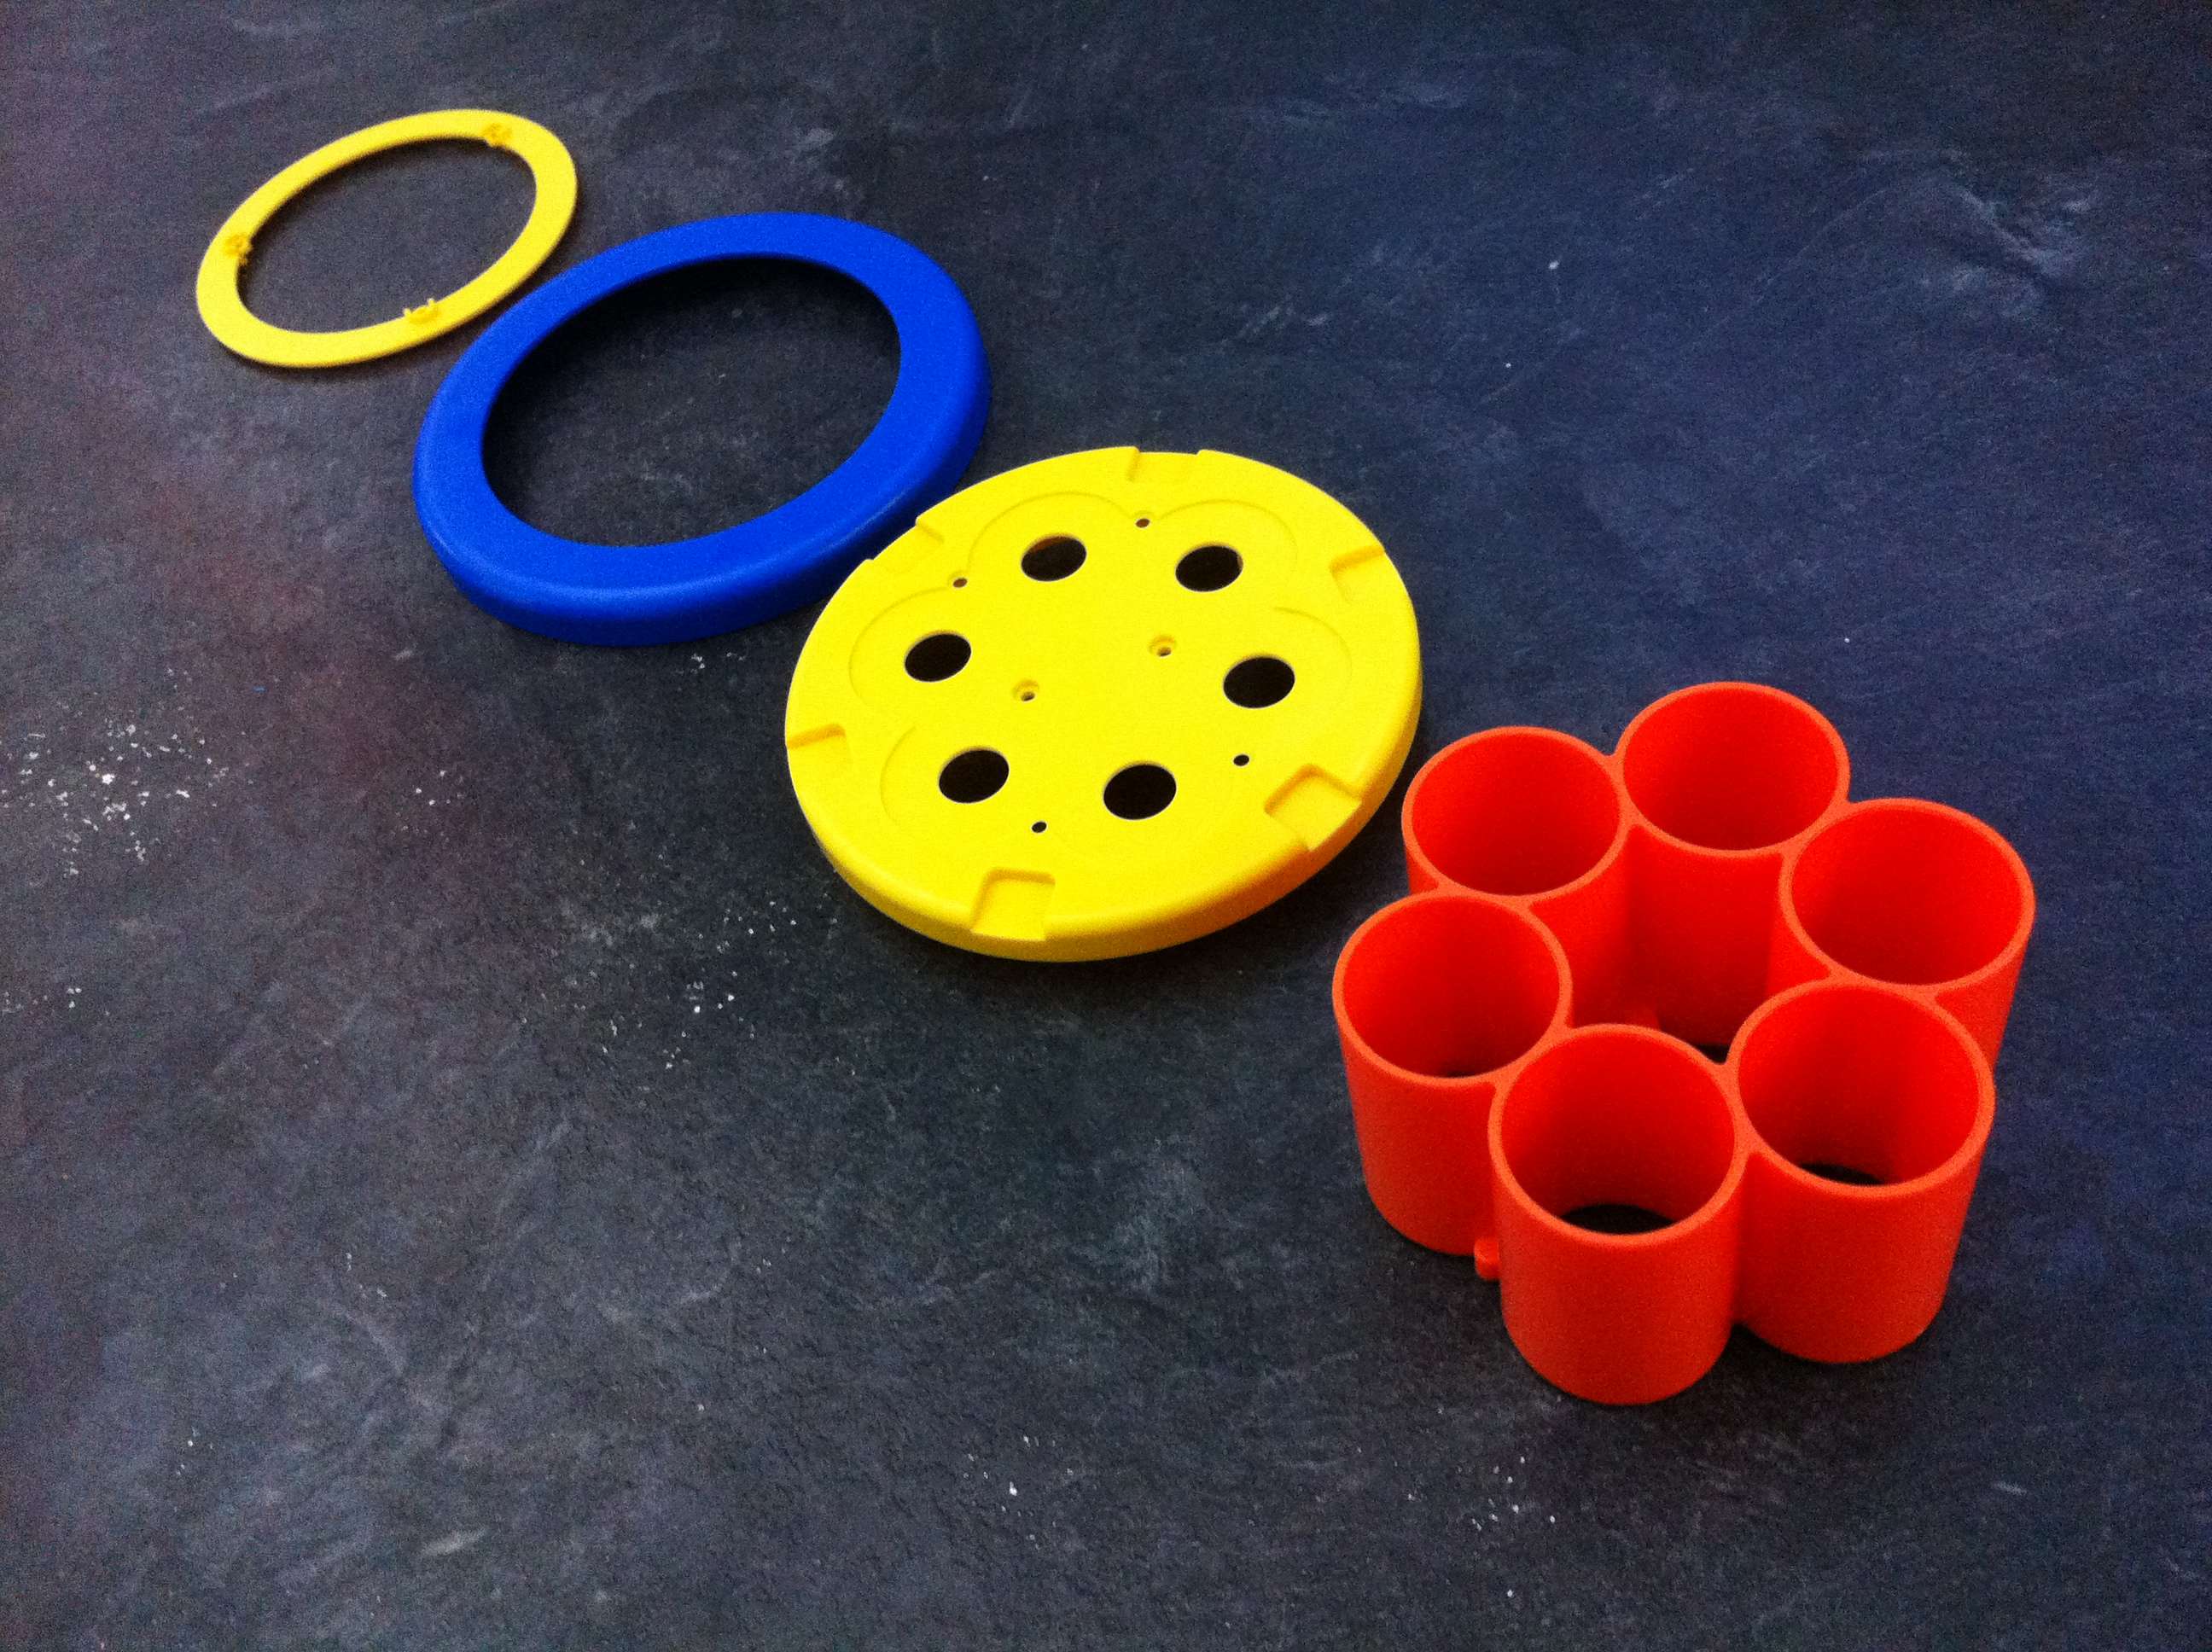
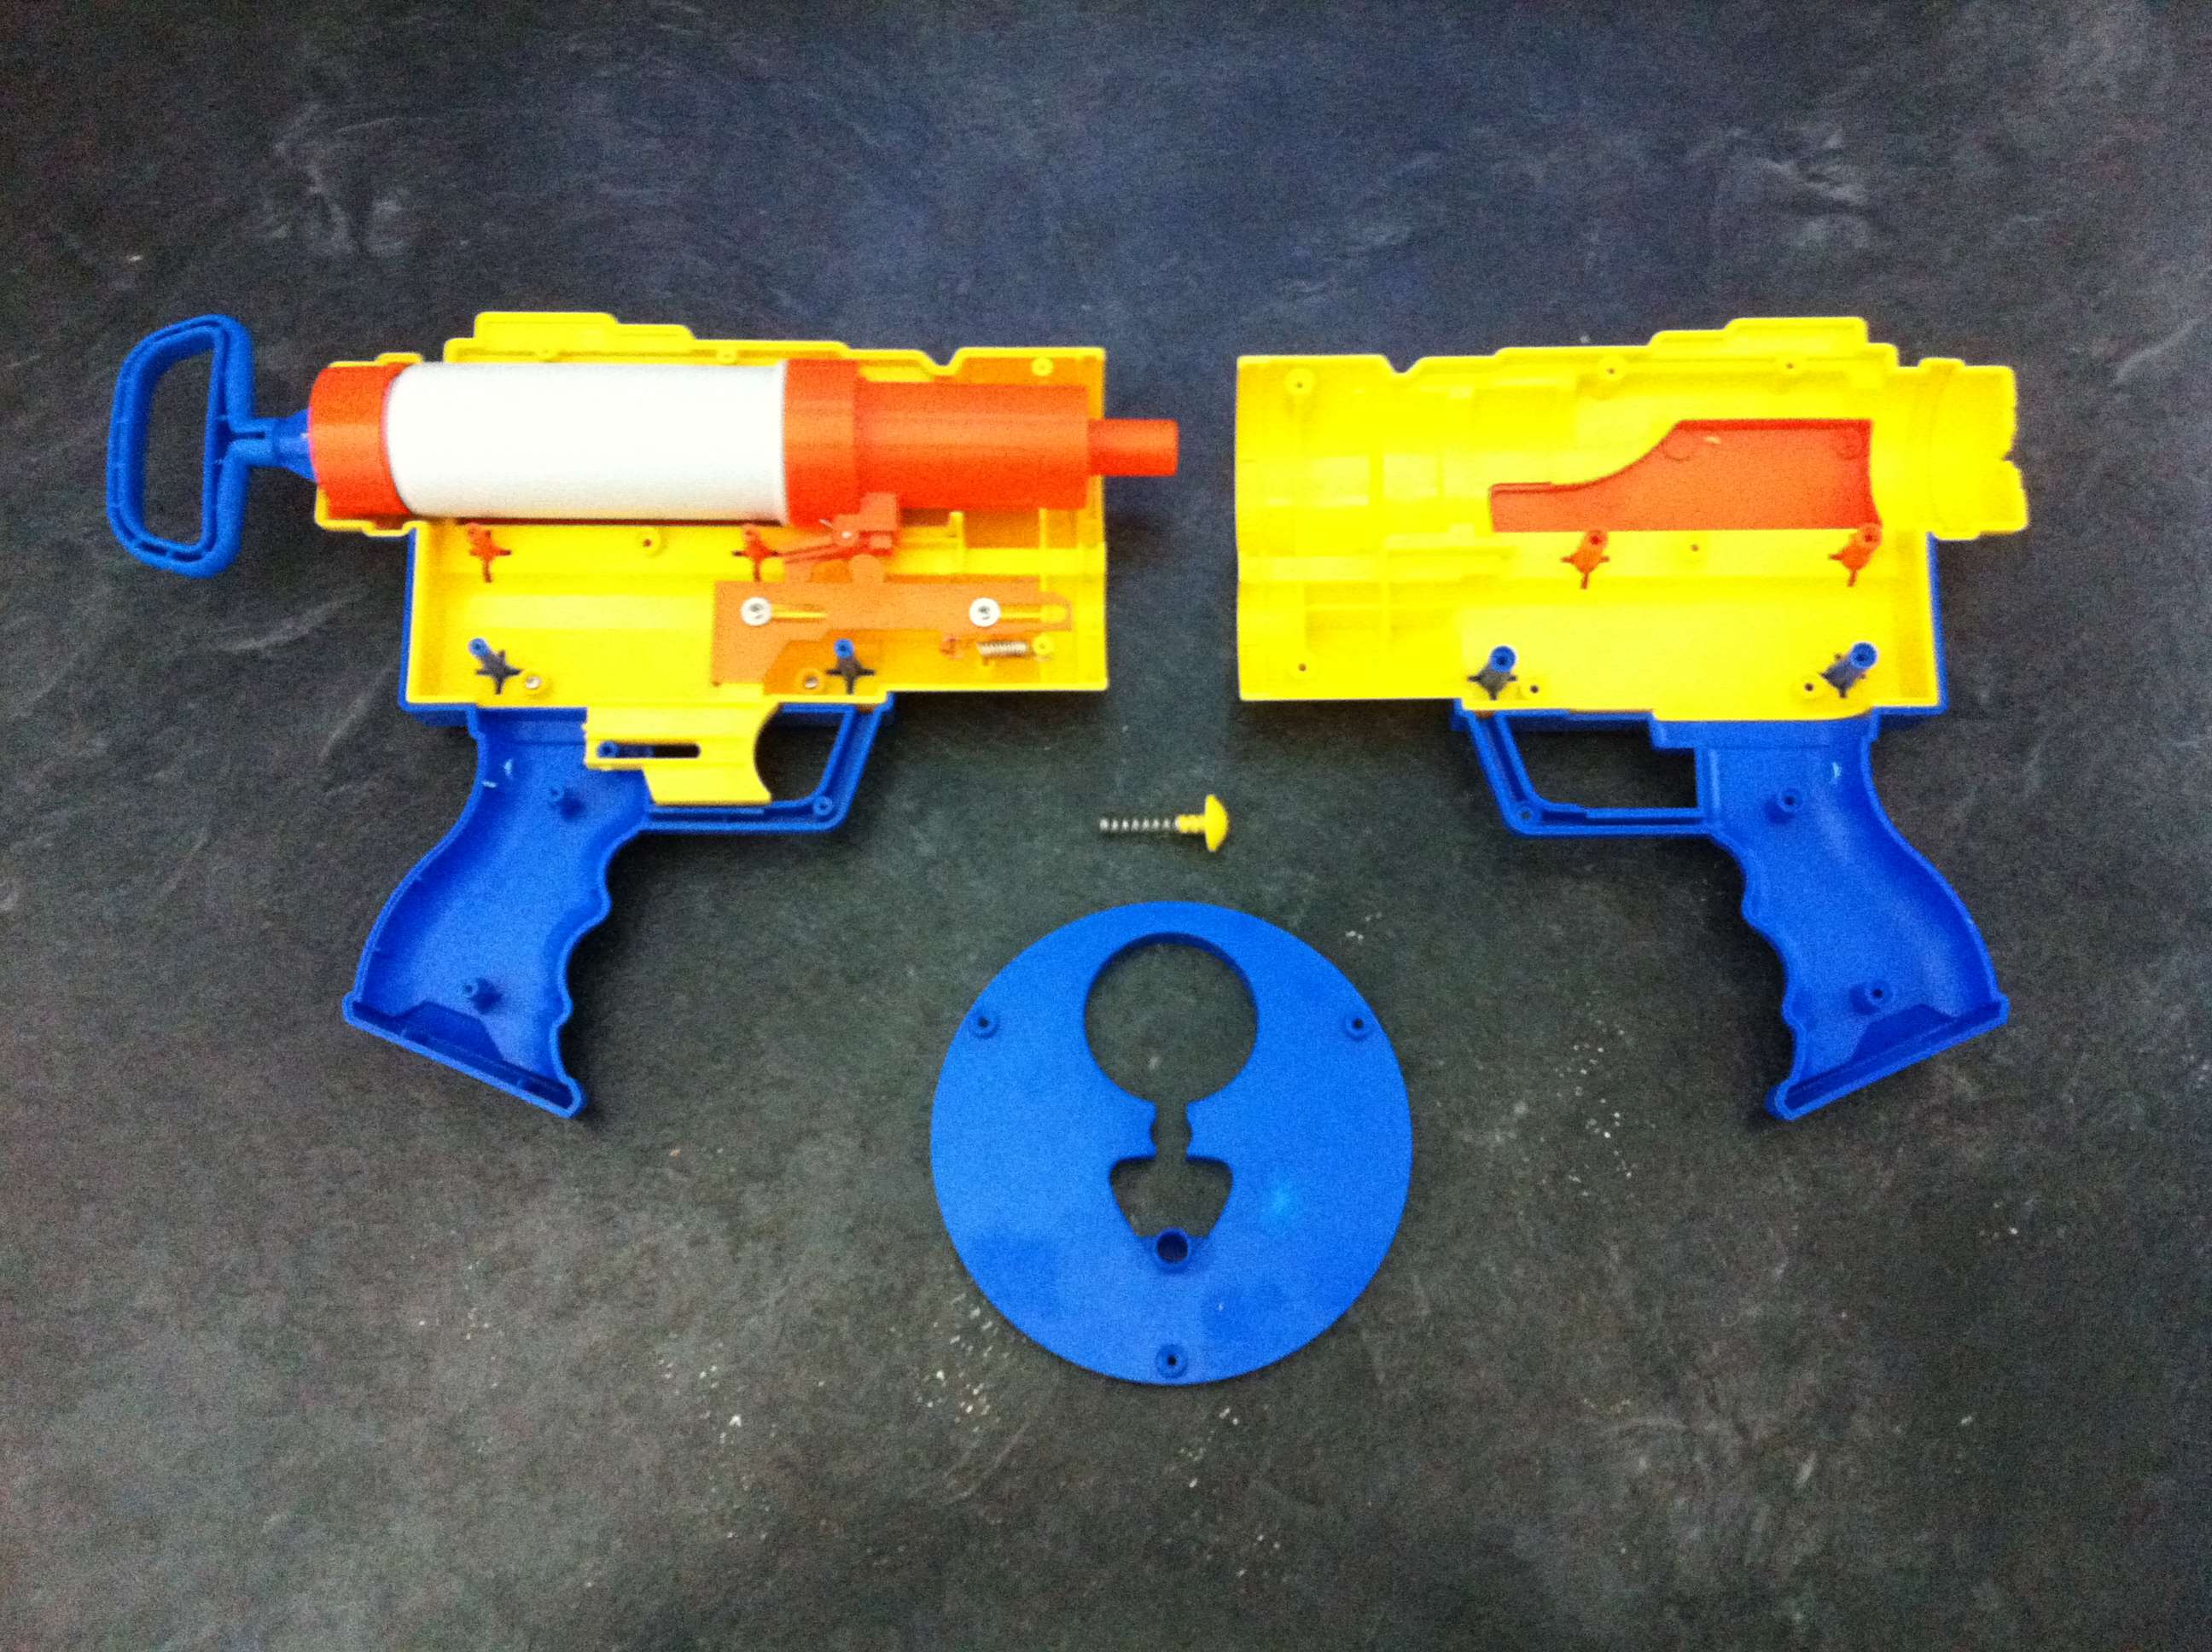
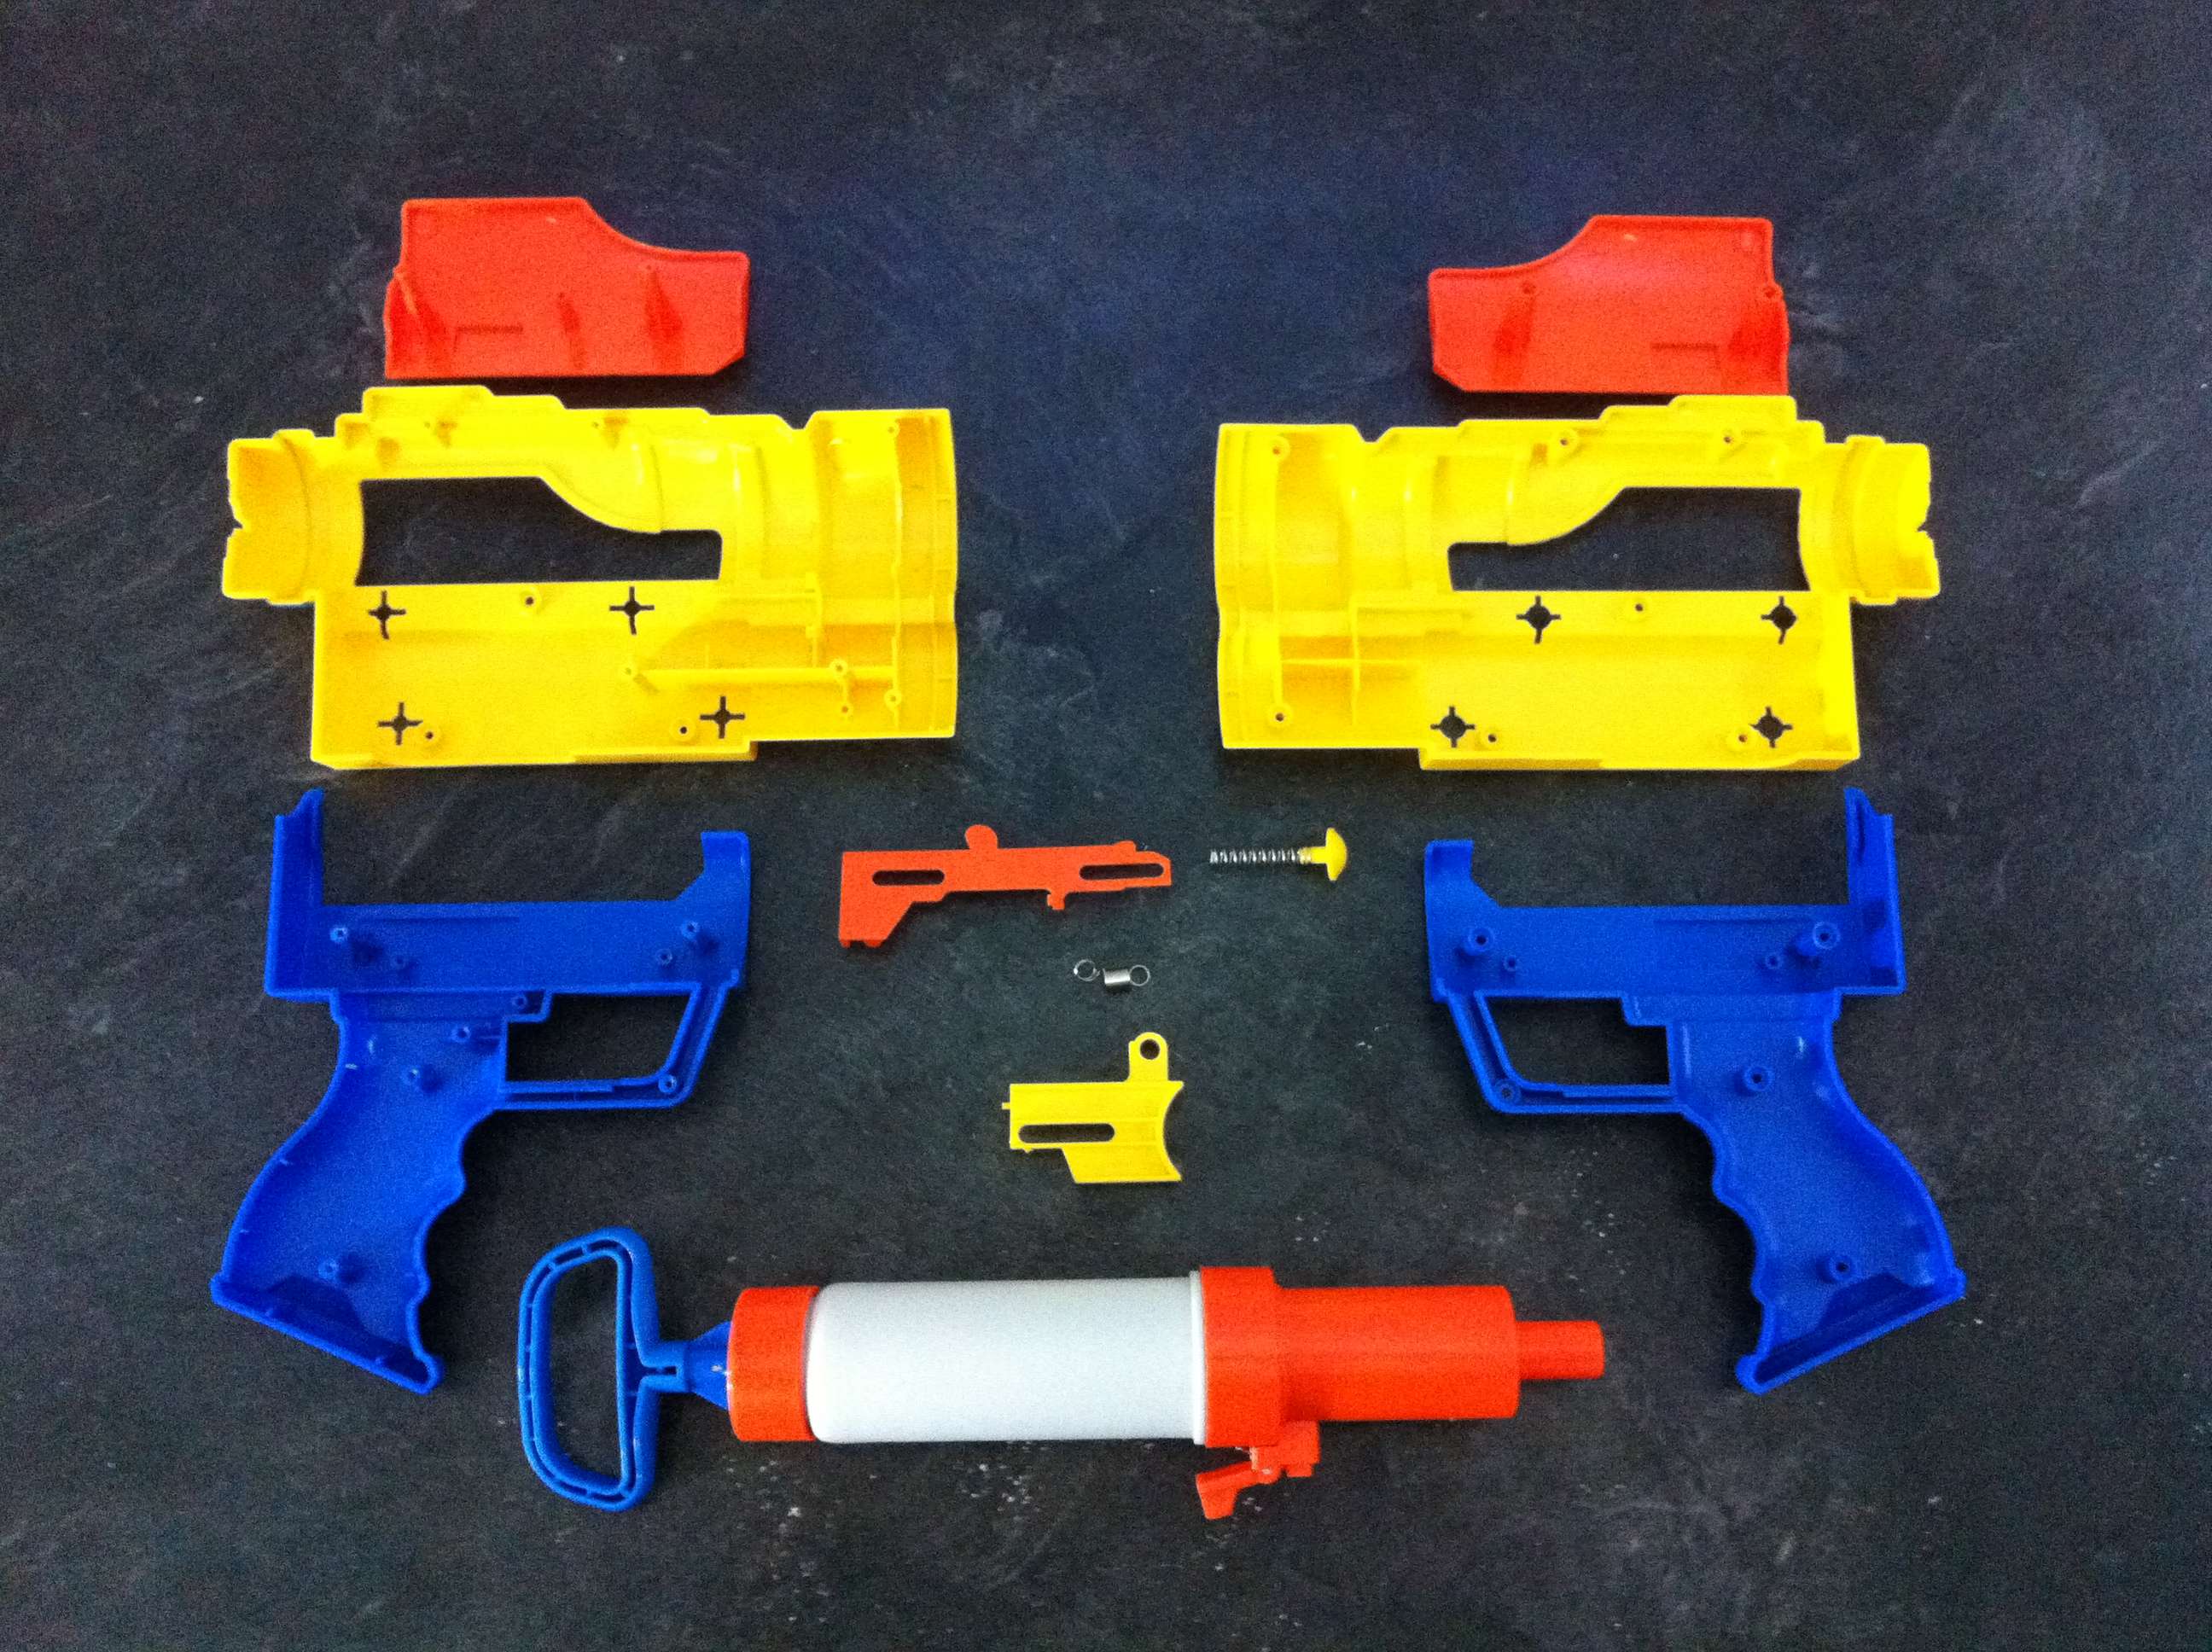
Well, I've been gone for quite a while, but I'm back for the moment. With my return, I bring full exploded-view of the CS-6 "Deploy" straight of the box. Took me nearly three hours cumulatively to get everything totally disassembled and arranged, but I think it will be well-worth it in the end. The final picture has a small note on it regarding glue used on the shell to join a part to it for the stock rail. My current inclination with this gun is to not bother with the "stealth" mode and get the most out of it I can, because the full shell is just way too pretty and functional. Don't get me wrong: it's awesome as hell to watch the gun snap out and everything, but it's too streamlined and "cool" looking, and has too much potential to me regarding practicality to worry about the transforming thing, so that is a personal choice. Also, huge massive thanks to NerfRogue83 for his great write-up and directions; I would have been lost for quite some time without his work and great presentation!

Without further ado:

Posted Image

Posted Image

Posted Image

Posted Image

Have fun!

Edited by TimberwolfCY, 26 July 2010 - 09:54 PM.

  • 0

#59 TimberwolfCY

TimberwolfCY

    Member

  • Members
  • 249 posts

Posted 31 July 2010 - 04:08 AM

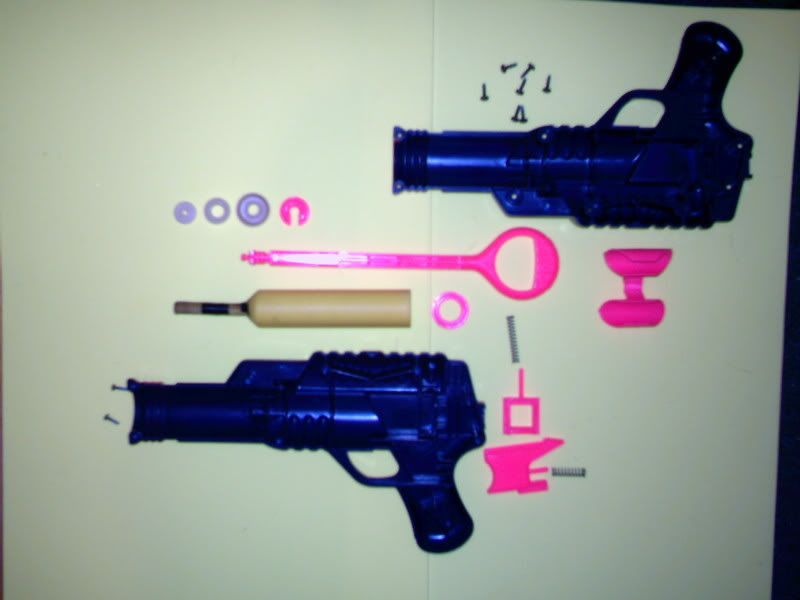
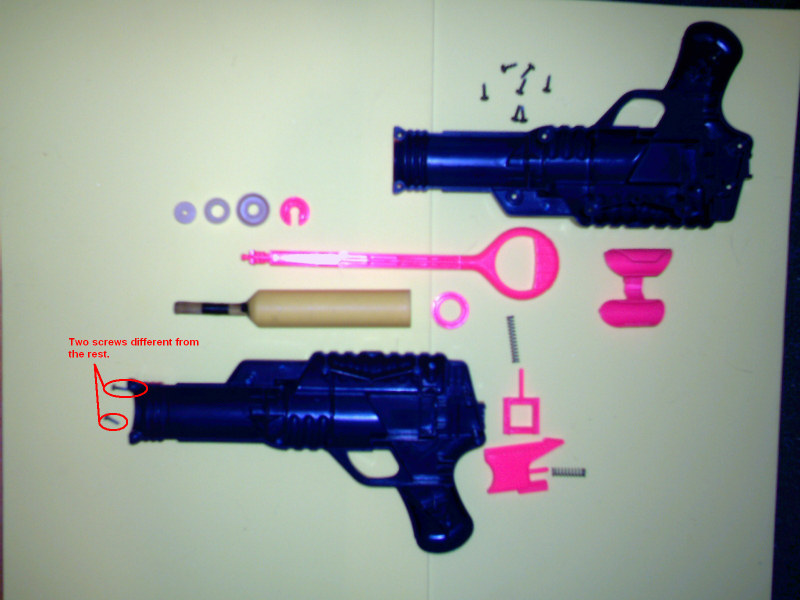
Sharpshooter I, full-exploded view. I saw FA already has one up, and definitely has better visual quality, but I thought since I'm on a roll with this style, I'd go backwards and do one of the first.

The "barrel" is slightly taped up as this one was one of my first mod-attempts; basically I tried to cut a parallel line out of the barrel and then melt it back together so as to fit standard darts...that was when I was ~10 or 11, and before the age of broadband (go 56k!). However I've always like the shell on this one (I have small hands, and let's face facts: it's a tank!) but really never knew what to do with it until about 2 years ago, and then I left again. But being back, and being a selective-packrat, I saved it except for the spring (I used it in an LnL IIRC, or some other mod), otherwise besides the barrel deformity it is still stock. I didn't bother digging up the spring as I think it's moot enough that it doesn't matter. Final note: the forward-most screws joining the cowling-shell-halves are different than the rest: tighter thread and slightly shorter; they are pointed toward their respective holes. Without further ado:

Without note:
Posted Image

With note regarding screws:
Posted Image

Edited by TimberwolfCY, 31 July 2010 - 04:16 AM.

  • 0
"Denial is the most predictable of all human responses. But, rest assured, this will be the sixth time we have destroyed it, and we have become exceedingly efficient at it." - The Architect, The Matrix: Reloaded

TimberwolfCY
of NH, NHQ, NO, NC

#60 Zorns Lemma

Zorns Lemma

    Sir Scrt

  • Moderators
  • 1,277 posts

Posted 11 September 2010 - 06:31 PM

Words aren't needed unless you're stupid.

I didn't have a cutting wheel to open up the piston mechanism and the tabs to lock it in place are solvent welded on.

Also so was the shell.

Posted Image
Posted Image
Posted Image
Posted Image
Posted Image
Posted Image
  • 0
"In short, the same knowledge that underlies the ability to produce correct judgement is also the knowledge that underlies the ability to recognize correct judgement. To lack the former is to be deficient in the latter."
Kruger and Dunning (1999)

#61 Nerfd

Nerfd

    Member

  • Members
  • 2 posts

Posted 11 September 2010 - 08:47 PM

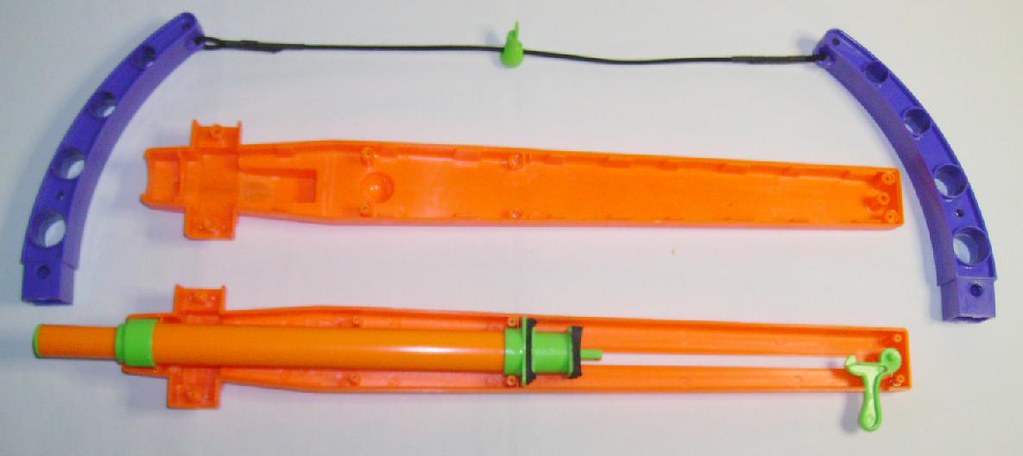
I picked up a Just Toys Crossbow the other day and I noticed it was on the list.

Here:
Posted Image
  • 0
Should you come across an opponent who has run out of ammo, you may "do them Execution Style" - PA NERF RoE

#62 taerKitty

taerKitty

    Member

  • Members
  • 883 posts

Posted 16 September 2010 - 10:10 PM

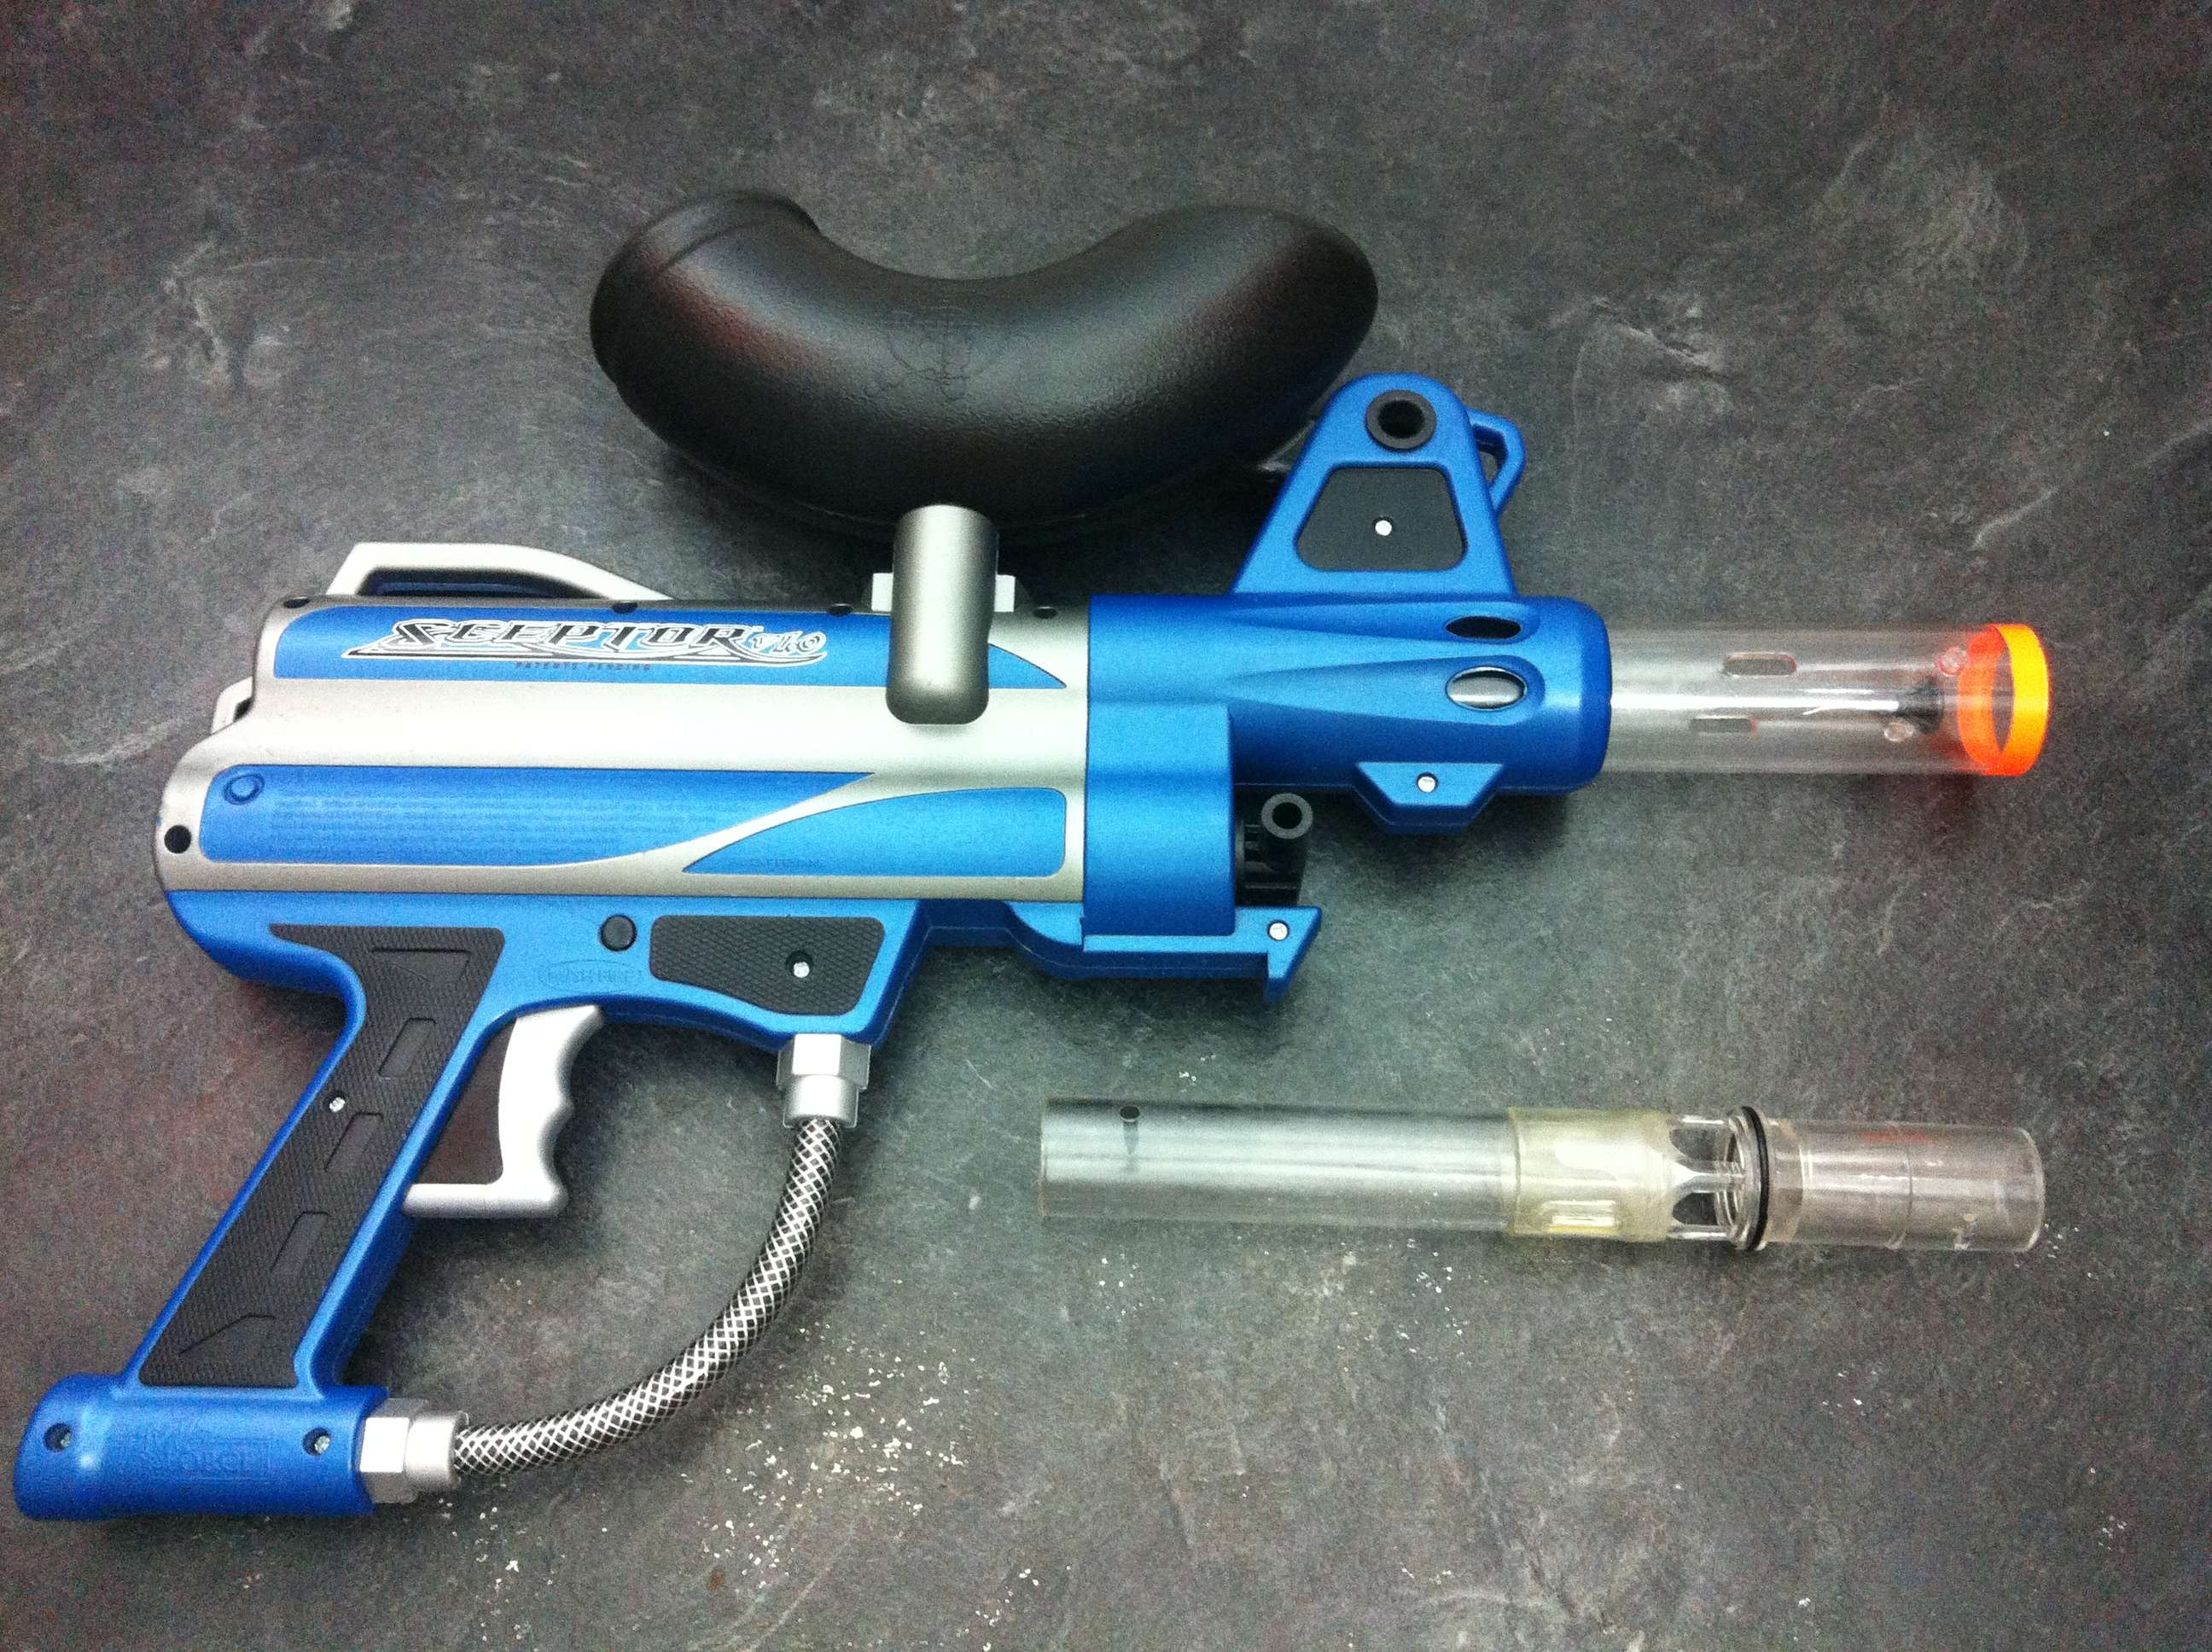
BattleMax Sceptor

Here's an internals shot:

Posted Image


Business end is toward the right.

Above the guts is the white tube housing the follower and spring.

Below the guts is the follower spring. I'm not sure if it's constant force or not, but it's a very light spring.

Bottom of the assembly is the pump. The sausage is the air reservoir, but so is the upper tube.

The left block is the firing pin assembly. The trigger presses the grey catch leftward until it rotates so that the trigger moves past it, at which point it snaps back into position. It pivots at the grey metal pin, visible in the lower middle of the firing pin assembly. The bottom half swings back toward the right, and the upper part of it snaps to the left.

This strikes a part attached to the lower metal bar, which is visible just above the upper tube. The actual part being struck is fully enclosed in the firing pin assembly, but it has enough mass to throw the metal rod leftward more than 1/2". The lower metal rod is usually held in place by a spring also pushing it rightward. This spring is also enclosed in the firing pin assembly.

Posted Image


The right end of the metal rod is a dump valve, in the middle of the above photo. The top is the follower rod, which pushes the ammo into place. The bottom is the pump chamber.
  • 0
Fugly is a feature.

#63 iDrag0m1r

iDrag0m1r

    Member

  • Members
  • 66 posts

Posted 02 January 2011 - 04:24 PM

Posted Image

Posted Image

Posted Image

Posted Image

Lanard Scatterblast. Noticed it wasn't on the list.
  • 0
I AM JUNIOR!

#64 Archangel45

Archangel45

    Member

  • Members
  • 119 posts

Posted 19 August 2011 - 11:20 PM

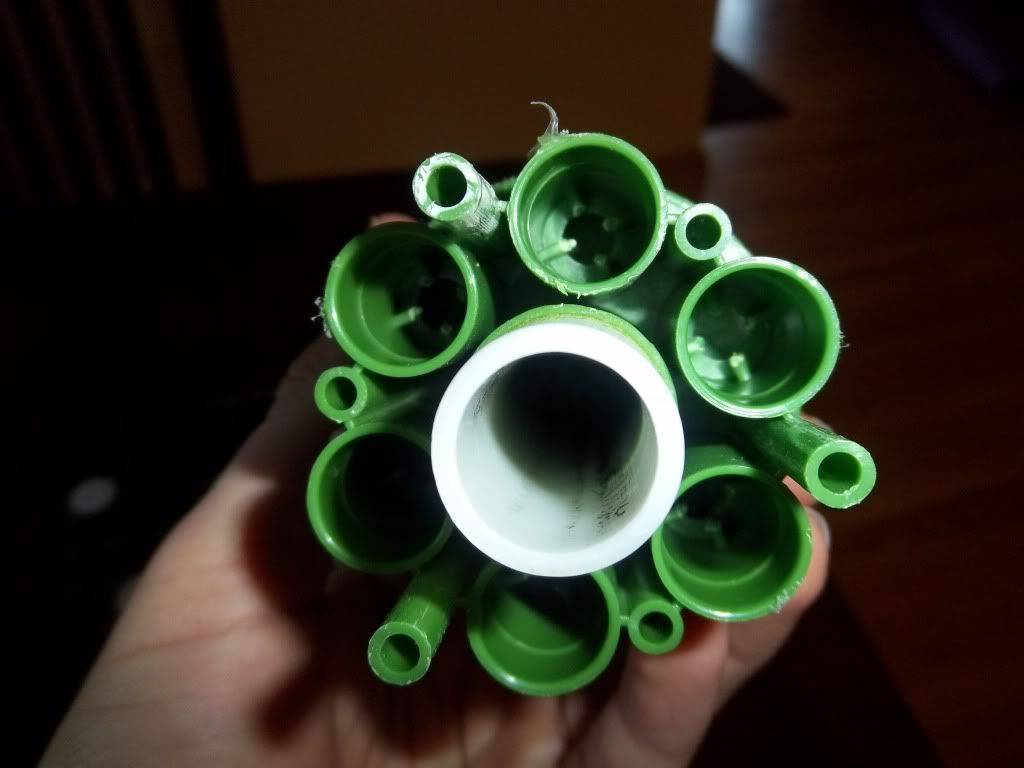
BullShitDragon recently asked me about This Ultimate Missile Blast from Buzz Bee Toys I have- he wanted to see the internals and I couldnt find them in the Directory- so here they are.

Posted Image
Posted Image
Posted Image
Posted Image
Posted Image
  • 0
"He who is made of air should not acuse the wind."

#65 Blue

Blue

    Member

  • Members
  • 2,222 posts

Posted 07 December 2011 - 01:47 AM

Much more helpful than Kermit.
http://img.photobuck...GLF/roflbot.jpg

Edited by Blue, 30 March 2012 - 12:37 PM.

  • 0

#66 makeitgo

makeitgo

    Member

  • Members
  • 216 posts

Posted 23 January 2012 - 04:44 PM

"Mortar Pistol Internals"

Posted Image

Posted Image

Posted Image

Posted Image

Posted Image

Posted Image

Posted Image

Posted Image

Posted Image

Posted Image

Posted Image

Posted Image

Posted Image
  • 0
"...he is one speedy bastard." ~ Cheyner

#67 Mr BadWrench

Mr BadWrench

    Member

  • Members
  • 781 posts

Posted 27 April 2012 - 10:35 PM

Posted Image
  • 0
NerfChat IRC Chatroom Click to chat!

#68 idleninja

idleninja

    Member

  • Members
  • 24 posts

Posted 08 May 2012 - 02:16 PM

ClipTek Internals (ignore the SSPBs):
Posted Image

Posted Image

Posted Image

Posted Image

Posted Image

Edited by idleninja, 14 May 2012 - 01:31 AM.

  • 0
Sig?

#69 makeitgo

makeitgo

    Member

  • Members
  • 216 posts

Posted 29 June 2012 - 02:48 PM

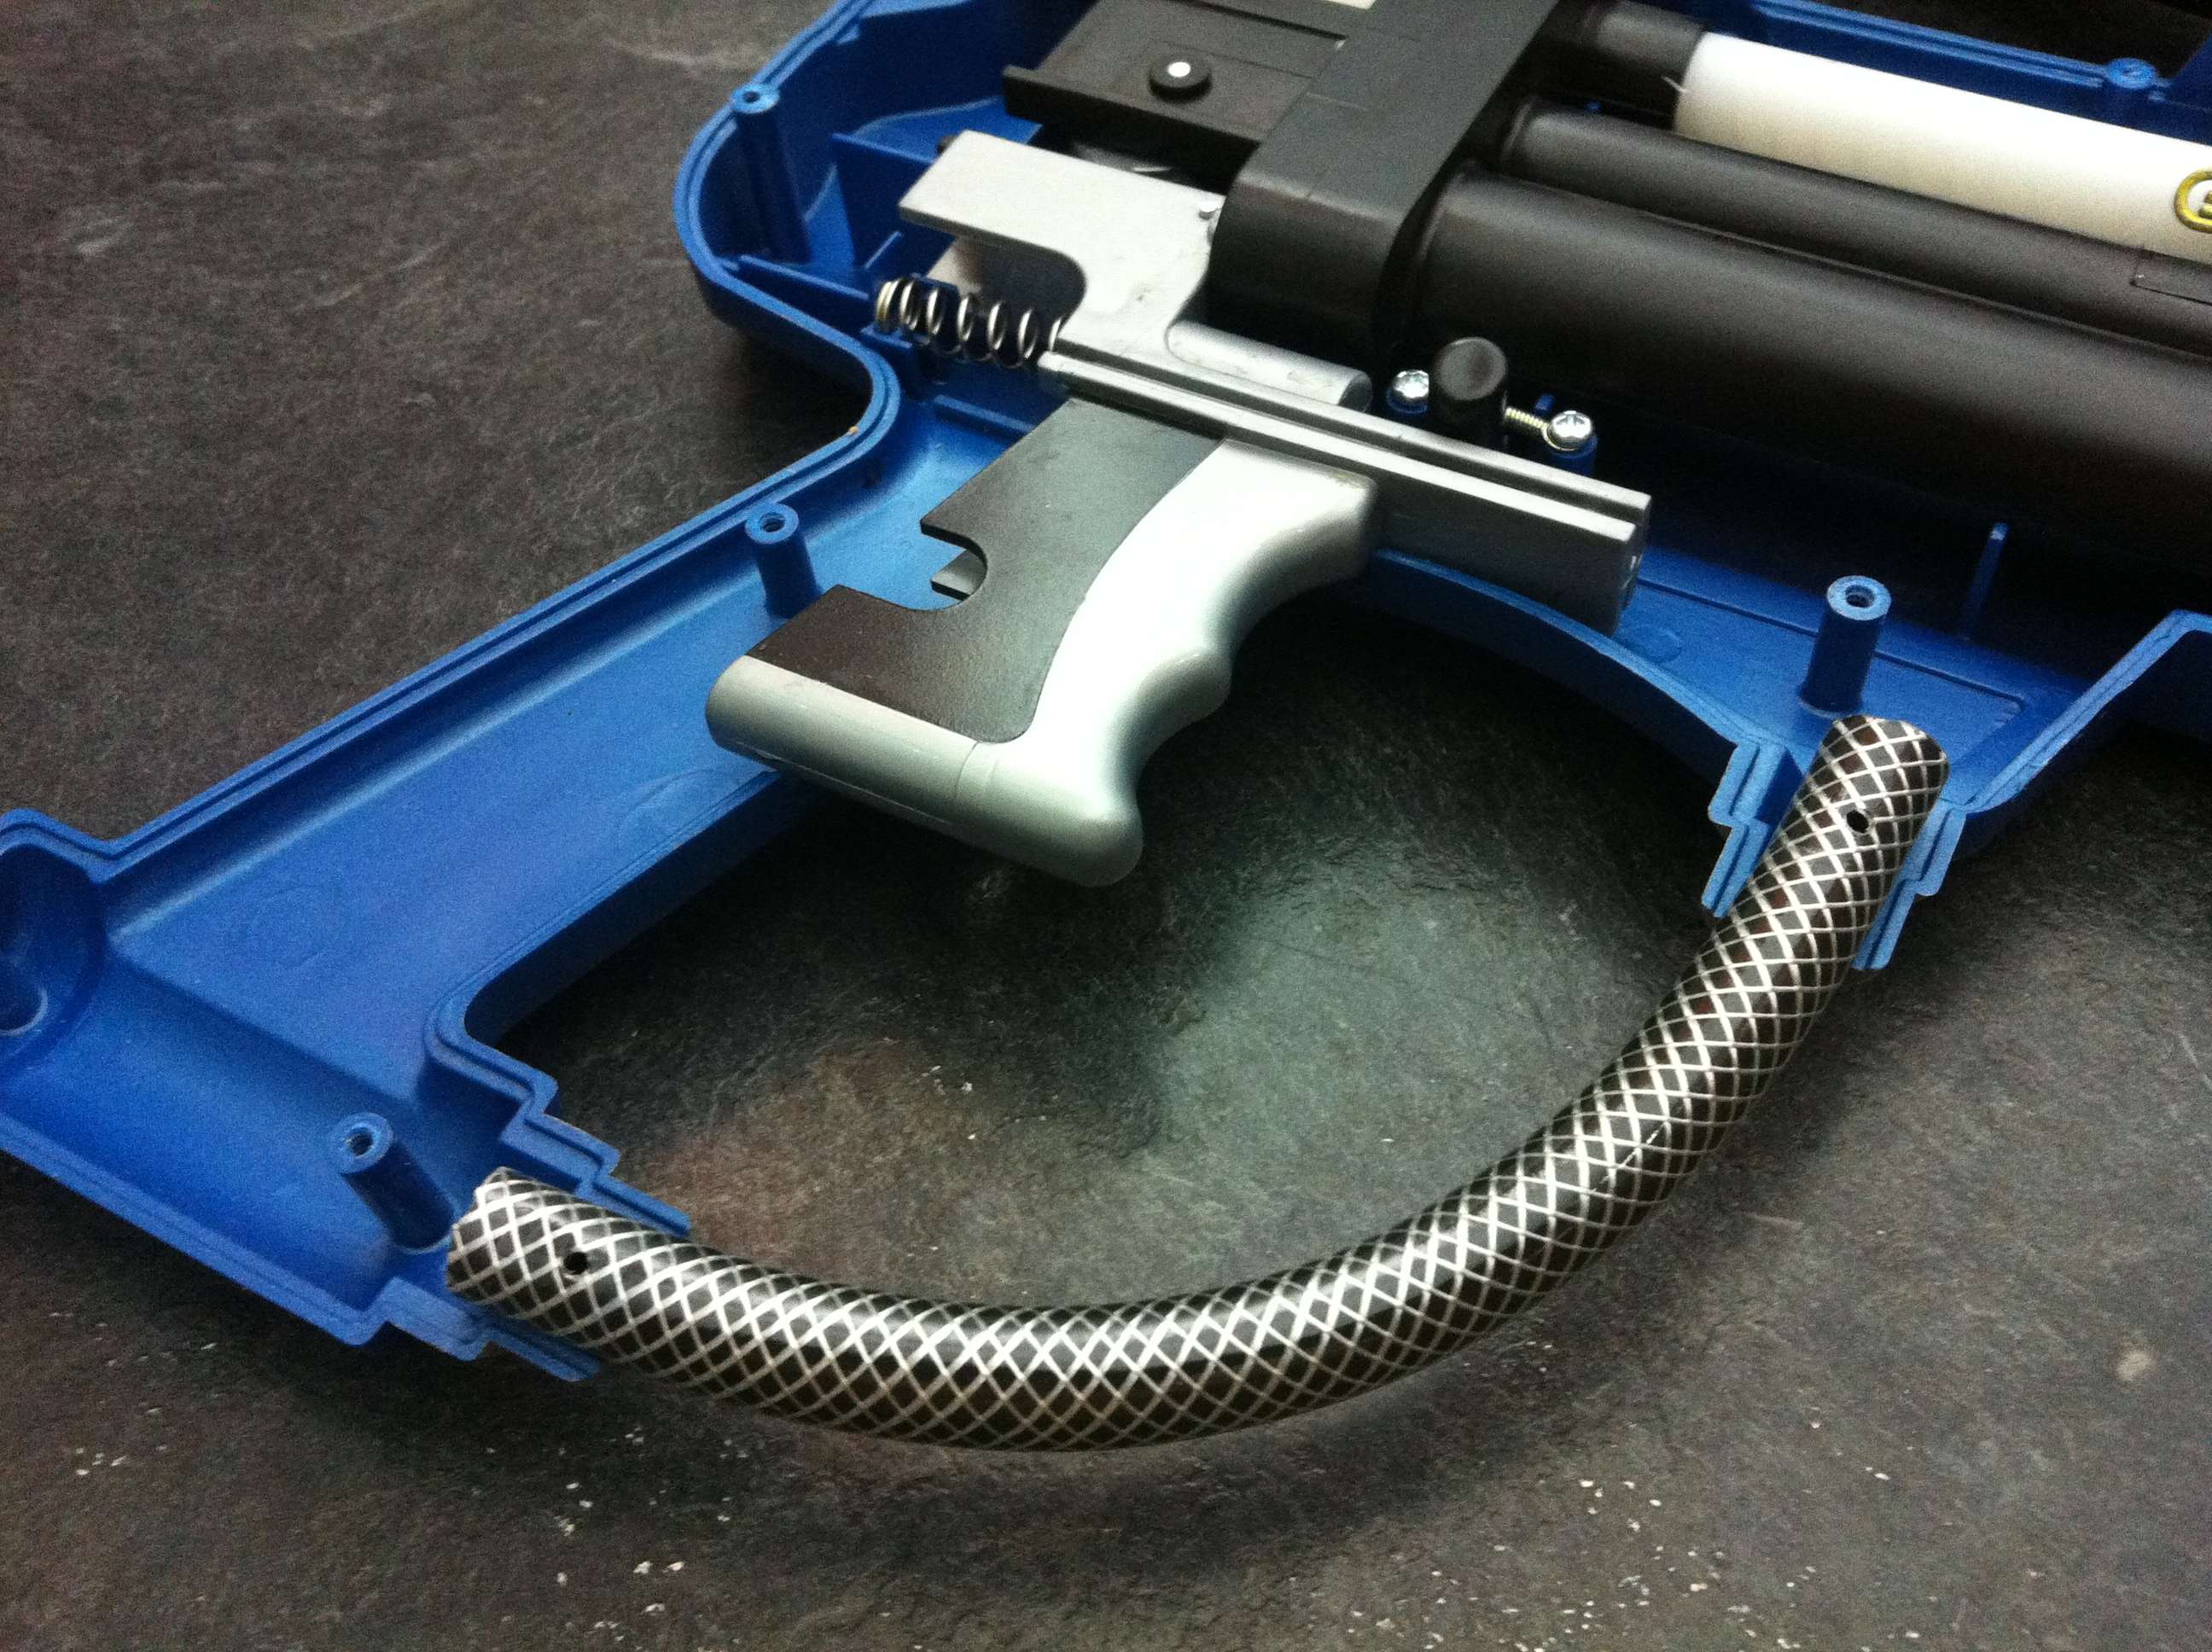
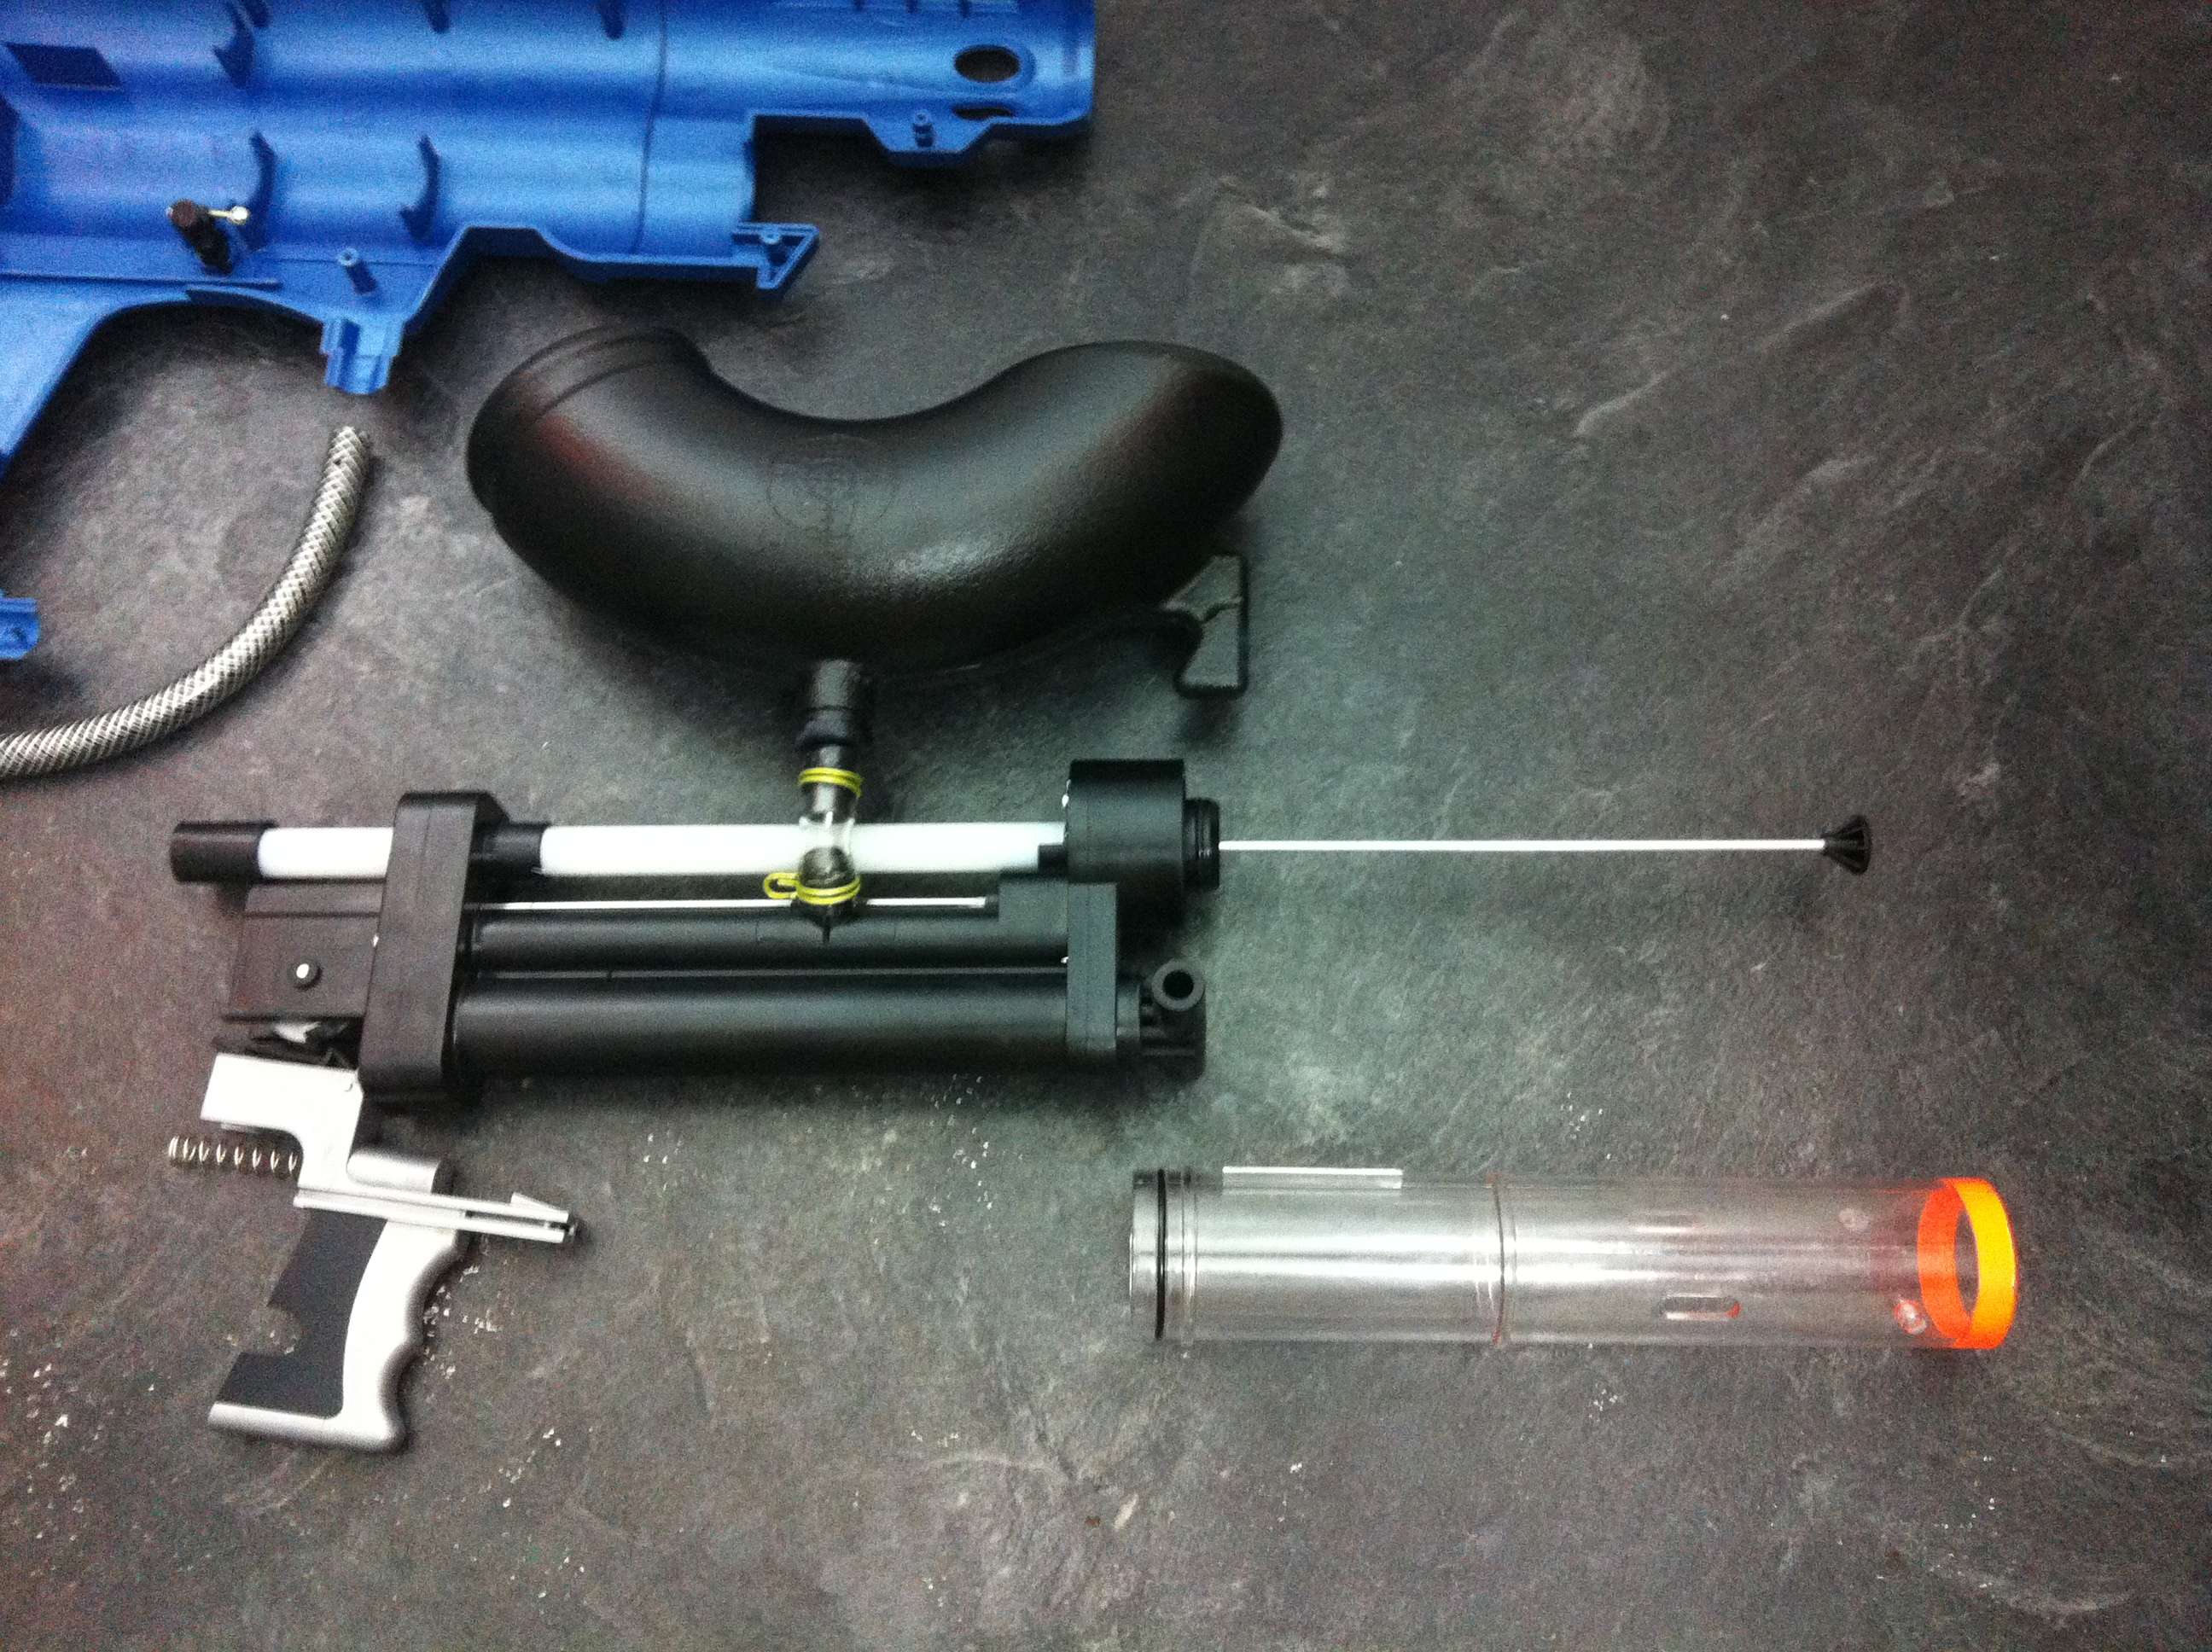
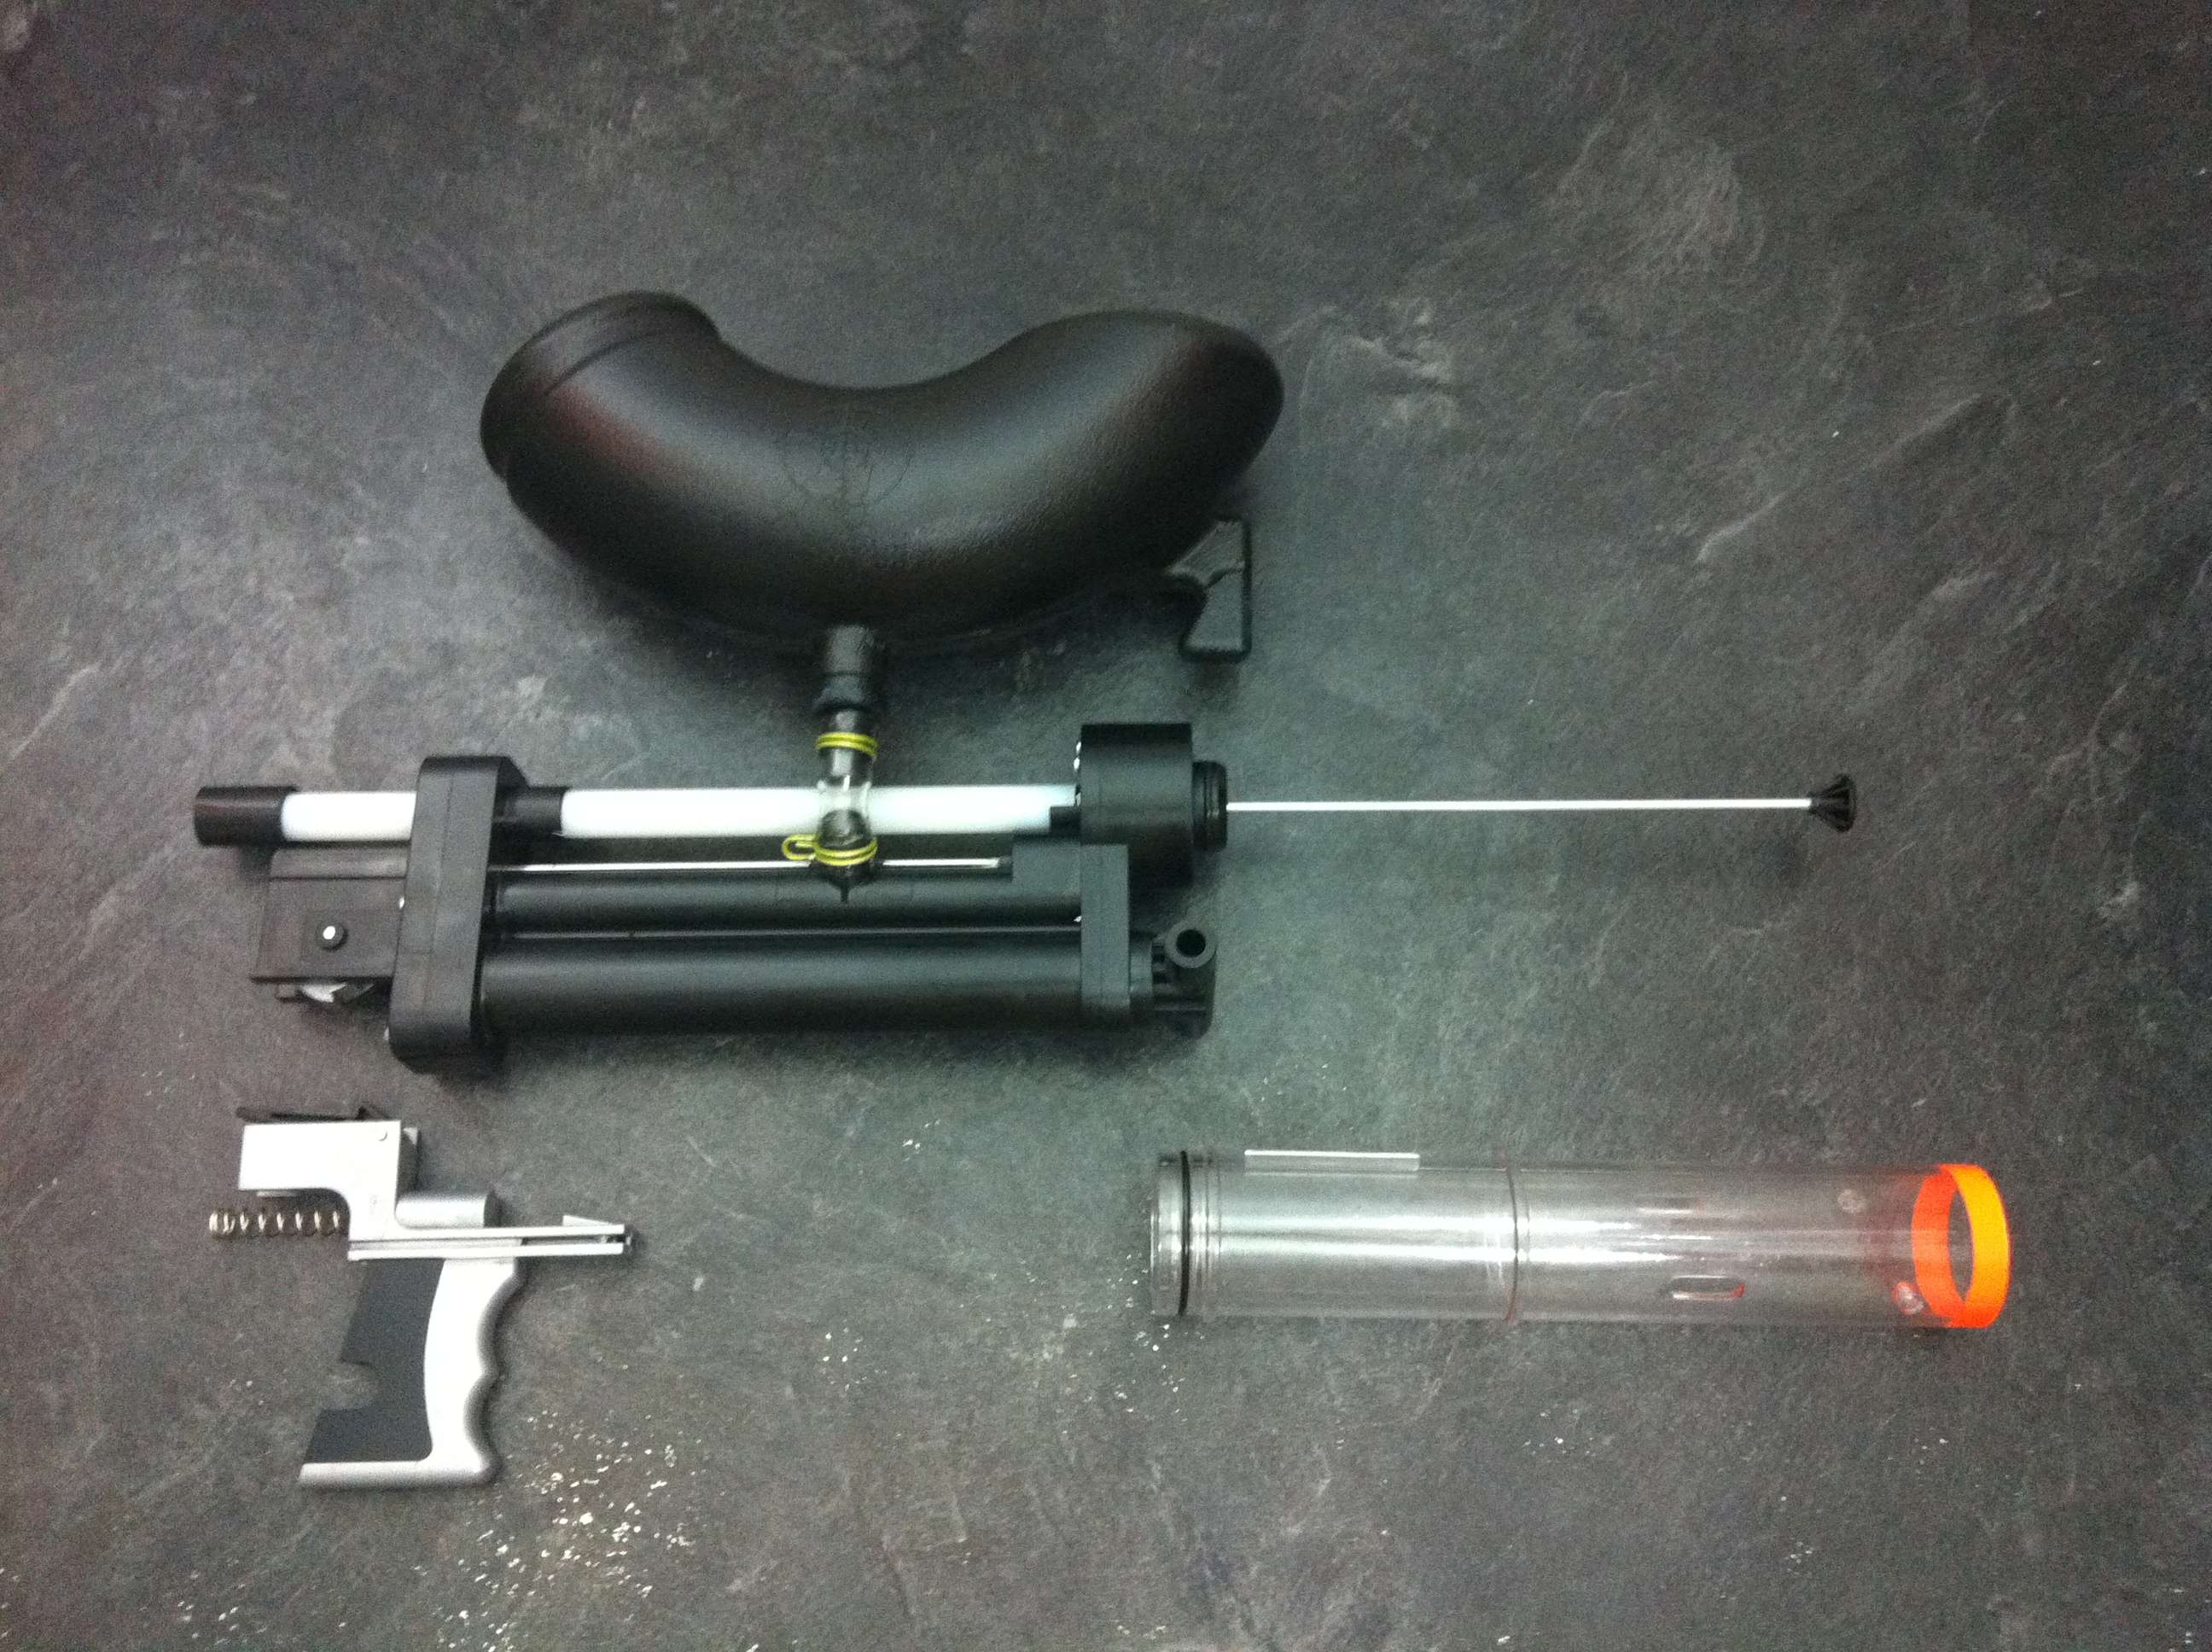
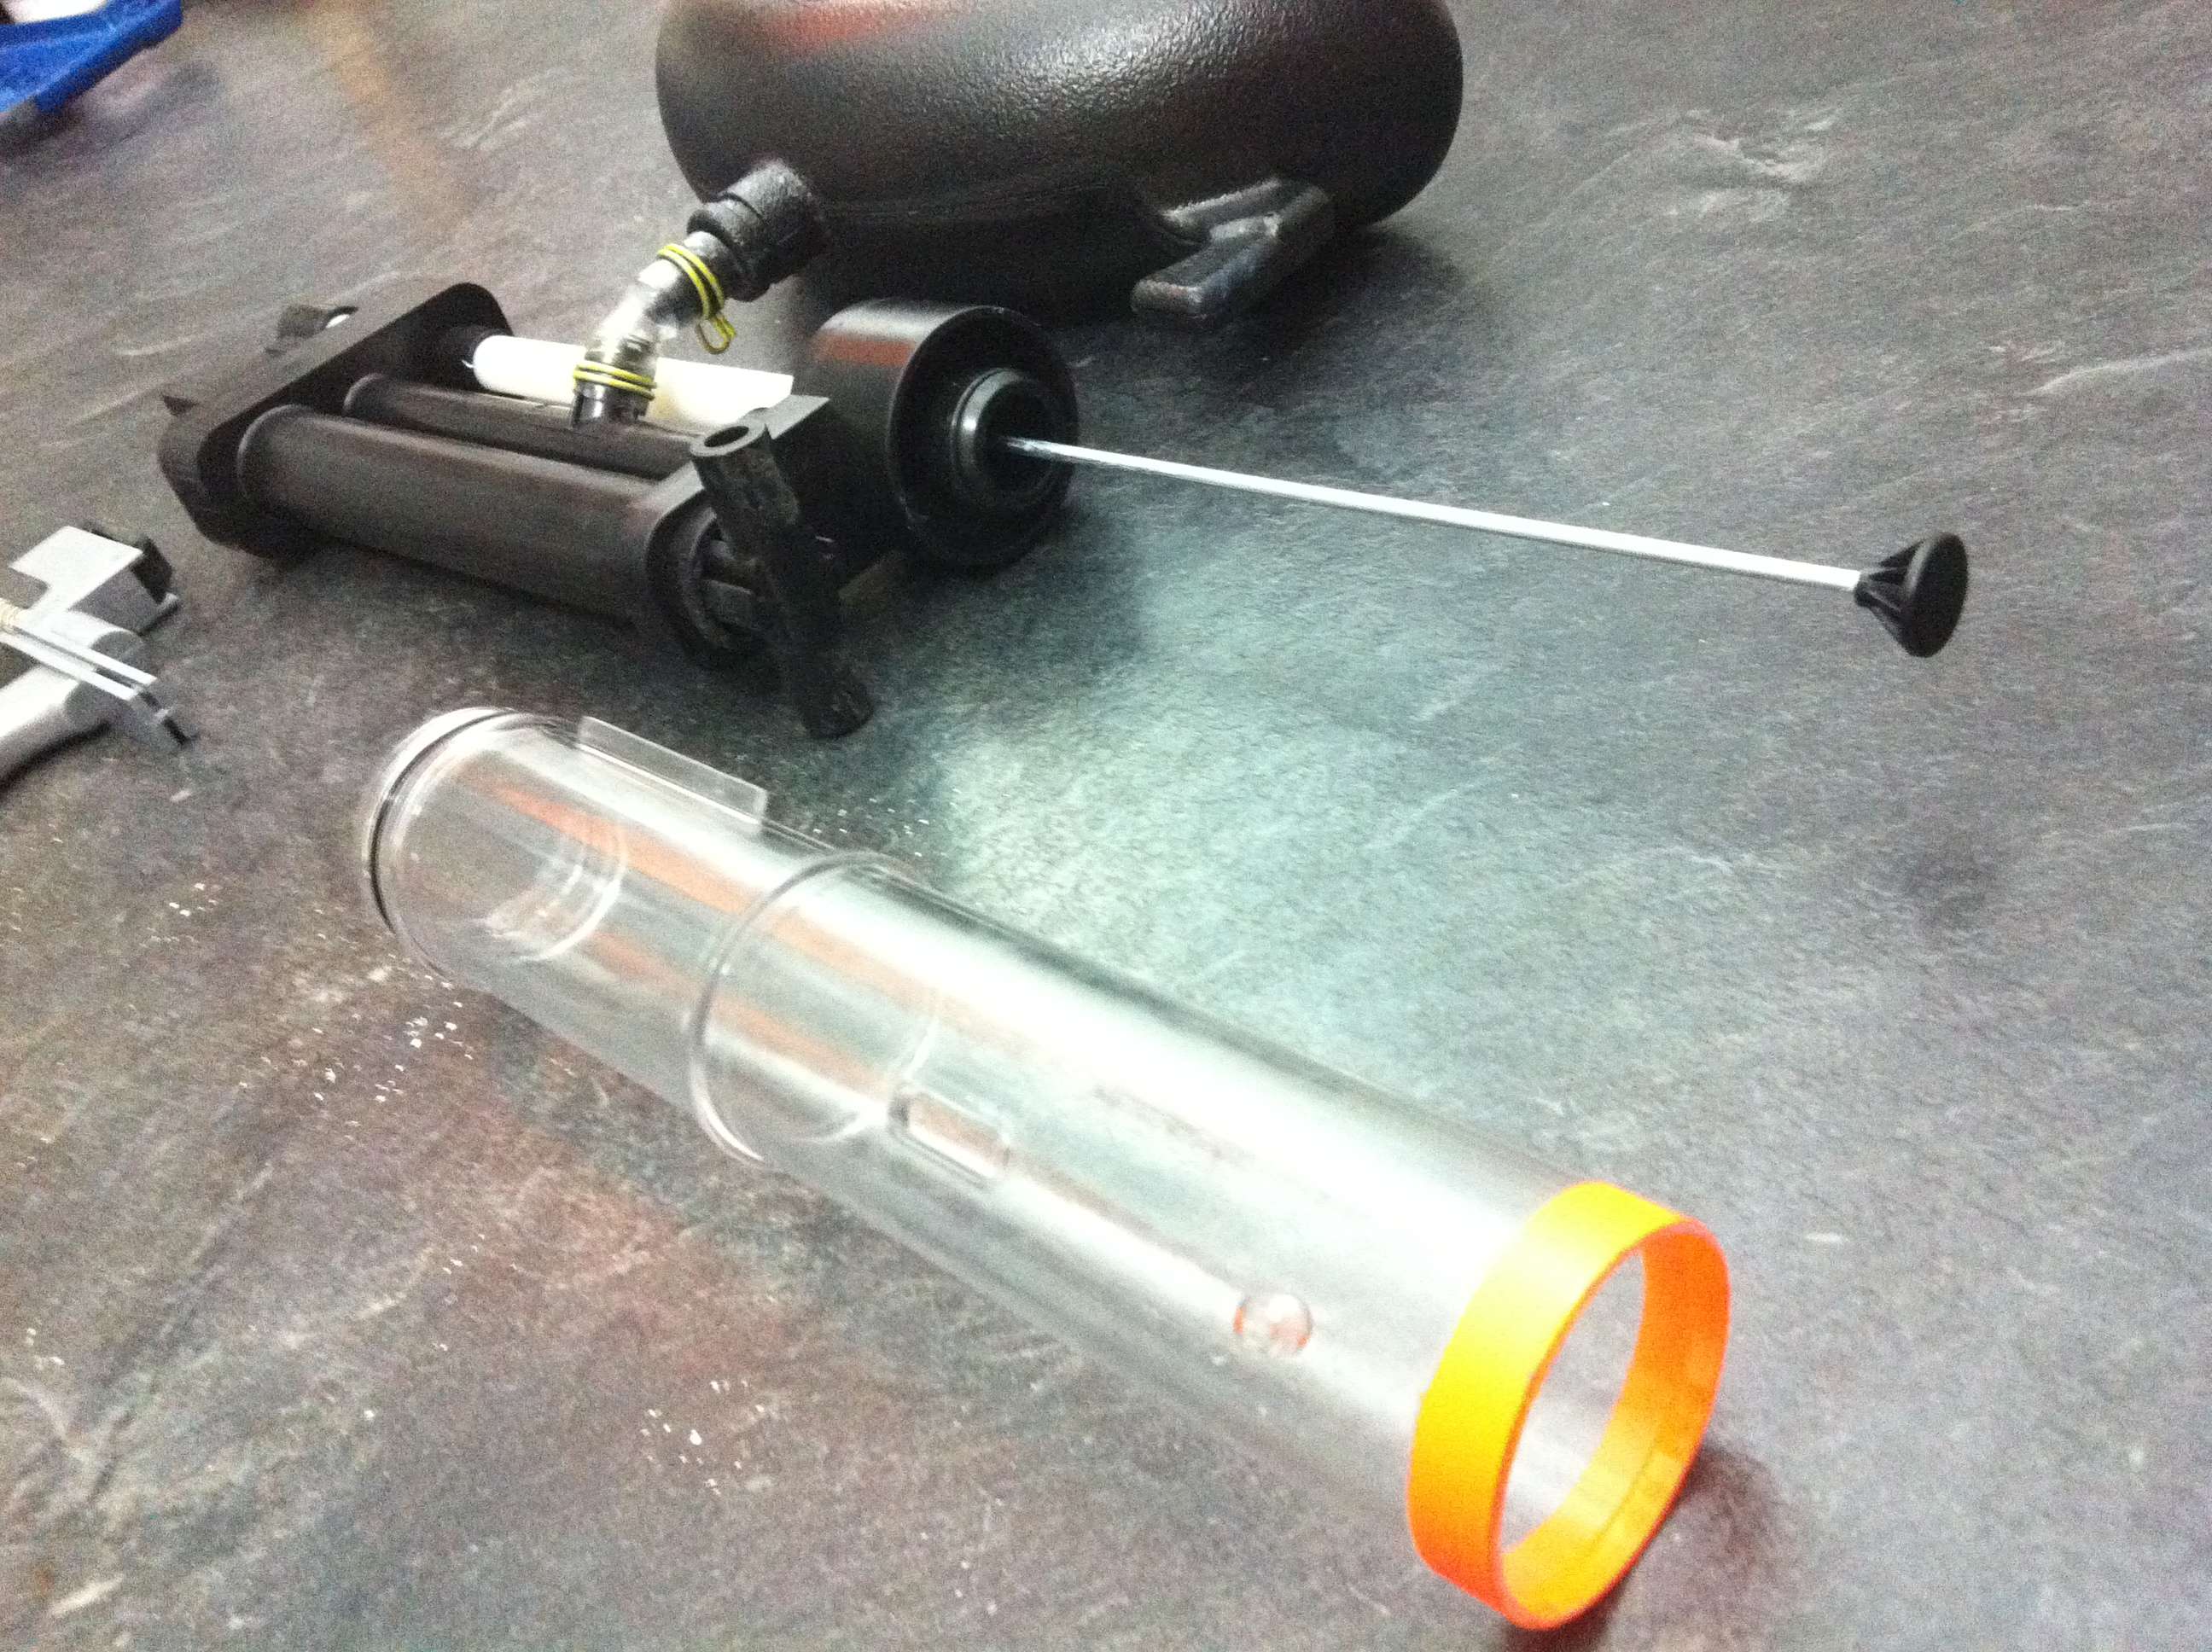
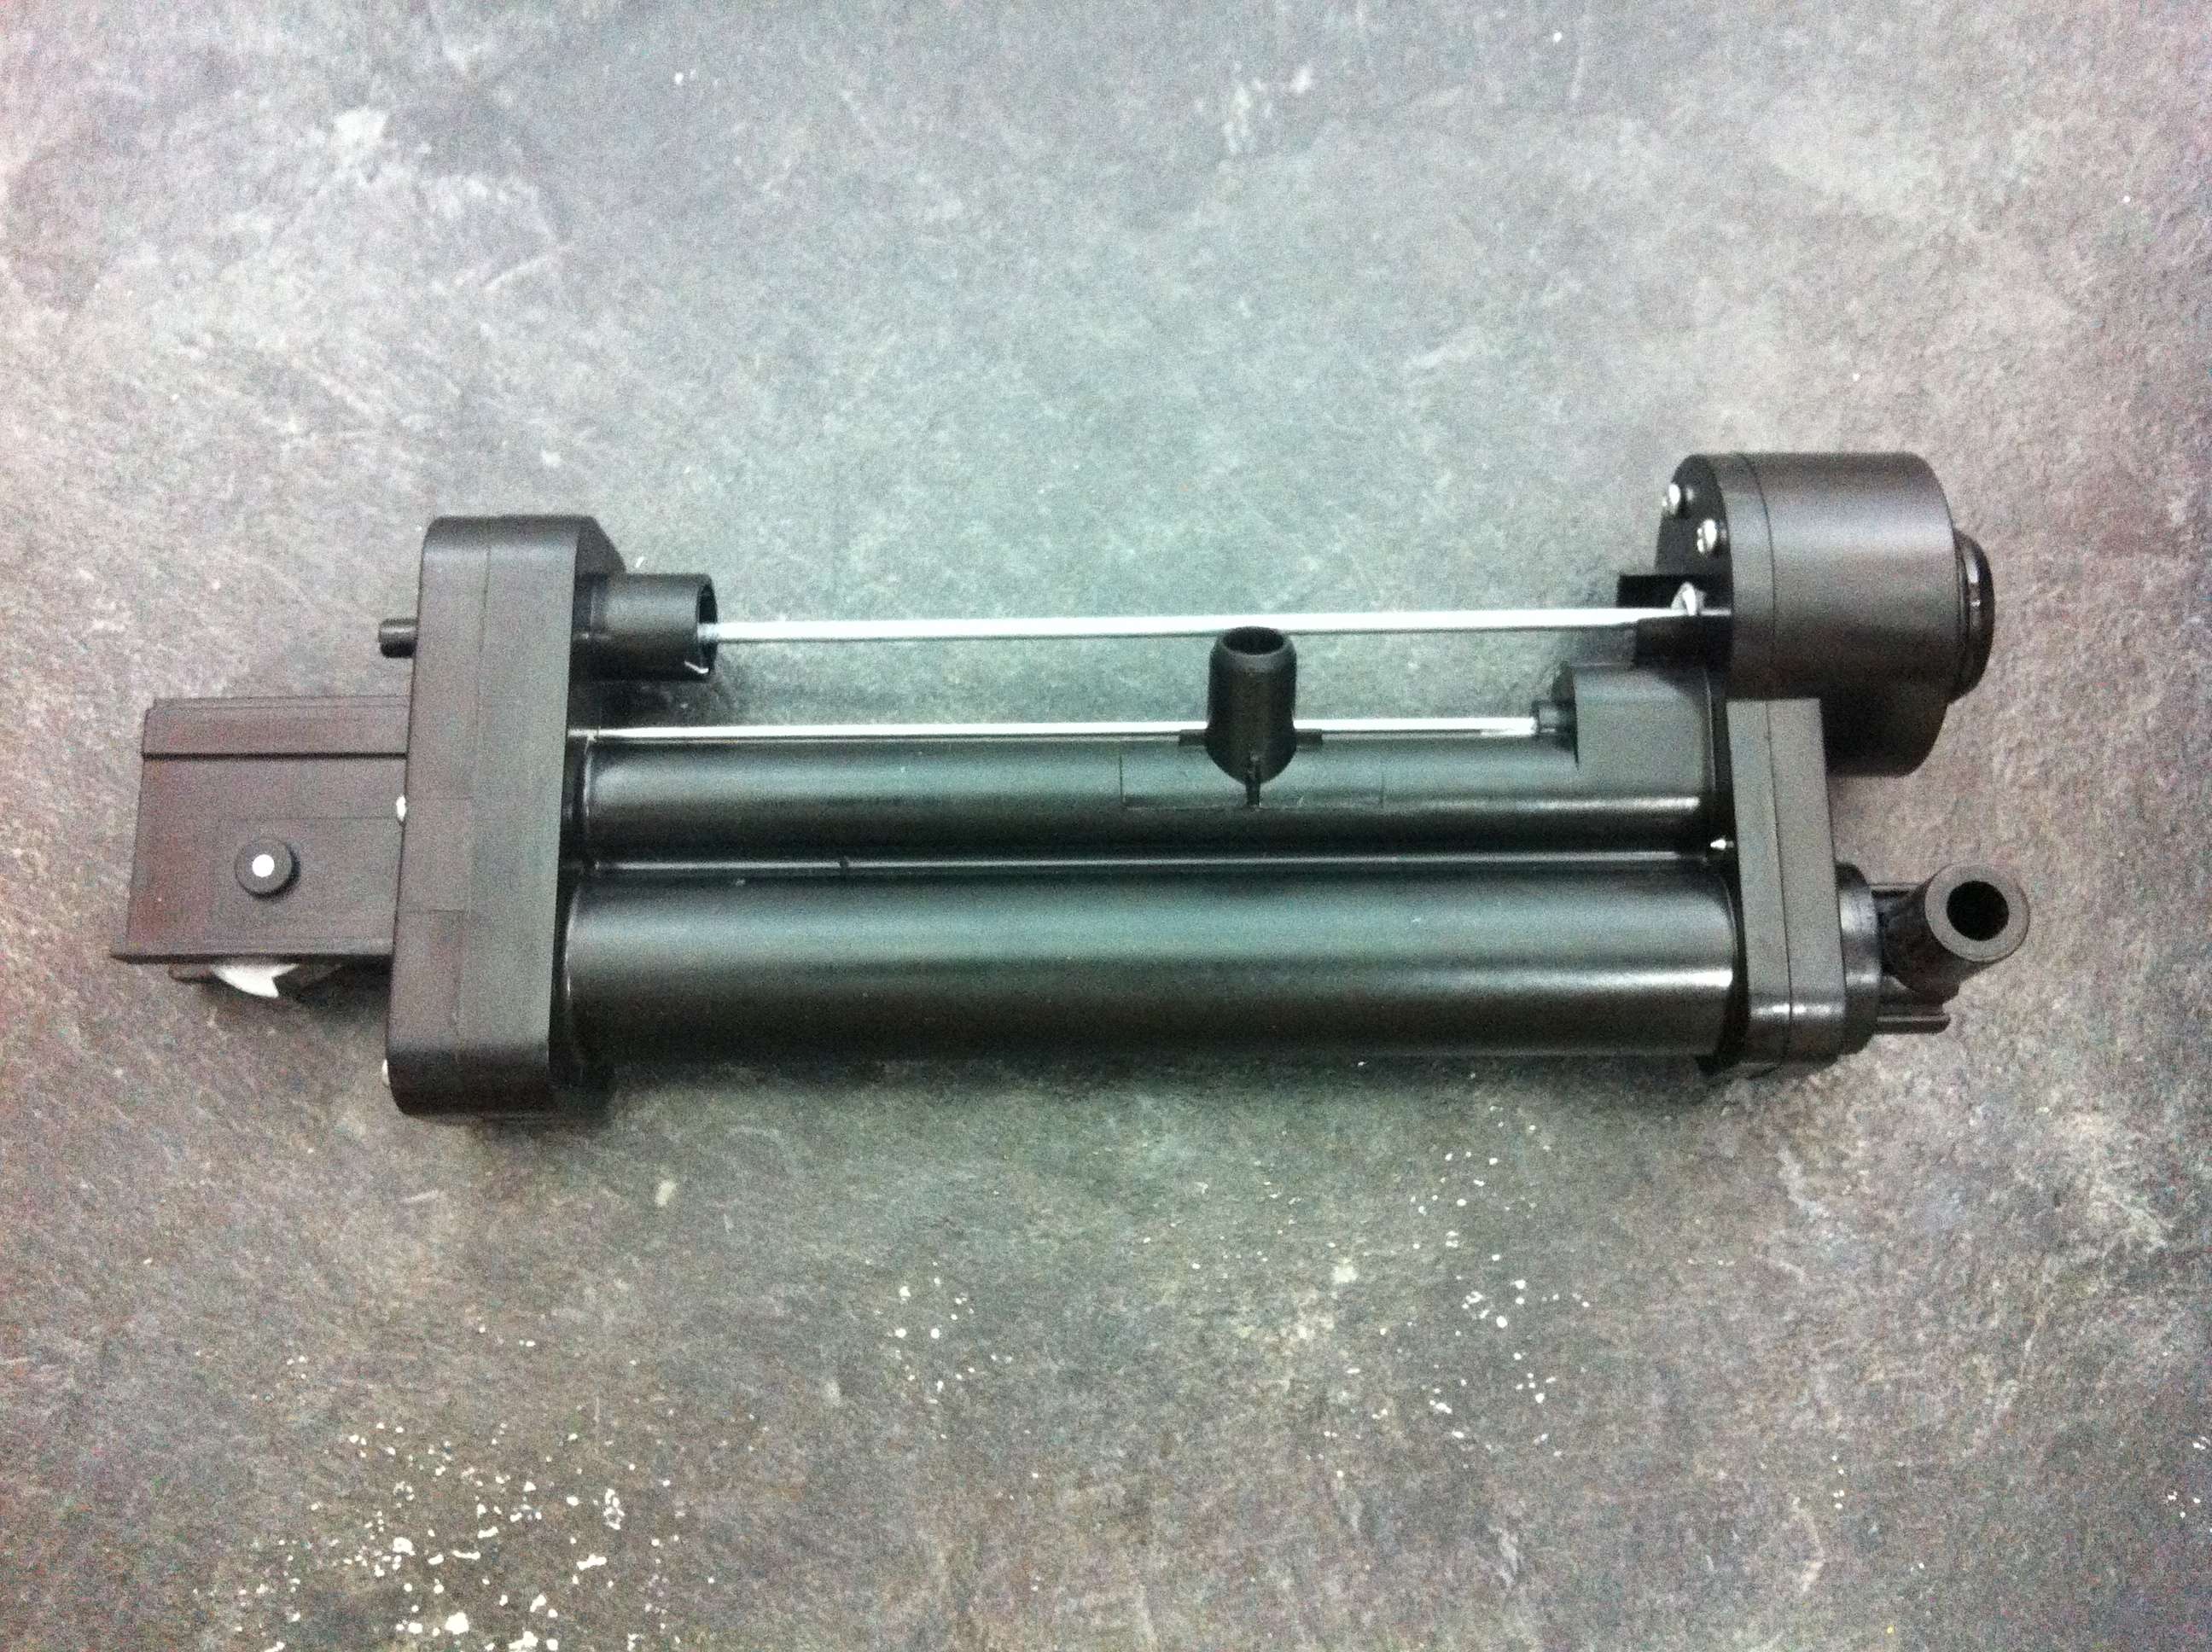
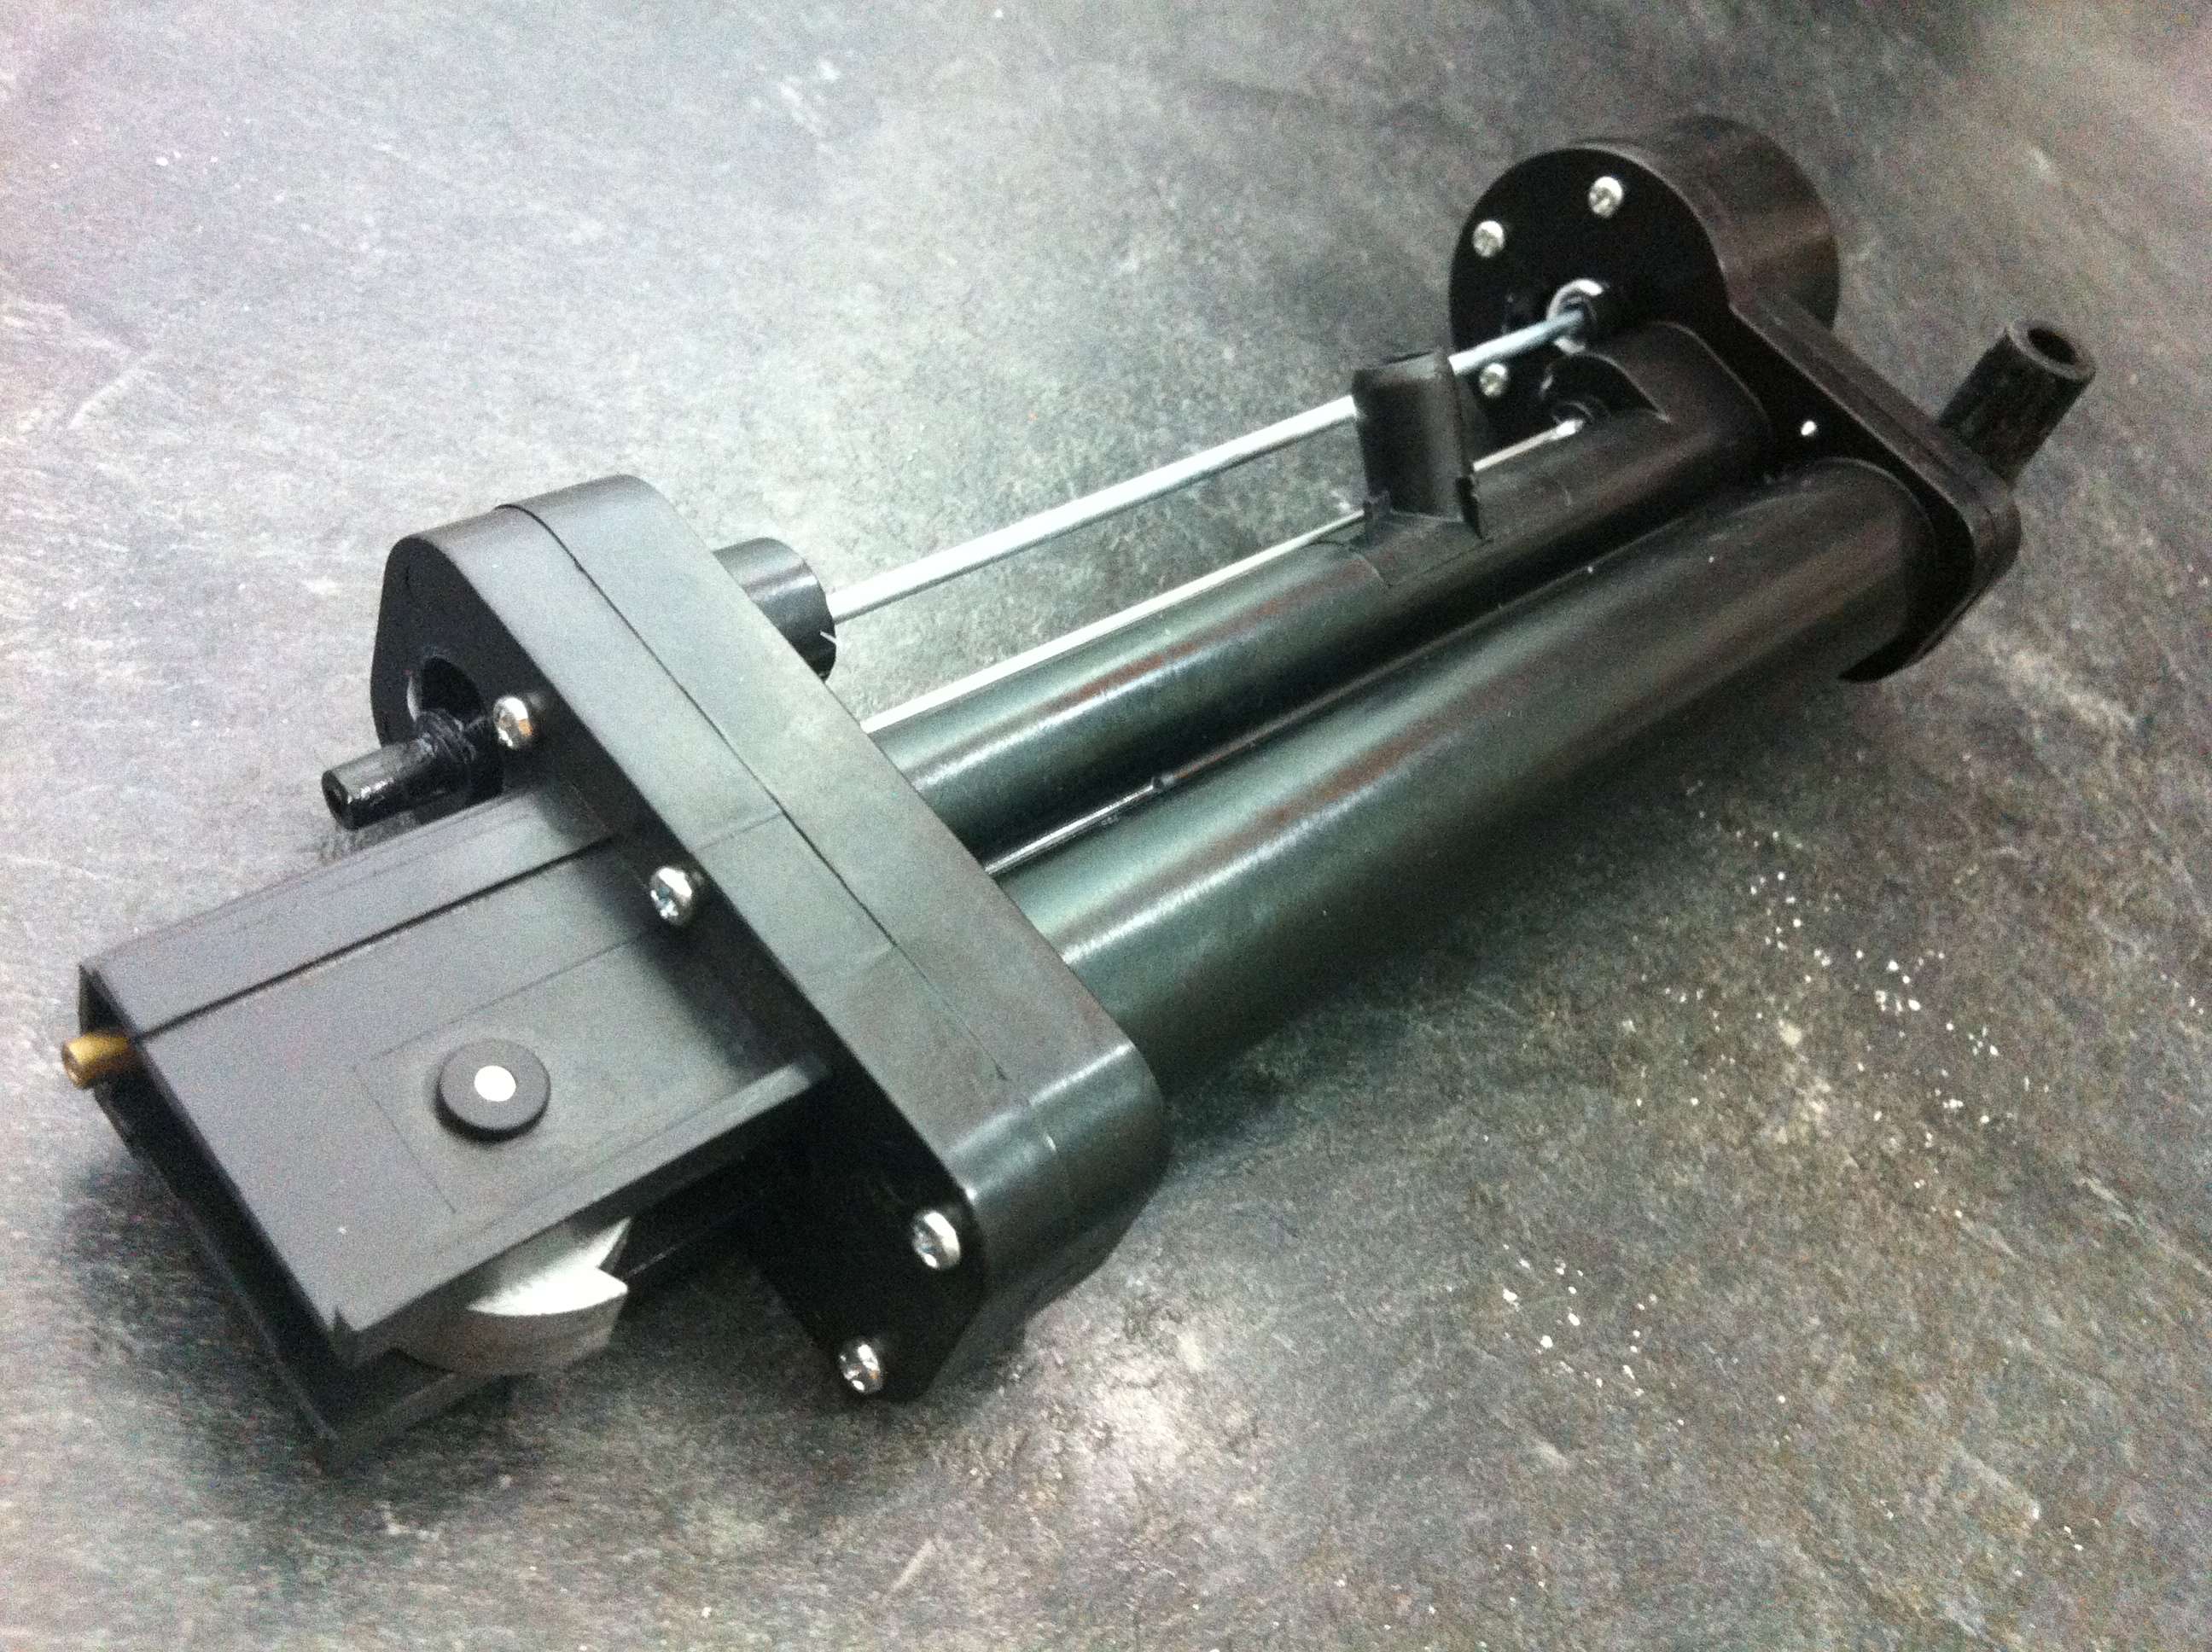
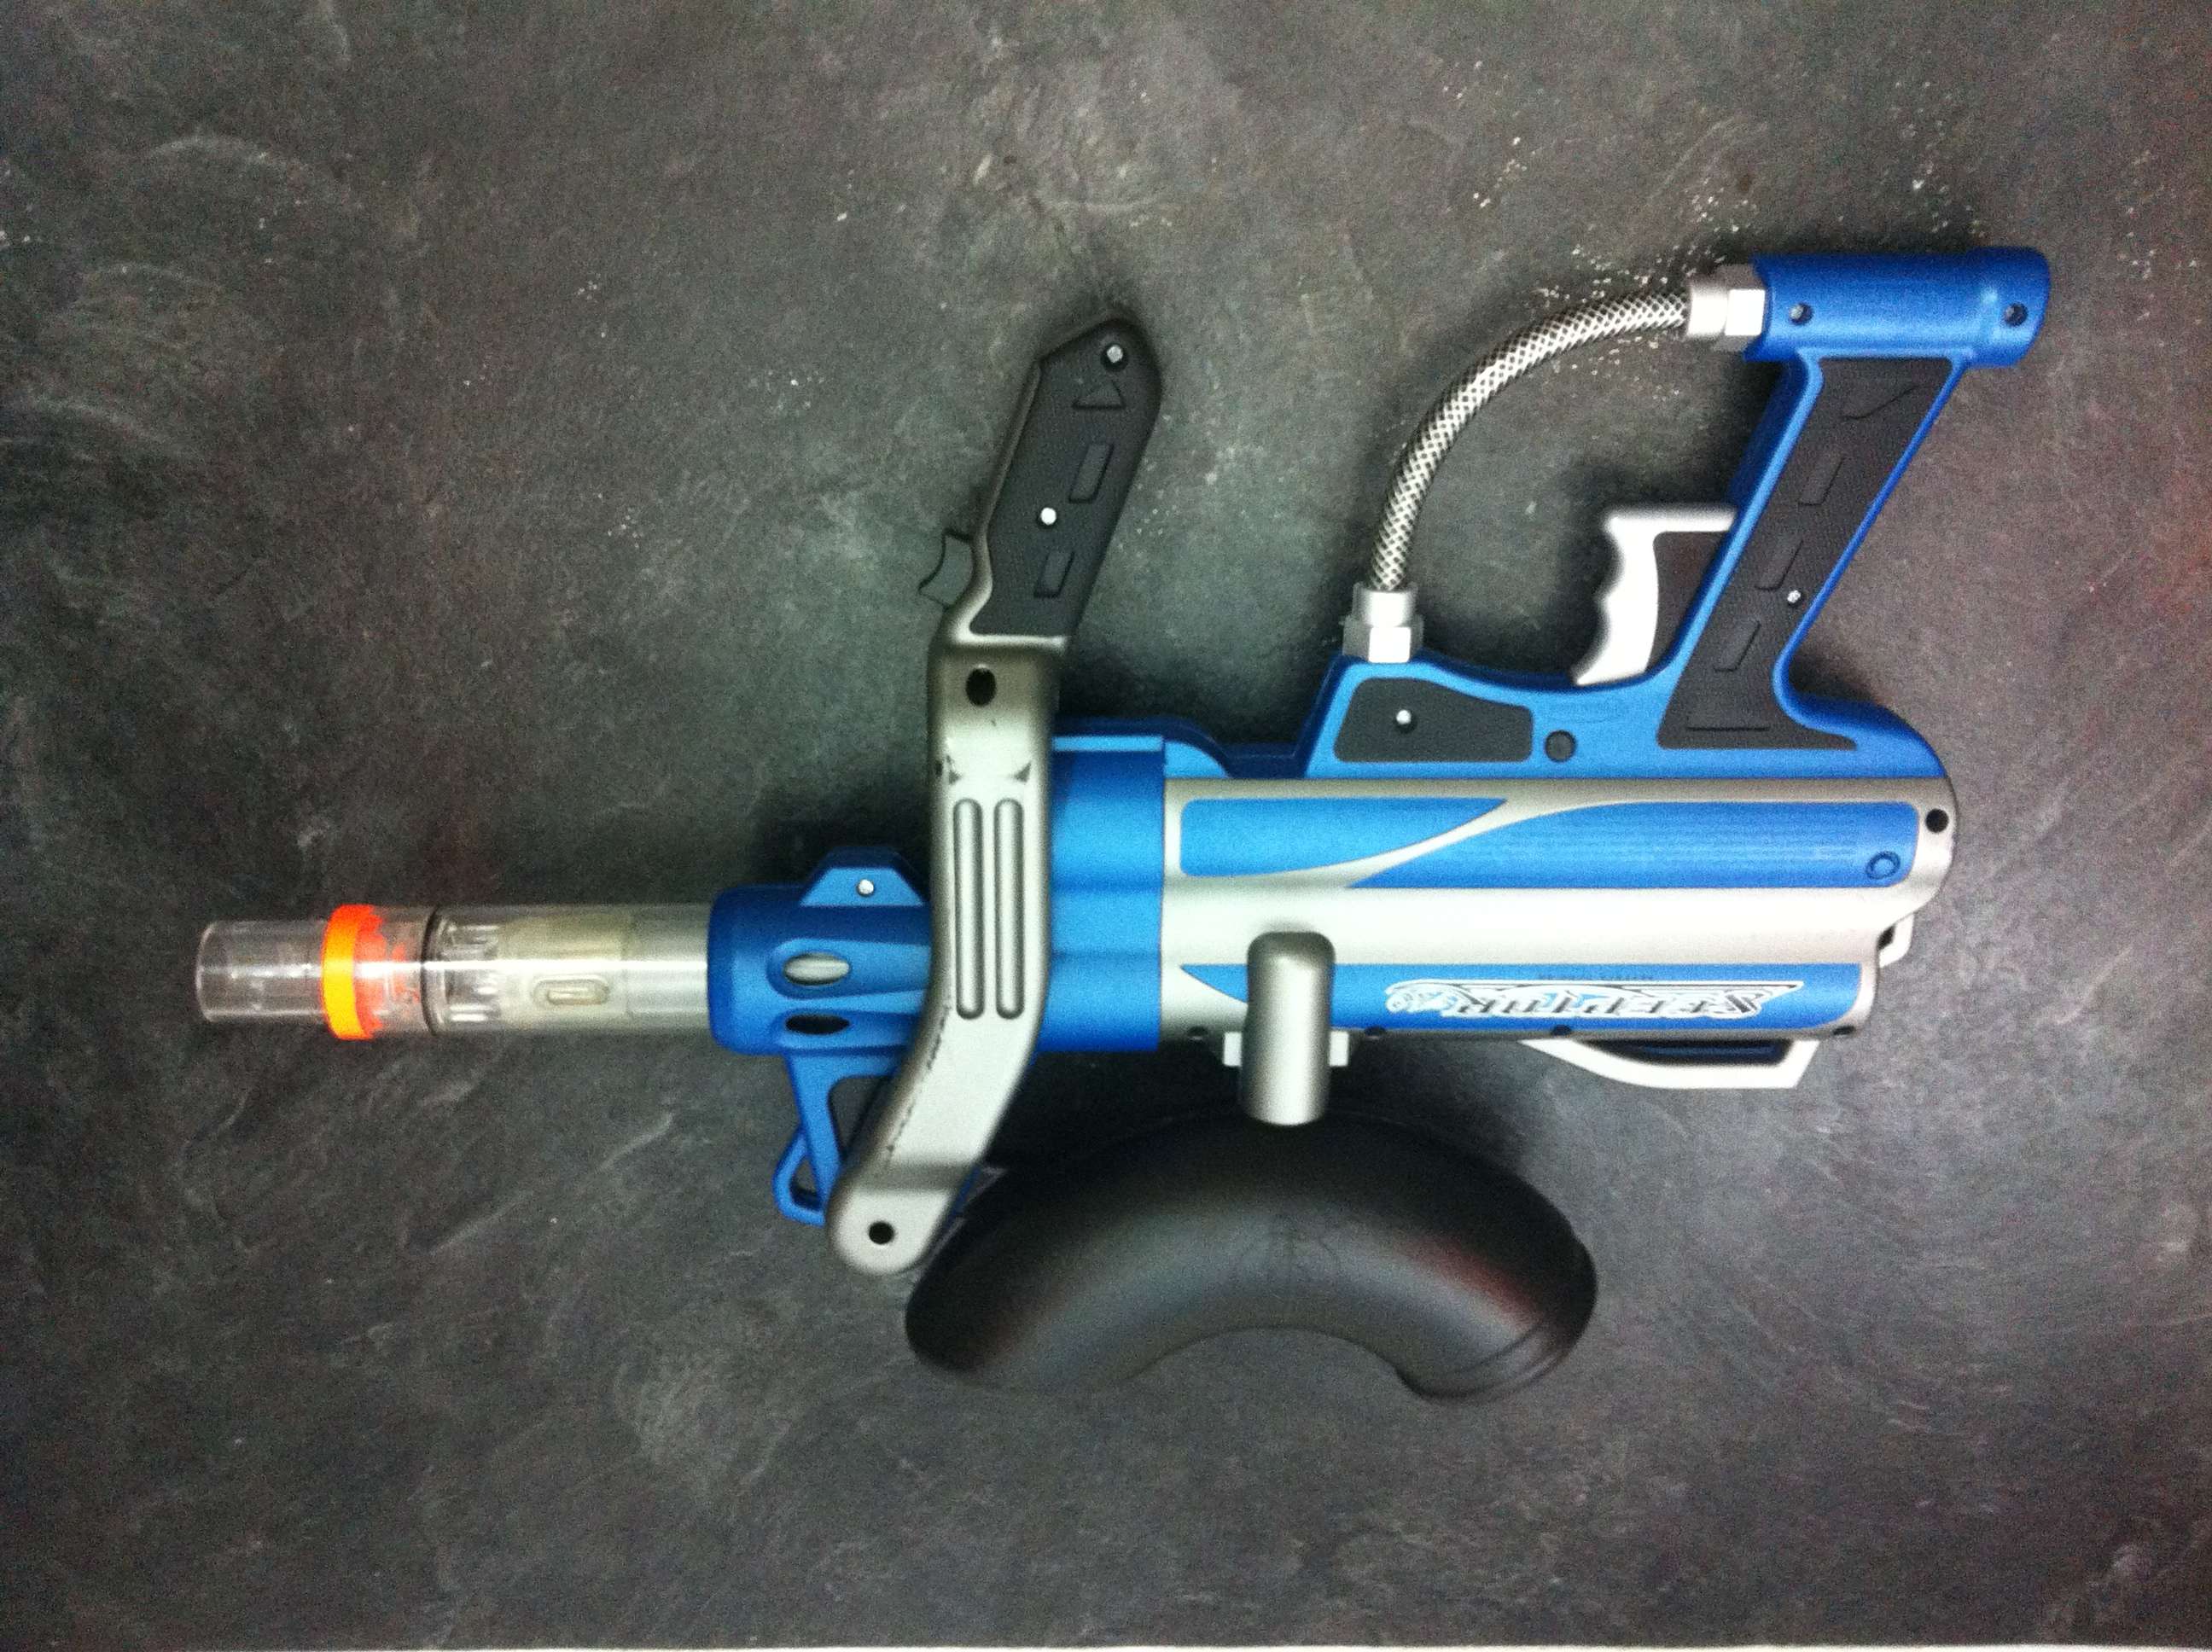
Extensive Battle Max Sceptor V1.0 internals.
Posted Image


Posted Image
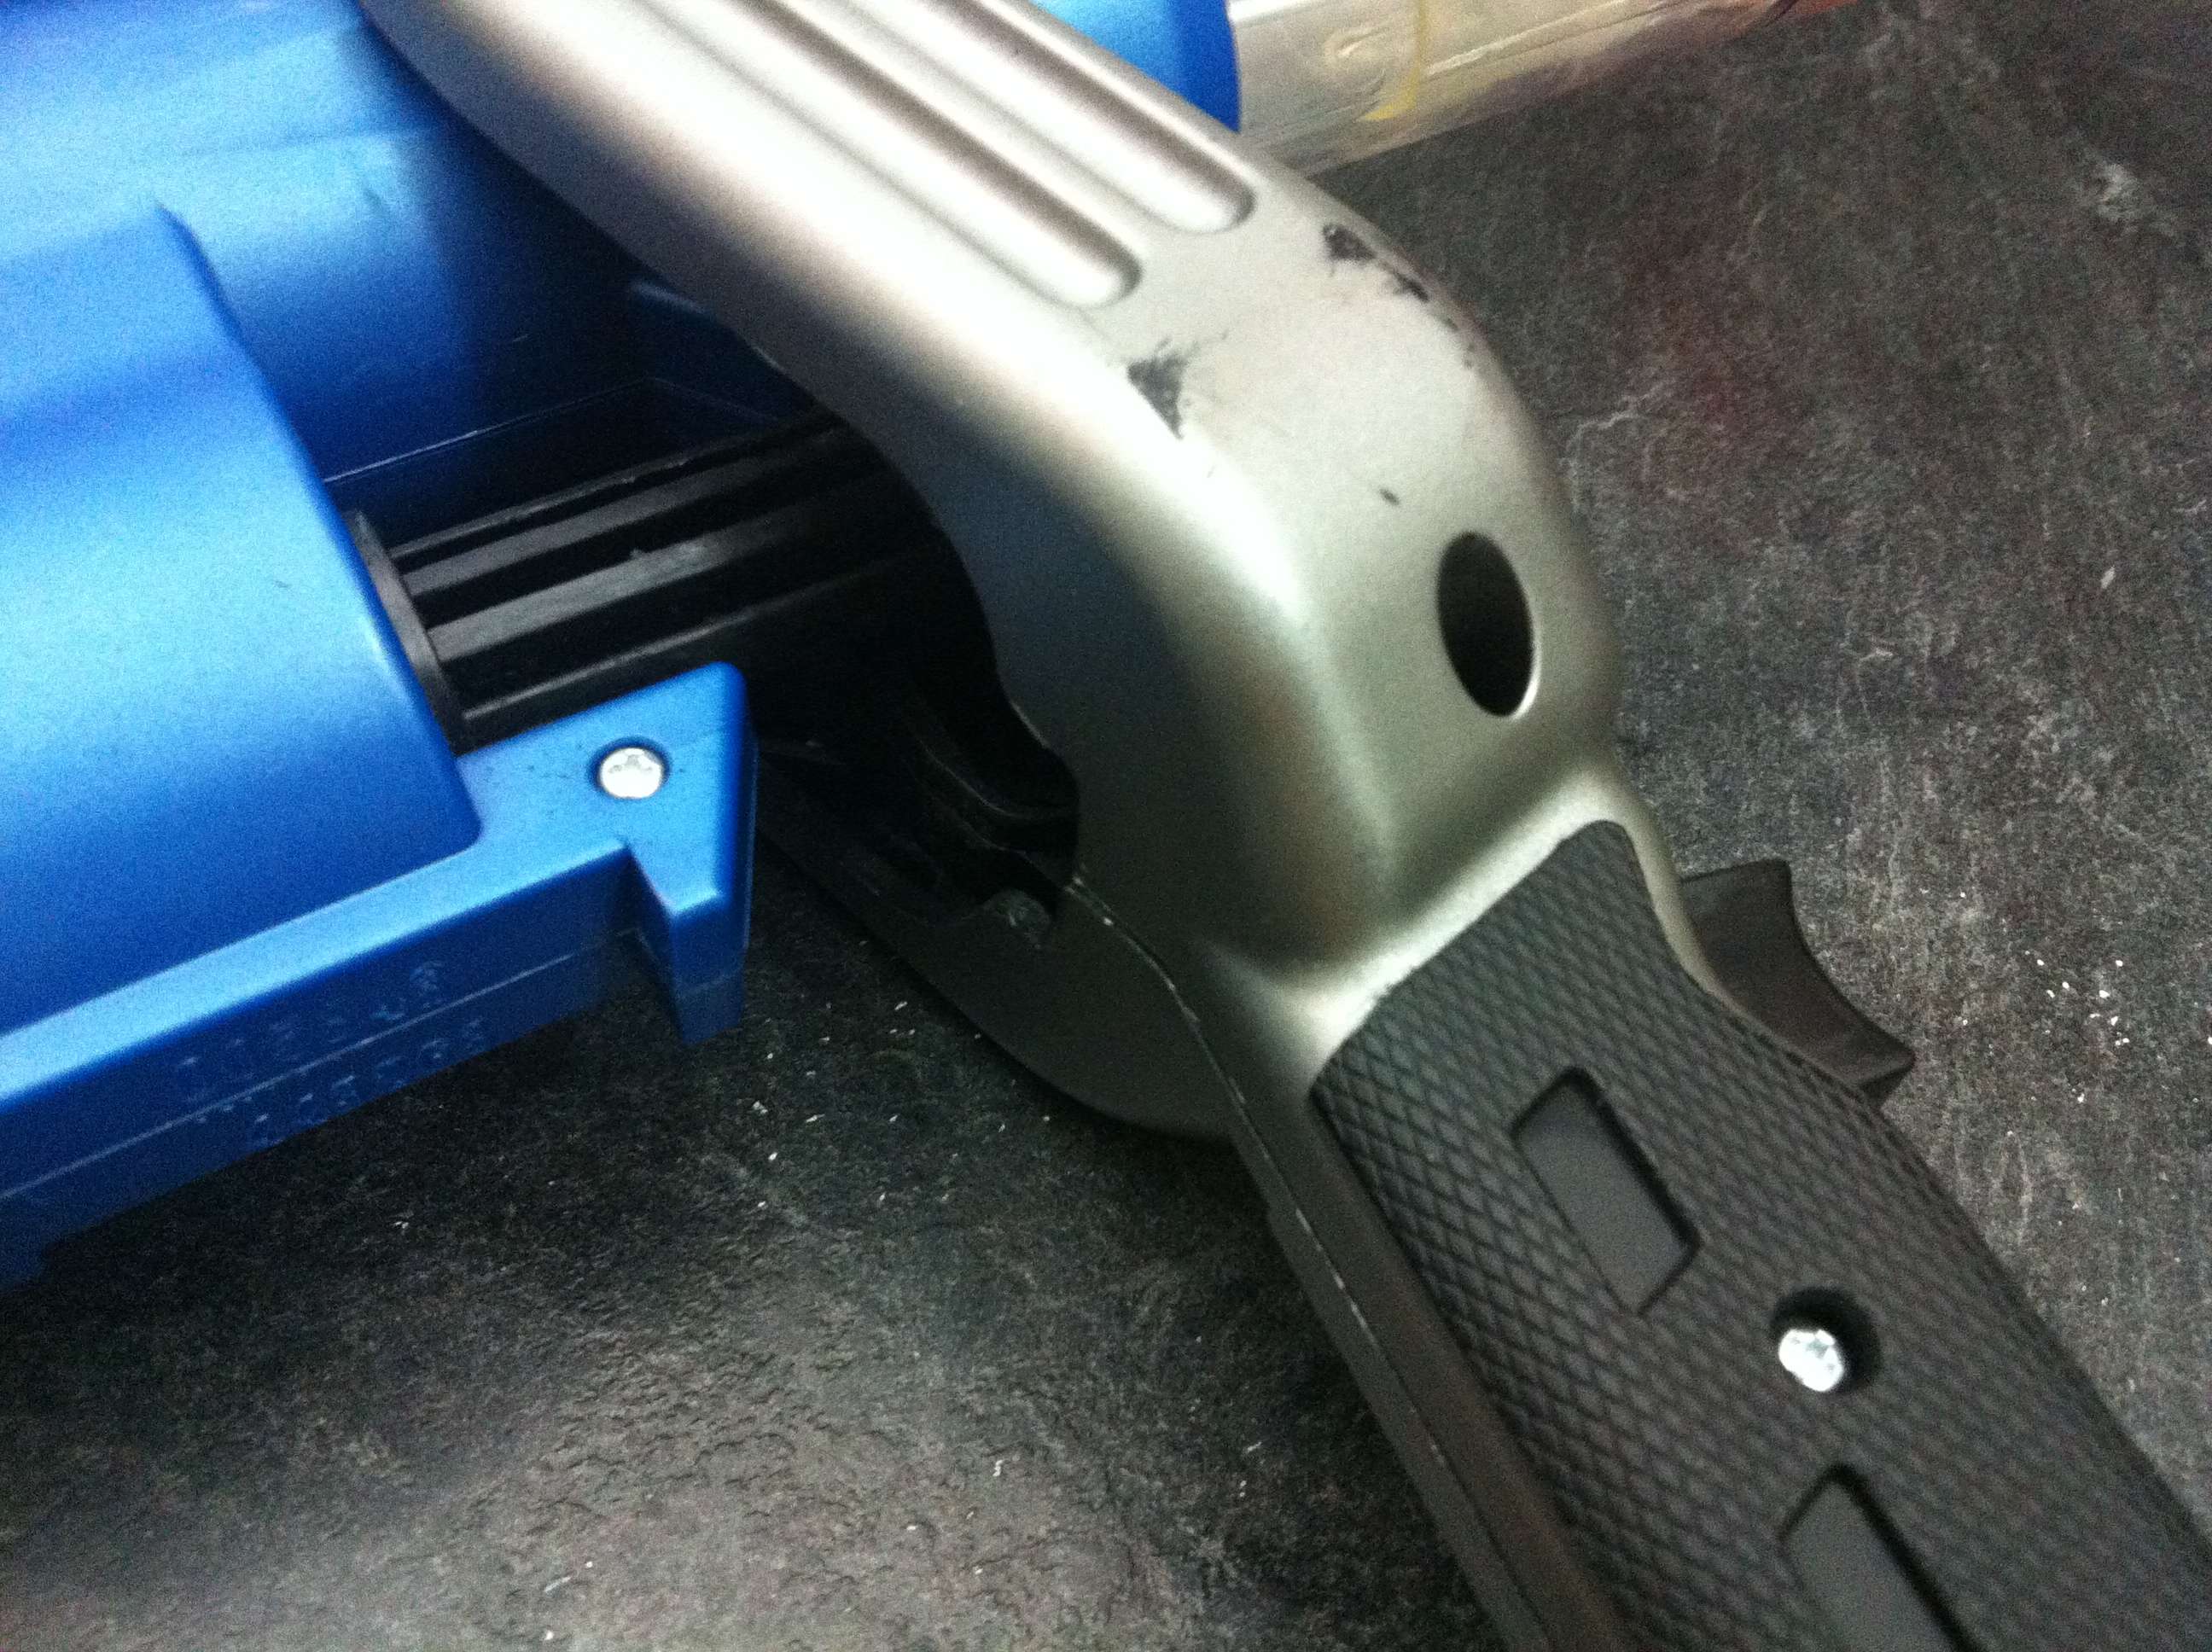
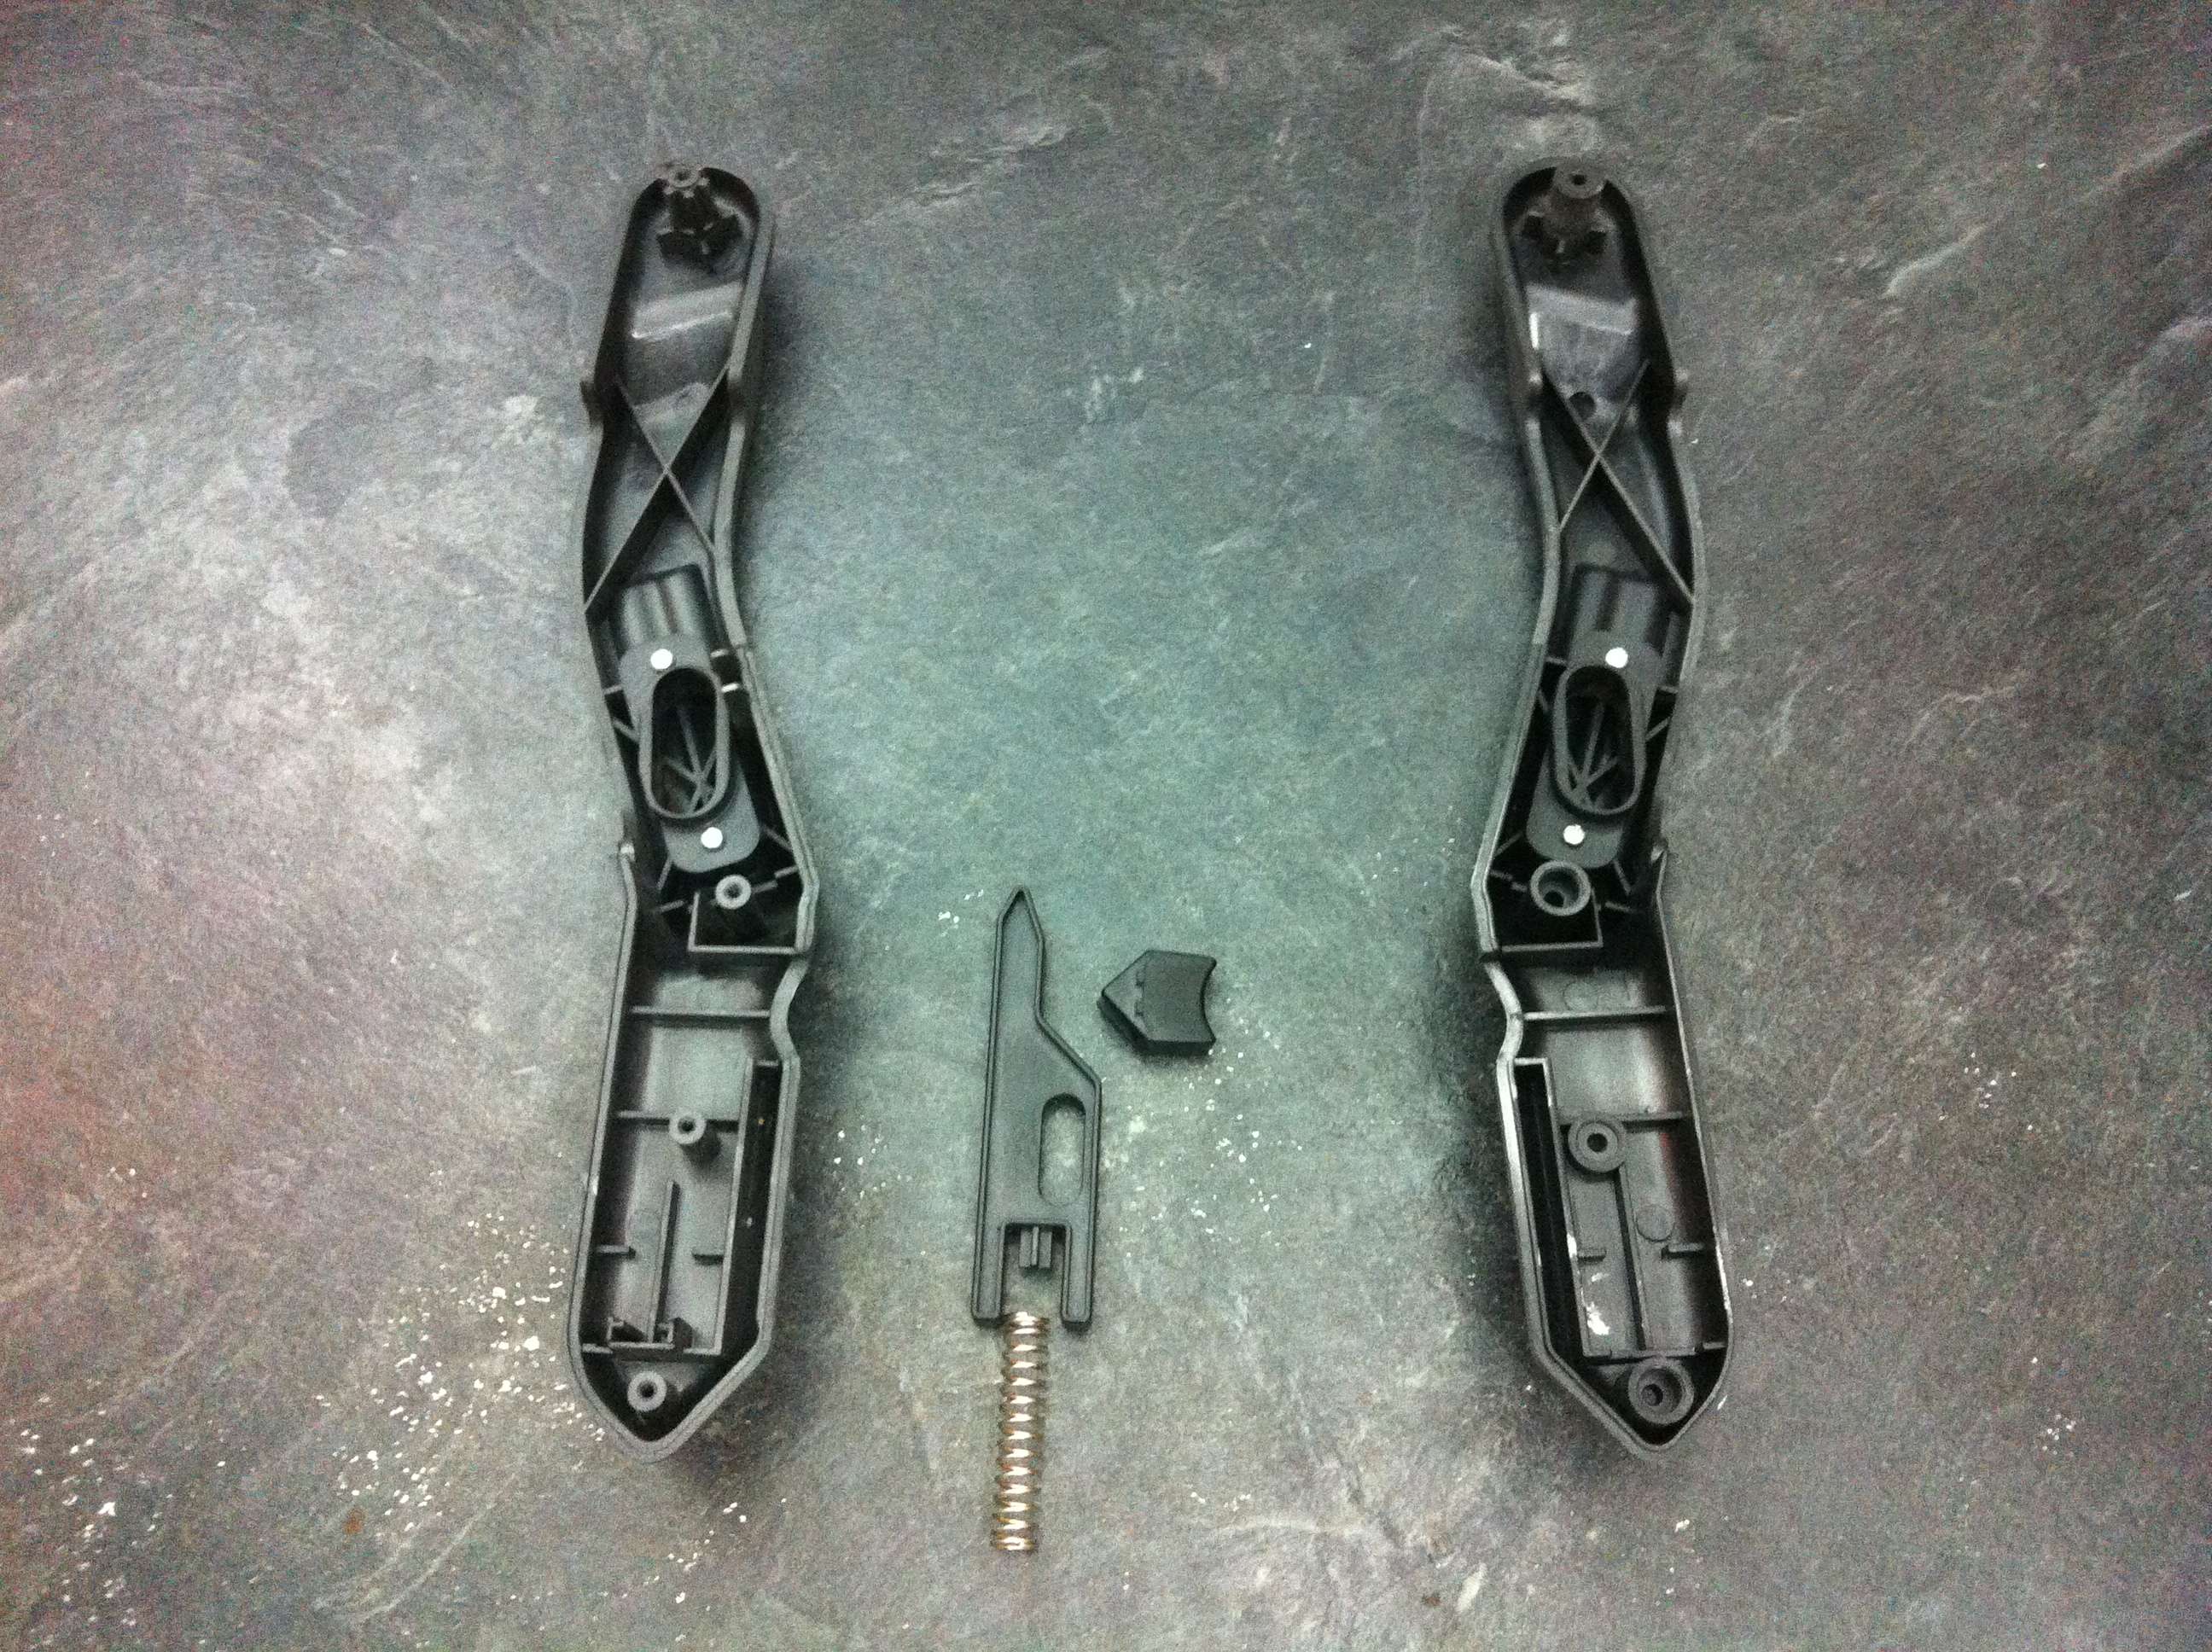
The lever type pump handle has a 'safety lock' that needs to be depressed in order to activate the lever. It serves no real purpose except to keep the lever from swinging around when it is not in use.
Posted Image
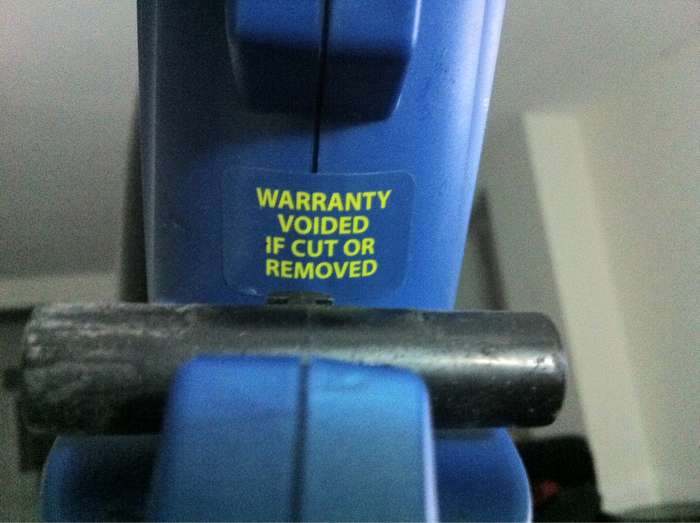
A curious little sticker that makes no sense.
Posted Image
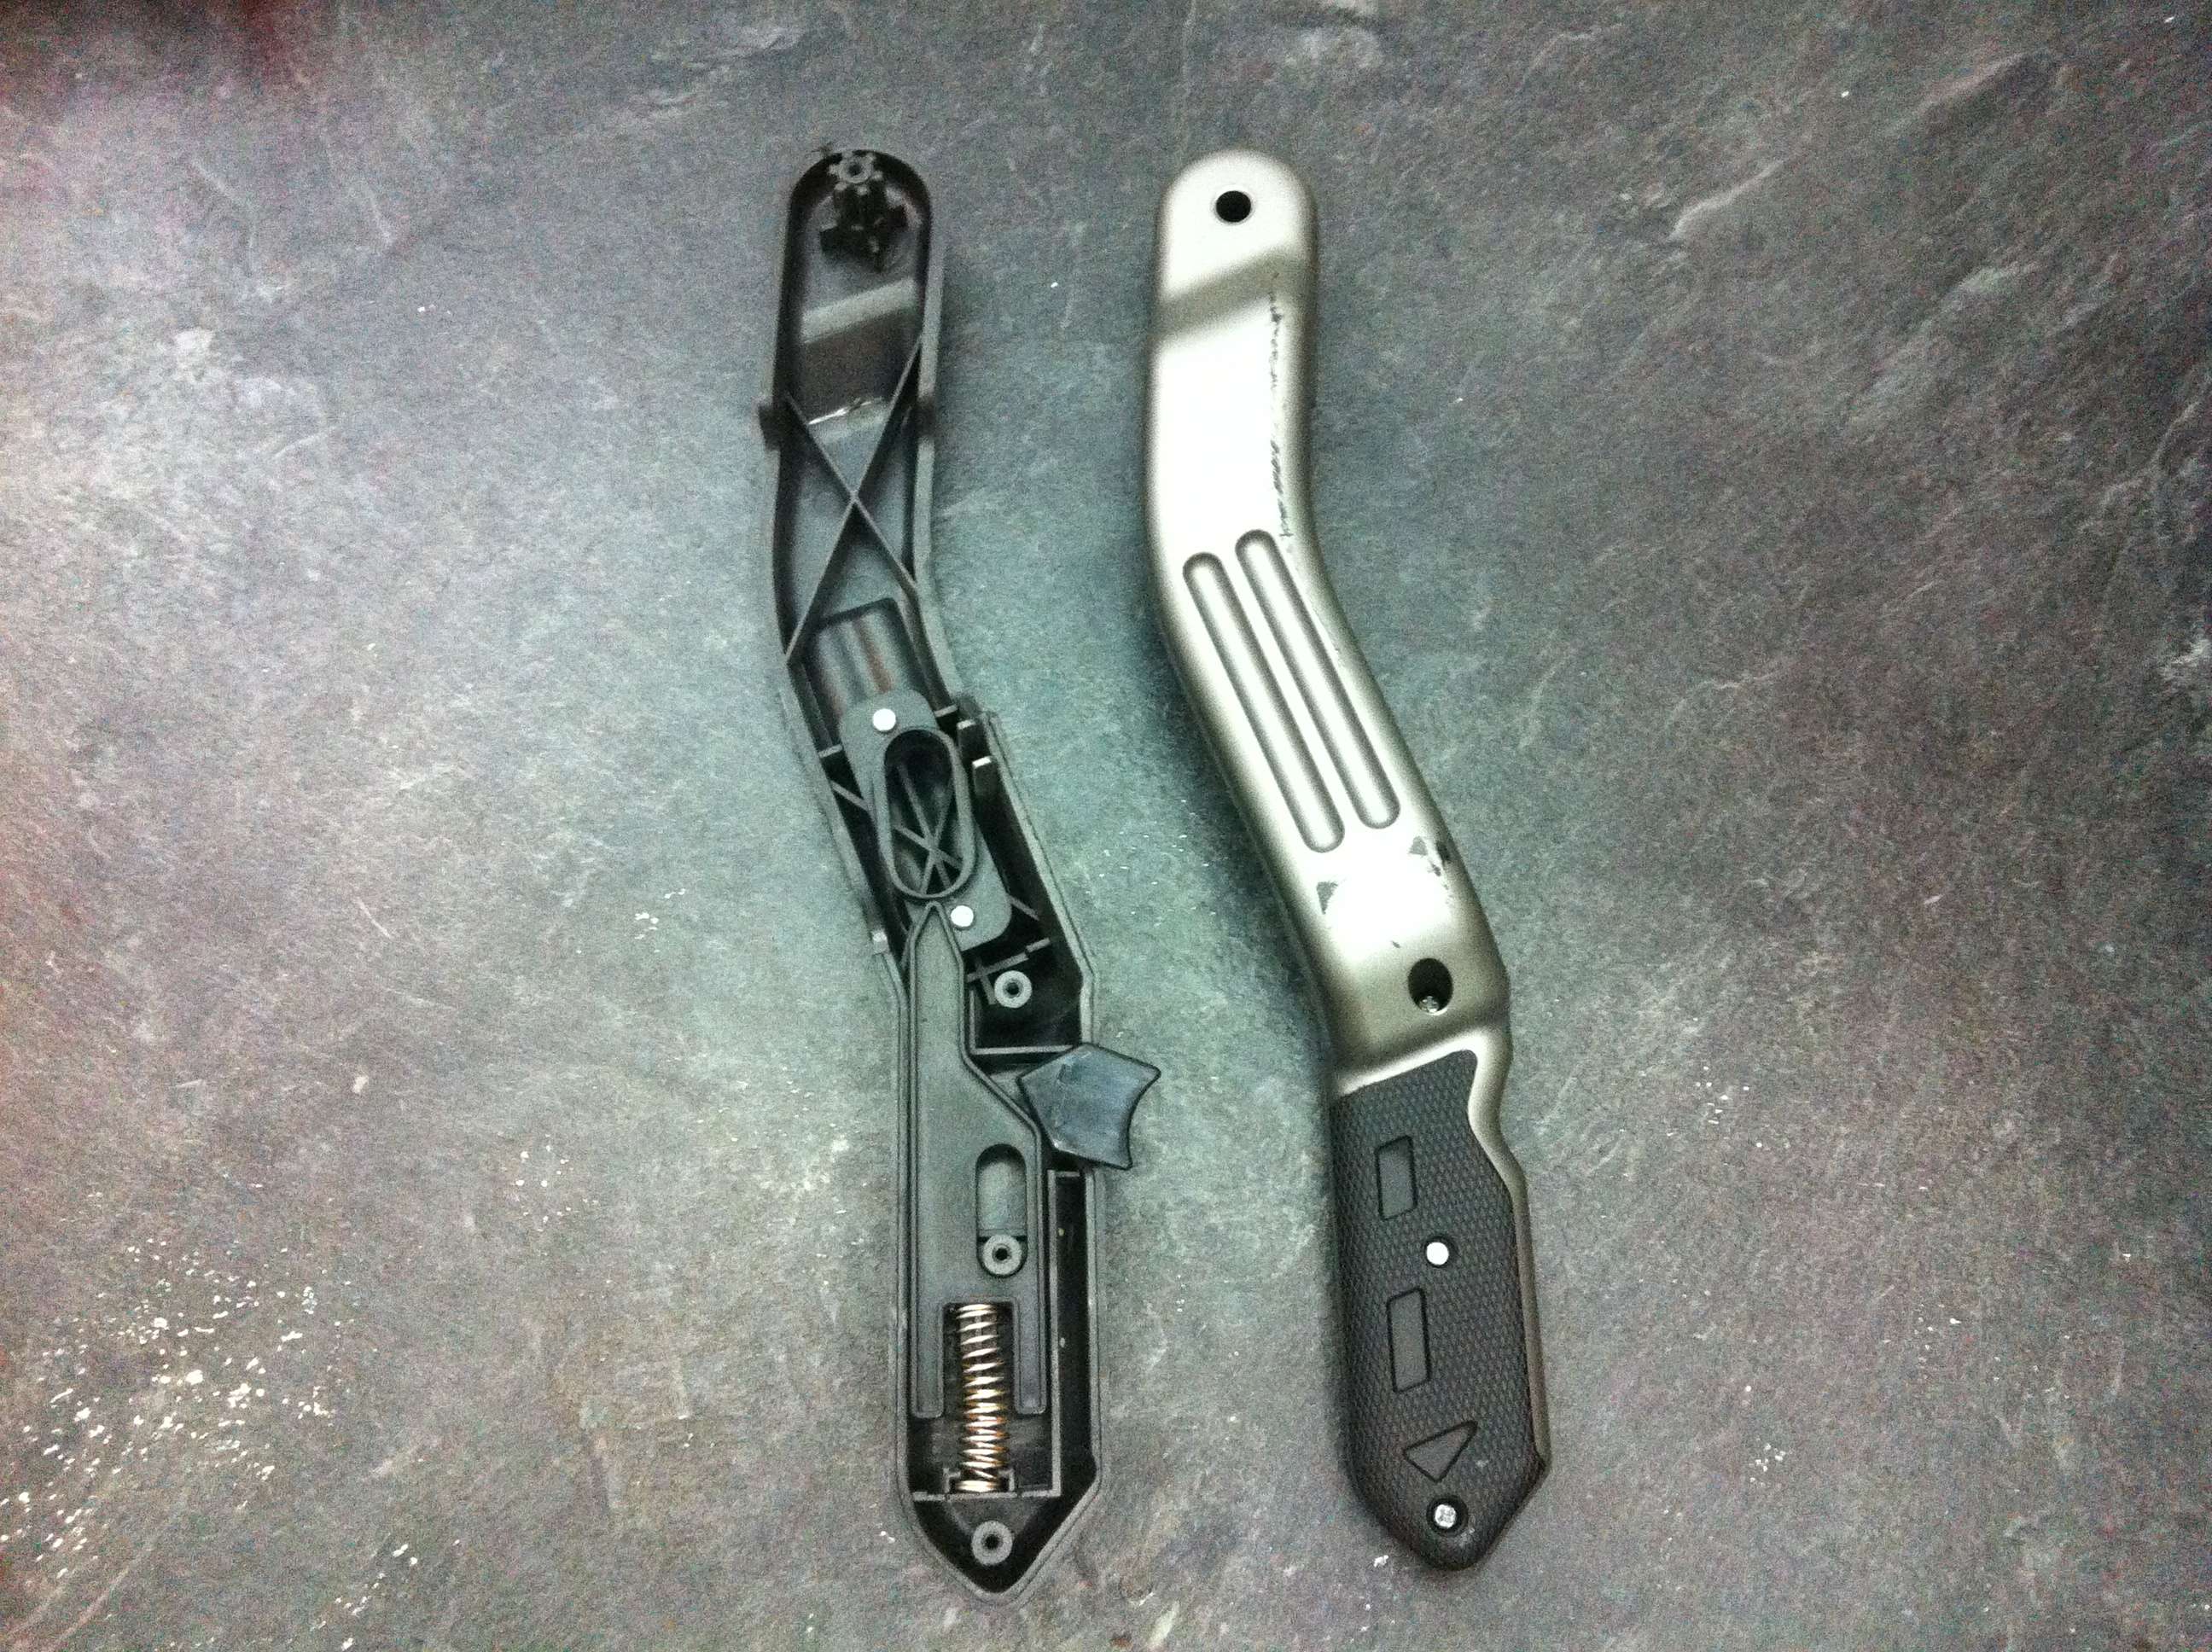
Lever assembly is pretty straight forward.
Posted Image

Posted Image
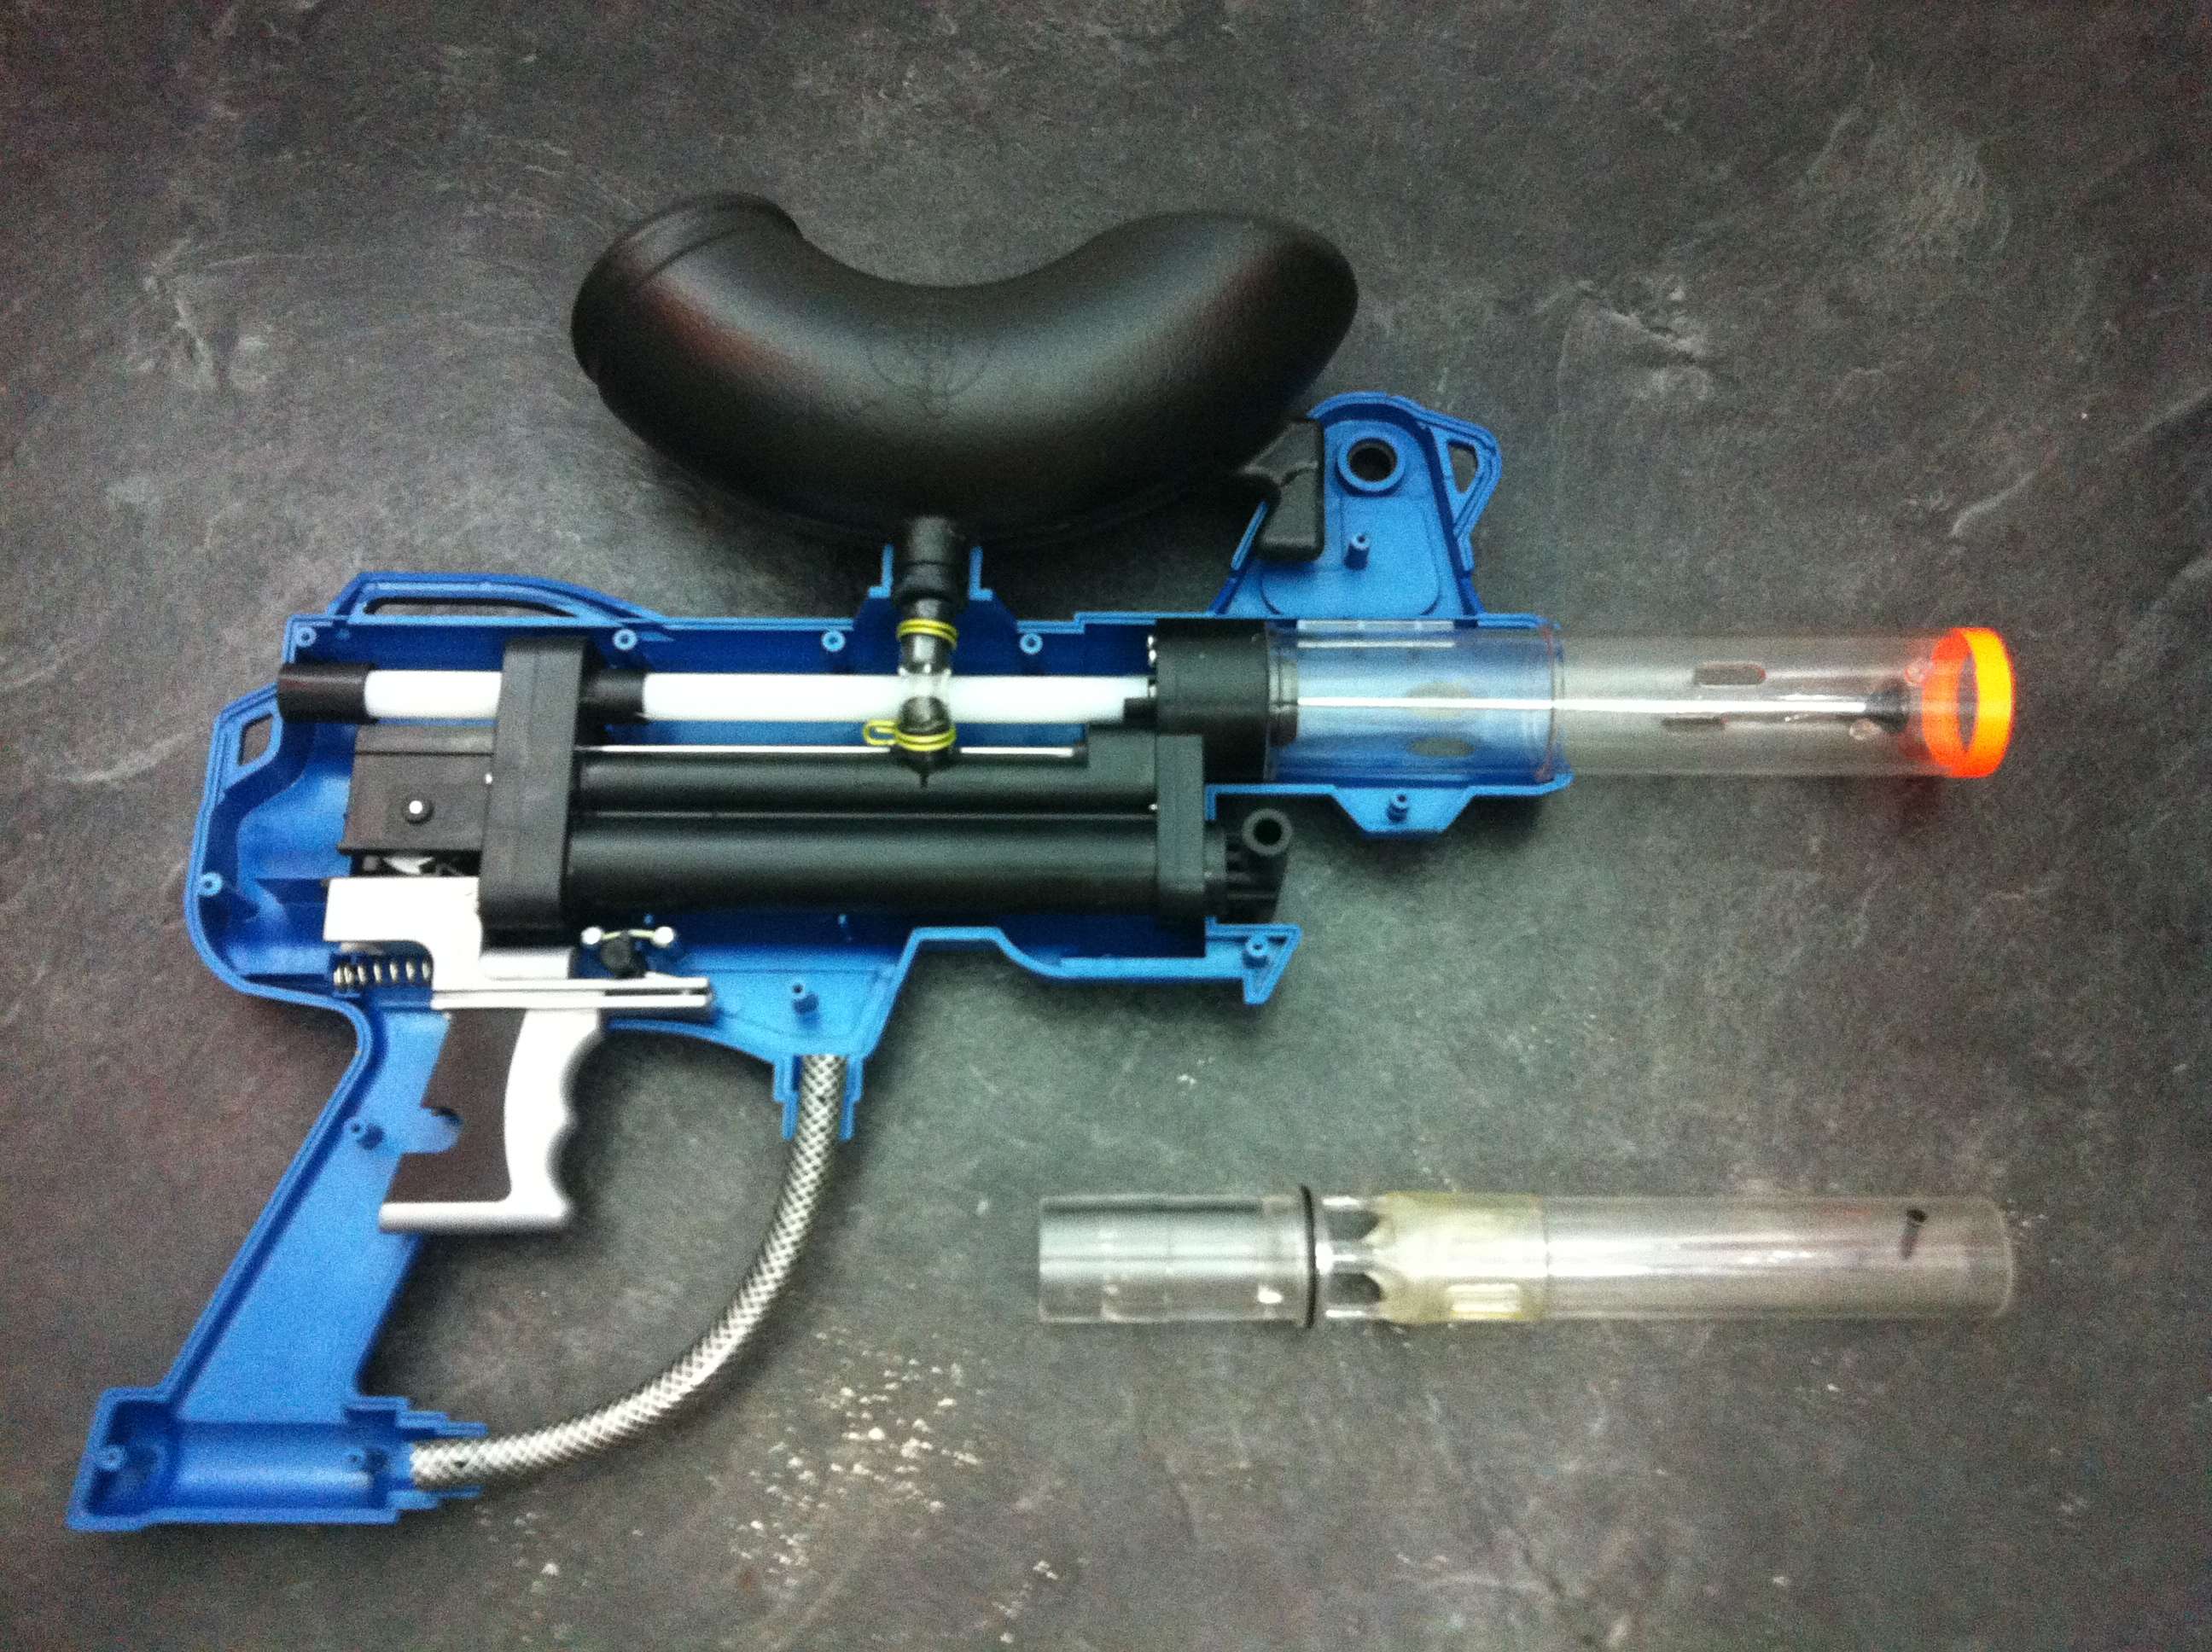
Here it is without the lever and the 'paint ball clip' taken out. This model was missing the locking muzzle but it is not needed for our purposes.
Posted Image
Rudimentary internals

Posted Image
The tubing is purely cosmetic.

Posted Image

Posted Image
Basic main internals.

Posted Image
The long rod that's centred within the barrel is actually just the ball pusher. The white tube houses a weak spring that keeps the rod pushed forward. This is not the firing pin or where the air actually comes out.
Posted Image
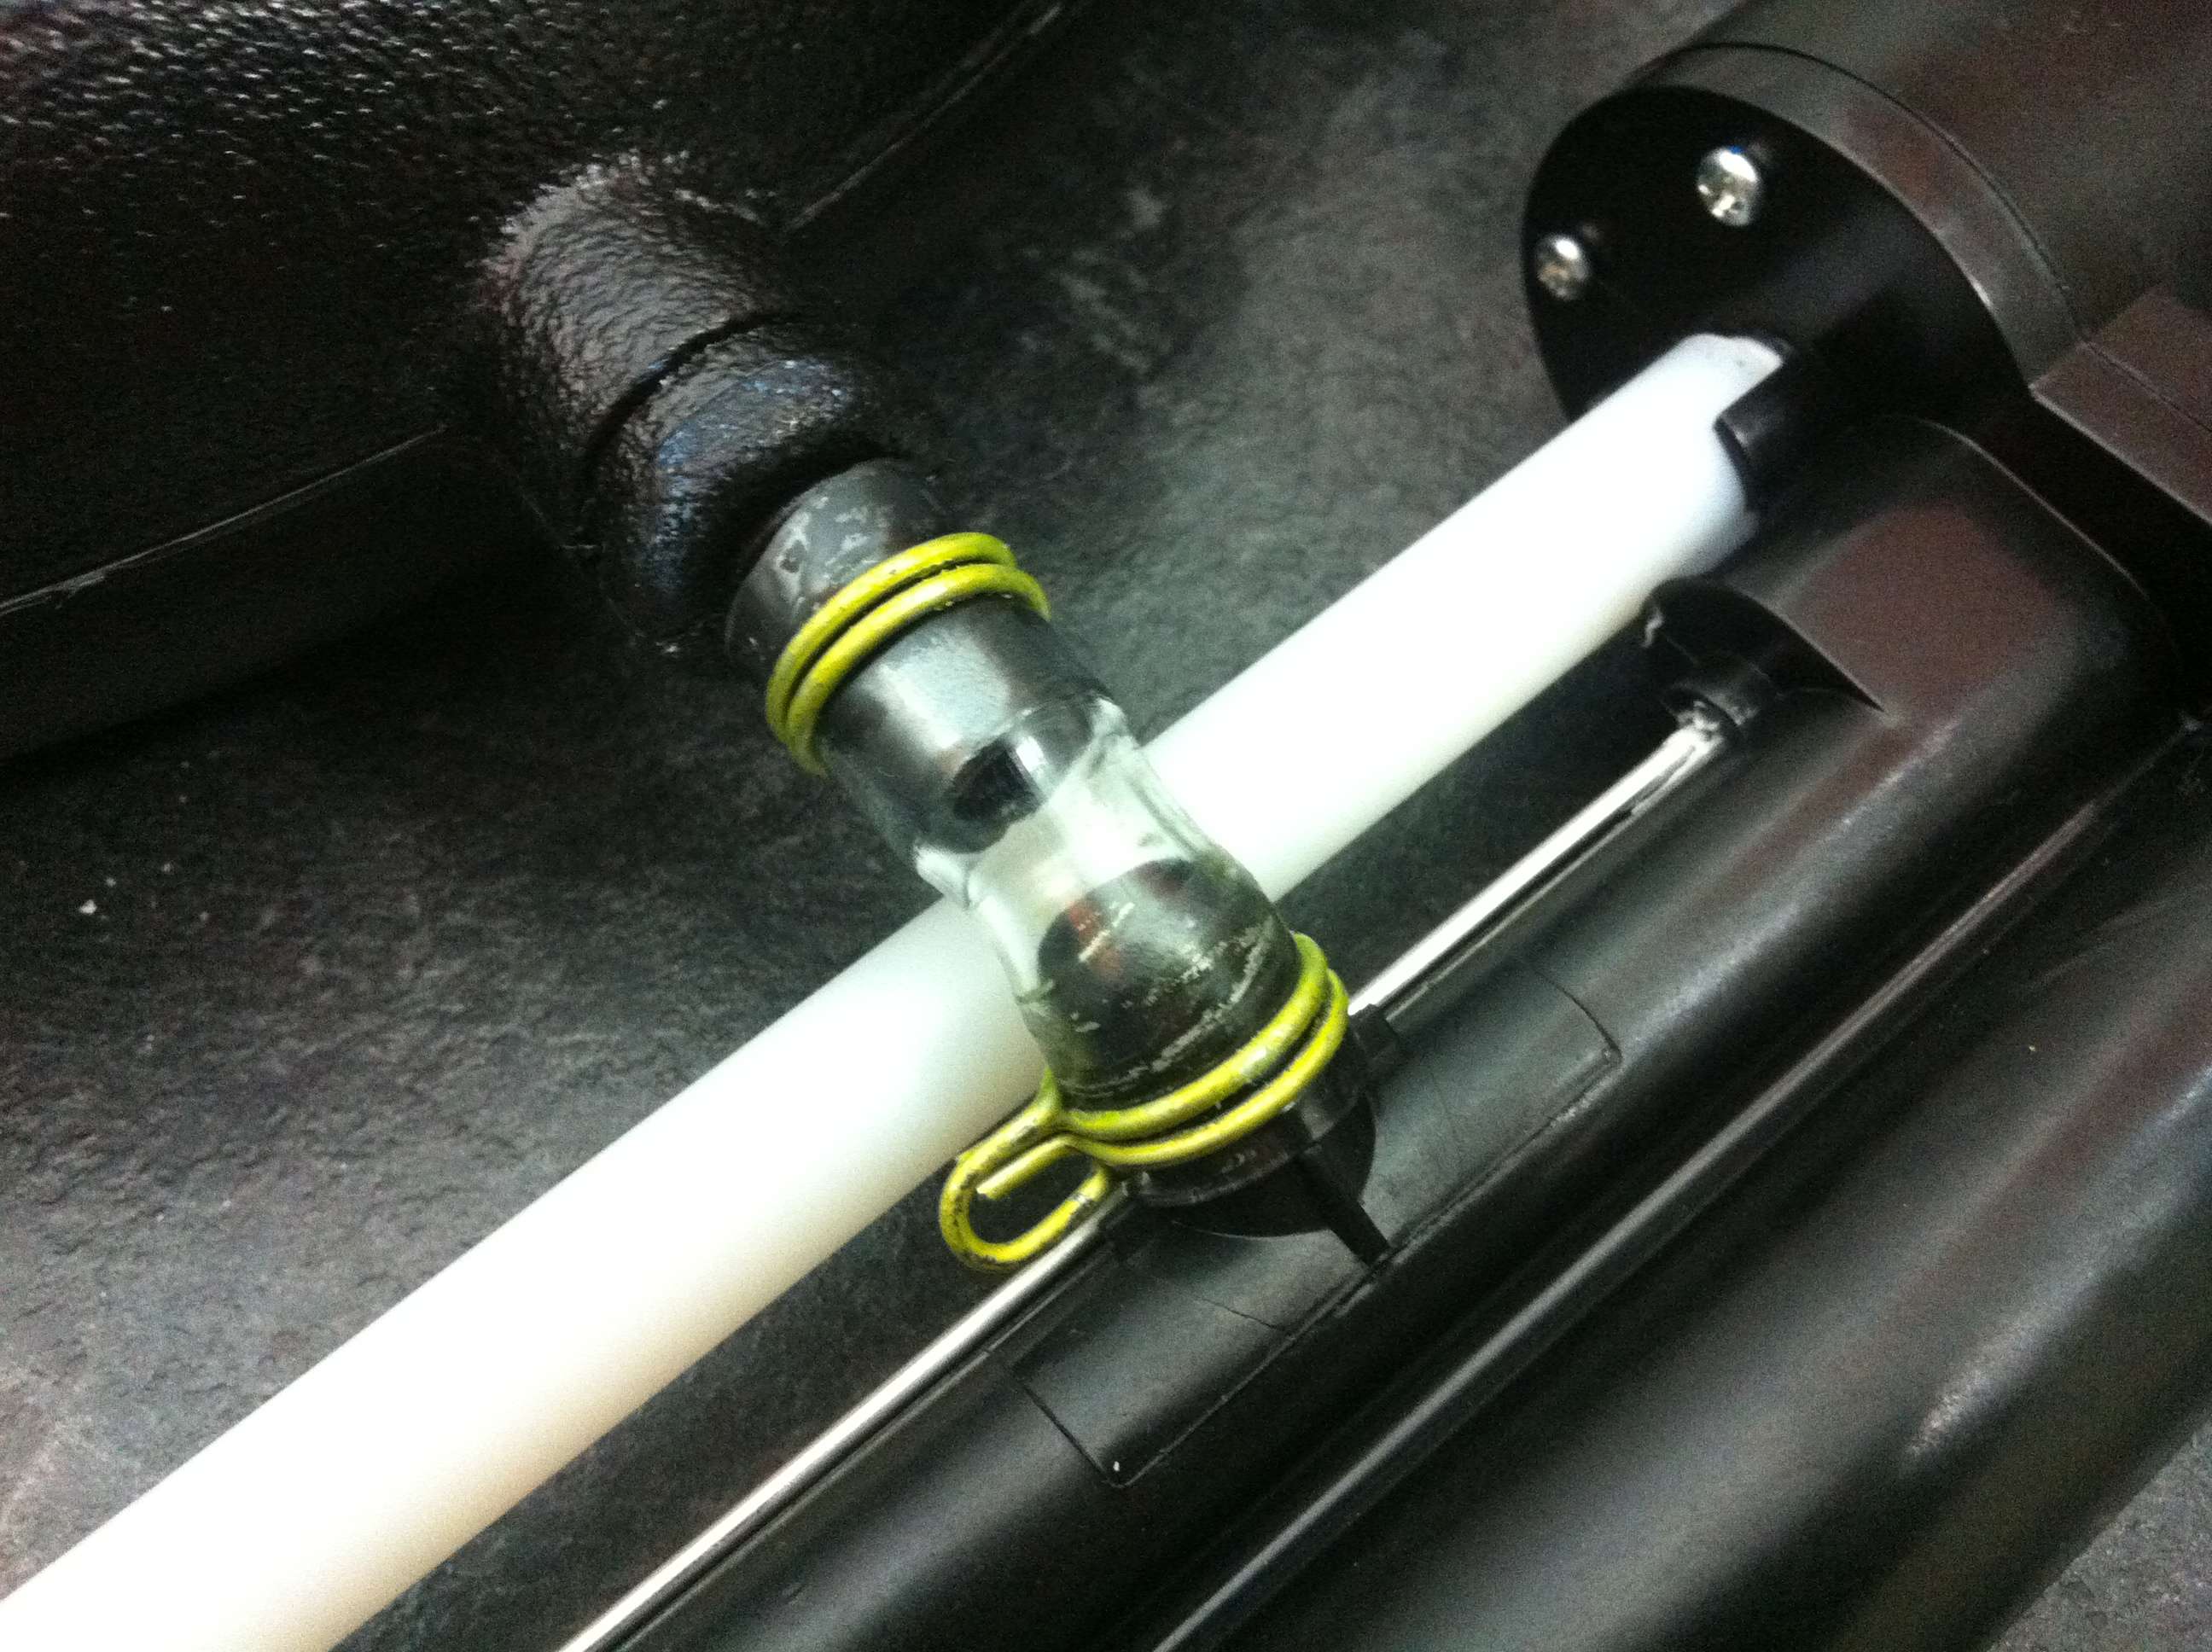
The hopper is actually the air tank that's connected via this vinyl tube with spring clips securing it to the main assembly.
Posted Image
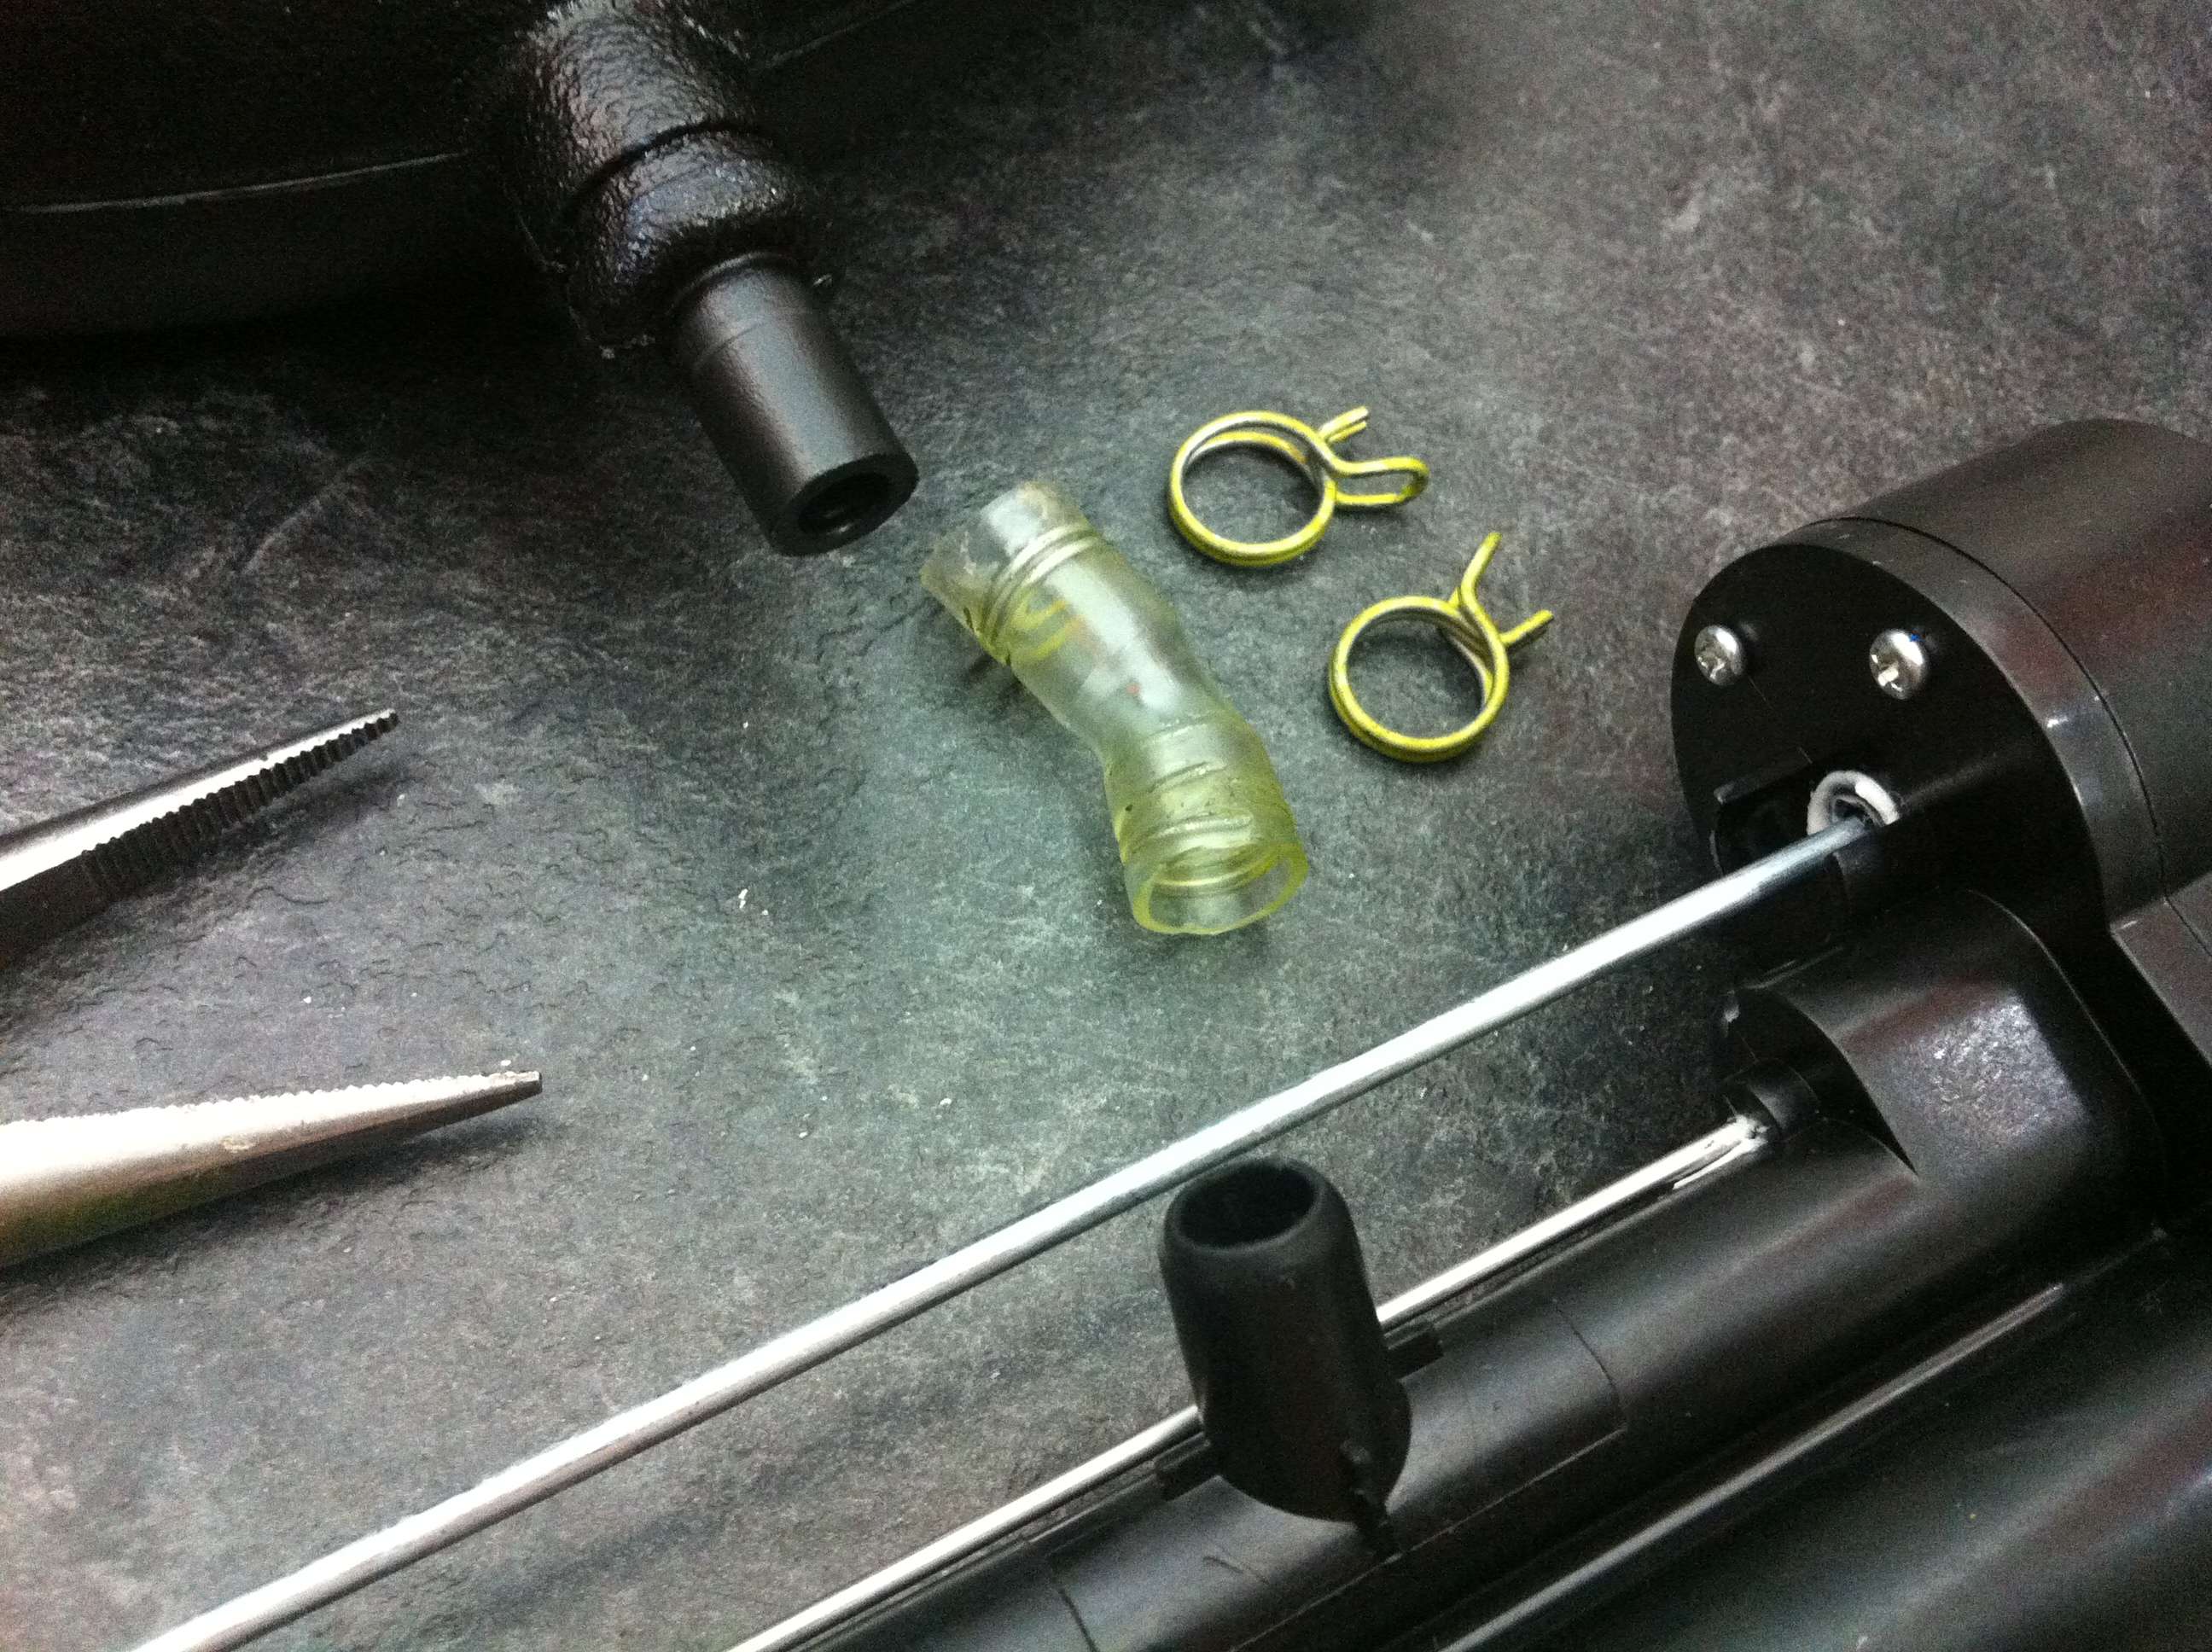
Squeezing the clips with a set of pliers, the tank and vinyl tubing separate relatively easily.
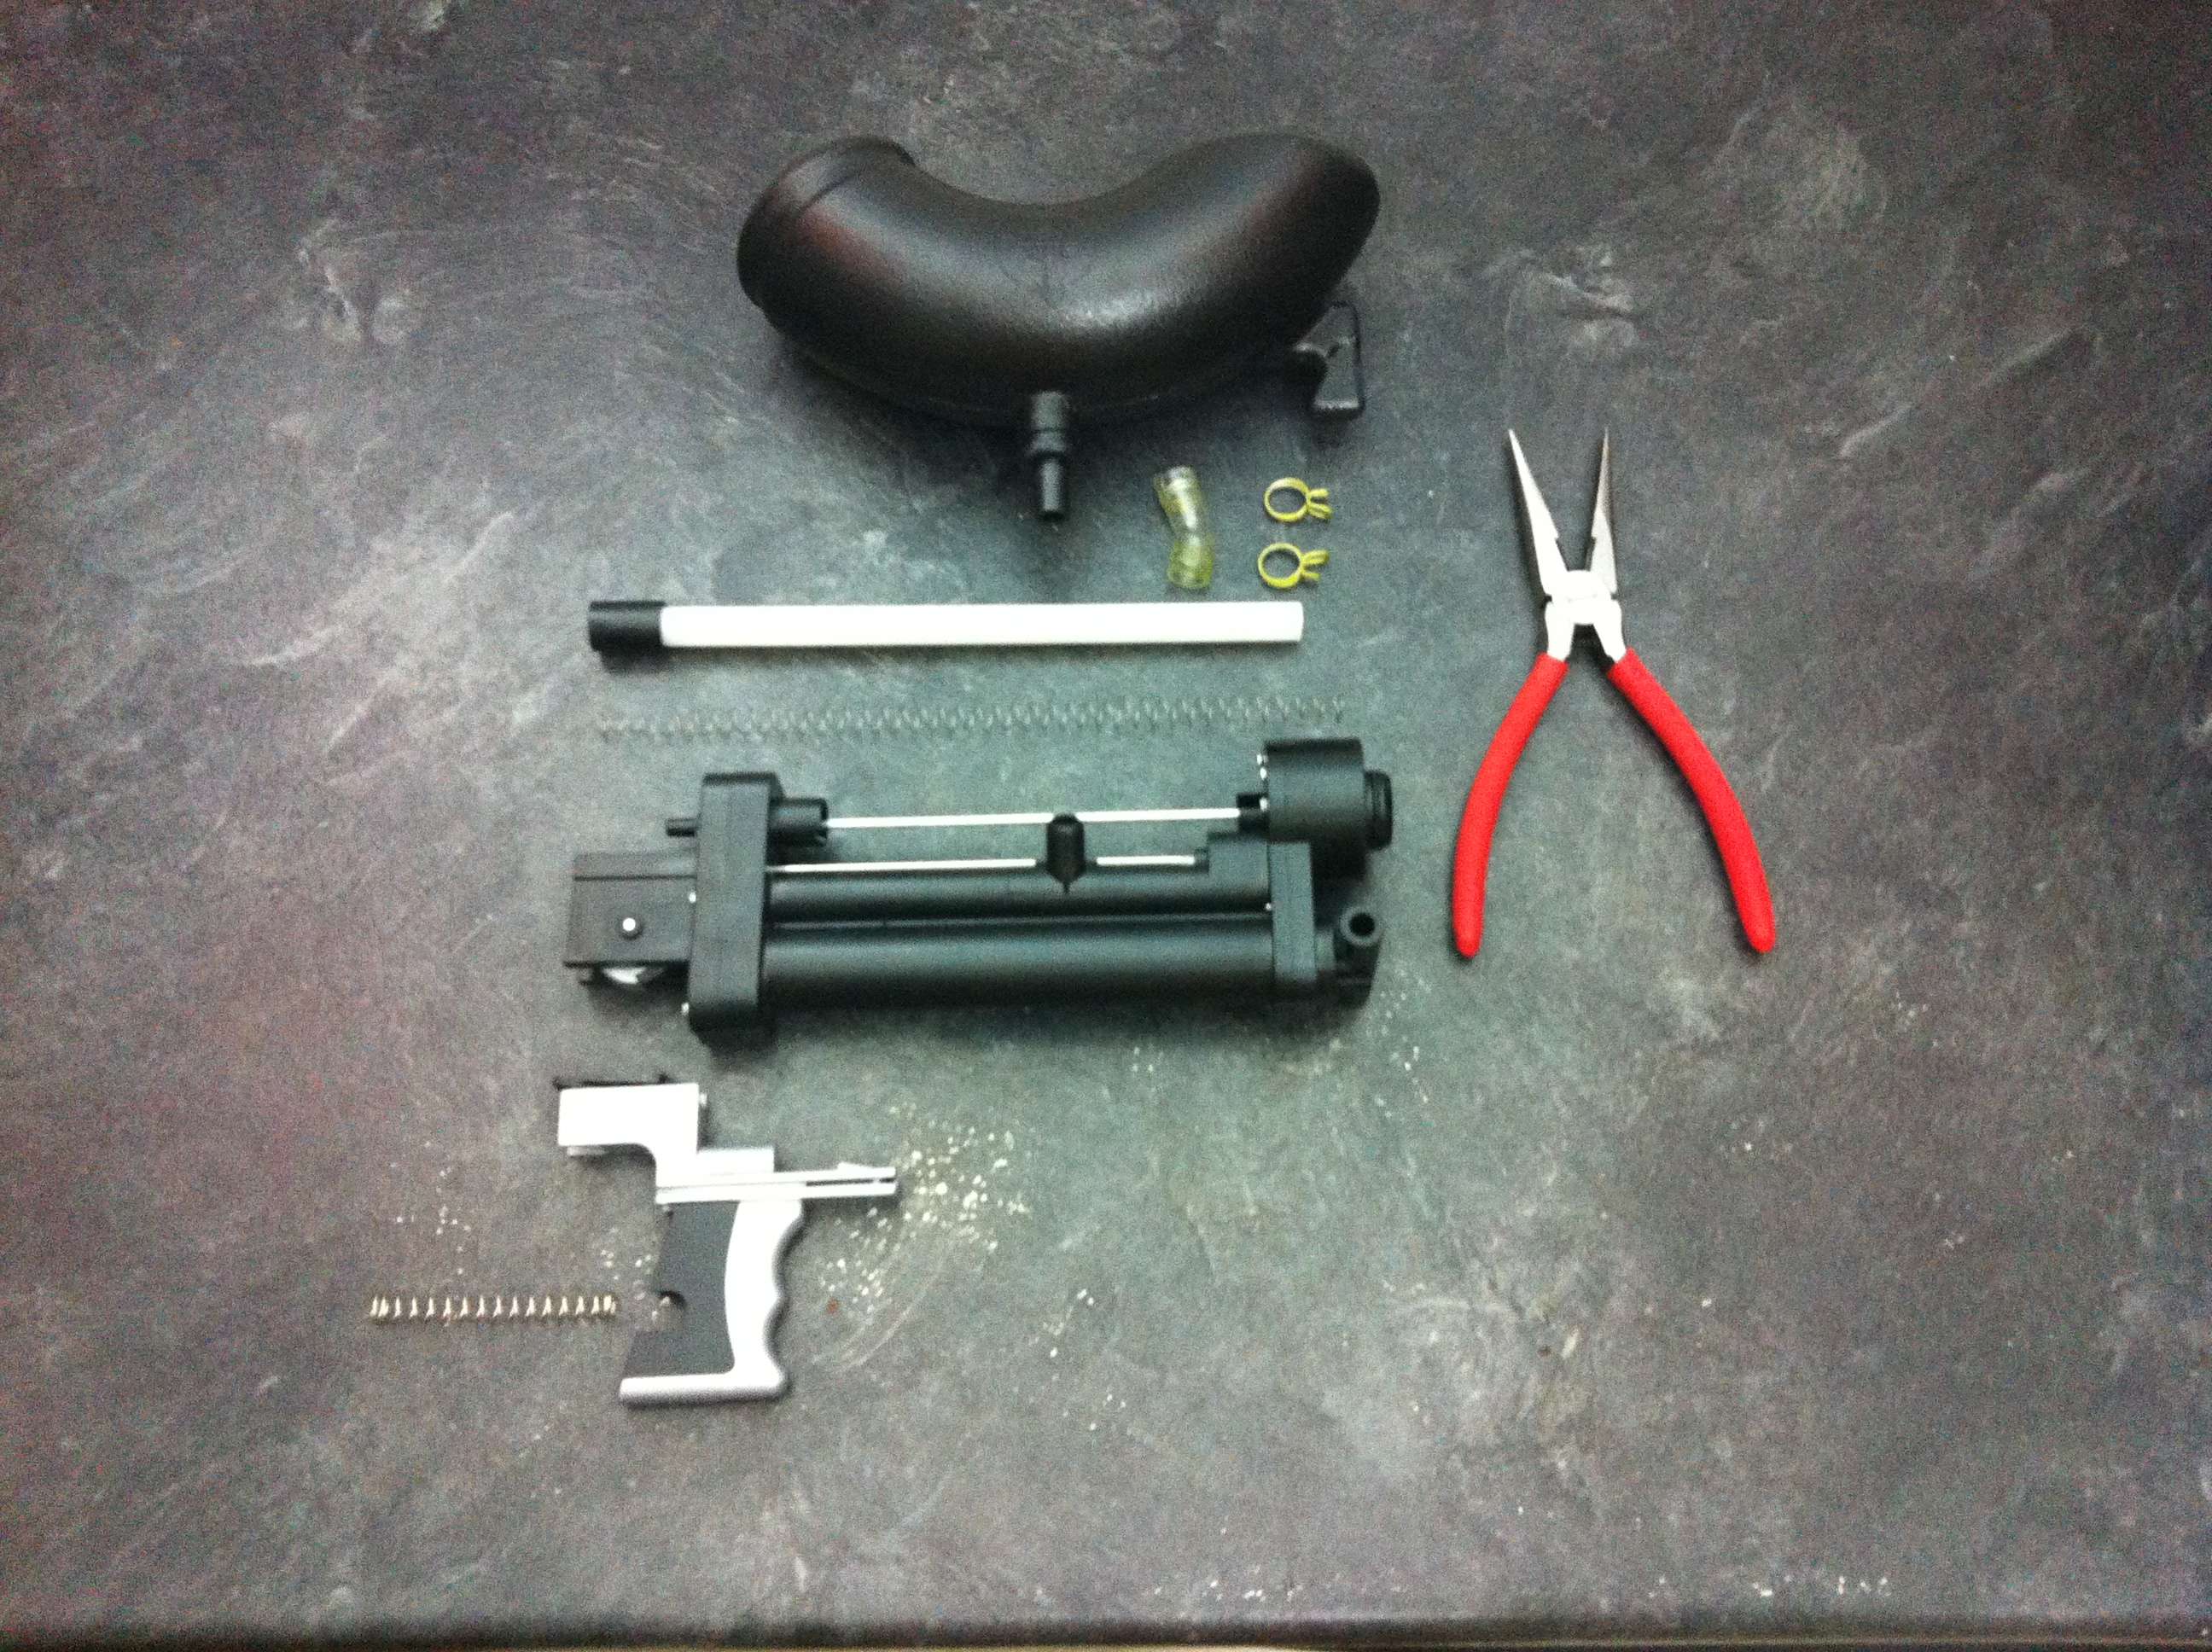
Posted Image

Posted Image
...now, let's get down to the business.
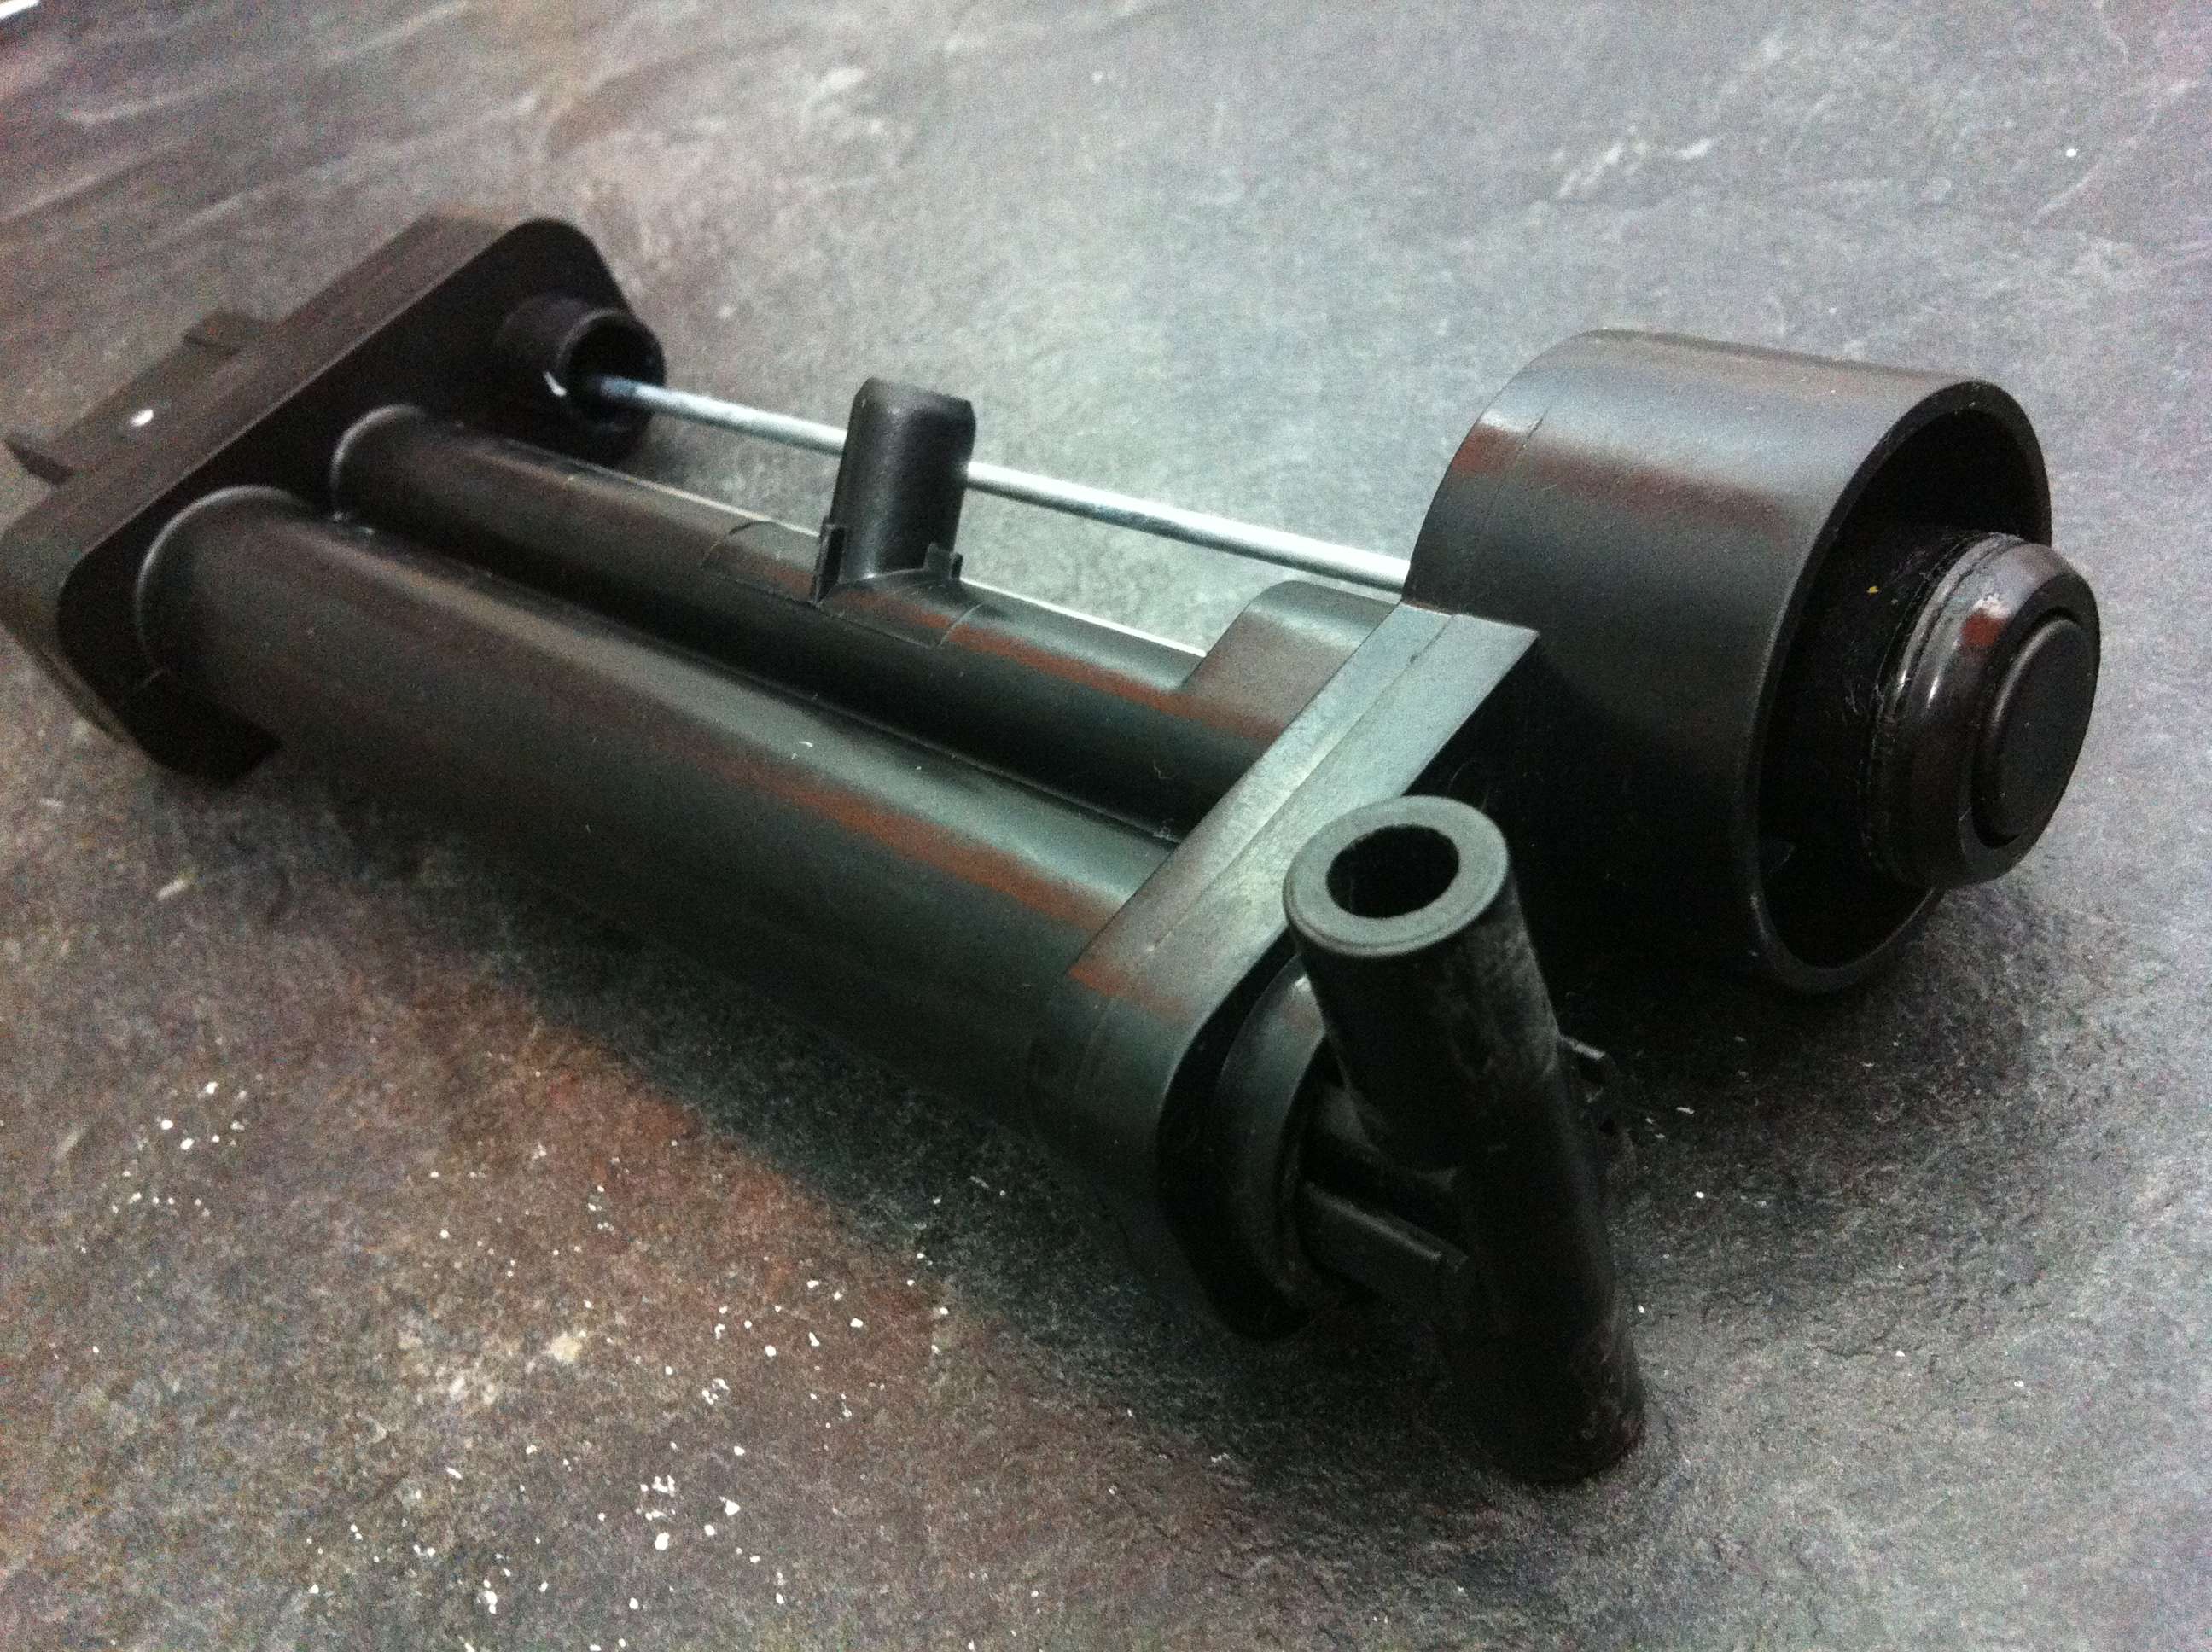
Posted Image

Posted Image
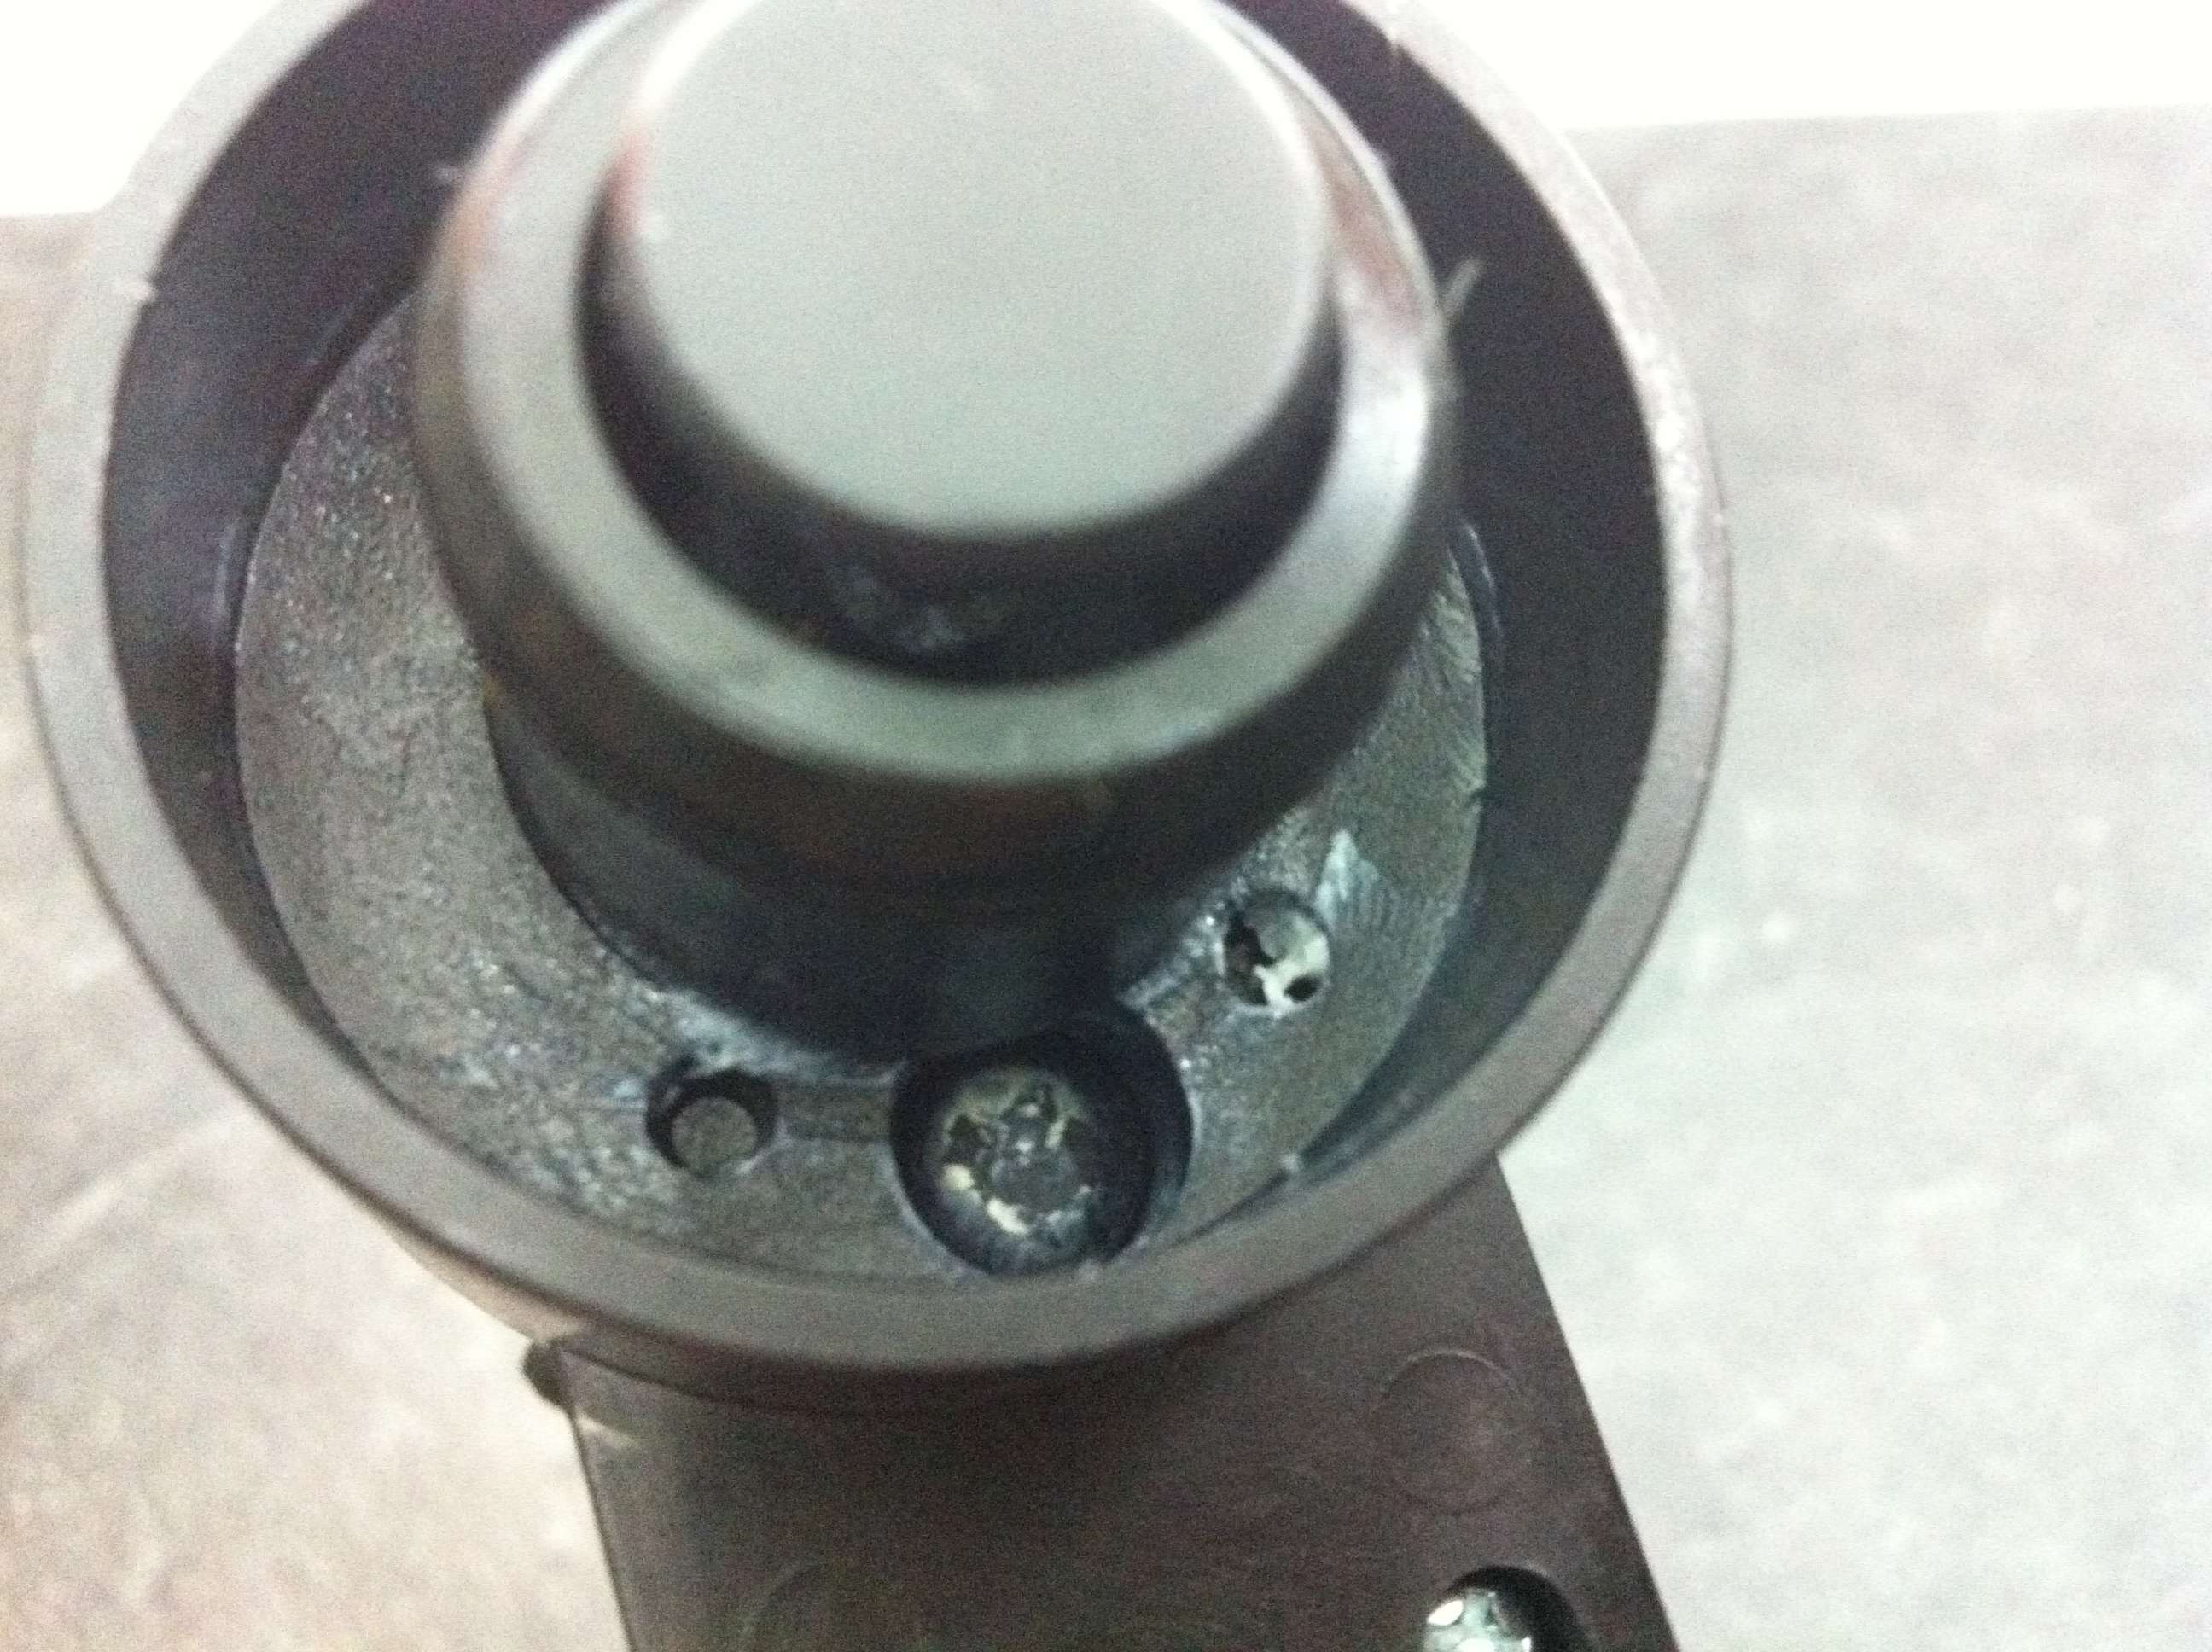
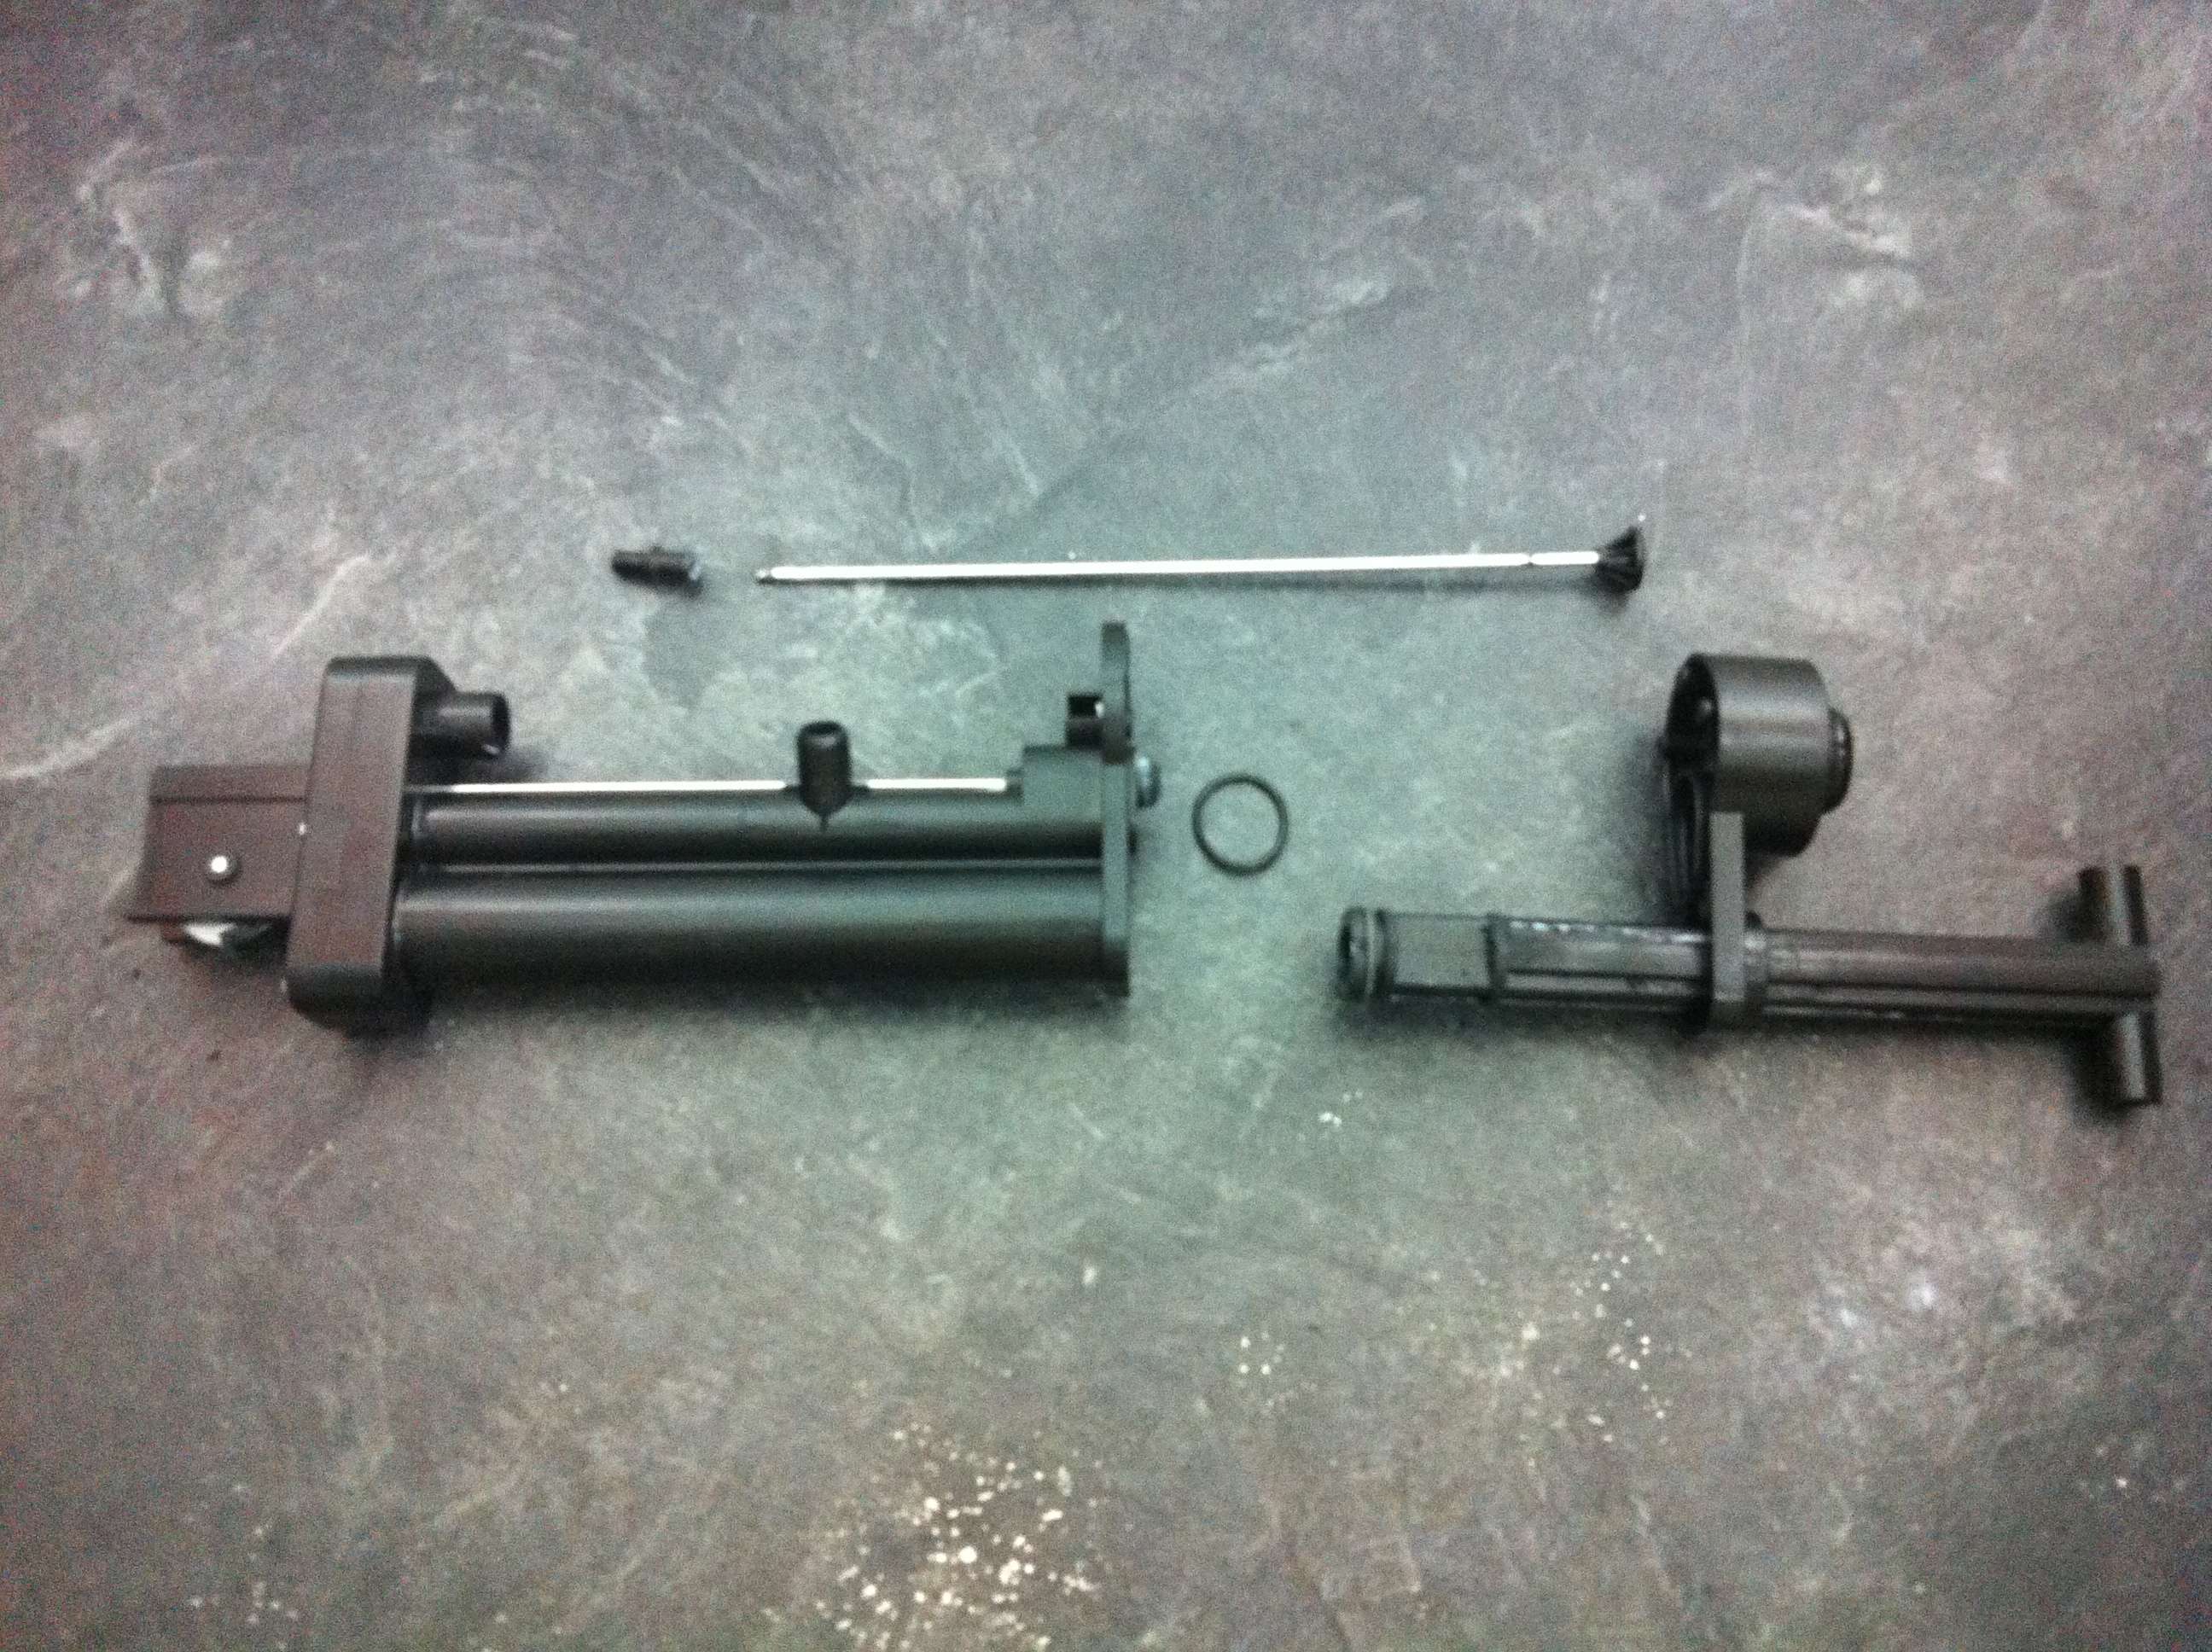
In this rear view, you can see the actual firing pin. It's the rod with the brass fitting. NOT the one above.
Posted Image
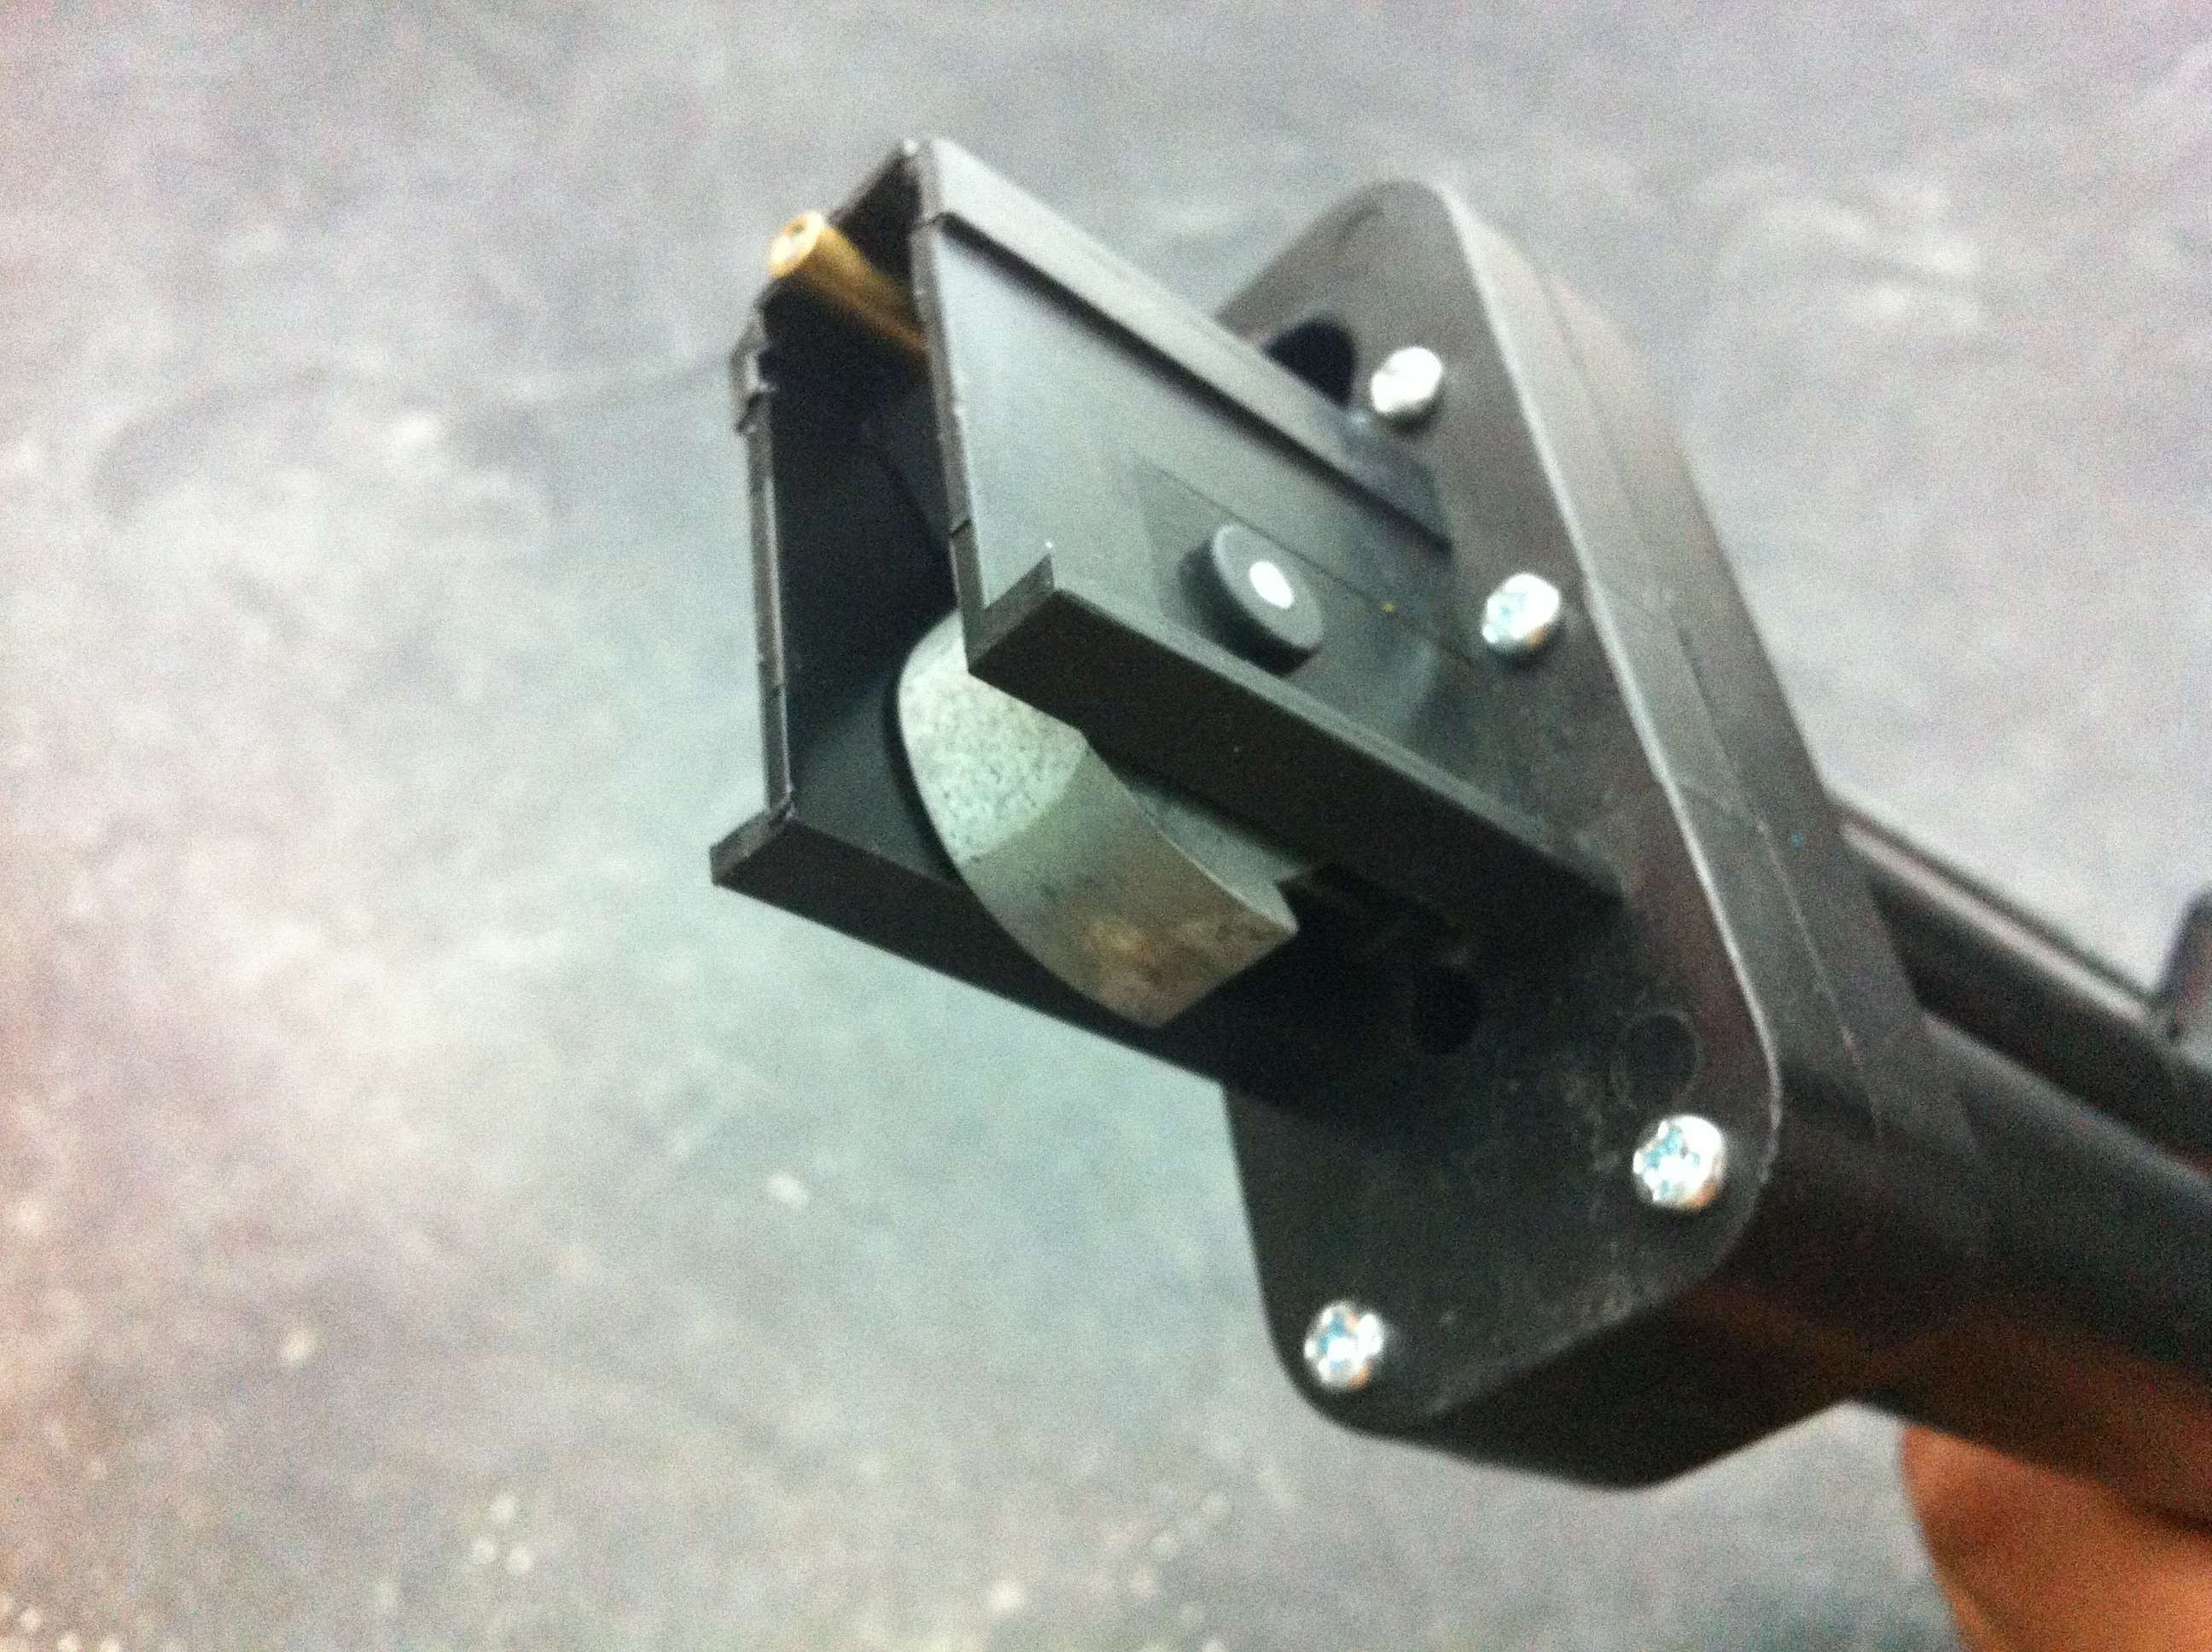
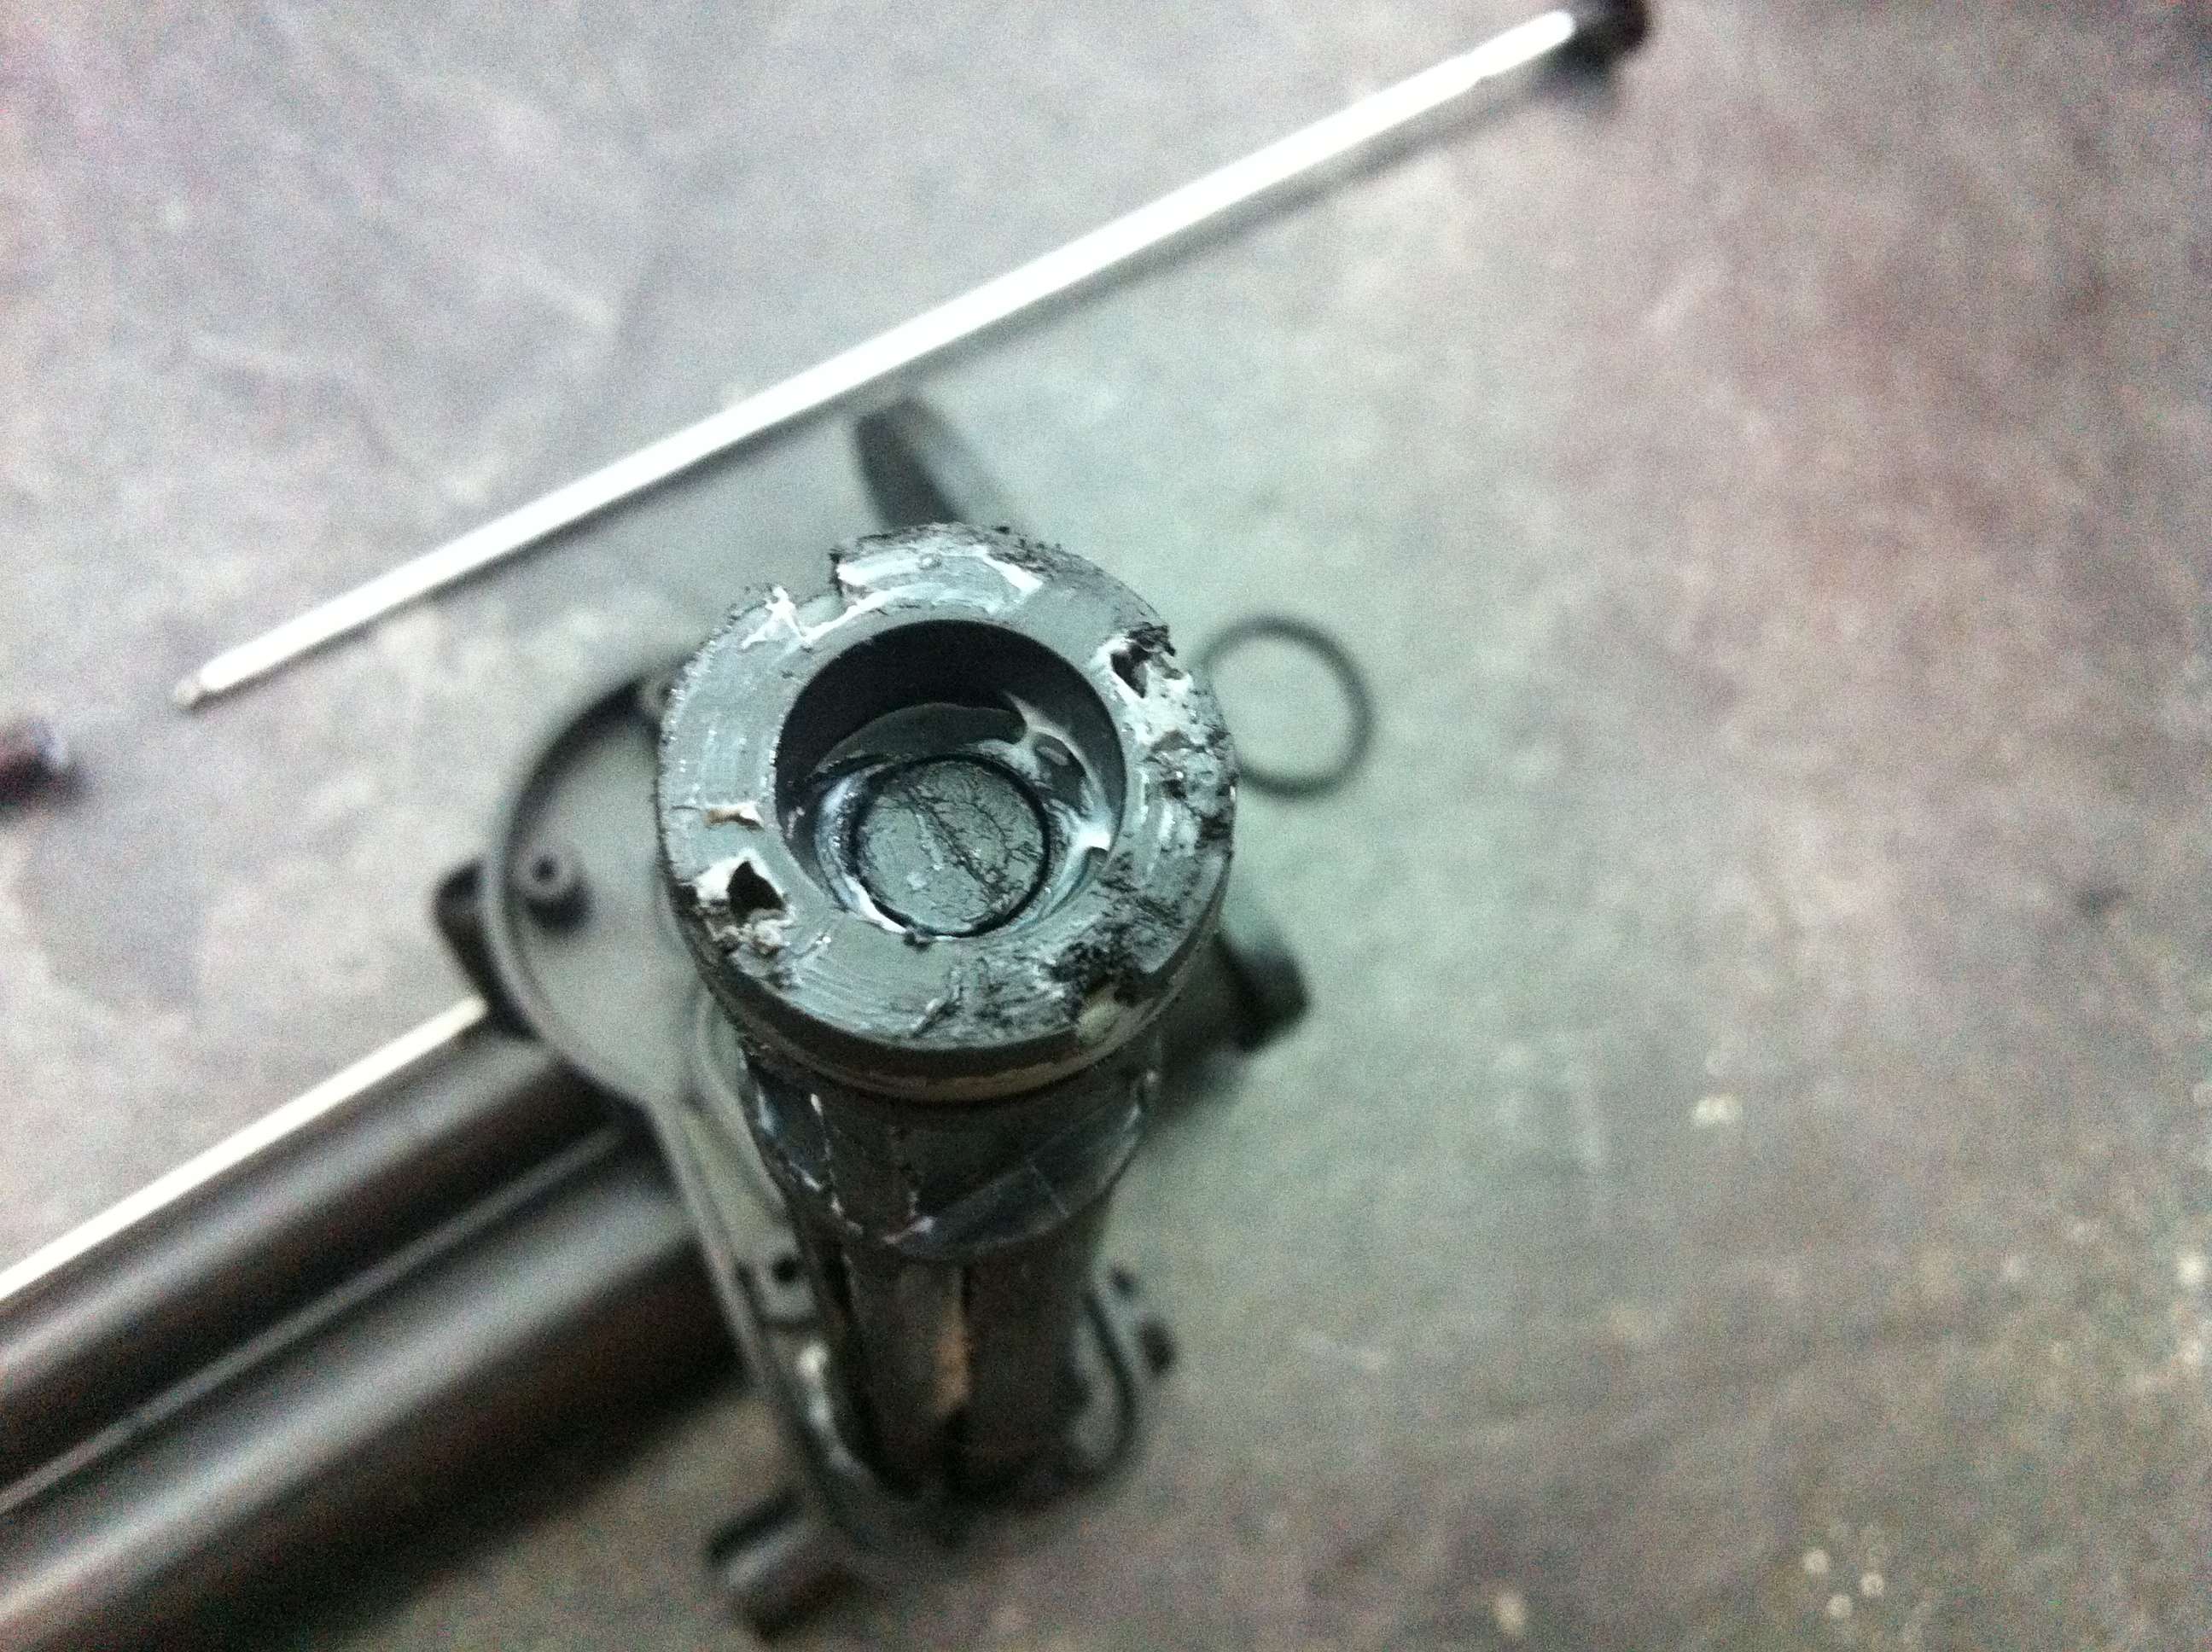
At the front end, we can now see the actual air release hole. It's the hole centred within the lower part of the cavity. It's not the large one in the actual centre. That's the paintball pusher.
Posted Image
Here's a better view of the actual firing pin and trigger mechanism.
Posted Image
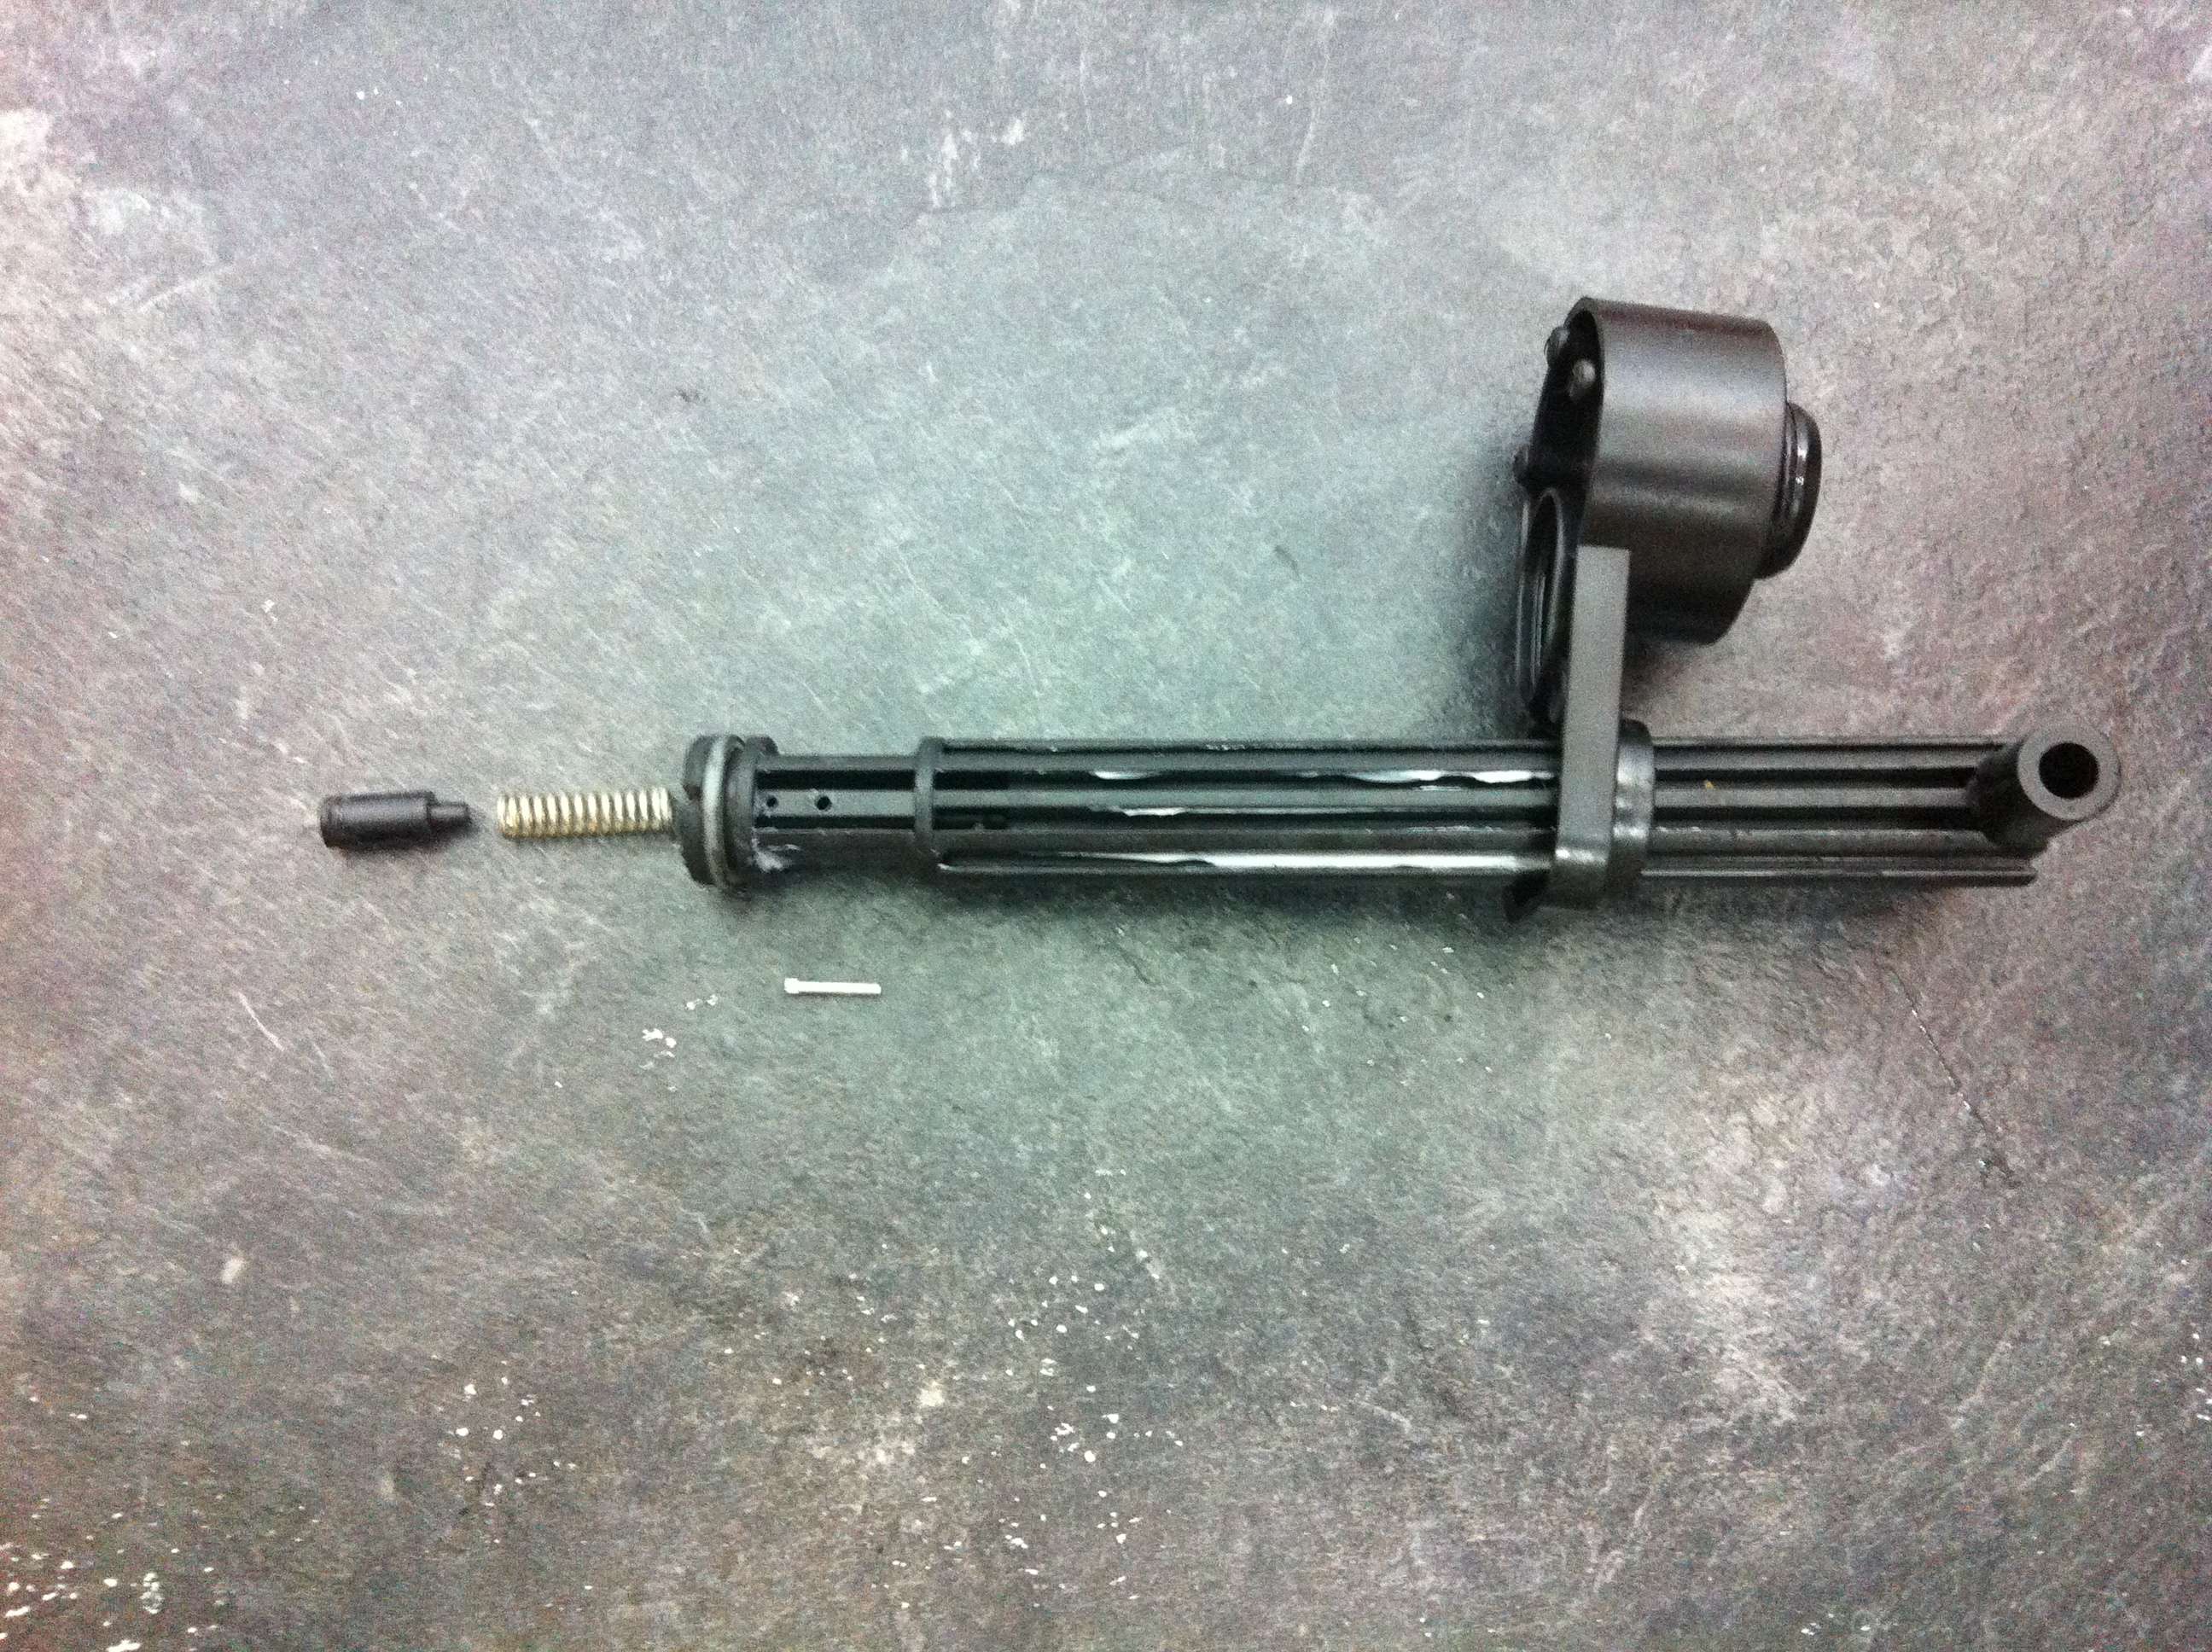
In order to take off the front end, the paintball pusher needs to be separated from the friction fitted nub. The little black piece in the upper left.
Posted Image
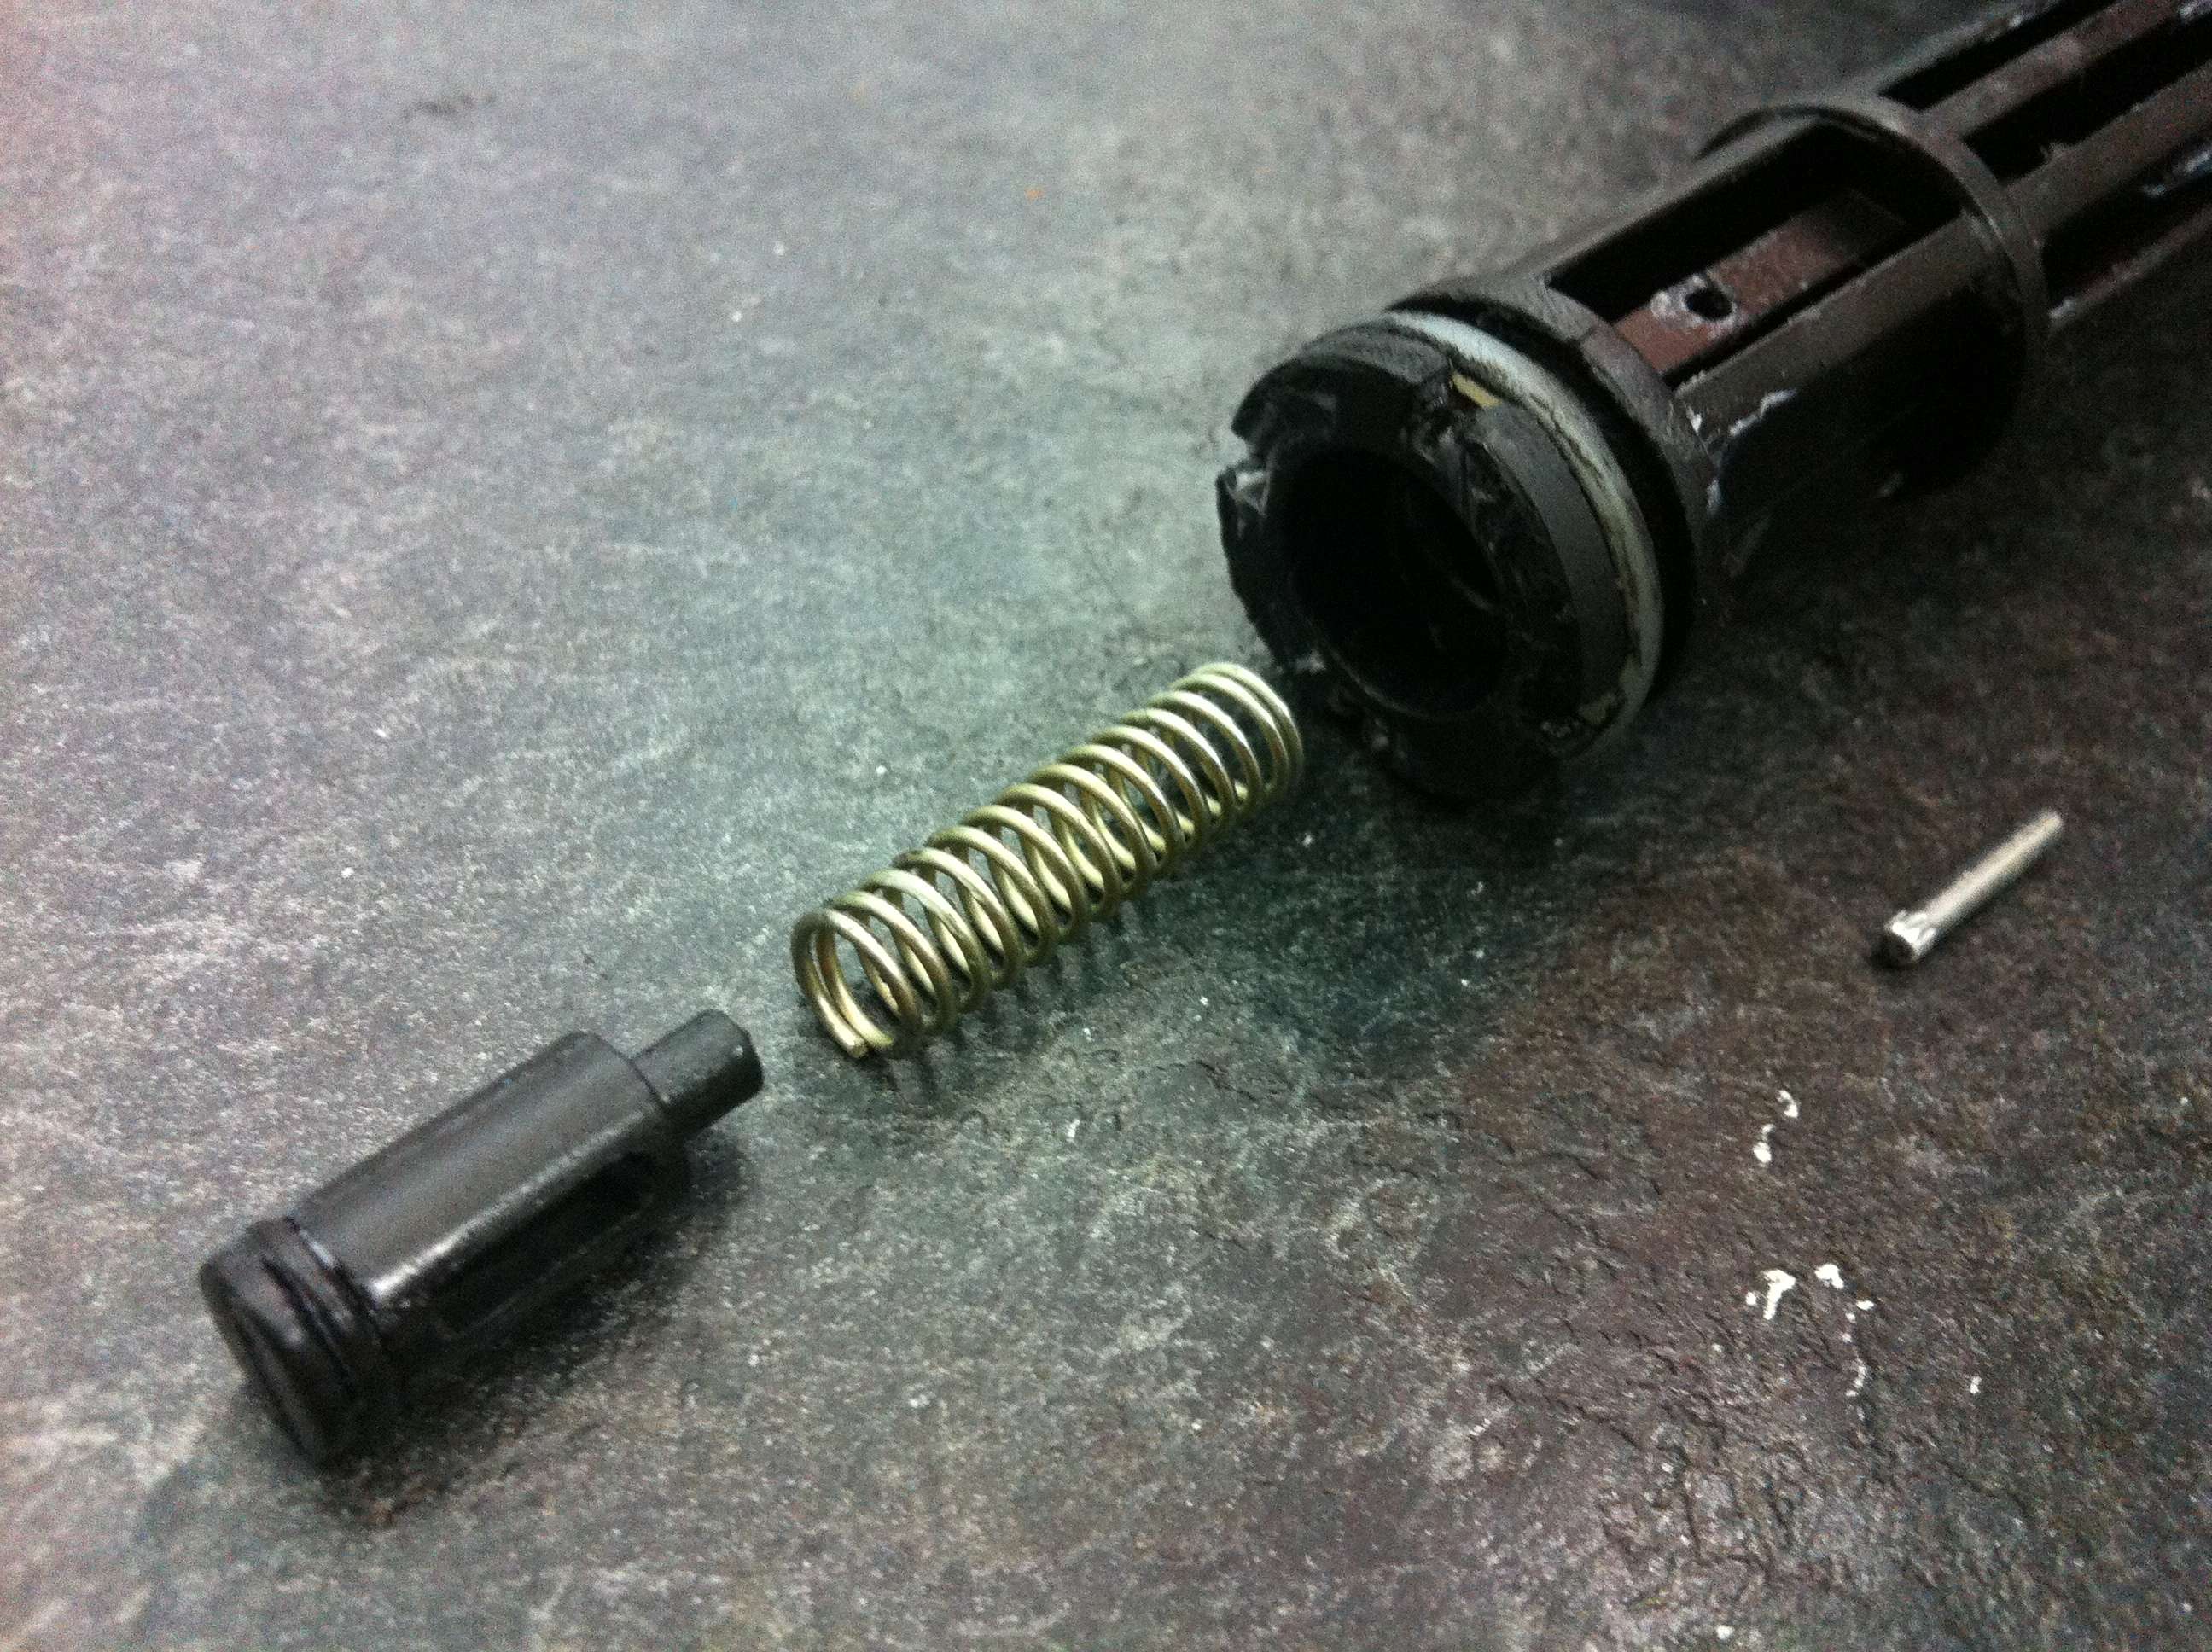
The actual firing pin valve and the o-ring that helps seal the front of the tank.
Posted Image
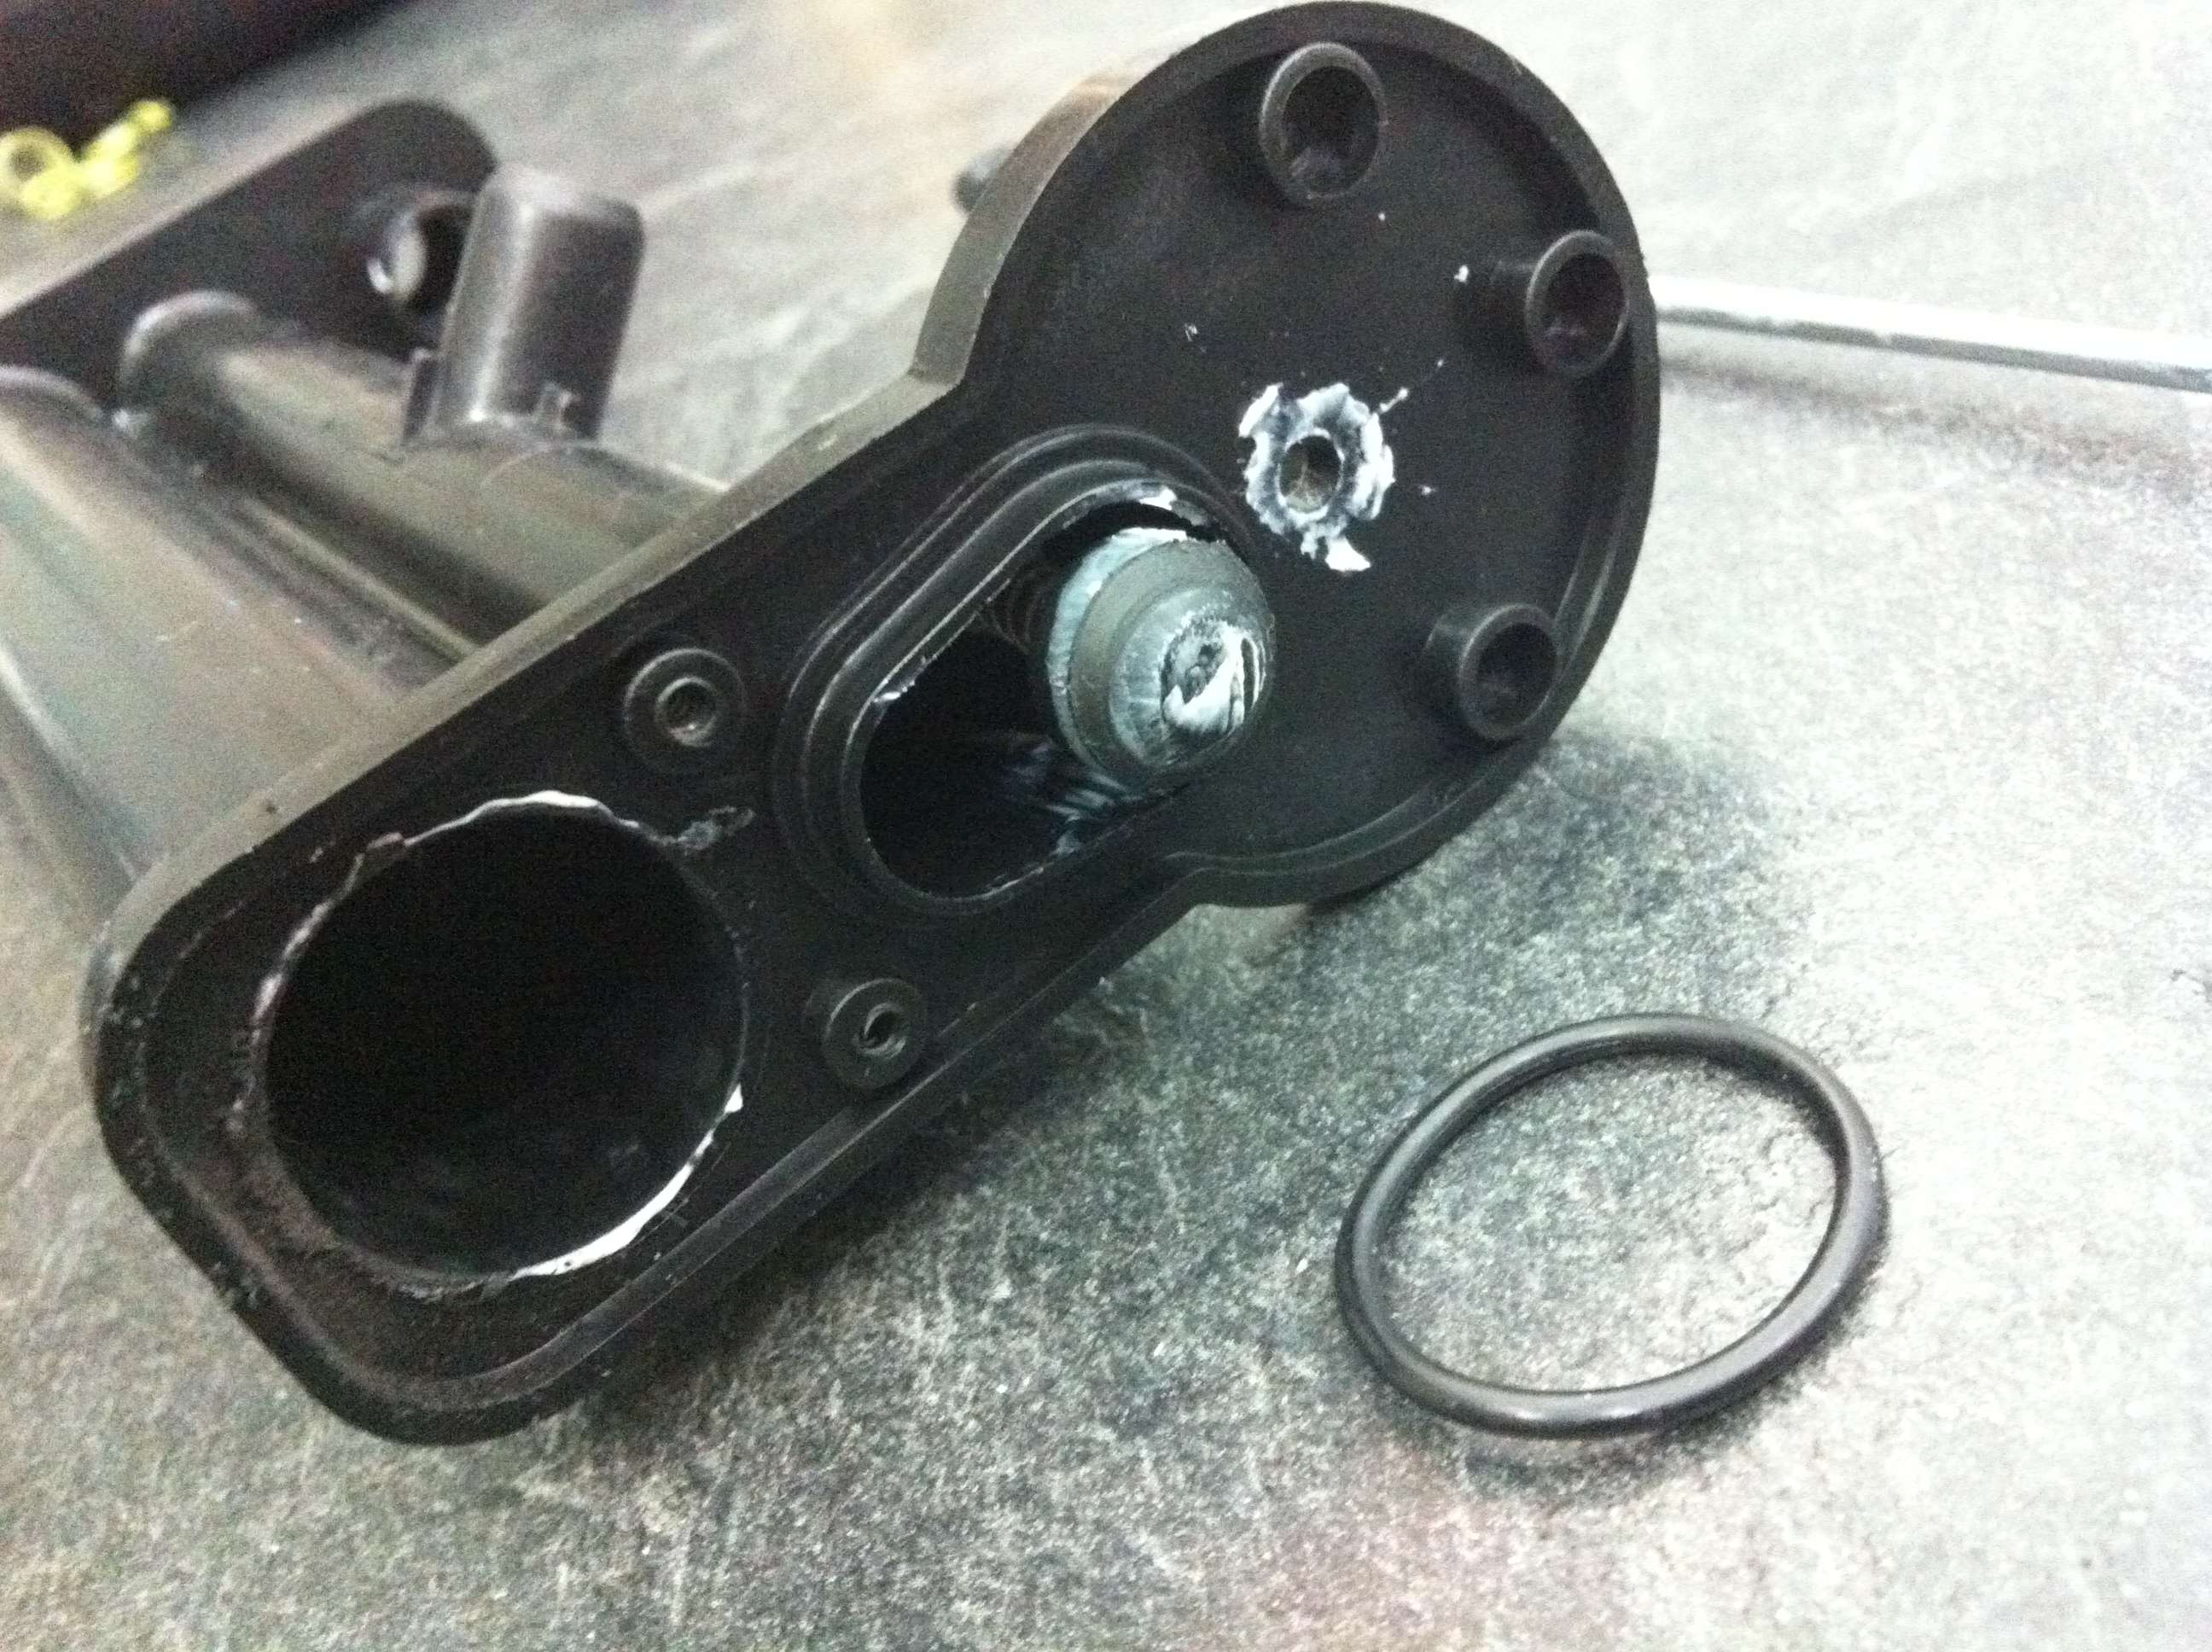
This is the pump head, showing the location of the OPRV.
Posted Image
It's held in via a steal pin.

Posted Image
As you can see, it's pretty much the standard OPRV set up as any other popular air blaster.
Default stock OPRV is somewhere between 20psi or 25psi.
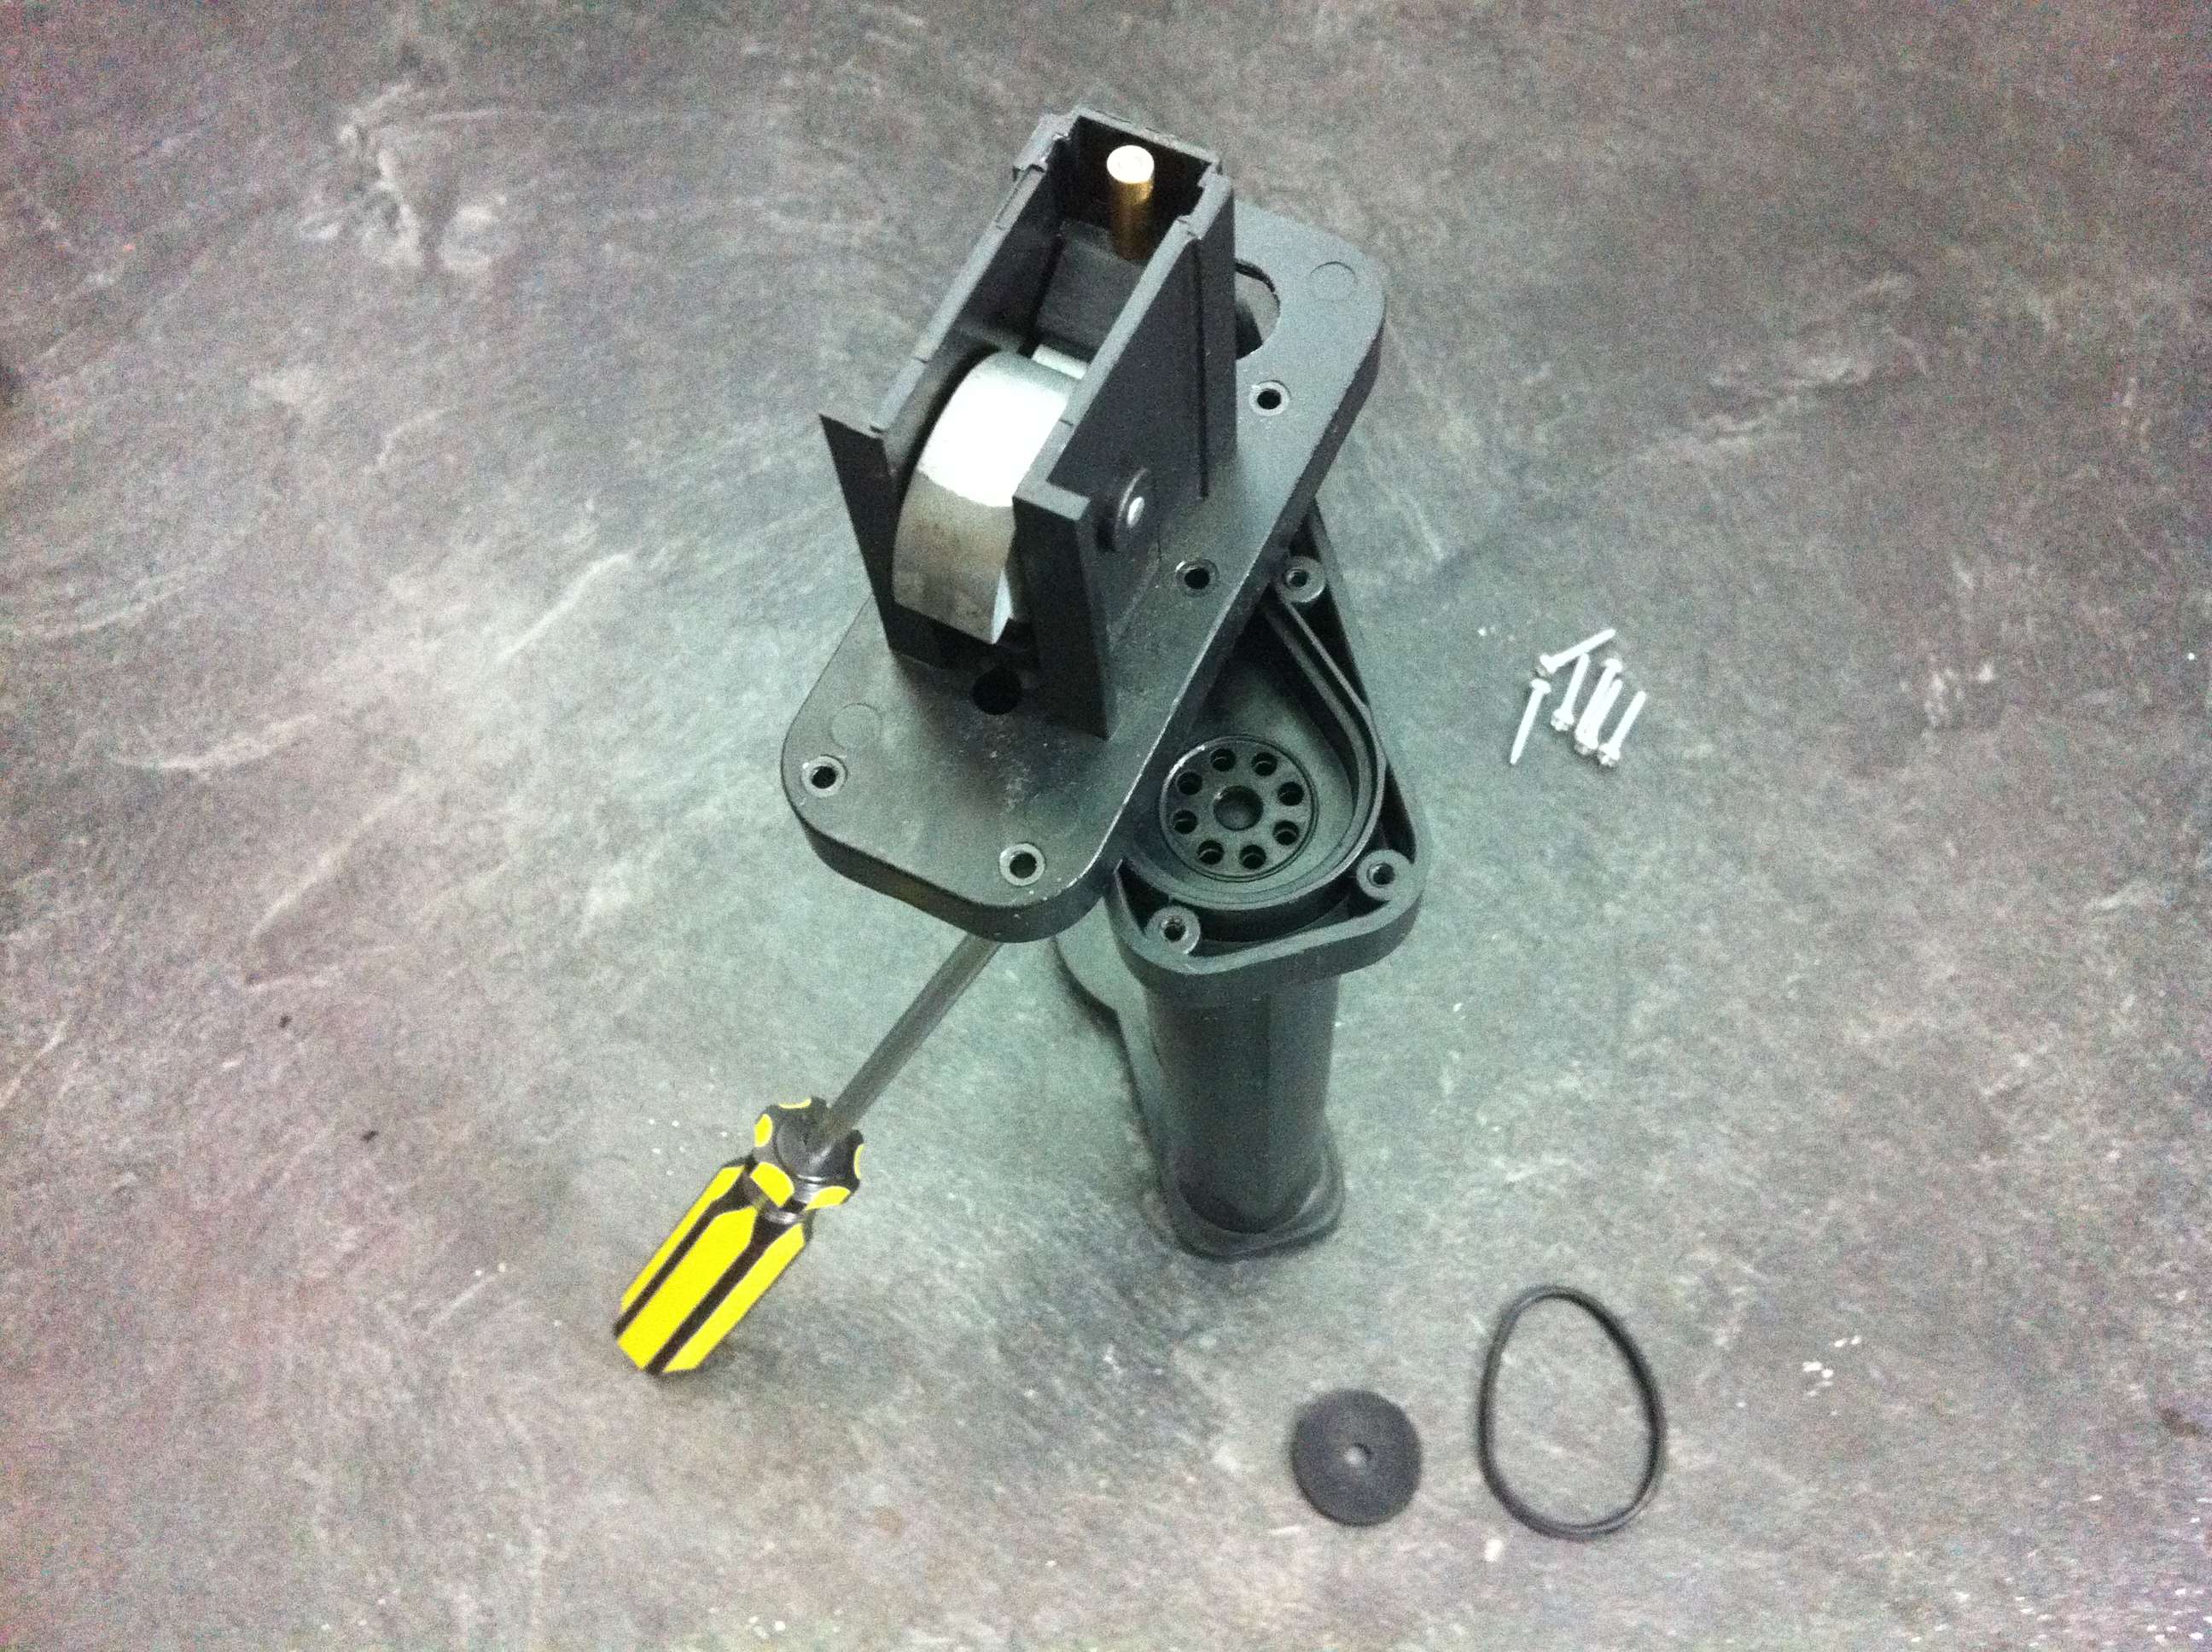
Posted Image
The back end doesn't quite fully come apart because the brass fitting of the firing pin keeps it from being separated. But simply lifting it gently and swivelling to the side allows adequate access.
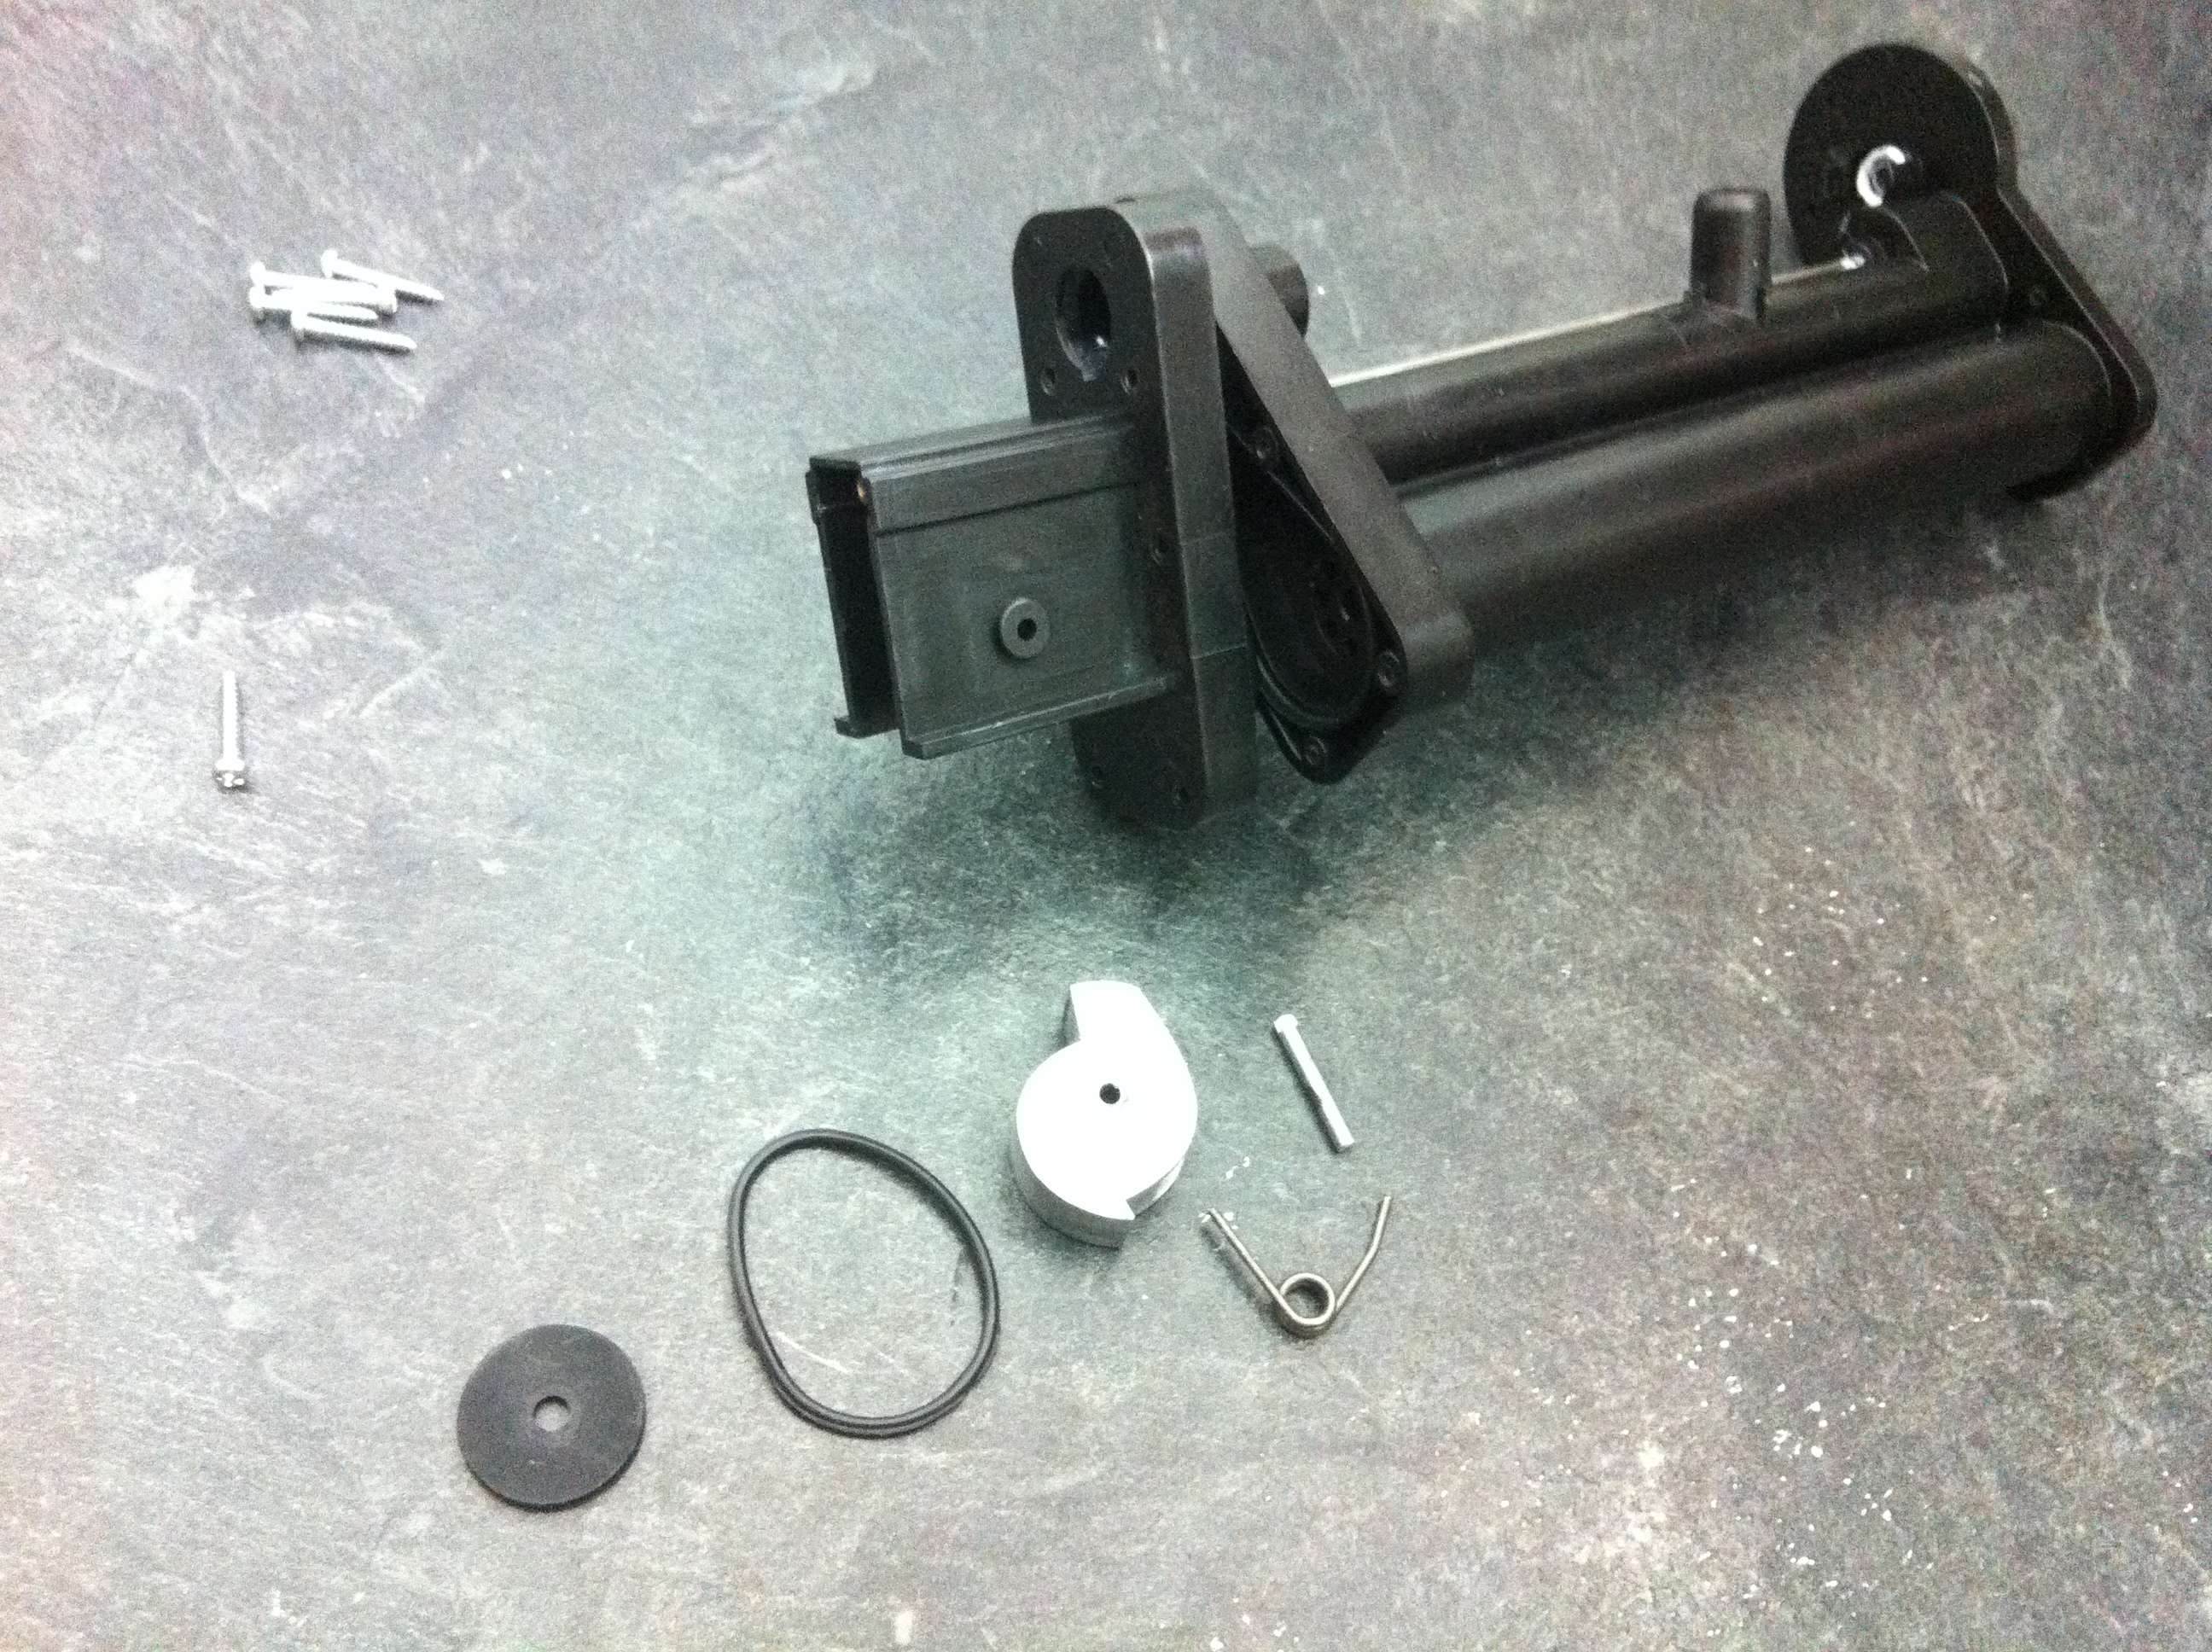
Posted Image
The pumps' check valve is a basic rubber washer with a rather large o-ring maintaining the seal.
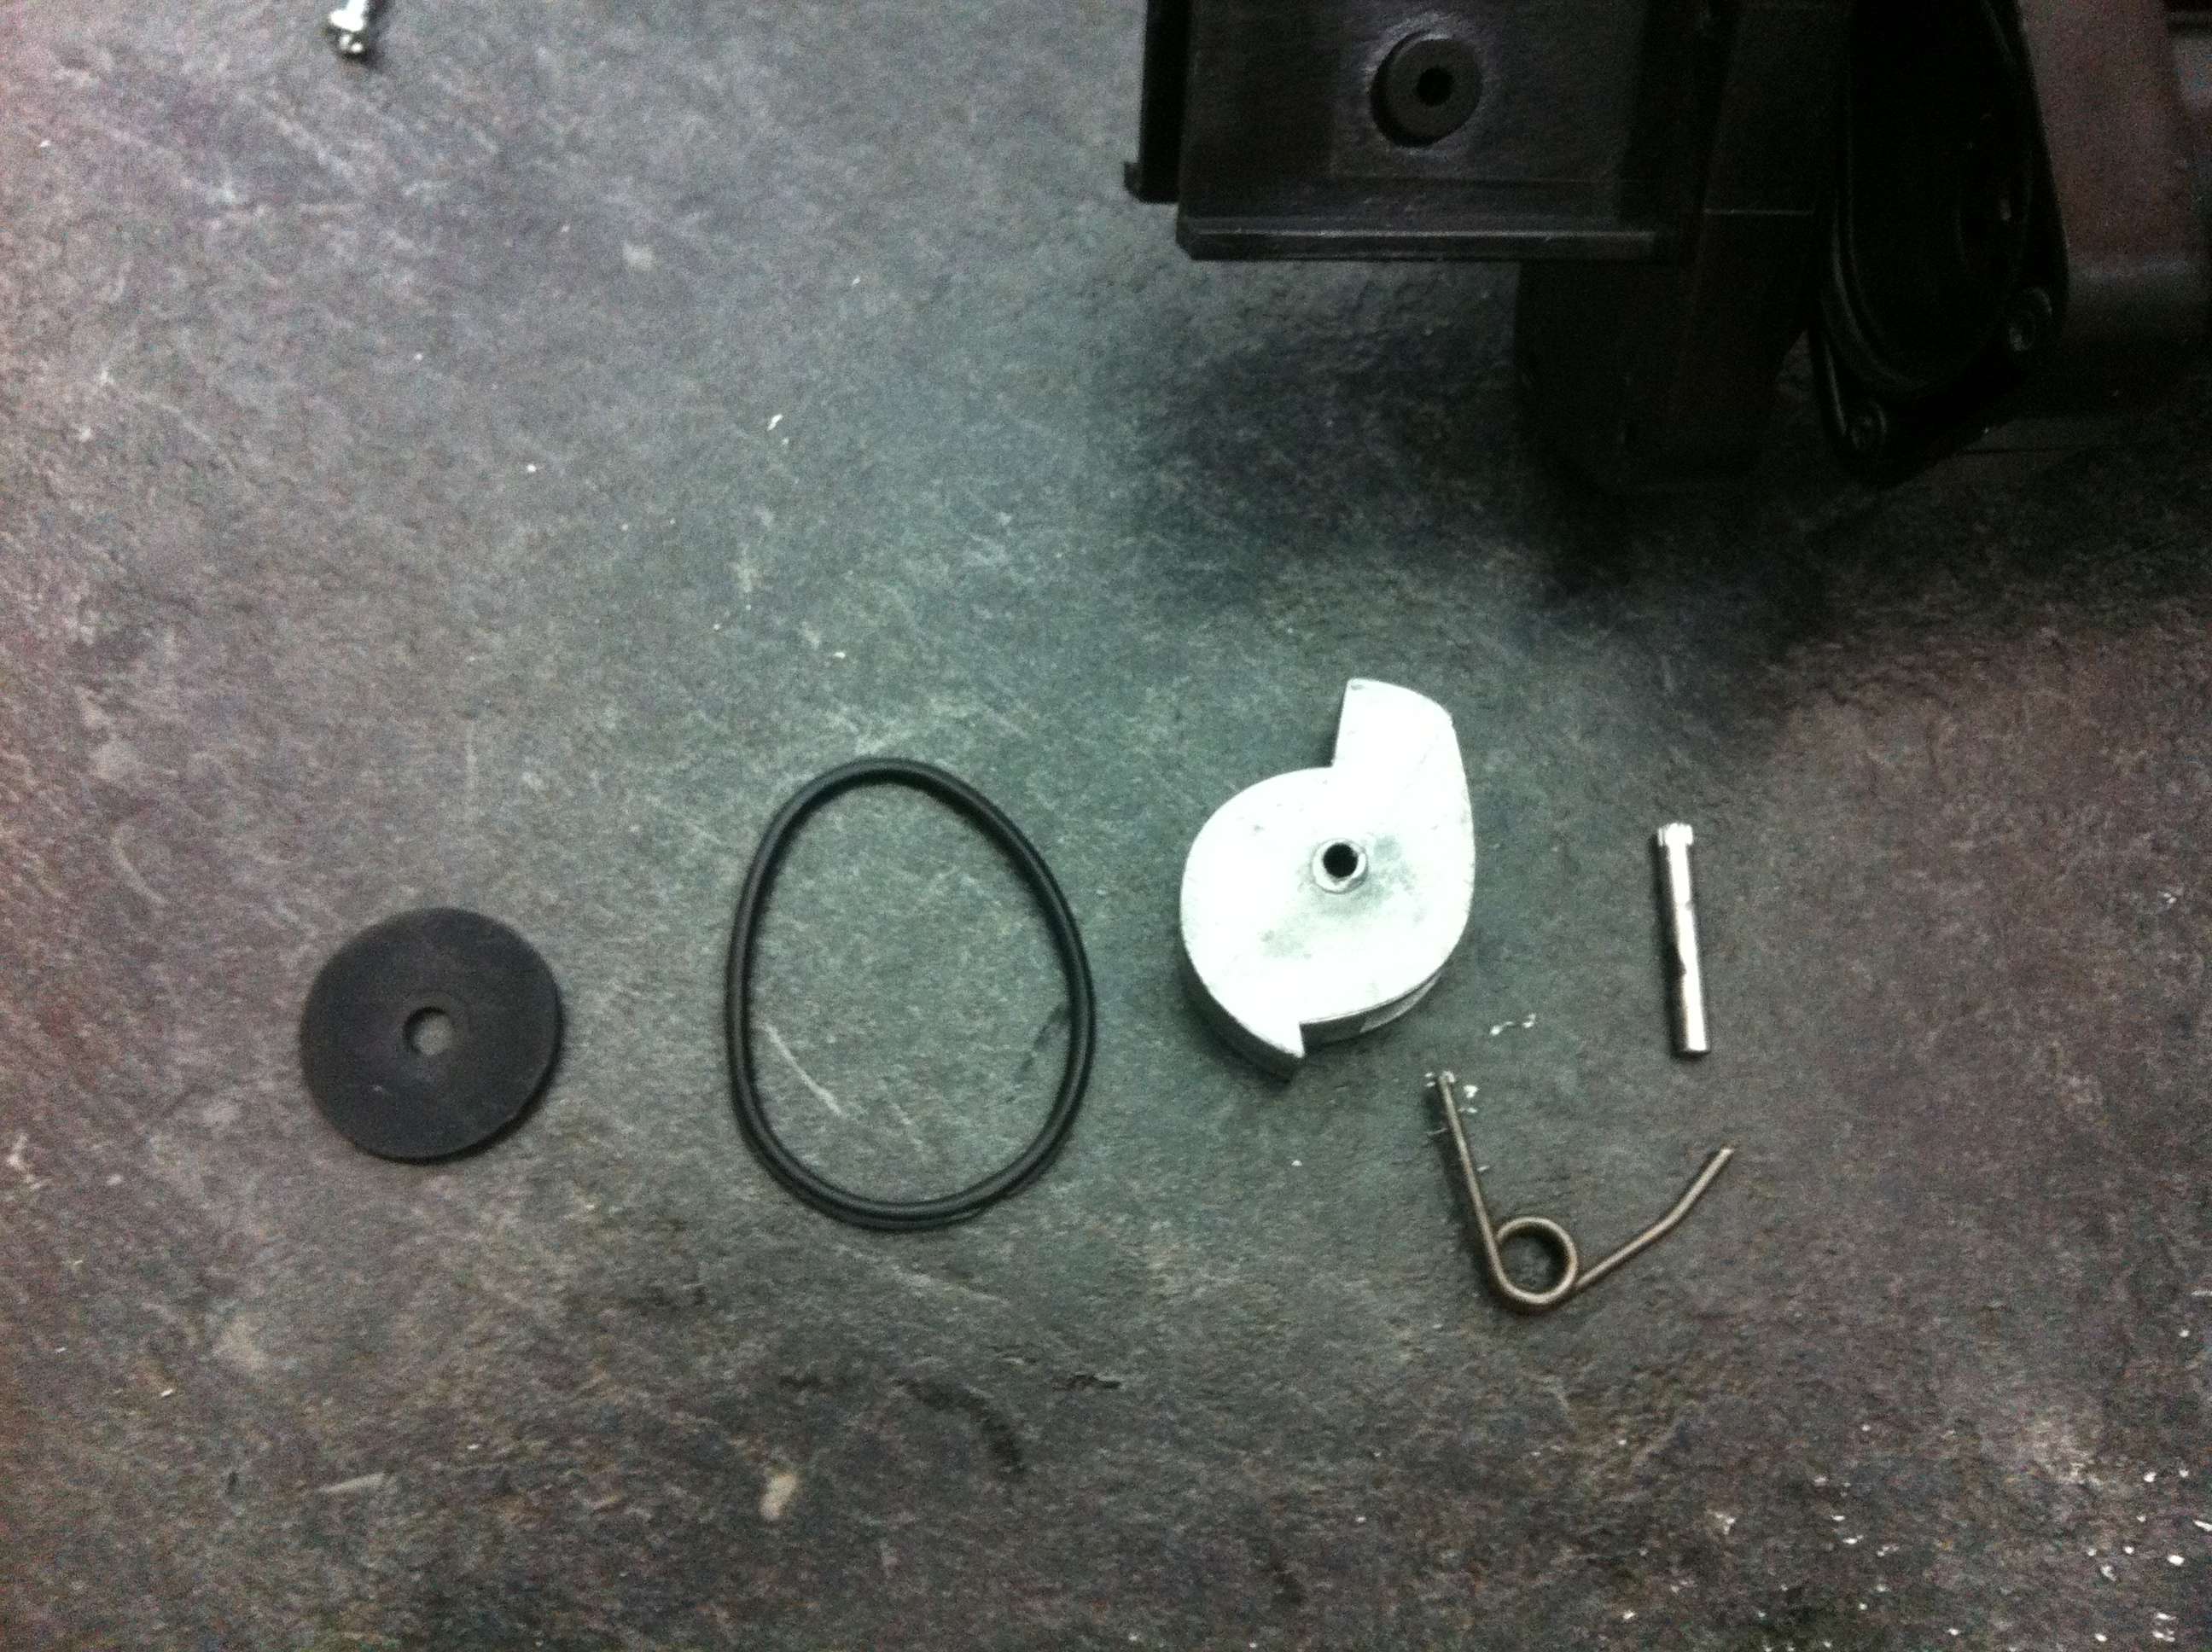
Posted Image
The trigger/release mechanism is held in via another pin and is actuated by a rather strong torsion spring upon the trigger pull. The key to the 'semi-auto' capability is purely mechanical. The reason it is possible, is because the trigger/release mechanism snaps the air release valve open very quickly and seals it back up again just as quickly if not quicker.

*There is no air pressure regulator that controls the volume of air flow. It merely just opens and closes very quickly. The nature of the trigger/release mechanism does not allow for an extended trigger pull and therefore limits the volume of air release.

As long as the OPRV is set to optimum pressure release (or just left stock), a tank expansion or relocation will not make this blaster unsafe for wars. A tank expansion would simply only allow for more semi auto shots before having to re-pump. Although, a tank expansion also means a lot more pumps. It already takes roughly 45 pumps for the tank to fill and the OPRV to be activated to get 4 or 5 primary worthy shots. 10 or 11 are possible in total but after the 5th shot, power and ranges decrease exponentially.


Putting this thing back together is actually relatively easy. :)
  • 0
"...he is one speedy bastard." ~ Cheyner

#70 Greydon

Greydon

    Member

  • Members
  • 53 posts

Posted 29 June 2012 - 06:59 PM

NERF ELITE: RETALIATOR INTERNALS

Posted Image
  • 0

#71 Kansas City 1706

Kansas City 1706

    Member

  • Members
  • 56 posts

Posted 02 August 2012 - 09:02 PM

This post has some errors. Under 'Nerf' where it says elimenator, the picture is of reflex internals
  • 0

#72 Ozymandias

Ozymandias

    Member

  • Members
  • 201 posts

Posted 03 August 2012 - 03:25 PM

This post has some errors. Under 'Nerf' where it says elimenator, the picture is of reflex internals


That is because the reflex used to be known as the eliminator.
  • 0
If you wish to post anything HvZ related, here ya go.

"...if you've ever suffered the effects of a fucking faggot retard overpopulation, you'll understand what devistaiting effects it can have on one's psyche." - Talio

#73 makeitgo

makeitgo

    Member

  • Members
  • 216 posts

Posted 05 August 2012 - 12:18 AM

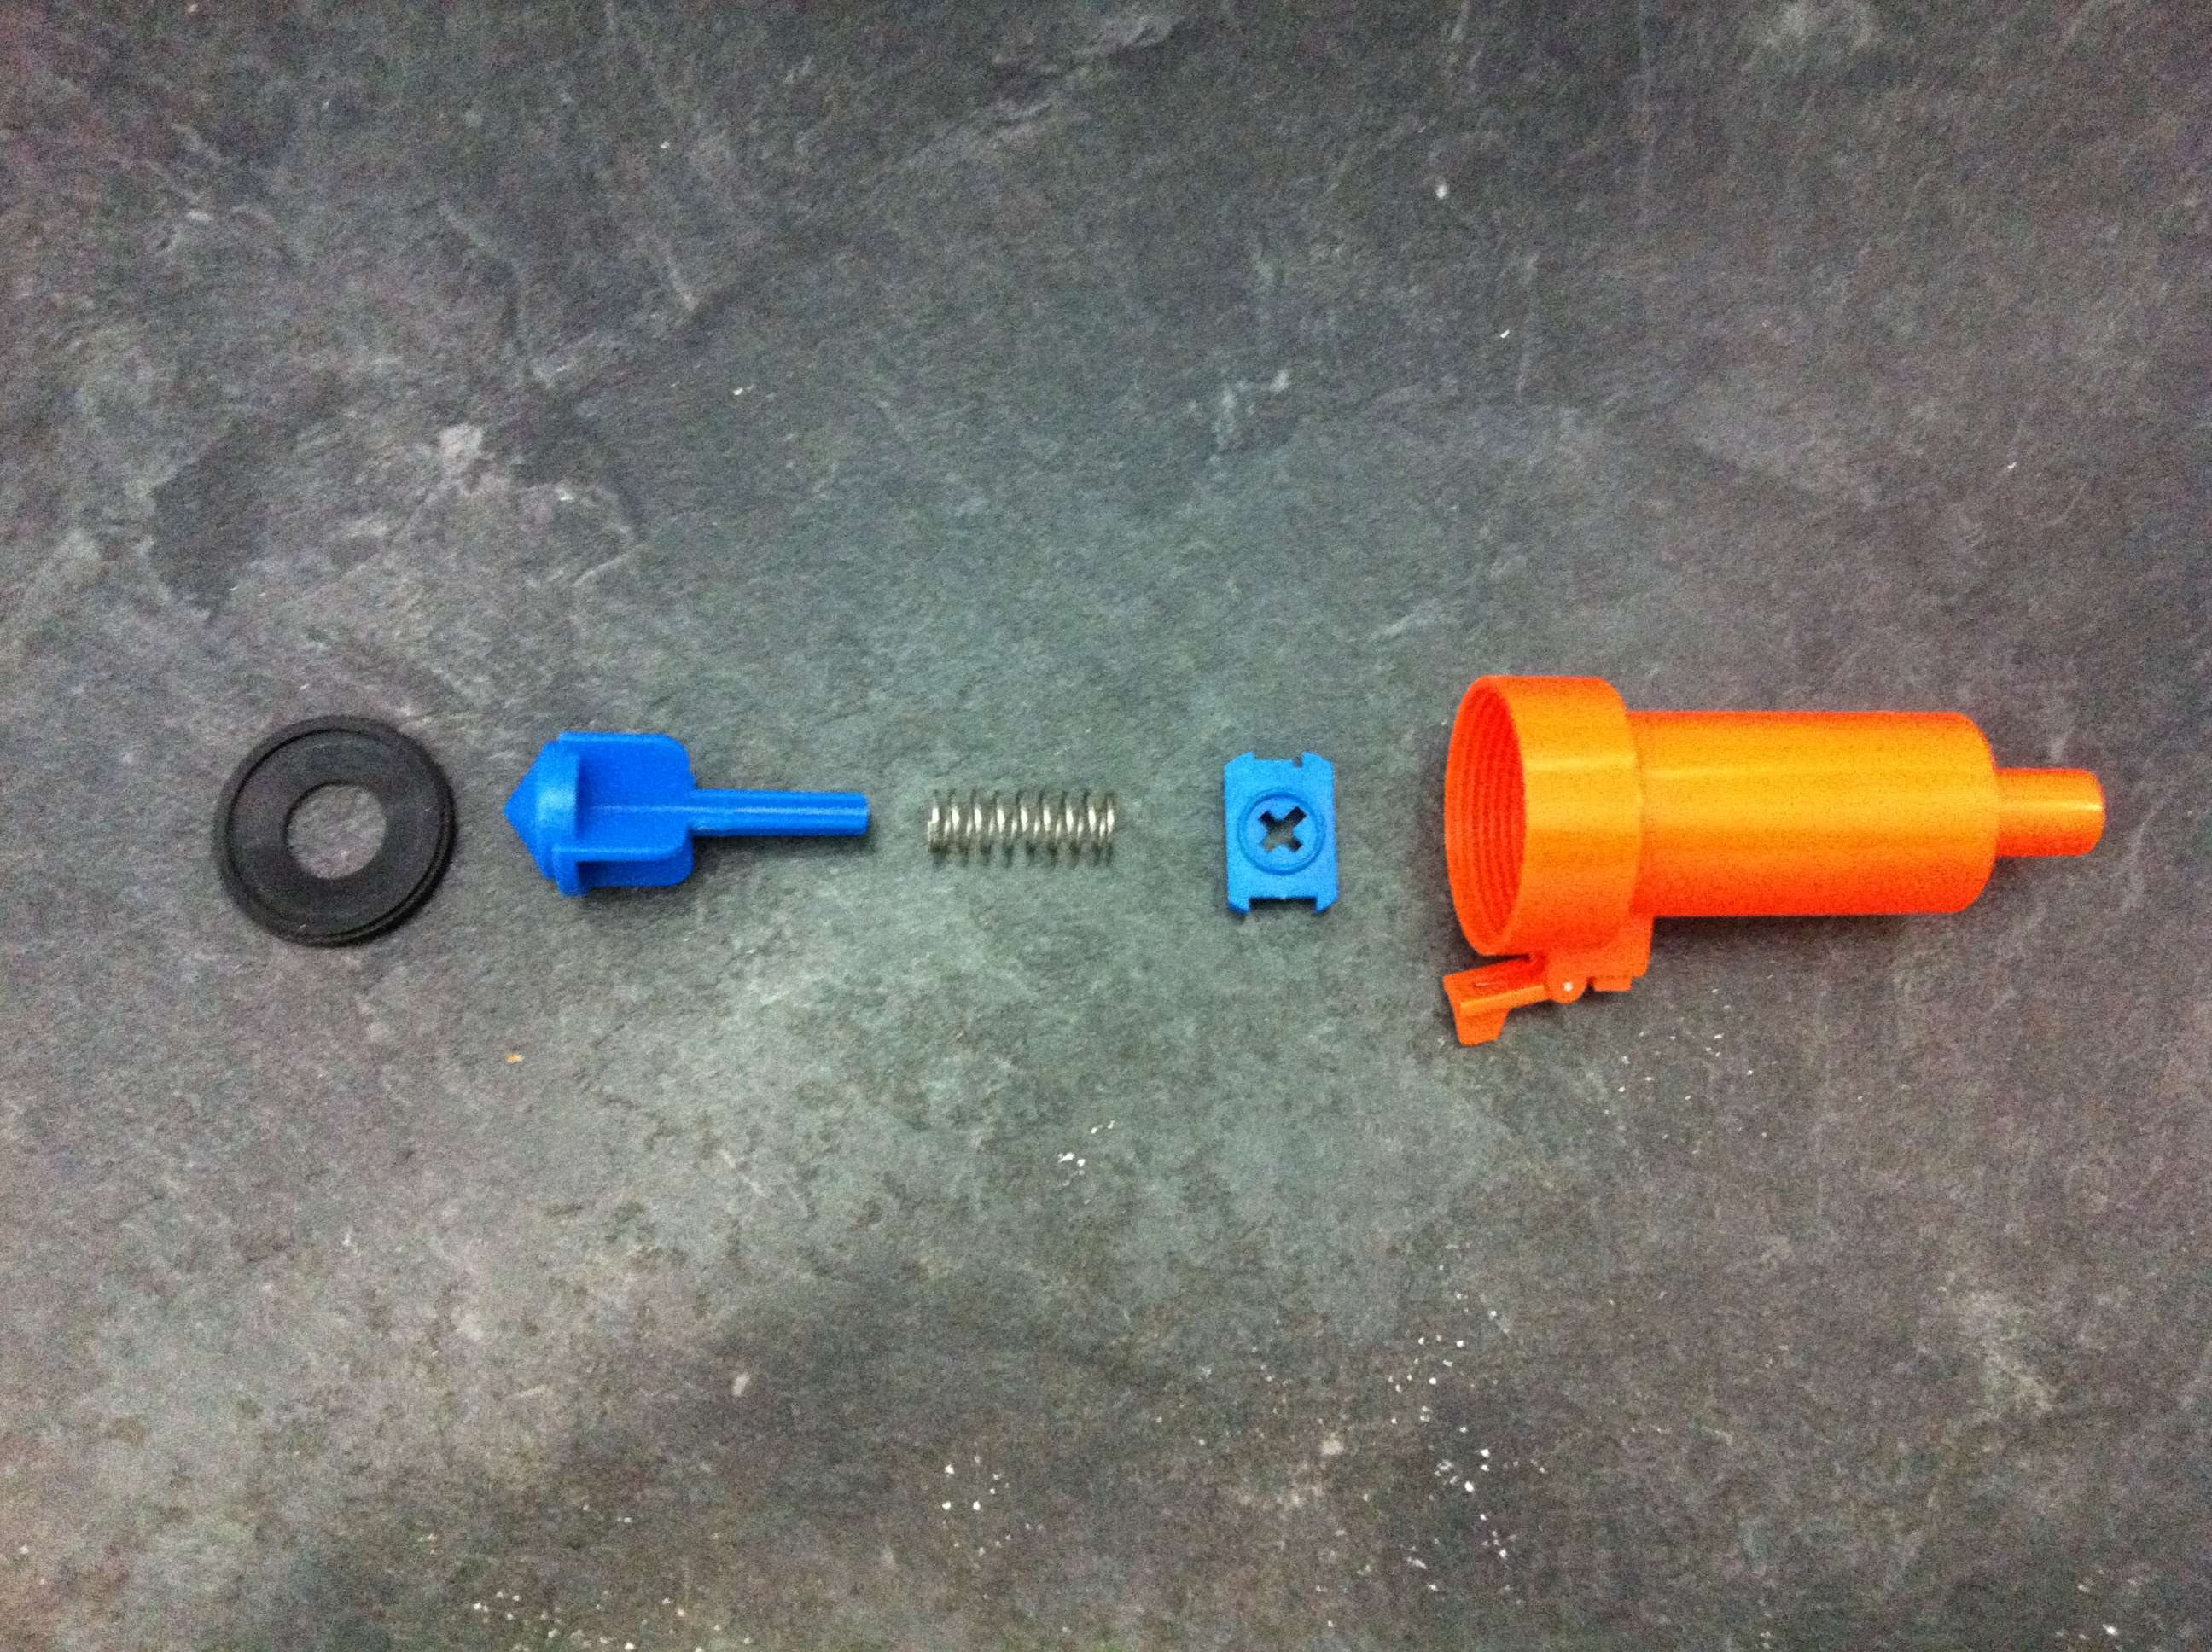
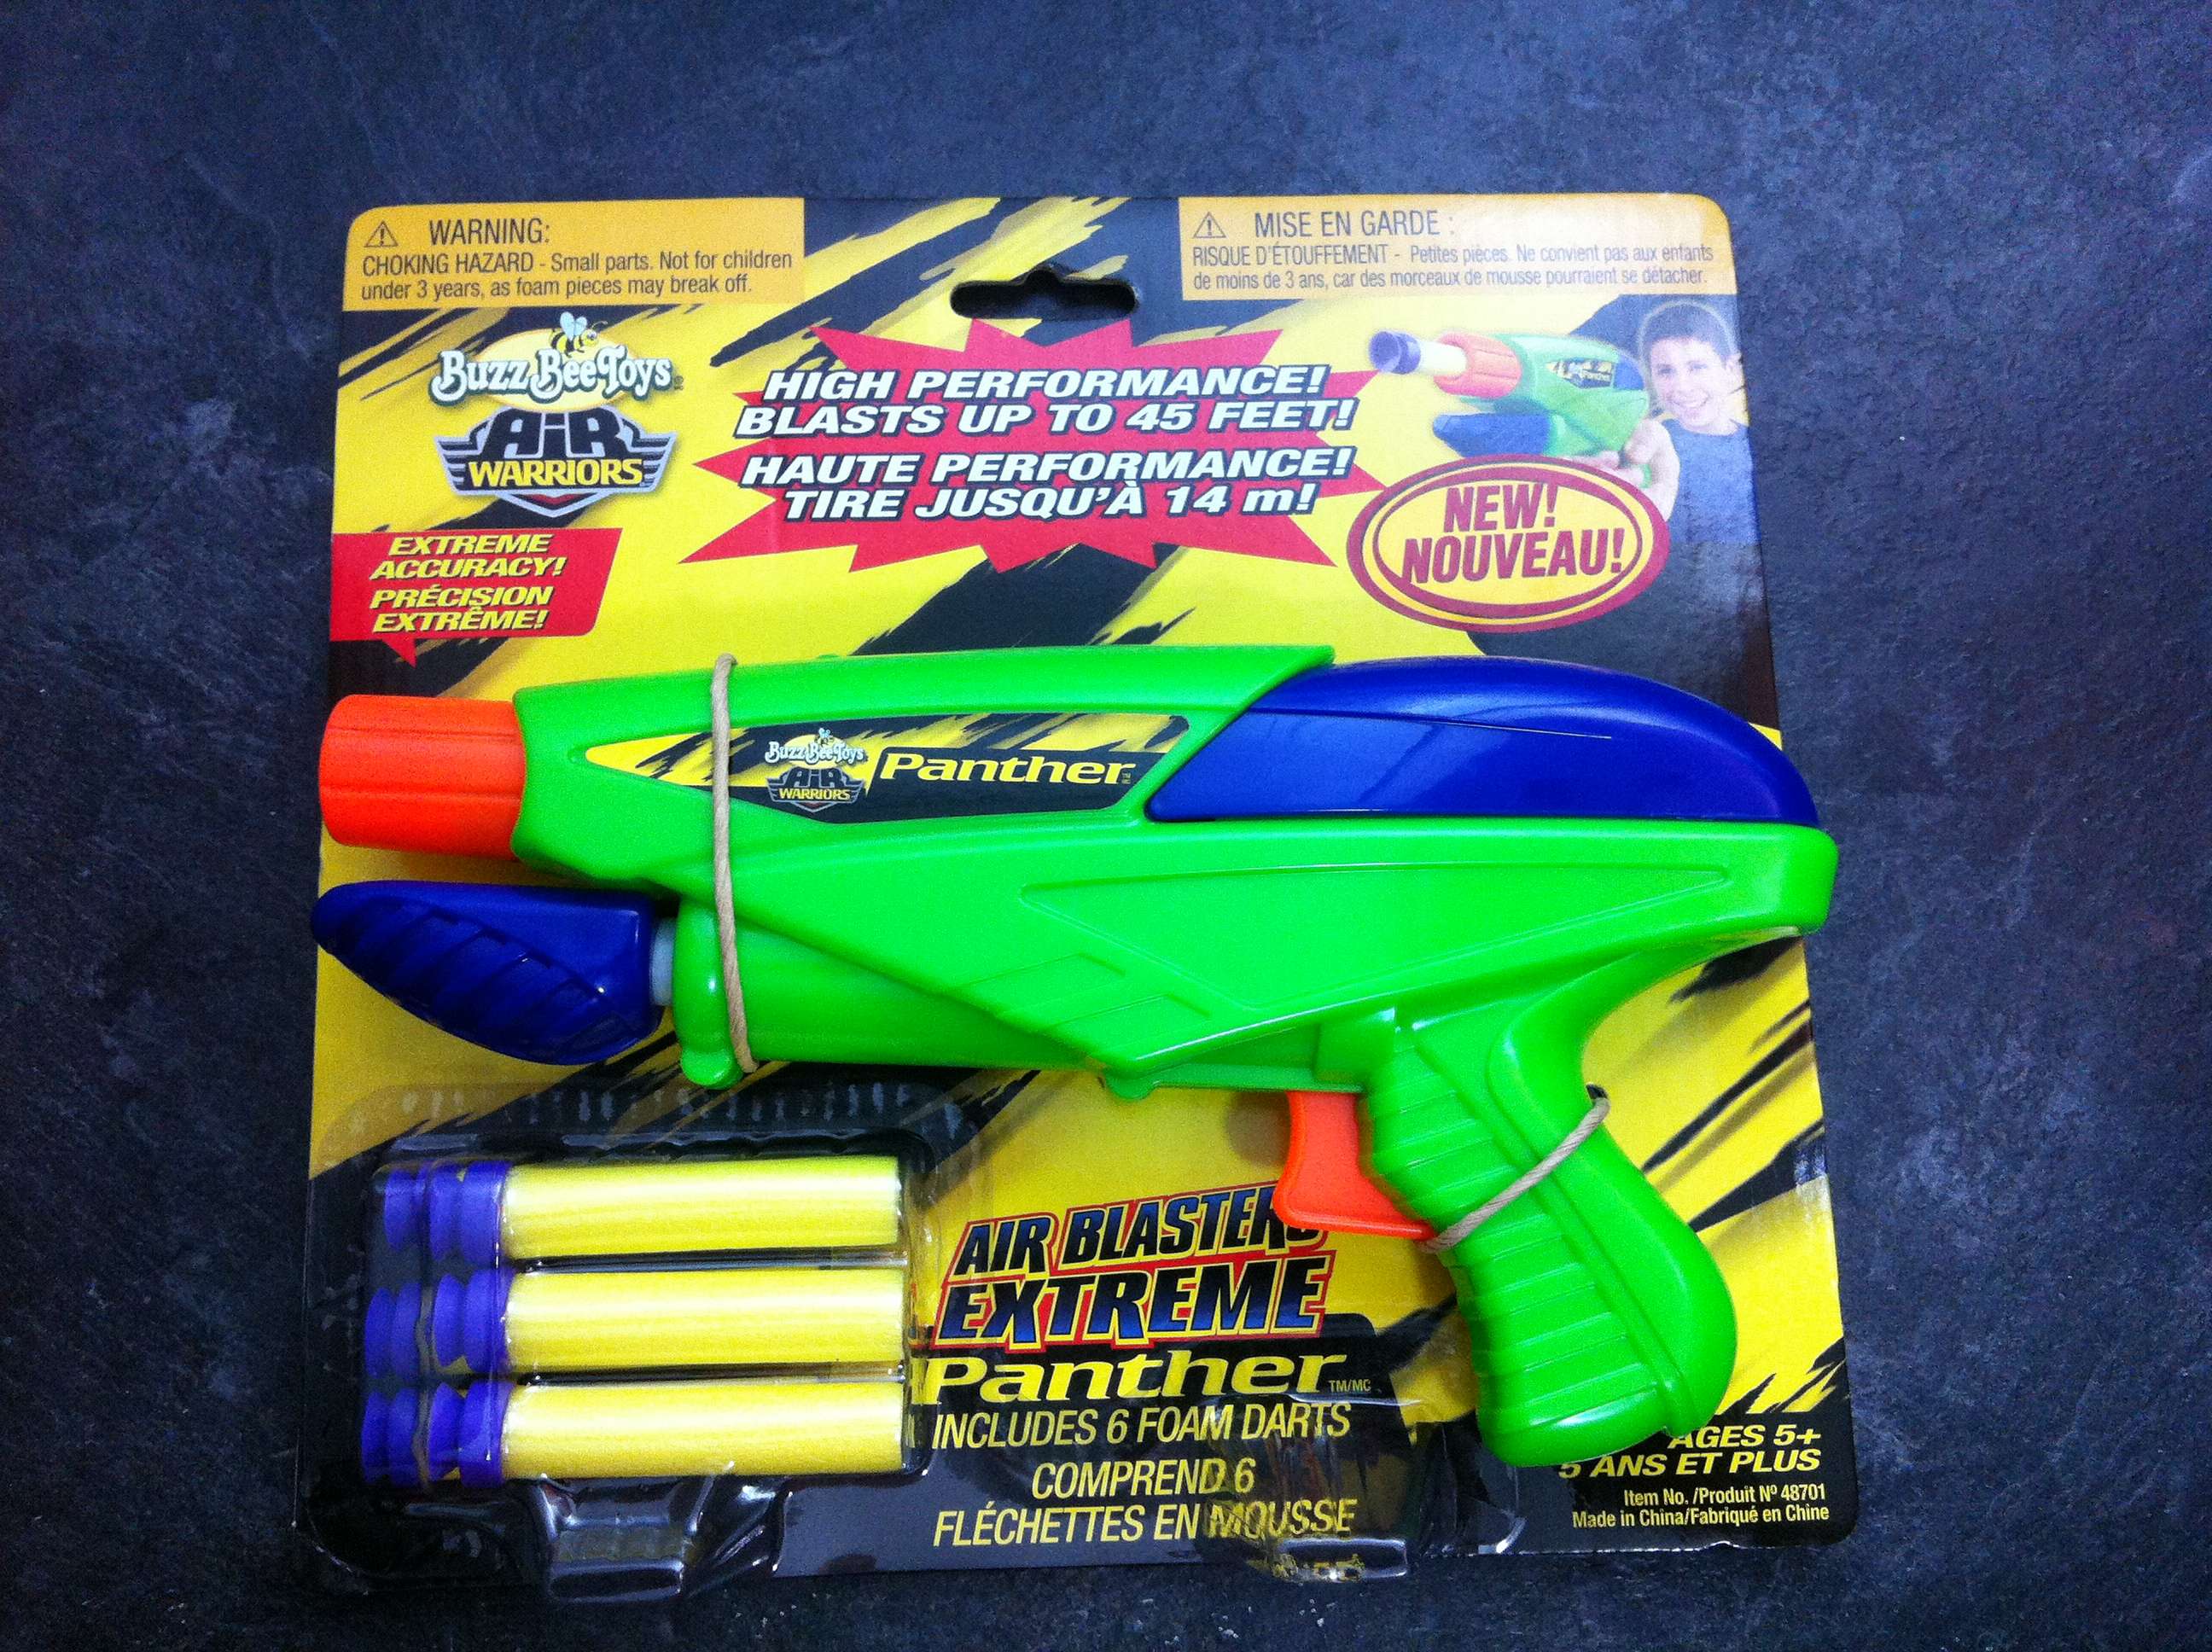
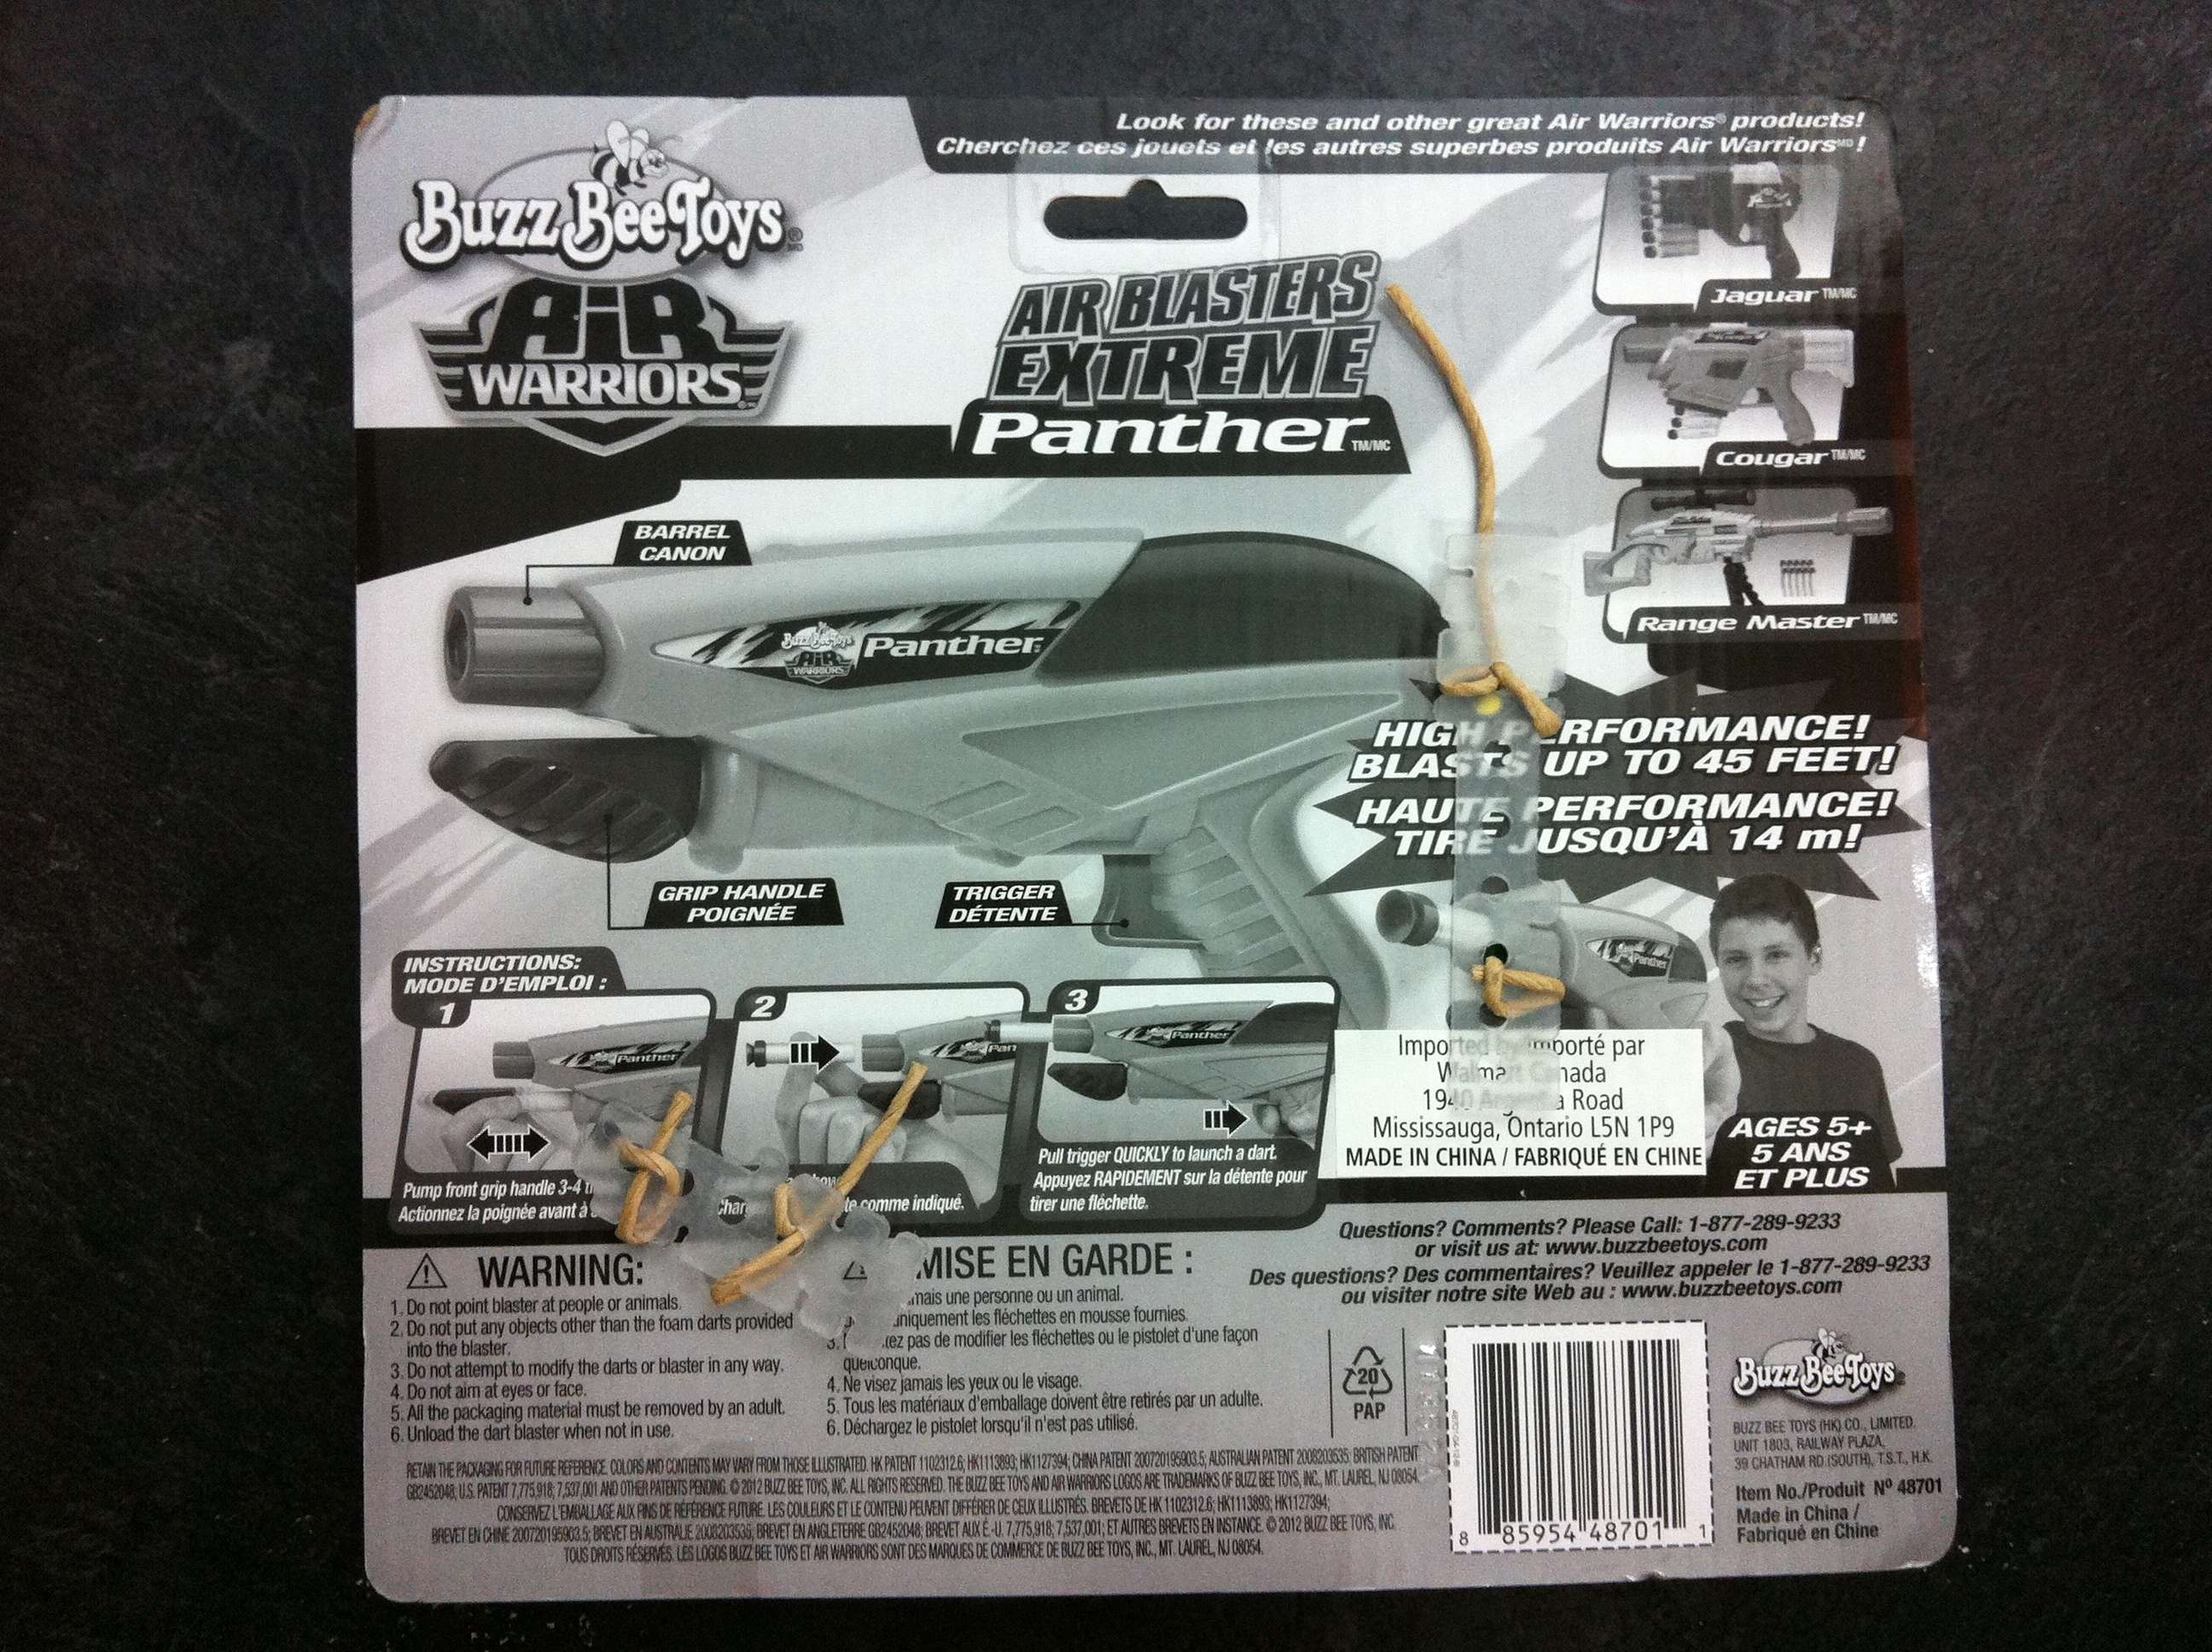
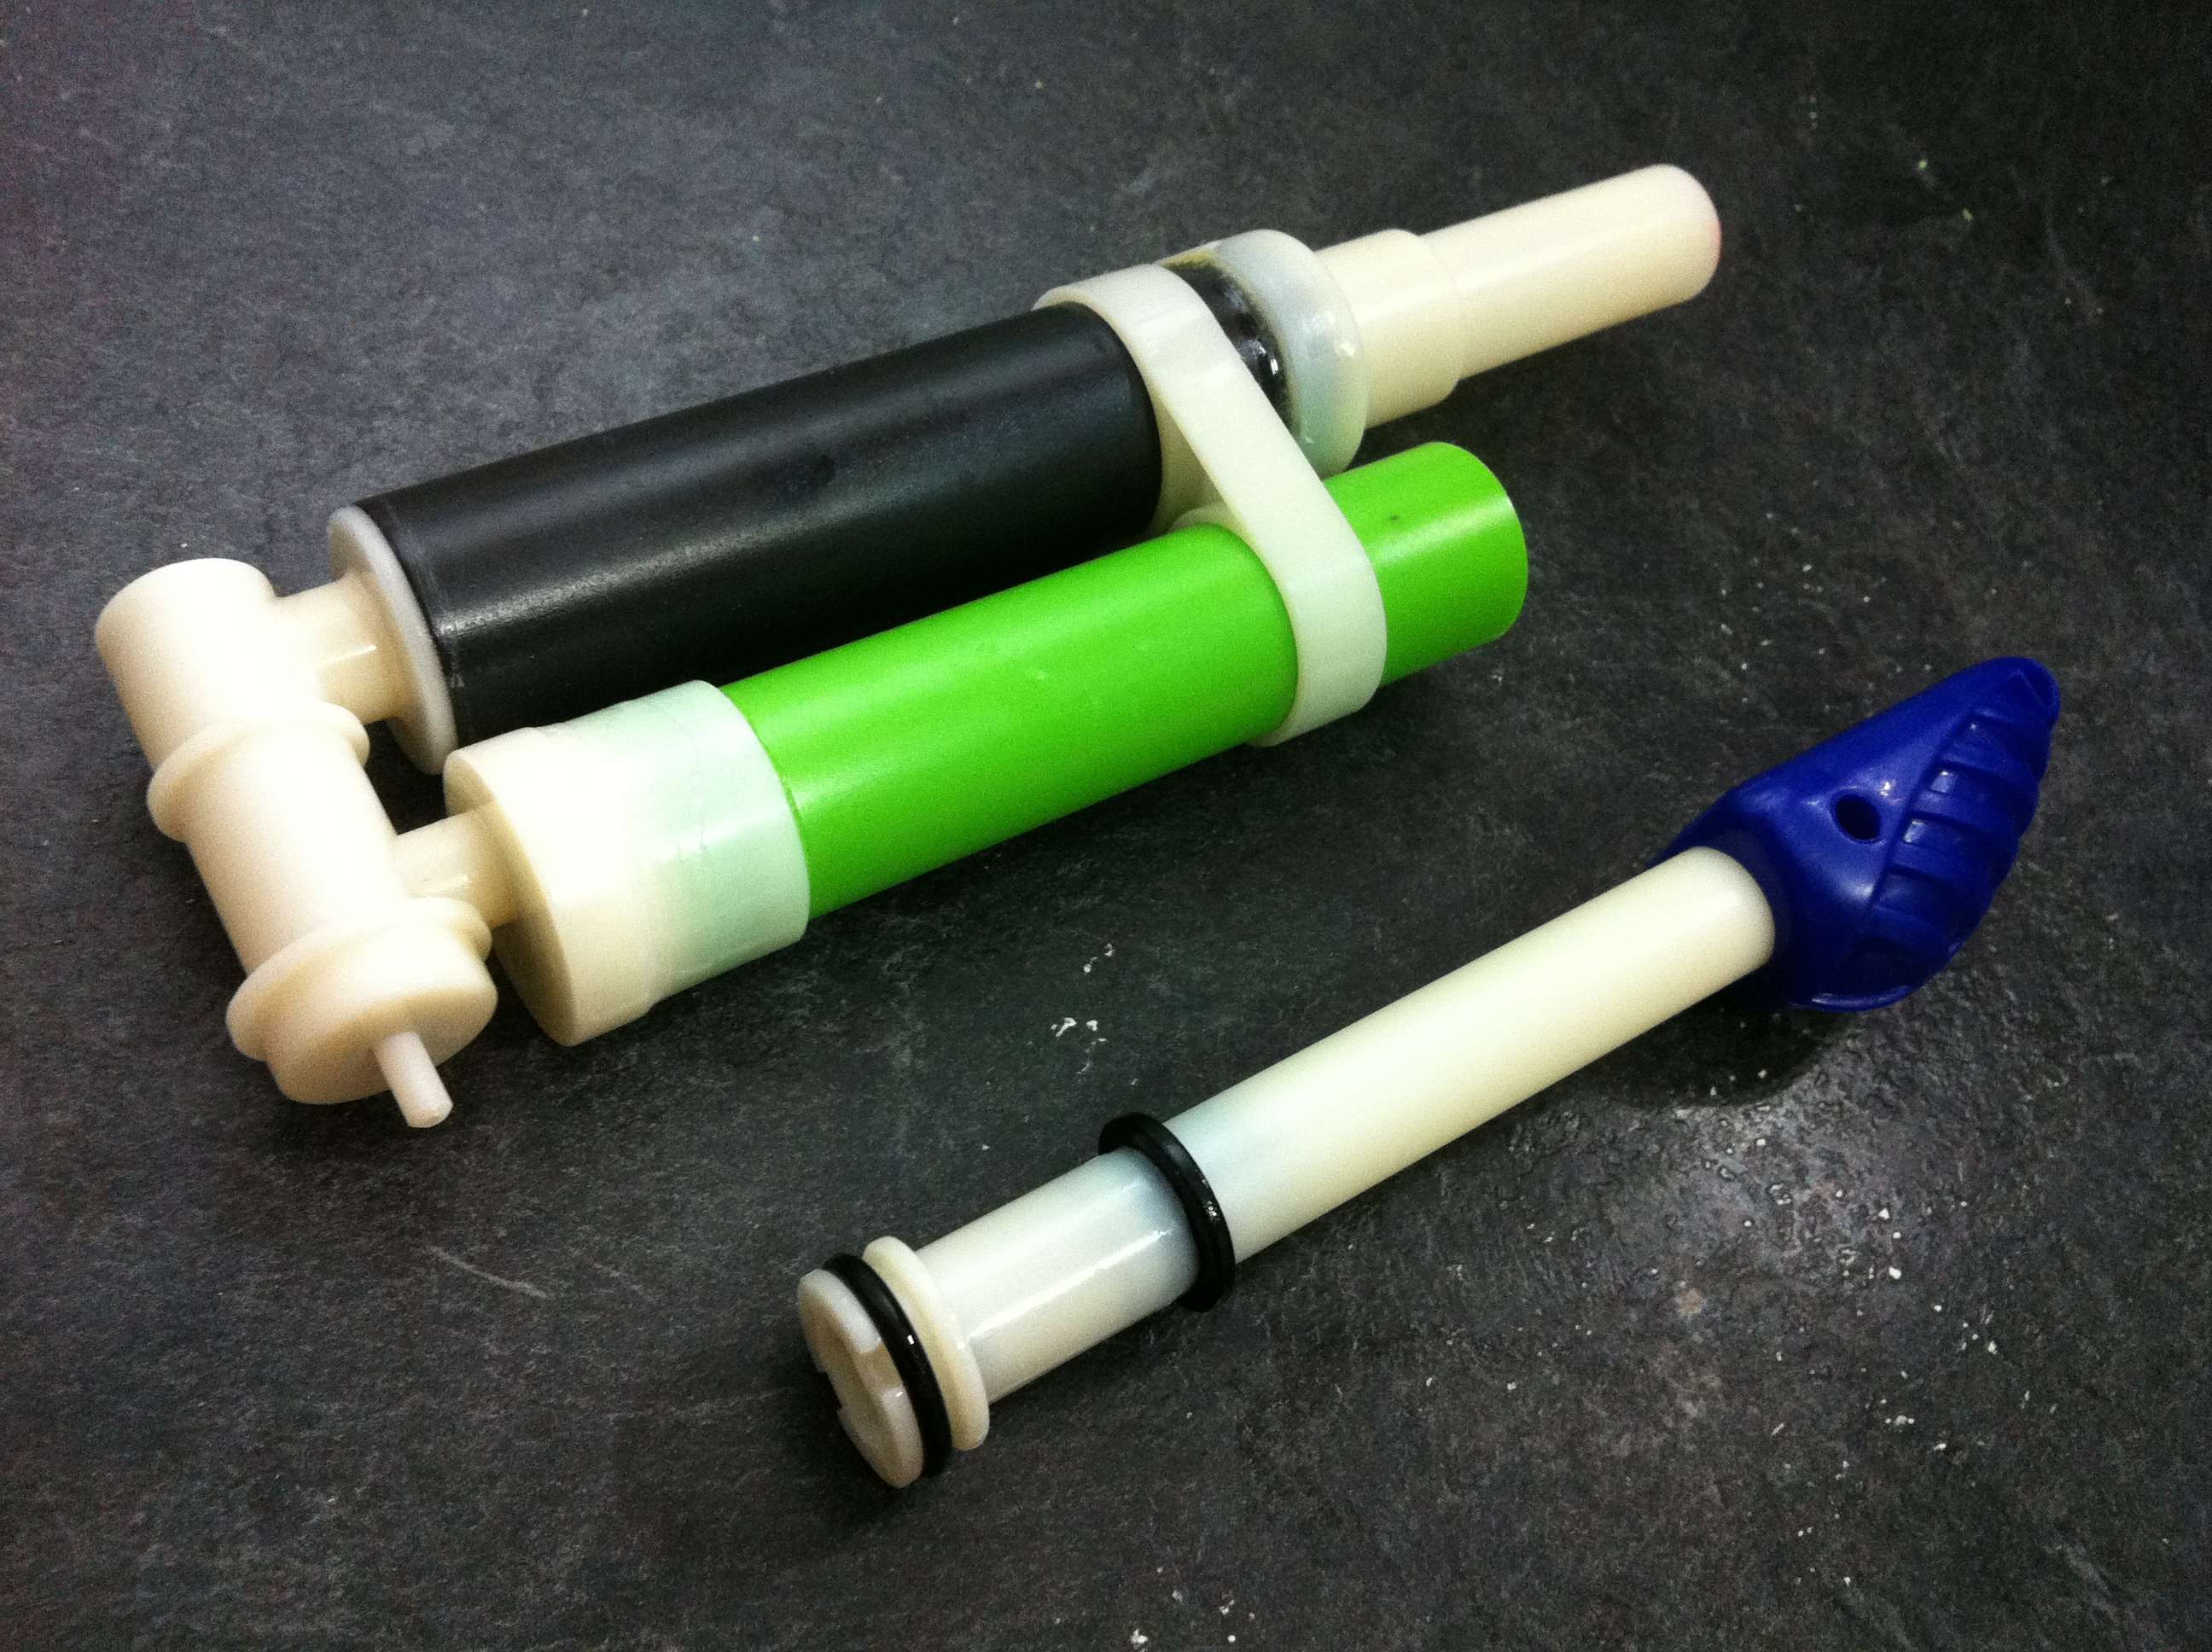
Buzz Bee Panther internals


Posted Image

Posted Image

Posted Image

Posted Image

Posted Image

Posted Image

Posted Image

Posted Image
  • 0
"...he is one speedy bastard." ~ Cheyner

#74 Pointman9

Pointman9

    Member

  • Members
  • 131 posts

Posted 07 November 2012 - 02:57 PM

Air Zone Punisher internals:

Posted Image
  • 0
There is no such thing as overkill. There is only cost efficiency.
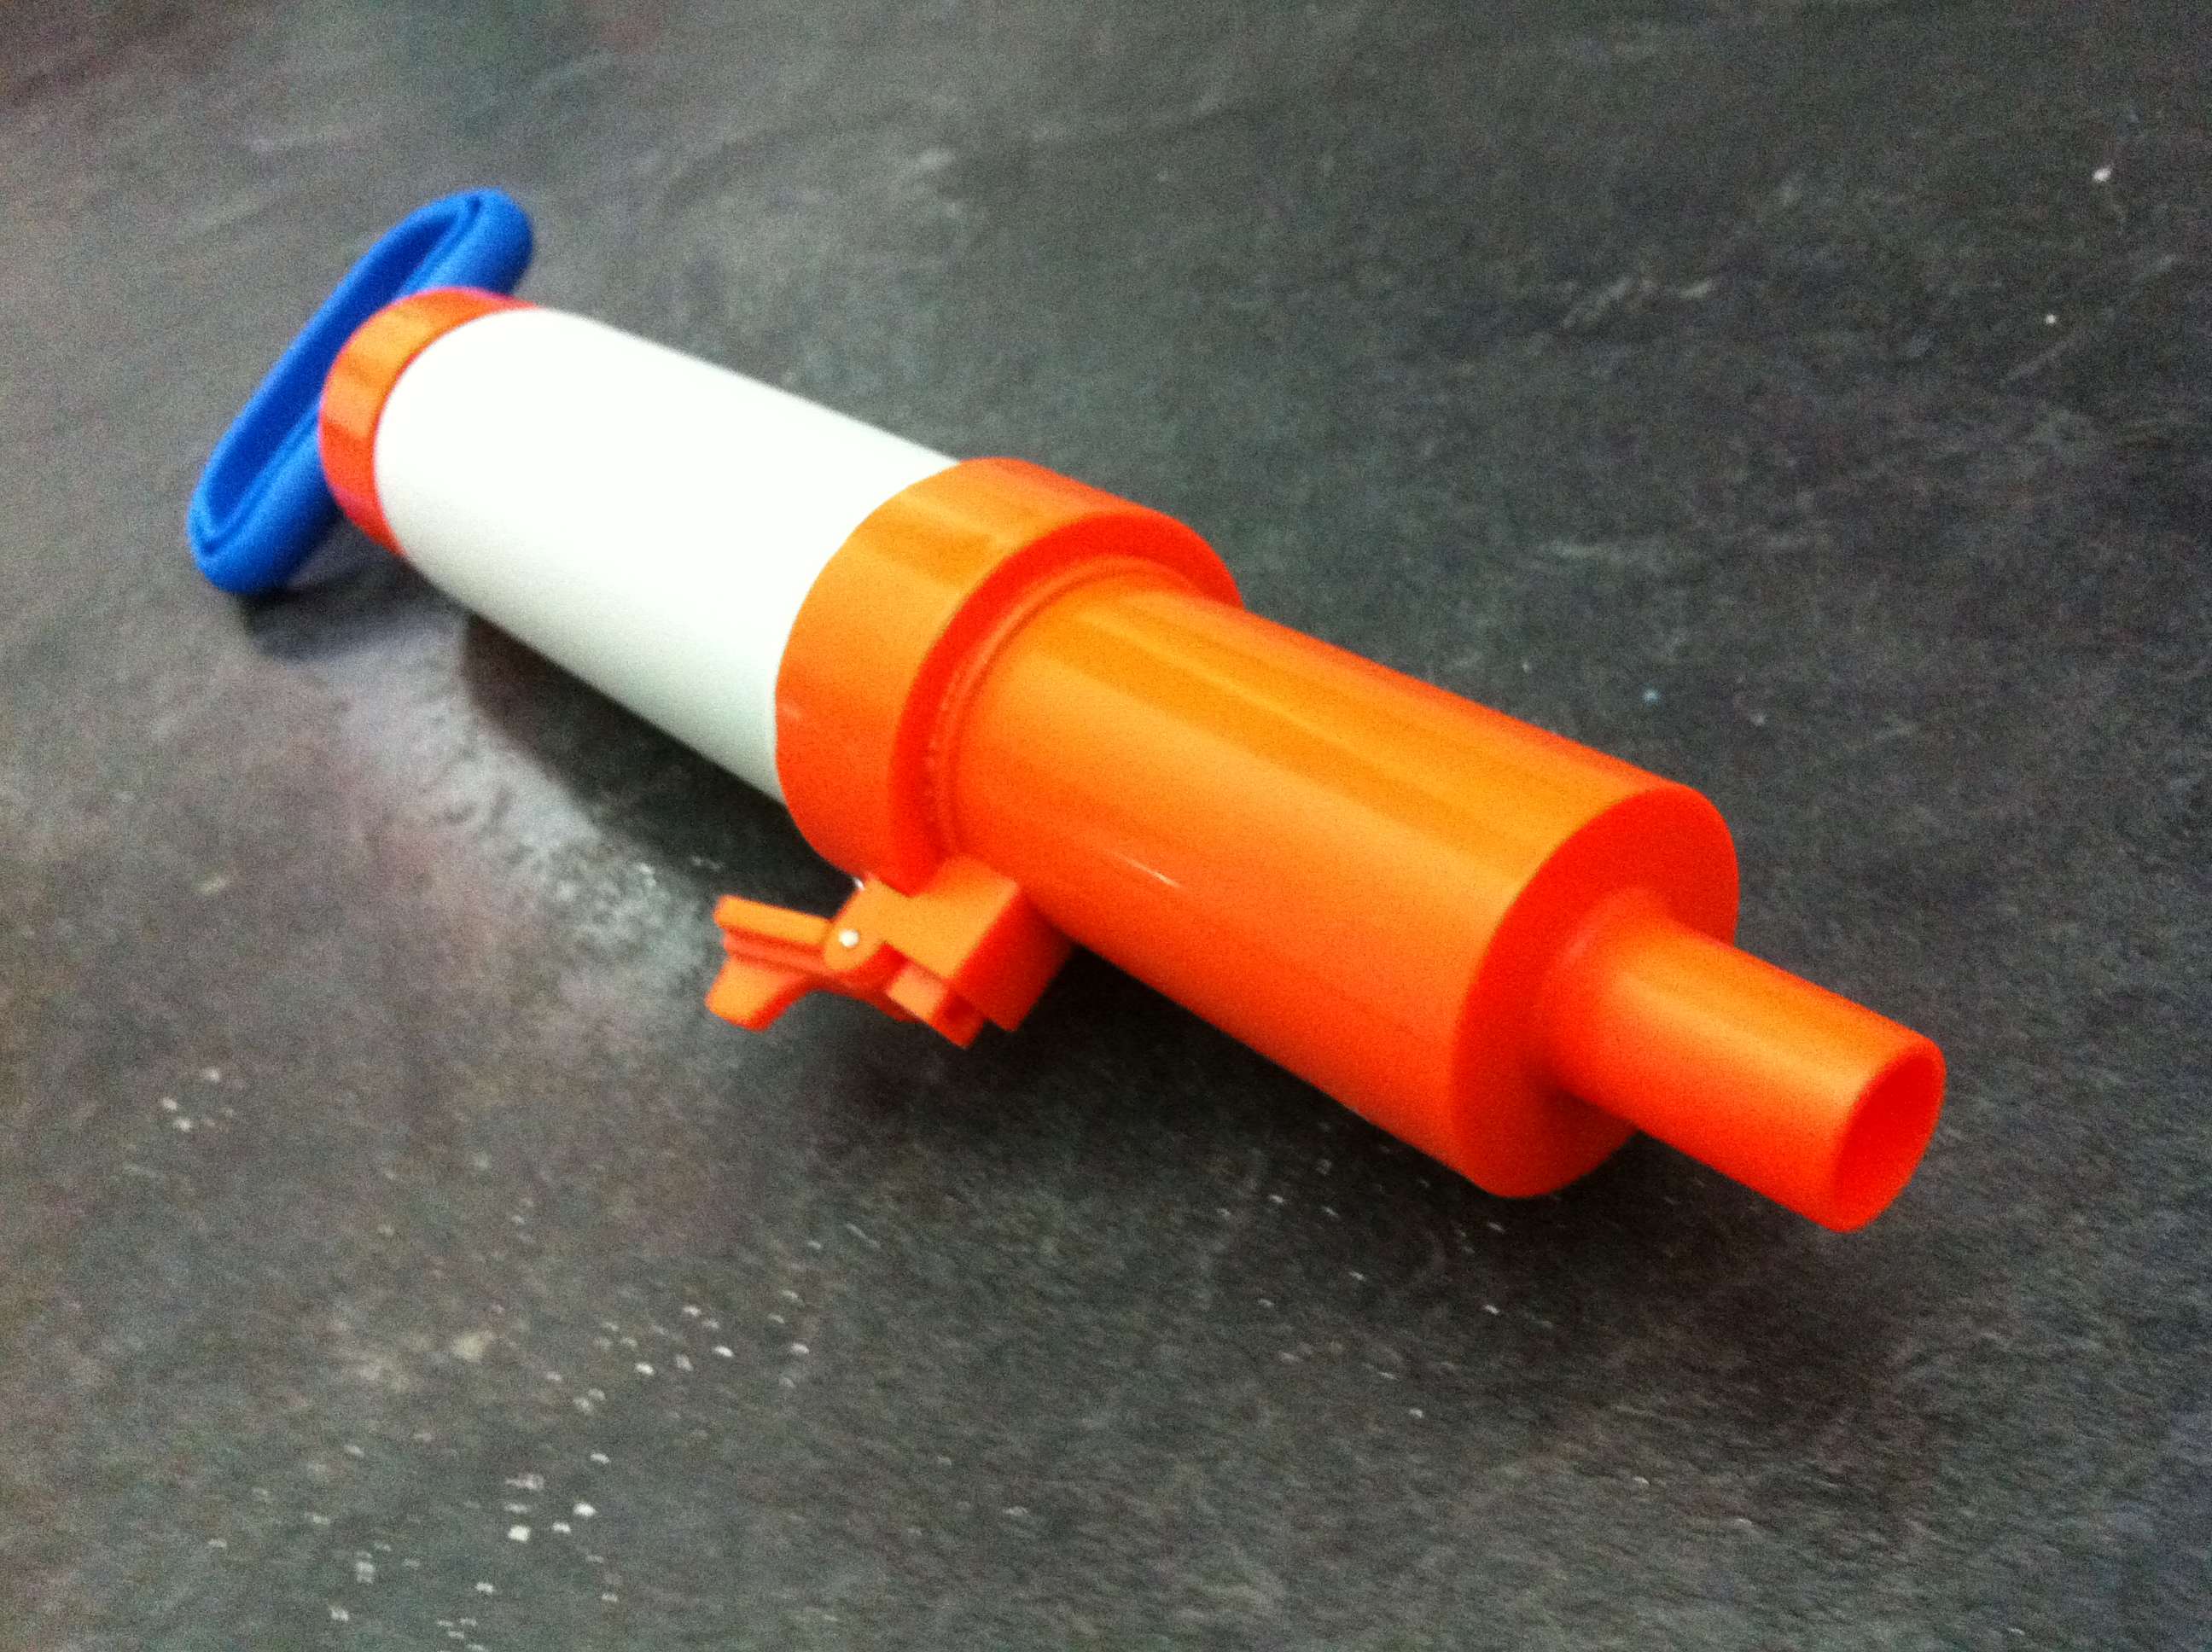
#75 SomethingNerfey

SomethingNerfey

    Member

  • Members
  • 47 posts

Posted 24 November 2012 - 01:25 PM

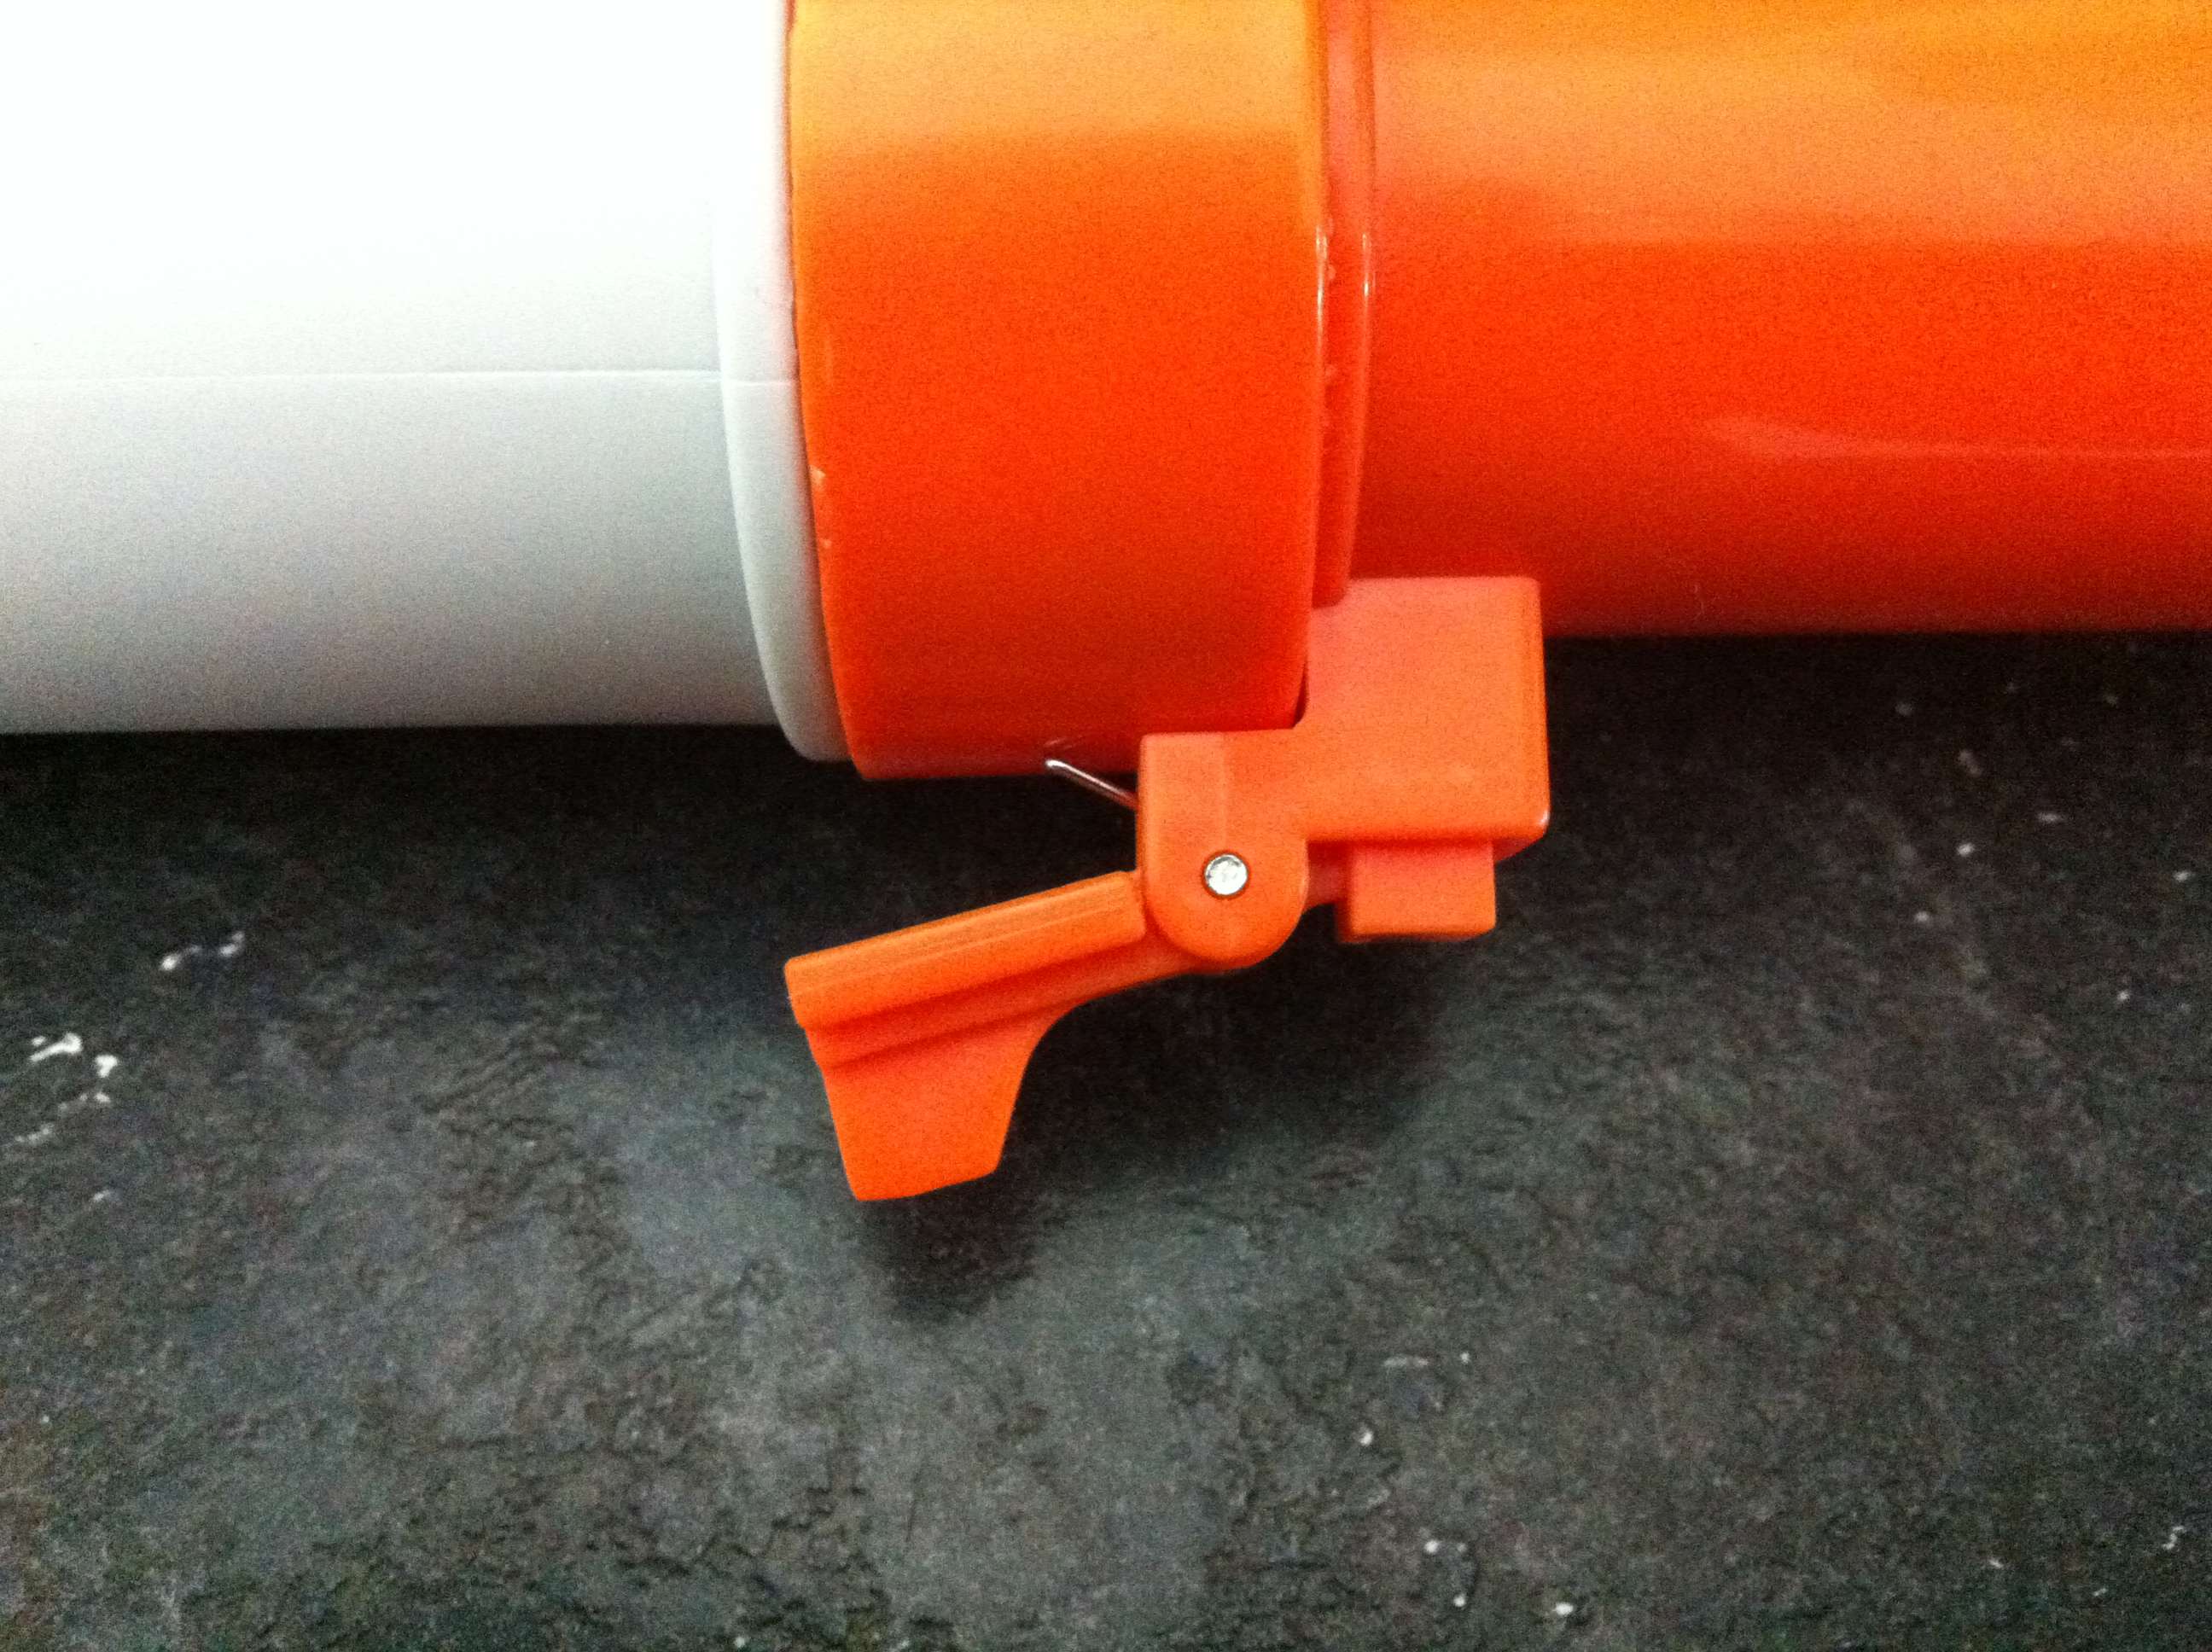
The Panther with the "I" shaped pump.
Posted Image

Posted Image

Posted Image

Posted Image
  • 0


0 user(s) are reading this topic

0 members, 0 guests, 0 anonymous users