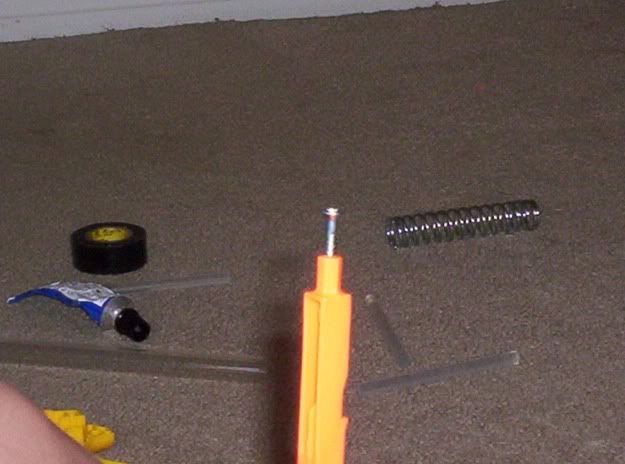
What you will need:
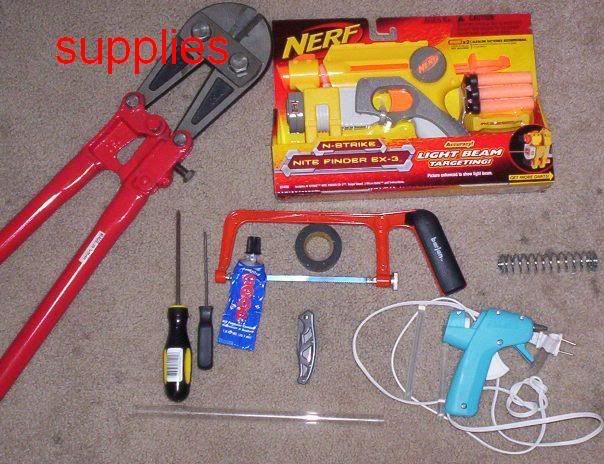
Cutting tool
Knife
Tornillo Maderd wood screw # 6 X ¾ [Home depot]
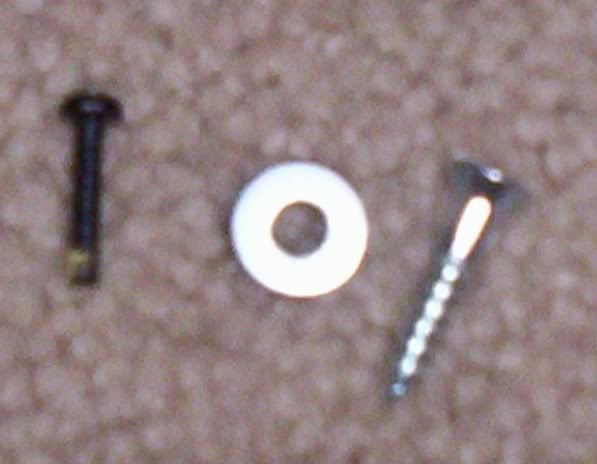
Crown Bolt Stainless Steel # 6 cut washer. [[Home depot] Here are the washer and screw compared to a ammo holder screw:
Screw drivers
Hot glue and gun.
Super glue.
Drill with drill bits.
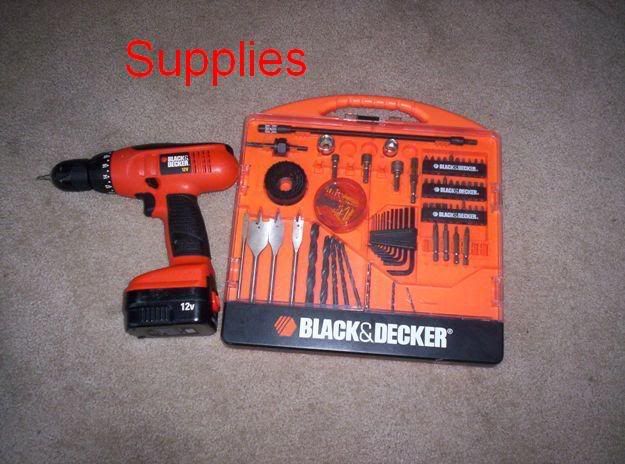
OMC PETG [one man clan]
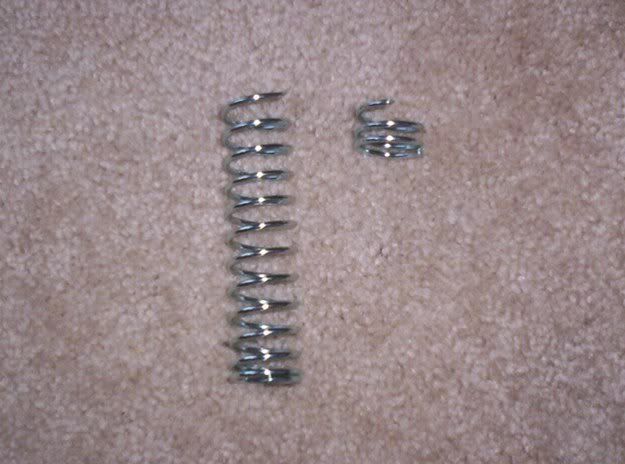
Handyman spring [home depot]
Bolt cutters
E-tape
Lubrication
Paper towels
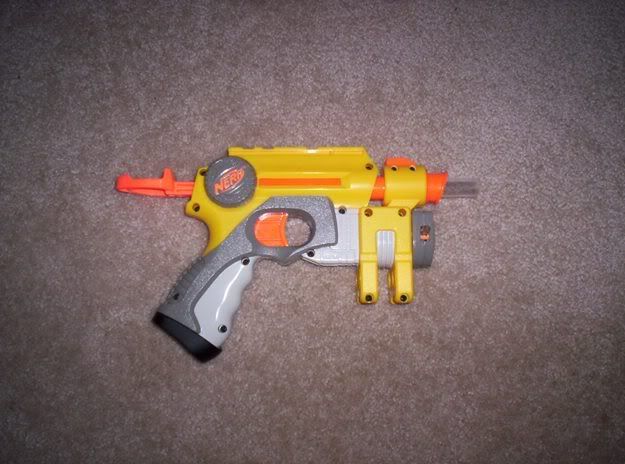
Here is the gun with all of the screws out of it.
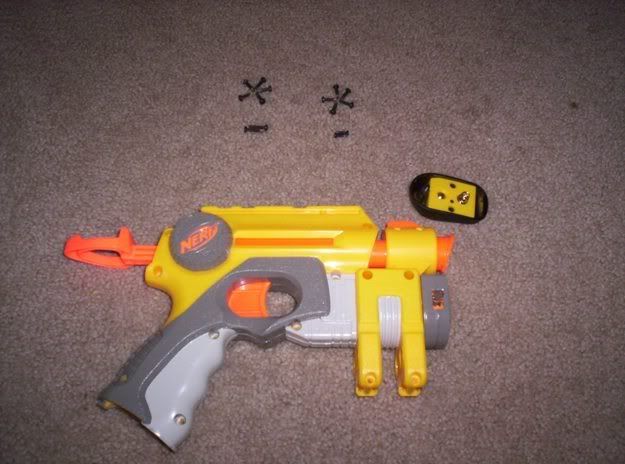
Here are the screws:
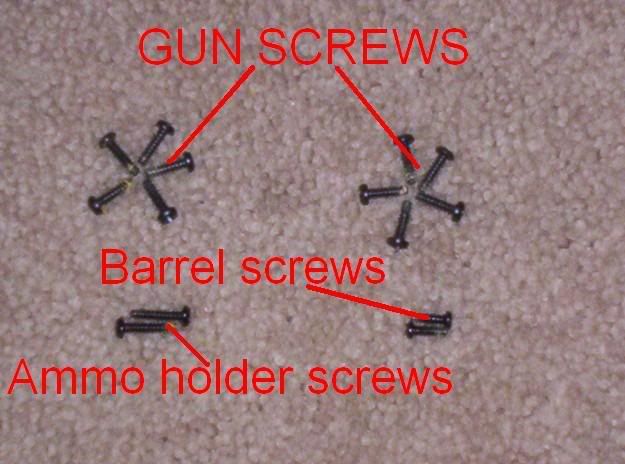
You have 10 gun screws, which hold the gun body together, then you have 2 barrel screws, which hold the barrel in place, and finally 2 ammo holder screws, to secure the ammo holders. The gun screws are of a medium length, the ammo screws are the longest, and the barrel screws are the shortest. Set the screws aside for a while, in little piles similar to in the picture.
Now you will want to look at the internal parts of the gun:
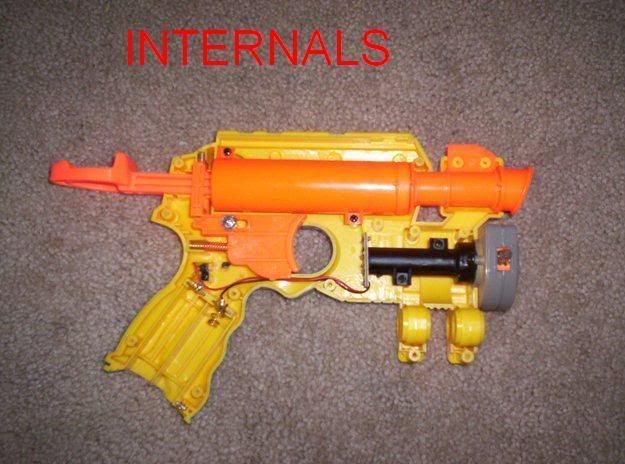
If you will notice, at the bottom part of the gun, on the right bottom corner of the handle, is a small metal square washer. This is a pivotal piece to hold the handle cap, [the black thing on the handle] in place. I would suggest putting that with your screws for now.
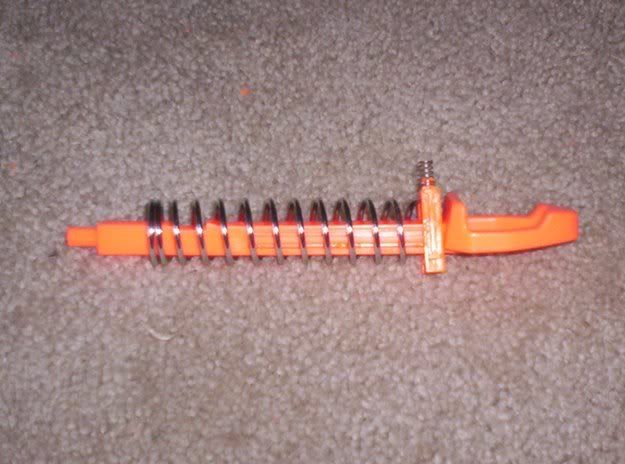
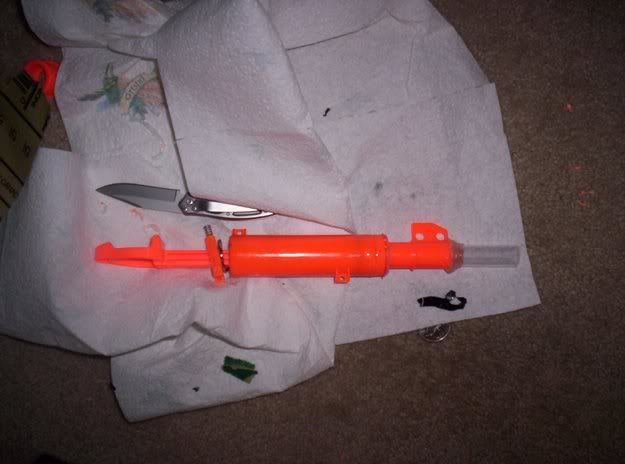
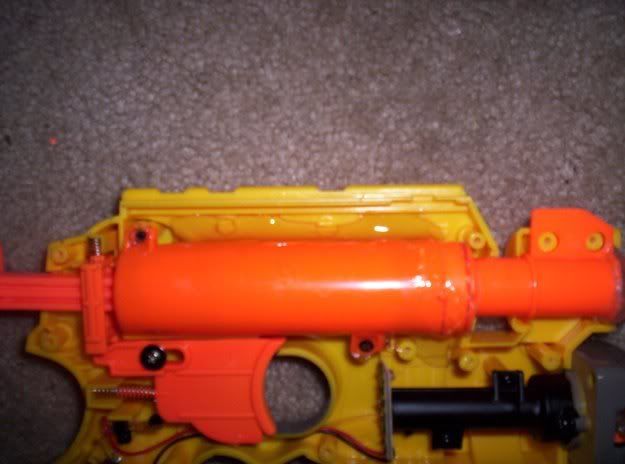
The long orange tube you see in the middle of the assembly is called the plugger tube, as it holds the cocking rod, which has the plugger head attached to it. When the gun is cocked, the plugger rod catches onto a rectangular piece with a spring on it in the top left corner of the gun called the trigger catch. Once the cocking rod catches on it, the gun is “primed” and the plugger head has the compressed spring behind it. Once the trigger is pulled, the catch is pushed up by the back of it and the spring/cocking rod is released, therefore pushing the plugger head through the plugger tube. The air in the plugger tube, being pushed by the plugger head, is directed around and through the plugger head stopper, through the air restrictor, through the air limiter, and finally to your dart, pushing it out of the barrel and to your target. When the trigger is released, the trigger catch moves back to it’s original place, and the gun is ready to be primed again.
Here are the internals:
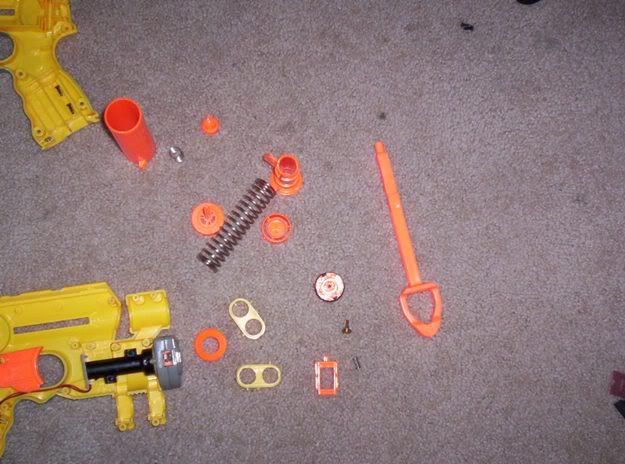
Unscrew the two screws on the top left and bottom right corners of the plugger tube, and then set them aside with the other screws. If you mix the barrel screws with the plugger screws it is fine, as they are the same size.
Before taking the shooting assemble out, make sure to cover the catch spring with your hand, as it could easily fly away. Gently take out the assembly, as brute force is never the way to go with Nite Finders.
Once you have the assembly out, set it aside and look at the other frame of the gun. On the top middle part you will notice two pieces; a spring and a rectangular piece. They are worthless to me but I think you can use them to attach two guns, so if you want, leave them in place. I find it easier to aim with them out though.
Next, pull out the cocking rod from the assembly. With it will come the trigger catch and spring, a quite weak main spring, and a plugger head with an o-ring around it. Your plugger head will either be black or orange. On the plugger head will be a small metal screw with a washer around it. Unscrew that and throw it away. If your plugger head is black, it will come apart in two pieces, mine was orange, so you will see an orange plugger head throughout the write-up.
Get your cocking rod, plugger head, plugger tube, and o-ring and put them in the sink with some water in it.
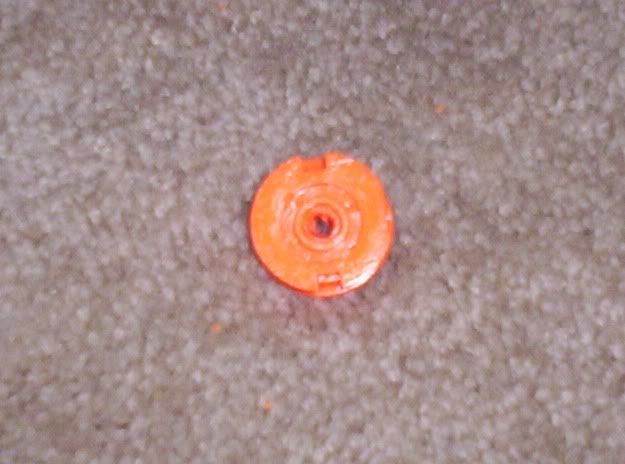
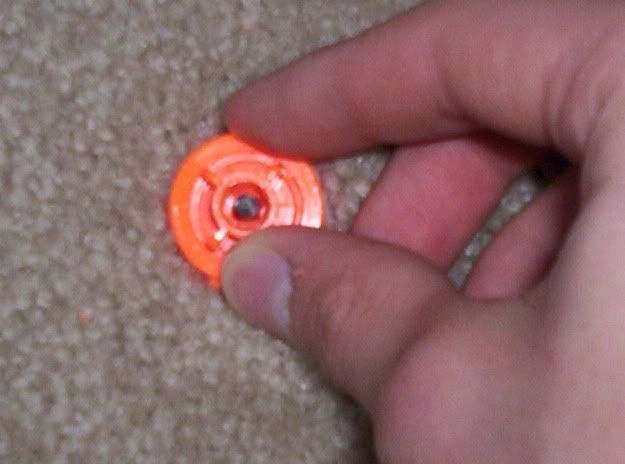
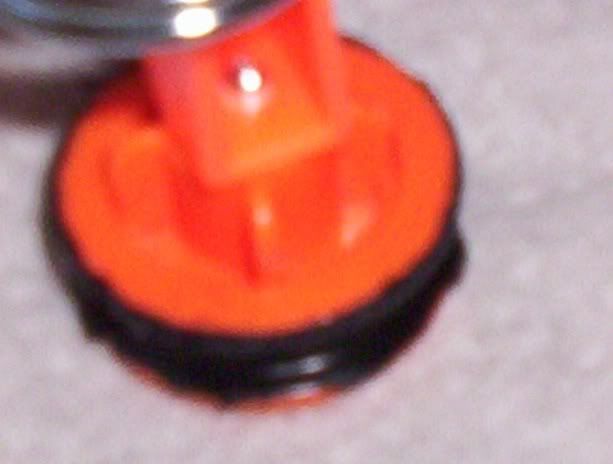
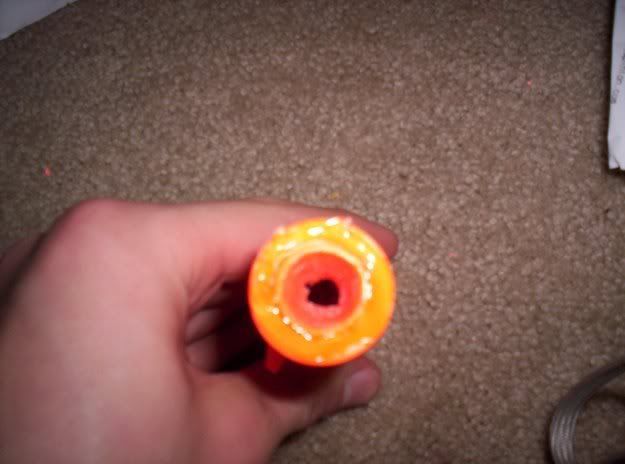
There is a piece that is attached to the front of the plugger tube called the plugger head stop, it is a circle with a circle in it, held up by three pieces. You will know what I’m talking about when you see it. Put that in the sink as well. The reason we are putting those pieces in the sink is due to the fact that they have stock lubrication on them, and we will let it come off a little in the sink so we can work with the pieces better.
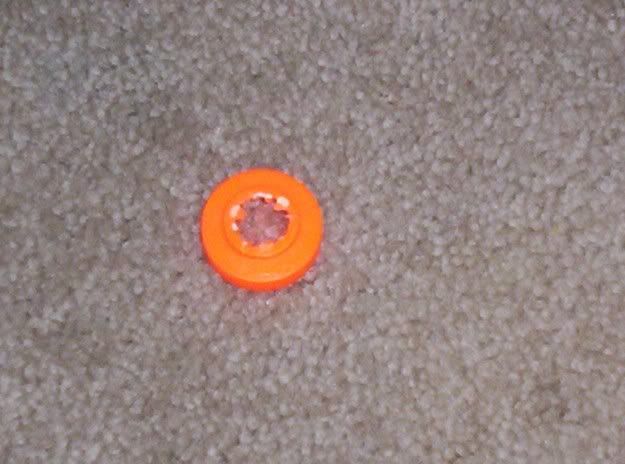
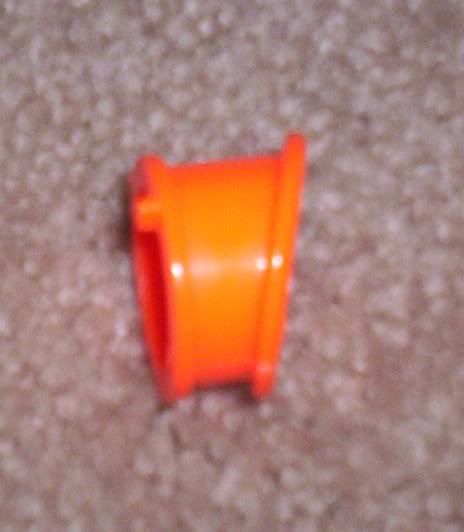
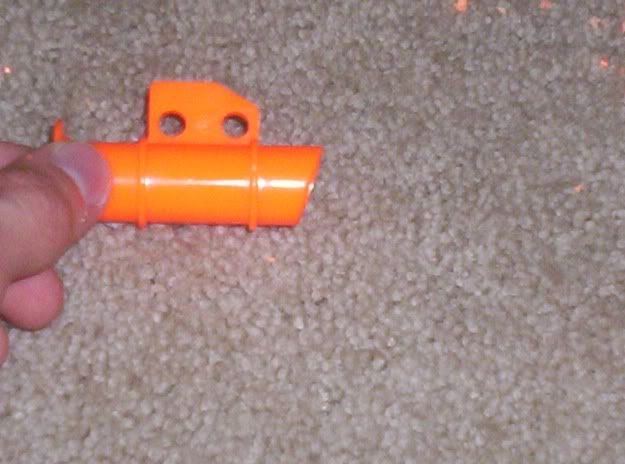
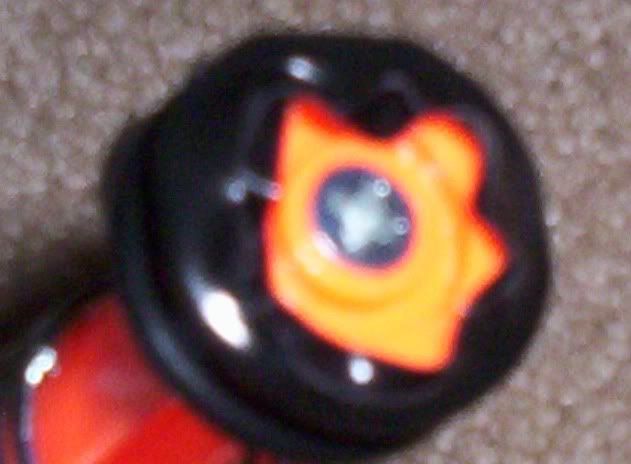
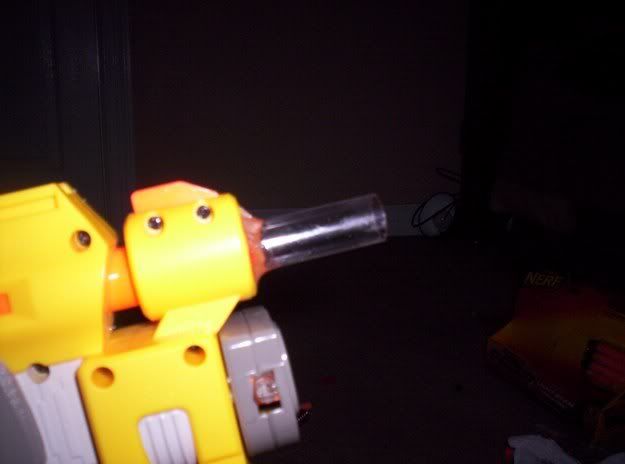
Now turn back to your air restrictor and air restrictor spring. It is a three-pronged piece with a spring behind it. Throw those away. After that, grab your air limiter. It has a post sticking up out of it, and you call that a barrel post. Here is the air limiter:
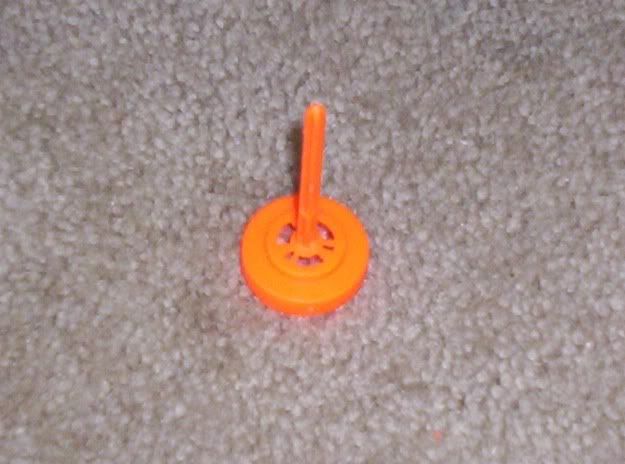
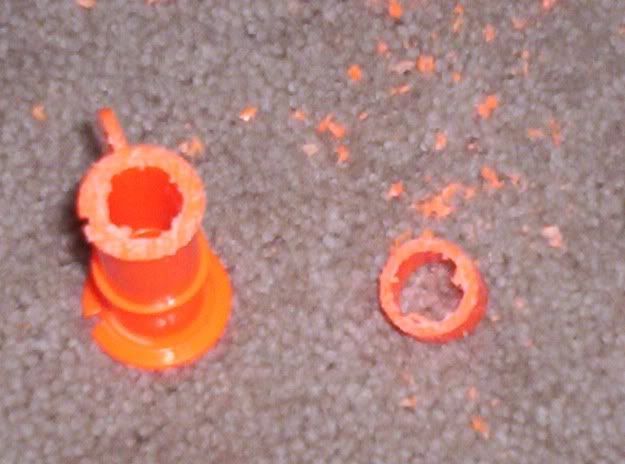
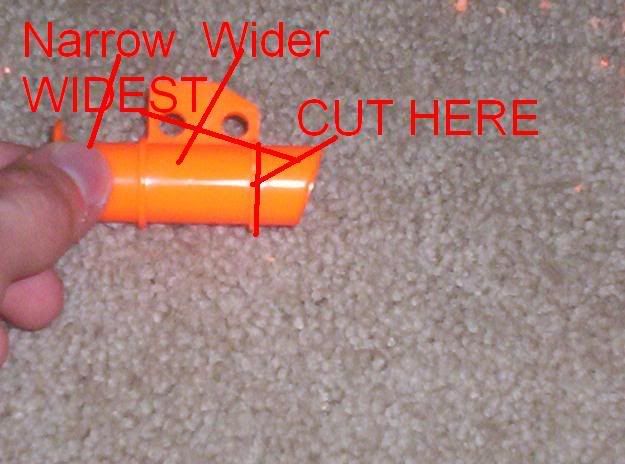
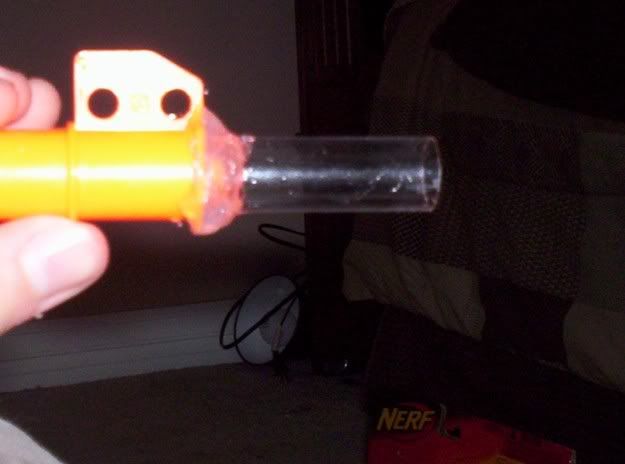
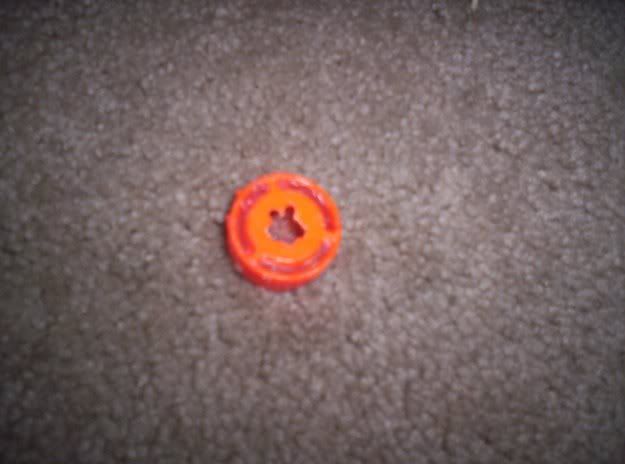
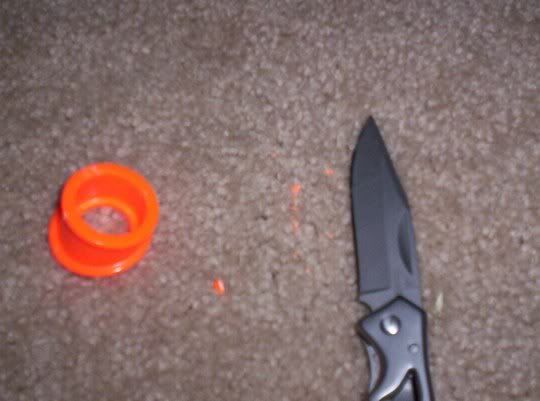
We don’t need all of that plastic in the middle, so take your knife to it and cut it out. It should look like this:
Edited by precisionnerfer, 16 October 2007 - 07:00 PM.


