Edit: Someone thought the above comment about exceptions to saying it isn't original was slamming I9/Zorn. It wasn't. It was meant to be a joke because after AssassinNF came out with his Soulreaper I posted in IRC saying that when my mod came out if anyone thought it wasn't original I'd kill them. Zorn or I9 then said, "I'm going to reply with: This mod isn't original"... or something along those lines. This was meant to be a complete joke, not a slamming.
Now allow me to give credit where credit is due:
ForsakenAngel_24: the majority of this mod is based around his seemingly famous "Angel Breech". I also borrowed some reinforcement methods from his PAS level-2 modification.
Hereticorp: Thank you for your help with spray painting. You may not remember it, but we went back and forth about it through PM's last winter.
Materials:
-9/32" brass
-1/2" brass
-17/32" brass
-9/16" brass
-19/32" brass
-5/8" brass
-Brass strip
-Brass sheet (not necessary if your strips are wide enough, but if they are wide enough, then they will need to be narrowed for certain reinforcements. A got the wider strip to be cost effective.)
-1/2" thinwall PVC (SDR 13.5)
-3/4" thinwall PVC (I imagine that this is also an SDR rather than a SCH, not sure of the number though)
-3/4" to 1/2" PVC reducer
-Rubber-foam gasket (found in plumbing aisle)
-Silicone grease
-Silicone Spray
-Nite Finder shell
-epoxy putty
-Vinyl dye
-Paint of choice
-Sealant of choice
-Coat hanger
-JB weld
-general use epoxy (JB weld will do here, I just didn't want to waste it where normal epoxy would do the trick)
-screwdriver
-DREMEL!!! (absolutely necessary)
-Super glue
-hot glue and gun
-shitty FBR that you don't mind wasting
-electrical tape
-segment of: 1/2" PVC, 3/4" PVC, 1" PVC, 1" PVC Coupler, 1.5" PVC
Because of the density of this write up, it will be broken down into 3 sections: 1) Reinforcements (various methods used, some original and some borrowed); 2) Breech and Barrel Assembly (includes anything that pertains to the loading and acceleration of darts); 3) Body Work and Cosmetics (pistol grip and paint job).
1. Reinforcements
First we'll start with the plunger rod. Grab your 9/32 brass and cut it in half like so (they won't be complete halves because of the thickness of your cutting wheel, which actually works to our advantage as you will soon see).

Cut the halves as shown.

Cut slits like the one's shown and JB Weld the pieces to the plunger rod. The area removed by the dremel to cut the half pipes now comes in handy because of those two ridges that go along opposite sides of the plunger rod.

I had trouble with the brass popping off because I originally used super glue. Besides switching to JB weld, I also cut some silts in the brass at the end so it adhered better.

Apply epoxy putty as shown.


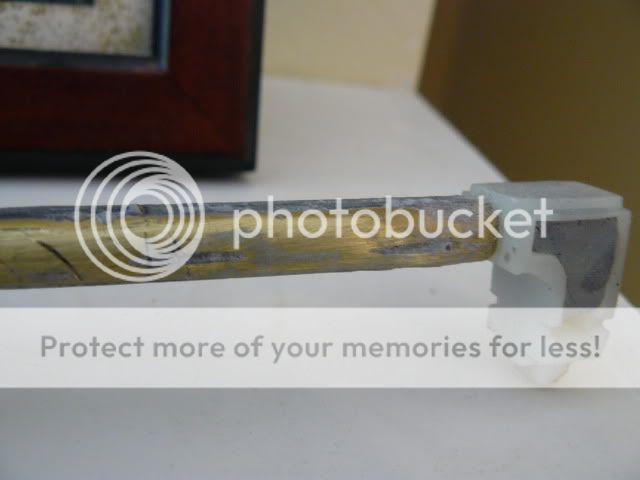
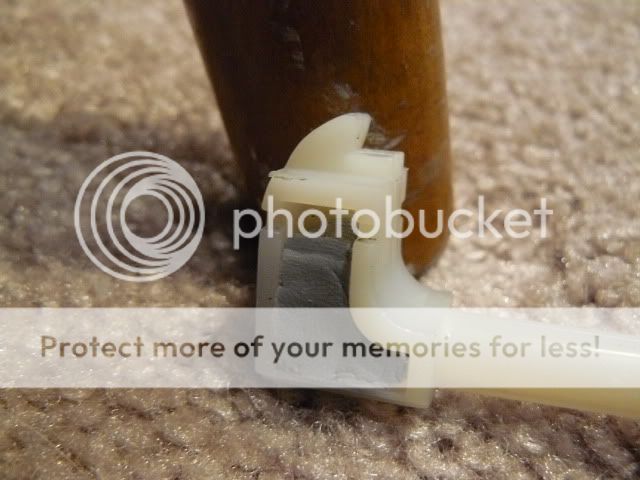
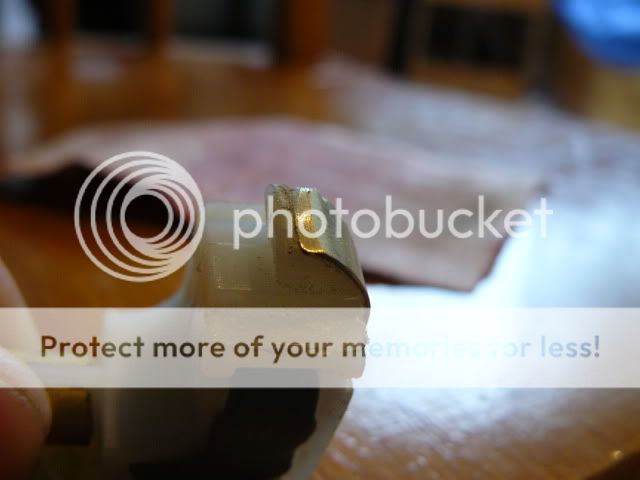
Now glue some brass onto the catch on the plunger. Be sure to sand the top down as so the edge of the brass doesn't catch on the catch.

Finished plunger rod:

Now let's move onto the trigger. Ignore any paint on the trigger in this part.
Apply epoxy putty as shown. DO NOT drill holes and epoxy in staples like I did. The holes weaken it and are what led to mine breaking.

We will return to the trigger shortly. Grab you priming bar and fill it with epoxy putty as shown.

Time to put on a brass strip!

In the following image you can see the brass bent and adhered with super glue. Also cut the priming bar as is shown so that it fits against your newly puttied trigger.

Now we're going to glue in a bent piece of coat hanger. Grind out a space for the coat hanger like in my LS bolt sled reinforcement thread. Epoxy 'er in and sand it down so its flush with the rest of the piece.

Okay, time to go back to the trigger. Cut out some brass into the shape of the catch and include a segment that goes farther down into the trigger. This picture should show you what I mine. Do this on both sides and JB weld the pieces on.

Now super glue on a strip to the front as shown below.

Edited by TantumBull, 08 July 2009 - 09:28 PM.


