Jump to content


BlackFox

Member Since 04 Sep 2007
Offline Last Active Mar 18 2017 04:22 PM

Topics I've Started

Northwest Pandemonium | Bremerton/Port Orchard WA War | 7-23-16

11 July 2016 - 02:20 AM

evergreenpark%20bg_zpss0ghdzle.jpg
Date: Saturday, July 23rd, 2016
Time: 12:00-4:00pm
Location:

Evergreen Park

1500 Park Ave

Bremerton WA 98337
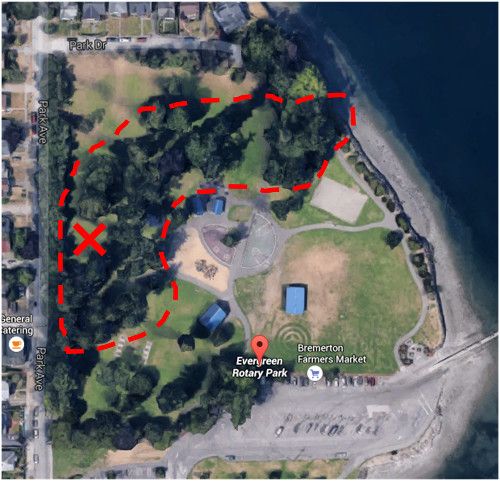
play%20area_zpsy6w1d8vv.jpg 
The play area is within the dashed line. The X indicates the spot where we will first gather. This location has excellent parking and facilities.
 
Game types:

  • 2-team and 3-team elimination
  • Defend the Core
  • VIP
  • Freeze Tag
  • HvZ
  • Various mini-games and individual competitions

Other:

  • Eye protection is required
  • NIC modded guns will be used. I don't have an FPS cap, but generally singled Titans, LBBs and similarly powerful guns will be banned. Homemades will be allowed on a case-by-case basis
  • Hot glue domed darts will be used, and anything softer/safer is also fine


Facebook event
 
Calling all Northwest Nerfers! Introducing the first-ever Northwest Pandemonium war. Awards will be given and lunch will be provided. Please let me know if you plan on attending so I know how much food to bring. Buying/selling/trading is encouraged, so bring cash.
 
Confirmed Attendees
BlackFox +7

Jake O

Lance A

John YS

Shon F

Steve T

Brett S

Roy G


Port Orchard, Wa Nerf War

28 July 2010 - 12:13 AM

Proposed details:

Date: Currently undecided...
Time: First round begins @ 10:30am, lunch break @ 2:00pm (Bring your own lunch, please).
Location: 4183 Sunnyslope Road Southwest, Port Orchard, WA 98367
Go HERE for directions.

Posted Image
Front of the school
Posted Image
Most of the back of the school
Posted Image
Posted Image
Posted Image
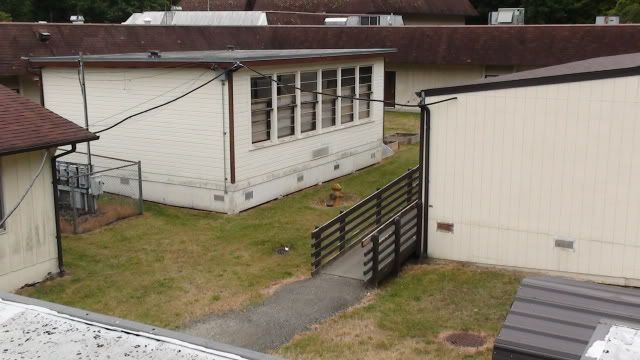
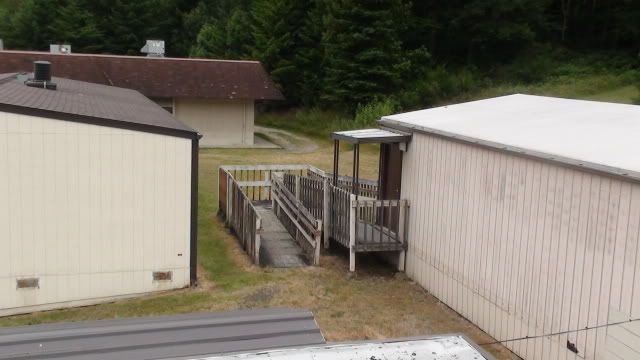
The incredible maze of portables
Posted Image
Posted Image
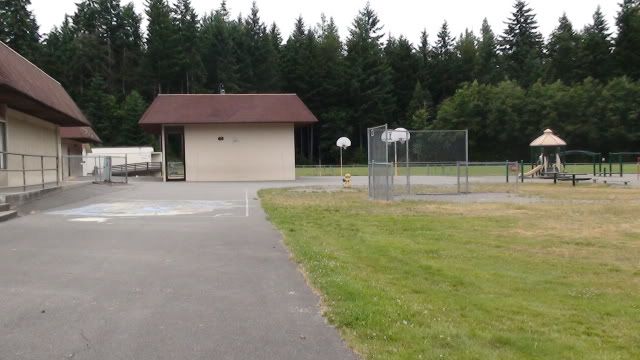
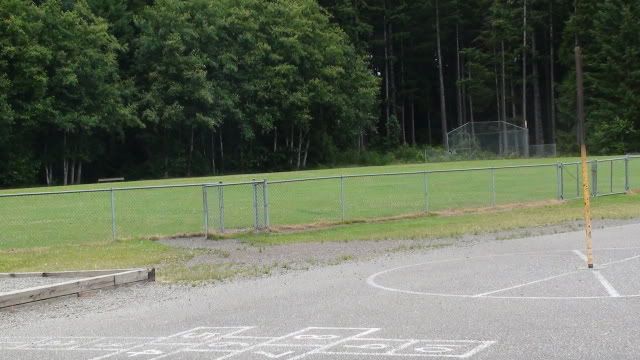
Playground and field
Posted Image
The dodgeball court (mostly used for setting our stuff down, unfortunately)
Posted Image
Posted Image
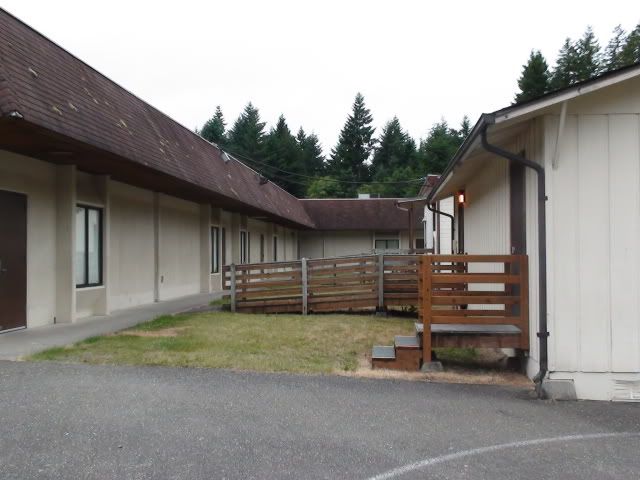
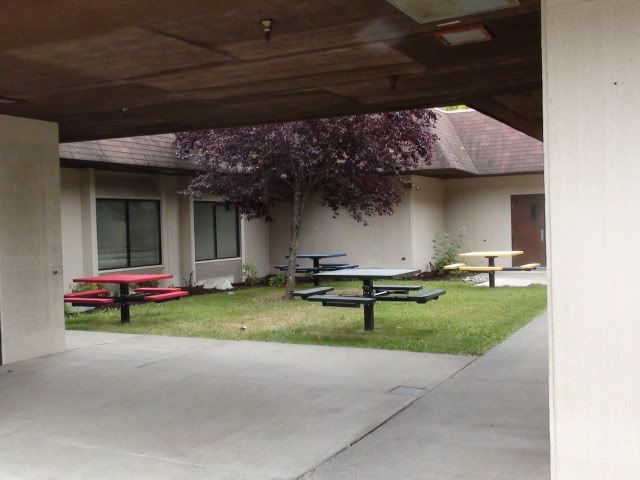
And finally the dead-end courtyard.

Rough schedule of games:
(The staples)
-Team Deathmatch
-Pistols
-FFA
-CTF
-HVZ
-VIP
+Some new game types we're still discussing. More info on those coming soon...

Eye protection is required. No questions asked. There may be a few extra pairs floating around, but don't count on it.

Safe and sane guns only. No singled titans or Lbb's.

Parking is going to be an issue. It's important that I get a good estimate of how many people are coming so we can work this out. The parking lot is closed to the public for the summer, so only 1-3 cars will fit in the driveway. If more people plan on coming, you will have to park around my house another half-mile down the road and we will carpool up to the school as you arrive.

Tentative list of attendee's
-BlackFox +1
-Retiate
-Hierarchy
-Renegademilitia15
-pvt. butters
-Tantumbull

Cell Phone Research

22 April 2009 - 10:49 PM

I am preparing an informational speech for my college speech class and the topic I have is cell phones. If you have a moment, please help me out.

I am looking for the age at which you got your first cell phone.

The average age in the UK is 8 years old, but finding the average age in the US is tougher to find.
If anyone has any helpful links, I would also appreciate the help.

Thanks a lot!

Lnl Conversion

23 November 2008 - 06:59 PM

I saw this in a sales thread a few months ago, so I'm definitely not the first person to do this, but I don't know who to give credit to.

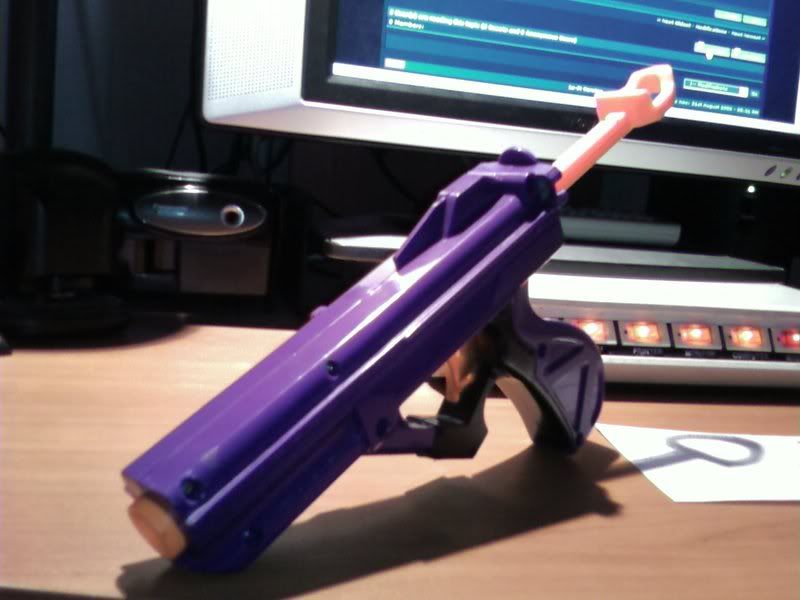
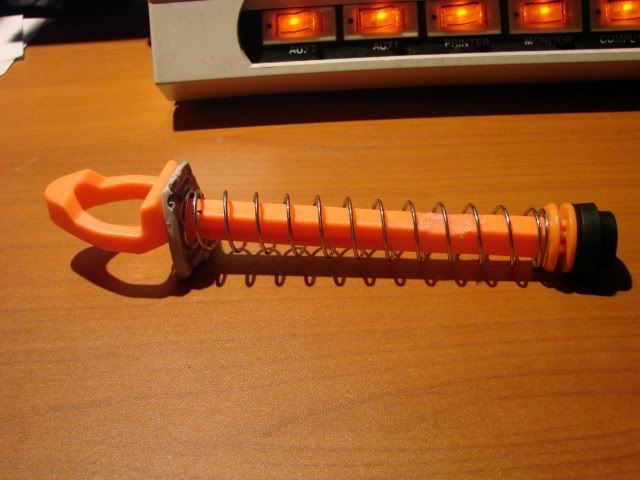
I am a huge fan of the Lock 'n Load and as most of you know, once the slide is removed you're left with a nasty hook on the end of the plunger rod which you would traditionally put a key ring or zip tie on. This is what I did:
Posted Image

Start out by taking the plunger rods of both a NF and Lnl. Unscrew the plunger head of the NF and put it away. Take the lnl plunger rod and saw off the plunger head. Sand down the back of the plunger head to remove what remains of the plunger rod.

Posted Image

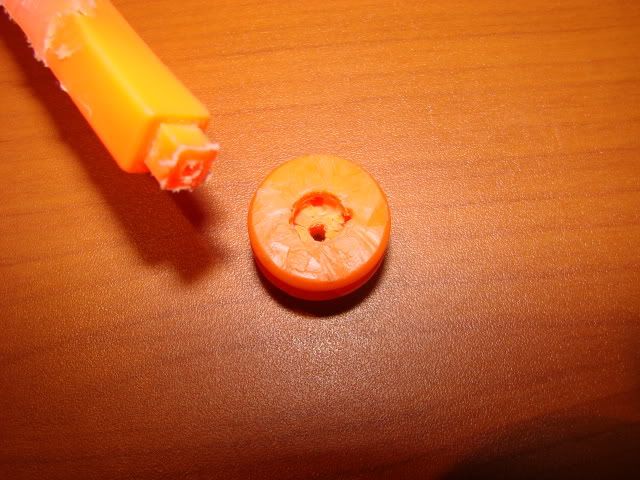
Start drilling a hole in the center of the back of the plunger head for the stem of the NF plunger rod to fit into. You want this hole to be roughly a 1/4"x1/4" square.

Posted Image
Posted Image

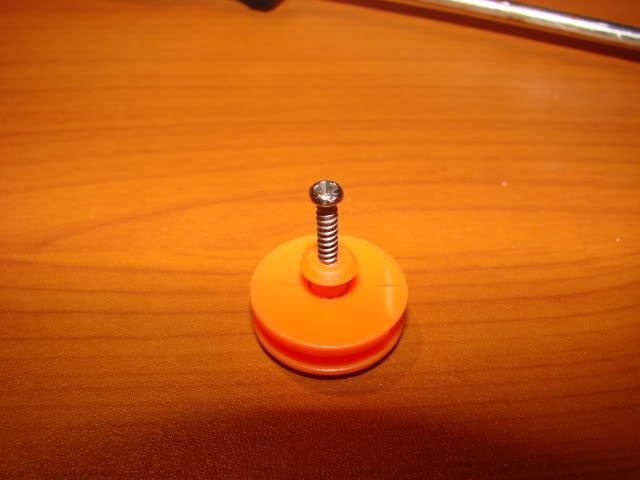
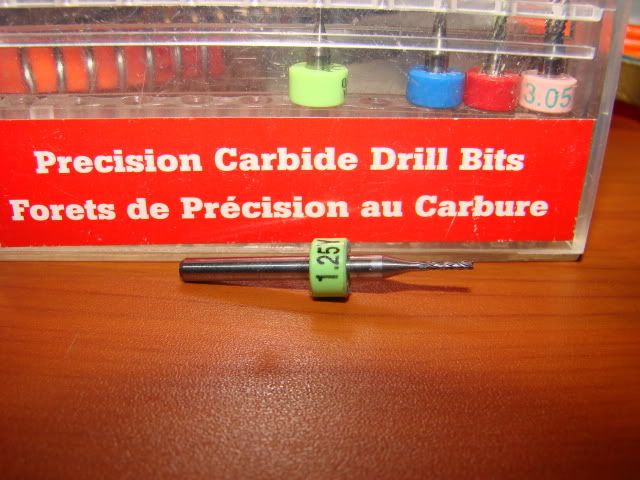
Very carefully drill a hole in the top of the plunger head around the nub the rubber piece went around. I used a precision carbide drill bit marked 1.25 Y, but really anything smaller than the screw you use will work. Make sure you drill the hole straight down or it will not match up with the screw well on the NF plunger rod. Put the plunger head over NF stem and thread the hole by taking a screw at least 1/2" long and slowly screwing it through both pieces.

Posted Image

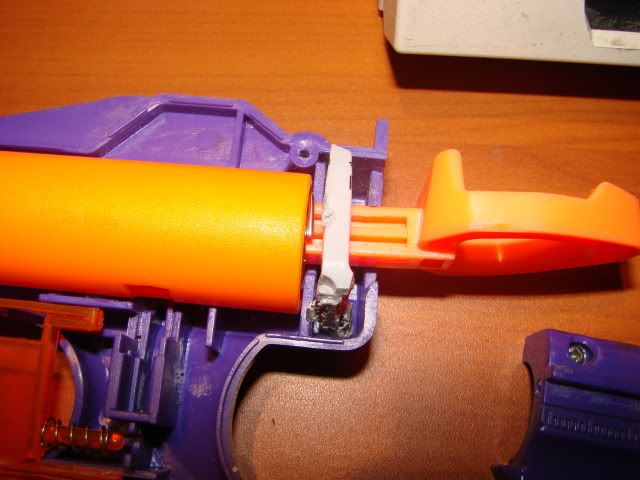
There should be a part of the plunger head which is shaved down on the inside creating a small notch. This is part of the catch, so make sure it is facing down when you screw the plunger head down. Fill in the old catch in the NF plunger rod with hot glue.

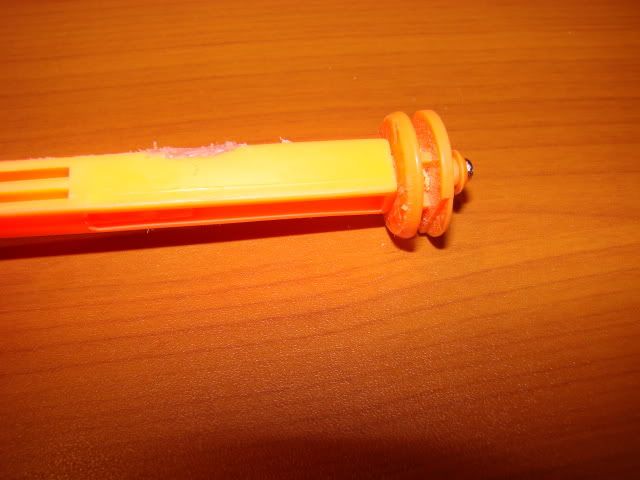
The conversion is technically finished here, but the NF plunger rod is a bit thinner than the lnl's, so it needs some stabilization. I took the shell of the now useless NF and cut off about an 1/8" slice of the plastic around the plunger rod.

Posted Image
Posted Image

Put it behind the spring and put the assembly back together. The piece you just cut should fit almost perfectly in the slot behind the spring wall.

Posted Image

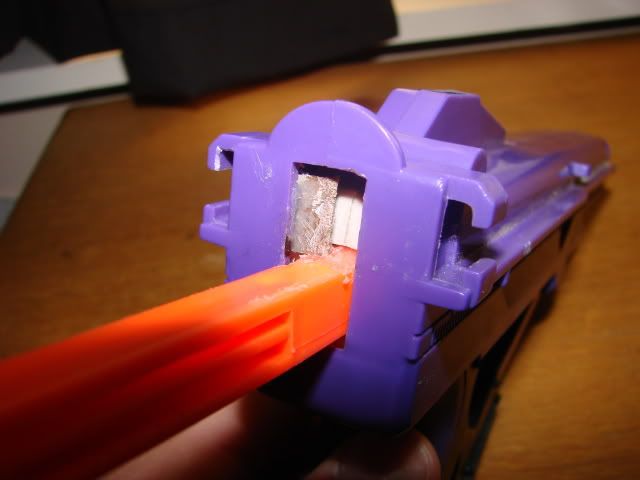
For further stability, I cut two squares of sheet metal and glued them to either side of the case. Unfortunately, I used super glue and one fell off after my last war. Learn from my mistake. Use epoxy.

That's about it.

One-pump 2k

16 November 2008 - 09:14 PM

For practical integration purposes, I decided it was necessary to make an at2k which could be completely filled with only one pump. Just as a heads up, my finished mod doesn't work, but I see no reason why it doesn't.

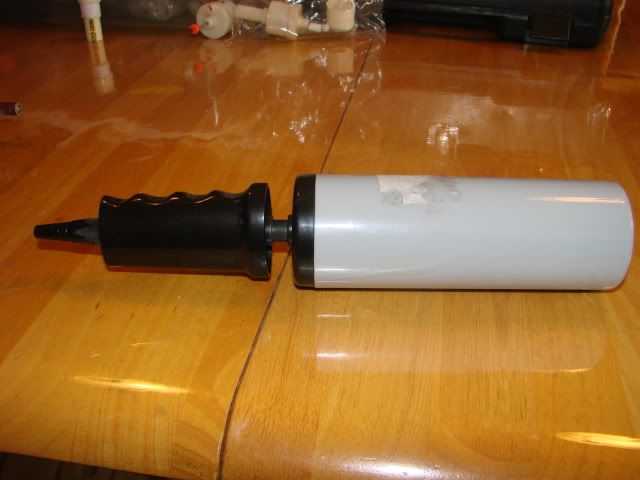
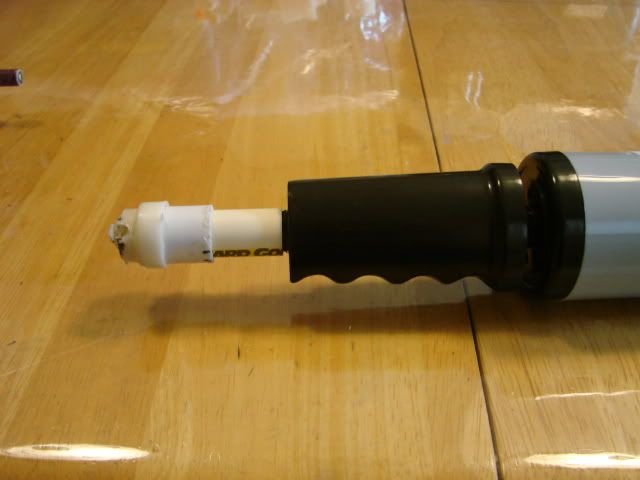
The first and most important piece you'll need is the pump. Unfortunately, all I've got for you is this picture.
Posted Image
I picked it up at a second hand store and it has nothing to identify where it came from, but it is perfect nonetheless. It's not too big and has a huge air output because it pumps out on both the draw and compression.

Posted Image
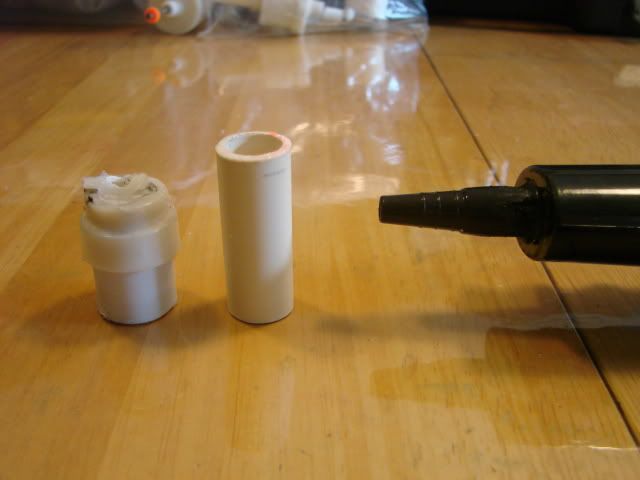
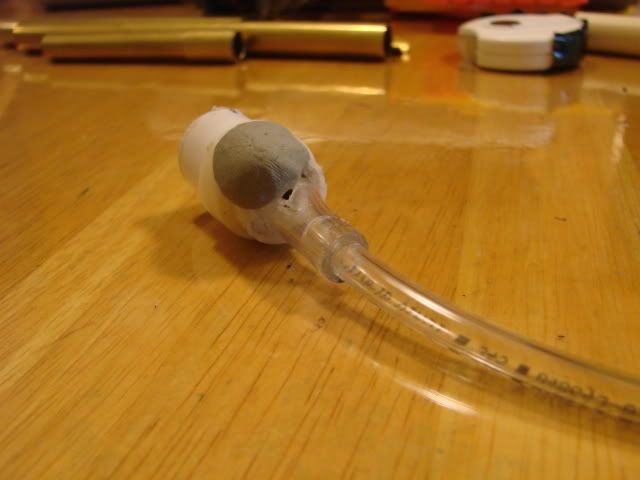
Cut off the check valve from the original pump leaving about half an inch of the pump tube left on the end. And specifically for this pump, cut 1.5" of CPVC to cover the tip.

Posted Image
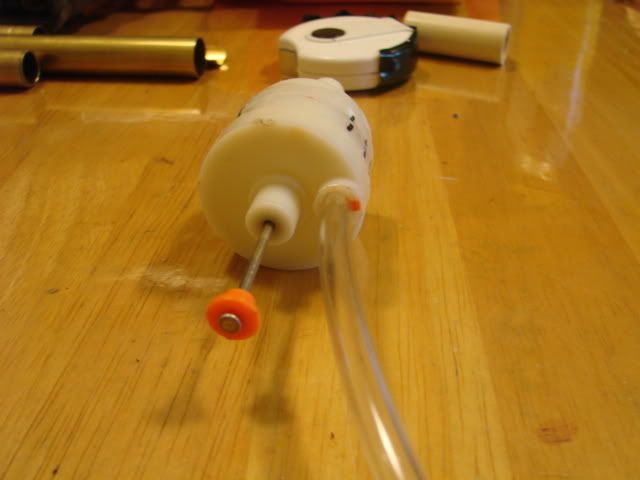
Sand down the base of the tip on the pump until the CPVC can slide over it and fill the dead space with hot glue. A tiny bit of sanding may be needed around the inside of the check valve for the CPVC to fit inside as well. Once everything fits, put plumbers goop at both ends of the CPVC. From here it's just a matter of gooping everything together. (It looks like the check valve is in tatters from the picture, but I replaced it so it works like new and kept the old pic.)

Posted Image
Posted Image
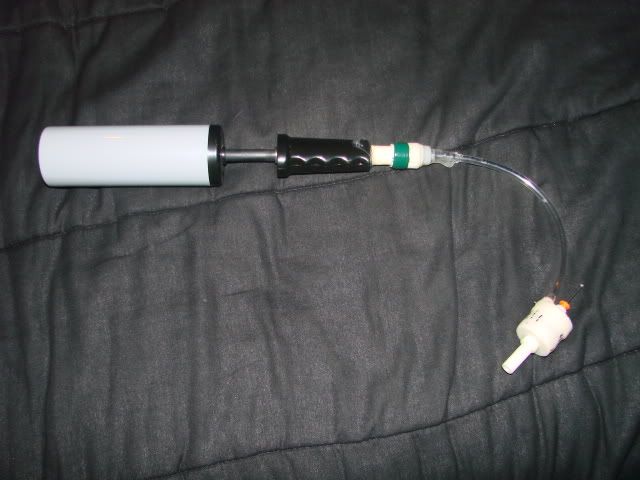
Goop down the appropriate length of vinyl tubing to suit your purposes.

Posted Image
This is as far as I went. At this point, the gun should work. The tank doesn't take the full volume of air the pump can deliver. I did not goop the check valve to the CPVC so I could make adjustments and I know that sounds like an obvious explanation, but it isn't causing the problem. It isn't leaking, it's as if the tank is full and won't take in any more air.
-The check valve is in perfect working order
-The tank is taking some pressure. Pulling the pin fires about the volume of a half pump from the stock pump.

So what am I doing wrong? Is a one pump 2k even possible? The best explanation I have is that the volume of air is so great that the check valve is just staying open effectively doing nothing leading me to believe that's why all other pump guns use a series of small pumps.