Jump to content


WicketTheModder619

Member Since 16 Sep 2010
Offline Last Active Mar 29 2014 05:32 PM

Topics I've Started

Cheap 18-shot Stefan Clip

14 May 2011 - 05:55 PM

I along with every other nerfer that uses clip system blasters was quite sick of being limited to 6 shots before having to reload. Just for all of the longshot wielding guys out there, here is my tutorial on how to solve that problem.

Materials:
-3/16" wooden dowel rod
-A pen tube that will fit in the receiver
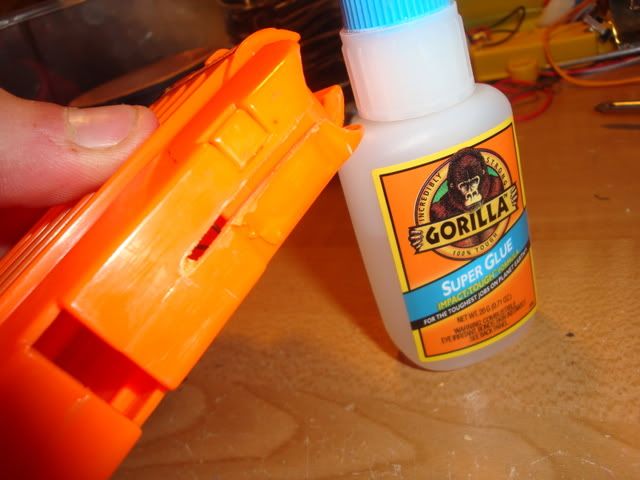
-Super glue
-Hot glue and glue gun
-Drill
-Rubber band
-5/16" drill bit
-Dremel

First off, grab your stampede clip. You can try to pry and make it clean as best you can, but I wasn't able to break the glue on some of the tabs.

Posted Image
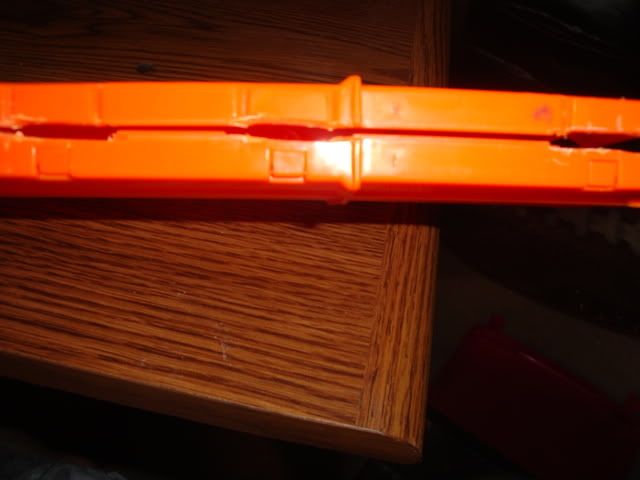
Instead, go the easy route and dremel right through those tabs!

Posted Image
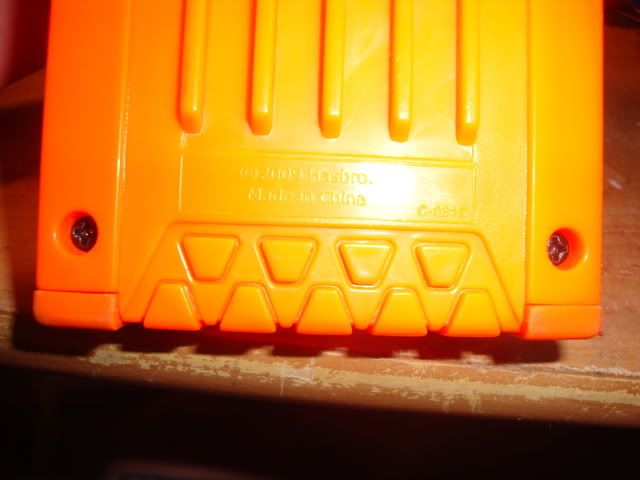
Undo these two screws.... and you're still not in. :angry:

Posted Image
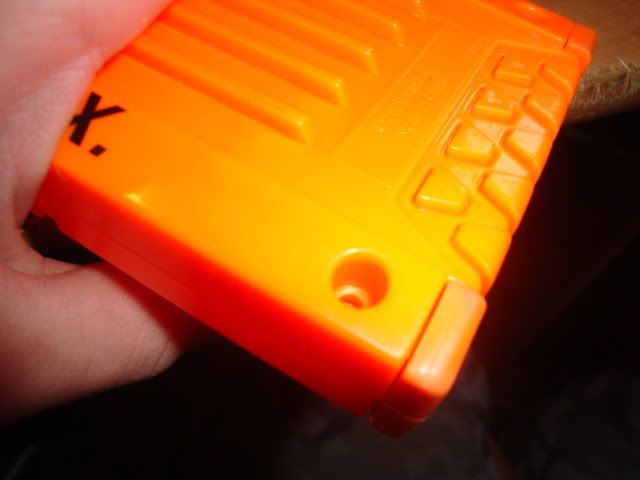
Wait, before you throw it at a wall! All you have to do is pull the halves apart to break the glue that these rubber pieces use to hold onto the inside halves of the clip.
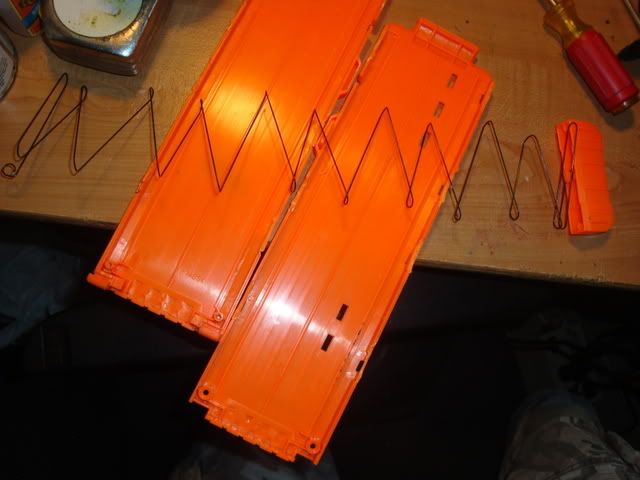
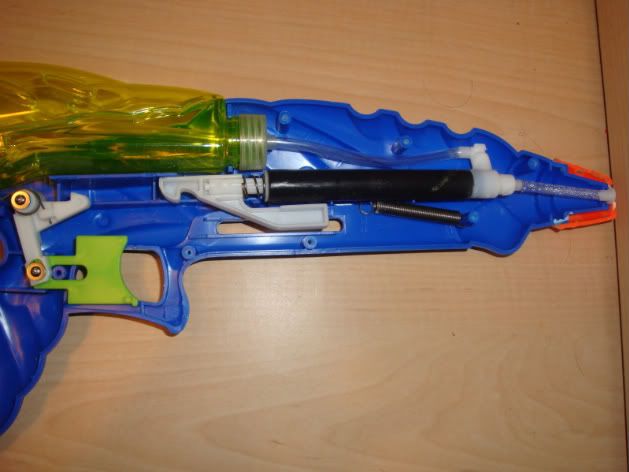
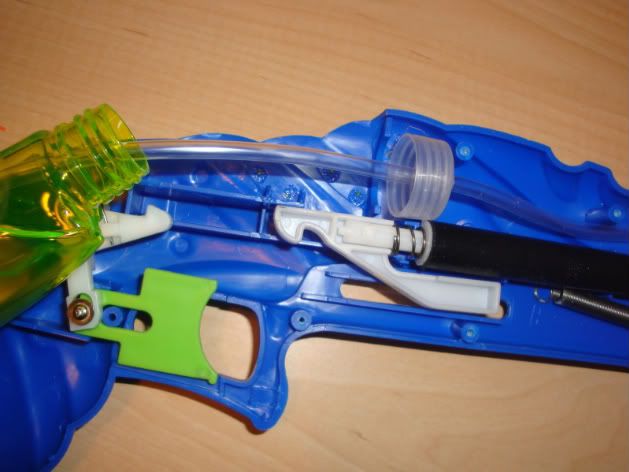
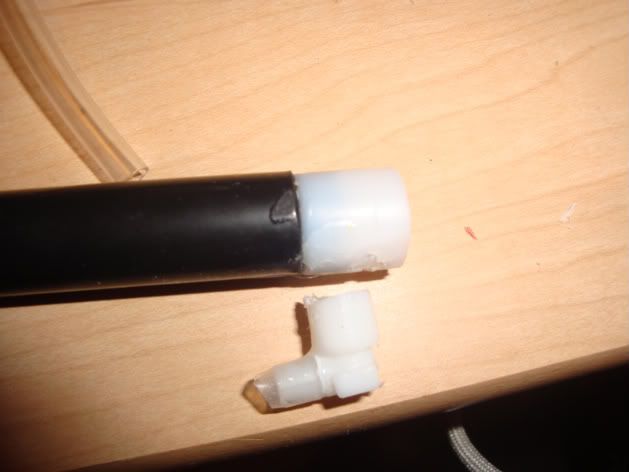
Posted Image
The insides.

Posted Image
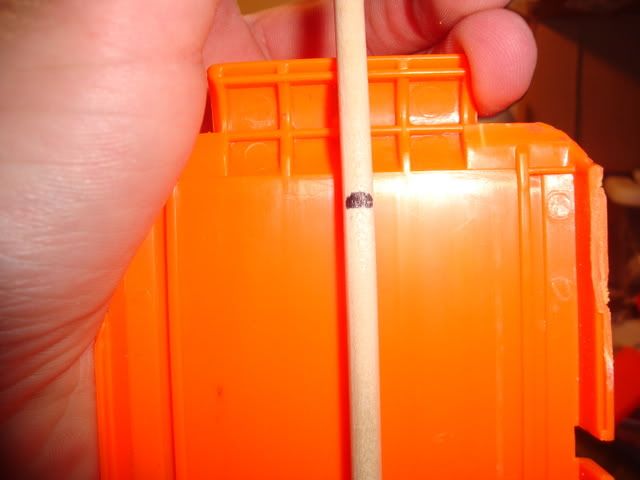
Now grab your 3/16 wooden dowel and mark and cut it at 10 and 1/4" long.

Posted Image
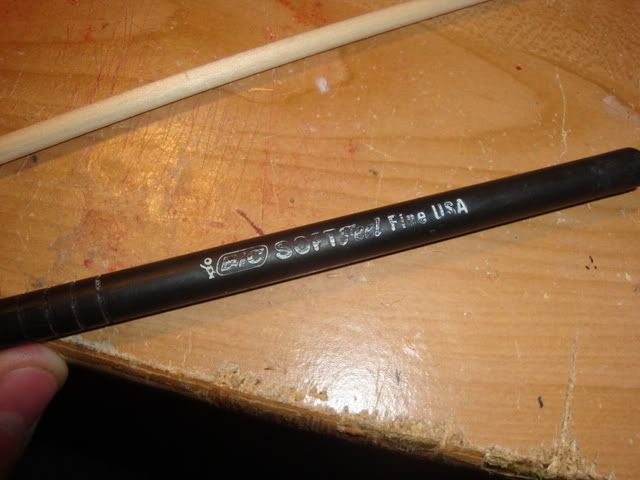
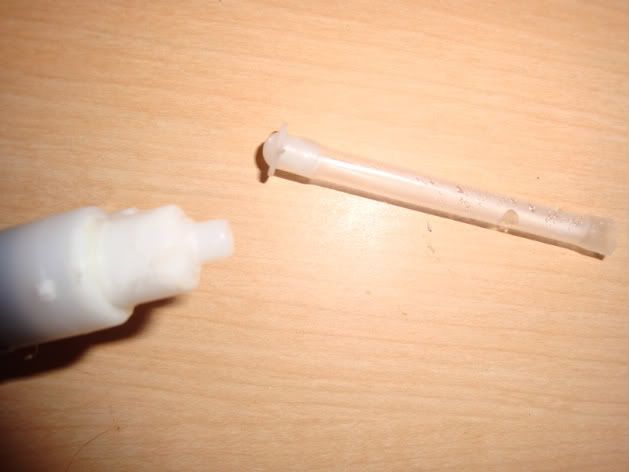
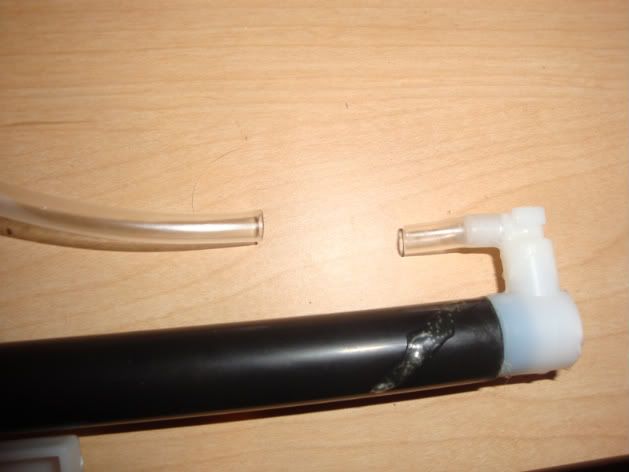
Grab your pen tube. This is the one I used, and it had a perfect snug fit in the receiver.

Posted Image
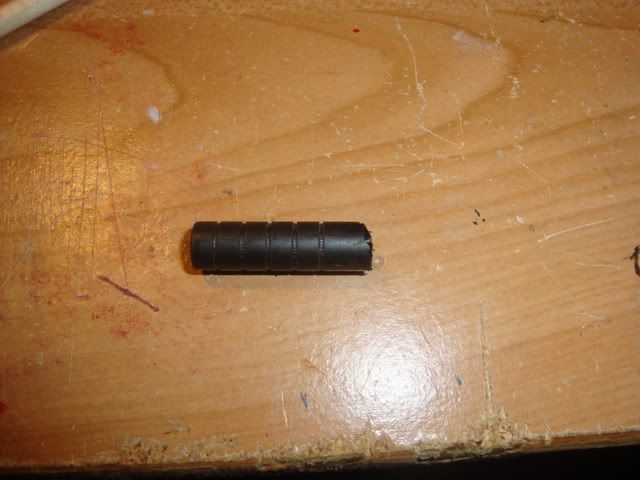
Cut a 1 and 1/8" section of the tube.

Posted Image
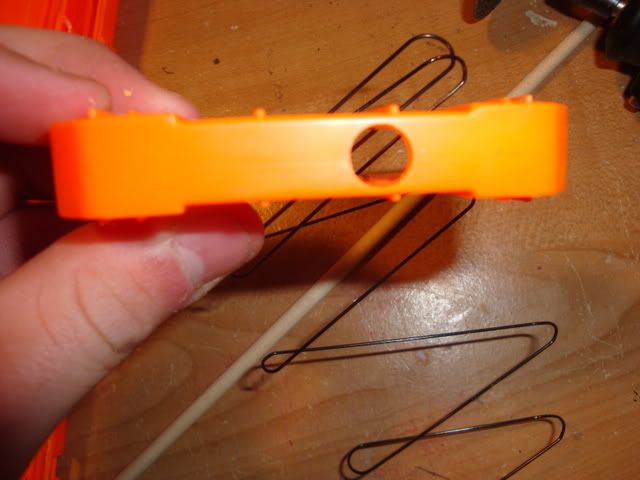
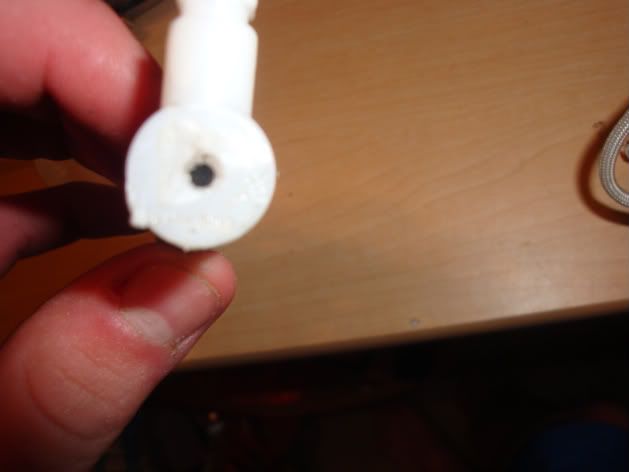
Drill a 5/16" hole through the receiver at the right distance for your darts. My pen tube required me to drill a 5/16 hole and then go around the hole once with scissors.

Posted Image
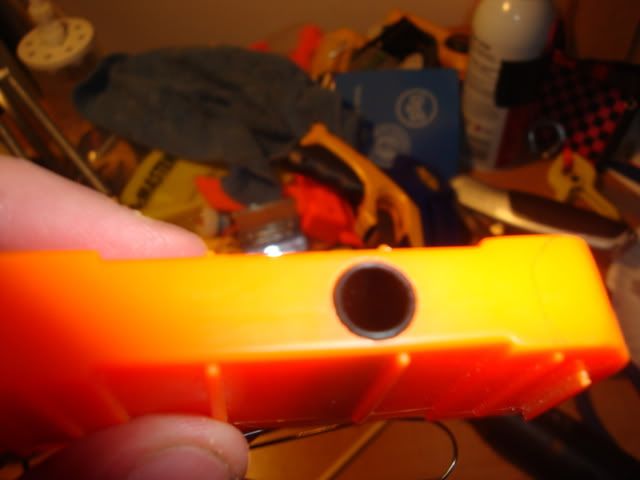
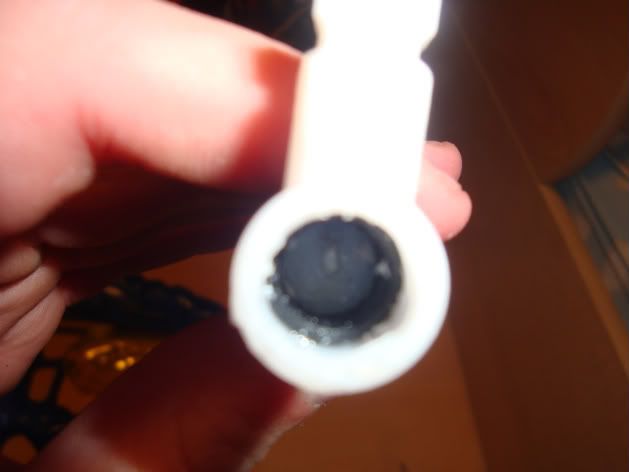
Insert your pen tube into the hole you drilled. I used no adhesives here, since I made mine fit perfectly.

Posted Image
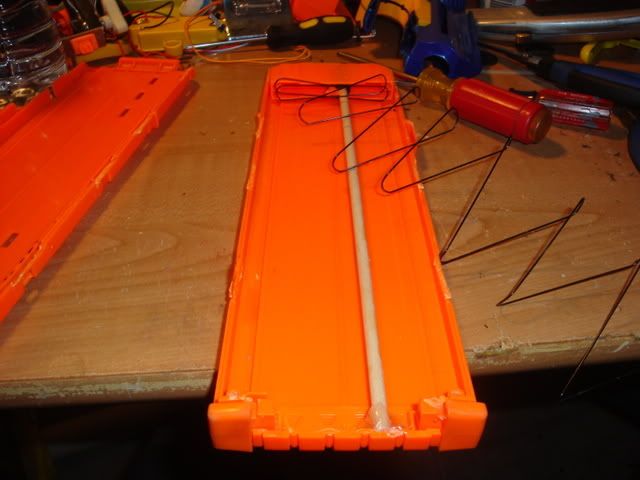
Hot glue the dowel rod to the bottom of the clip. Use the receiver to line in up.

Posted Image
Get the receiver and spring back into the clip and screw the bottom half together. Since we cut the tabs earlier, we are going to have to glue the halves together.

Posted Image
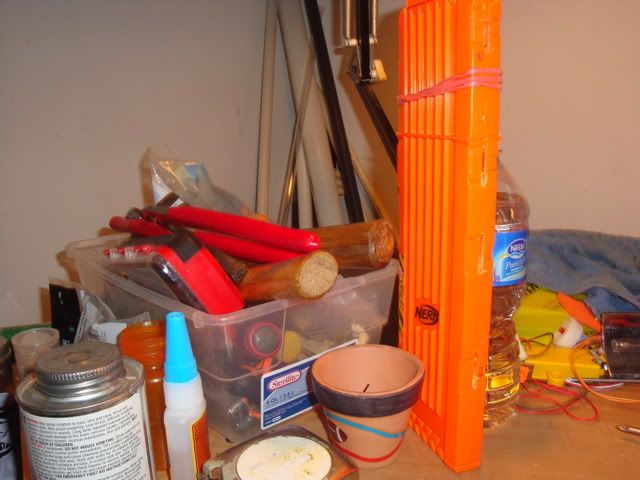
Wrap your rubber band around the top to hold the halves together while you apply your super glue. Rub the super glue in so that it doesn't protrude in the mag well. Sit this upright, and when it is dry, enjoy having triple the shots before swapping out clips. Also, I use this method on my 6-shot clips too, and it works great and has never jammed on me.

Happy 17th!

21 February 2011 - 06:05 PM

Happy 17th Birthday Jake! Hope you get some awesome new stuff!


EDIT: Lol, this was my 69th post too, Congrats Jake!

Spring-powered Water Gun Modification

23 January 2011 - 04:07 PM

This Is my first write-up, and I hope you guys like it. I found this in the pool section in Walmart for only $3 and thought I would give it a try. The spring in it is pretty strong, but the plunger tube is super tiny. And here we go......

Posted Image
Here is the what the gun looks like.

Posted Image
Following the lines of the gun, cut the orange cap on the front so you can get it open. Unscrew the screws and your in.

Posted Image
Overview of the internals.

Posted Image
Close-up of the trigger.

Posted Image
Unscrew the Yellow water tank from the clear cap. Lift the plunger tube assembly and tubing out of the shell, but leave the spring and trigger assembly in there. Set the shell aside and let's get to work on the plunger.

Posted Image
Saw the nozzle off of the front, and then pull the small metal ball out.

Posted Image
Just look how tiny that hole is. Let's sand it out for more airflow.

Posted Image
I widened it out to this large, but go as big as you want.

Posted Image
Cut the tubing around here.

Posted Image
Cut the plastic elbow off of the plunger tube.

I didn't take any picture of the plunger or plunger rod, but you need to unscrew this piece-
Posted Image
And then just pull the plunger rod out. The rod is really thin, but durable. The spring is pretty strong, is around 3"-4" long, and has a small diameter. And don't even get me started on the plunger tube, it's ID is less than 1/2 inch cpvc.

PICTURE LIMIT! DON'T POST YET!