Find content


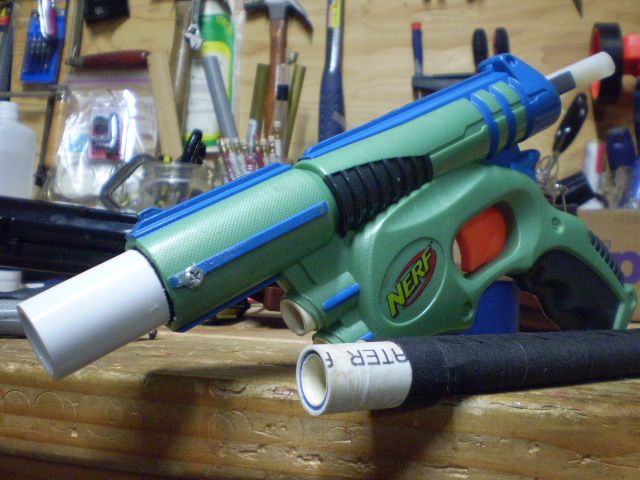
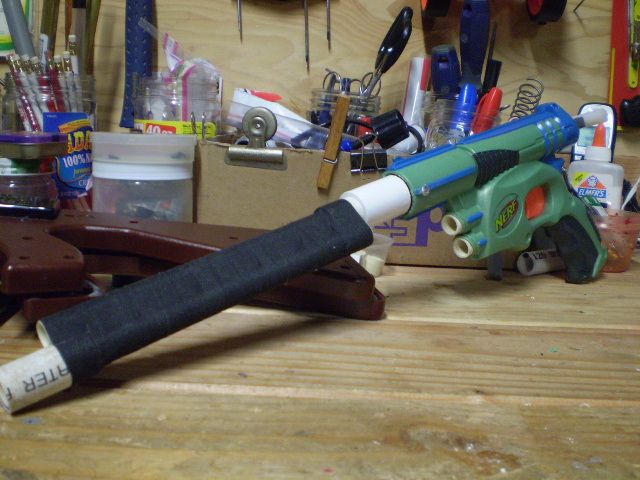
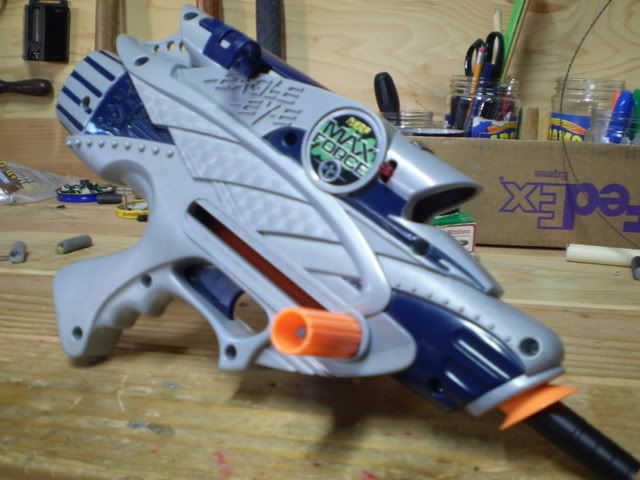
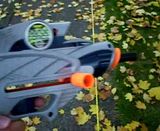
The goal of this mod was to keep the Scout looking as stock as possible while having decent power.
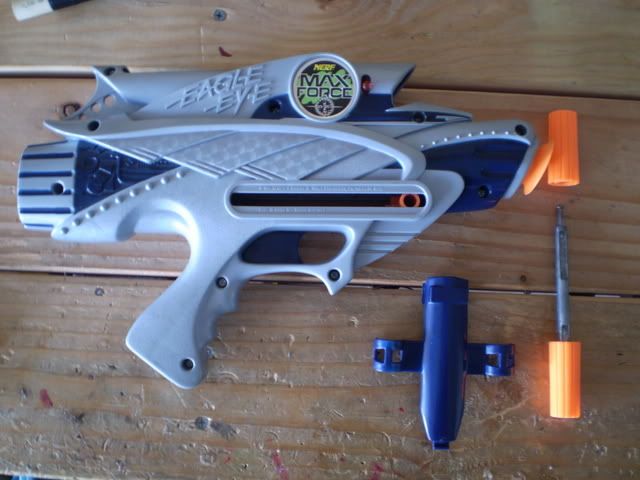
Materials
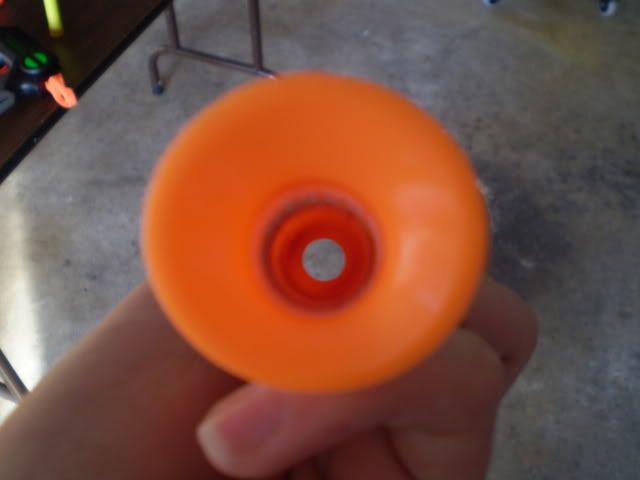
1x Hornet tank
1x Secret Strike Pocket Blaster
1x 1/2" PVC endcap
17/32" Brass
1/4" OD Nylon Tubing
1/4" OD Vinyl Tubing
Zap-a-Gap
Epoxy putty
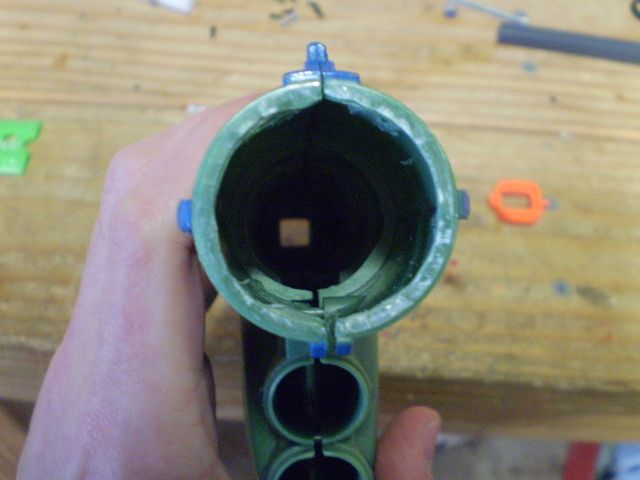
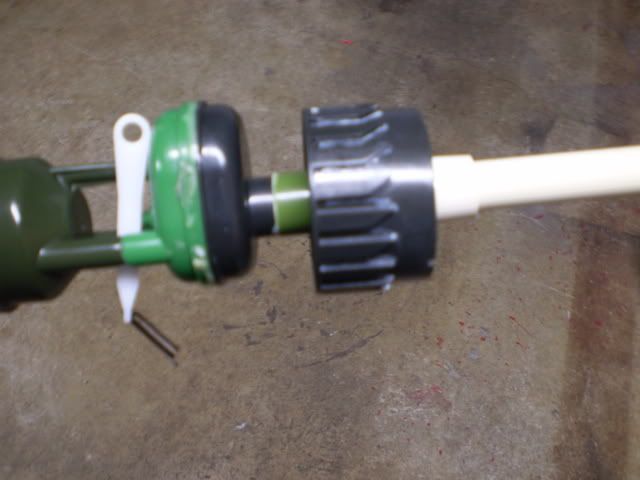
First get a single hornet tank and cut it down like this.
 IMG_0919.jpg 94.8KB
134 downloads
IMG_0919.jpg 94.8KB
134 downloads
IMG_0920.jpg 87.34KB
139 downloads
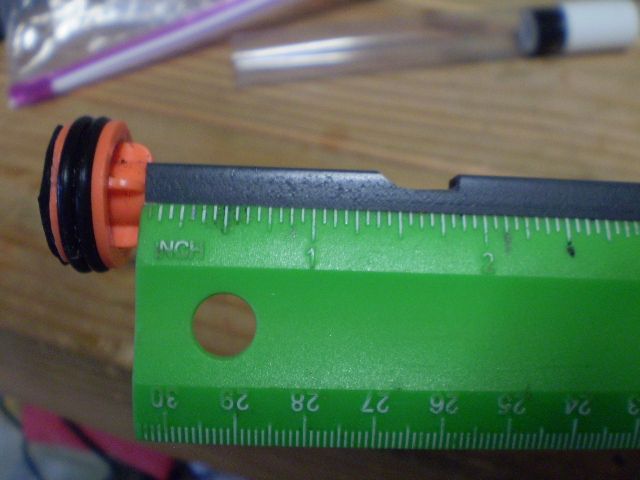
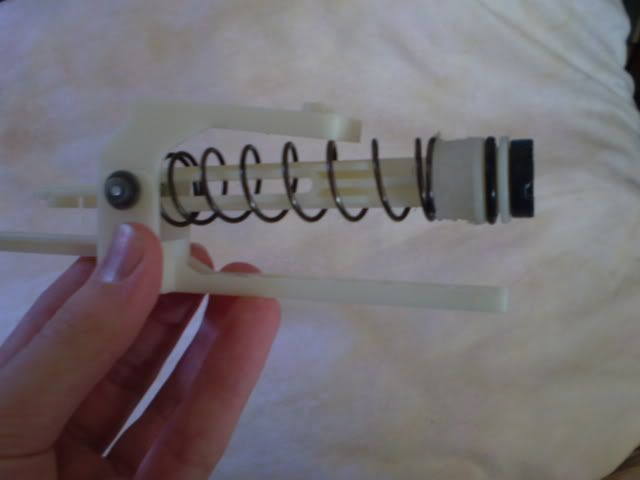
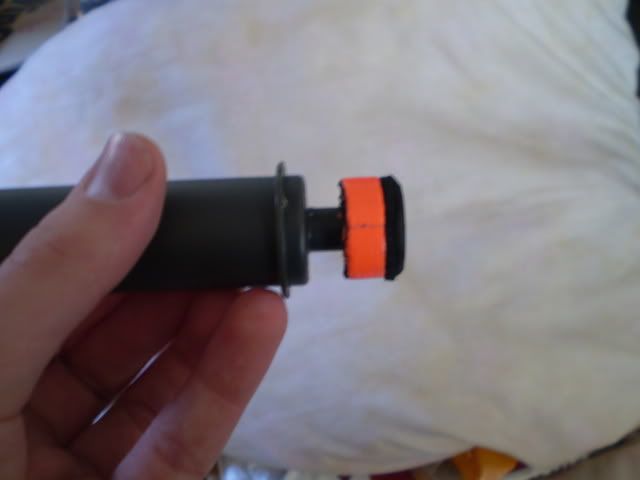
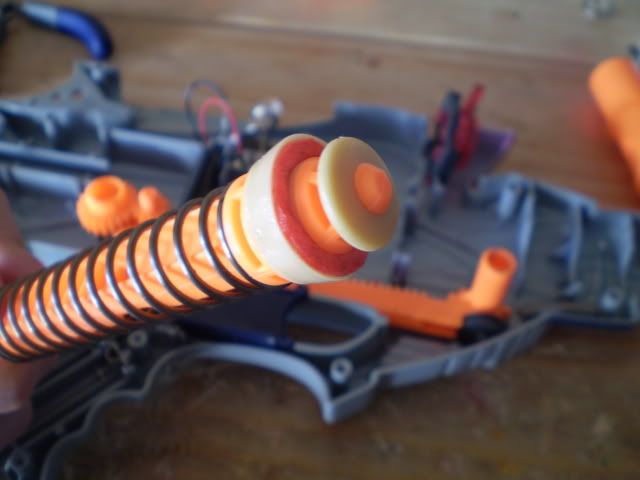
Take the SSPB and cut it like the following. Remove the rubber cap on the blast button. Widen the holes and attach the Nylon stubs. Make sure not to get excessive plastic shavings in the blast button. Glue with Zap-a-gap.
IMG_0923.jpg 132.08KB
151 downloads
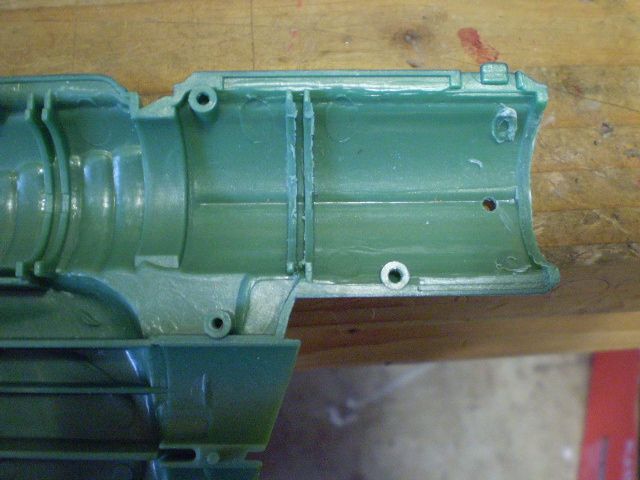
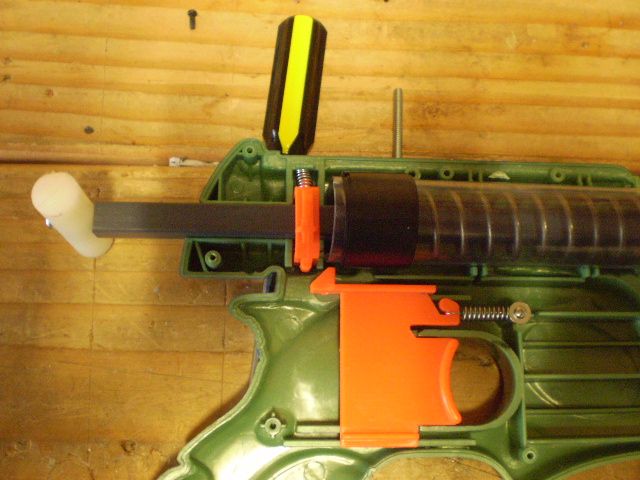
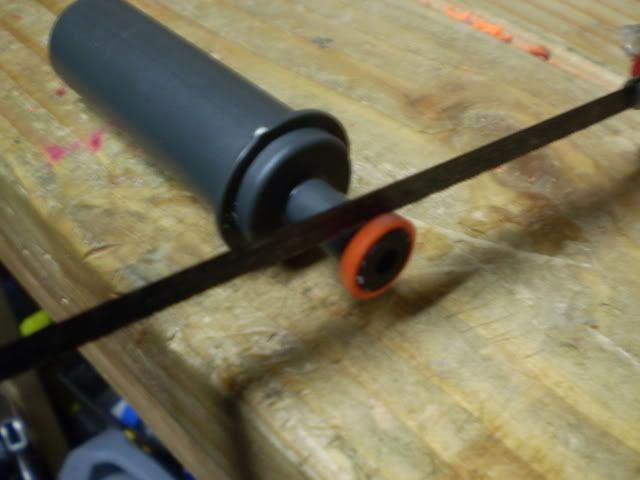
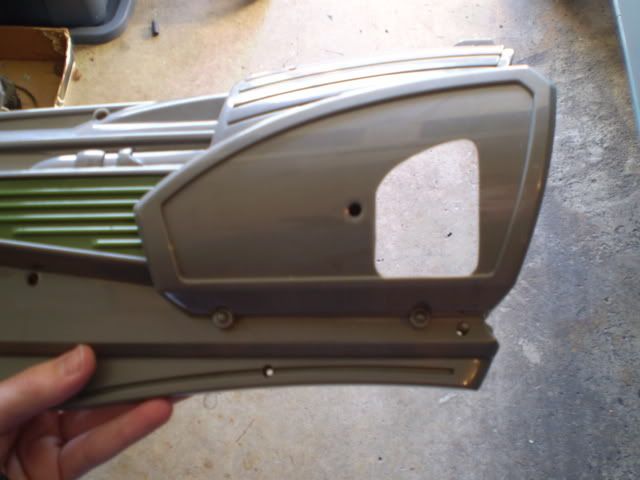
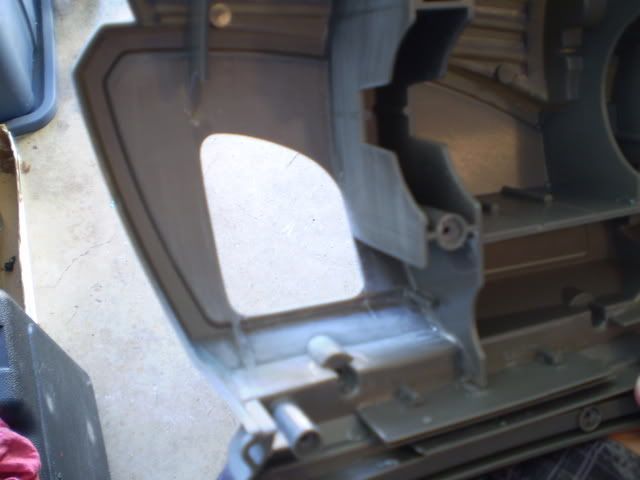
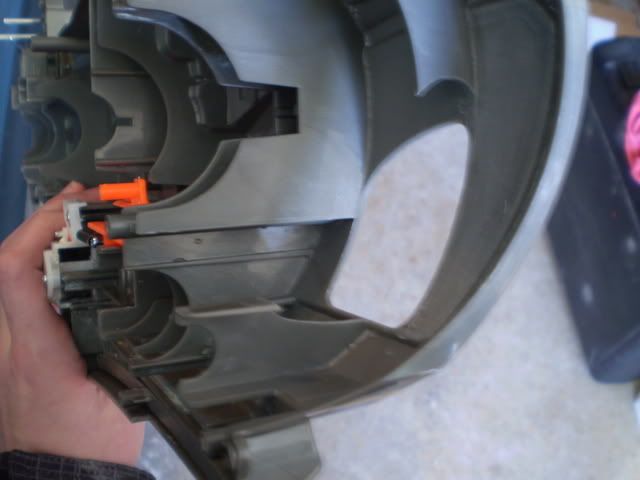
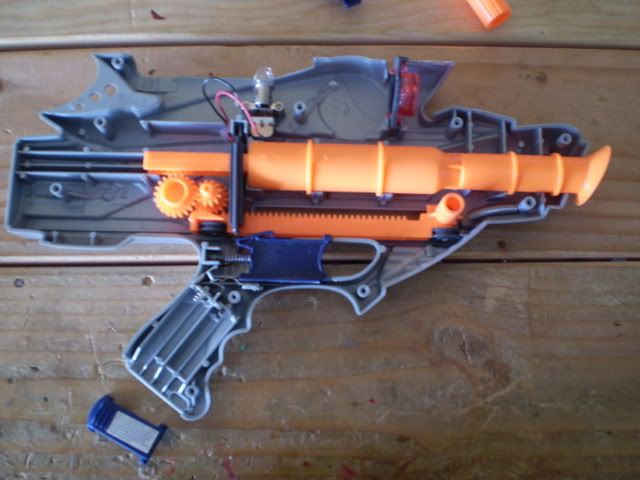
Now scrap all the original scout internals except the trigger and return spring. Dremel it to fit the Tank and pump. You will also need to slightly Dremel the edge lip of the outer slide to accommodate for how the tank slightly rises above the shell.
IMG_0926.jpg 158.24KB
121 downloads
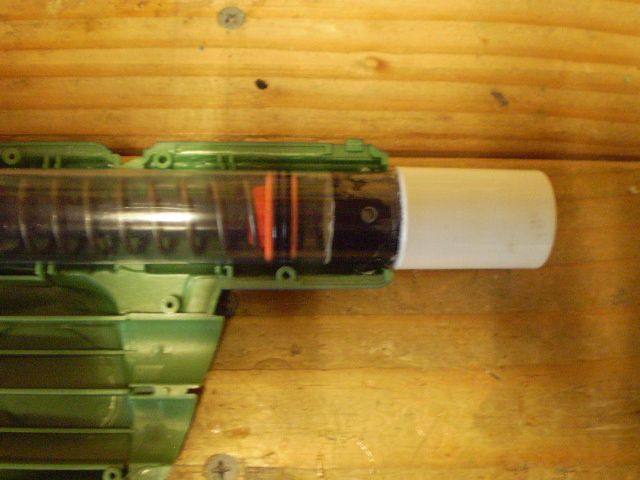
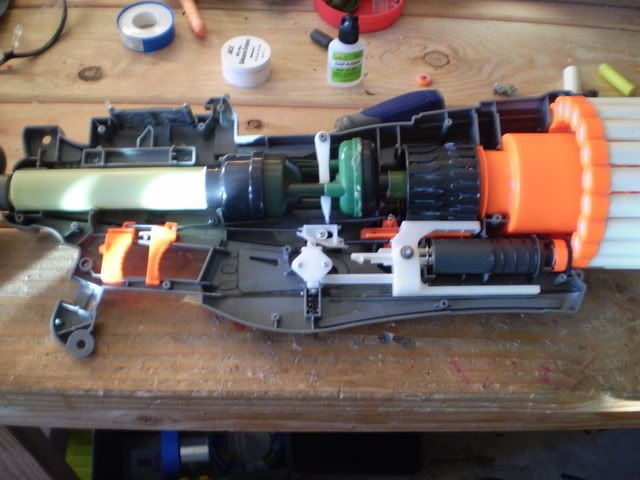
Position the pump with the slide so that you will get a full draw of the pump without pulling it out when slid all the way back. Make sure the slide also can rest fully forward. Attach vinyl tubing to the nylon stubs. You can put a spring inside to help prevent kinking. Use Zap-a-Gap.Once positioned mark the area and glue down the internals. Make sure some of the airtank is sticking out of the shell as pictured. This is for the endcap.
IMG_0935.jpg 90.25KB
141 downloads
IMG_0931.jpg 132.26KB
142 downloads
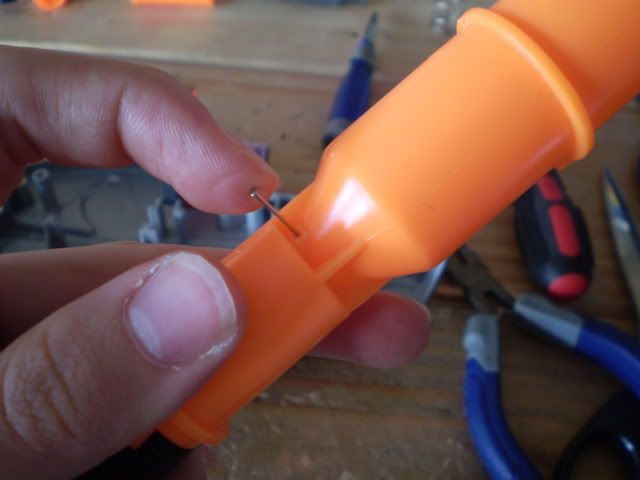
Next drill a hole in the SSPB pump for a pin to go through. This pin should reach through to the sides of the slide. The pin that was in the Scout should work. Using epoxy putty mold a chunk to hold the pin on both sides like how the stock priming pin worked. Lube the pin when doing this to make it removable. It is important to make the slide have this holding mold on both sides to increase strength.
Make sure the epoxy putty does not interfere with the sliding function. Here are some closeups of some of the cuts needed.
IMG_0924.jpg 99.47KB
130 downloads
IMG_0925.jpg 85.84KB
127 downloads
Now cut down the trigger and position the blast button. Once you get the ideal position cut the excess vinyl tubing and attach them to the blast button as shown. Use epoxy putty and Zap-a-gap to secure. This is tight fit so you will need to angle the blast button upwards to avoid kinking in the tubing.
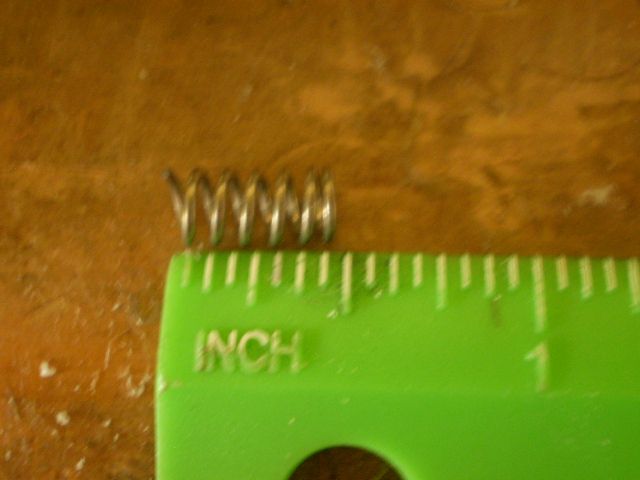
With the cut down trigger you have to get rid of the return spring guide so use epoxy putty/zap to secure it. Also make the base of the trigger wider with epoxy putty so the blast button is depressed more reliably.
IMG_0933.jpg 106.3KB
154 downloads
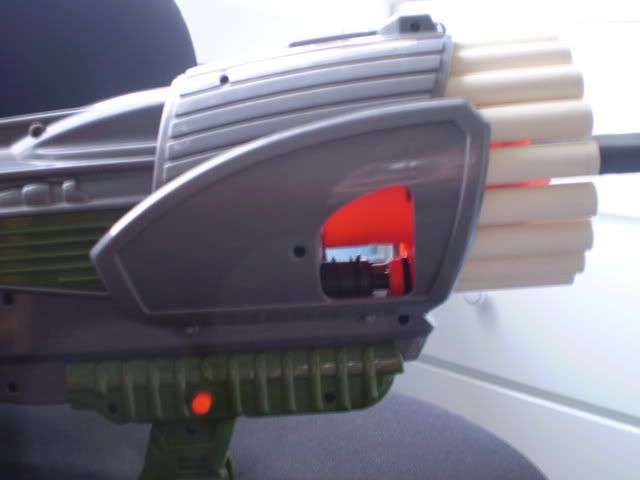
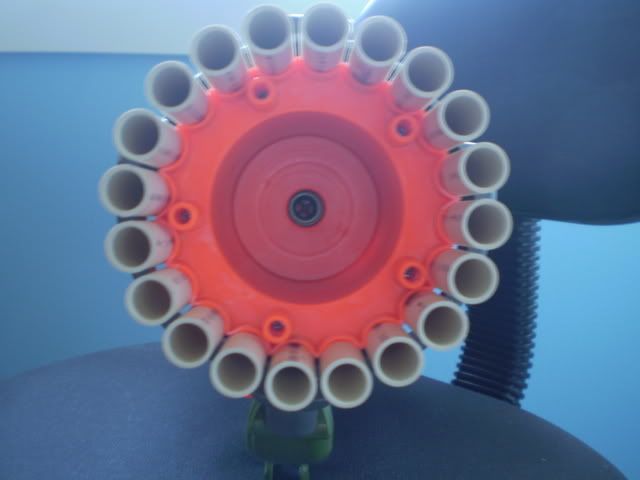
Cut segments of 17/32" brass and attach glue them into the original dart holders.
IMG_0932.jpg 143.71KB
160 downloads
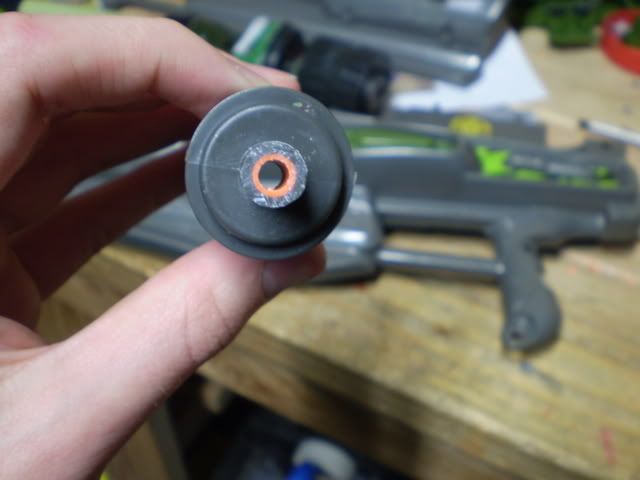
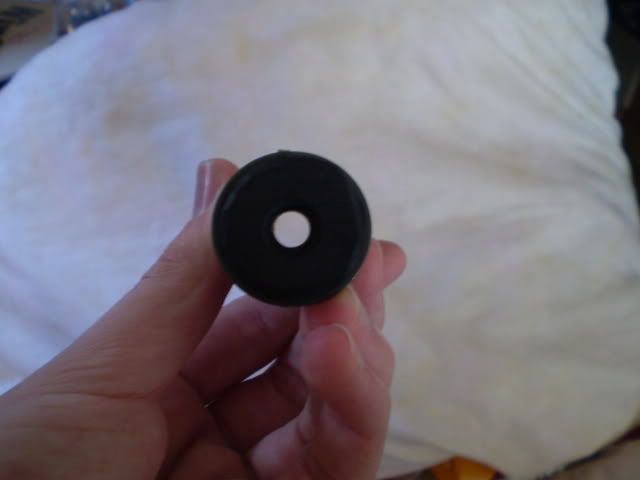
Dremel the 1/2" endcap to fit the lip of the Hornet tank that is sticking out. Make sure you only glue it to the tank and the side you glued the internals to so that the blaster can be opened.
IMG_1183.jpg 100.37KB
137 downloads
IMG_1184.jpg 96.8KB
125 downloads
Takes 20 pumps to activate the OPRV. Hits 60'-70' flat with #6 slugs and a 6" cpvc barrel.
Video with firing demo around 1:30: https://www.youtube....h?v=JjCdDkO_3KU