
 Find content


Visting Crankymonky and Groove and THIRST*
THIRST
Member Since 28 Jun 2003Offline Last Active Jun 28 2016 08:58 PM
Posts I've Made
In Topic: Hinged Double Barrel Pump Action Shotgun
24 July 2009 - 05:31 PM

In Topic: Hinged Double Barrel Pump Action Shotgun
24 July 2009 - 05:30 PM
Now we will modify the gun.
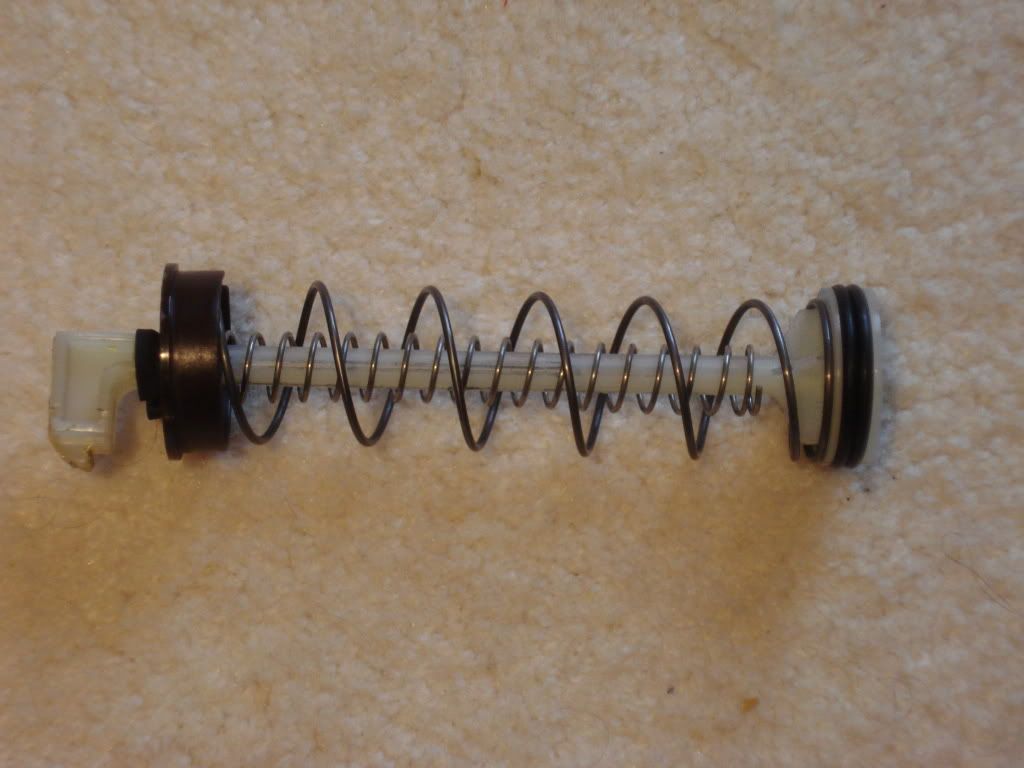
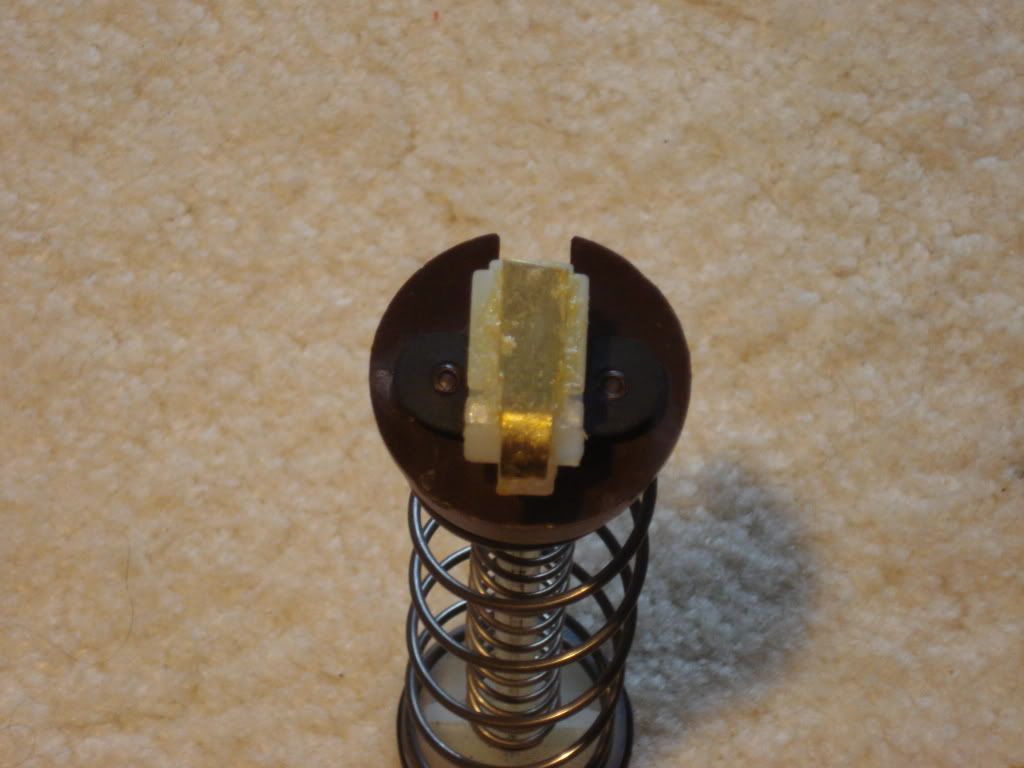
The spring addition we will be using is the Ace hardware #115. You can see it below, inside the stock spring.
First we will reinforce the priming bar. Cut pieces of 0.15” brass and place them as shown. Glue epoxy below and above the pieces.
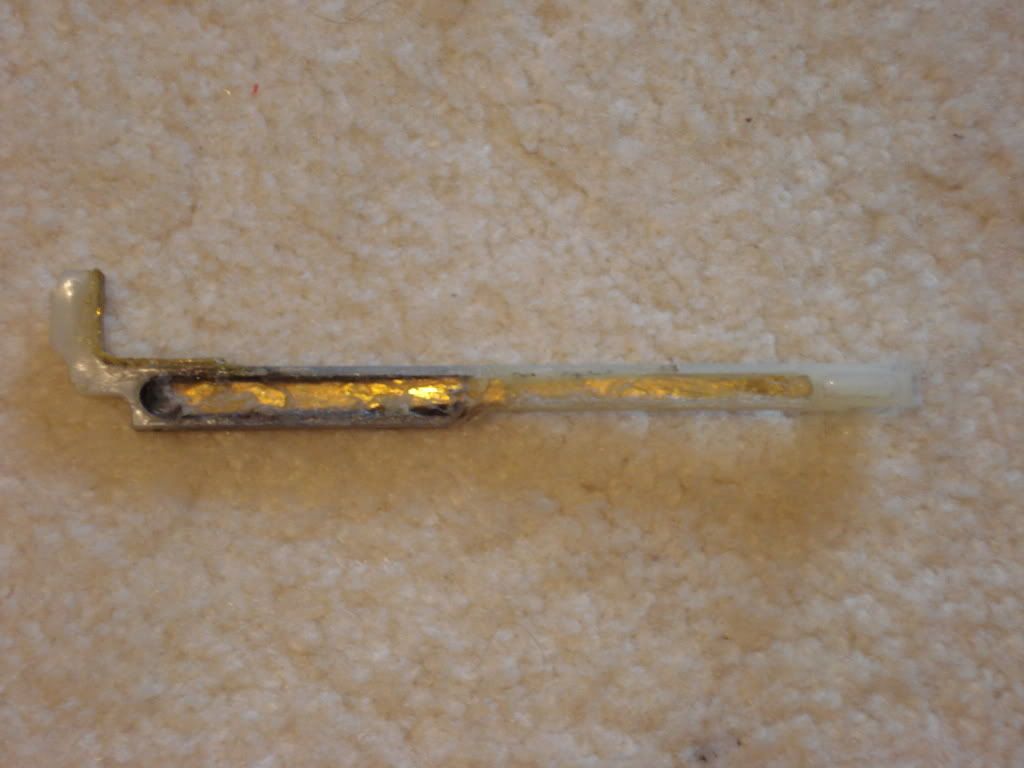
Then use 0.05” brass to reinforce the “L” shape of the priming bar. I used a combination of epoxy and another metal-plastic adhesive that has some flex.
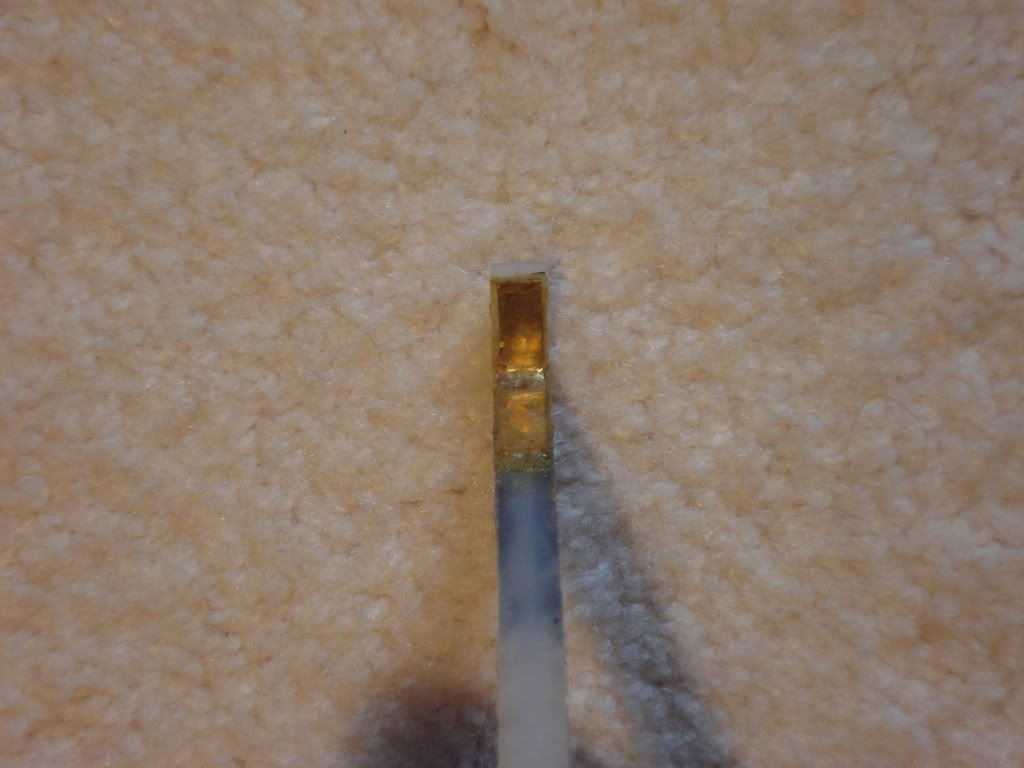
Reinforce the end of the Plunger rod as shown below. Use a 0.05” brass One again, a combination of epoxy and another adhesive.
Now we will do the same thing the the reverse side, the tip of this end of the plunger rod.
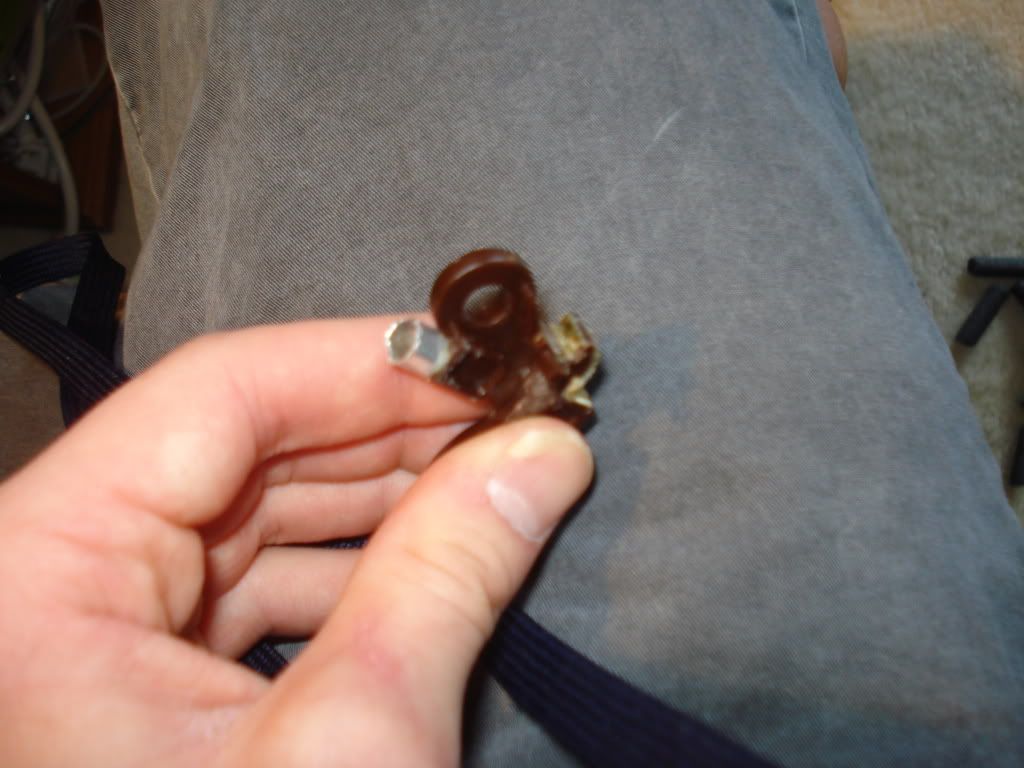
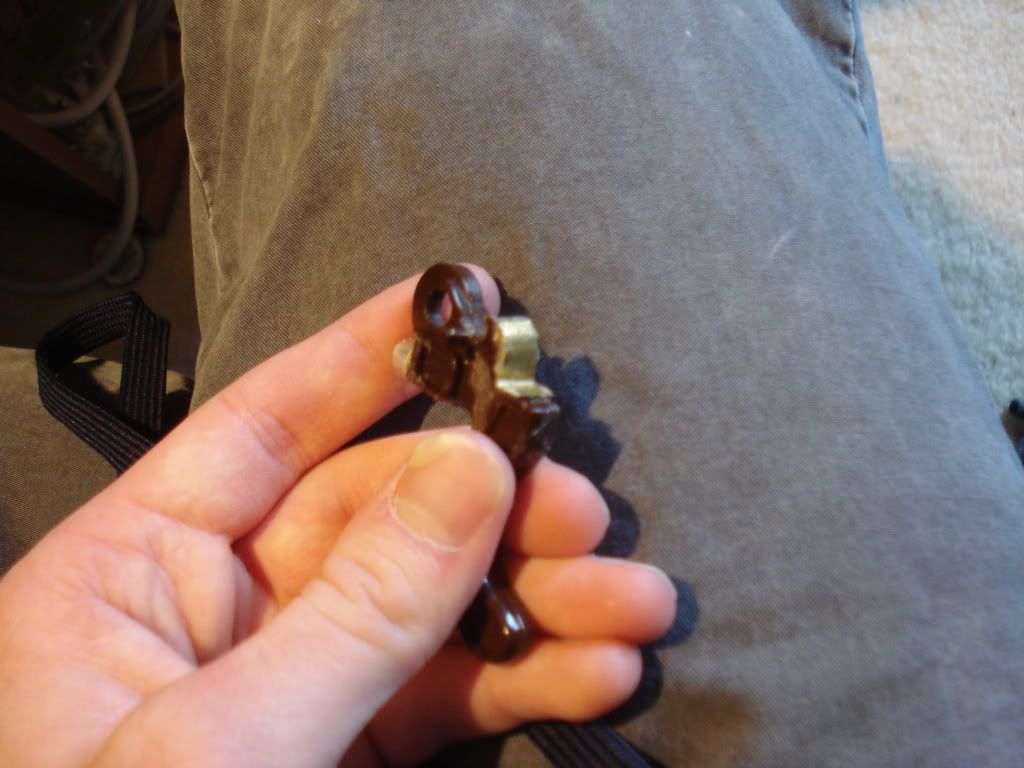
Now reinforce both sides of where the trigger catches the plunger rod. Once again, 0.05” brass with epoxy and another adhesive.
Now we will reinforce the catch spring. First we cut a small section of K&S stock #106, 1/4 x 0.014 “ Rd Aluminum Tube. Epoxy this onto the trigger as shown. Our catch springs will line go inside this.
Cut a piece of sheet metal and epoxy it to the spring hole as shown. Then cut another piece of the aluminum tube that is slightly longer, and epoxy it to the sheet metal. Then place two new catch springs inside the tube. I used two springs that nested inside each other, each from a different “clicky-pen.”
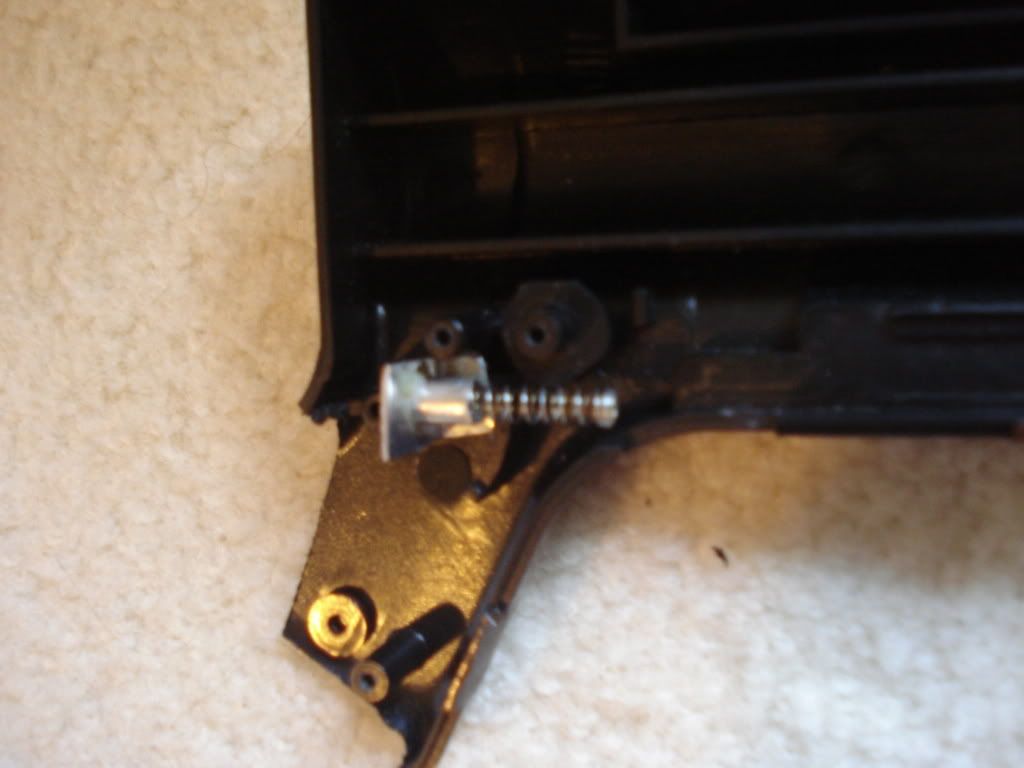
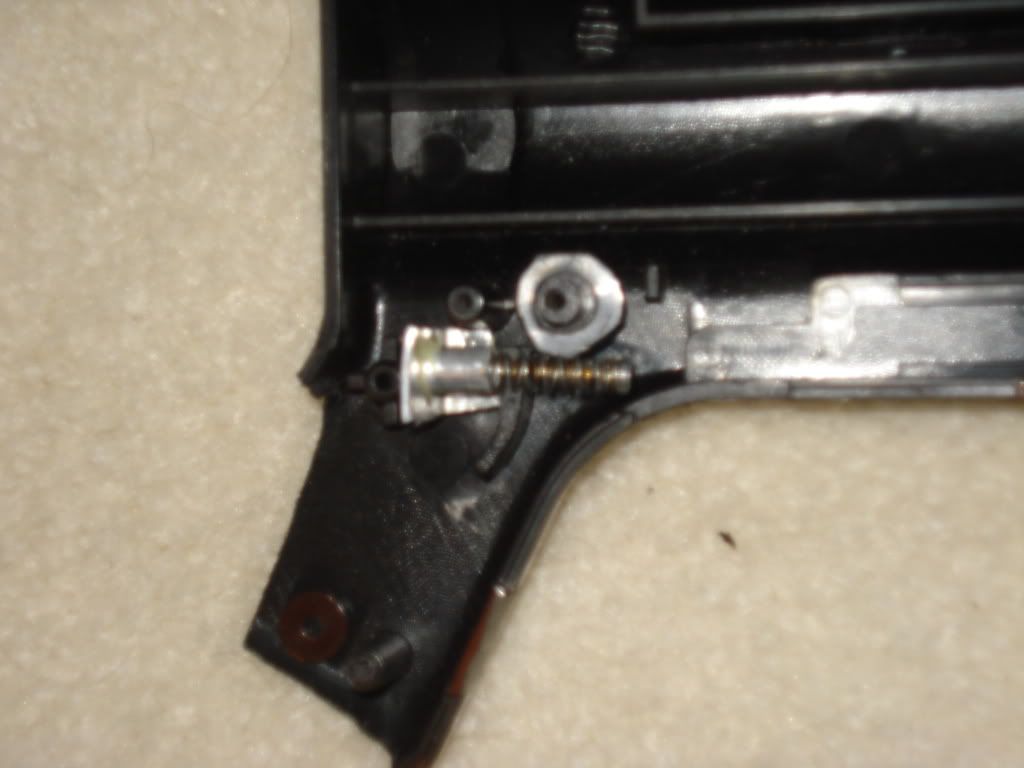

When reassembling the trigger system, place the new catch spring inside the aluminum tubing on both the trigger and the aluminum tubing on the sheet metal. Keep the stock torsion spring in as an additional catch spring.
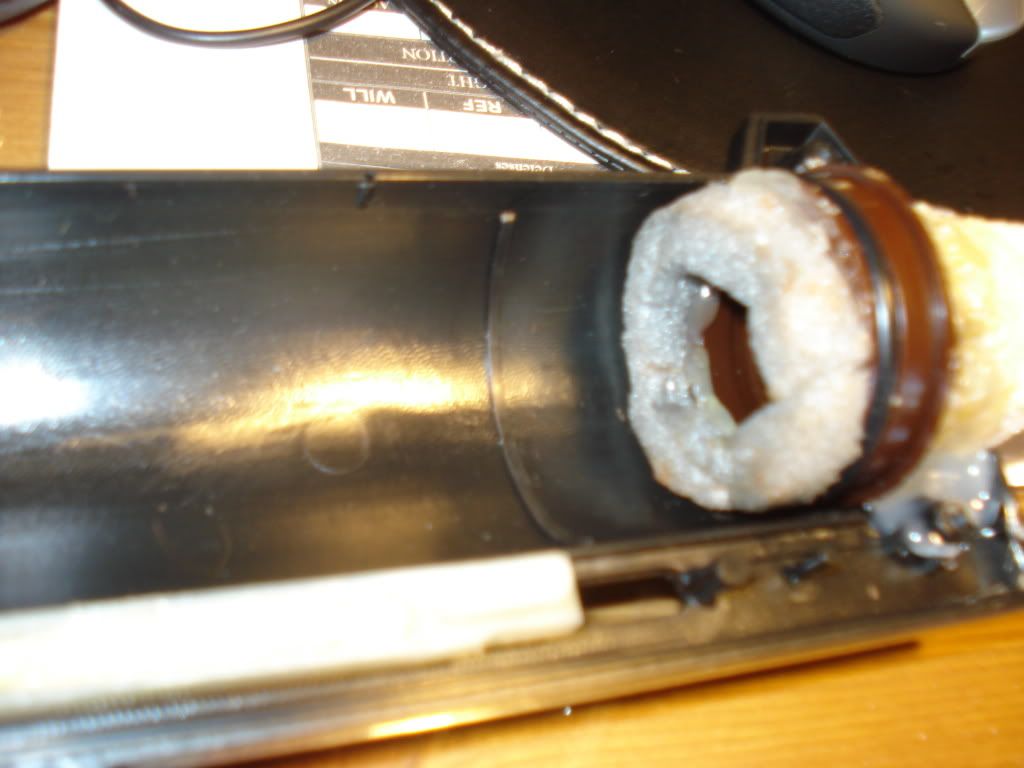
Now we will place some foam padding on the plunger cap. I used FBR and cut it down to fit. You don’t want it to reduce the overall draw though!
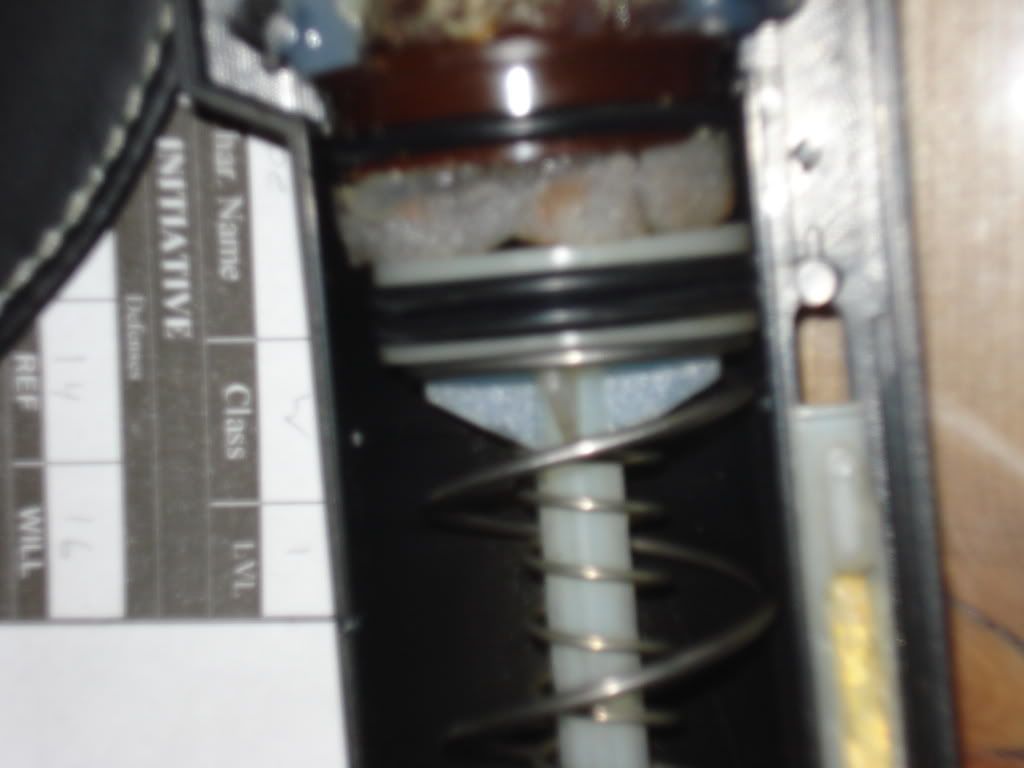
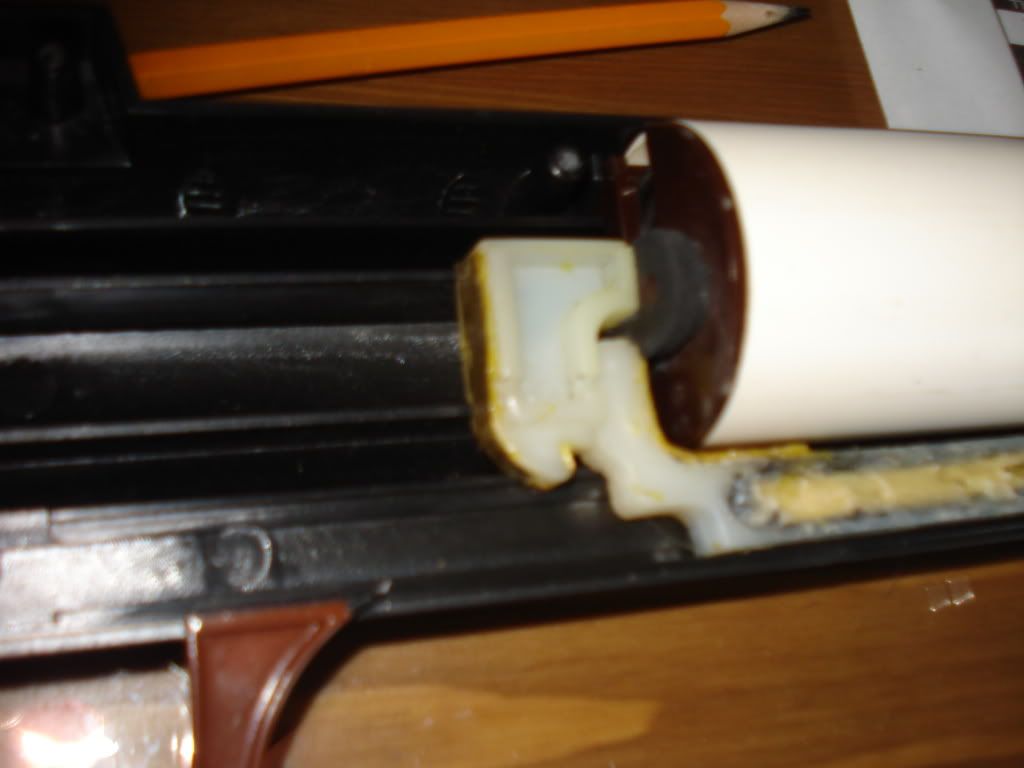
When everything is put back inside the gun, the plunger rod and priming bar will align as shown.
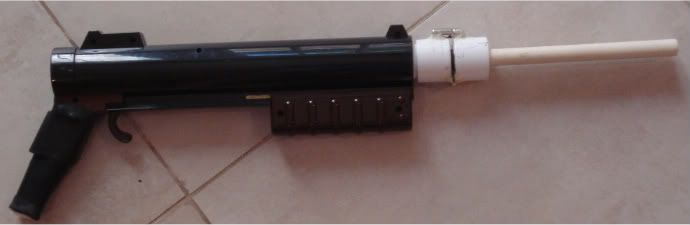
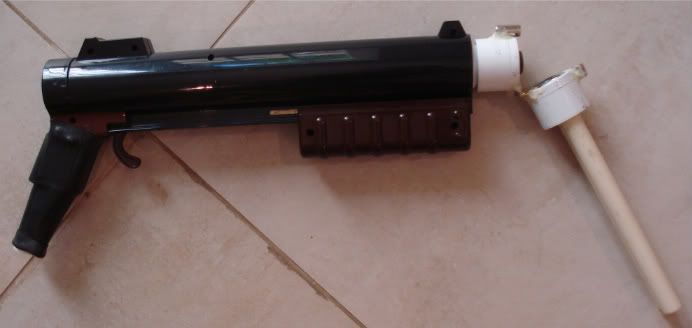
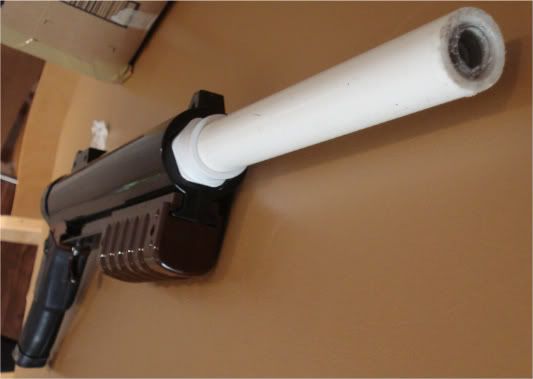
I placed some bike inner tube over my handle now to make it slightly more comfortable. Also, I made a single barrel, PETG inside 3/4” PVC. Goop to make it airtight.
The spring addition we will be using is the Ace hardware #115. You can see it below, inside the stock spring.
First we will reinforce the priming bar. Cut pieces of 0.15” brass and place them as shown. Glue epoxy below and above the pieces.
Then use 0.05” brass to reinforce the “L” shape of the priming bar. I used a combination of epoxy and another metal-plastic adhesive that has some flex.
Reinforce the end of the Plunger rod as shown below. Use a 0.05” brass One again, a combination of epoxy and another adhesive.
Now we will do the same thing the the reverse side, the tip of this end of the plunger rod.
Now reinforce both sides of where the trigger catches the plunger rod. Once again, 0.05” brass with epoxy and another adhesive.
Now we will reinforce the catch spring. First we cut a small section of K&S stock #106, 1/4 x 0.014 “ Rd Aluminum Tube. Epoxy this onto the trigger as shown. Our catch springs will line go inside this.
Cut a piece of sheet metal and epoxy it to the spring hole as shown. Then cut another piece of the aluminum tube that is slightly longer, and epoxy it to the sheet metal. Then place two new catch springs inside the tube. I used two springs that nested inside each other, each from a different “clicky-pen.”
When reassembling the trigger system, place the new catch spring inside the aluminum tubing on both the trigger and the aluminum tubing on the sheet metal. Keep the stock torsion spring in as an additional catch spring.
Now we will place some foam padding on the plunger cap. I used FBR and cut it down to fit. You don’t want it to reduce the overall draw though!
When everything is put back inside the gun, the plunger rod and priming bar will align as shown.
I placed some bike inner tube over my handle now to make it slightly more comfortable. Also, I made a single barrel, PETG inside 3/4” PVC. Goop to make it airtight.

