Jump to content


CaliforniaPants

Member Since 15 Apr 2008
Offline Last Active Nov 26 2017 01:07 AM

Topics I've Started

boomco burst wave internal breakdown

17 April 2016 - 01:48 AM

boomco continues to make some of my favorite things in this dart/ball/rocket/whatever shooting hobby. the plastic is fantastic, the engineering is solid, and the blasters are fun and interesting as well as fit adult sized hands (most of them at least). buy them, have fun with them. the darts themselves are hella weird and you should see them for yourself. Im sure this info is somewhere else but I wanted it to be on NH and easily searchable/added to the directory.


an aside: not all these photos are perfect, I have shaky hands and it makes using a phone camera an absolute nightmare


Attached File  20160416_230358.jpg   83.09KB   321 downloads

Attached File  20160416_230501.jpg   79.14KB   299 downloads


at a glance, nothing extremely special but also nothing disappointing. the screw heads on mine were pretty "loose" so I opted for a larger screwdriver wherever it would fit, also I'm not sure if the blue part that holds the pump in is supposed to be glued in or not, but mine wasnt and that was a good surprise.


the tank and overpressure valve


Attached File  20160416_230601.jpg   59.31KB   292 downloads


the tank is interesting, its not a backpressure tank but a standard pin style valve. its screwed and sadly glued shut, but because the valve is at the bottom you might be able to just drill a hole in the top and add an expansion if you were so inclined. if you try it please post about it, Im super curious. that litle blue part with the two screws above it is the overpressure valve, not located in the pump like most others are; and its a curious one


Attached File  20160416_230714.jpg   73.08KB   301 downloads


this is the overpressure valve laid out in sequence. I just realized that the blue part is flipped around, you can figure it out though since it only fits one way. I believe in you. because of this design if you found a higher rate spring and replaced it you would be able to tune your tank pressures while keeping the safety net of the overpressure valve. this is neat, I love this. if I find more springs that fit Im going to mess with this a bit. 


the turret


Attached File  20160416_230948.jpg   76.72KB   298 downloads


I love this turret, its hardy and has a lot of resistance to being turned and has a nice lock on both the rotation mechanism and the shell itself to keep it in place. as you can see the screw that holds the rotation mech to the turret is real long and doesnt really want to be removed, have fun with that. 


Attached File  20160416_231111.jpg   51.97KB   289 downloads


the rotation mech fits into the turret itself in a certain orientation, I did not realize this. learn from these mistakes and notice that one of the corners of the square is missing and match it up with the turret.


Attached File  20160416_231309.jpg   86.52KB   291 downloads


removing the three center screws from the front of the turret will let you pull the backs off along with letting you detach the third lobe(?) of the turret that you popped in when you pulled it out of the box.


Attached File  20160416_231341.jpg   69.3KB   287 downloads


the turret then breaks down into these three pieces, the middle part is a rubber grommet that seals it all together and I think seals against the darts as well? its neat. 


Attached File  20160416_231417.jpg   67.16KB   289 downloads

Attached File  20160416_231434.jpg   79.35KB   294 downloads


the base of the turret is again held together with screws and then glued together, which means you're in for some dremel fun if you want to rebarrel this and keep the turret functionality. you can see how the air comes in the back of the turret and is pushed through to the base of the dart pegs. 


Attached File  20160416_231638.jpg   72.18KB   286 downloads


the turret locks into the shell at this point as well as the rotation mechanism itself. if you want to keep the turret function while rebarreling it, you will need to keep this part of the turrets at least if not the entire outer "cage" portion with just the ends cut out. remember that the individual turrets are held together with the screw down the front, not the ones in the back, so if you get rid of that portion you will have to glue the halves together. 


in the future I would like to experiment modding this and if I do it'll be added onto this topic. any questions will be happily answered. 


Nerf Rival Apollo Overview/Internals

29 August 2015 - 08:26 PM

This thread will serve as the core place to ask any questions or put information about the new apollo blaster, please feel free to ask for any information or pictures that i have not provided and i will do my best to help. now on with the show

Posted Image

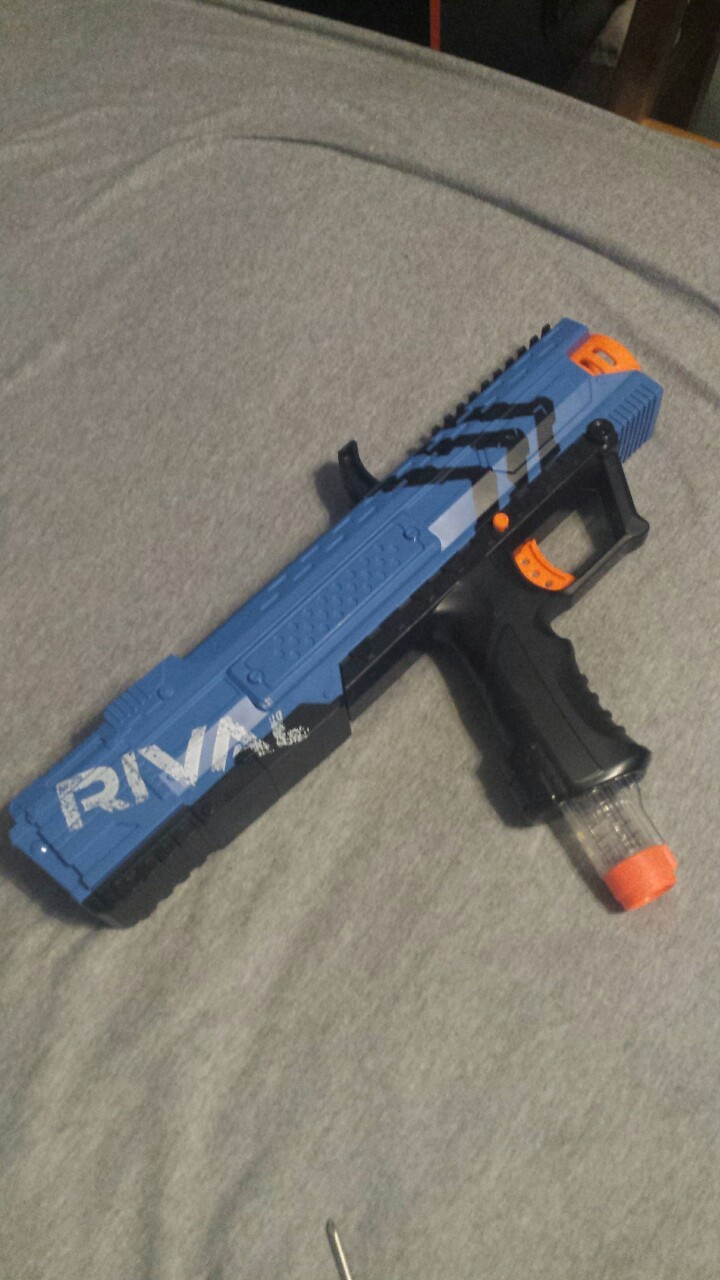
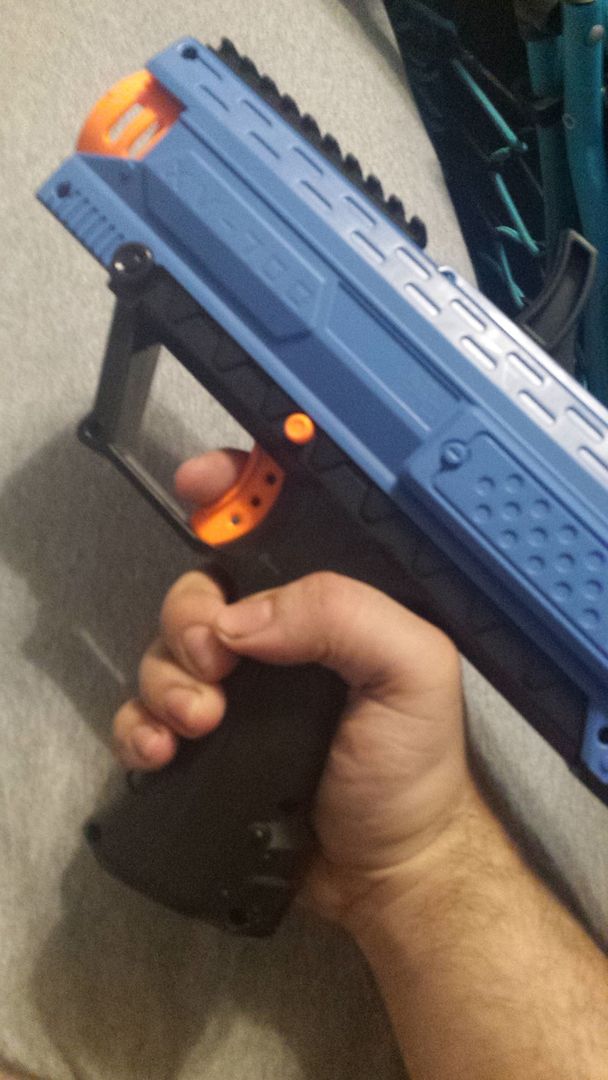
id like to start off by saying that this thing is an absolute BLAST to play with. i am a 6 foot tall, fairly large person and it fits me very well. the balls work way better than i expected and they really slam out of this thing, plus they bounce a ton. also like this thing looks rad as hell? im way into it.

Posted Image

as said above, this was made for larger hands. its the best any nerf brand blaster has felt in the hand for me. i do wish it was a little bit longer so i could shoulder it, but i imagine the larger battery powered version might be better for that.

Sceptor Ball Compatibility

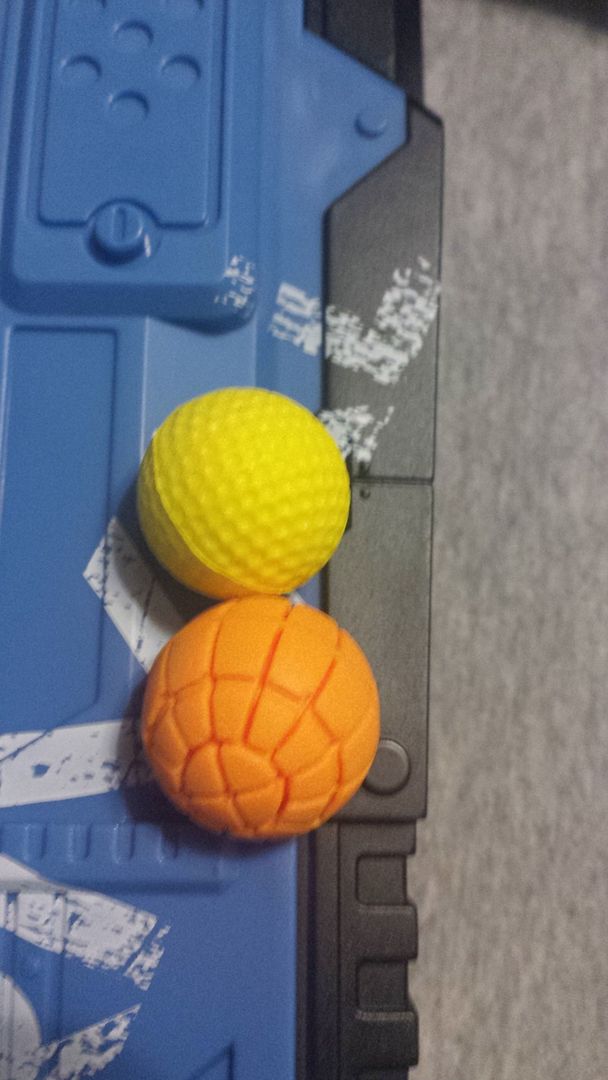
i was personally really interested to see if sceptor balls would feed into these blasters, but that is not the case. they're slightly larger and as a result do not feed out of the magazine correctly

Posted Image

Magazine Mechanics

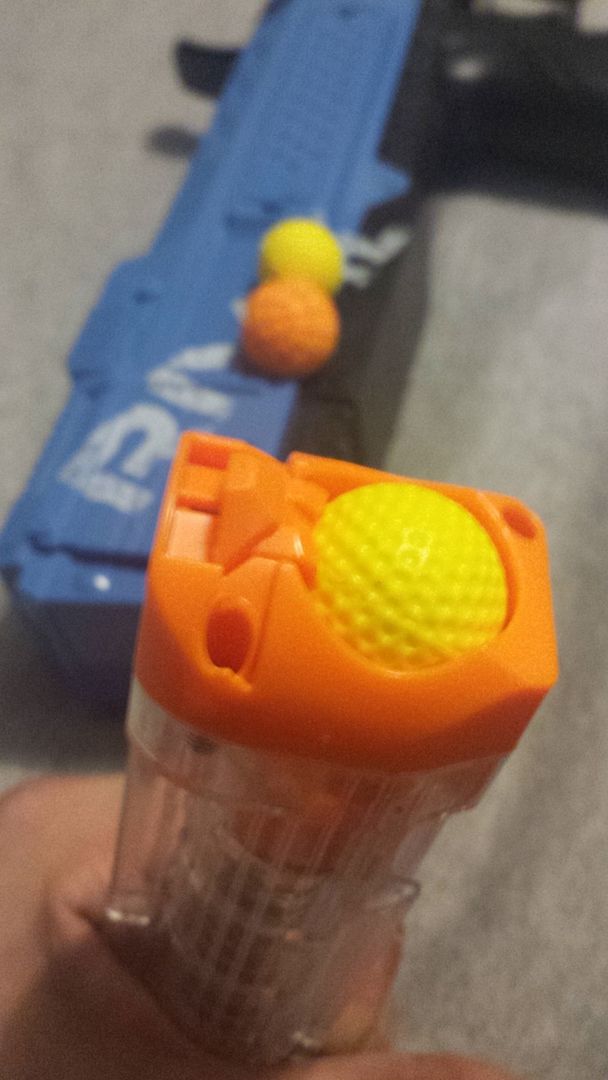
the magazine, much like the rest of this blaster, is very well designed and made. the clear plastic feels very strong, but i wouldnt want to stress it too hard. however what im really impressed by is the ball retention.

Posted Image

as you can see the balls just pop in easily and are held in by the spring loaded tab on the left. the good part of this tab being so easily accessible is that you can easily move it aside to empty the magazine to prevent your balls from being deformed by spring pressure during storage. very handy for the end user.

Internals

Posted Image

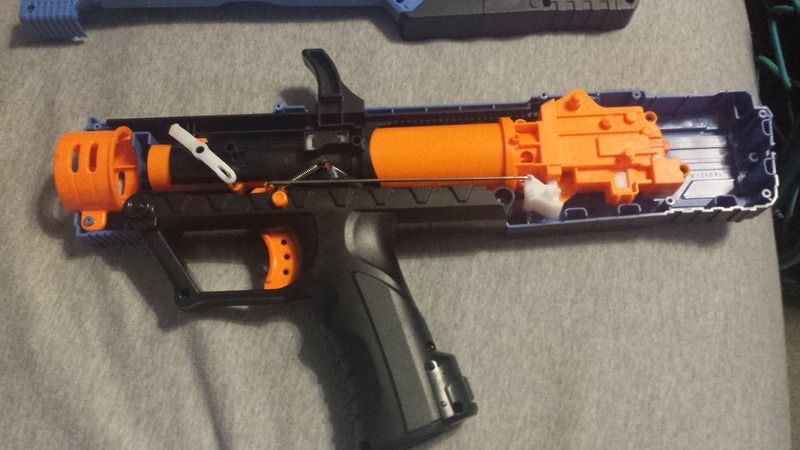
opening this up was quite a surprise, there's a whole lot going on here that i am into and not so much into. note: dont worry about taking the screws out of the handle, you dont need to if you just wanna get at the basic bits. the blaster now separates into two parts: the barrel and handle/magazine well and the plunger tube and gearbox. yes, gearbox. lets start with the barrel and handle

Posted Image

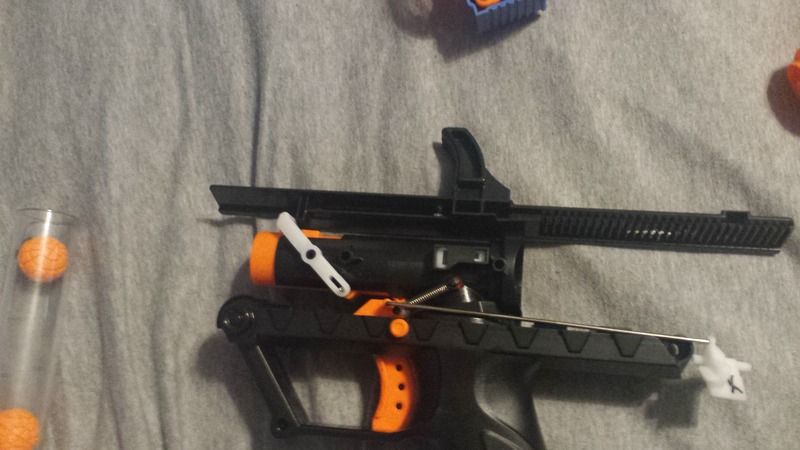
here you see the barrel, handle/magazine well, and priming handle at "resting" state. the barrel is stepped much like other nerf barrels, where there is a tight usable section and then a lose section at the end. when the priming handle is pulled backwards the orange barrel moves forward, letting a ball come up behind the barrel from the magazine. this is shown in the next couple pictures

Posted Image

barrel forward

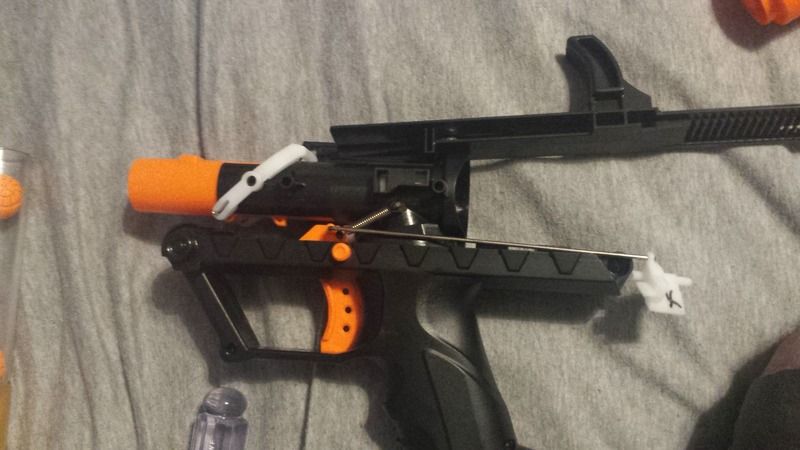
Posted Image

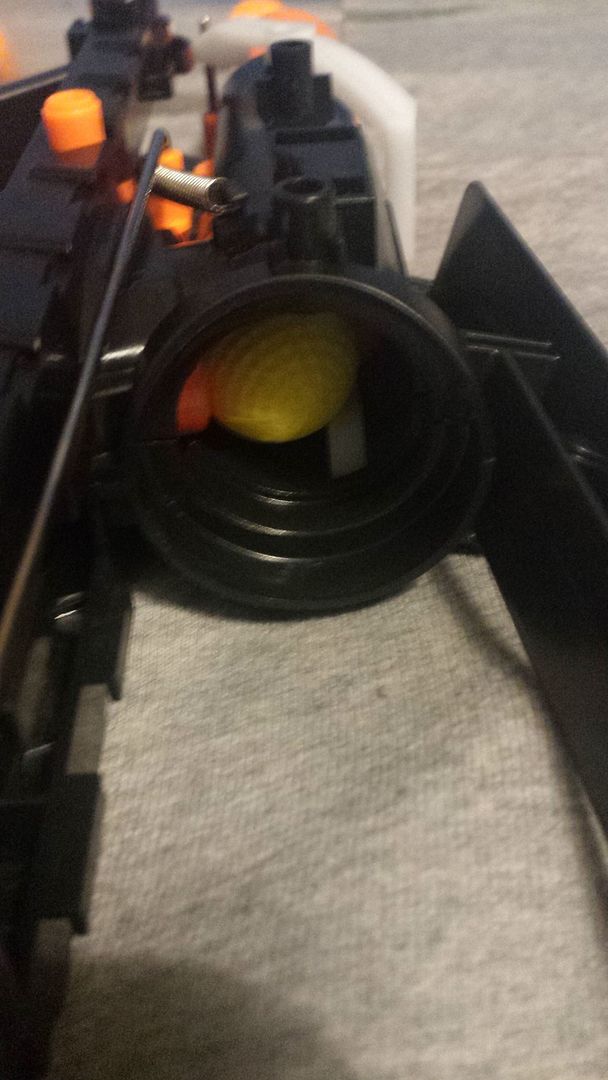
ball in place behind barrel

when the priming handle is pushed forward the barrel is pushed over the ball, sealing it against the plunger tube and then ready to fire.

now for the back half

Posted Image

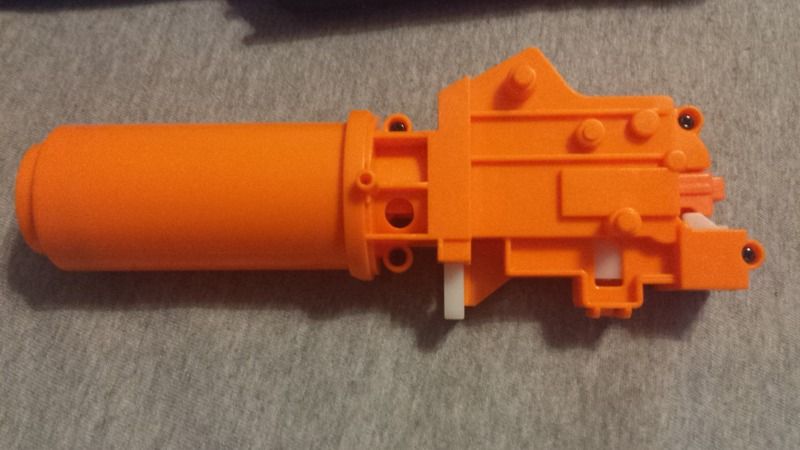
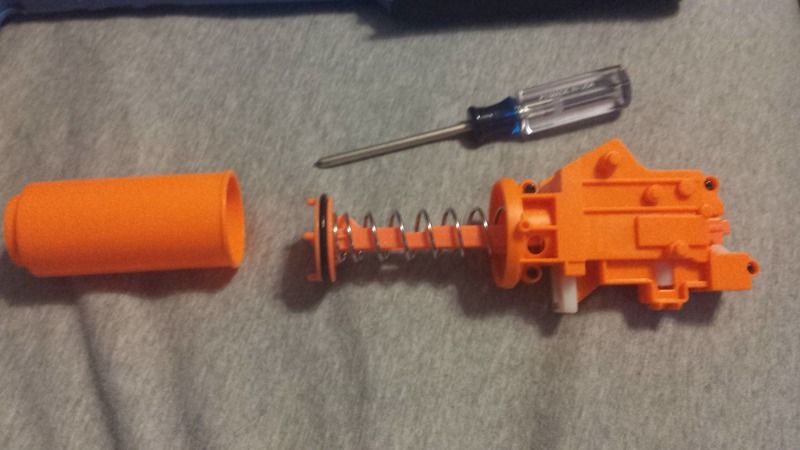
here is the plunger tube and gearbox. the plunger tube is held in place by those two screws near the base of it, otherwise it spins freely. sort of weird? take out those two screws and you should be able to pop the plunger tube off with no issues

Posted Image

inside you'll find a fairly robust spring and a o-ring, standard stuff here. i left it alone.

Posted Image

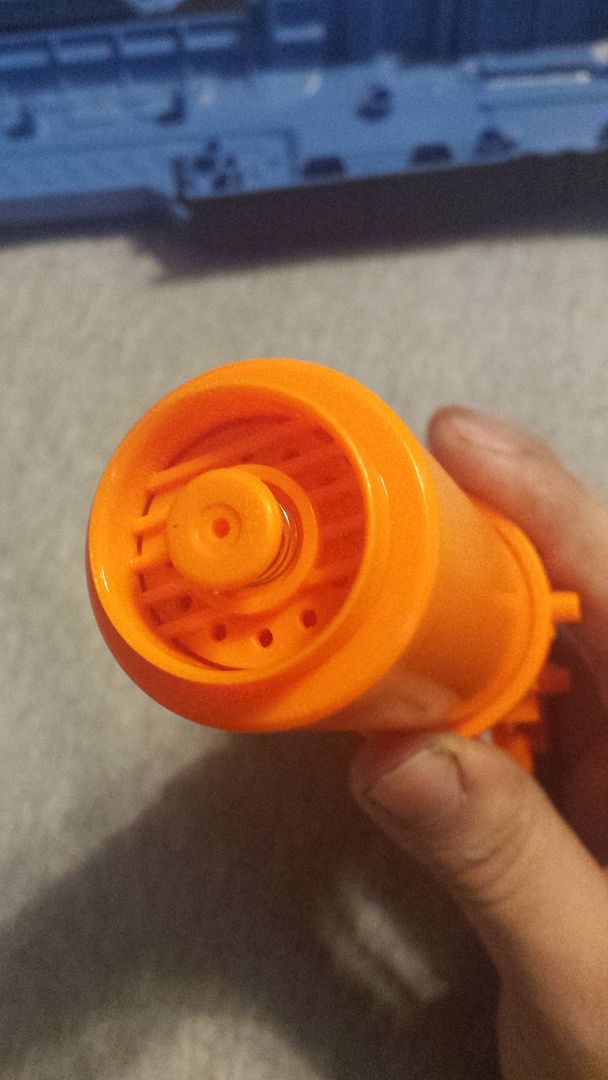
the plunger tube however, is a bit surprising. if you dry fired the blaster when you opened it up you probably noticed that this thing slams like a drilled out nitefinder, and thats quite a change from other modern blasters ive handled that slowly made their way through the stroke and now we can see why. the air restrictor is pretty much just a suggestion, there are holes all over it and is more free breathing than some modded blasters. since this is so free breathing i also left it alone, but if you wanted to pull it out i would just snip the little nub off and slide out the disc. do NOT make it an open hole or you're just going to push a ball into the plunger tube and be sad. to put it back together just pop it in then put in the screws, easy.

Posted Image

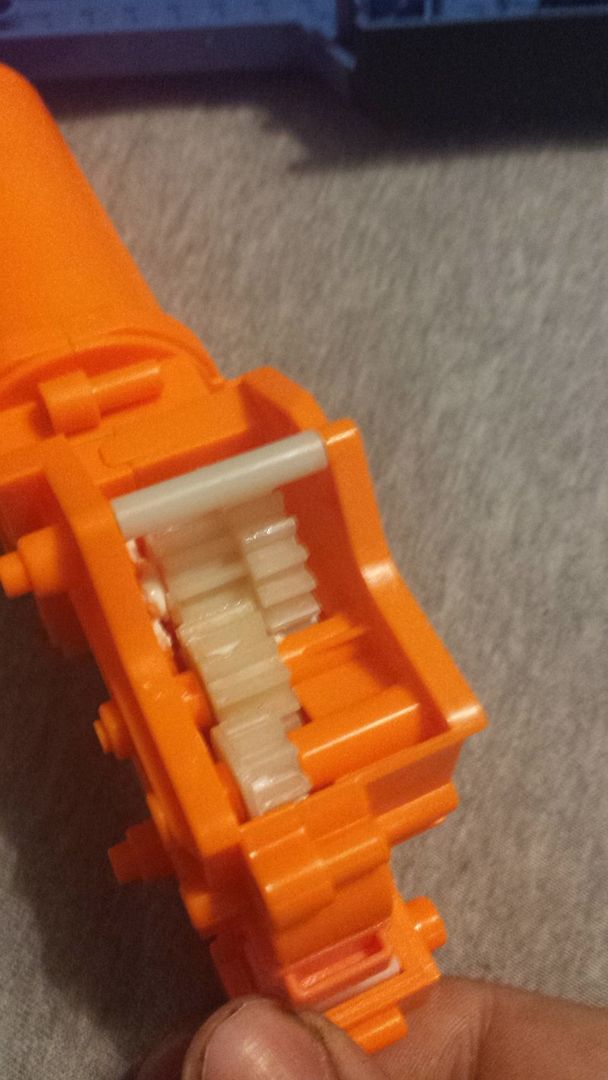
the gearbox seems to be of similar materials as other nerf blasters. i didnt open it since i have no interest in replacing springs or anything, due to the gearbox and the risk of snapping gears.

and thats it, its all pretty straightforward if not a little fiddly in places. i may design a stock for it so its a little more comfortable to put against my shoulder, and im definitely going to buy more ammo. this thing is a blast.

Fixing A Leaky Bushing On The +bow

18 April 2010 - 03:24 PM

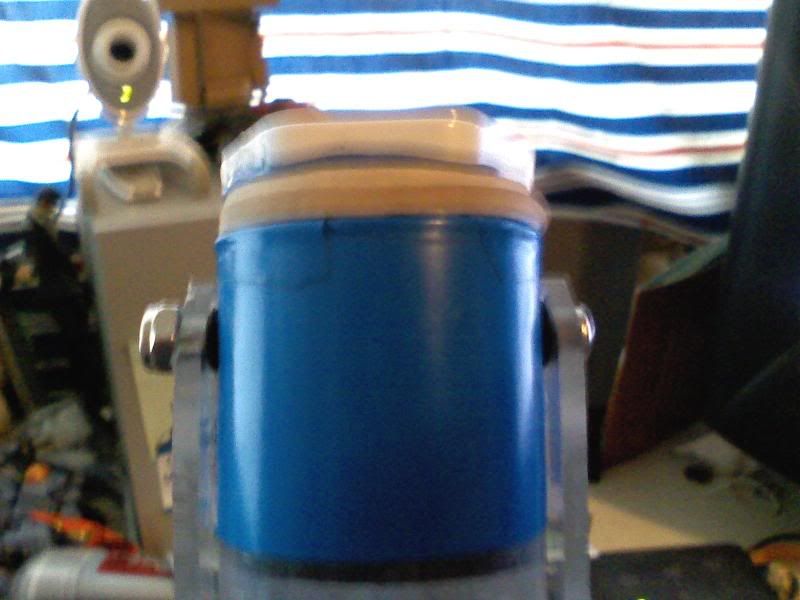
As you all know, the bushing on the +bow leaks around the screw. The most common ways of fixing this were to put goop or something of he sort over the holes, but thats messy. I wanted to find something that was easily removable but sealed well; which is why I turned towards o-rings. The-o rings I used were just small enough to fit around the screw. I'm sorry I don't have any exact measurements, they came from a pack of assorted ones. I apologize for the pictures in advance, I don't have access to a proper camera at the moment.

Posted Image

As you can see, the OD is about 6mm and the ID is about 3mm. Again, sorry for no exact measurements.

Posted Image

Put the o-rings between the PT and the brackets as shown, tighten it up, and blow down the bushing to test. If you did it right, the only leak should be from around the plunger head.

I'll happily answer any questions or comments you have in this thread.

The Bs Recon

11 February 2010 - 12:43 AM

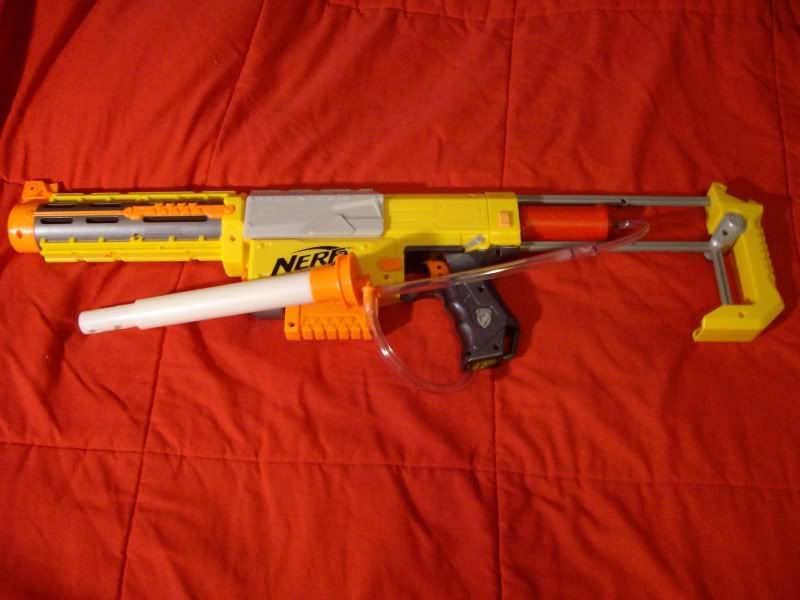
Today we will be making this:
Posted Image

Its a recon powered by a BS tank, that utilizes the stock breech setup and clips. This entire writeup is written after the fact, so if anything is unclear feel free to ask and I'll be glad to help.

You will need:
A recon
A pump
A BS tank
A hornet blast button (they are smaller than any others)
and some replacement tubing

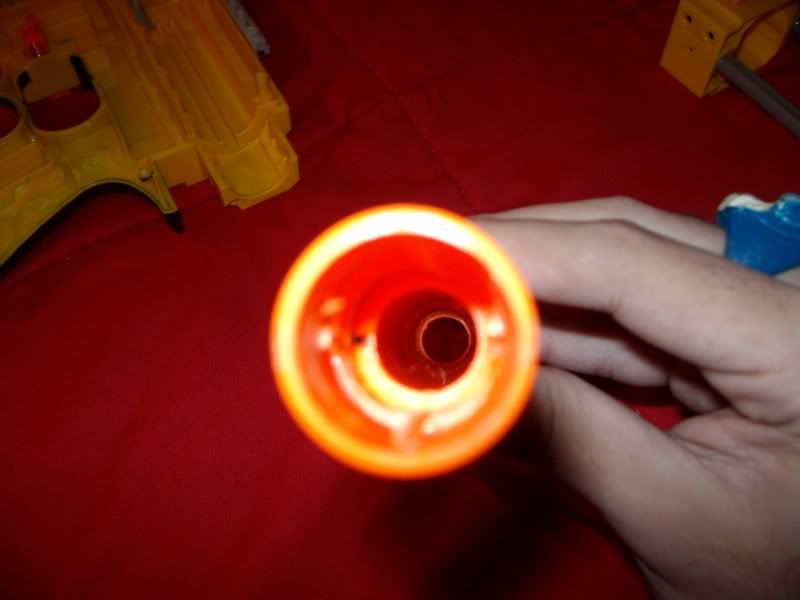
First things first, rip out all the useless stuff, including the spring and catch. Then take a screwdriver to the back of the plunger tube and pop that cap off. Then dremel/drill out the crap thats in there , but be sure to leave a bit of a lip at the bottom so the plunger head doesn't go too far. Pretty much, make it look like this:
Posted Image

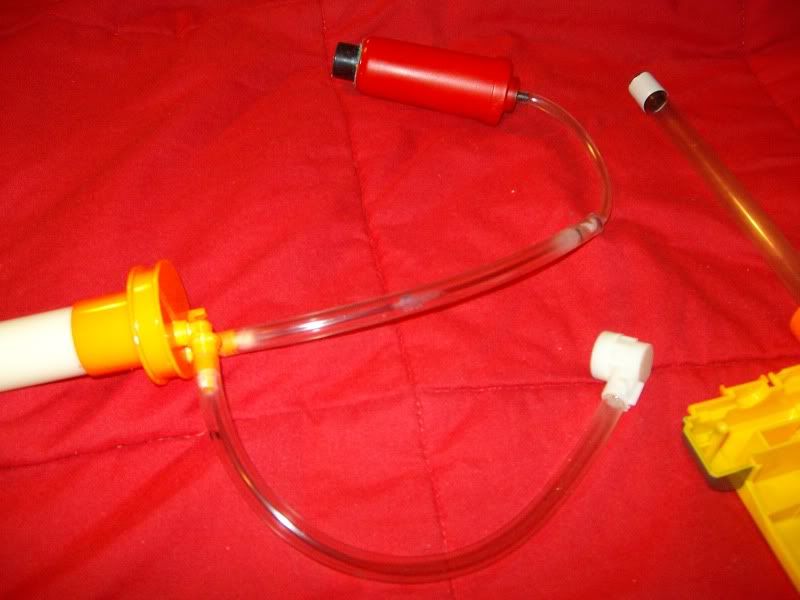
After that, get your BS tank and cut off the barrel while leaving about a half inch stub. The stub should fit quite well in the back of the gutted plunger tube. Then go about setting up your trigger and pump, mine looked like this:
Posted Image

Make sure to leave enough tubing for the BS tank to slide backwards with the plunger tube its going to be mounted in.

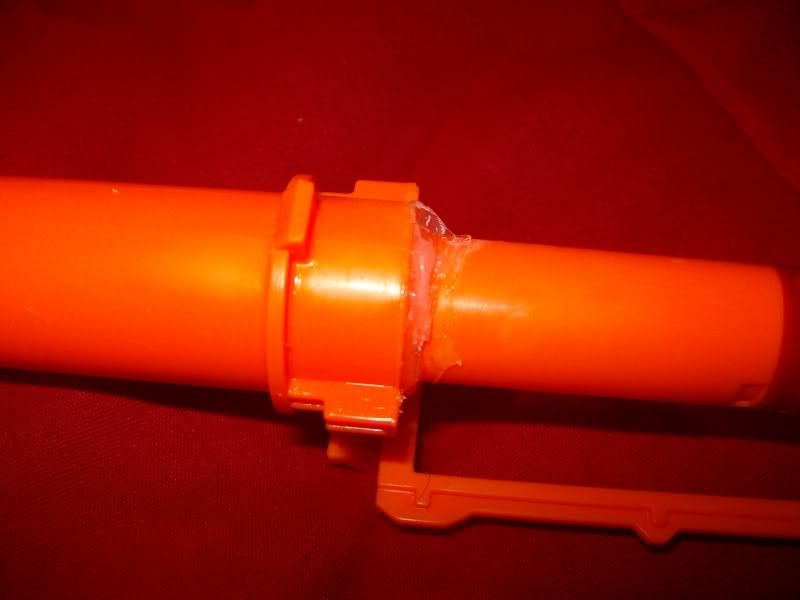
Now, for the inside. First take out the air restrictor and all that. Then make sure your plunger tube and breech are all closed, and glue the plunger tube to the other part of the plunger, like this:
Posted Image

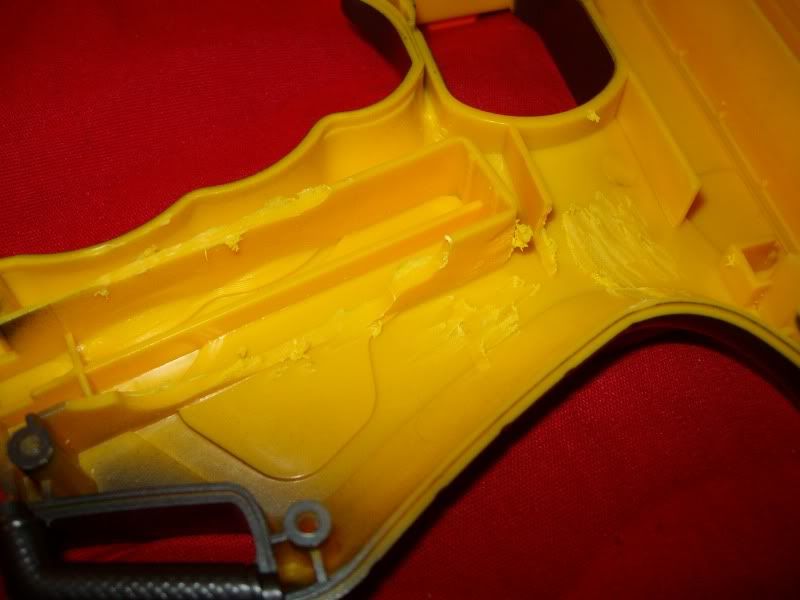
After this, you're going to need to make some modifications to the inside of the shell and trigger. Sand both sides of the shell until they look like this:
Posted Image

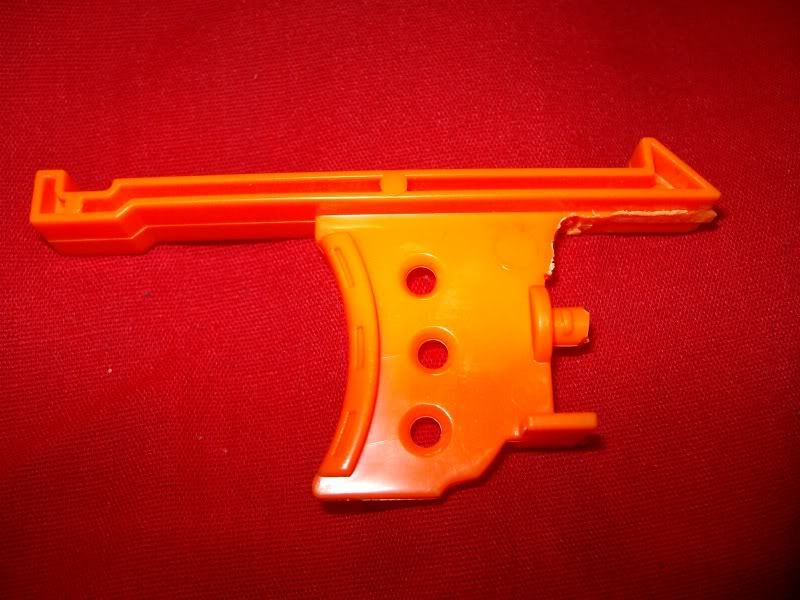
And sand down your trigger till it looks like this. Also, cut down the little spring nub too, because thats whats going to be pushing the trigger.
Posted Image

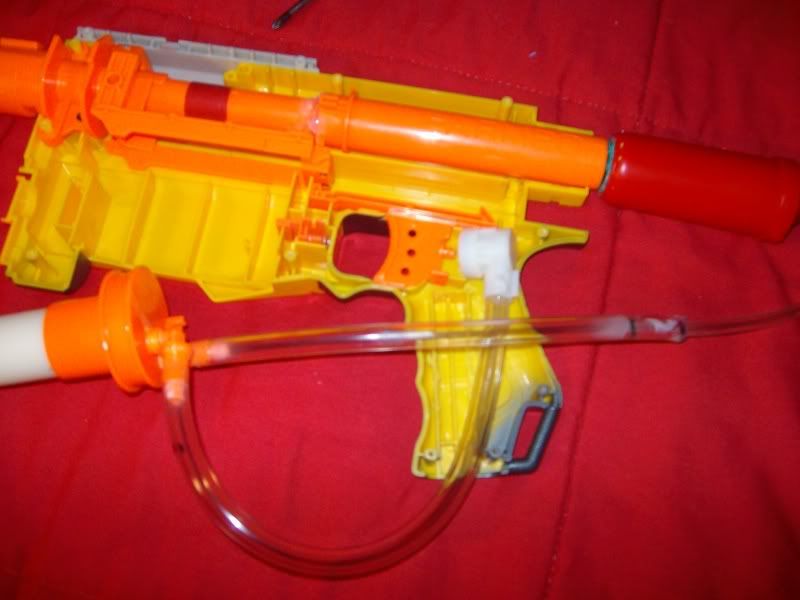
In the end, all of your internals should fit together like this:
Posted Image

Now close it up, and give it a test! I would recommend putting the stock on and then gluing the BS tank in, just to help protect the tank a bit. Feel free to modify the breech in any way you'd like. I did something a bit like Mehku's telescoping barrel thread, but I took the dart tooth all the way out so it sealed right into the PETG. I have the barrel extension on to cover the bare PETG.

One more thing: Yes, I know this was done before with a 4B or a blast bazooka or something, but I wanted something that was a little more compact, had an internal trigger, and looked better.

Cvno - Central Valley Nerf Off

16 January 2010 - 01:47 AM

It's time to complete the California trilogy, introducing Mid Cal's first major war. Hosted in none other than Fresno, the most central of the central valley.

Edited due to me forgetting to proofread. I want to go for the twentieth, but the thirteenth works too.
it's in February, i am completely stupid. carry on.

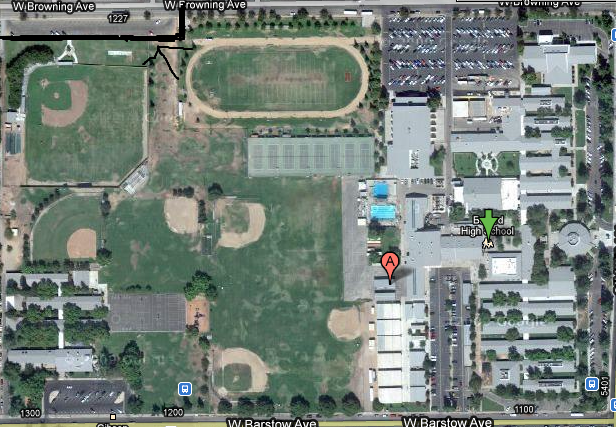
The location: We've got a bit of a combo going on. There is a high school and a elementary school attached by a large field, we can switch between them as we see fit. There is also a new park that opens tomorrow, and it'd be super fun to nerf in. But due to the newness, it might be a little crowded. We'll see.

The high school/elementary school:

5445 North Palm Avenue, Fresno, CA‎

That other bit on the lower left is the elementary school, on cane you cant tell.

This shitty paint square and arrow shows where you're going to want to park, because that parking lot is open the most of the time.

Posted Image

The time: Will start around 10:00/10:30, depending on how many people are there.

All the normal gun bans apply to this war. If you have a question PM me.

Eye Protection is mandatory, getting shot in the eye sucks.

I know you want to come, so hurry up and tell me.

Attending:

California Pants + at least four