Jump to content


Justin Andrews

Member Since 05 May 2016
Offline Last Active Apr 08 2018 03:57 PM

#360627 Muzzle loading 17th Century Pistol

Posted by Justin Andrews on 17 June 2017 - 04:33 PM

I'm going to pretend you didn't say that. I will now go and cry about my inadequacy in the corner. JK but seriously, how did you do that? Does it seal well?

Very very well.
I was studying how high power air rifles work.
Although most modern air rifles use a sort of expensive silcone seal, back in our grandfathers day they used leather seals.

And it turns out that making leather seals is rather very easy.

You need natural undyed vegtan leather. This is very important as this leather can be molded by using warm, but not boiling, water. Hot tap warm I find work well enough.
The leather should be about 1.5mm to 2mm (sorry about metric measurements, I'm from the UK)

Next you need to make a mold. The sides of the mold should be the same internal diameter of your compression chamber (thats the Air rifle term for the air chamber)
Personally I just create one from a 12-15mm (or 1/2 inch) tall piece of the tube I use for the actual compression chamber.
Next you need the ram for the press, this should be around 3-4mm smaller in diameter than the ID of the compression chamber.

(don't worry I'll link to some sites about how to make these at the end of this post)

With the pieces of the mould made, you'll need a clamp, I find big woodworking hold down clamps work a treat.
Cut a piece of leather thats big enough to fit over the mold. Wet your piece of leather in the warm water until it more or less stops bubbling.
Place it rough side out, over the ring of the mold, and place the ram on top, transfer this to the clamp, and force the ram right into the mould.
Take a nice sharp knife, and trim the excess off.
Next leave it to dry for about a day. (I find overnight works)

Take it out the clamp, soak it in a couple of drops of oil (leather likes to be oiled in order to be supple, and you can get good oils for this) , and presto a cup seal that is pretty match for a rubber seal, but more interestingly is self lubricating.


This video most closely resembles how I make mine, except I don't use the screw method, and use woodworking clamps instead.

(some of these sites recommend using a socket as the ram, not tried that myself, as I made mine on my lathe, but I bet it would work)
http://www.pyramydai...er-piston-seal/
http://www.network54...er piston seals


  • 1


#360588 Muzzle loading 17th Century Pistol

Posted by Justin Andrews on 15 June 2017 - 03:47 AM

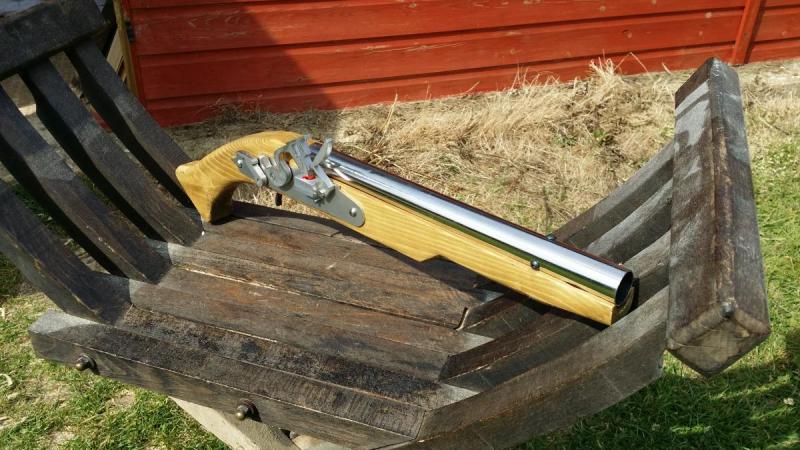
17th Century English Lock Cavalry Pistol (field test prototype).
LARP safe foam firing firelock.

Based on an existing English (or Doglock) pistol, this was a large pistol commonly used by cavalrymen.

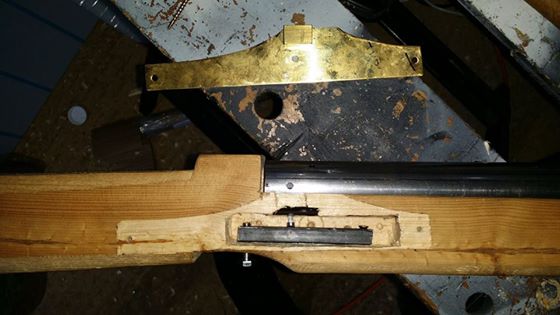
The lock is a fully working copy of a flint lock, with both full and half cock positions, as well as a safety at half cock which makes it hard (though not impossible) to fire the pistol, in addition the external sear is movable and can be used to retain the cock.

Fires the same foam ball ammunition as the Larpquebus® with a range of around 9-10 meters, and well under the 1 joule limit (required in the UK to ensure the blaster does not fall under the legal category of lethally barrelled!)

Otherwise its the same general operation as the Muzzle loading Musket (Larpquebus) I posted here a while ago.


Attached Thumbnails

  • 1.jpg
  • 2.jpg
  • 3.jpg

  • 3


#356856 Arquebus Rainbow Catch.

Posted by Justin Andrews on 24 November 2016 - 08:42 AM

As a thank you for the inspiration of the Rainbow catch, I'd like to share the design for the modified version of the Rainbow catch that I used in my LARP ready Arquebus.

The first picture is of the 3D printed components (SLS printed in nylon) components and the two catches (one for the piston, the other smaller one is a safety catch for the ramrod) which are laser cut.
The catch body is on the far left. (and yes that is an SLS printed piston!)

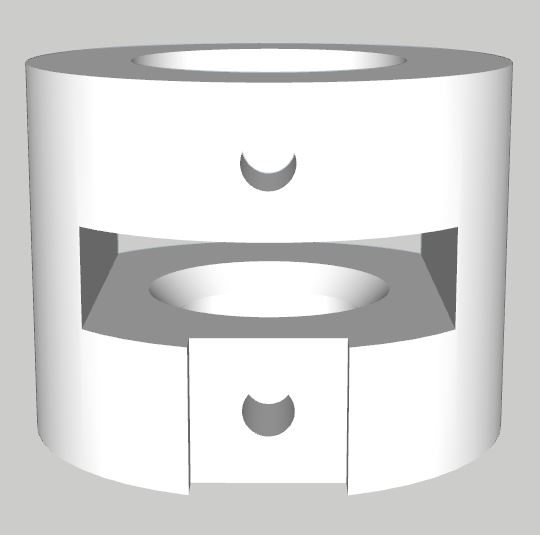
The next picture is a rendering of the catch body itself. The actual catch slides inside the catch body. The catch spring, rather than being on the pin, is hidden inside a hole drilled inside the catch itself. This allows the spring to be contained inside the pseudo barrel of the arquebus, and allows for a slightly smoother operation and less chance of trying to work its way into the barrel through the hole drilled for the pin.
Although its not visible in the photo, the catch itself is machined to have a countersunk chamfer on it. 

The little indentation at the bottom of the catch body, is for a metal lug to be screwed into it, this allows the barrel to be fixed into the stock, and is not that different to the same feature seen on barrel breech plugs seen on actual black powder guns.

Edit:

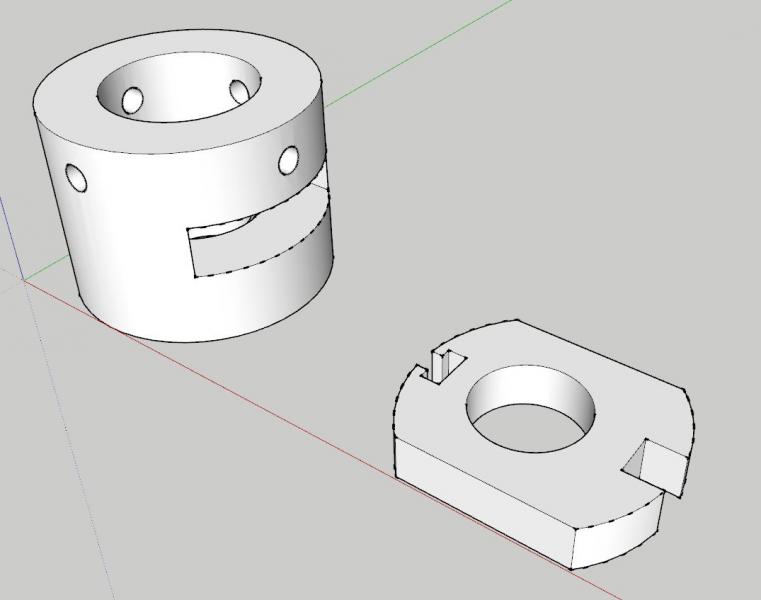
I've added a drawing of how the catch now looks.
The square recess takes the spring (5mm dia spring), while the T section is a nut capture for an M3 Nut, which saves having to drill and tap the catch.

I've also uploaded an STL of this catch, in case anyone want to have a play with it.

Attached Thumbnails

  • 14715048_10154404214730041_7507165298988620252_o.jpg
  • catchB.JPG
  • catchB2.JPG

Attached Files


  • 2


#353254 Musket Homebuild.

Posted by Justin Andrews on 05 May 2016 - 07:05 AM

Hi.
I've been lurking here a while, and first off I'd like to thank the long time posters here, who's posts have helped me design this build. Especially the Rainbow guys for their remarkable catch mechanism.

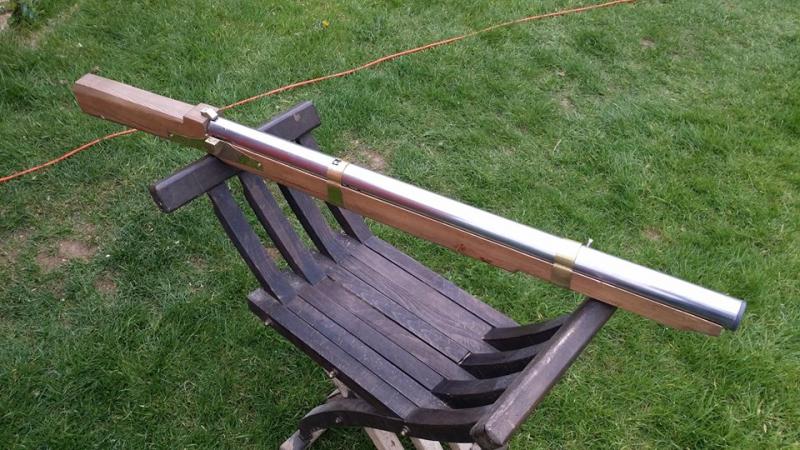
I'd like to share a slightly different design, which is a musket style homemade designed for use in fairly authentic Medieval LARP games, rather than NERF wars and is based around the NERF Rival ammo.

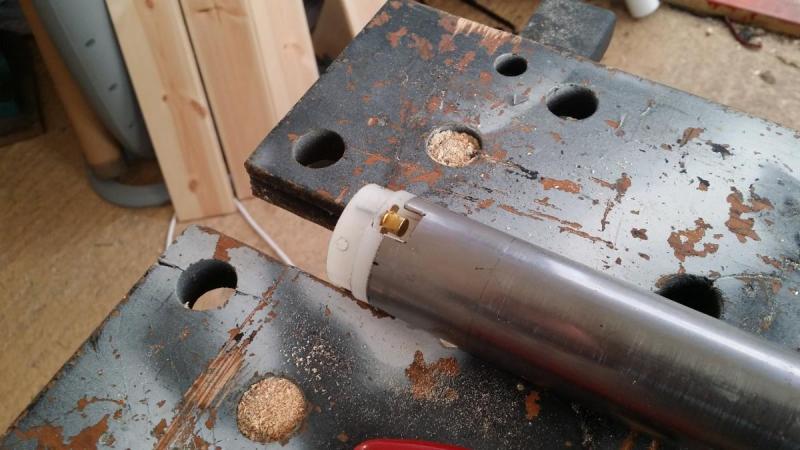
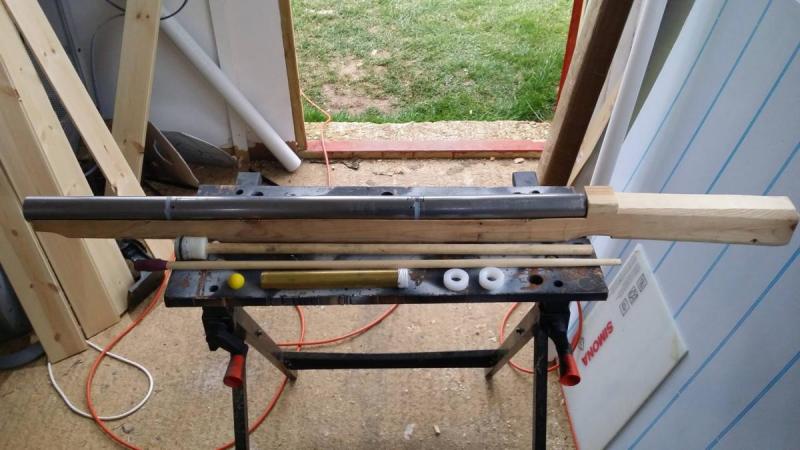
The design is based around the need to use a ramrod, which is passed down the barrel, and then used to push down and prime the piston, which uses a slightly modified rainbow style catch at the rear of the barrel. The round is then dropped down the barrel, and pushed home with the ramrod. Finally a small amount of talcum powder is poured down the barrel, and a toy cap is fitted just behind the air cylinder.

When the gun is fired, the catch in the rod leaves the rainbow catch, and is caught at the end of the piston travel on a ring, this then activates the cap (making the musket go Bang!) the ball is fired along with the talc (making a plume of smoke) 

Its neither quick to load, or very long ranged, but this is what we were aiming for, as we want them to simulate the loading and effective range of a real 15th Century Arquebus/Musket.


Anyway, if people are interested, I can post some pictures of the internals later, and perhaps a video of it working.
13151610_10153970264005041_996548031108662348_n.jpg

13124859_10153970264010041_7585388487021208168_n.jpg

Trigger mechanism
13001328_10153944539475041_872241717873425710_n.jpg

The bit what goes bang, also showing machined barrel connector
12957701_10153911449950041_3454661782550796522_o.jpg

Some of the internals on display
12909469_10153904083730041_1495342821967554247_o.jpg

Thanks 
Justin.  


  • 3