
 Find content
This is mainly a post to outline what NOT to do so people don't make the same mistakes I did
once again I have no idea why anyone would want to do this as the nerf Rapid Fire cs-18 is out and is way more powerful and reliable
So here we go
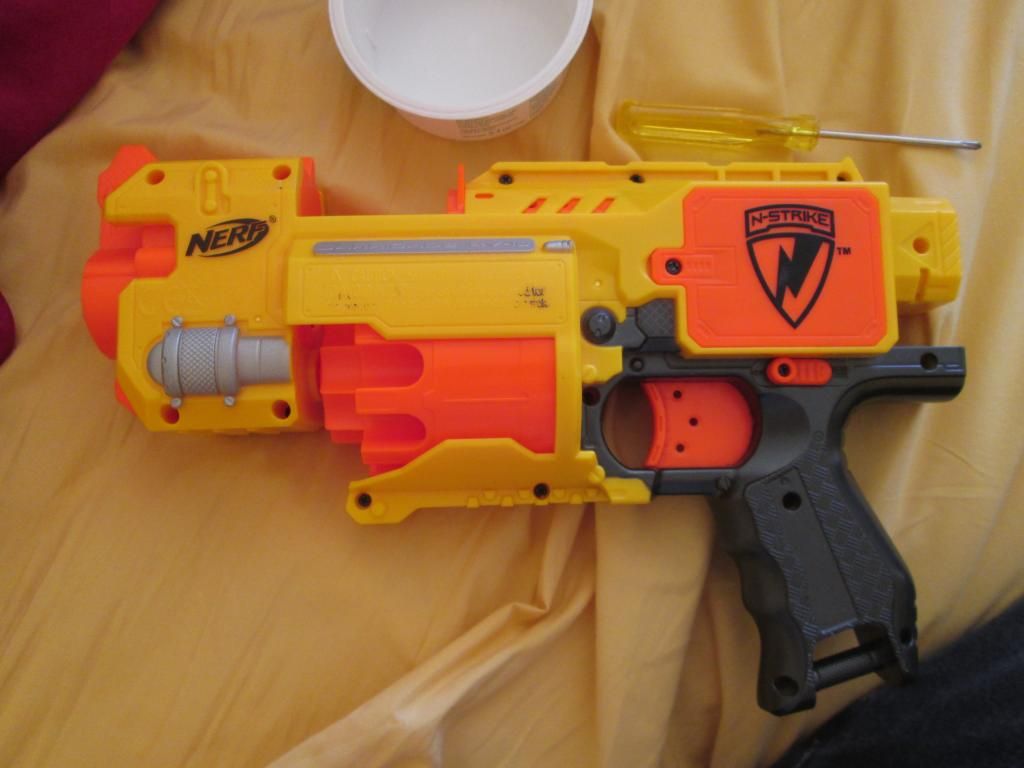
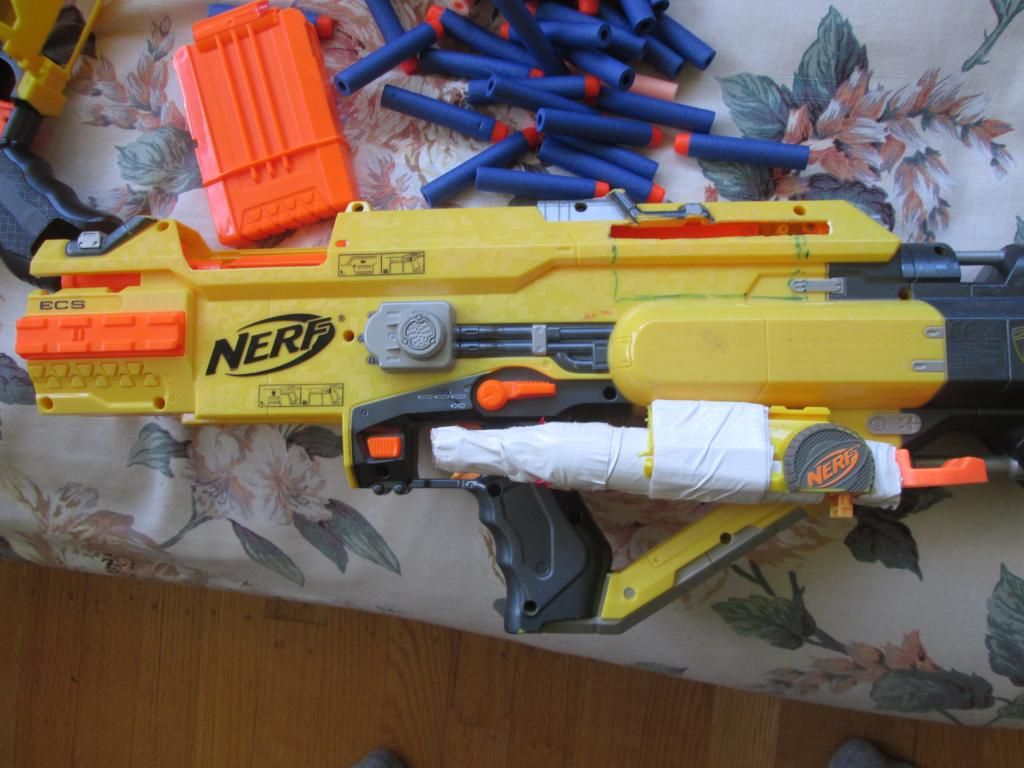
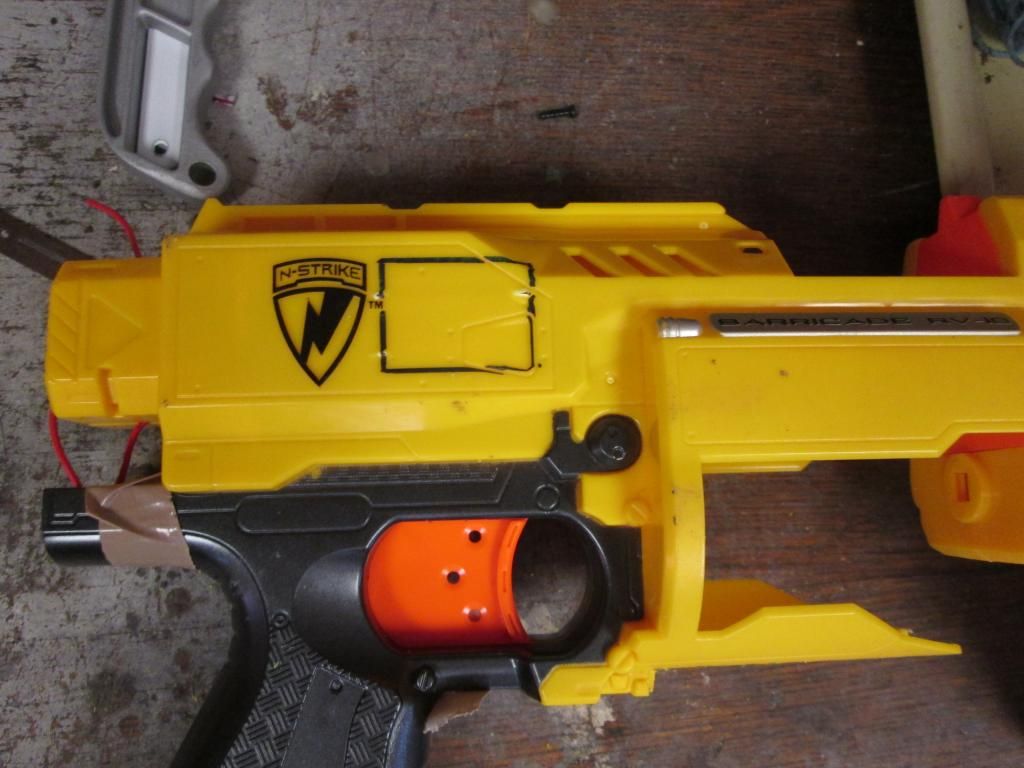
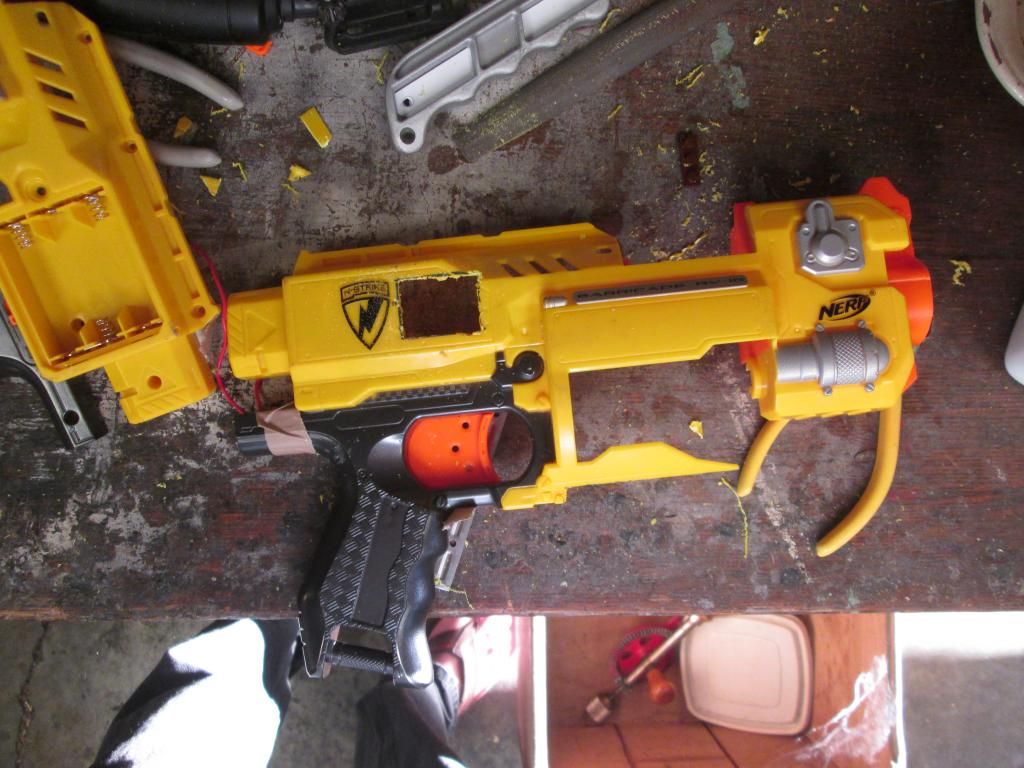
Step 1: find your old barricade. Here is mine. It is stock.
Step 2: Take out the screws
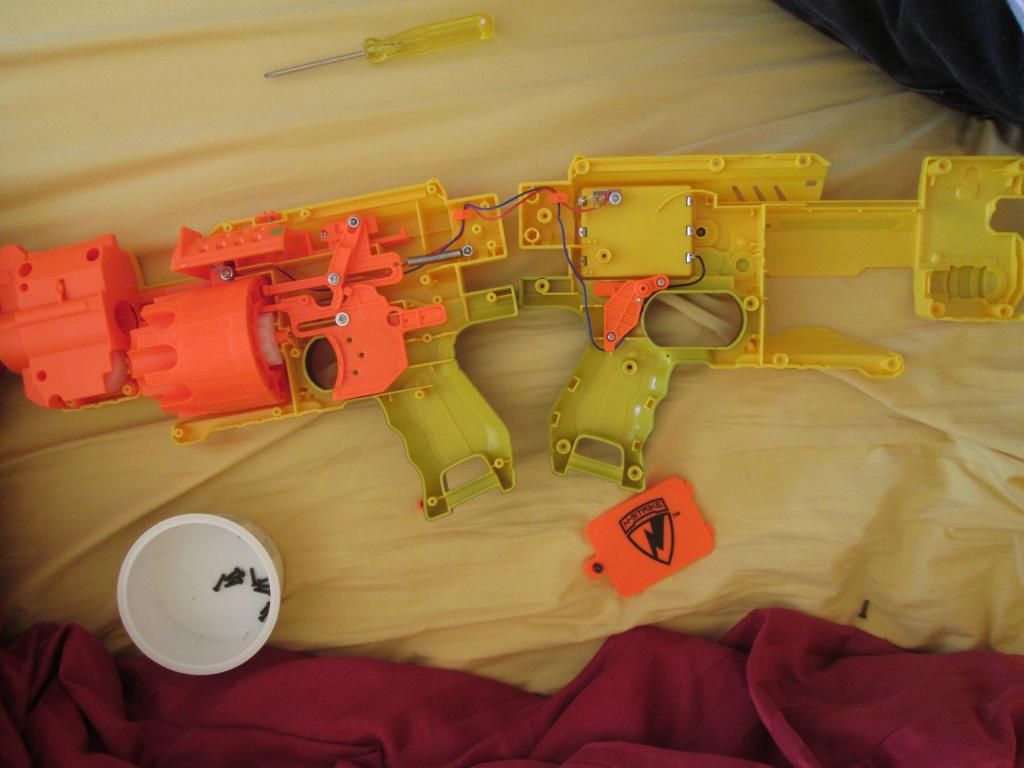
More steps:
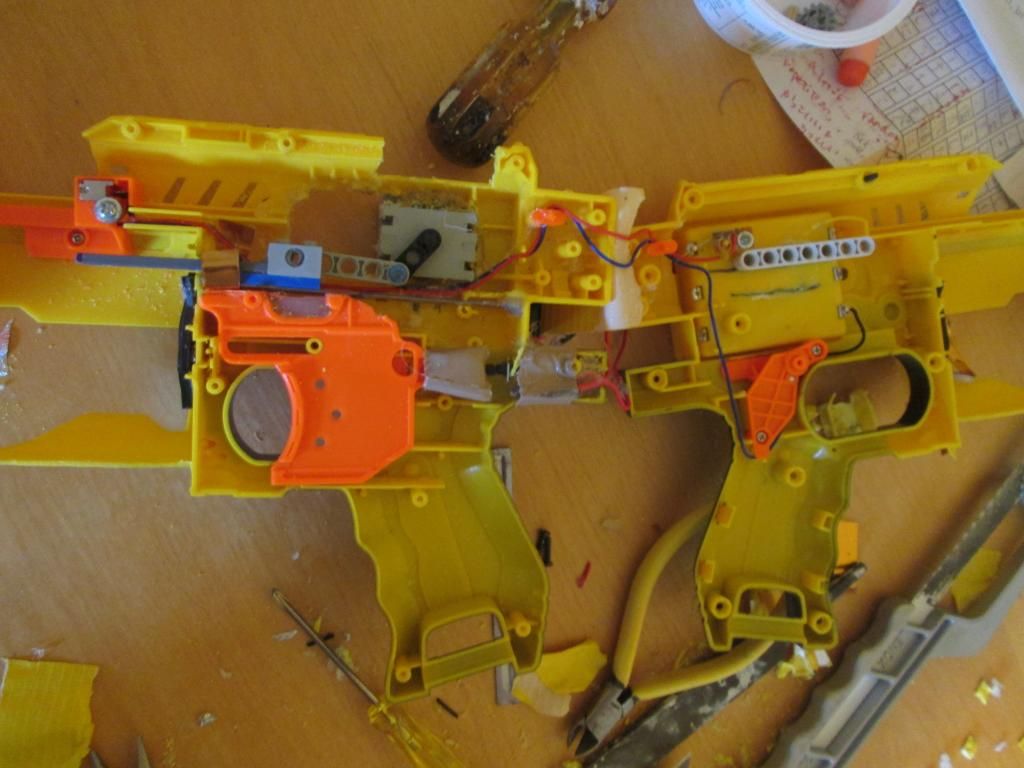
Remove the turret
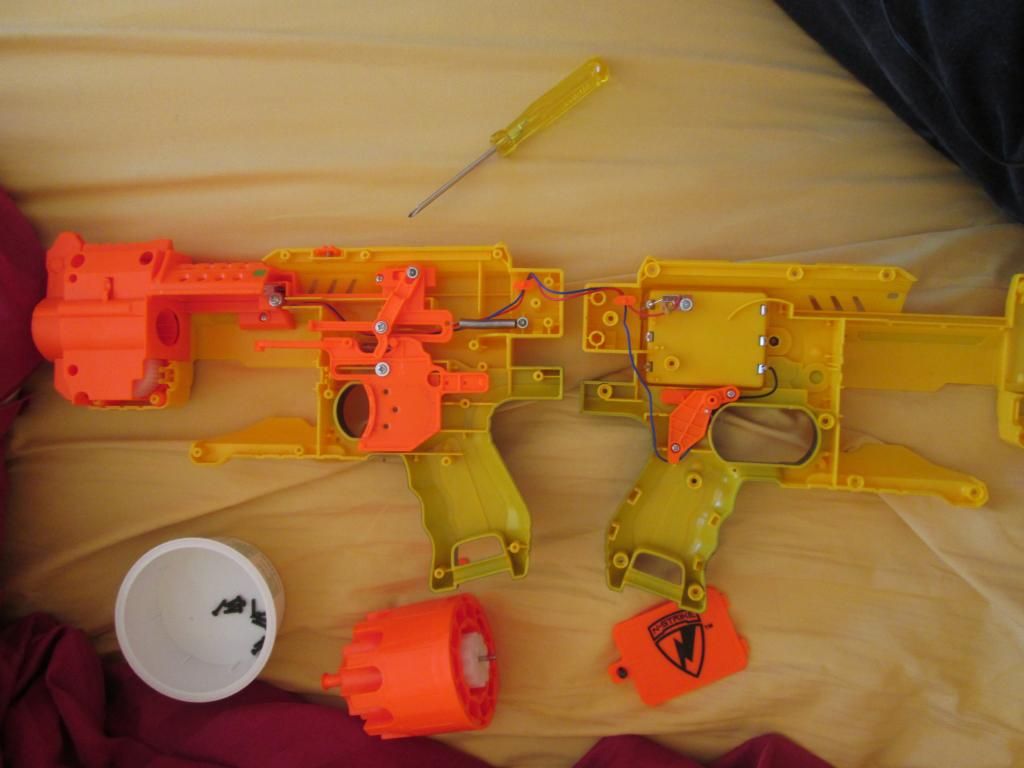
Cut out a well for the magazine (yellow piece in upper left hand corner was cut out)
Cut off the rotator thingy for the turret (turret advancer or something)

Take out the manual dart pusher mechanism (some screws must be removed to do this)
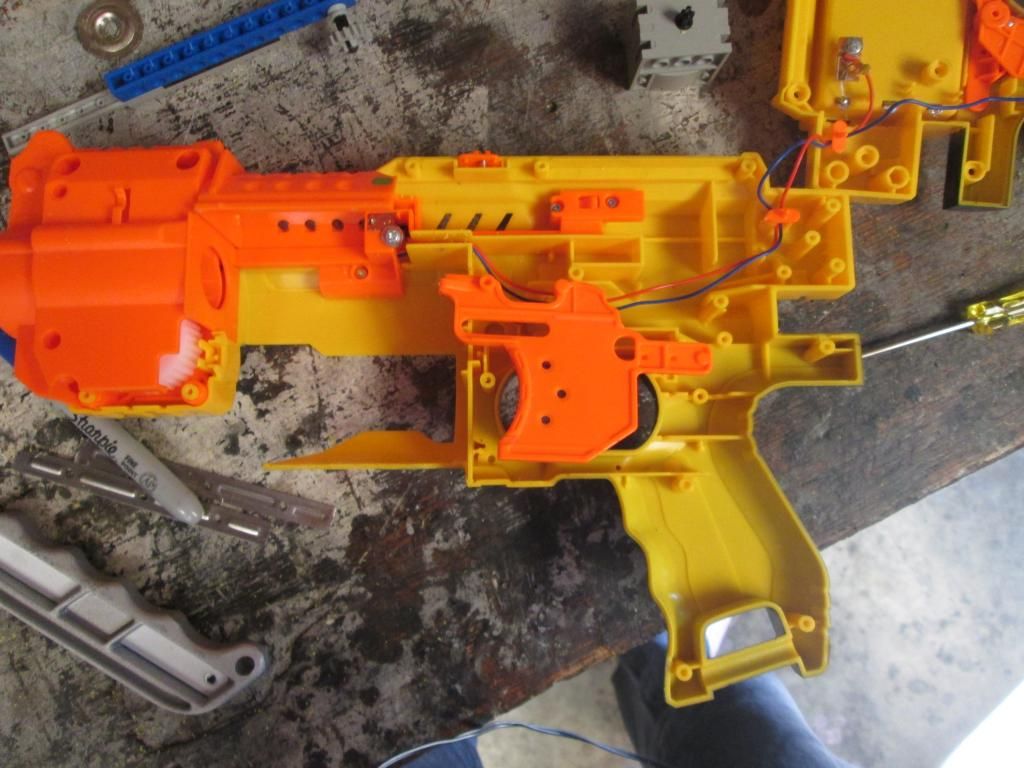
Put a push button switch in behind the trigger, also take out the jam door at this point
(okay this wasn't my FIRST mod, I removed the locks from my stampede, but that's it. And I guess I "minimized" both my nitefinder and stampede)
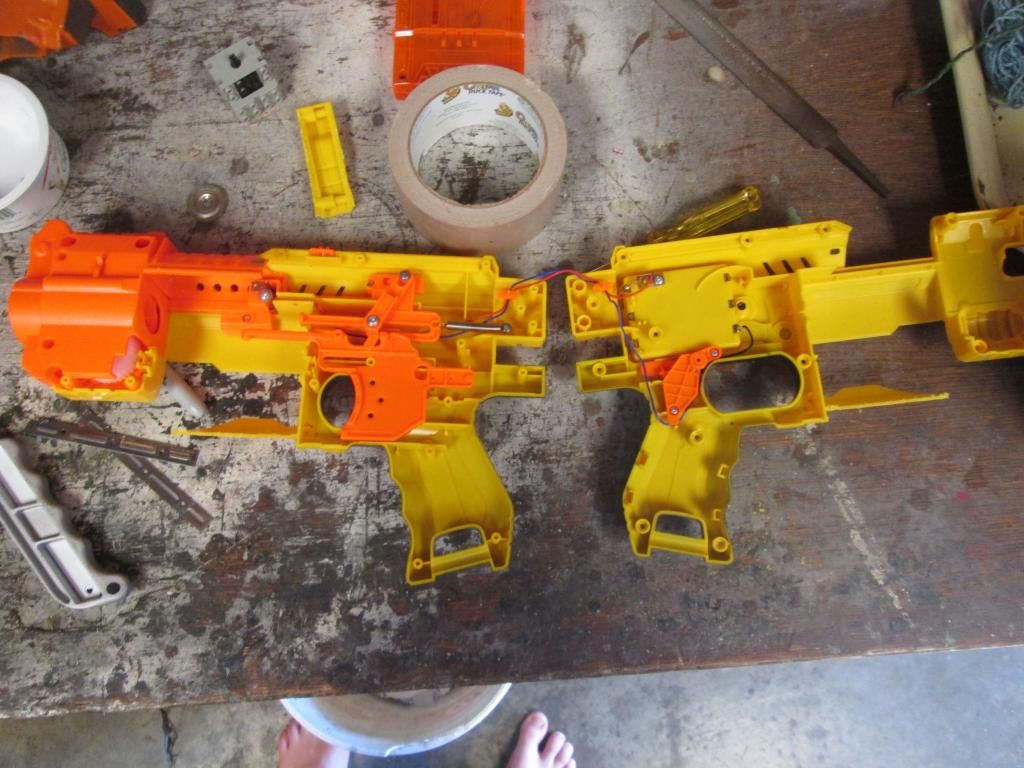
Draw a square where you gonna put your motor
Cut out said square (I used a drill and file and wire cutters)
The next few things ended up not being in the final product so I'll keep them brief
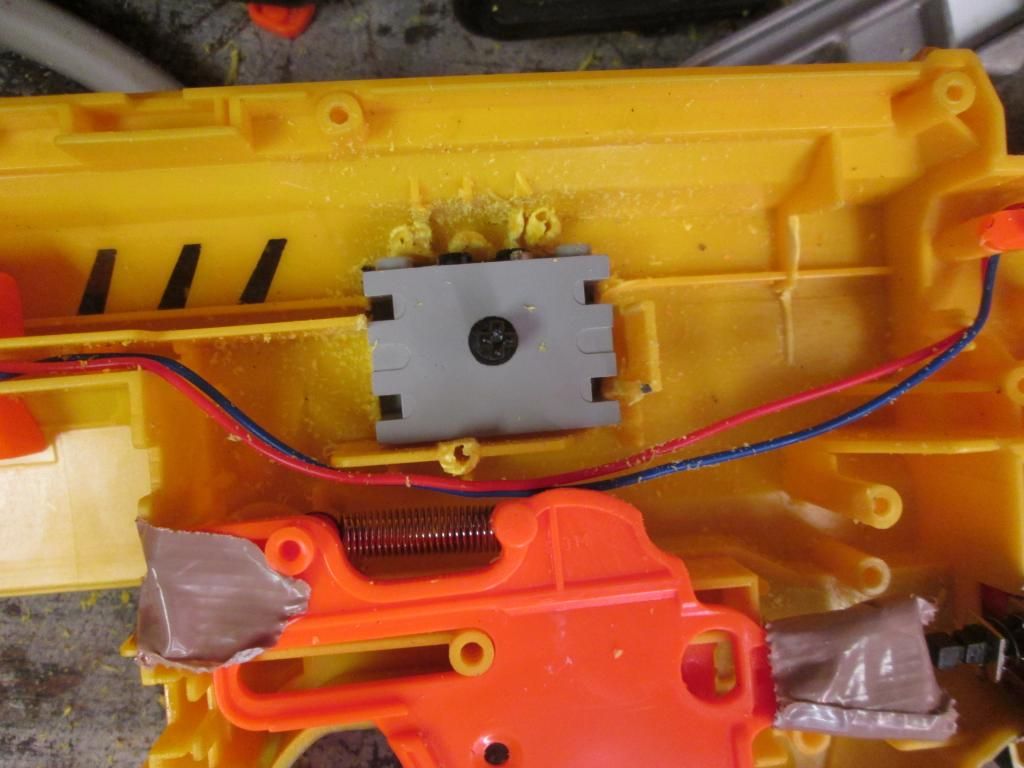
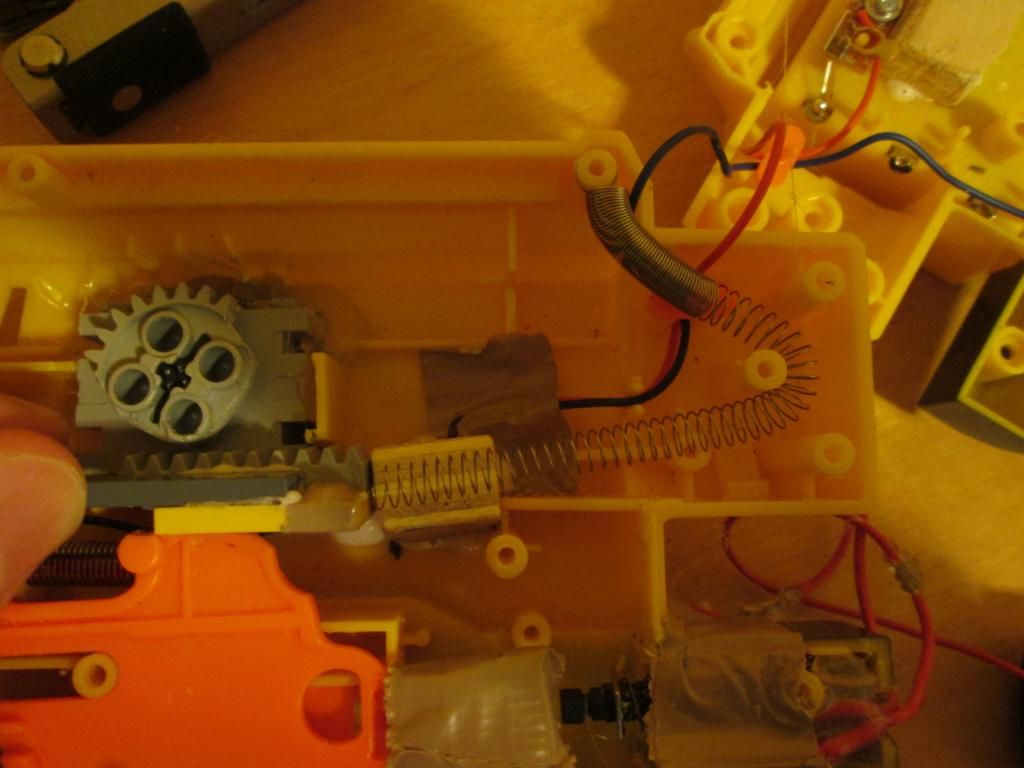
The gear tooth mechanism ended up not working (It can be done but you have to reduce the speed i.e modify the gear ratio
which is difficult with very limited space inside the blaster, and I was tired of dealing with it)
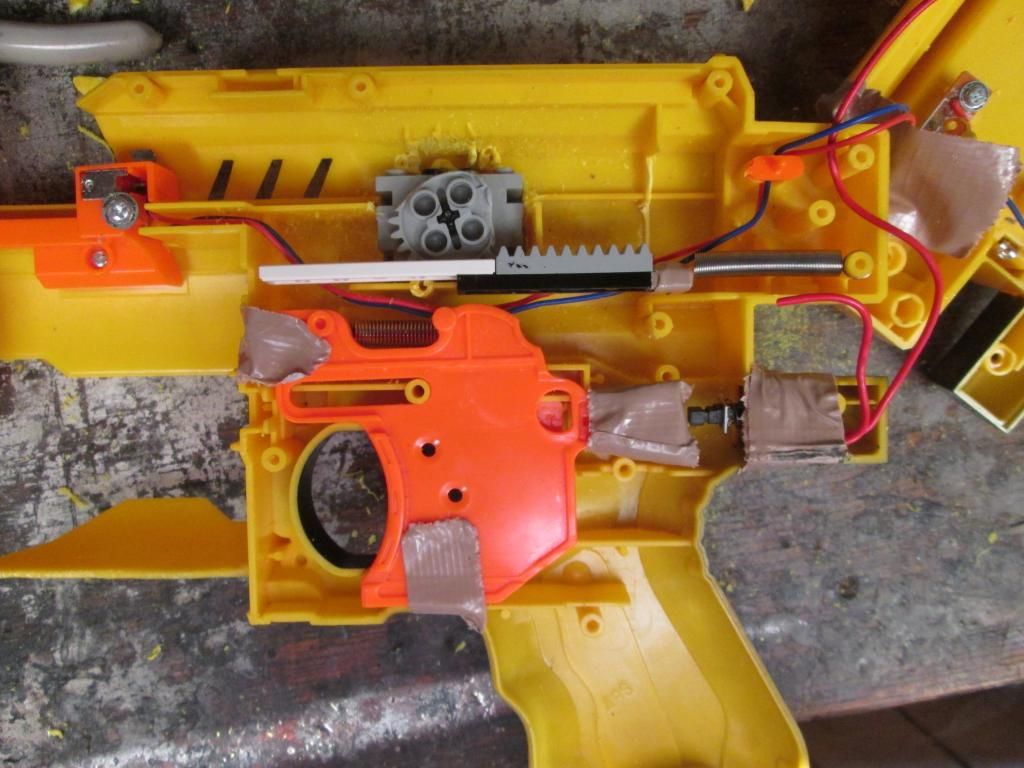
Gear tooth mechanism used original puller back spring
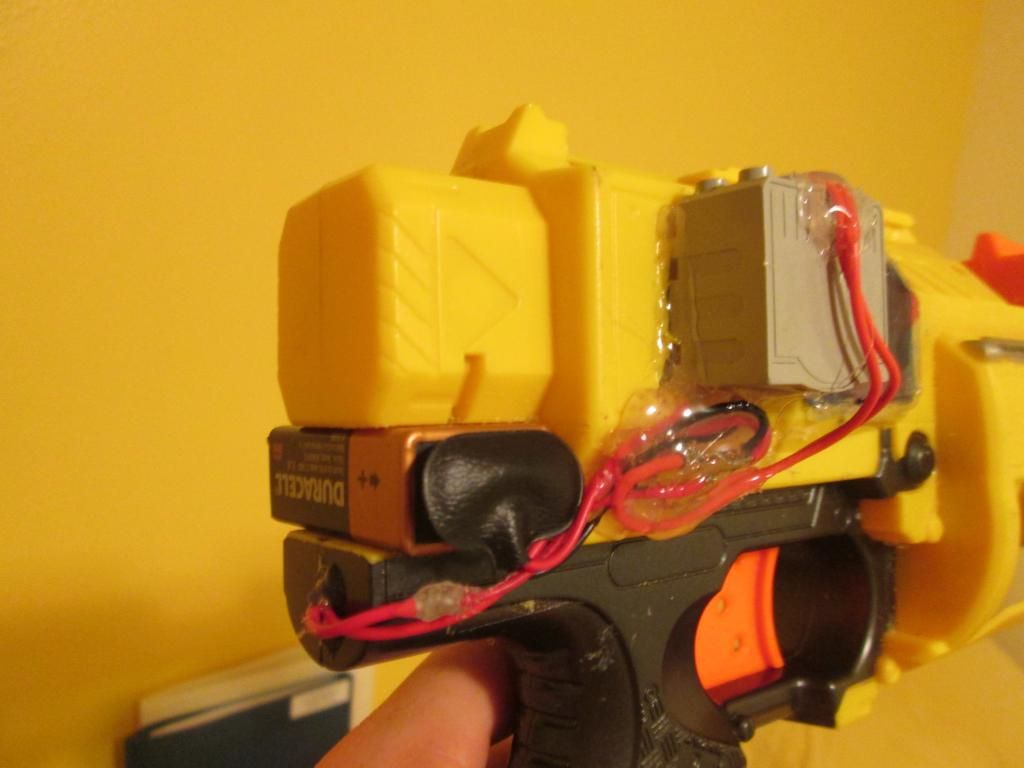
Got everything wired up to a 9v (it's actually a 12v motor)
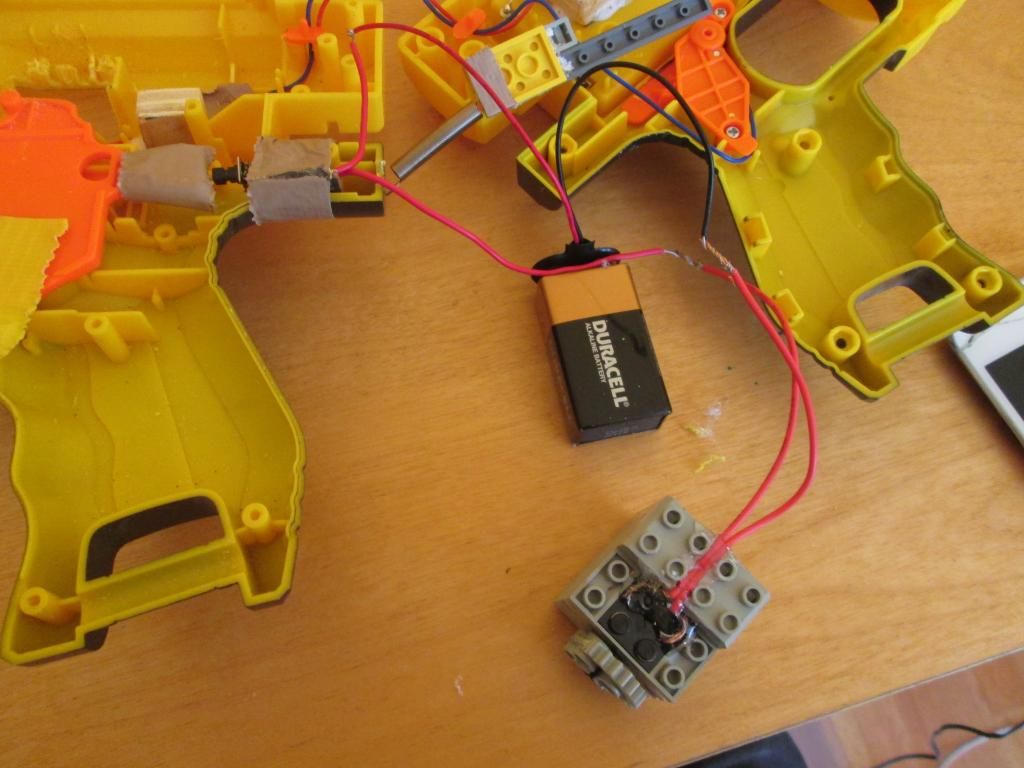
In short, this wasn't very reliable.
Sooooo I took it all apart and moved the motor back to better suit my purpose
(this requires some measuring and stuff to figure out how far the pusher needs to go etc.)
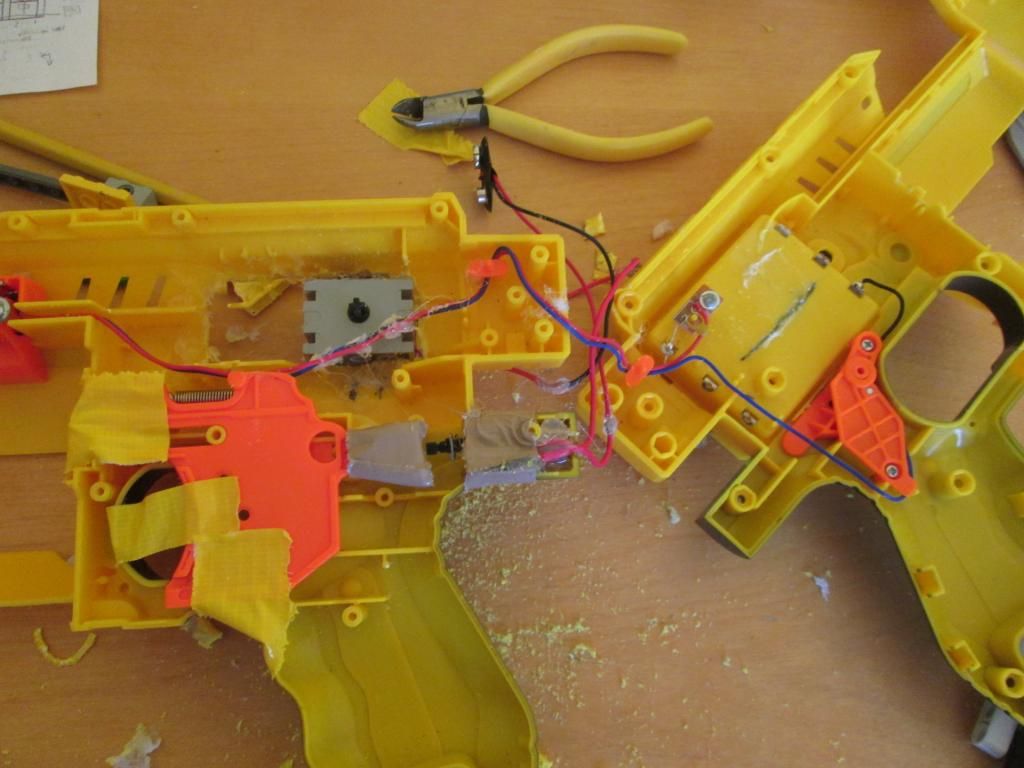
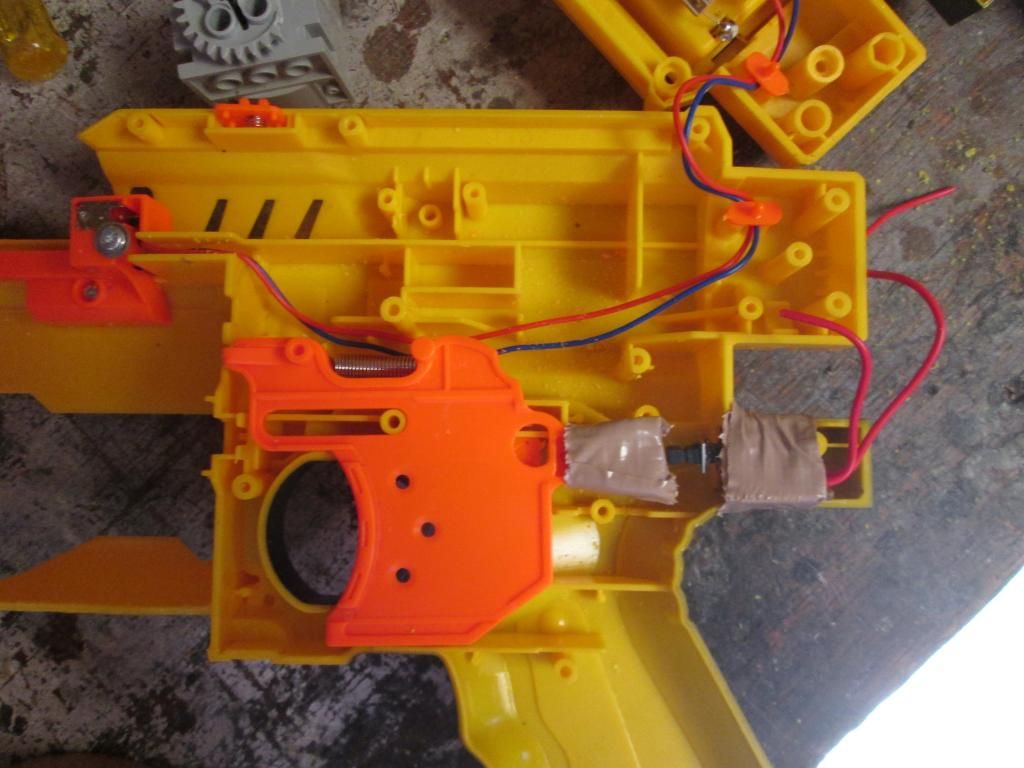
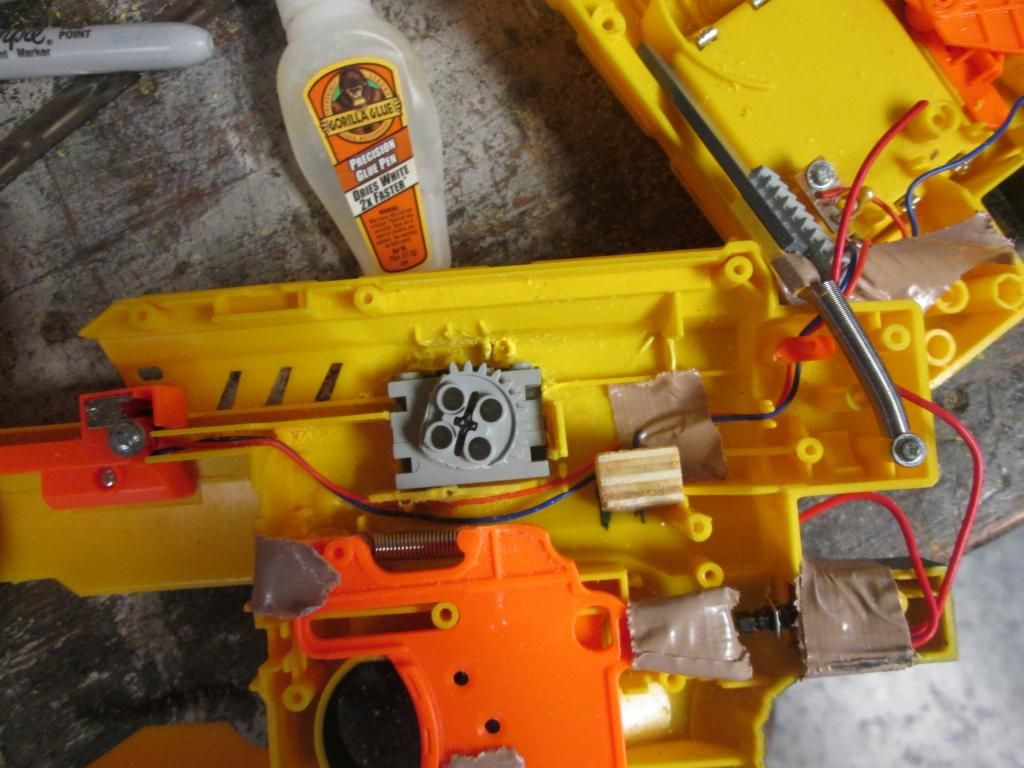
Replaced the mechanism with a more reliable one using some more lego parts (had to cut apart a few studs etc.), a bit of tin, some scrap metal from a binder I took apart, and hot glue.
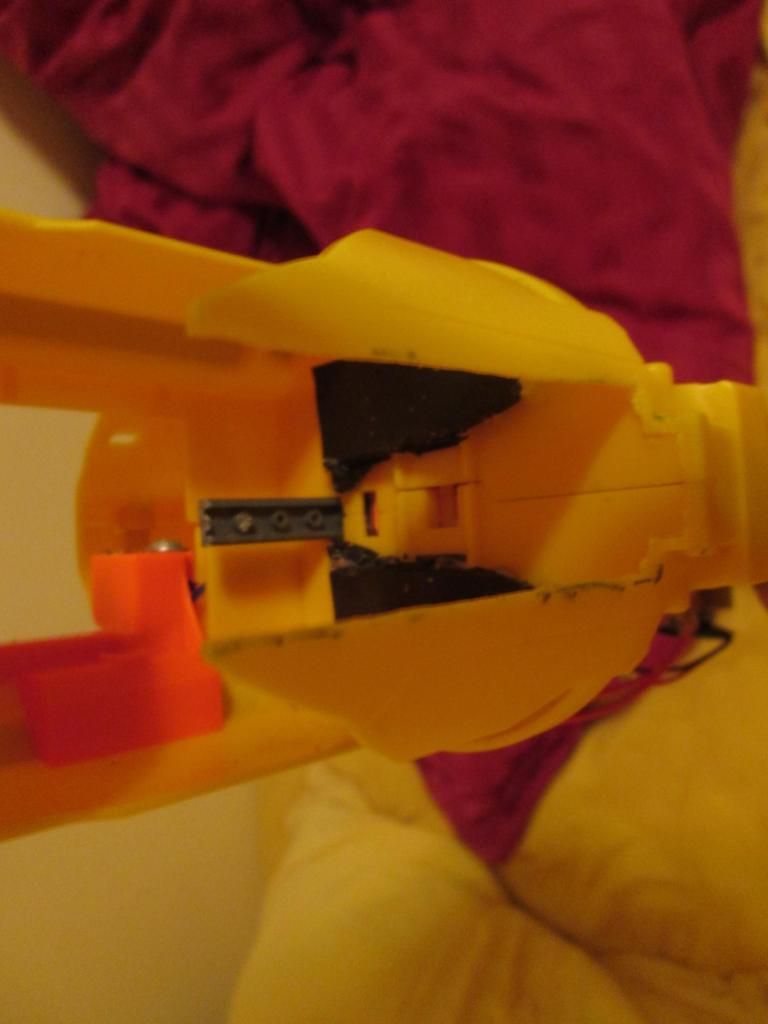
At this point I also cut out an indentation in the top so the parts could make a full rotation
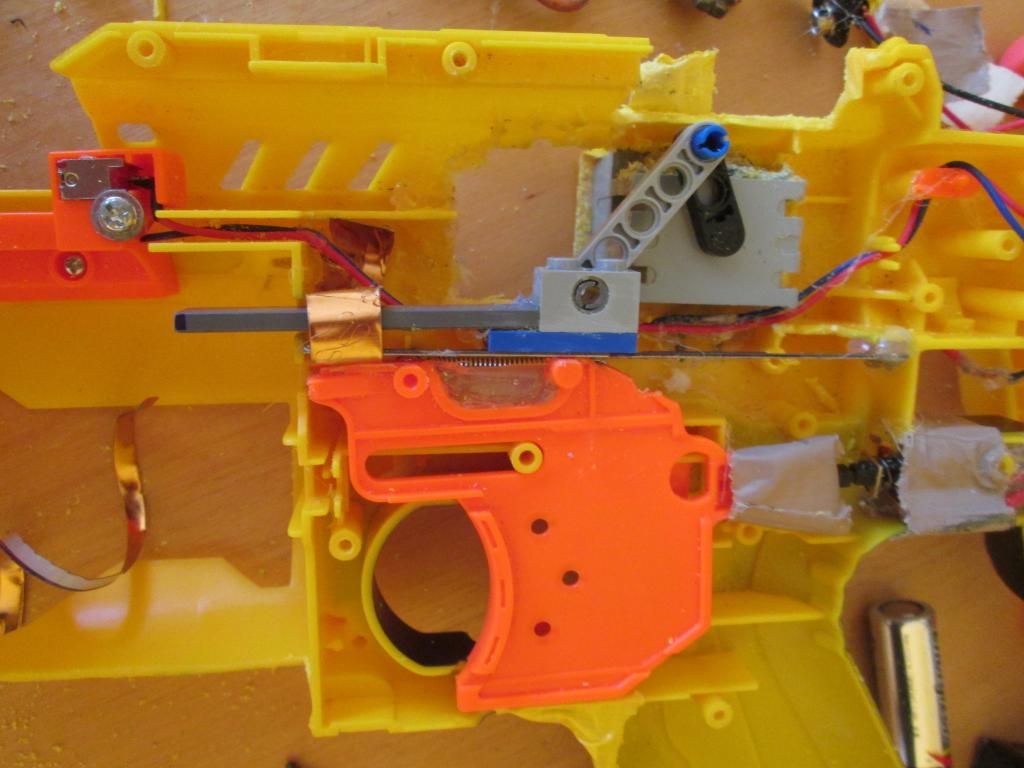
Added a guide for the dart pusher (when put together it will keep it from popping up)
Put it back together, covered the big hole with packaging plastic and hot glue, and filed the stock attachment point inside until I could fit a 9v in there snugly.
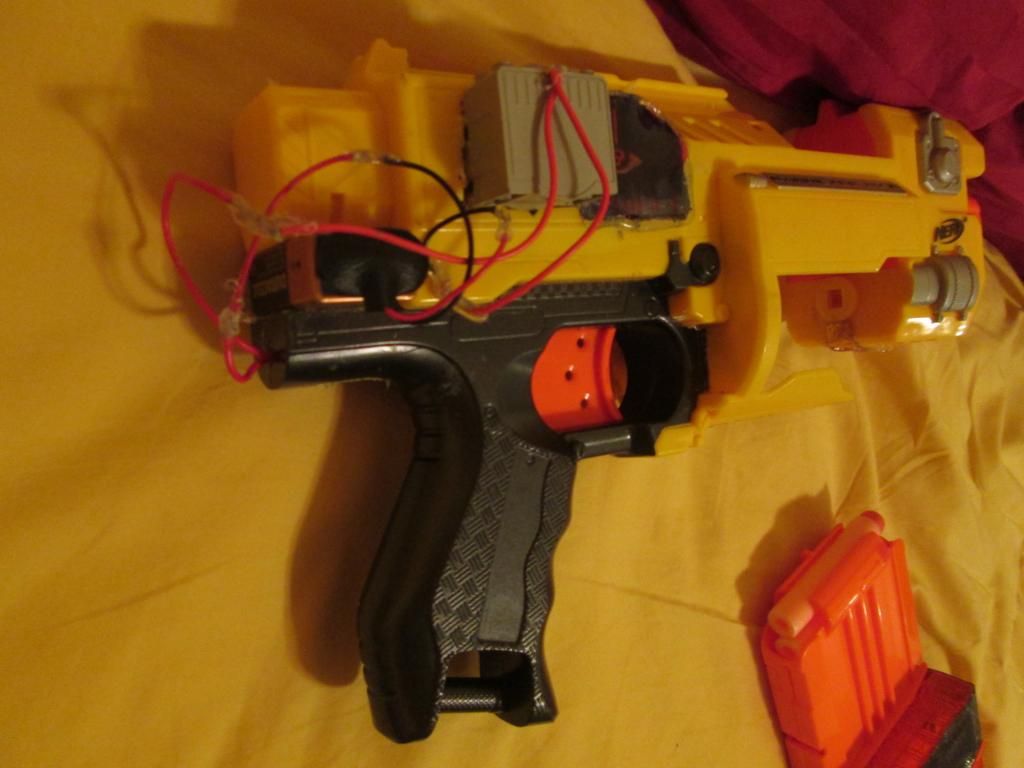
Used some fat electrical tape to make a guide for the magazine.
Finally hot glued the wires in place so no connections would break. The battery can still be removed and replaced. Also make sure to cut a little hole where the wires go into the push button switch, and to make room in your cut for the motor for the wires running in over the top.
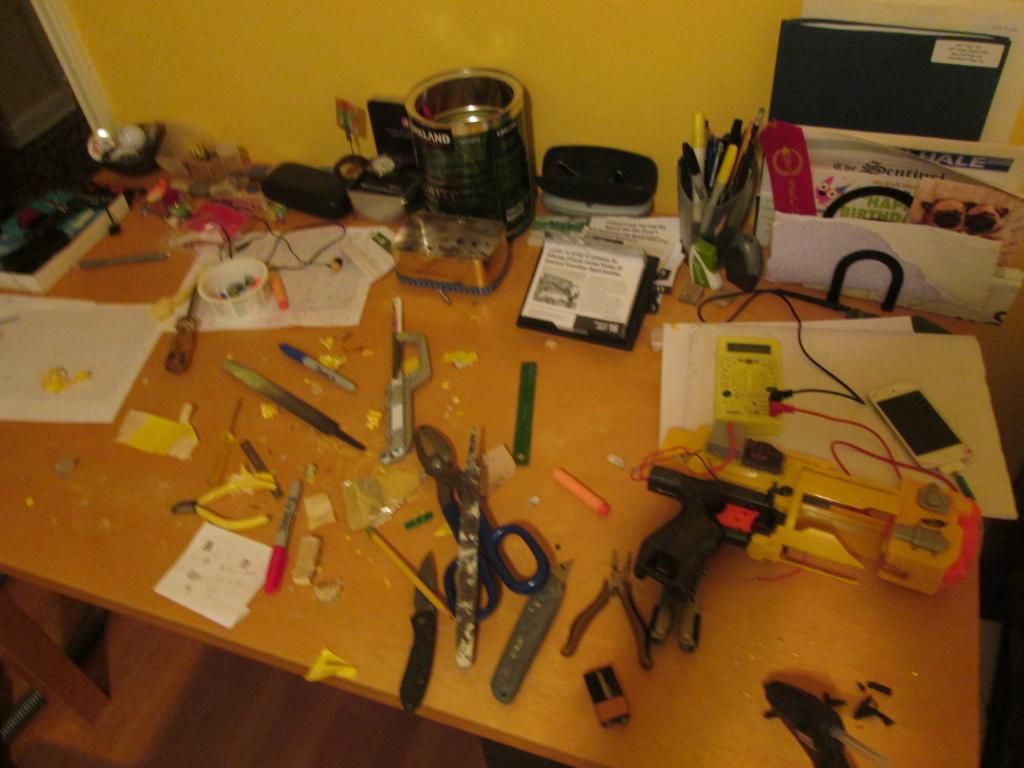
Probably do this outside instead of on your desk in your room.
As previously stated, not the most reliable blaster in the world (I need to up the voltage to 12v for it to not have the awkward "Ugh I can't push the first dart" issue, and I have neither a 12v batter nor trustfires)
http://vid1055.photo...en/MVI_0153.mp4
Thank you guys for bothering to read my post, I had a good time modding the blaster, and learned a decent amount, hope I shared some of it with you!

