Jump to content


Gage

Member Since 08 Jan 2012
Offline Last Active Jul 24 2014 10:27 PM

Topics I've Started

Air Blaster (Rebel Trooper Blaster Knock-Off) Modification

05 July 2012 - 03:46 PM

On a recent trip to Dollarama, I noticed this blaster sitting on the shelves. It was a Rebel Trooper Blaster knock-off that fired Mega Darts, and there was another that fired arrows. I couldn't resist the $2 price tag, so I picked it up. I tried it out, and it was decent. Not too powerful, but good for something I found at the Dollar store. It came in red and green, but I picked up the green one. I saw the cocking mechanism and thought "this might actually have some potential!", so I decided to crack it open and see if I could improve it.

Posted Image

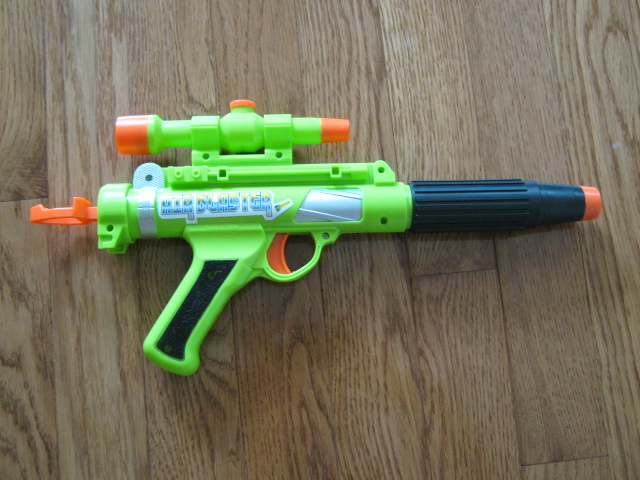
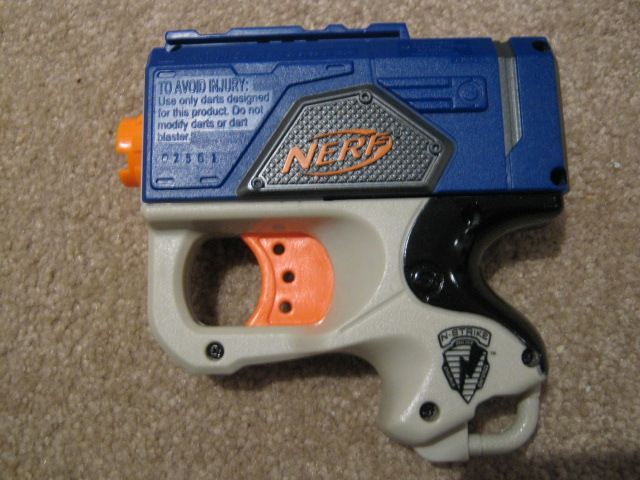
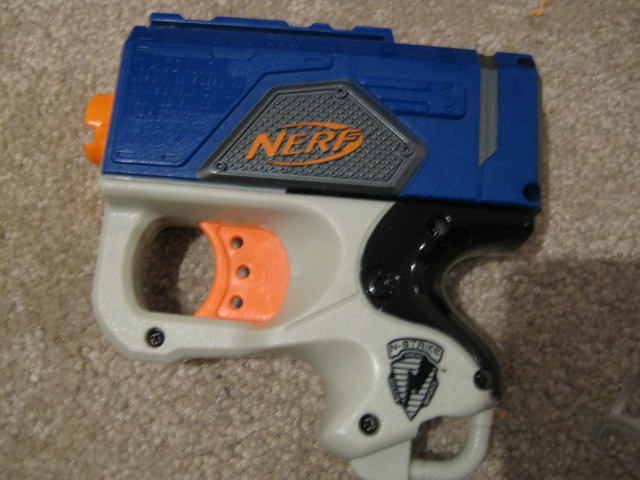
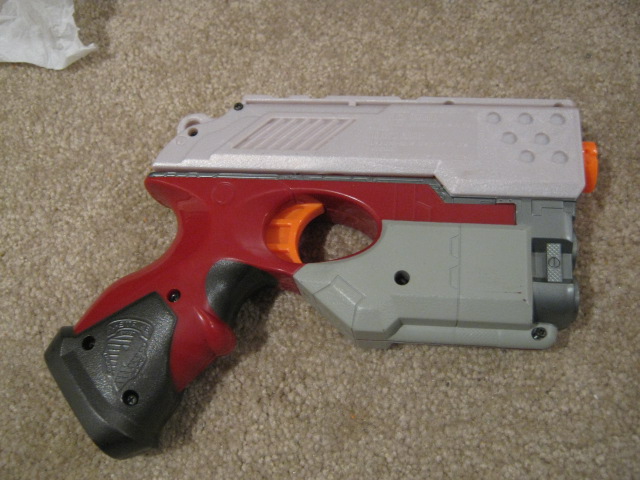
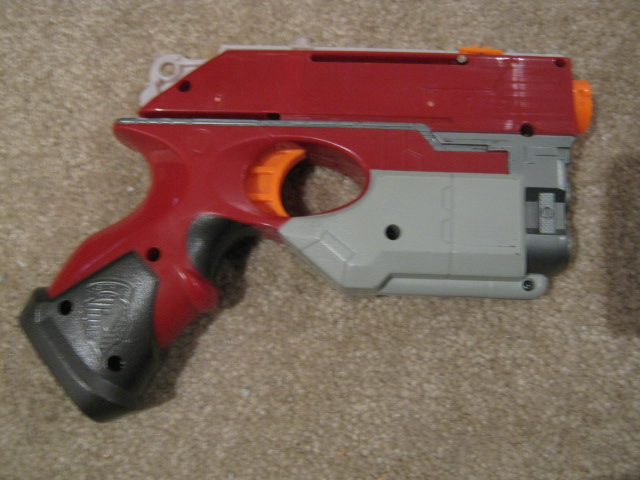
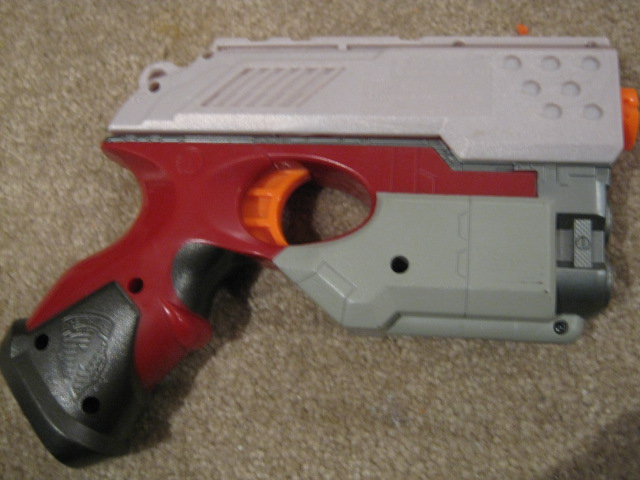
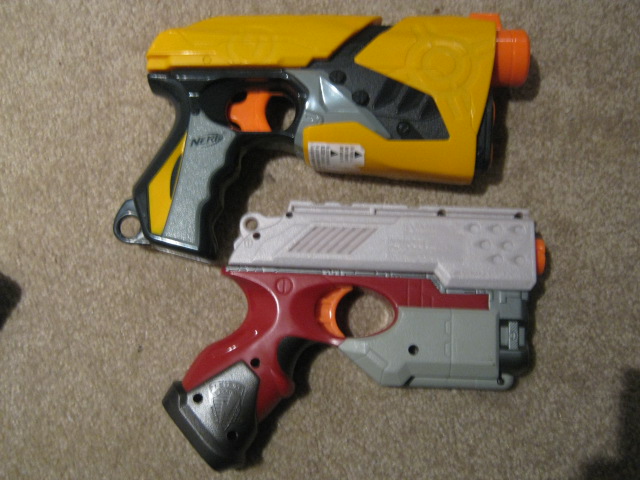
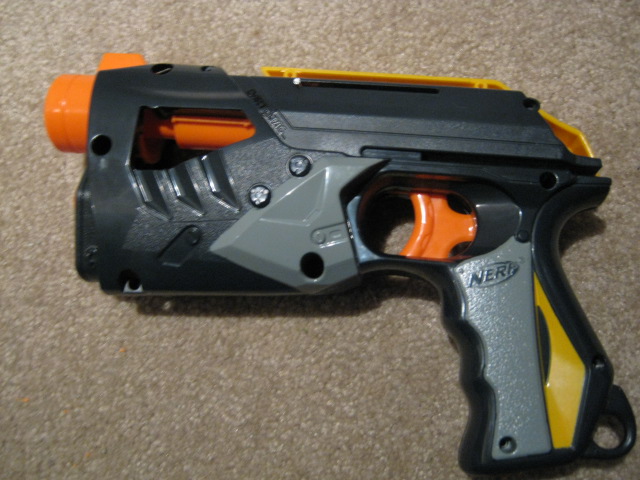
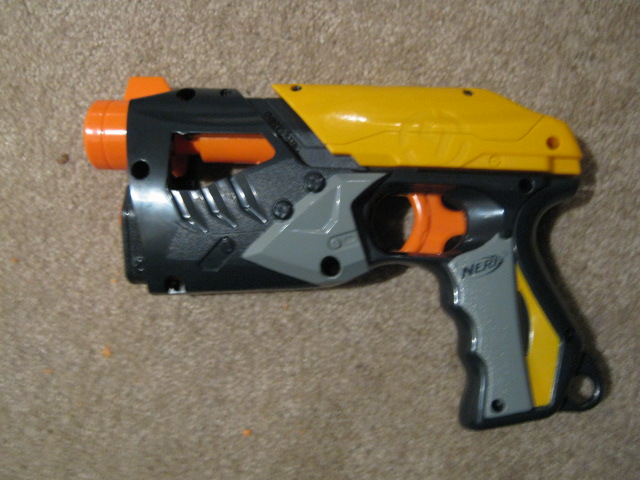
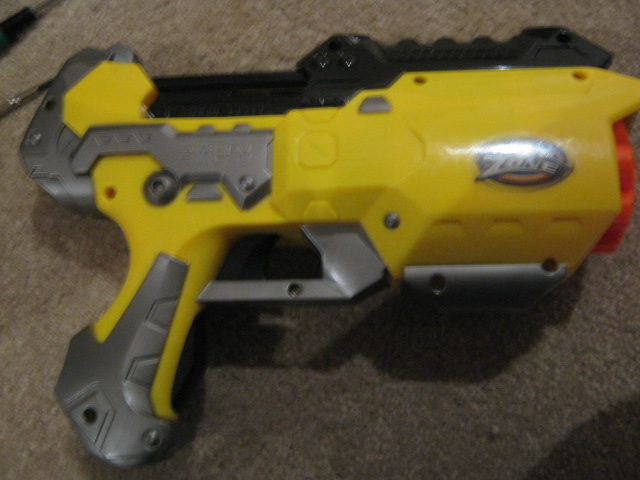
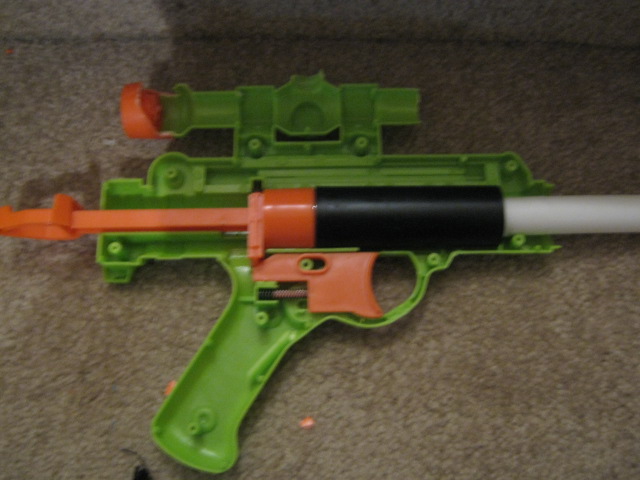
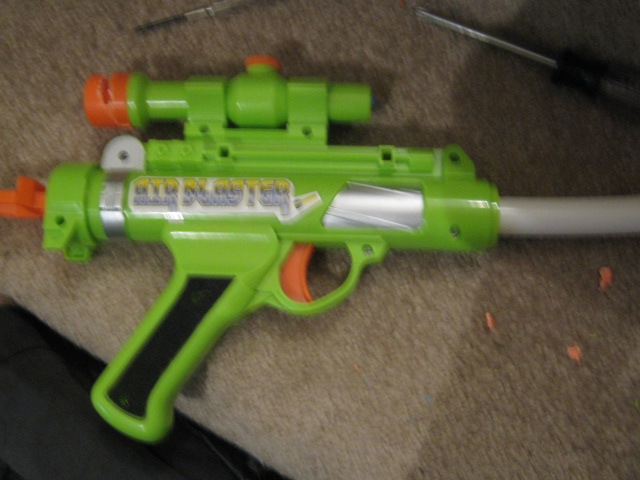
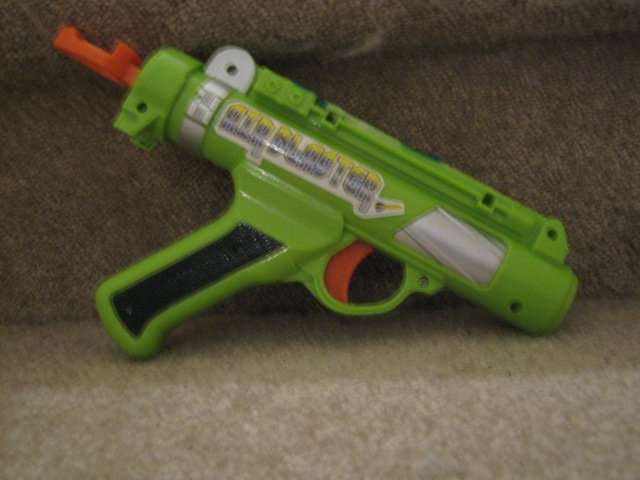
This is what it looks like. I am aware that it's smaller than the regular Rebel Trooper Blaster, and doesn't have the light-up features. It's also close to $20 less, and comes with more darts. Ranges topped out for most Nerf darts at around 10 feet, slightly less probably. The farthest it shot was around 18 feet with the darts that came with it, and Banzai darts hit around 15 feet.

Posted Image

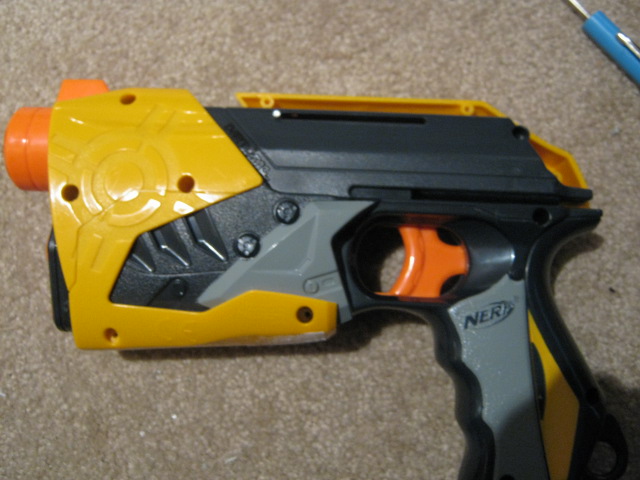
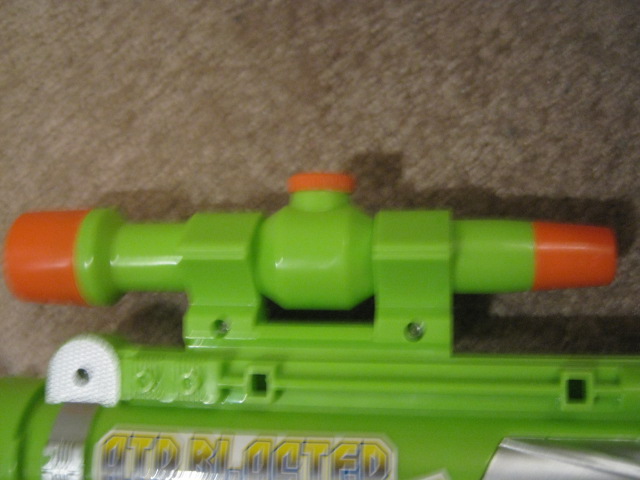
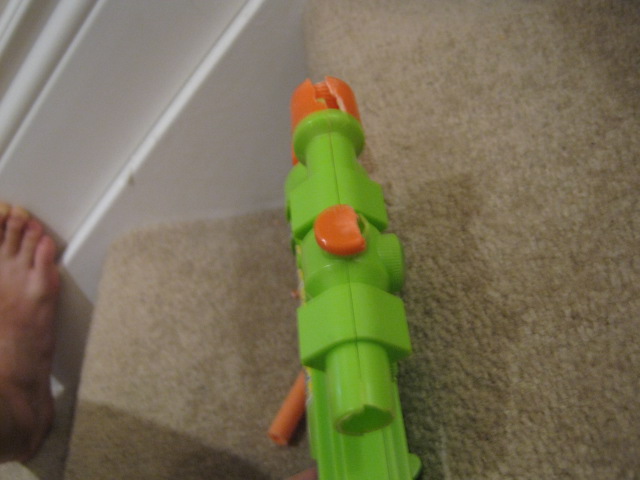
There's this horrible scope that is on the top of the blaster that you can't see anything out of. It's the worst scope I've ever seen.

Posted Image

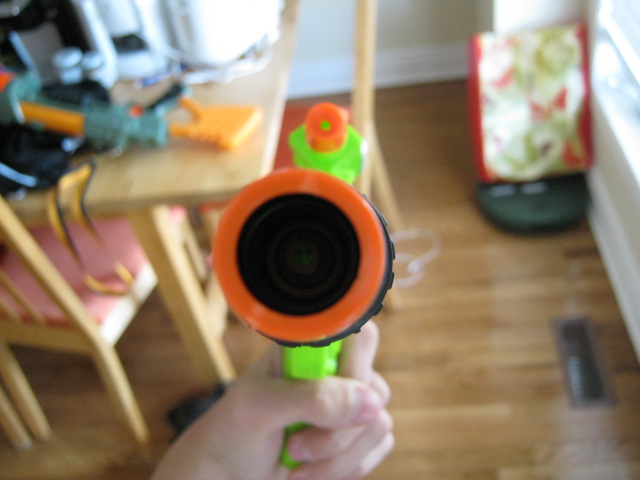
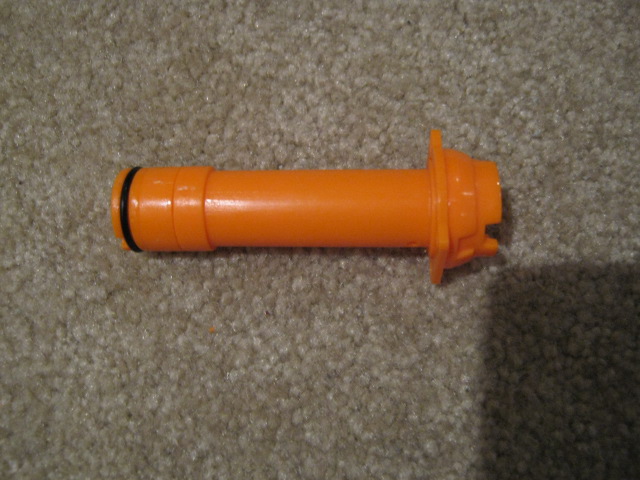
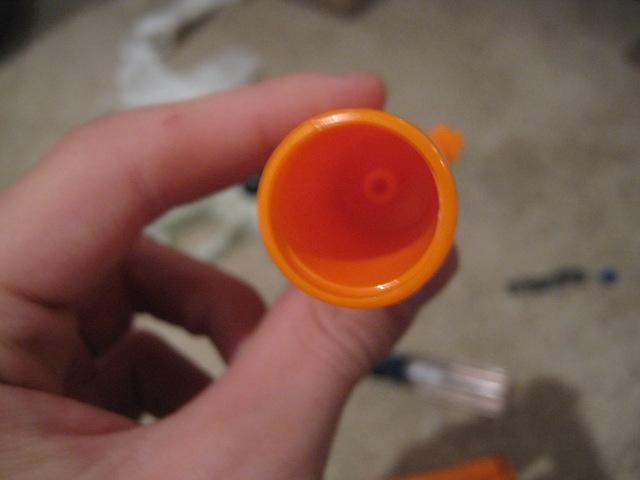
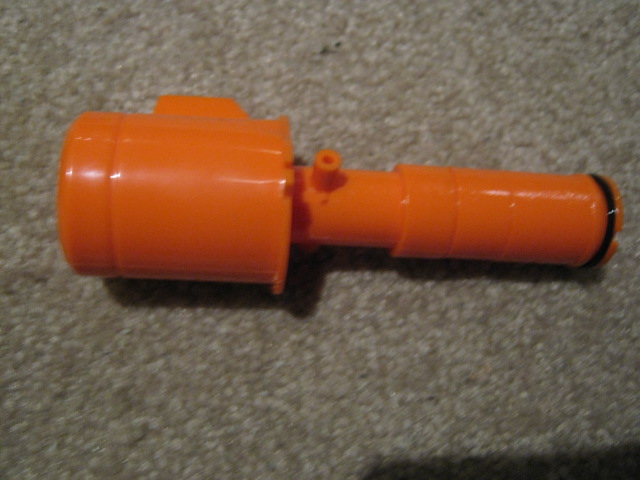
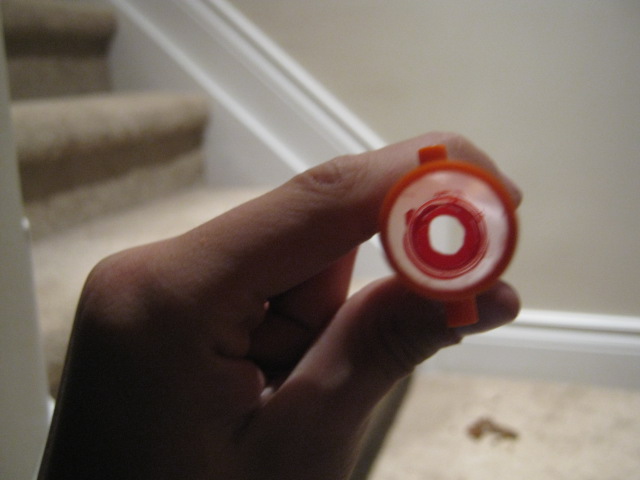
This is the "barrel". There is no barrel, it's just a peg that is coming out of the shell. This is why the dart is about 90% out of the shell, and is extremely easy to knock out of the barrel.

Posted Image

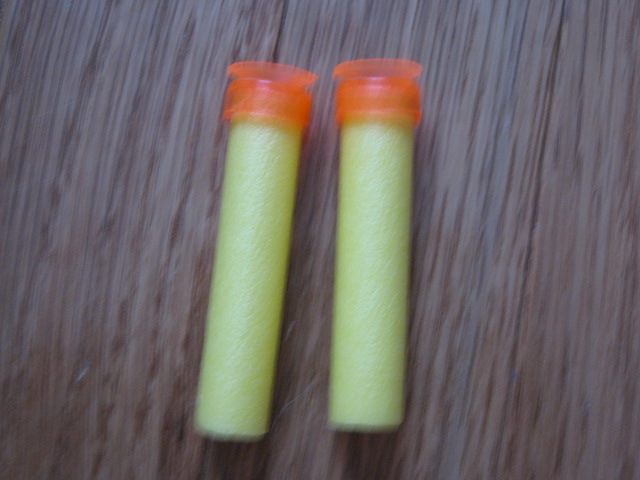
These are the darts that it came with. The tip is transparent, and they were constructed very poorly. There was glue all over them that I had to remove. They are a little thicker than most darts.

Posted Image

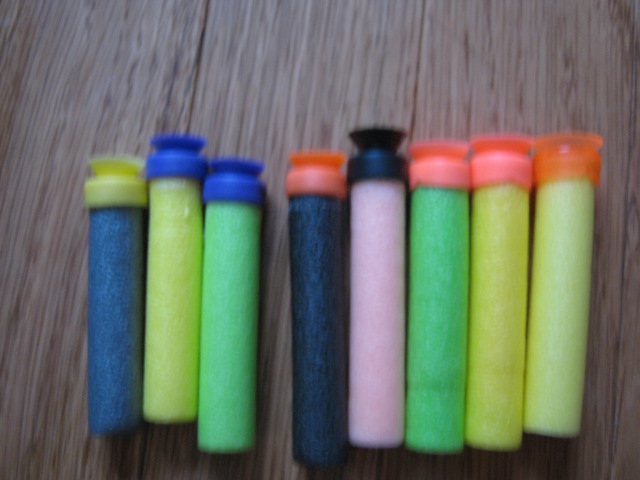
This is a comparison of the size of these darts since I've never seen them before. I call them Mega Darts sine they are quite thick, and have difficulty fitting into most Nerf barrels, although it doesn't seem that way in the photo.

Posted Image

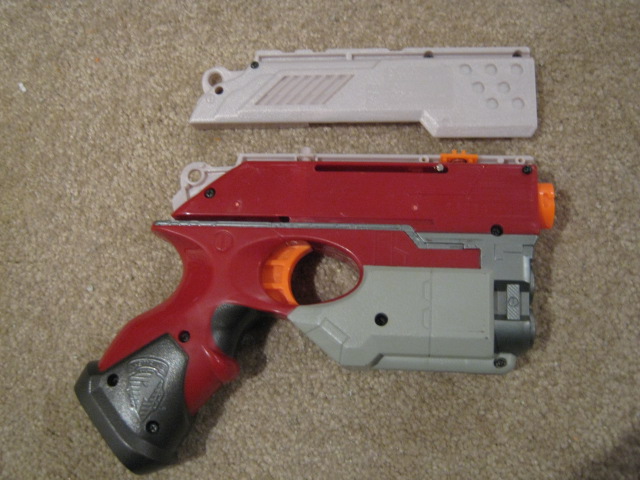
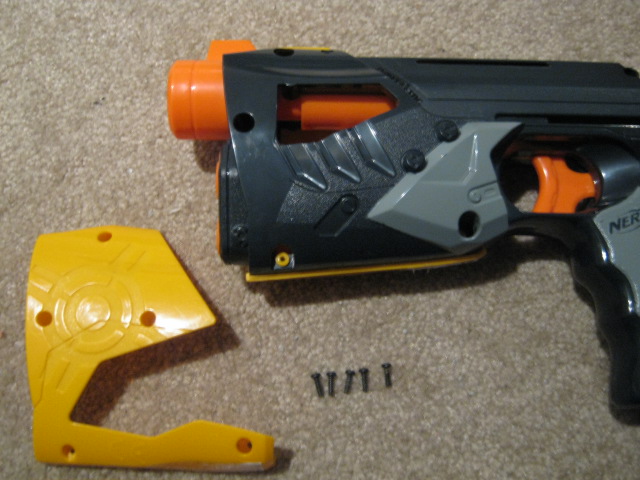
Trying to get this bastard open is difficult because of this scope. On it, all three orange pieces are glued on. It's hard to get them off, so you'll have to break the plastic open to get them off, because there is no way to gently pry them off.

Posted Image

The tip of the blaster will also have to go, unless you just cut it along the lines of the shells.

Posted Image

I ended up cutting out a section of the plastic for the tip so that I could actually open it.

Posted Image

The scope was also cut in three places, although I ended up giving up on the first one and ripping it off entirely. The plastic is super-easy to break, so don't apply too much pressure.

Posted Image

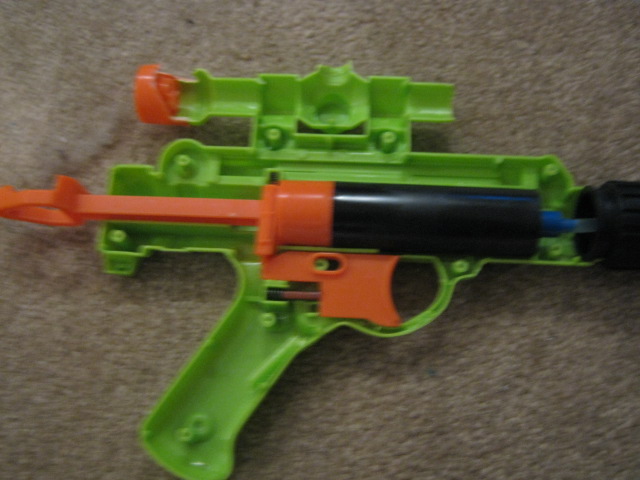
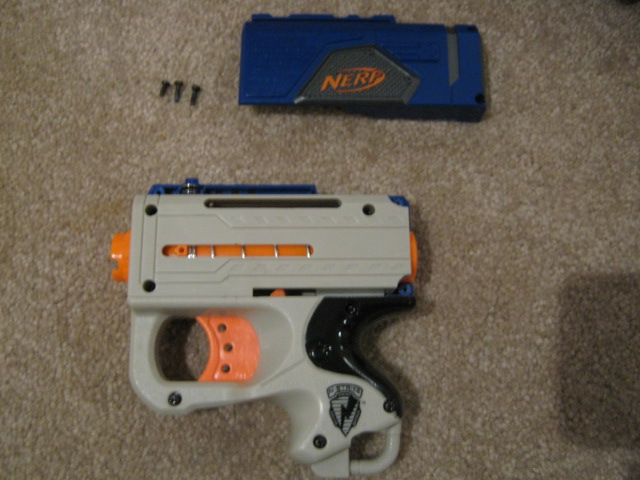
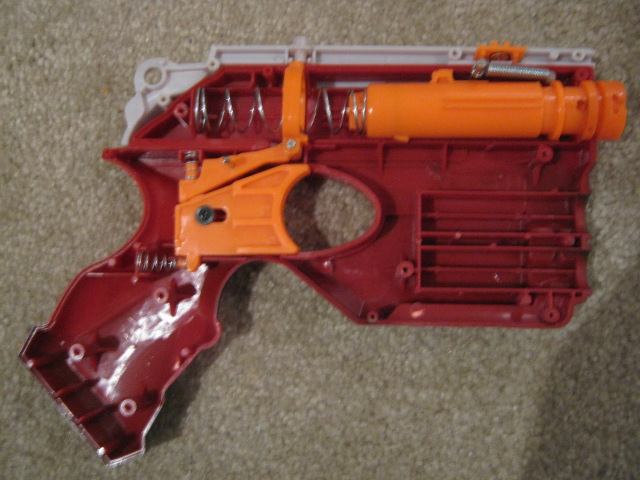
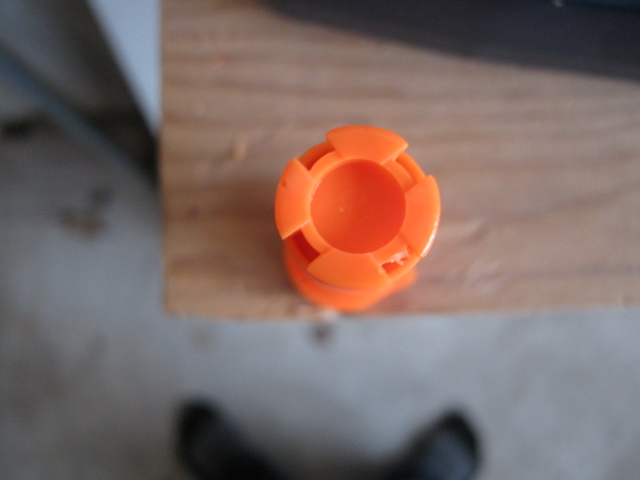
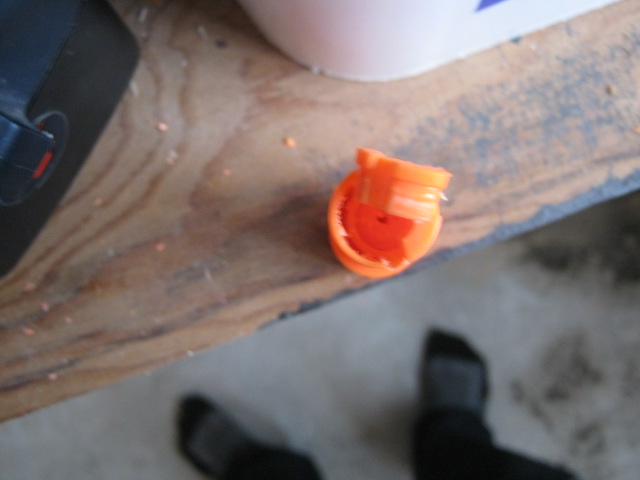
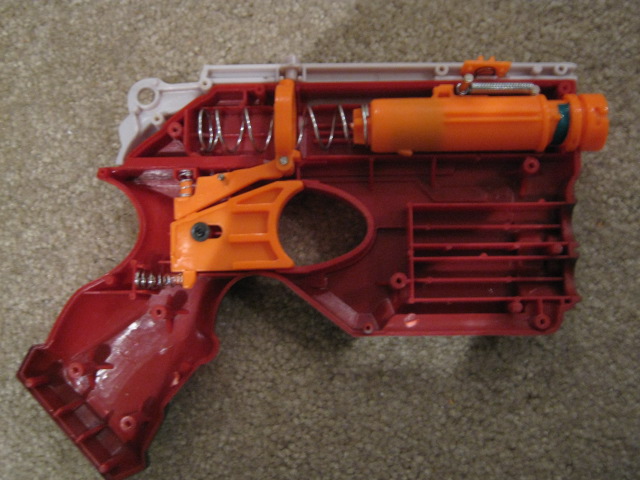
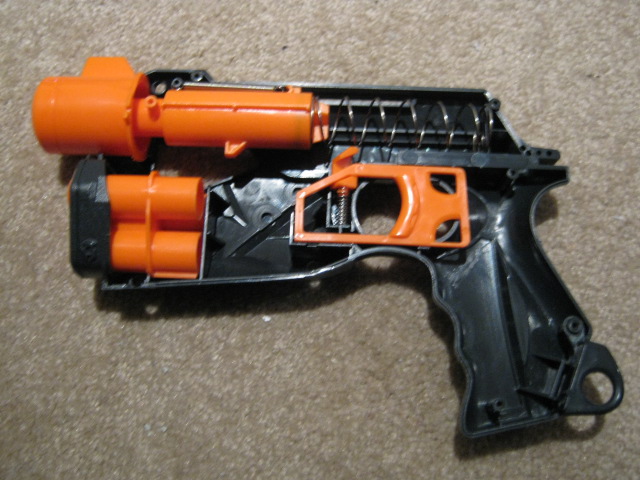
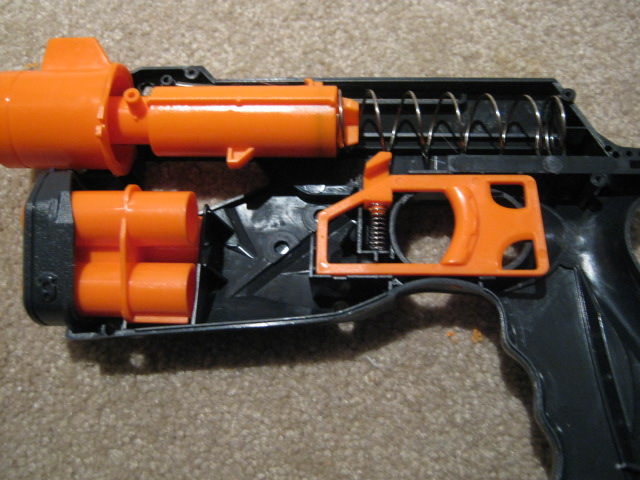
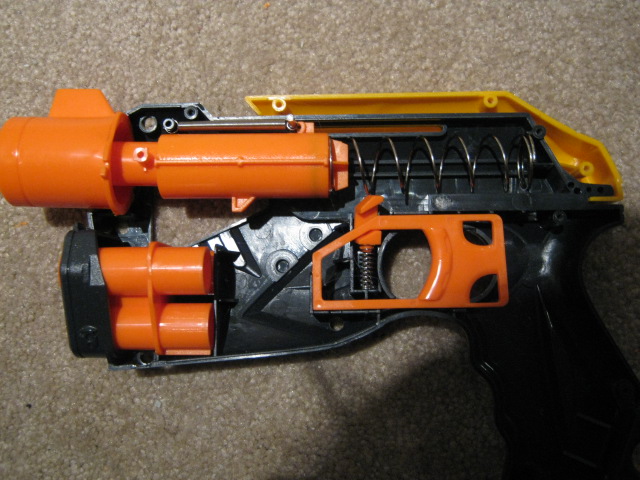
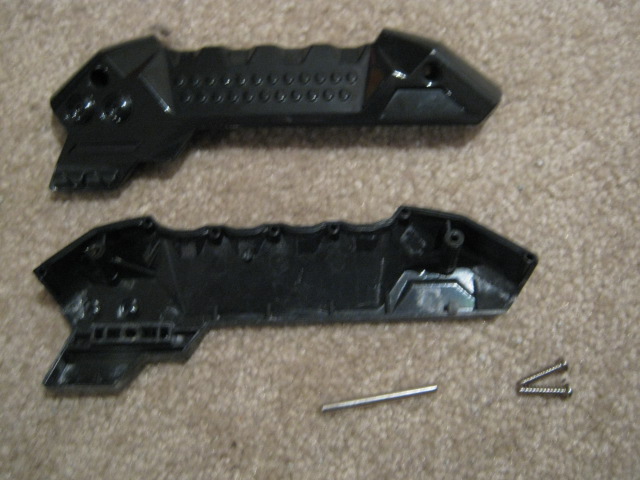
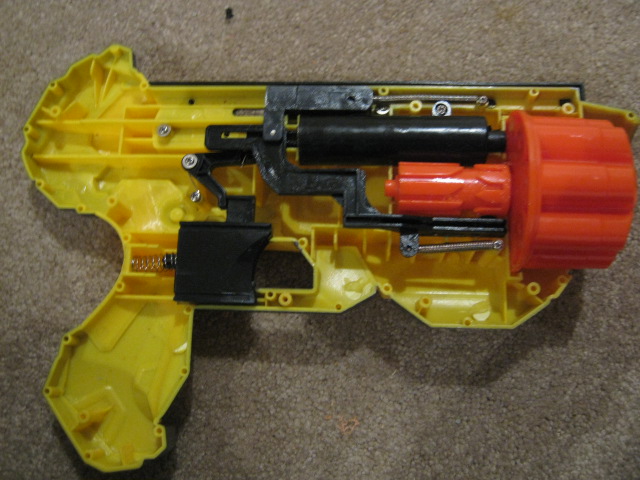
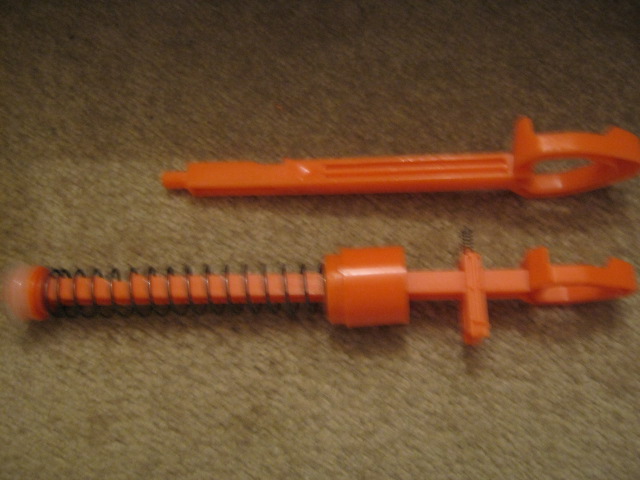
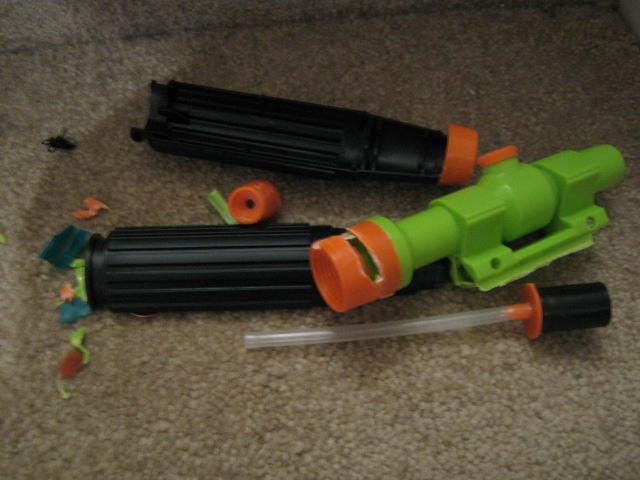
Once it is opened up, you will see remarkably simple internals. Just your basic Nite Finder internals, but slightl longer. There is nothing in the scope either.

Posted Image

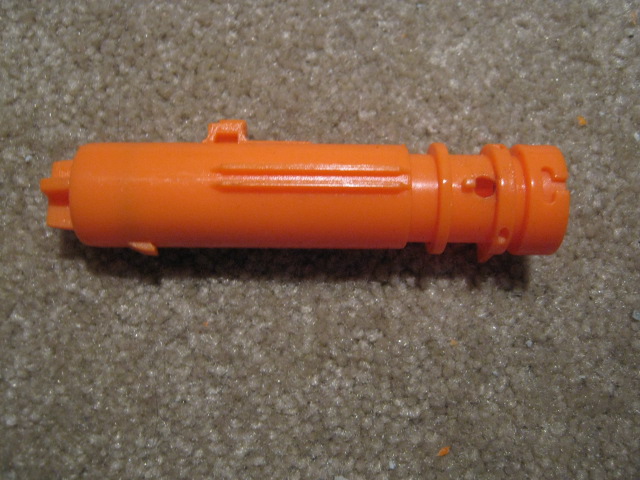
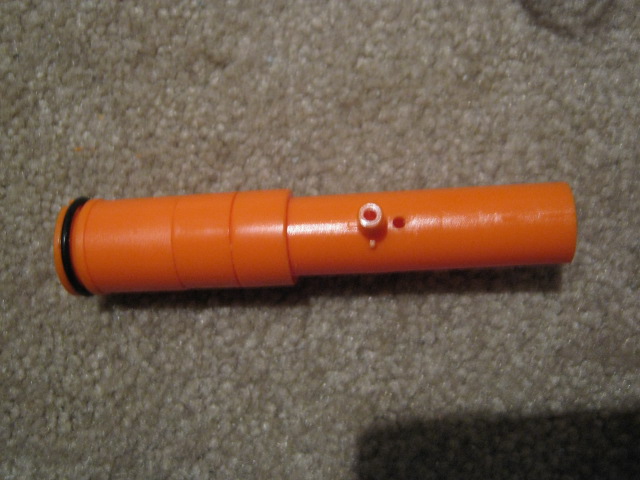
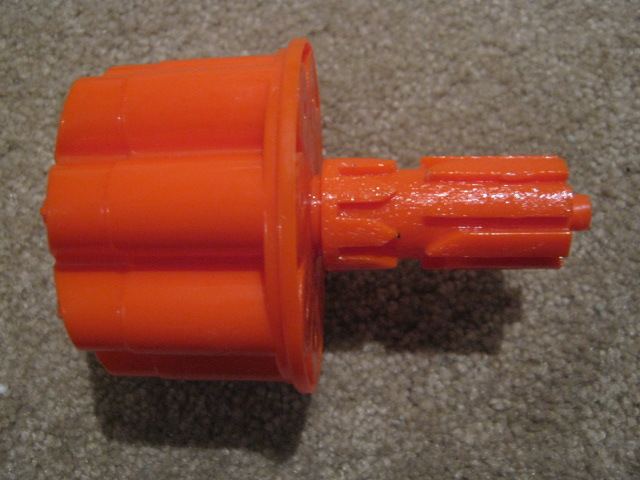
The barrel has a separate shell for some reason. I find it to be unnecessary.

Posted Image

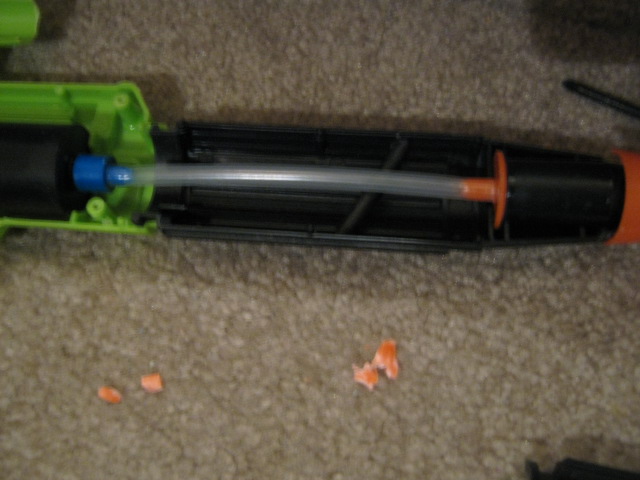
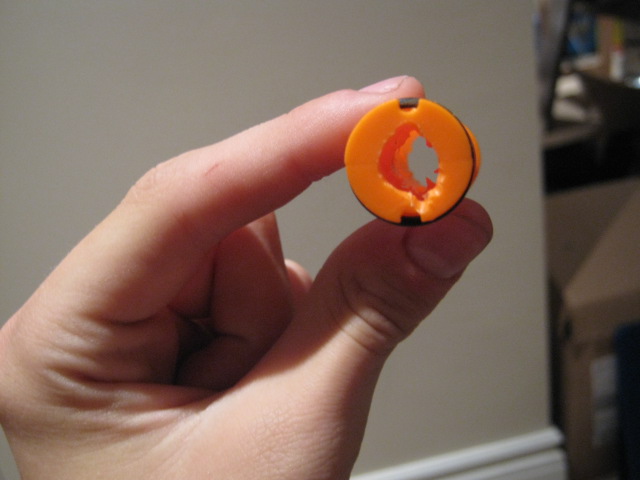
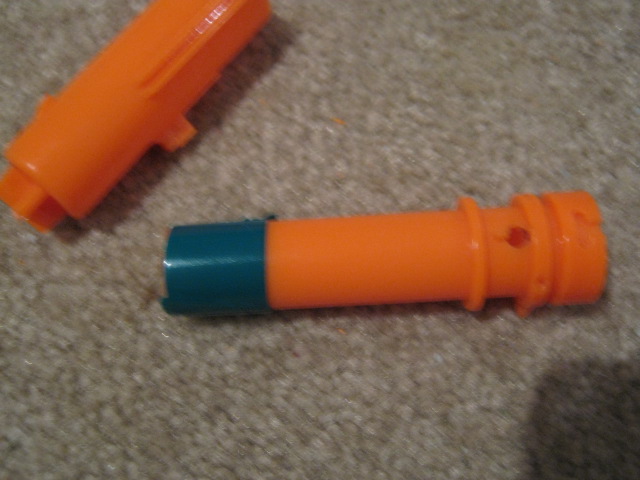
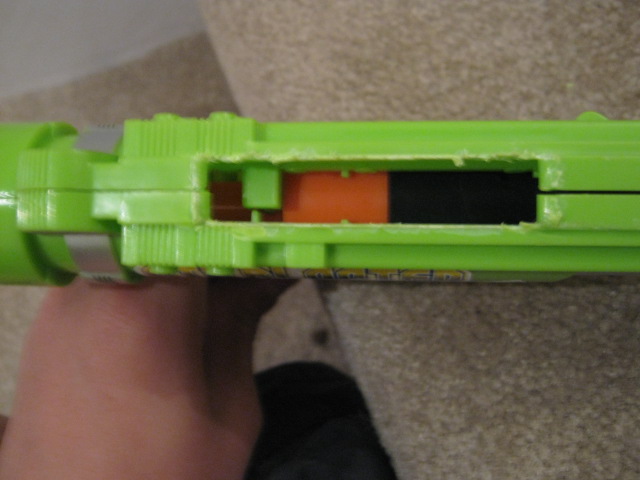
Inside, we discover why ranges are so terrible. The air has to travel along a long path will with dead space just to exit, which needs to change.

Posted Image

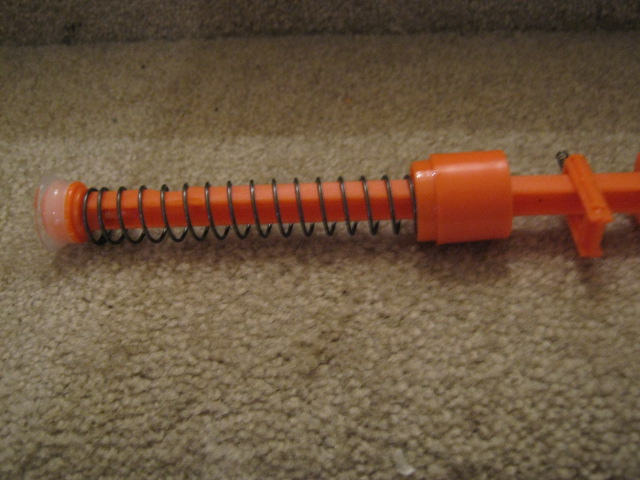
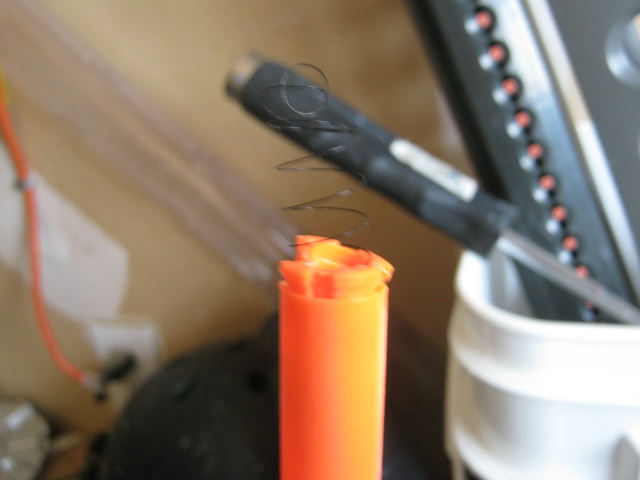
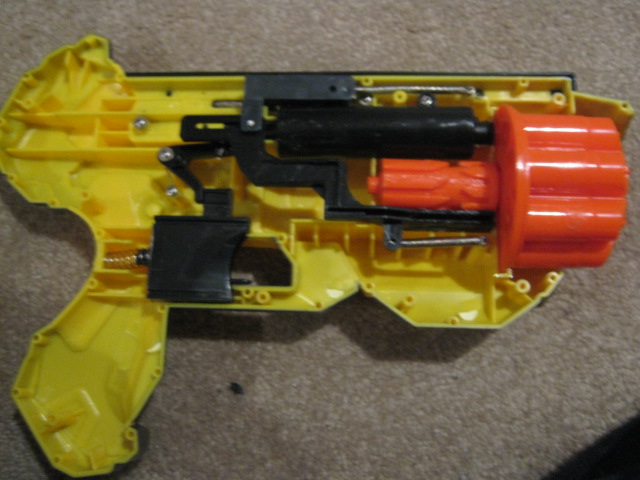
The spring mechanics seem to work fine, and the spring is decent. I tried integrating a Nite Finder spring into it, but it wouldn't catch, so I took out the stock spring and just left the Nite Finder spring.

Posted Image

As you can see, the spring assembly is much longer than the Nite Finder's, and has an extra piece to it as well. It's something to do with the plunger tube.

Posted Image

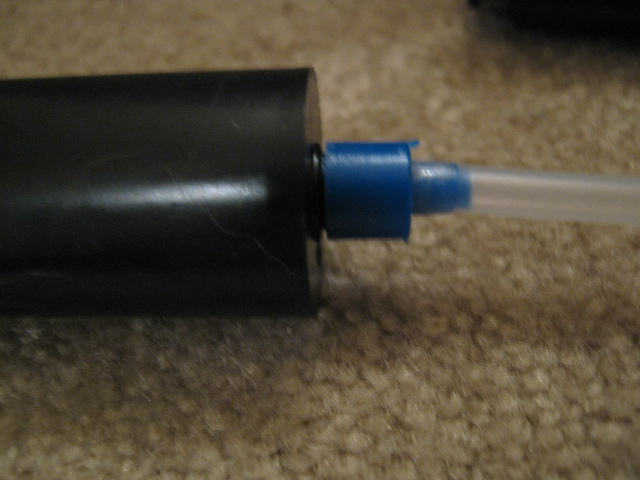
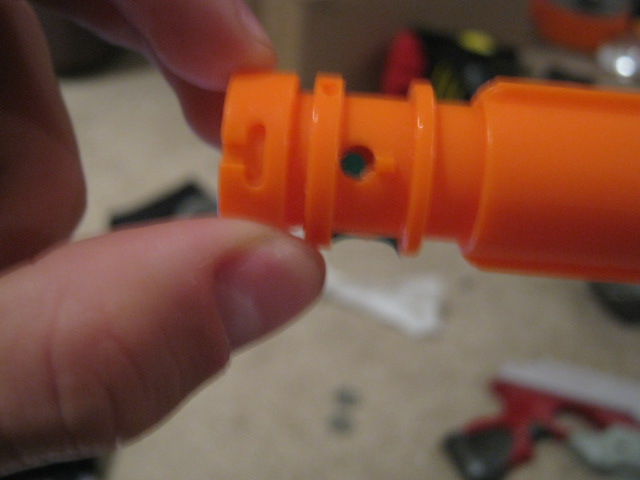
Time to get rid of the dead space.

Posted Image

Rip off the tube and the "barrel". You can either put these in the parts bin or throw them away.

Posted Image

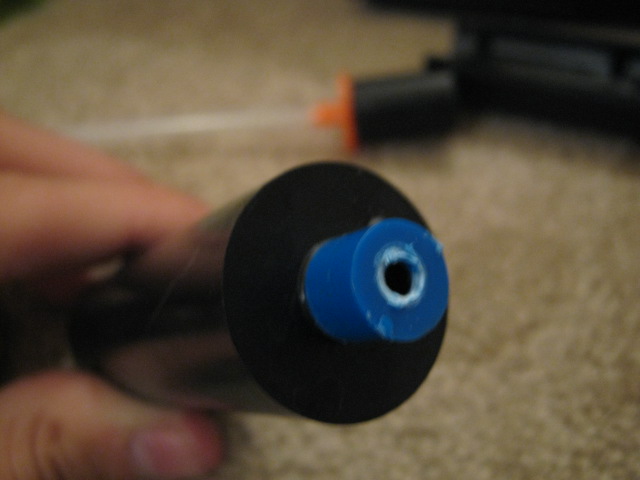
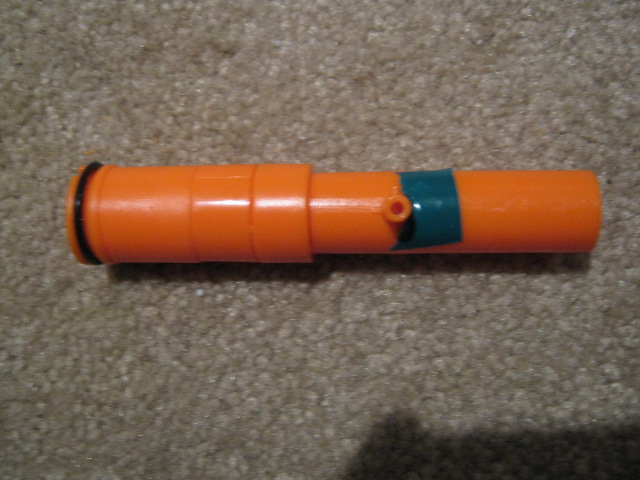
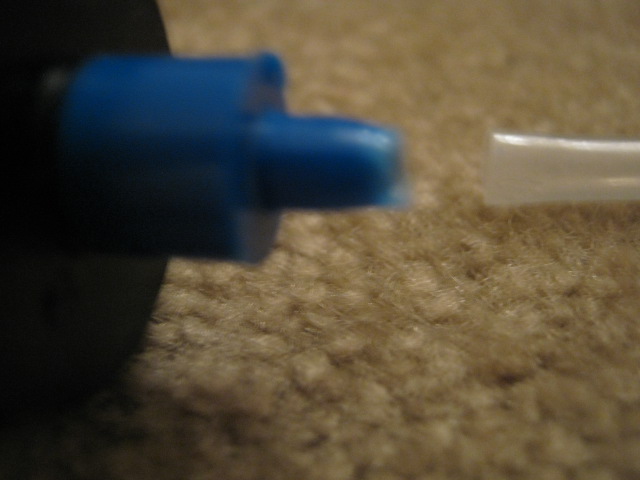
I still wasn't happy, so I removed the rest of the blue piece to allow more air to pass through. I'm sure I could have removed more, but I left the rest.

Posted Image

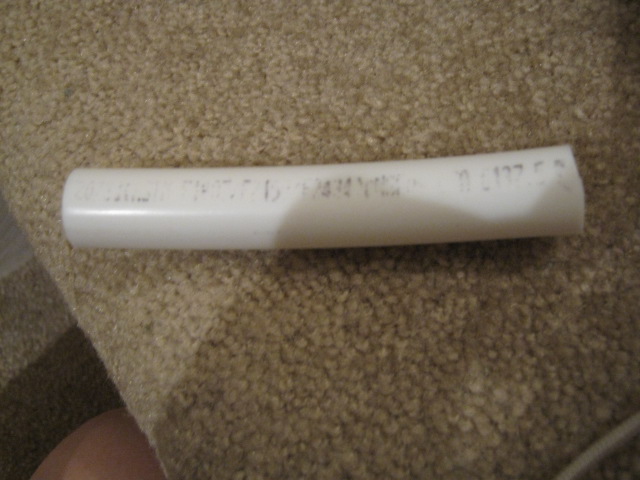
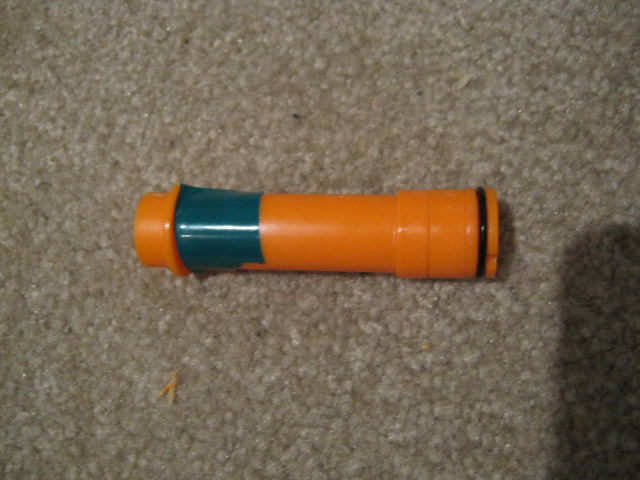
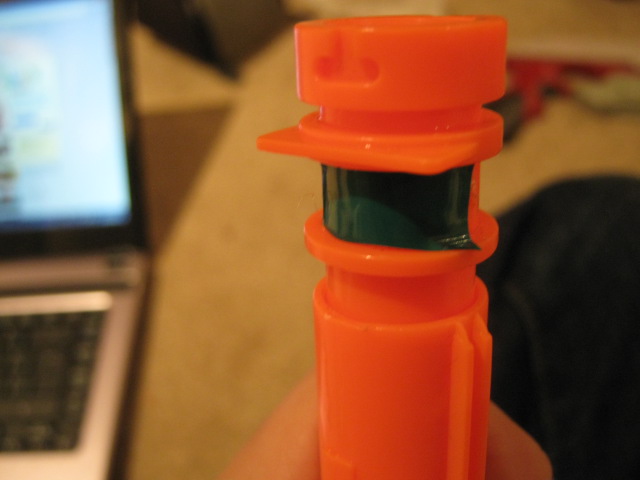
Yes, I have finally tracked down some PVC. Unfortunately, it wasn't cut right, so it's rather bent on one side. If anyone knows how to even it out, that would be greatly appreciated. Anyways, take your PVC and cut it to 3-4 inches. I think the guy who cut it made mine a little too long.

Posted Image

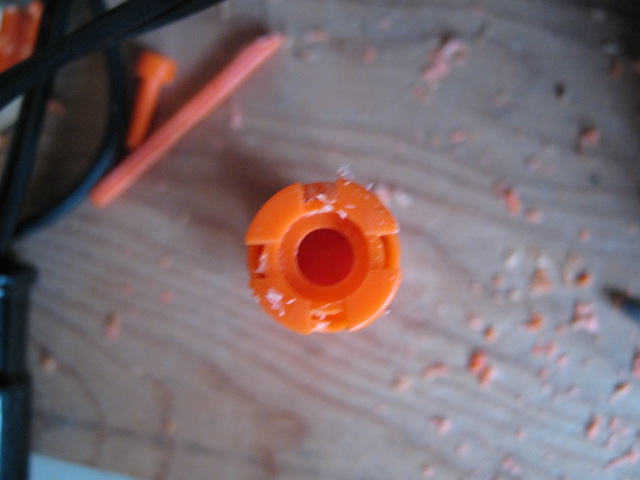
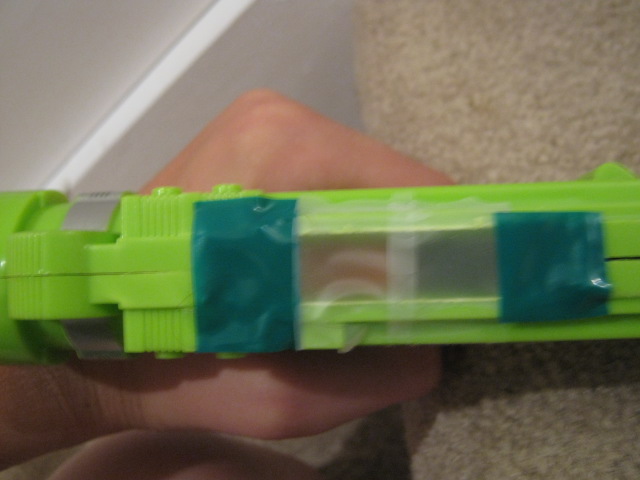
Take some tape and wrap it around the blue piece to ensure a tight fit for the PVC.

Posted Image

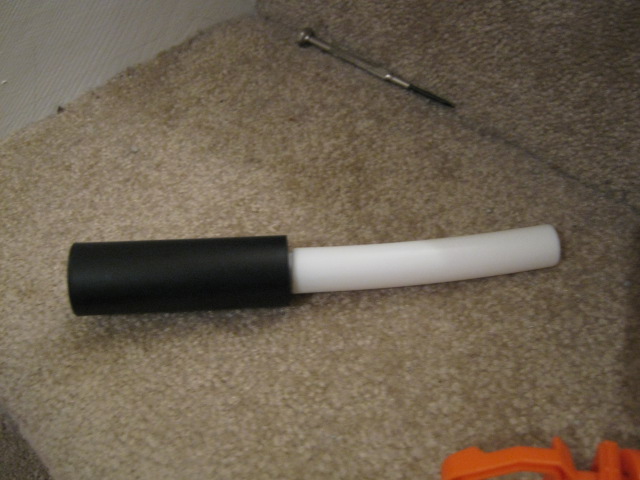
It should look like this when done.

Posted Image

Place this back into your blaster. We're done with it for now.

Posted Image

Fit everything back into the correct place on the blaster.

Posted Image

Now, close up the blaster and make sure the catch works correctly.


EVERYTHING AFTER THIS IS OPTIONAL.


Posted Image

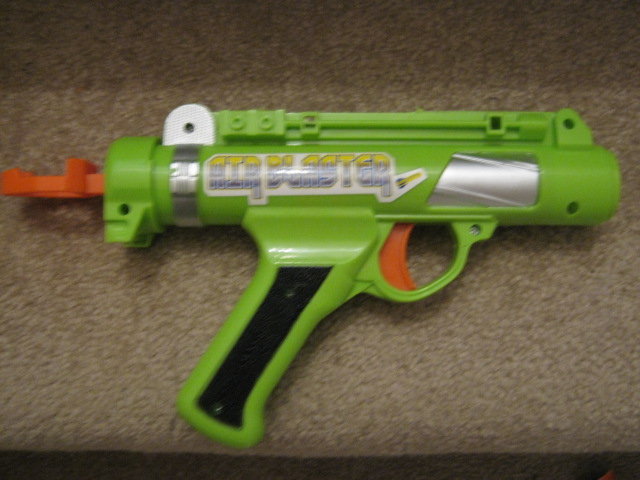
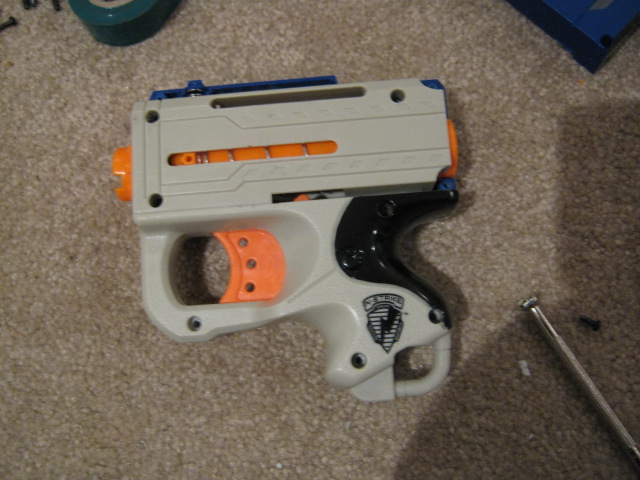
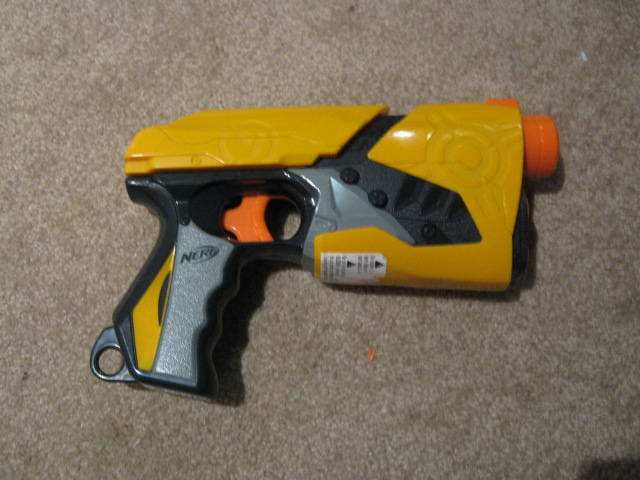
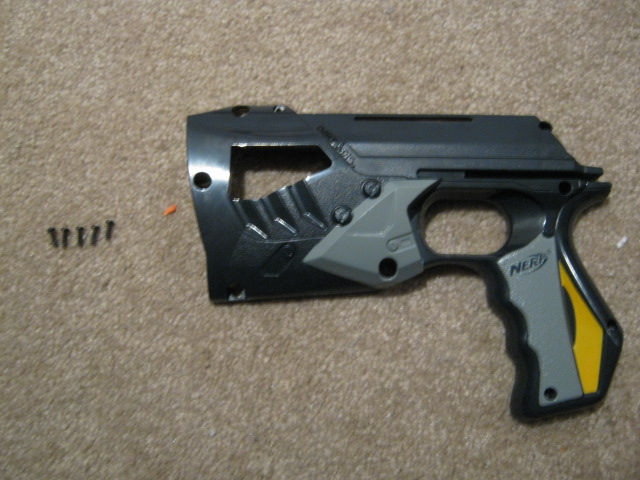
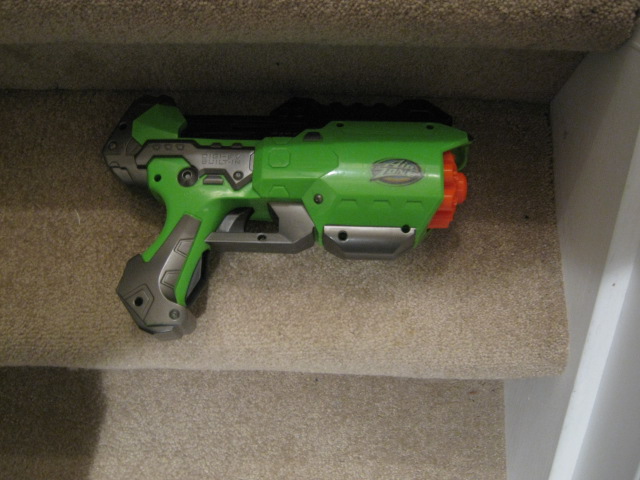
This is where the minimization comes into play. If you're not satisfied with the horrible scope, just cut it off like I did. I think it looks similar to a Stormfire, and I'm very pleased with how it turned out.

Posted Image

You will need to close up the hole in the top of the blaster, unless you like it for some reason.

Posted Image

Make sure you sand the edges and clean it up before you put anything on it. I put on some tape in a window formation, because even though it looks like crap, I still think it looks alright.

Posted Image

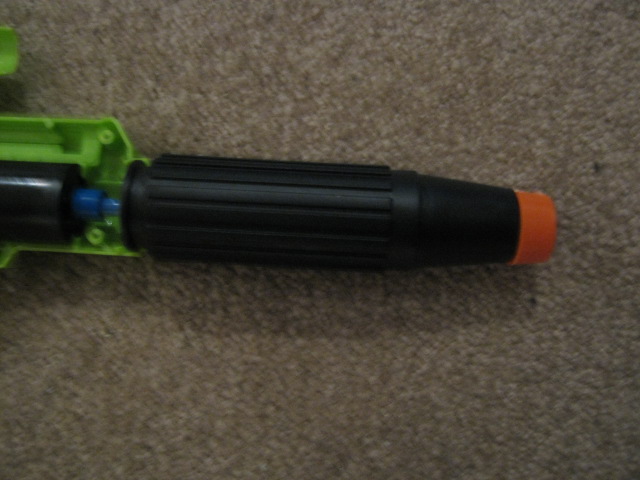
This is what the end result should be; a much sleeker blaster, and a better-performing one too.

Posted Image

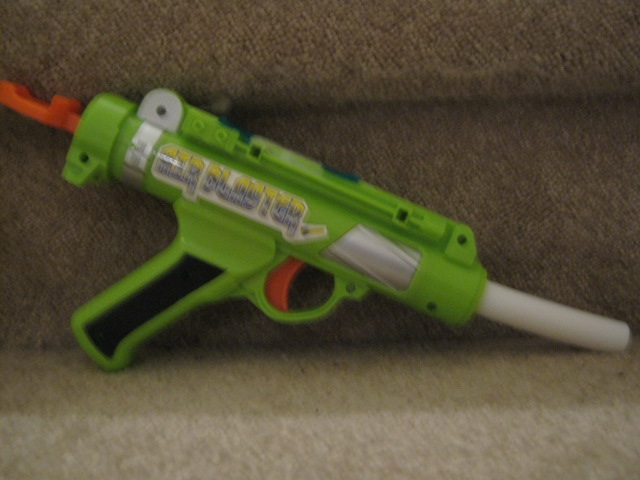
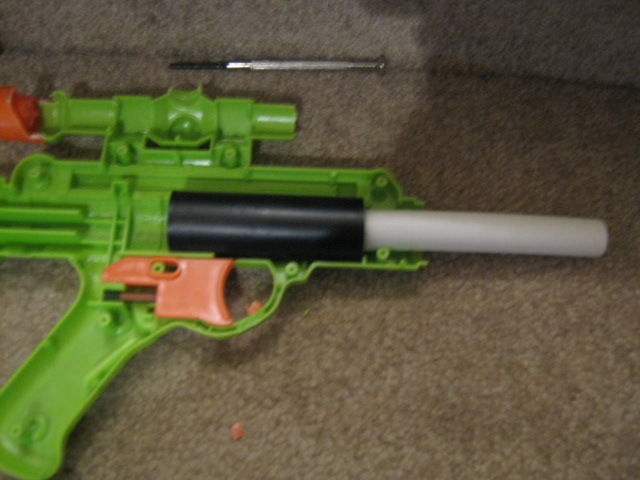
This is what it looks like with the PVC on it. I like how it turned out, it's a better blaster. It's comfortable too, and it also vacuum loads, which is a bonus. When it comes to ranges, it's not too good, only around 20-30ish feet depending on the dart, the seal of the dart, etc. It's still a big improvement when compared to the initial 7-18 feet. I have also officially renamed this one from "Air Blaster" to the "Seeker" to suit the changes.

Posted Image

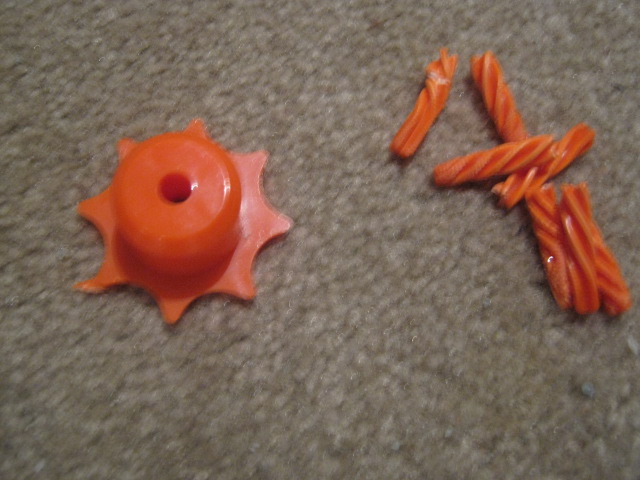
You can now throw out these unnecessary pieces.

Thank you for reading. Constructive criticism, questions and comments would be greatly appreciated.

Reflex IX-1 Modification

06 June 2012 - 09:06 PM

The Reflex IX-1 has always been my least-favorite out of the three N-Strike miniature blasters, I loved the Secret Strike AS-1 and the Jolt seems really cool. But, as for the Reflex, I just never got to love it for some reason. I bought the Attack Unit when I first got into Nerfing, and I haven't used it in any battles since. I wanted to see what I could do with this blaster, so let's find out.

Posted Image

This is the Reflex, or as it's sometimes known as, the Eliminator. This particular blaster originally fired up to around 20-25 feet, so not very good. I like the blue color scheme better than the yellow.

Posted Image

First, unscrew the cocking handle. There should be three screws, with one being smaller than the others.

Posted Image

Next, unscrew the rest. In total, there are two smaller screws, and eight larger ones. Make sure to hold onto the tactical rail clip so that it doesn't burst out at you.

Posted Image

Focus on this for now. There's no more room to put any more o-rings, so one's all you got.

Posted Image

Take your drill and drill out the back, so that the peg falls off. I could not get the actual air restrictor piece out fully, so it's still in there, but Ill go back in there and get it out later.

Posted Image

You can also unscrew the back of the plunger tube if you want, it's hollow on the inside. If you want to add weight to the blaster, this is the best place to do it.

Posted Image

Also grab a piece of electrical tape and tape over the hole on the side of the barrel, to prevent any air from getting out.

Posted Image

We're done now, so start putting everything back together. Shouldn't be too hard.

Posted Image

And we're finished. I tested it out, and I have only one word. DAMN. I never knew a Reflex had this amount of power in it. It sounds awesome to hear it fire, and I can easily shoot it up to around 40 feet. It outranges my newly-modified Scout and probably the Sharp Shot too. I'm impressed. For the little amount of work done, this is a good payoff. Thanks for reading.

Scout IX-3 Modification

05 June 2012 - 04:24 PM

The Scout IX-3 is a somewhat-rare blaster although not any more because it is found in a two pack. The one I had was probably an older copy, and it's got the red shell. I wanted a Scout so badly when I started Nerfing, I though it would be the best blaster yet. I was wrong. Bought a UPS on Kijiji for $25 CAD, and it hot between 25-30 feet. I hesitated from modding it for a while, but that air restrictor really ruined the power in this blaster. Onto the mod.

Posted Image

This is what I initially believed would be the ideal sidearm. It's got a great shape, but performance is lacking. Sadly, there's not much I will be able to do to this blaster because it is a reverse-plunger system blaster. Re-barreling is supposed to be really easy, so once I get some CPVC and stefans, this will probably be the first mod I'll do.

Posted Image

Start by unscrewing the cocking handle. There are four screws, and if I remember correctly, half are one size, half are smaller.

Posted Image

Open up the other shell now. There are another eight screws, with six being the regular size, two being smaller. Basic internals, nothing too difficult.

Posted Image

Focus on the barrel/plunger tube for now. You can replace the spring, but re-inforce the cocking mechanism if you do. You can also but dimes behind the spring, but I said fuck it after the bastards wouldn't stay in place.

Posted Image

Look into the back of the barrel. See this? Get rid of it.

Posted Image

I'd like you all to meet "Culo grande", the main doctor in the operation.

Posted Image

I used Culo grande to drill a hole in the back of it, but discovered that there's no way I could get the air restrictor to come out this way. It will not come out of the front, so through the back is the only way.

Posted Image

What ended up happening was that I removed the o-ring that I will use in future projects, and completely ripped out the back area where the o-ring sits, effectively destroying the seal, but releasing the air restrictor.

Posted Image

Here's a good view of it right now. I just ripped it out, and the air restrictor slid out. Unlike in most blasters, the air restrictor peg is a seperate piece and is not glued to the barrel. It has its own base, which is a bitch to get out.

Posted Image

There should be a straight shot through right now.

Posted Image

To make up for the lost seal, I took some electrical tape and went over it just one time. Do not do this, just use regular tape, or else the thing will not work. For some reason the seal was too good on the blaster, and it would not allow me to cock it. So, just go over where it would be with 1-2 layers of regular tape.

Posted Image

There are two holes in the side of the barrel. Since we are not disposing of the barrel in this mod, it's best to fill both holes.

Posted Image

Go over the both with one layer of electrical tape. This should help.

Posted Image

Put everything back together, and carefully make sure it will catch correctly.

Posted Image

Slide the cover back onto the blaster and screw it back on.

Posted Image

Place the cocking handle back on, and make sure everything goes back into place. If you've done it and it fires, you've done it correctly. Unfortunately, the ranges are barely an improvement. I estimate 30-35 feet, possibly a little more. It can fire stefans now, though, which is an advantage. It's best to re-barrel this blaster, but I just wanted to show you the most basic mod you could do to this blaster. Thanks for reading.

Sharp Shot Modification

04 June 2012 - 06:19 PM

I was given a Sharp Shot for this past Christmas, just before we got the announcement that the Sharp Shot would be released with a more powerful spring. Just my luck. It's extremely similar to a Scout IX-3, but unlike the previous Crossfire, performance is not so good. Between 15-20 feet. I didn't expect a powerful blaster, but this is too little for my standards. I like how this blaster feels, and it's fun to play around with, so it's got some advantages.

Posted Image

Here it is, it fits in well with the rest of the 2011/2012 Dart Tag line.

Posted Image

This blaster is pretty much a remake of the Scout IX-3. It has similar internals, capacity and looks. Here's a size comparison, although it's slightly longer and wider than the Scout.

Posted Image

In order to get into the blaster, you need to unscrew the three screws on the cocking handle. They are all the same size.

Posted Image

You will need to remove or cut the sticker at the bottom of the blaster, I don't know if all blasters have this or if it was just where I placed the sticker.

Posted Image

Remove the outer layer of the blaster by unscrewing the five screws. You can remove this permanently or re-attach it later.

Posted Image

The shell of the blaster looks like this when the final five screws are removed, coming to a total of thirteen screws. Unscrewing this blaster is a breeze by the way, extremely simple and easy.

Posted Image

These are the internals. Standard internals for a reverse-plunger blaster.

Posted Image

Let's focus on just this. You can swap/add another spring, but be sure to re-inforce the cocking bar if you do. I have had this happen to a Crossfire which was broken when the cocking bar's foundation snapped.

Posted Image

Take your drill and drill out the four pegs on this.

Posted Image

I suck at drilling, but get rid of that piece. rip it out with some plyers when you are done.

Posted Image

Then, go in and drill out the peg/peg stand. This may take a while, but when it's finished the air restrictor should come out, as long as you remove the back of the air restrictor before you do it. It's a weird looking air restrictor.

Posted Image

See this? Another hole in the barrel.

Posted Image

Not anymore. Get some tape and put a piece over it. This should help. Gluing or epoxying it will also probably work just as good.

Posted Image

Put everything back in the right places once you're done that.

Posted Image

The best way to get everything to work good is to put the cocking handle through the spring hoop before you should put the body on.

Posted Image

Slide the other side back onto the blaster, making sure everything fits good.

Posted Image

Place the cocking handle back on, and if you want, the other plastic piece. I'm attempting to paint it, so it wont be coming back on for a little bit. It should look nice when finished. Now, this blaster is a good blaster, what it should have been. I don't know about ranges yet, but it's a definite improvement, although still lacking. This blaster is seriously lacking still when compared to a Nite Finder, but is still a good sidearm if you modify it correctly. It's just a fun little blaster that I enjoyed messing around with. Thanks for reading.

Air Zone 8 Shooter Modification

03 June 2012 - 09:09 PM

This was my first Nerf blaster, and it's a piece of shit. It gets ranges from 15-25 feet, which is not acceptable. This thing is a big, bulky, uncomfortable, waste of space. I hated this blaster, and even with only eight blasters (two 8 shooters, six Reflex IX-1's) at one time, it was still not chosen for battle. Now, I have 44 Nerf blasters, and this blaster still remains at the bottom. Let's have a look at this thing.

Posted Image

This was initially released by Banzai, and branded as an Air Zone product, like the Quickload Power Blaster. I like the colour scheme, but that black bulge on the handle hurts my hand. I also can't stand cocking this thing either. This has got to be one of the most uncomfortable blasters I've owned. There's also this weird inscription on the side of the blaster which reads "Digi-FV Built In". My ass, what the hell is Digi-FV anyways?

Posted Image

First take off the cocking handle, and if you're smart, throw it in the parts bin. With a replacement cocking mechanism, this would be a much easier blaster. The cocking handle is stiff and uncomfortable, so I was glad to get rid of it. Unfortunately while unscrewing the green blaster's cocking handle, I discovered that the screws on it were the easiest screws in the world to strip. So, I had to try again on the yellow blaster. That's the blaster I will be using for the rest of the write-up.

Posted Image

See this?

Posted Image

Unscrew it and remove it. This will make a great barrel spacer in the future. Hold onto it for now, when you're done you can re-attach it.

Posted Image

Once you've unscrewed everything, welcome to hell. These internals are greasier than anything that comes out of McDonalds. It's COATED with grease, so wipe some of that shit off.

Posted Image

Focus on this. This is the cause of all of the problems, and I can't wait to tear this apart and re-do the barrels.

Posted Image

Rip out the air restrictor pegs, however when I ripped out all 7 of them (the 8th had been previously accidentally removed), none of them gave the desired outcome.

Posted Image

Grab your drill and drill out the rest of the pegs properly. Once you see straight through them, you've done it correctly.

Posted Image

Put the barrel back in the blaster. The rest of the internals aren't worth bothering, I haven't been able to get the spring out yet so there's not point in trying.

Posted Image

Screw everything back together, and load the cocking handle back on if you dare. It would be best to replace it.

Posted Image

Throw out the pegs and keep the barrel spacer for later mods, or just put it back into the blaster. Without the pegs, I can now hit the end of the wall in my house, so it's a bit of an improvement. But, still, this blaster sucks. Don't buy it. Thanks for reading.