- NerfHaven
- → Viewing Profile: Topics: MattTheSasquatch
MattTheSasquatch
Member Since 20 Oct 2011Offline Last Active Jan 11 2014 11:04 PM
About Me
[size="5"][font="Comic Sans MS"]I'm just a college kid who recently got into Nerf. Originally, I did it to make a larger group of friends, but that didn't turn out as planned. Instead, I made the friends, but then found all of these mods online and began exploring which has now led me to modifying blasters, and even created one. I have recently got into painting blasters and I must say, I'm not perfect but I can get a pretty decent look (better than the yellow/black/grey look). Not bad for only a few months work. Since I am in college, I am taking up Music Production and Technology with Percussion as my primary instrument (I own two drum kits). I may be 19 and in college, but still do not have my license to drive because I am lazy. So for now I may need rides to some Nerf Wars if my parents are unable to take me. Well, it will be nice to meet some of you all at future wars [/font][/size]
Community Stats
- Group Members
- Active Posts 81
- Profile Views 7,748
- Member Title Member
- Age 32 years old
- Birthday July 8, 1992
User Tools
Latest Visitors
Topics I've Started
Singled Nerf Rough Cut
02 February 2013 - 06:45 PM
Phillips Screwdriver
Something that cuts plastic well.
1 - 1in to 1/2in PVC bushing
1 - 1/2in CPVC coupler
Any length of 1/2in CPVC barrel (I used between 4 to 6 inches in length).
Sorry for lack of photos during process, but it is quite simple.
Step 1: Open the blaster
Step 2: Remove the internals. Scrap the front orange 8 barrel whatever it's called. That won't be needed.
Step 3: Place the bushing onto the desired plunger system, left or right (make sure the hexagon side is on the outside part as the coupler fits in that.
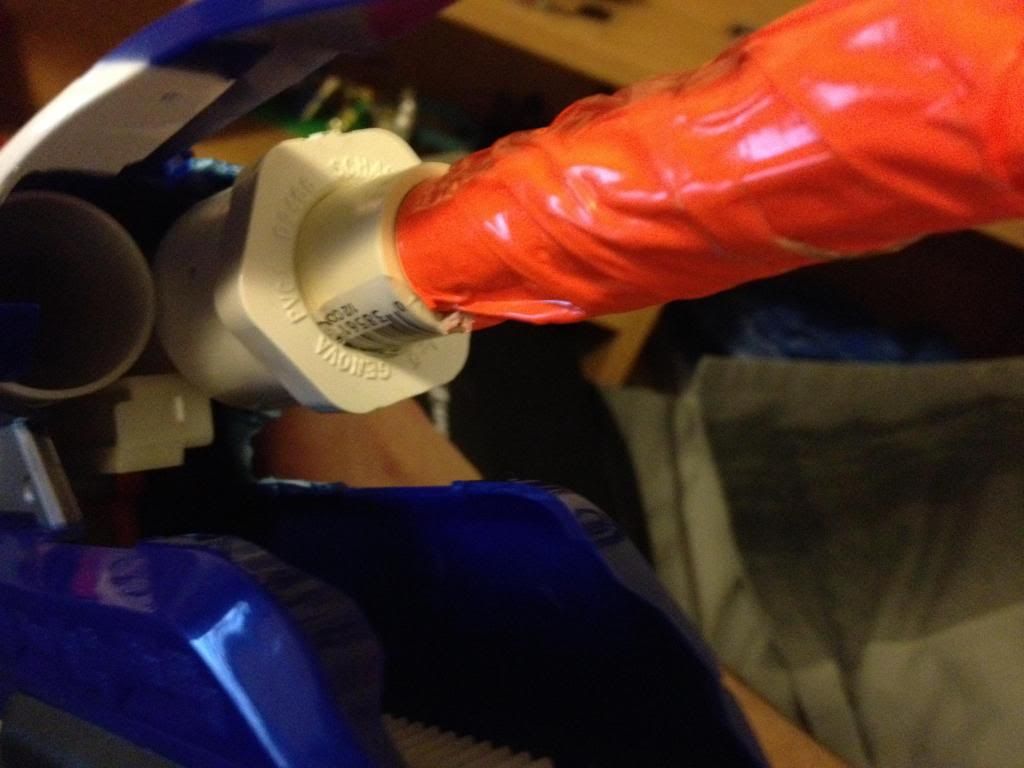
Step 4: Adhere to the system via epoxy, hot glue, etc.
Step 5: Cut shell to accommodate the bushing.
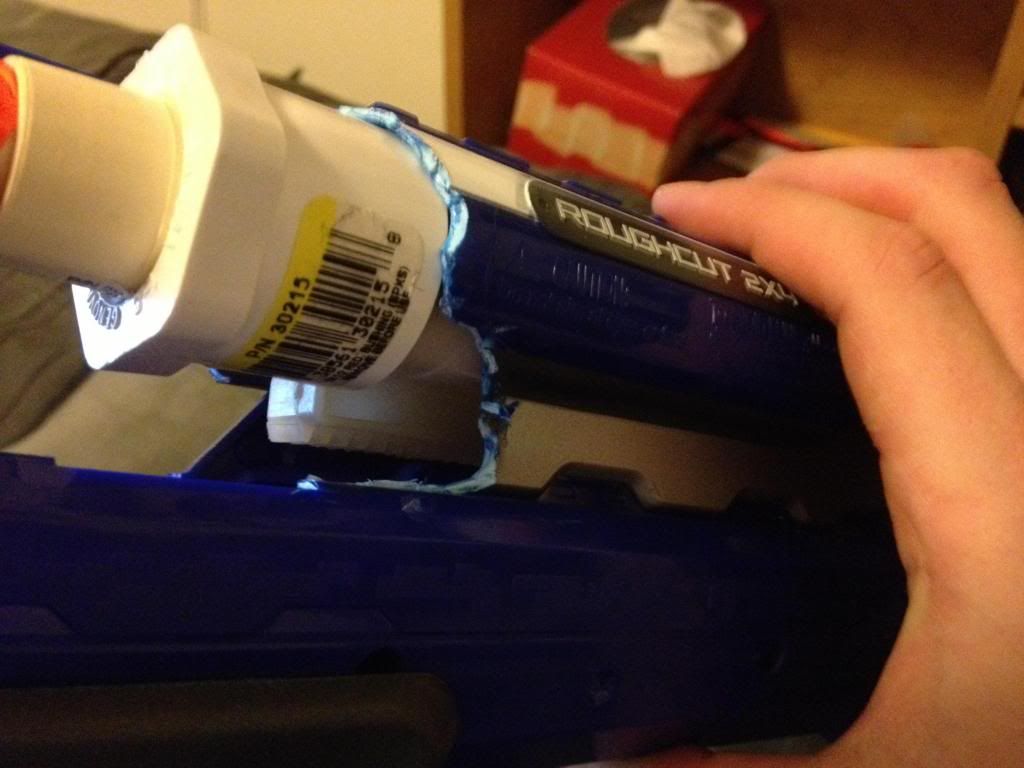
Step 6: Put internals back in, close it up, and have fun shooting.
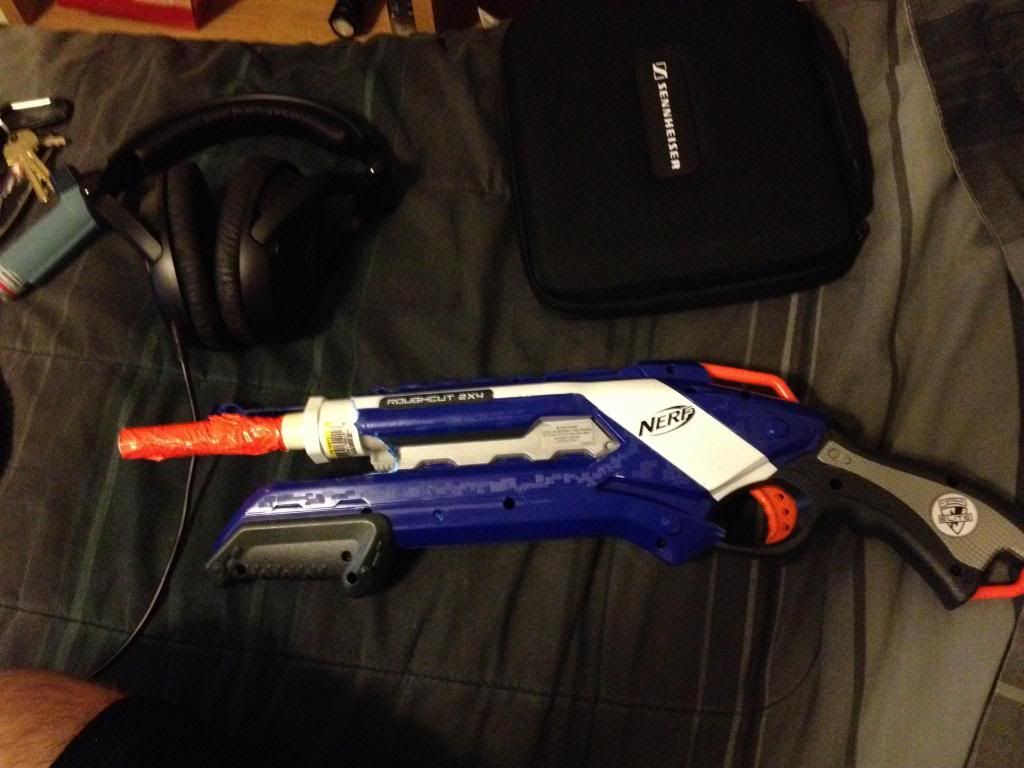
Very important note. Whith this way of doing it, only one bushing will fit because of their size. If you choose the left barrel, everything should work out good. But, if you choose the right barrel, then you must do another step. There is a pushed up button by a spring that works with the priming mechanism. If you're not using the left barrel, either remove the spring or remove that part entirely and you'll be fine. It's on the outside, I only removed the spring and didn't even have to take it apart. It's right near the barrels. Btw, take the other plunger tube and spring out from the unused side, only causes more noise and could potentially break your plunger system. As well, with only using the right barrel and that removed, slamfire is the only way it'll shoot as of right now. Will be doing some more testing and maybe another Nerfer can come back with some more information.
For the ranges, it's snowing here so I can't officially test, but with a roughly 20ft hallway, hits the wall decently. I'm guessing between 60ft and 75ft flat. But I am not sure.
Happy Nerfing.
Double Panther Modification
07 October 2012 - 09:06 PM
Required Materials:
Hack Saw or Dremel
Epxoy or some sort of strong adhesive
And any other materials for if you want to modify the blaster itself.
*Note* I will not be explaining the modification part of the blasters' internals. Please see makeitgo's Basic Modification topic.
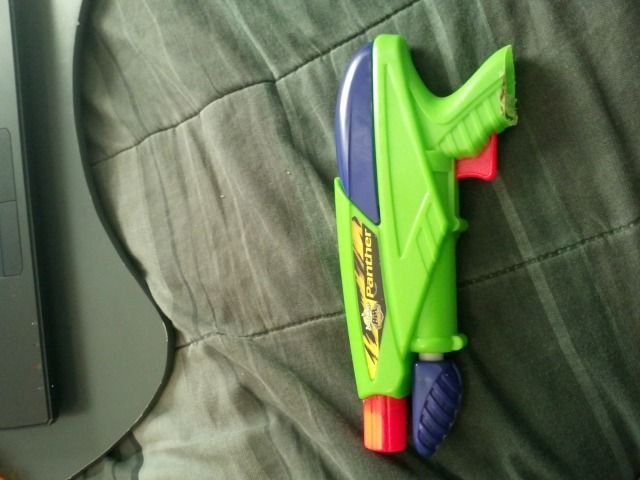
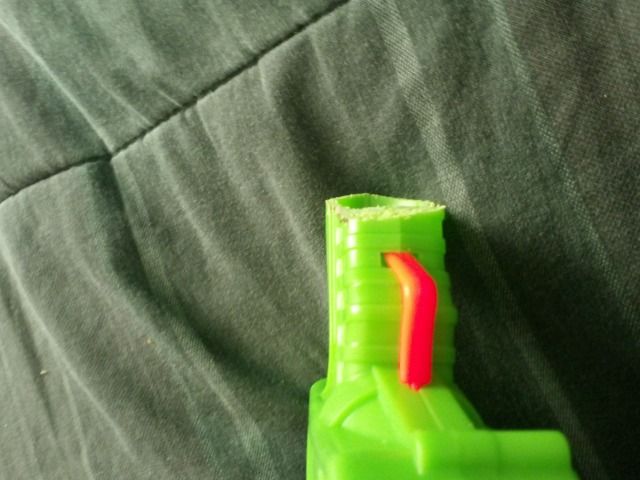
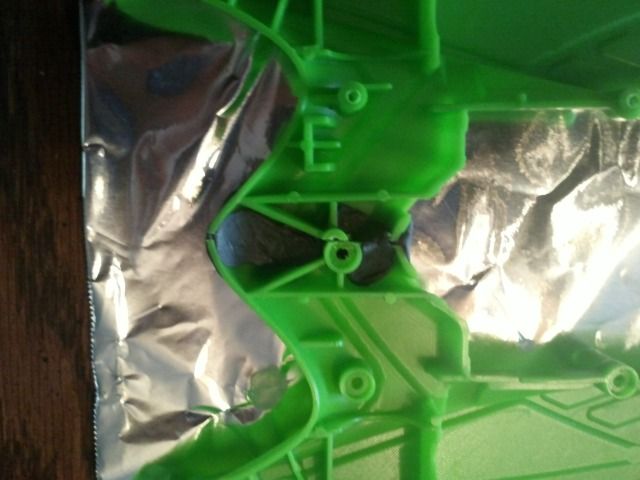
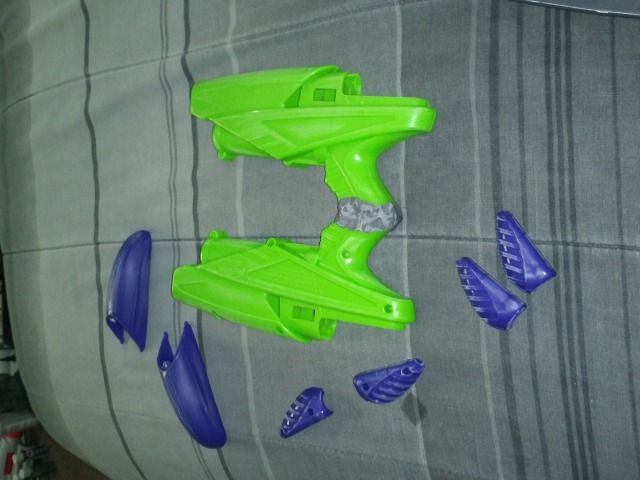
Most of you have probably seen a Buzz Bee Panther, so I'll just show where I cut the handle.
Roughly just below the trigger, if you want you may make a lower cut depending on your hand size.
Next align the two blasters before you adhesive them so they are not really unaligned. Make sure to get as straight of a cut as you can, measuring would be advised.
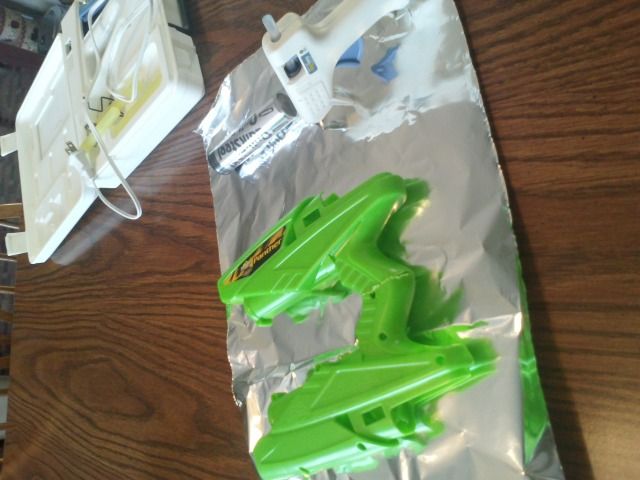
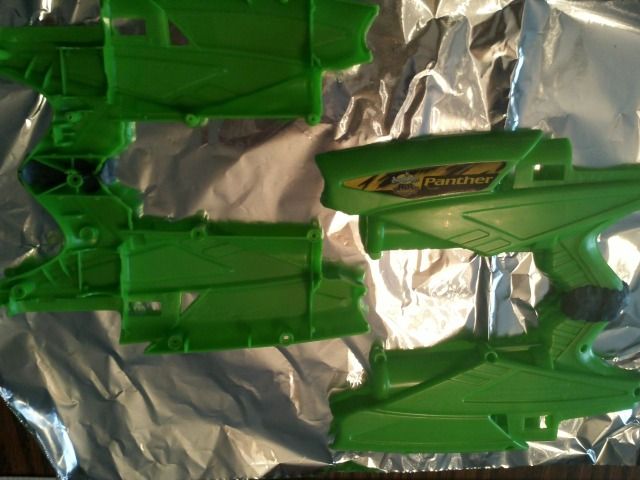
Now, adhere them together like so (and make sure to adhere the outer shell and inner for structural support. I used Epoxy Quick Steel and this shouldn't break. Use as much as needed to make sure the bond doesn't break.
The blaster should now look like this.
But I can't leave it like that... So after some modifications and a paint job...
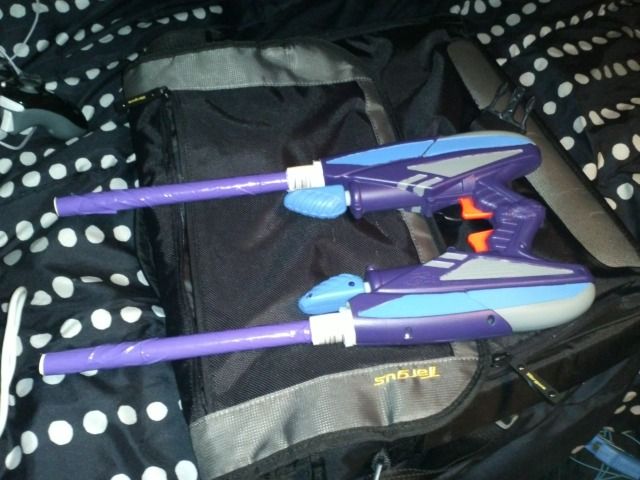
Behold, the Halo Panther.
Questions are welcomed.
Canton, Ohio War July 7th, 2012 ***Cancelled***
24 June 2012 - 03:37 PM
Quick Alpha Trooper Question
22 March 2012 - 10:06 PM
Sasquatch
Eye Protection Is Key
03 March 2012 - 11:00 AM
Alright, thanks for the suggestions already and keep them coming. This list is what would be considered a recommendation and guidelines list. This doesn't mean you have to follow or agree with the list. If anyone sees anything in the list that should be moved to a different category or do not agree, don't flame, just leave a respectable comment stating why it should be changed. Again, thanks to everyone for these suggestions. I am not taking credit for this list. NerfHaven as a community may take credit.
Practical:
Lab/Industrial/ANSI Z87.1 - Thanks for the additional help from Jlego. Basically, any rated by ANSI Z87.1 has been impact tested for industrial work/chem lab, which they use that rating system for their standard. "Nothing nerf will punch through those" - Swiftone1990
Airsoft Glasses - BB's can't penetrate, neither will a Stefan.
Nerf Dart Tag - With point blank 1/4in dome darts out of a rainbow by HasreadCoC, these will do just fine.
Paintball Goggles - If a paintball can withstand them, a Stefan shouldn't be any worries. Plus can come with anti-fog lenses.
Shooting Glasses - If they're made to protect from bullet shrapnel, or bullets, then what is a Nerf Dart going to to?
Would Work But May Not Be Too Practical:
Swimming Goggle - They work, but your peripheral vision is blocked.
Ski Goggles - Same as swimming (Thanks to Swiftone1990 for verification).
Standard Pair of Sunglasses - These will definitely work (as long as not glass), but use with CAUTION as sides may be exposed. Recommended to get a pair that wrap around the eyes.
Practicool (inspired by OneWingedAngel):
Sunglasses With Built In Camera - Same as regular sunglasses, but the cool feature of filming.
Welding Helmet - Intimidation factor will come into play, but may lack peripheral.
Face Shield - Seriously, if you use one of these you much be cool.
Mesh Face Shield - It may work, but because of the mesh it may not hold out too well. As well may lack peripheral.
Not Practical:
Prescription/Reading Glasses - Thanks to KaneTheMediocre for the better information. Prescription glasses may be safe as they're made out of a special poly-carbonate plastic, but some pairs may be too small to protect the eyes and may have the possibility to fall off (unless you have goggles over top them). Am I saying don't use these? No. Just fair warning for anyone who may want to and this is clearly at the hosts discretion for if your prescription glasses are protective enough or not.
Unprotected Eyes - ... I'll let Langely or someone cool make a funny comment about unprotected eyes.
Monocle - Seriously, it only covers one eye, and just barely.
Frameless Sunglasses - Probably worse than basic sunglasses as they may be easier to breakage because of lack of a frame structure.
3D Glasses - They maybe give a cool effect, but the effect may mess up your vision and the lenses may not be very durable. Also, probably doesn't cover fairly well.
Also given by Jlego, here is an external link for more information about protective eyeglases Lab Safety Supply
With a helpful tip from Daniel Beaver, if your eye protection tends to fog up, get anti-fogging spray or a drop of dish soap (I didn't even know that).
Is this list final? No. Is this a list that should be made standard? Not necessarily. Everyone has their own opinion. I see this as a guide for players who don't know what to get and want to check out what may work. Then they can venture out and get what they want for they feel is best suited.
- NerfHaven
- → Viewing Profile: Topics: MattTheSasquatch
- Terms of Service and Privacy Policy
- Code of Conduct ·