First off, I'd like to say that I know that there are tons of write-ups on this already, and none of these mods are original in any way, I just noticed that there wasn't a basic Longstrike write-up in NerfHaven's directory.
Also, I want to apologize in advance because I forgot to take pics of the locks that you can take out, like the trigger and clip lock.
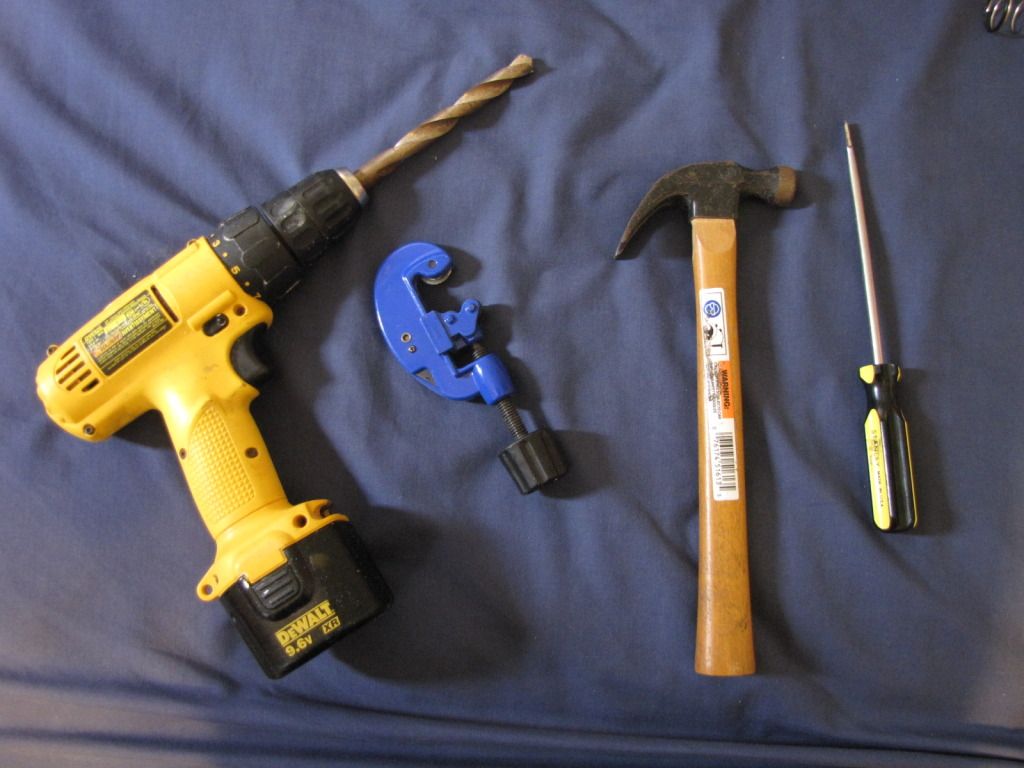
Anyways, lets get started! Here are the stuff you are going to need:
- Screwdrivers
- Glue
- Electrical tape
- Silicone sealer
- Plummer's Silicone Grease
- Dremel with appropriate bits
- Drill with appropriate bit (Optional)
- Rotary Pipecutters (Optional)
- Hammer
- Pliers
- Time
- Skill
- Money
And of course, the Longstrike itself.
Opening the Blaster
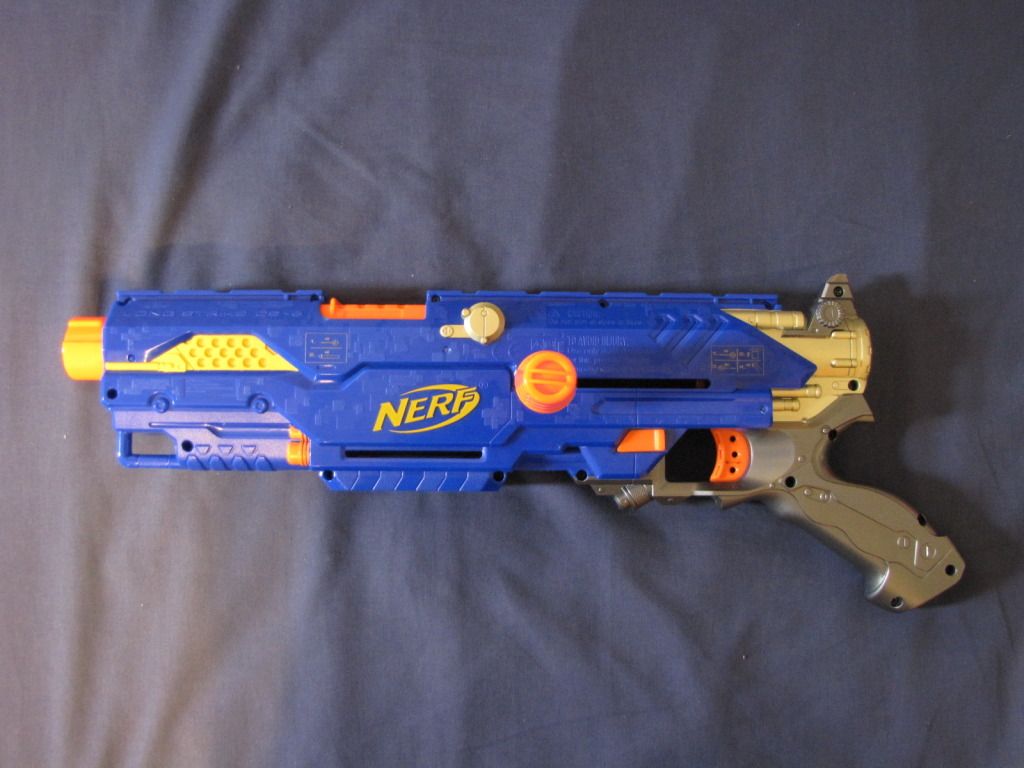
The first thing your going to want to do is to remove the screws. Not that hard. However, your going to notice that the blaster cannot be opened, because of the bolt handle. Simple solution, use the claw part of a hammer, or a screwdriver to pry it off. I used a screwdriver:

Now once you have that off, you can open the blaster.
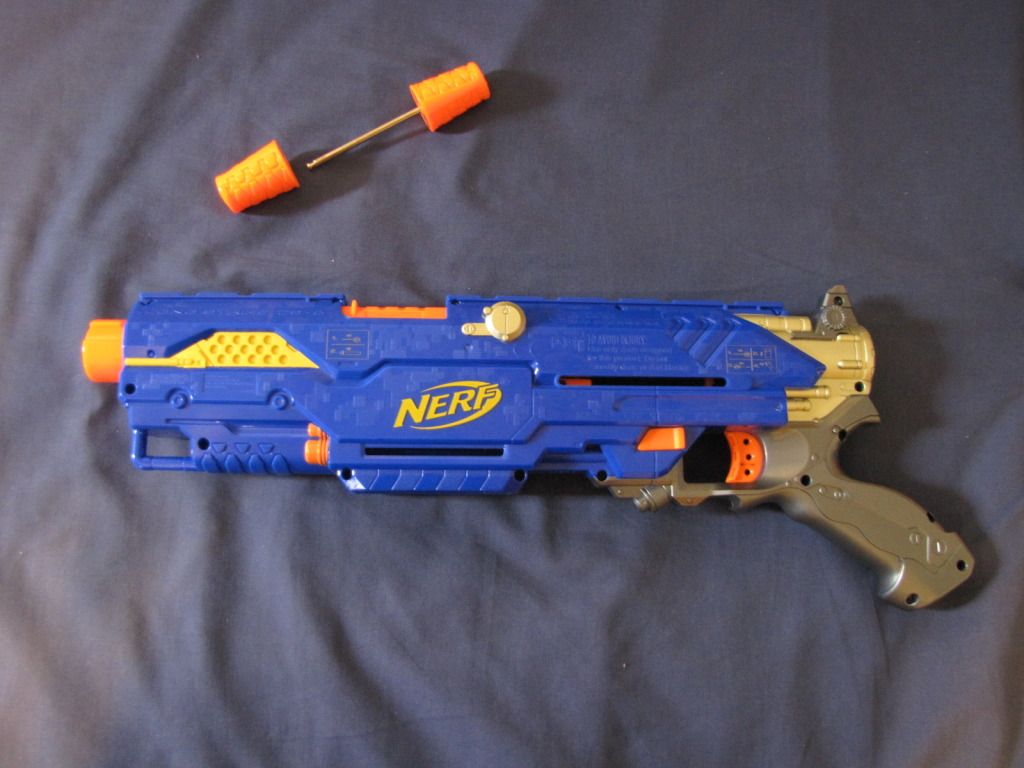
I'm not sure if this is the case for all Longstrikes, but some parts maybe glued together. On my Whiteout Longstrike, the forward sling mount was glued. That was not the case for this one though...

This one was actually glued to the internals. You can see the glue marks on the receiver:
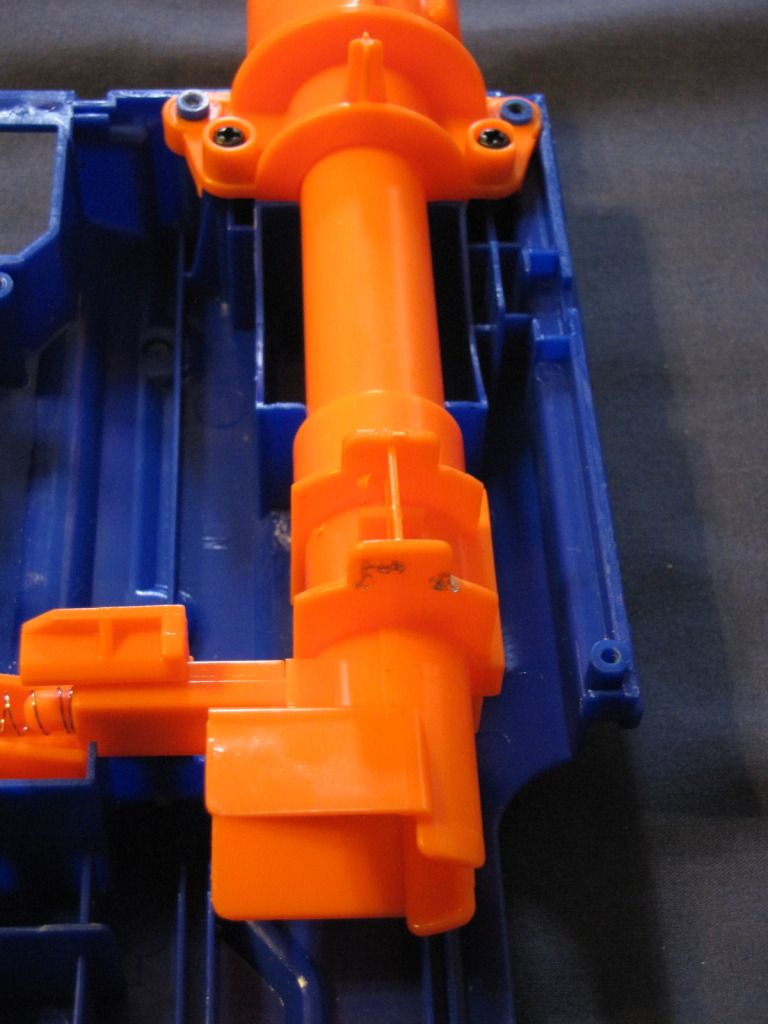
If you find that your internals are glued, just carefully pry apart the blaster till you can get to the internals.
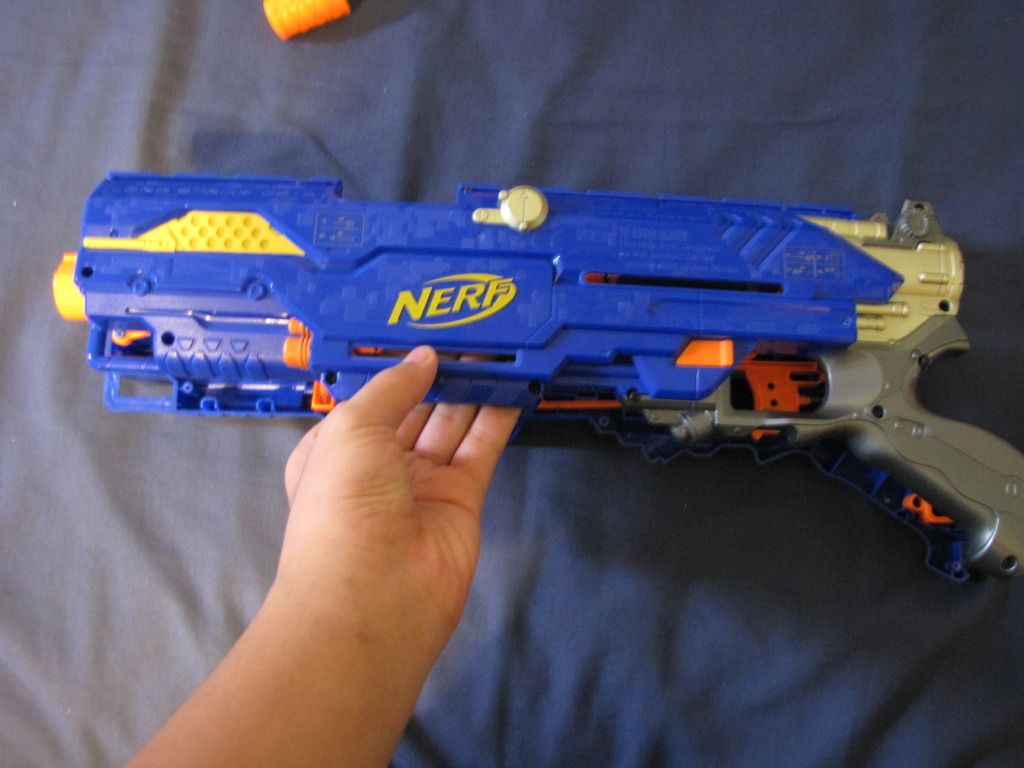
Internals
Here is a shot of the internals for the Longstrike. Some of you may notice that there are a few pieces missing. Those missing pieces are the locks, which I forgot to take a picture of (my apologies). However, you don't need them, so you can just take them out, and throw them away.
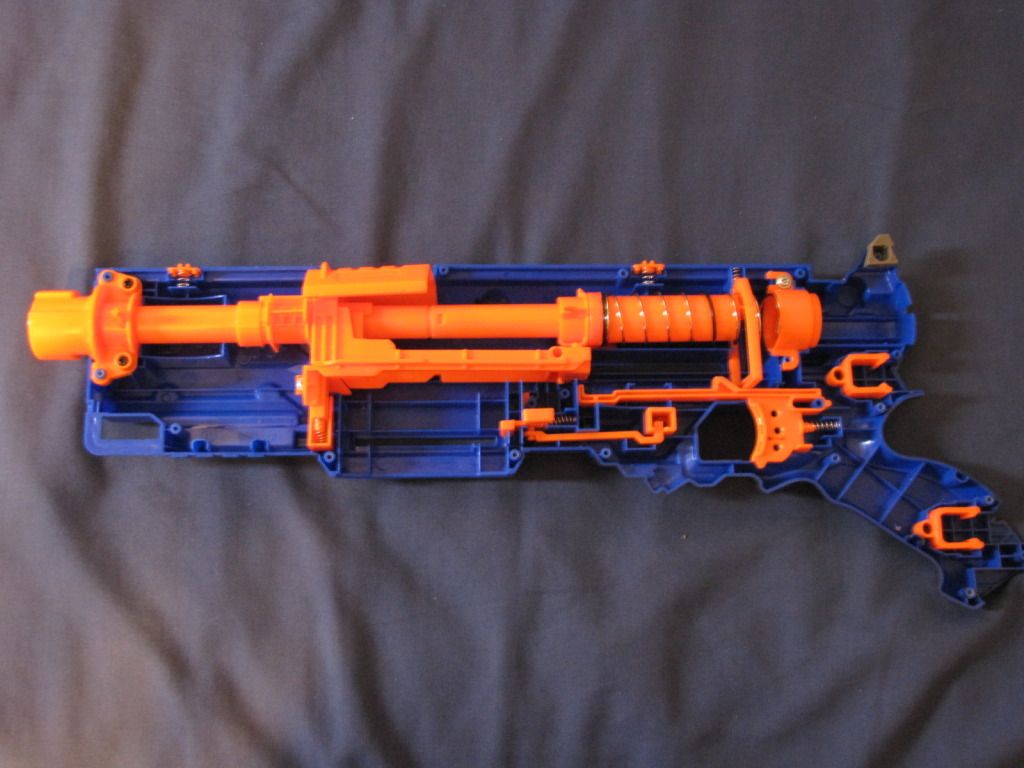
These are all the parts that you are going to want to take out.
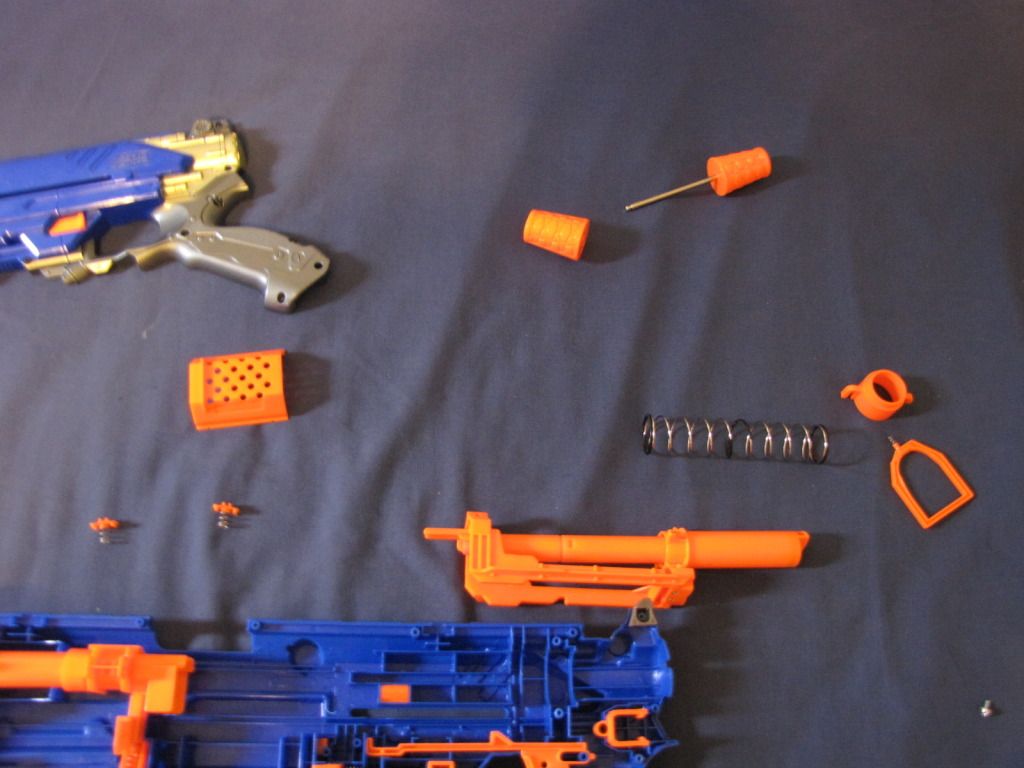
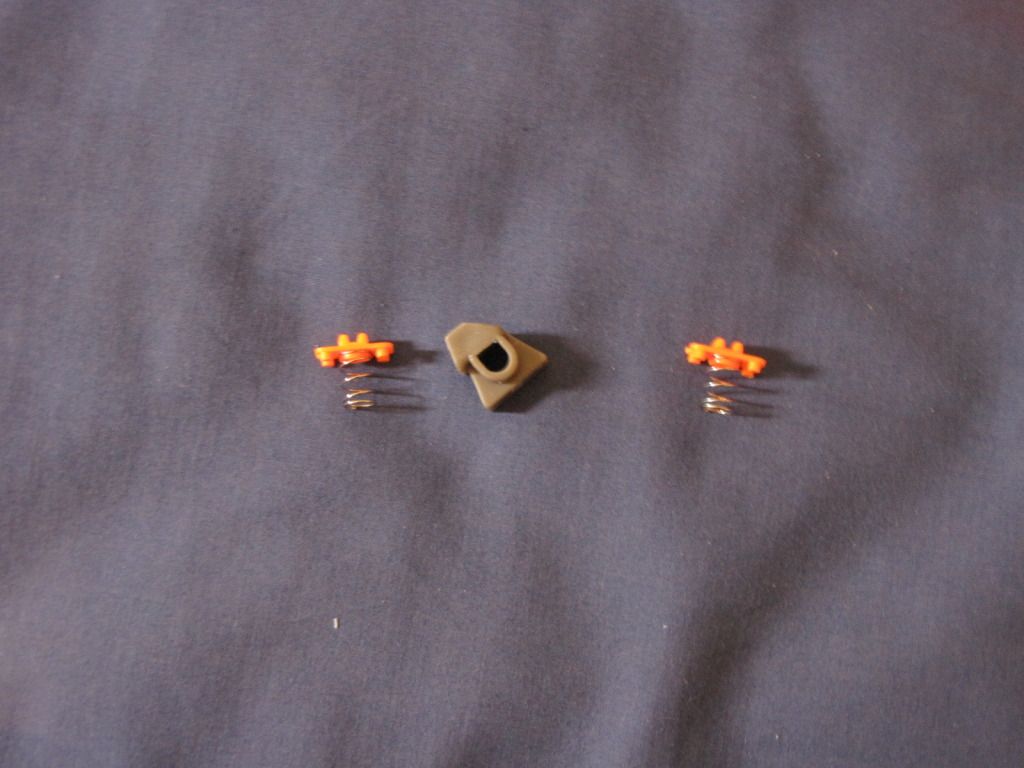
Also, don't loose these parts! Put them in a place where you won't loose them. They are not needed for the blaster to function, but they complete the look.
Taking out that darn AR!
This is the assembly we will be focusing on.

First, take the plunger off, we won't need it at the moment:

Now there are many different ways of removing the air restrictor, however I will be covering three, the hammer and screwdriver method, the drill method, or the pipe cutter method.
Hammer and Screwdriver Method:
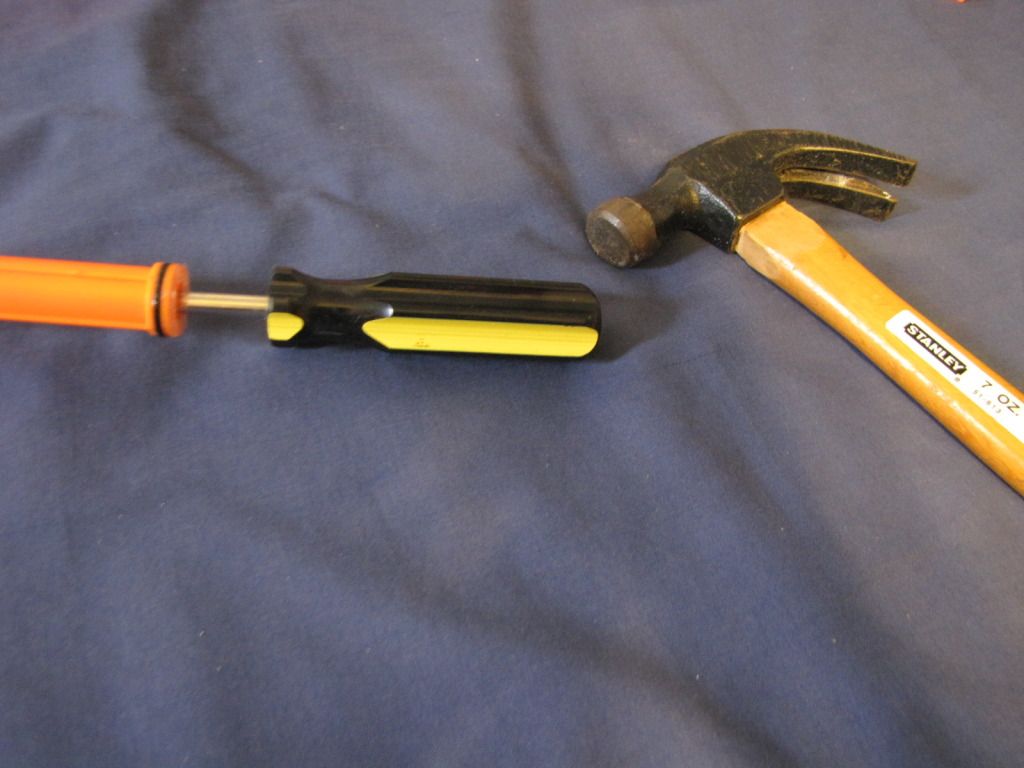
Take a long screwdriver and your hammer. Put the screwdriver down the end of the bolt, and use the hammer and pound out that AR! Use caution, and check if you are hammering straight, you might accidentally pound a hole in your bolt!
The Drill Method:
This is one of the easiest methods out there. Grab a long drill bit, and drill out that AR. I suggest doing this from the back end of the bolt because you might mess up the seal if you go from the front.

The Pipe Cutter Method:
To preform the pipe cutter method, you are going to want to remove the bolt sled from the bolt. To do this, you have to punch out that little metal rod that is inside this hole:
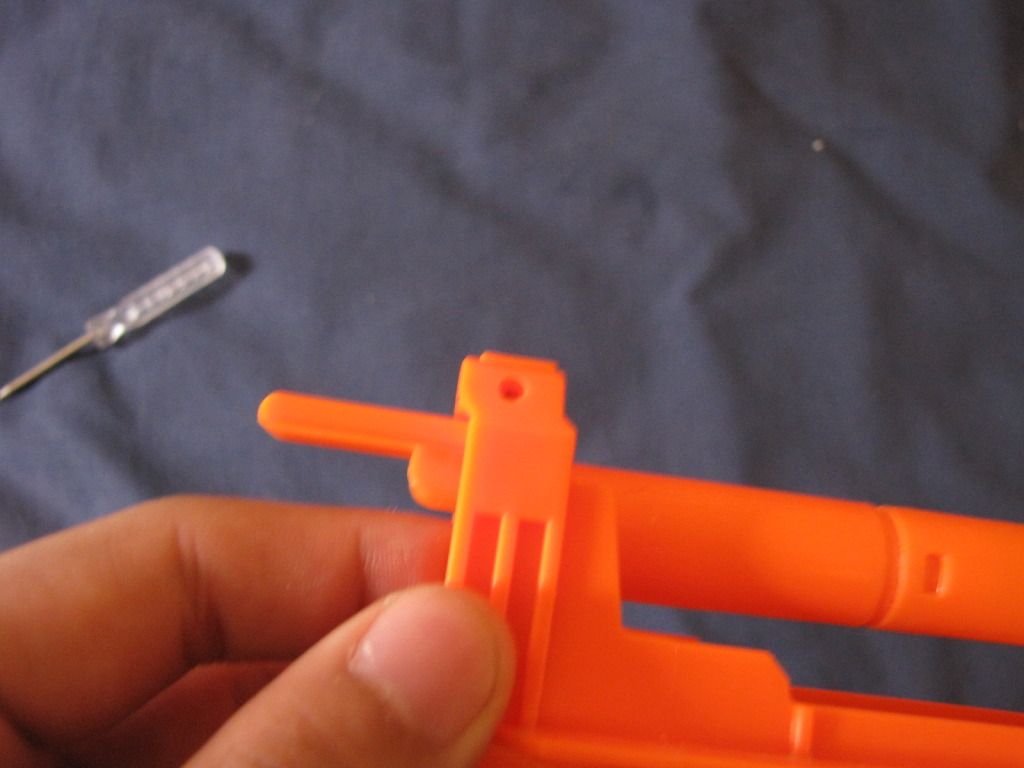
Use a small screwdriver and push it out carefully:

I like to finish the job by using pliers:

Now that you have removed the bolt sled from the bolt, this is what you should have:
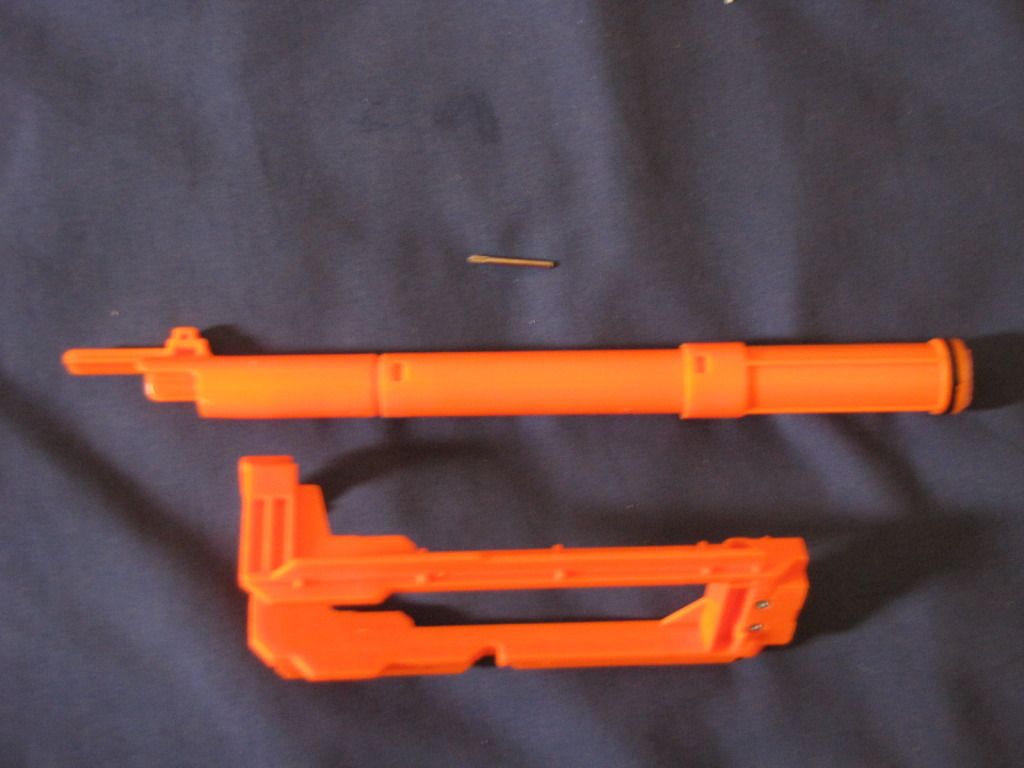
Don't loose that pin! It is needed if you want to reassemble this.
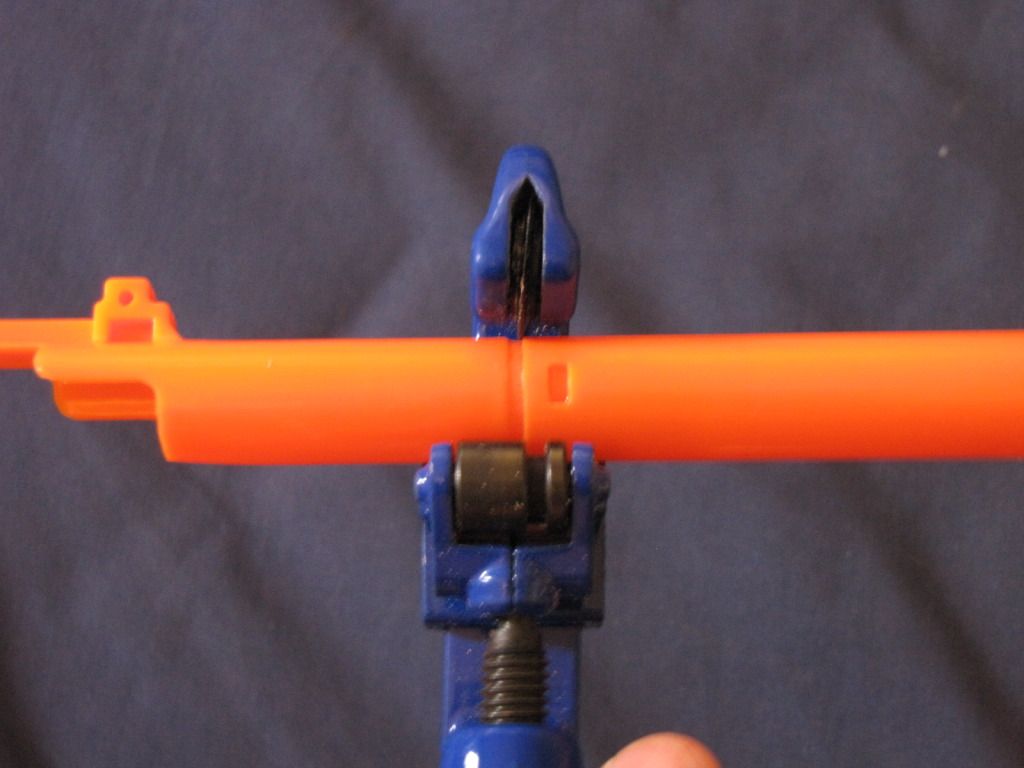
Now, take your rotary pipe cutters, and slowly cut along this seam.
EDIT: I have been informed that cutting along the seam is the wrong place to cut. You are actually supposed to cut about 1 cm to the right of that seam. Again, cut slowly.
When you are done, the air restrictors should fall straight out. Once they are out, re-glue the bolt back together. Sorry again for lack of pics again.
There is also a method where you boil the bolt in water, but I've never had any good experiences with boiling parts in water, so I don't recommend that method.
Seal Improvement:
If you want to get a good seal, without using the awesomeness of OMW, then this is what you are going to want to do. Take off the O-ring from the back of the bolt. Get some electrical tape, and cut it so that it is skinny enough to wrap around the place where the O-ring was. You are going to have to experiment with the amount of E-tape to use here, but generally, it is going to be around one wrap.

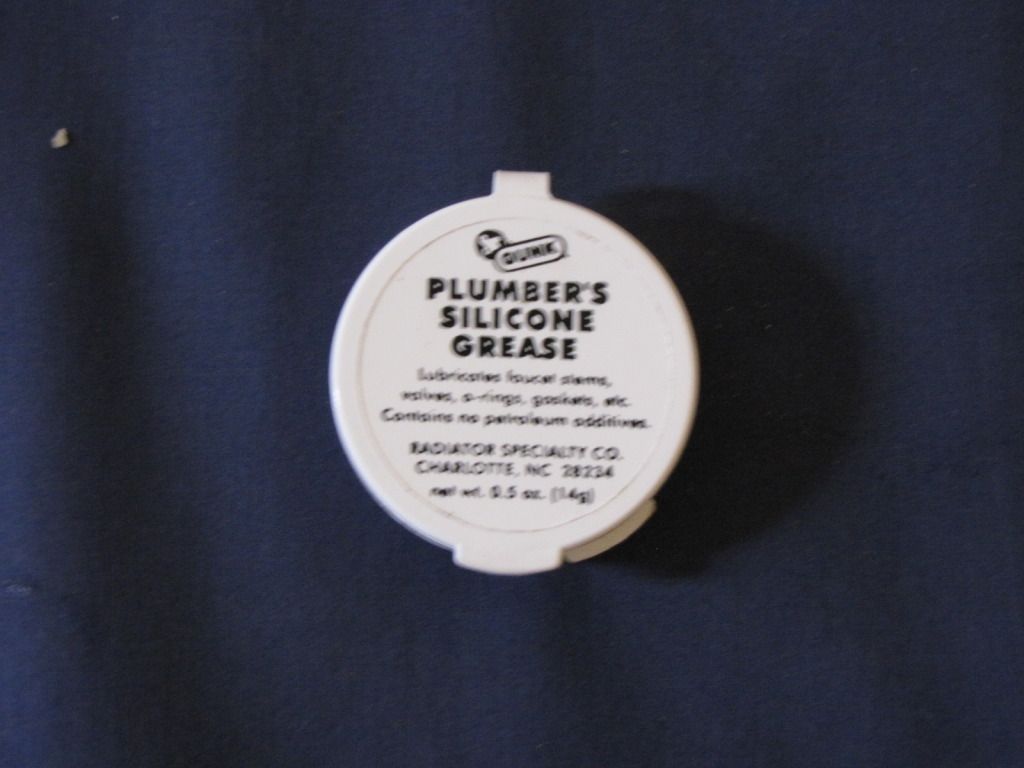
Now take some of that Silicone grease, and lube up that O-ring!
Reinforcement Modifications:
If you want your Longstrike to last a long time, you are going to have to reinforce your plunger tube. This is not a necessary mod, but it will exponentially increase the lifetime of your modded blasters, especially reverse plunger blasters. There are many way to do this, but here is what I like to do. Take your silicone sealer and your bolt to a ventilated area, as the silicone sealer smells like vinegar.
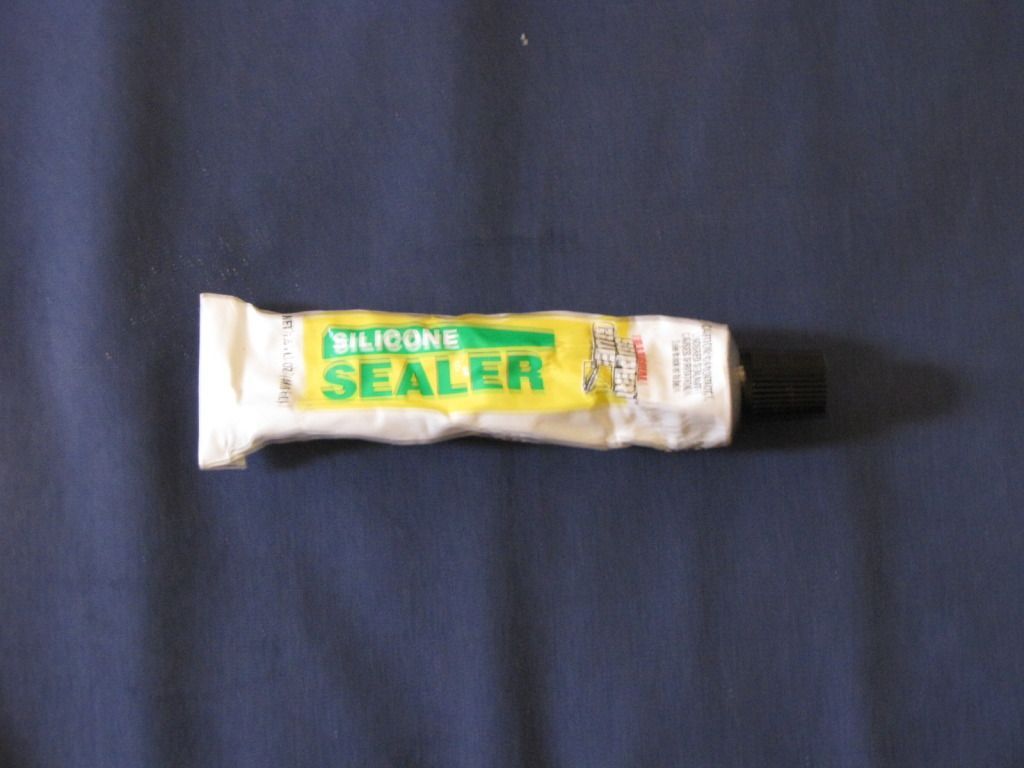
Now apply it to the back end of the bolt. Be careful not to get it on the O-ring. After you have applied a good amount, let it cure for 24 hours before continuing.

Thanks to KaptainKrazy for the idea. Link to his write-up on this here
Spring Compression Mod:
This mod is again, not needed, but it does increase the power of your Longstrike and other reverse plunger system blasters. For this mod, you can use 1" PETG, tape, or a Nitefinder plunger tube. I opted for the Nitefinder plunger tube as I had one laying around. Your going to want to cut off around this much of it (sorry for lack of measurements).
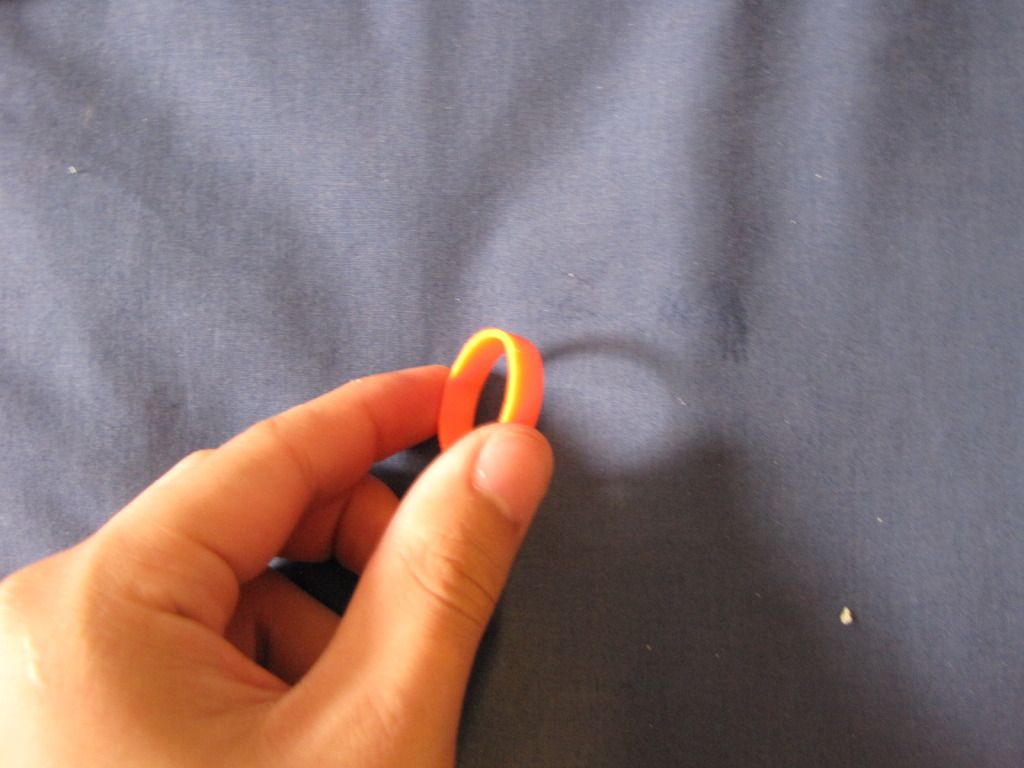
Now just slip it over your plungertube.
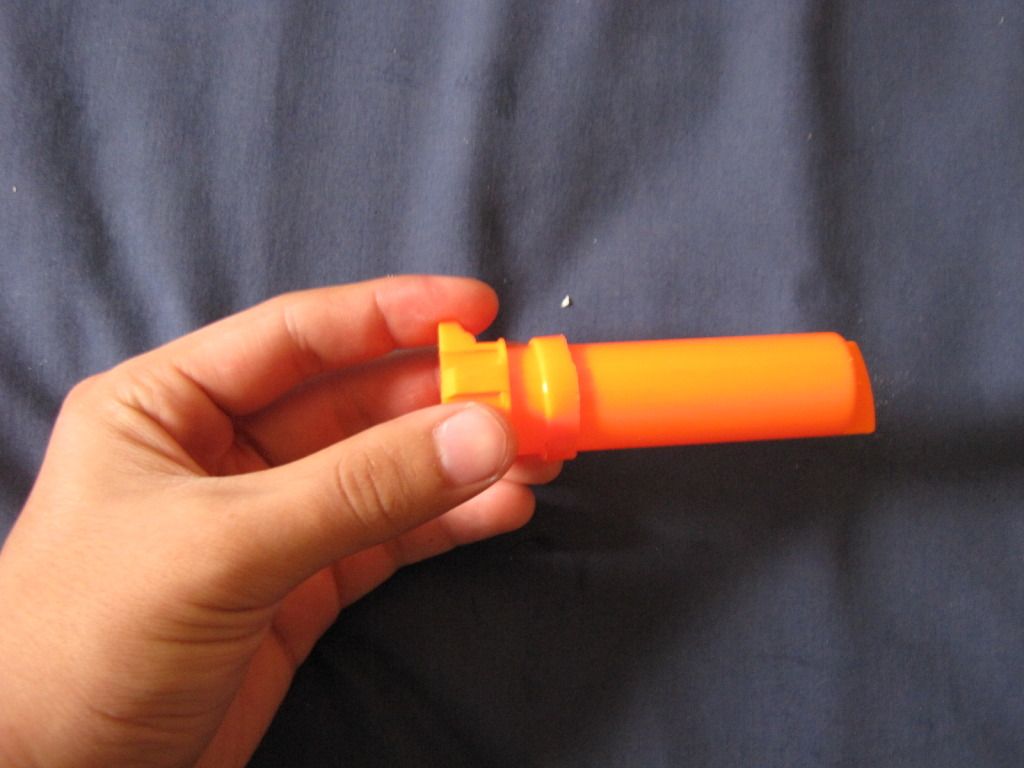
If you want to use E-tape instead of a Nf plunger tube or 1" Petg, just cut it so that it is that thickness, and wrap it around till the spring rests on it. Careful, don't wrap it too much!
We are now done with modifying the internals!
Re-Assembly:
Now that we are done with the modification phase, it is time to re-assemble. First take your Plunger assembly, and replace it back into the blaster. Make sure the pointed part of the plungertube is facing up.
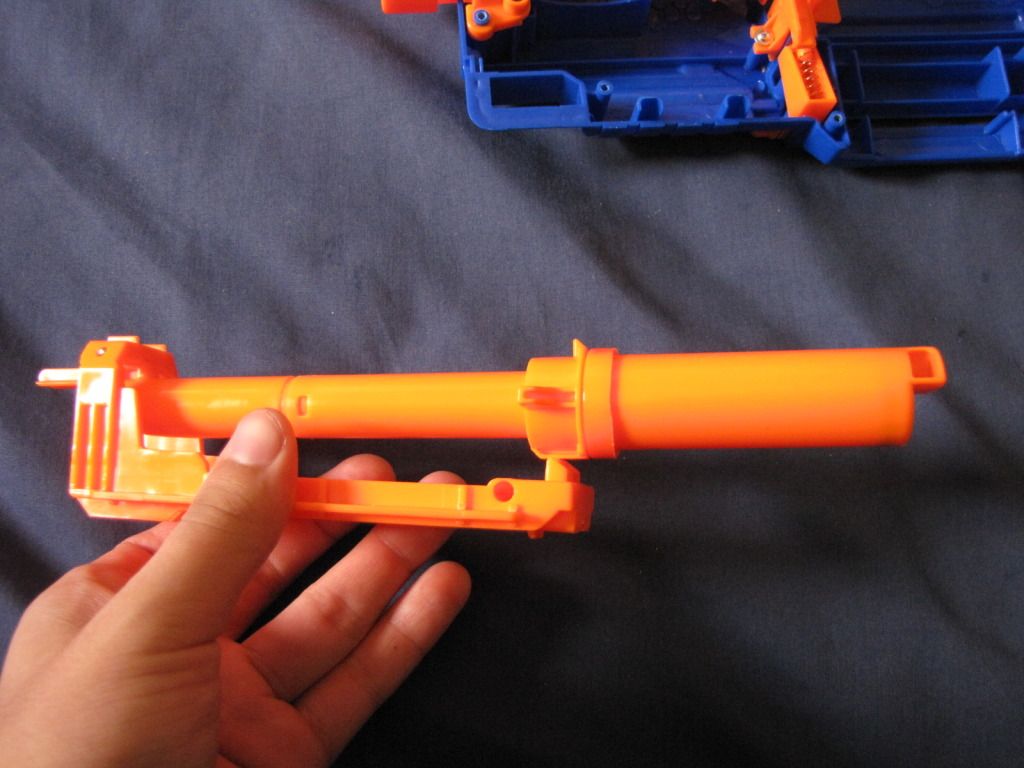
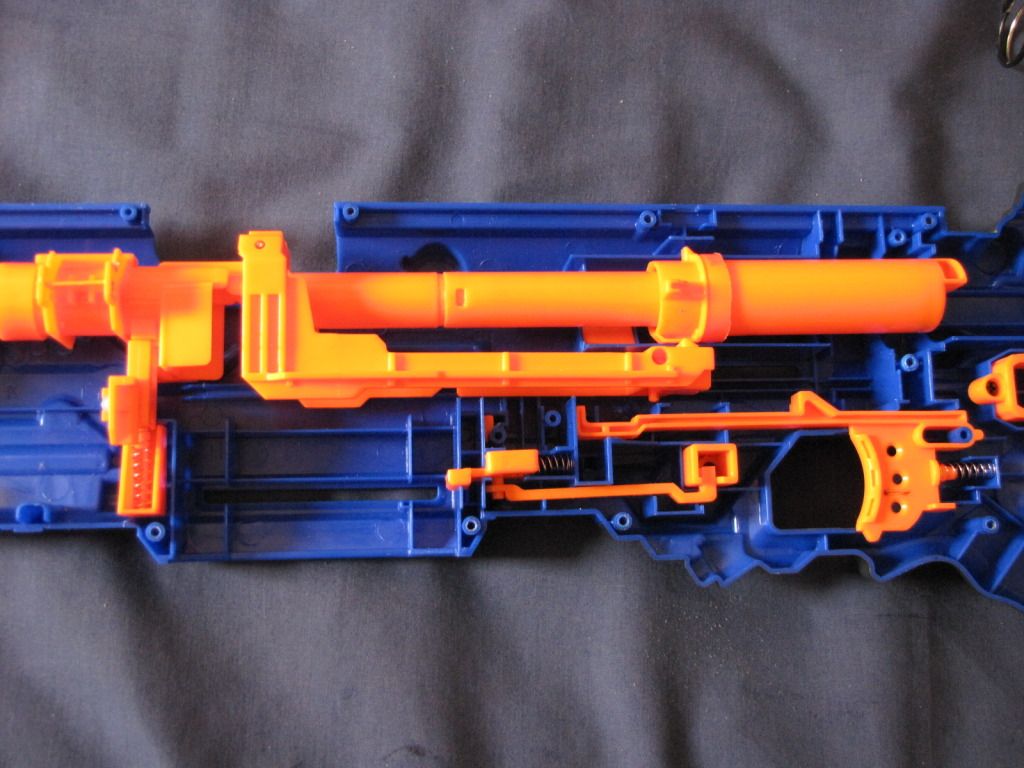
Now take the Jam Door, and put it over the Bolt sled, back where it belongs.
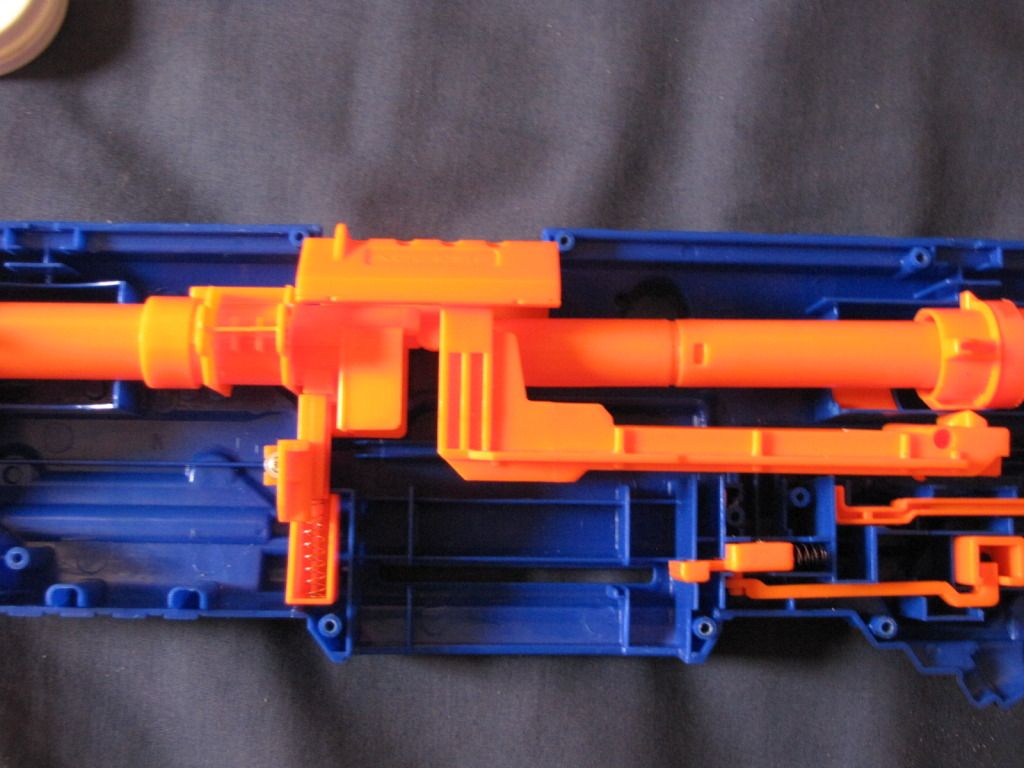
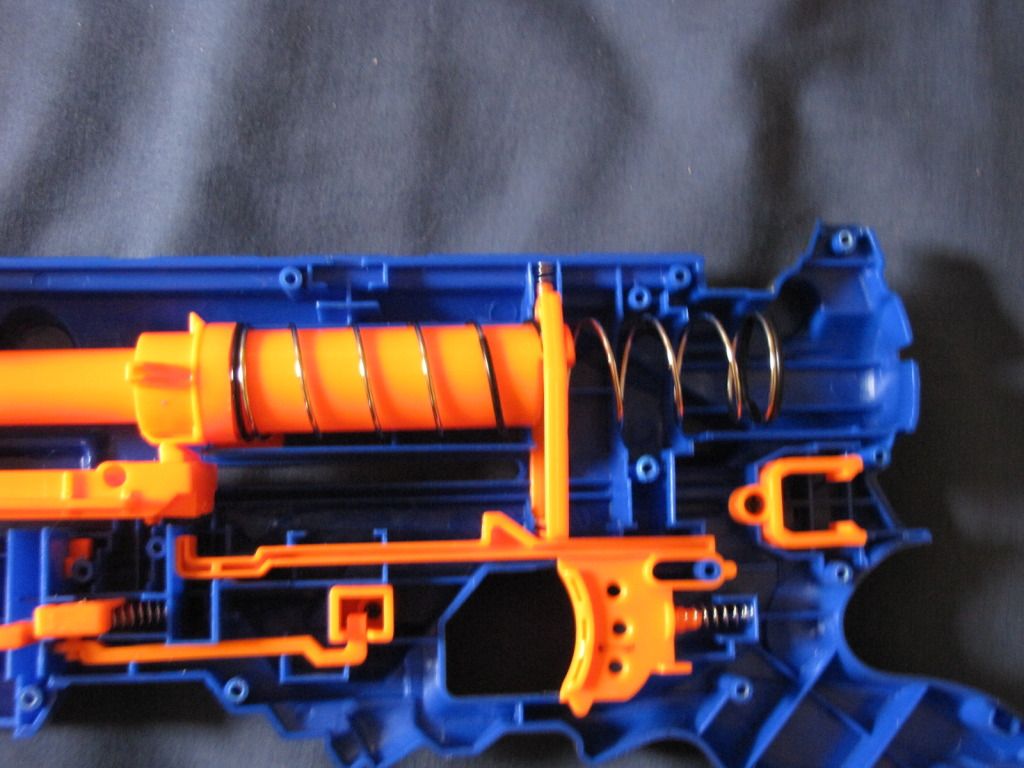
Next, slide the spring over the Plunger tube:
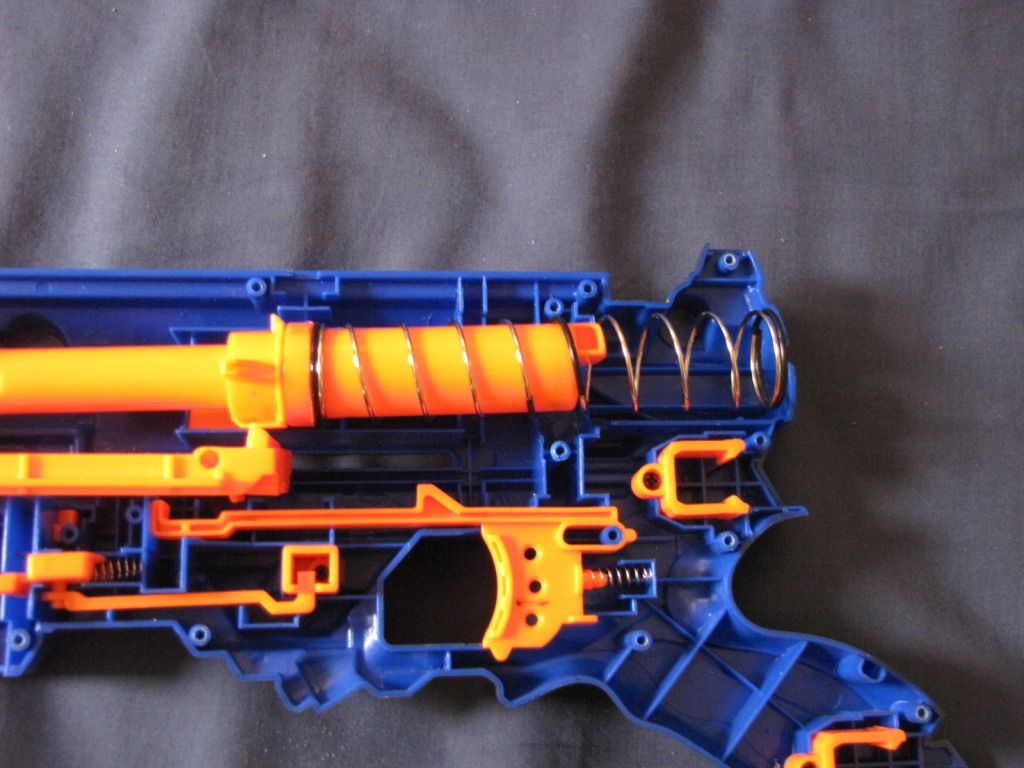
Then the catch:
Please wait for part 2


 Find content


