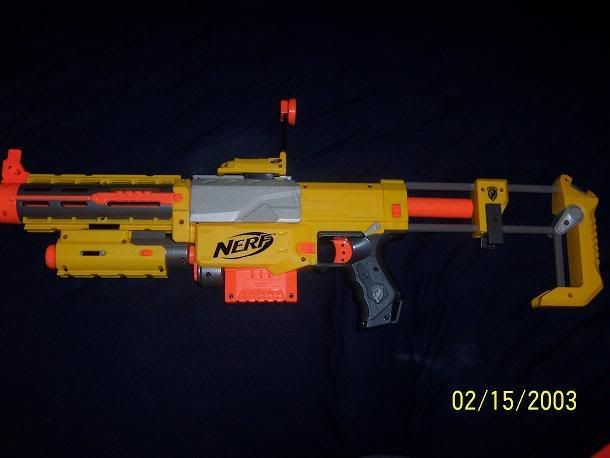
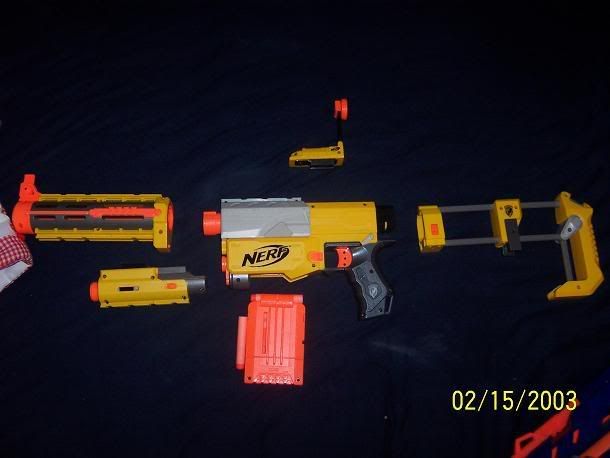
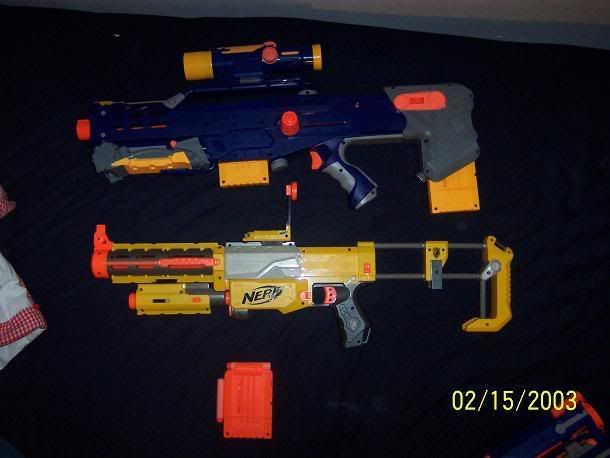
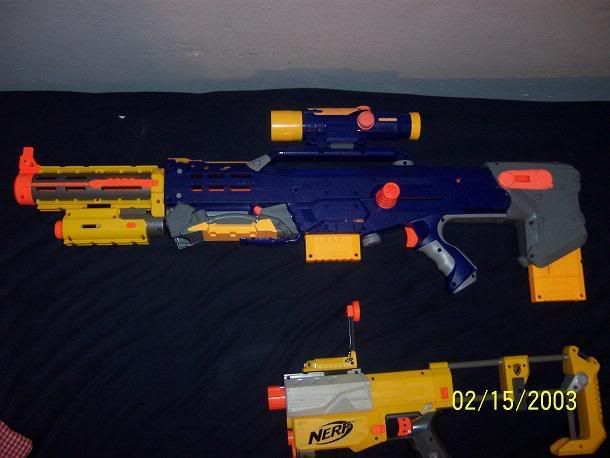
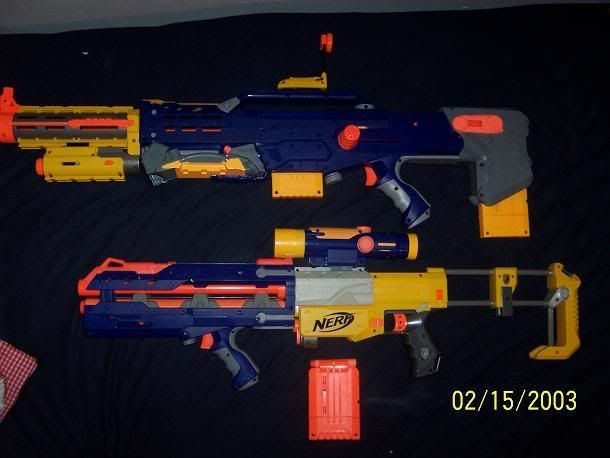
Nerf Longshot: Dual Stage Coil Gun
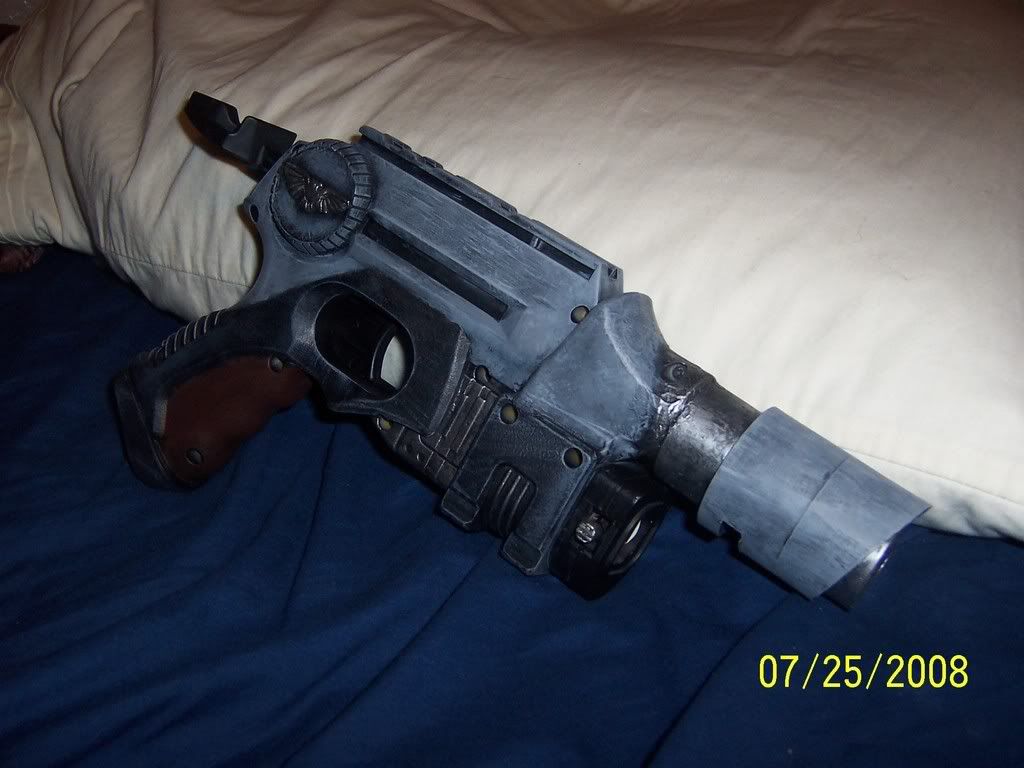
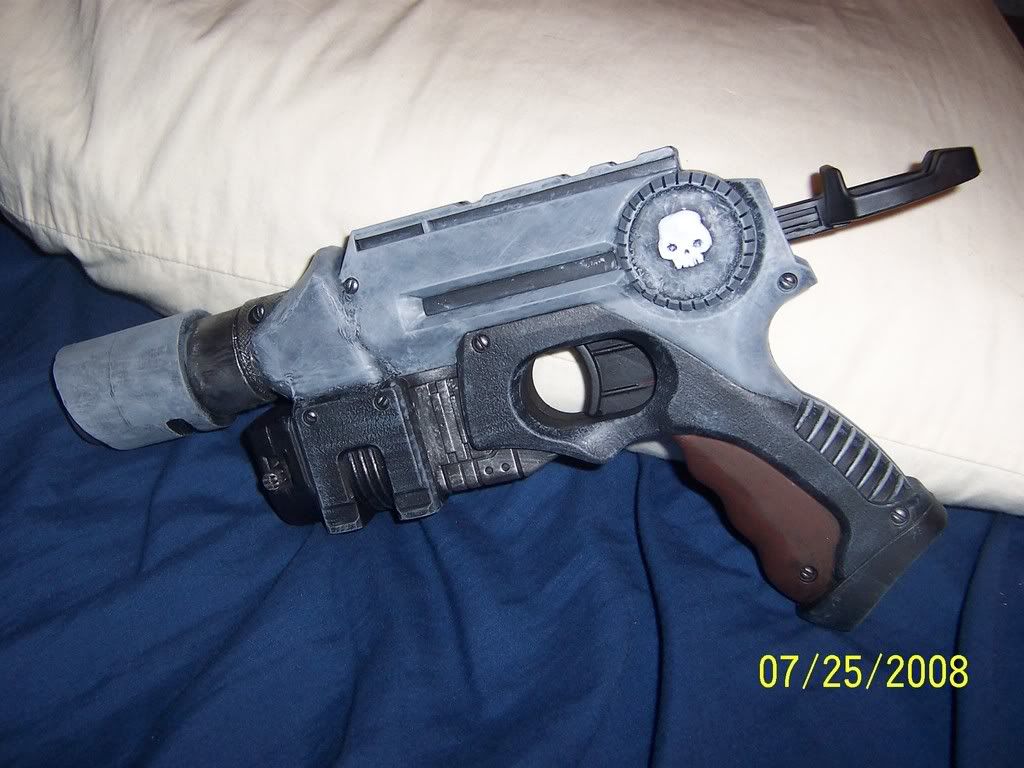
This started out as a Secret Santa gift. I had no idea what to get the person and saw that they both A: liked nerf weapons and B: liked Tesla, so I figured I would combine both into one. It is a dual stage electrokinetic coil gun that fires 3 inch steel bolts.
The list of parts required are:
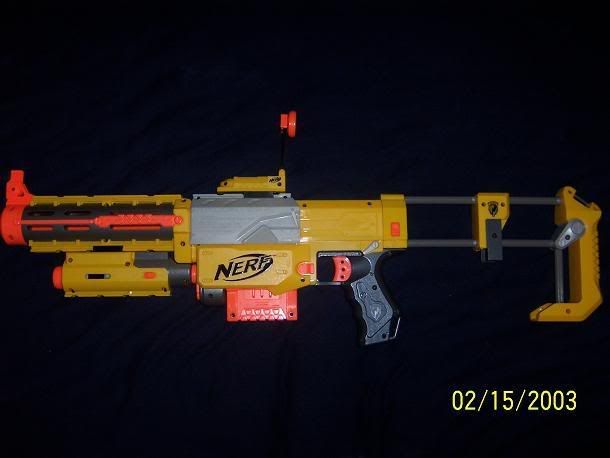
1 Longshot
1 Barrel - Polycarbonate tubing. Can not be copper because of eddy currents. More on this later.
2 Heavy duty solenoids, 24v continuous use rated. ( you can wind your own coils if you want, but this is the easiest way to make sure you have uniform windings)
2 Switches- one for main power and another to fire
1 charging circuit
2 capacitor banks
1 8 AA battery pack (12v)
High voltage diodes
Rolled steel rod to mill into ammo
For basic coilgun theory here are some useful websites.
http://www.coilgun.eclipse.co.uk/
http://www.powerlabs.org/gaussgun.htm
First thing first. The way I did it is not the optimal way for power, but was by far the easiest. It is a pain in the butt to fit the circuitry in the case. I could have used an infrared sensor as an optical trigger, but it would have required even more wiring and I simply didn't have the patience for it.
Basic Overview
The battery clip (J) is modified into the existing longshot clip so it can slide into place. It is connected by the battery terminal (K). The power switch is on the outside of the case, above the trigger and behind the clip release. When this is switched on it completed the circuit and allows the batteries to power the charging circuit (H).
The charging circuit is a CCFL driver that takes the 12vdc input and outputs it at 350vrms (voltage root mean square). What this means is that it is outputting pulsing DC, rather than continuous. This is necessary in order to multiply it further with a cockroft-walton multiplier.
This now high voltage current is led to a charging relay (G). This relay is simply a piece of perf board to make leading it to the banks easier. From here, using diodes, it is sent to both capacitor banks (A and I). The average charge time was 1:30 minutes, but the CCFL driver is the limiting factor. During tests with a flyback driver from a TV it charges much faster. I had to use the CCFL in order to save space.
The capacitor banks are flash tube or camera capacitors. Each have a 120uf -160uf rating at 330v. The first bank is 990v @ 160uf, the second is 1320v @ 60uf.
The capacitors are both connected to switches. The primary coil (F) is controlled by the switch that replaced the trigger. When fired, the electricity shoots through the coil creating a very strong and very short lasting magnetic field. It must be short lived (controlled through total capacitance of the bank) because if the field is still "active" when the bolt passes through it, it will be sucked back into it.
When the bolt reaches the secondary, it is fired by switch C. This is a very pressure sensitive micro touch switch. The bolt hits it and it completes the circuit, allowing the secondary coil to fire.
Resetting the primary trigger enables the charging to begin again.
The final gun had a iron flux guide installed over the secondary coil. Due to sheer idiocy on my part I put the trigger too far away from the second coil and the bolt was rather unaffected by the field. By putting a cylinder of iron or steel around it and leading back further, I was able to guide the magnetic flux back enough to "grab" the bolt.
Modifications to the LS body itelf was just the removal of everything inside except for the clip lock and then LOTS of plastic removal to make it fit. I also permanently attached the stock for more space.
Test video of just the first coil. http://s258.photobuc...ticalLaunch.flv
Completed gun test vid (you can see the modded battery clip pretty well in this, along with how it is loaded ( in the rear with a magnetic "ramrod" that holds the bolt in place behind the tub in the optimal position)
http://s258.photobuc...nt=TestFire.flv
At this time there are no range measurements nor indications of what it can damage/pierce. I just asked, and may get something soon, though I'm pretty sure he's already given it away.


 Find content


