So I don't have a 3D printer. I don't plan to ever get one because unlike you shlubs I have access to a ton of machine tools at work. So Nyah Nyah.

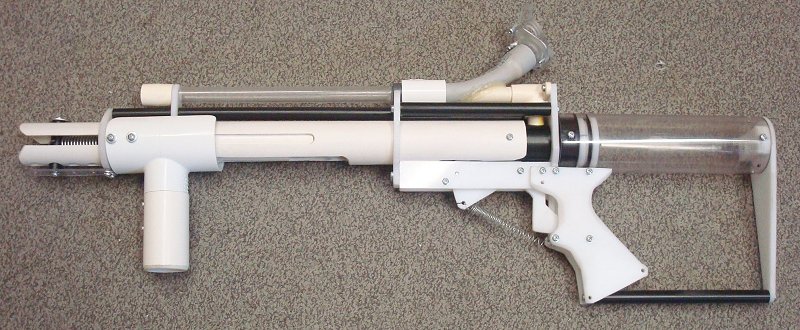
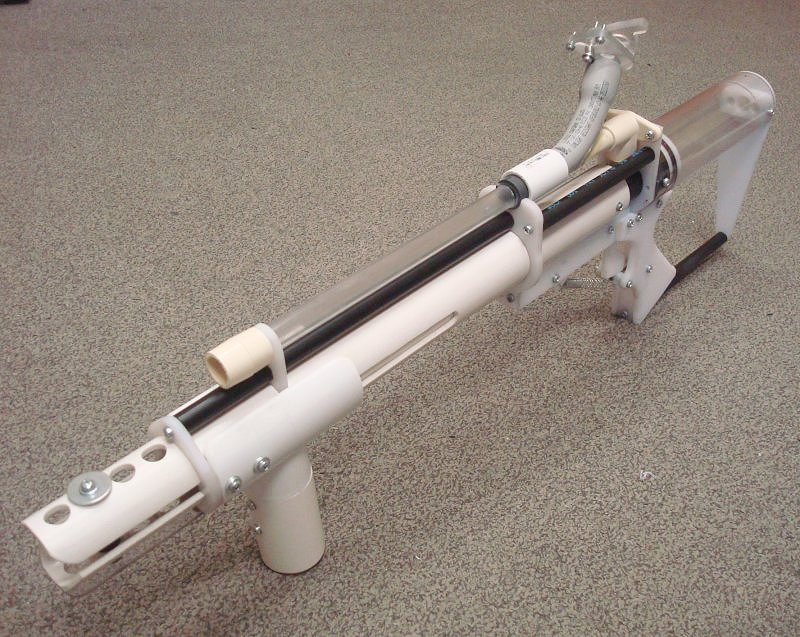
Anywho, the ESLT is an interesting doohicky. I've been putzing around with one in CAD for a few weeks and I made a ton of changes to the original design. So here are the keynote changes.
Number 1: PumpGrip slot is cut all the way out the front of the "Front Tube". The slot is kept stable by two keys added to the BarrelSpacer piece. This piece also includes a "tongue" that the Spring Post attaches to. This single feature makes disassembly much easier because the PumpGrip never has to be taken apart. You just undo two screws, slide the BarrelSpacer and Spring Post out then the PumpGrip is free to slide out whole. The only remaining task that's still a pain in the dick is getting the Spring Post back through the hook in the extension spring while the extension spring is under load. I may have to make a specialty tool for that purpose.
Number 2: Multiple Extension Spring Pre-Load positions. Pretty simple and provides the option to tweak performance a little.
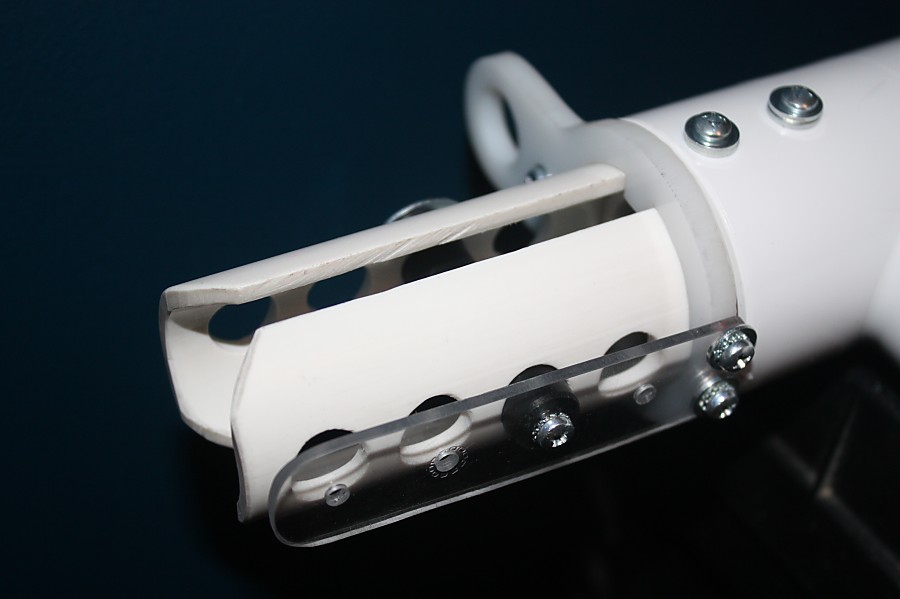
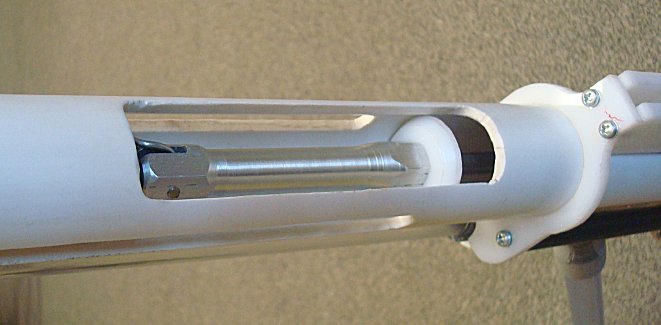
Number 3: No Eye bolt. The front end of the plunger rod is using a 4" length 5/8" Hex aluminum spacer. The spring is held by a rod clevis cut into the end of the spacer with a screw acting as the cross-pin. Rod clevis connections are common on Air Cylinders.
Number 4: Large opening in the bottom of the Front Tube to allow for expedient servicing of the plunger rod and to apply more lubricant if needed.

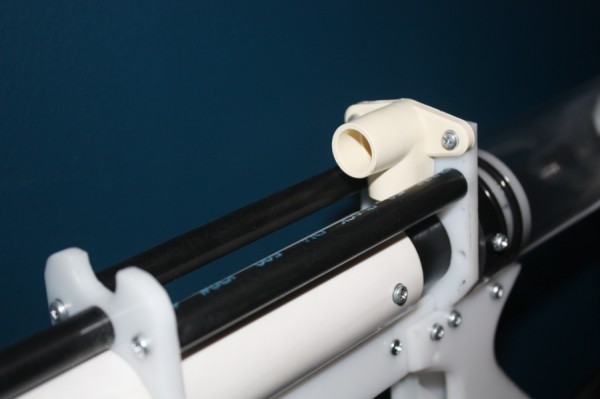
Number 5: CTS 1/2 CPVC pipe Drop-Ear Elbow. This ensures that the elbow holding the barrel stays in alignment with the rest of the blaster since it's mounted directly to the frame itself and ensures that the elbow doesn't back out either. If you need to remove the elbow you just back out the screws and pop the elbow off. Easy-Peasy. These are also offered in threaded versions with a soft gasket.
Number 6: No specialty threaded rod for the plunger. I'm using an aluminum 1/4-20 threaded rod, but I've encased it in a thin wall 5/16" OD stainless steel cover. The joint between this cover and the threaded rod is sealed at the front of the plunger head using hot glue.
Number 7: 2-inch ID Plunger Tube!
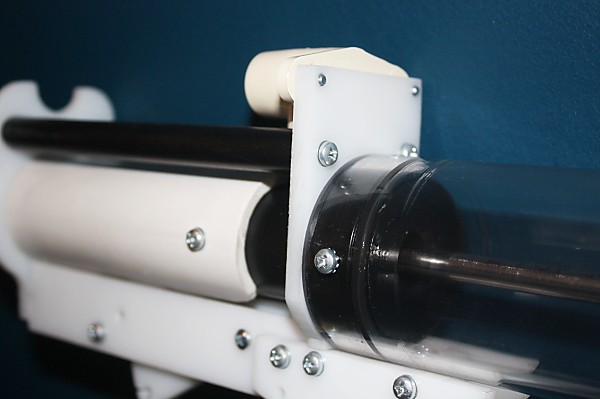
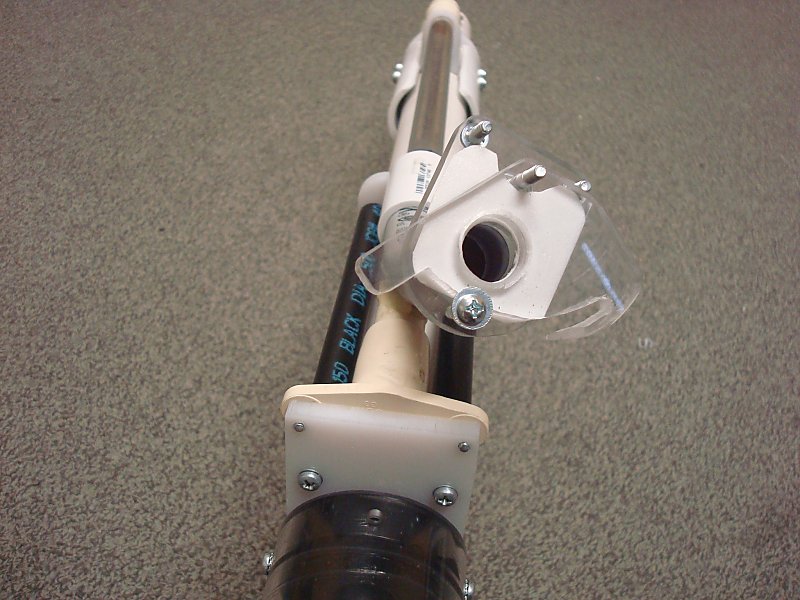
Number 8: Just taking a second to brag about my solid black delrin ReDirectPiece.
Which has a single retained O-ring for the plunger rod.
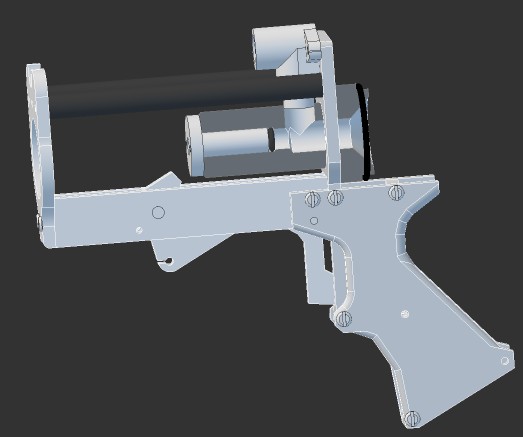
Still working on making a Hopper for this thing.


