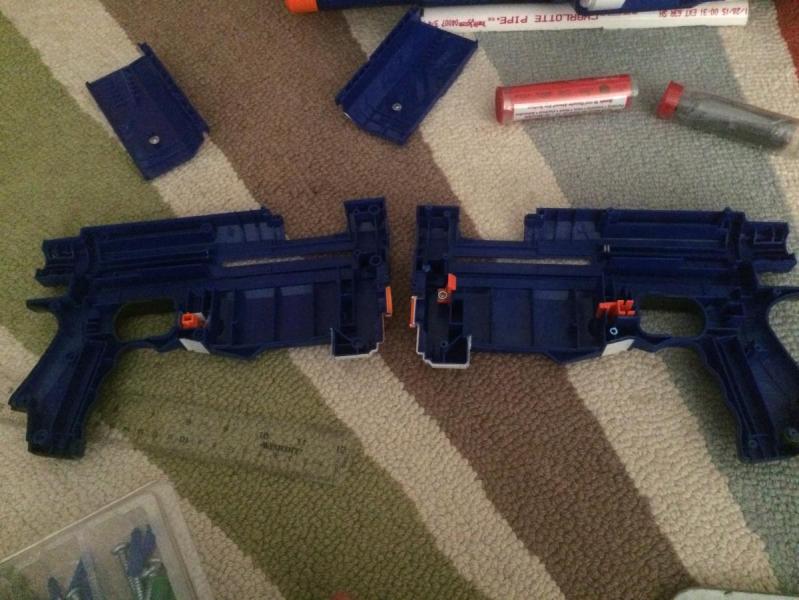
This is my entry for the Noobs mod contest. Made first when I was a noob, with basic tools.
This retaliator operates harder than Coops ![]() and you can probably do this in 5 hours. (took me 4 and a half) It also is cheap and should cost you about 20$ in extra parts. (assuming you had a retaliator)
and you can probably do this in 5 hours. (took me 4 and a half) It also is cheap and should cost you about 20$ in extra parts. (assuming you had a retaliator)
You don't need to use a retaliator for the lower part, you can use a recon too. Same with the barrel extension, you can use a recon barrel you want. This guide only covers a shotgun grip, other mods like lock removal is common, and you can just throw in an OMW spring if you want more oomph.
Tools
Required
-Hacksaw
-Sandpaper
-Screwdriver
-epoxy putty (2 casings of it, I used e-600 which is cheap but works)
-drill
-ruler
-sharpie
-1 inch PVC pipe
-4 1 cm long machine screw (or just 4 machine screws,)
-Drill bit smaller than your machine screw (slightly, so you create threading)
Optional
-Dremel (makes it waayyy easier)
-Hotglue
-File
-A fatter Machine screw
-A vice
-Disposable gloves (For working with eputty)
So, you should gather your tools and get a workspace,

Now disassemble the shell you wanted to use as a pump grip. This can be broken, it only needs to have the slide to work. Gut it before you cut it
So, measure and cut, from primarily under where the slide meets. Your cut can be messy but sand it down. Use a hacksaw, or a dremel if you have. You should disconnect the pistol grip and magwell, you can save those or toss them. You can attatch the pistol grip to the slide for an pistolgrip pump
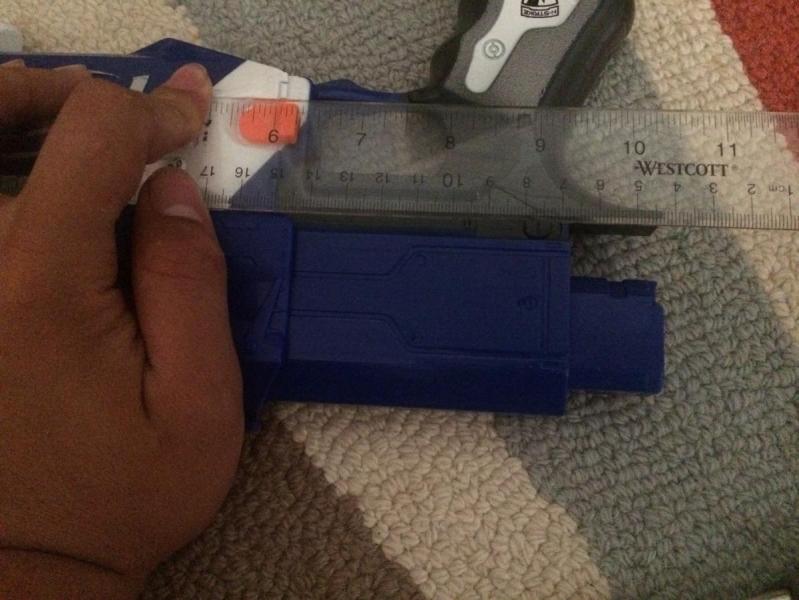
It should look like this, do this on both sides and sand it down. Make sure the retaliator slide still slides, and than sand it down a bit if it doesn't sit in flush

Cut off the back end, where the stock adapter is. It should look like this,
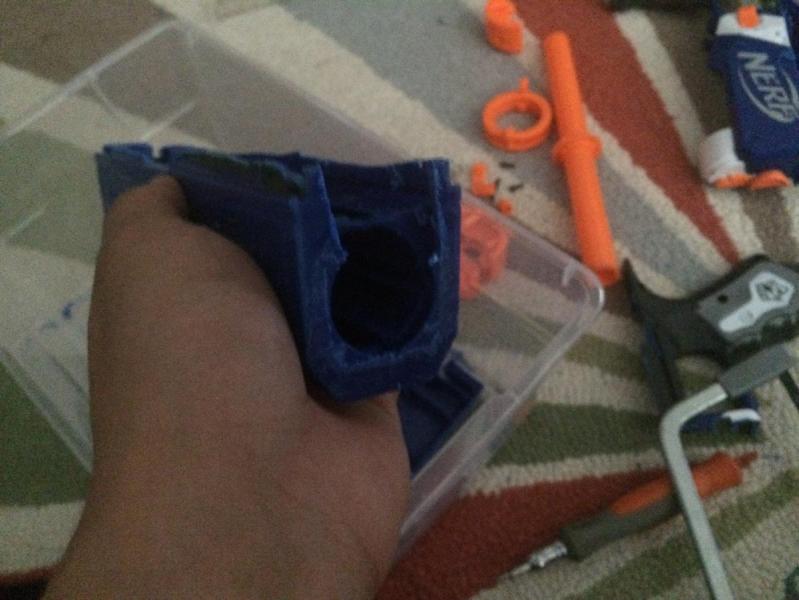
Alright, now cut down the sides of the barrel extension, this is so your pump sits in flush. Cut like in an L, about a cm in and than up, than 2 cm high cut another slot coming in to meet the cut and take it off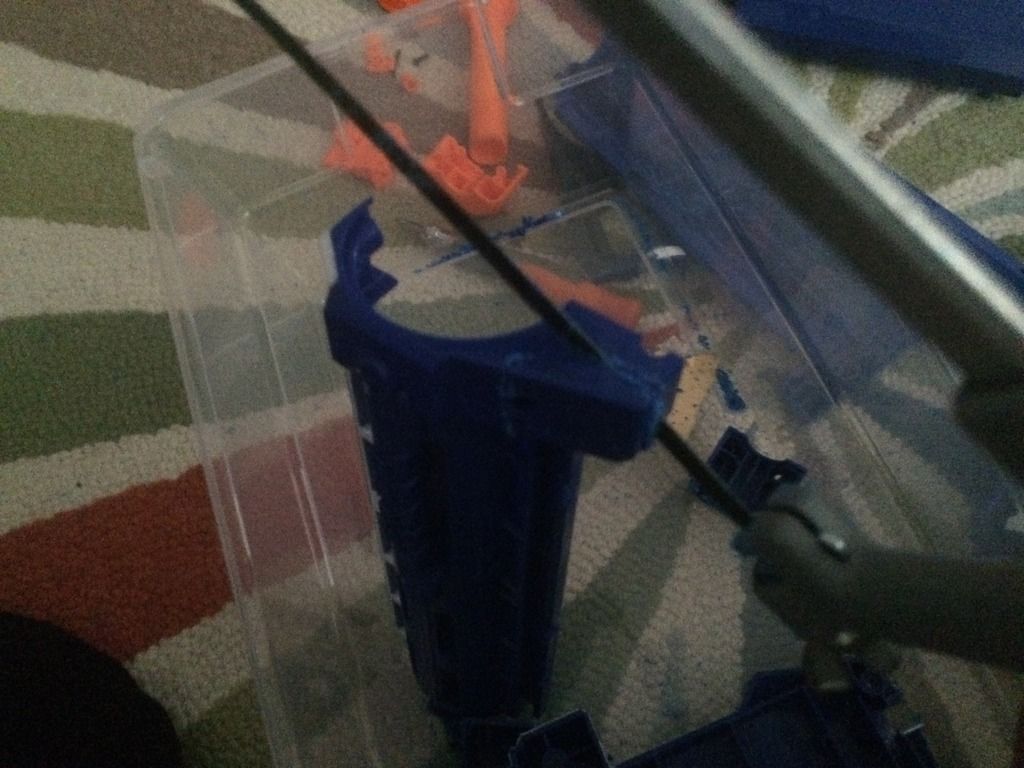
It should look like this, you can sand it down instead of cutting, I cut because, I don't know. (both sides)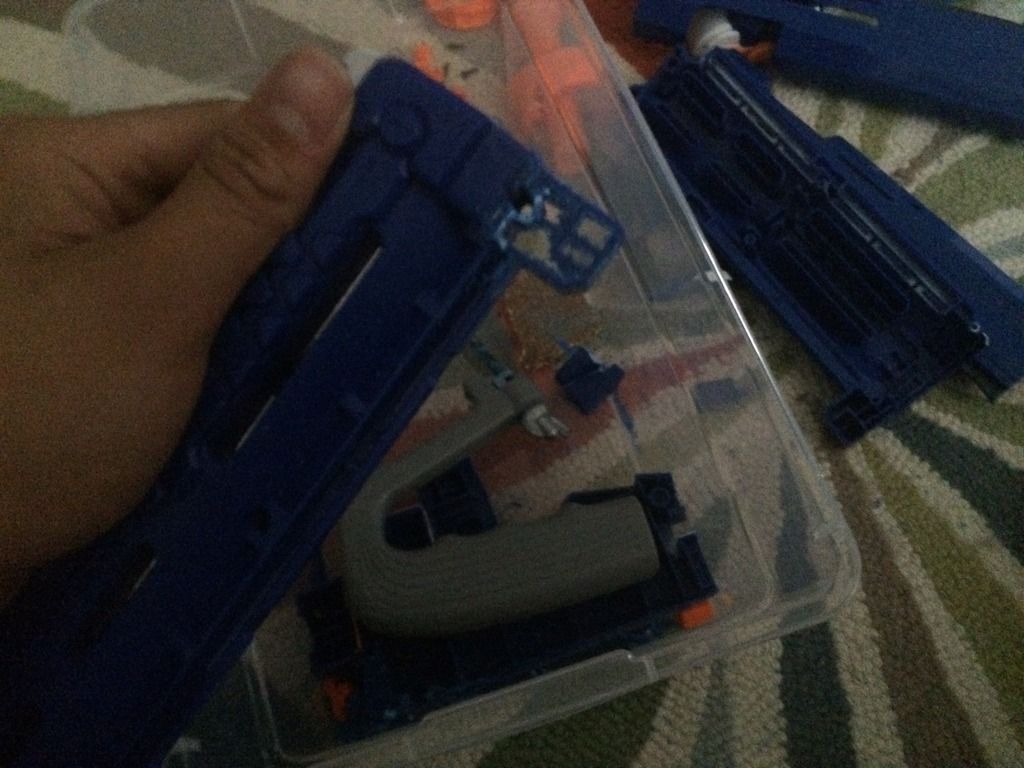
Alright, Now align the shells, half on half and sand down parts that are creating a bulge. (you also should sand the lower barrel a bit so epoxy connects easily)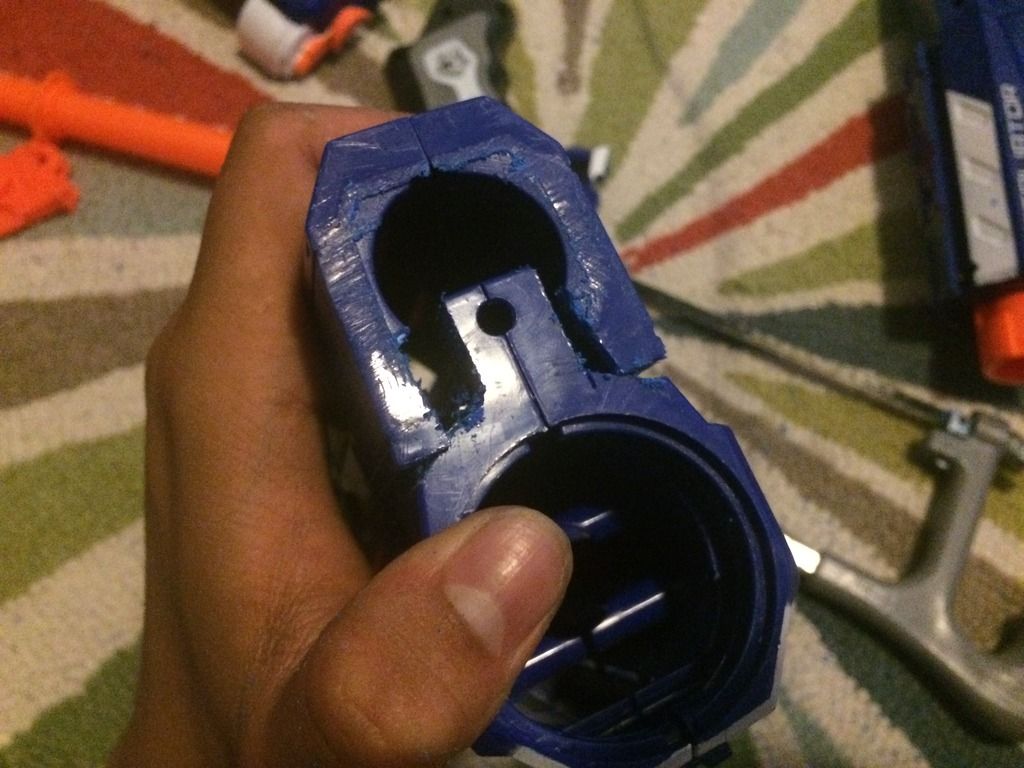
Align the front part too. You can use hotglue here to hold it in place, but I was too lazy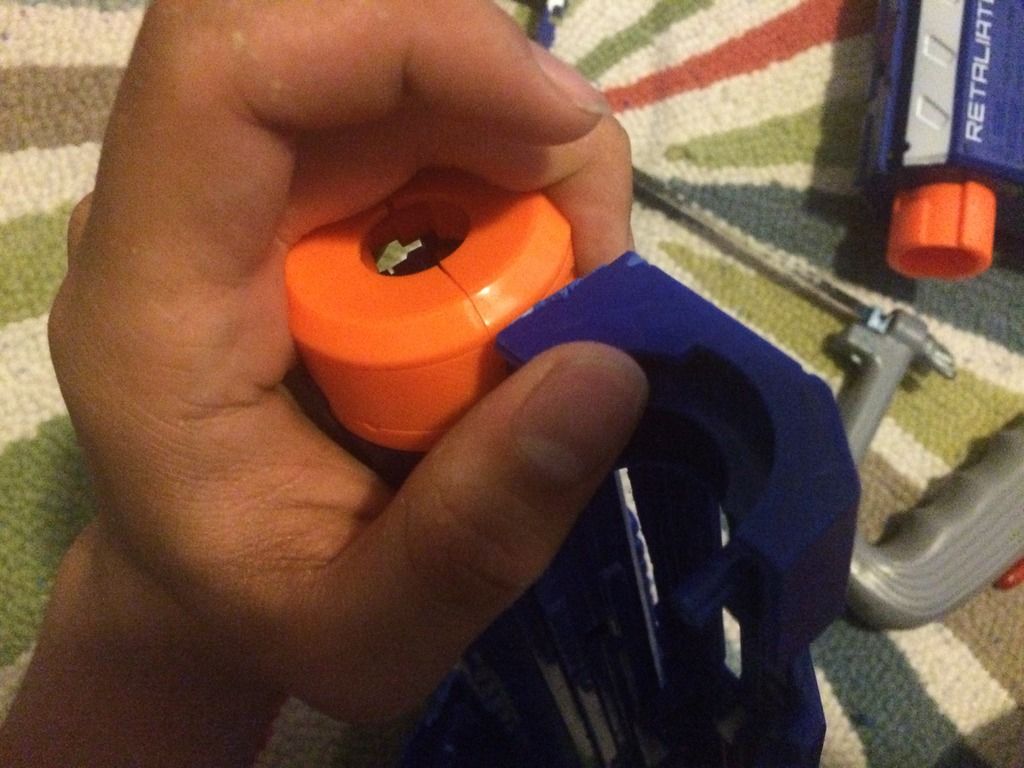
Mix epoxy putty and apply. Apply on one side with both shells in desired position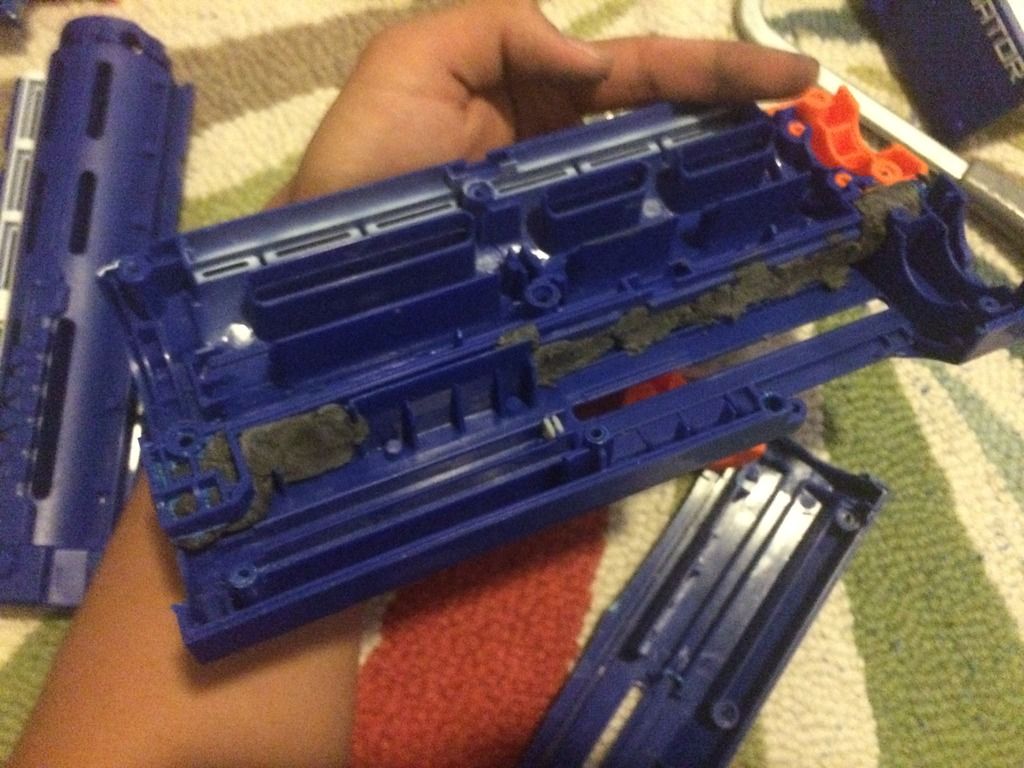
Now add epoxy putty in the gaps, and fill up as much as you can connecting the shells (both sides)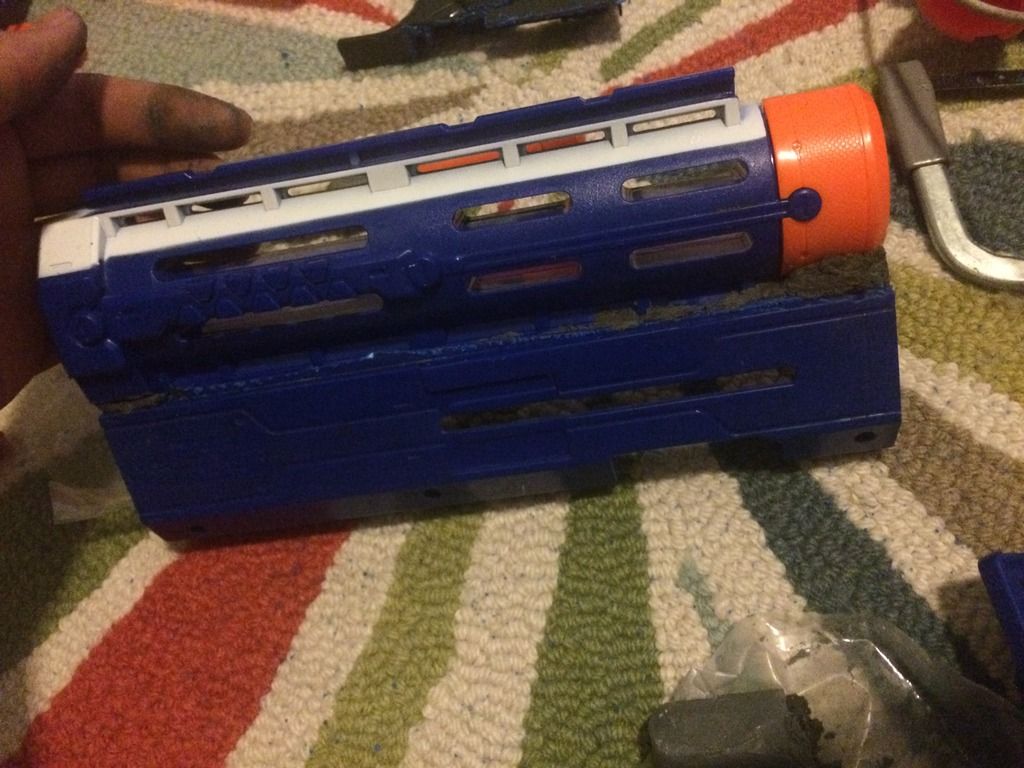
Slide the slide around to make sure it still slides, make sure nothing obstructs it (both sides)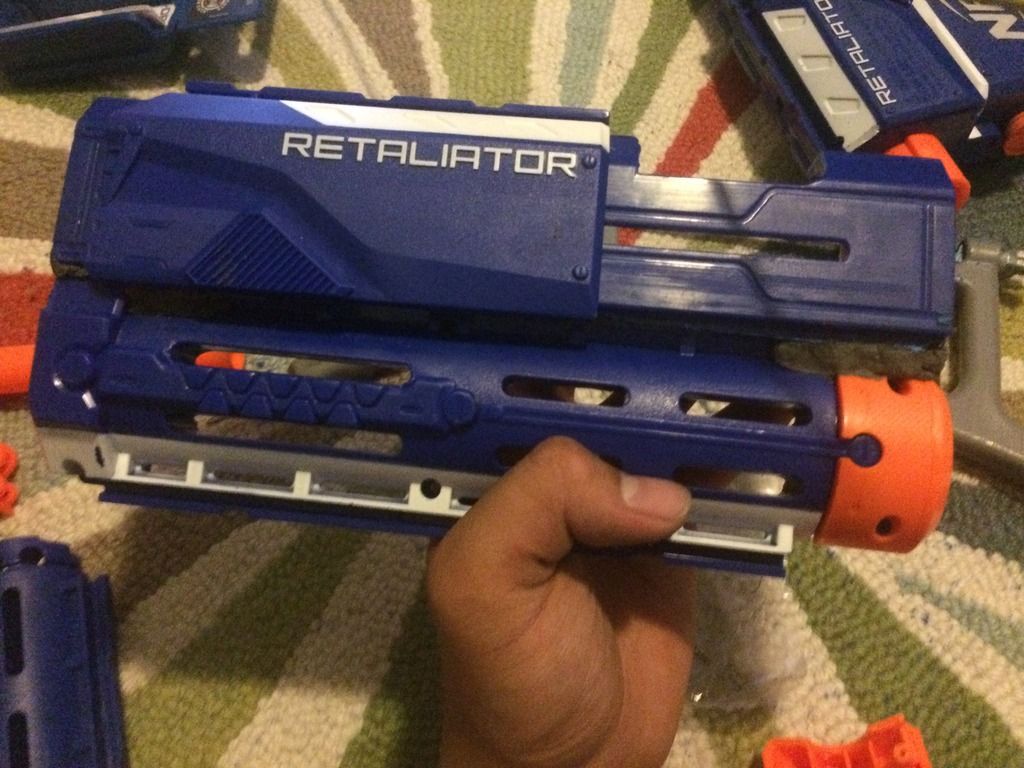
Also, sand the slots down a quarter of a Cm, (PVC flexes a bit and this compensates for that) and than test the slide again (both sides)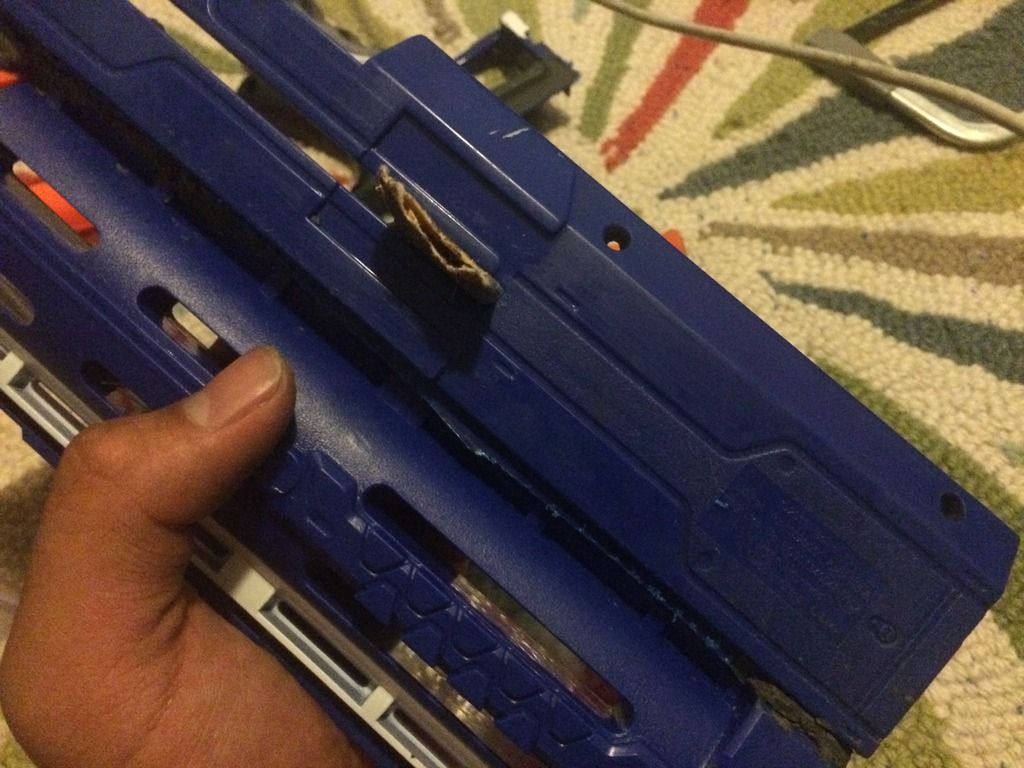
Now reassemble the front part, (don't screw it in, just shell cover) and attach to retaliator main base. I used a ruler here to figure out how long my rod should be. I recommend 14 1/2 Cm long, 1 Cm wide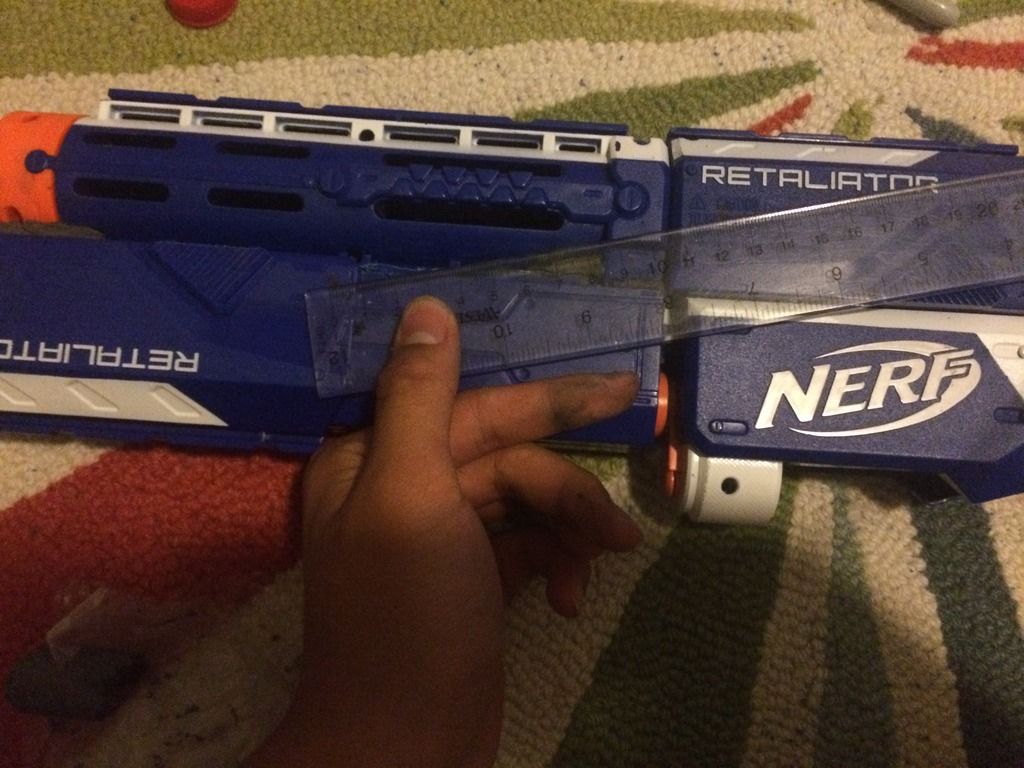
Cut the 1 PVC in half, than cut out a rod that's 1 cm tall and 12 cm long. Use a sharpie and a ruler. This will take time with a hacksaw. (make 2)

PVC bar should look like this. Now align the bar and mark it out with a sharpie with where you want to make holes in the bar, and in the slides. (both sides)
(you should also disassemble main retaliator and have the slide taken off for drilling, same with thelower)
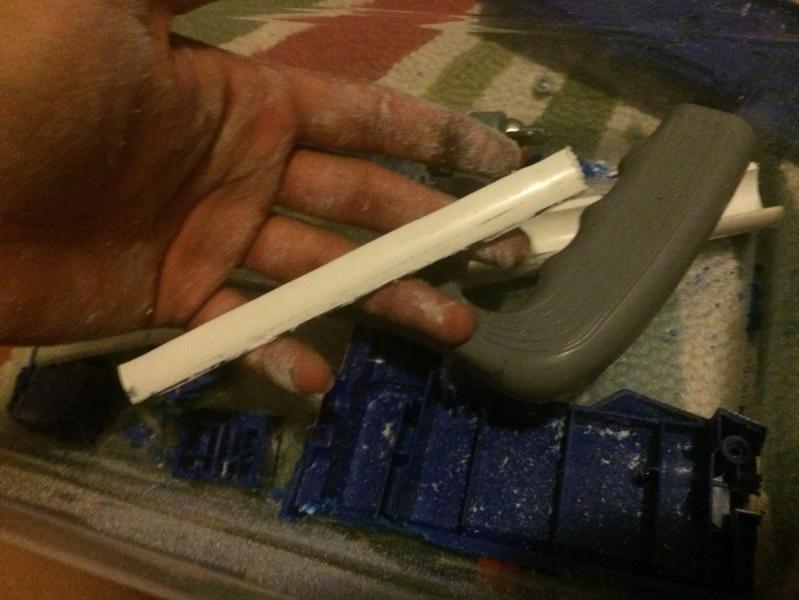
Make those holes where you marked. A dab of hotglue or super glue can hold them together, adn drill through the PVC bar slots, and all the ret slides. The upper and lower slides should have screws, and so should the priming bars on both ends. If you have a longer screw, use a vice and the hacksaw to cut the screw down to size (Or file/ sand). (for all 4)
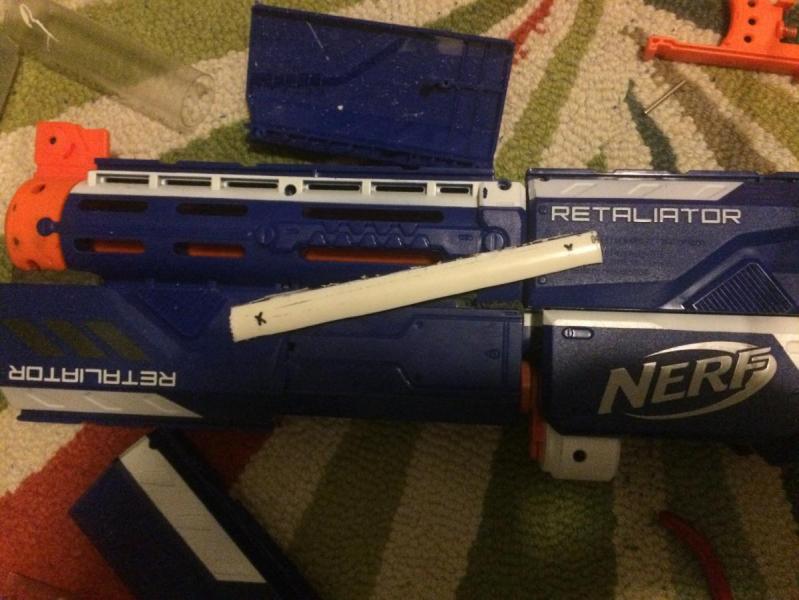
Now that you have the holes and the screw, screw in the screw halfway in, than a quarter out until it sits in flush (this is called threading)If your screw is too long, take it out and sand it down a bit. Keep retrying till it sits in flush and you can prime. It should be 1 cm long. Do this for all 4 ports
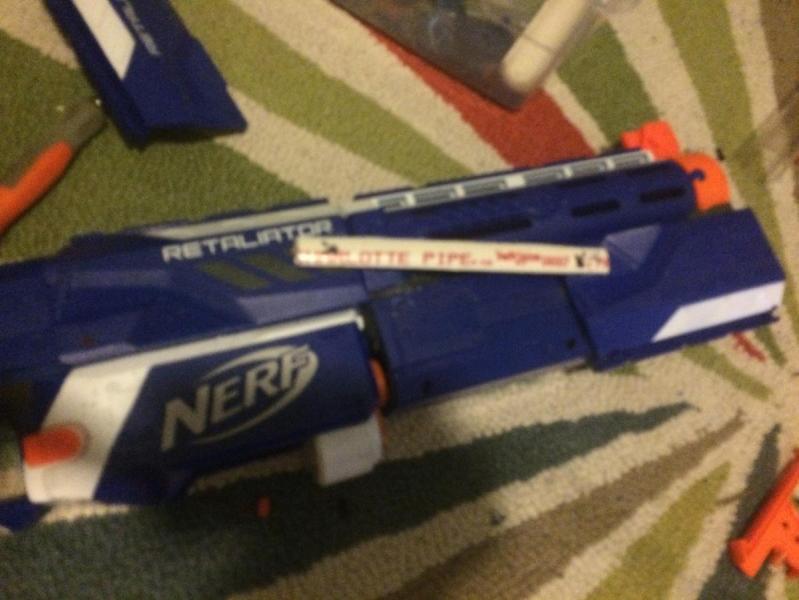
Repeat on both sides, than test to make sure it catches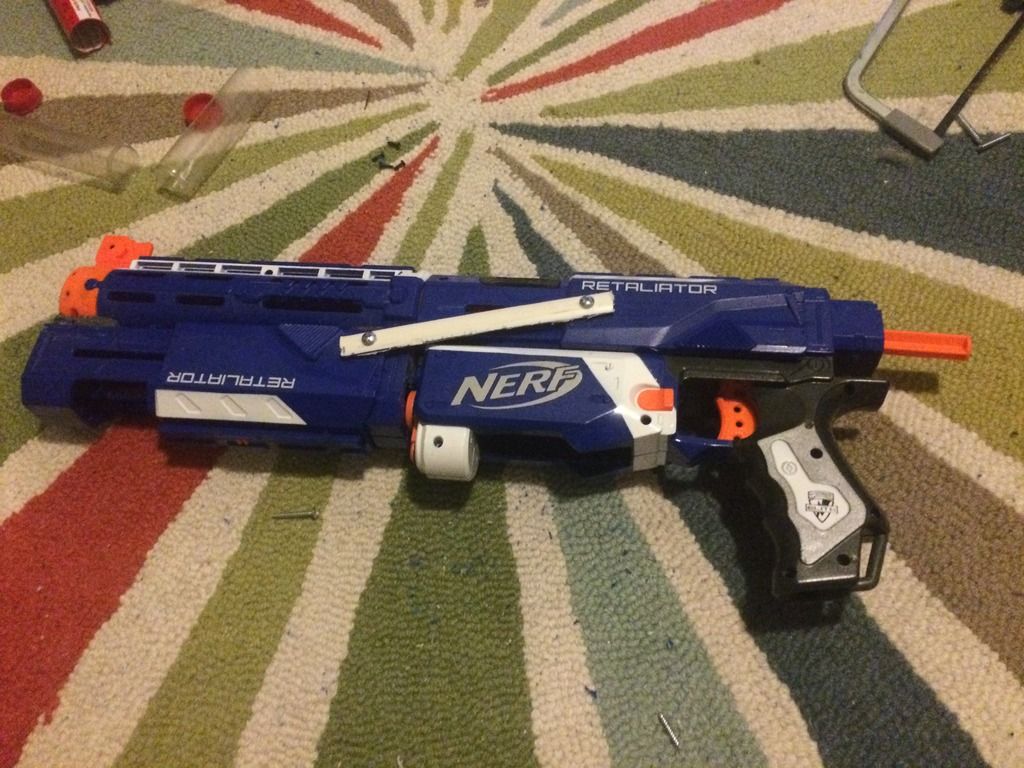
If the slide works, put everything back together, and reassemble. Than test again,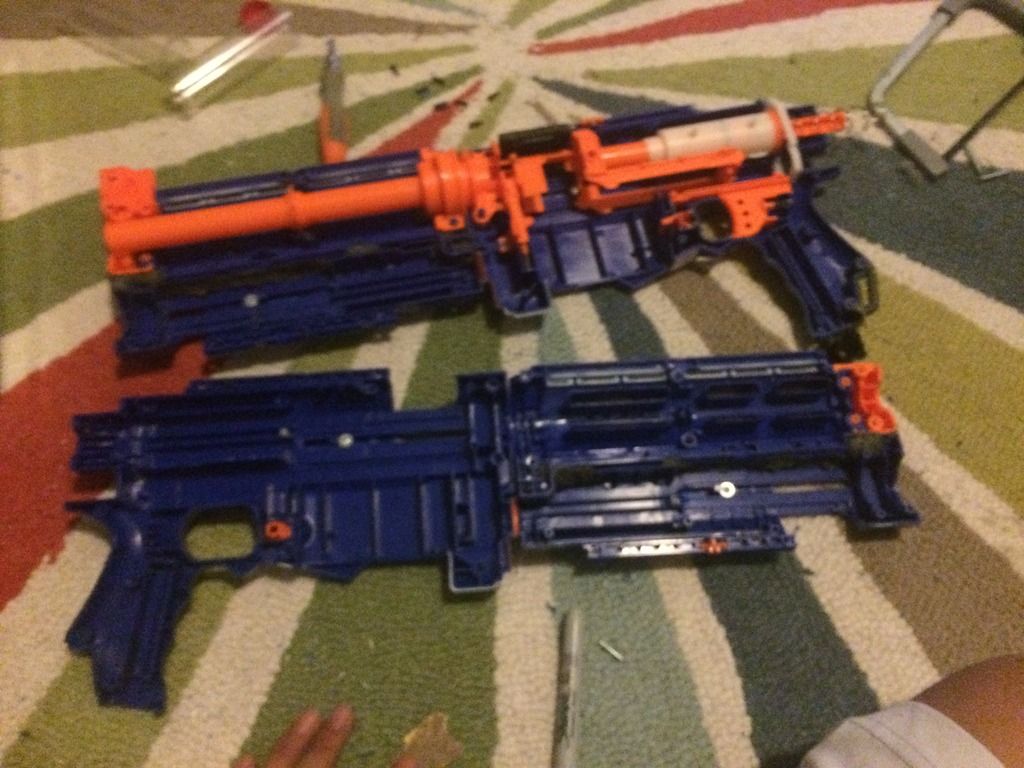
If it's not priming or not catching, keep filing/sanding down the pump slots (like earlier) until it does work. This is due to the PVC flexing, You can epoxy an aluminum strip under the PVC bars, but I was lazy
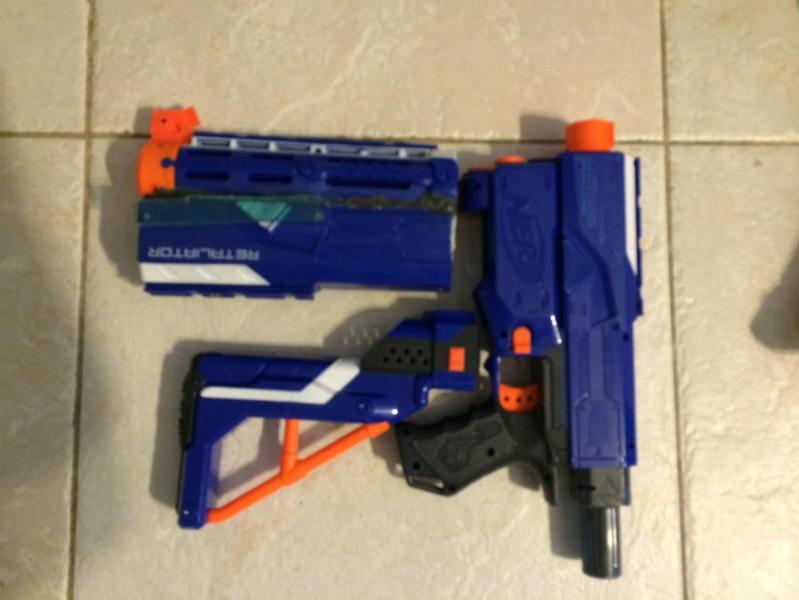
Now you're ready to operate if it works fine. You can also compact this retaliator still, as if you take out the screw from the main retaliator slide port so it compacts down,
Note, this is an earlier model but this still works fine. This mode you would take out both screws and the bar, but I have no current pictures of that. This way you can pack your retaliator into a backpack or whatever, as it still retains its dissasembly. I take the bars out with the screws and tuck them somewhere safe.
Optional
You can add a larger machine screw to the barrel front to lock it in place for no wobble. You don't need a comically large screw like this, but you may need to sand the bar down if it interferes with the screw holding it in. You can remove this screw for portability too. Before I put the faux barrel in, I attatched conncected both slides and drilled through on both sides and than threaded it. You only need one, which you should thread. Just install the faux barrel again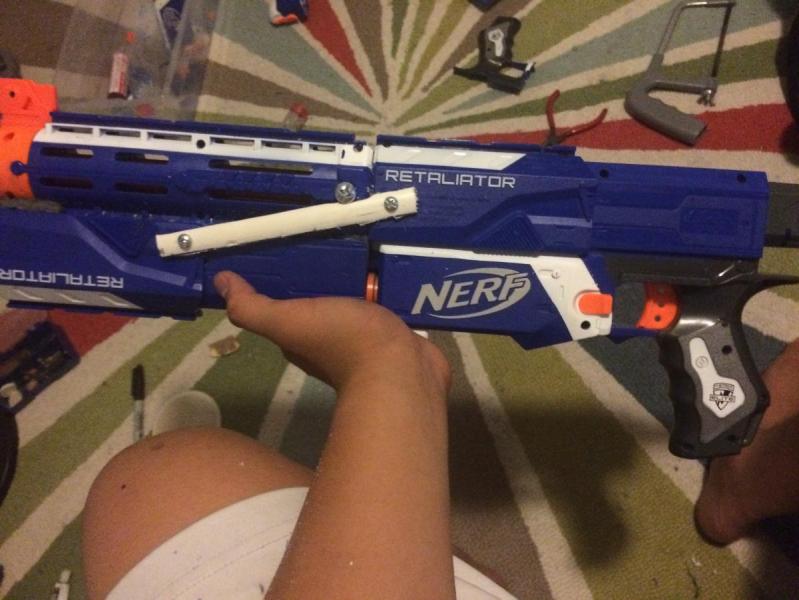
Now you're ready to operate, throw on any attachments you want, and get those flywheel kids! (this is horribly uoptimal, use it without any silly attatchents, unless you want a stock) 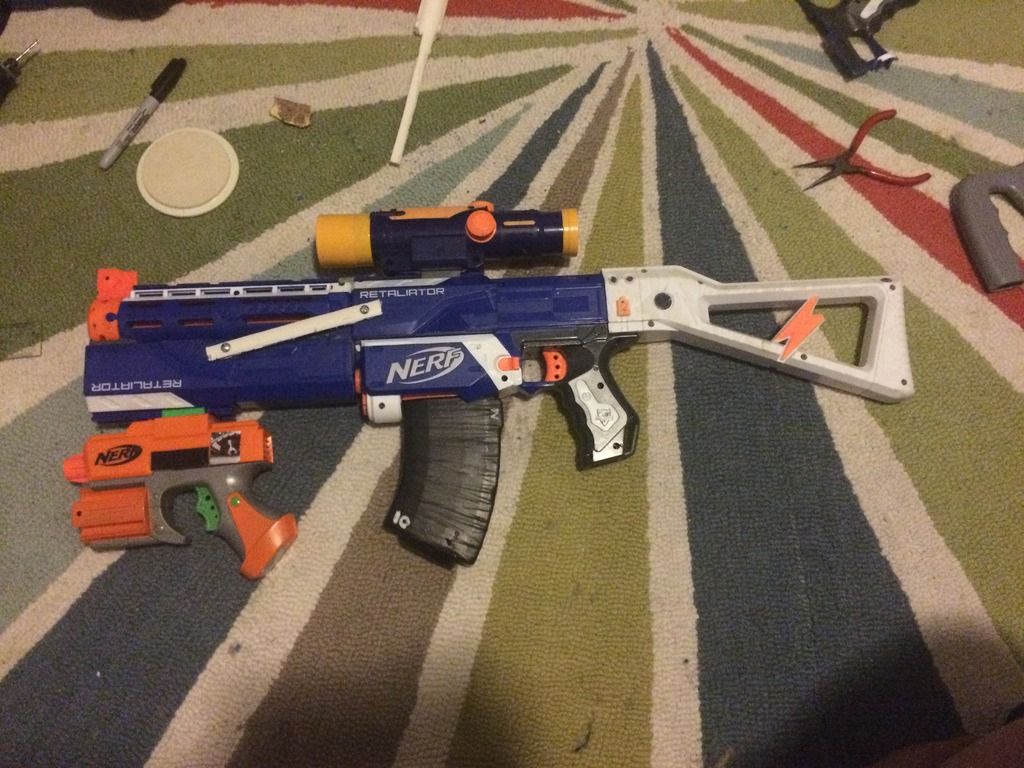
I personally still use this VGR, and it's great since you feel good making your own pump grip, no need for those 3D printed ones, off of taobao and may take weeks to arrive. Also 3D printing isn't as durable, but you can make this the night before an event with a recon, PVC and a ret, I used a broken ret for matching colors.
(pic of me and my current set up it, it has a male adapter with an extended barrel, cut down slide, rail and other things attatched. Don't wear full BDUs, this was a partial LARP in private property)

Edited by Snoop Doggy doge, 29 May 2016 - 03:06 AM.


