Jump to content


Photo

Homemade Magstrike Piston And Write-up

WRITE-UP ADDED! Check it out!

36 replies to this topic

#26 ricochet

ricochet

    Member

  • Members
  • 108 posts

Posted 03 January 2011 - 07:52 PM

Posted Image
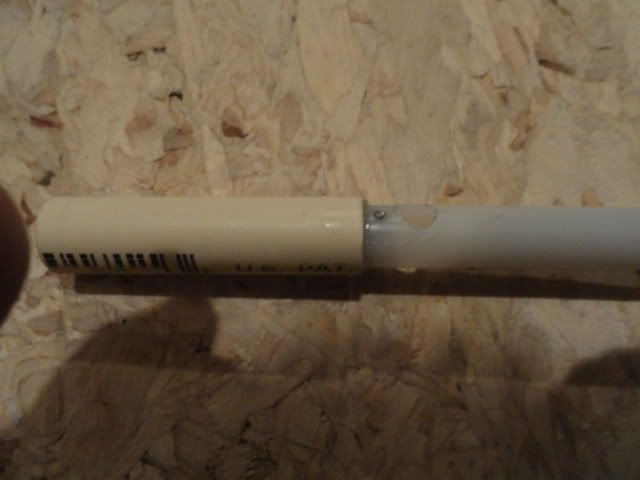
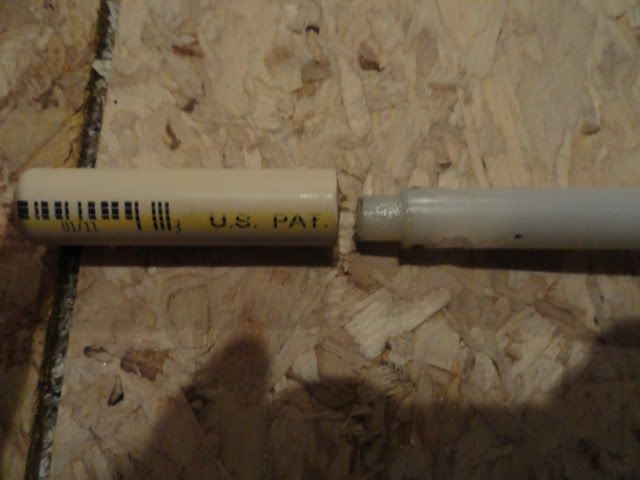
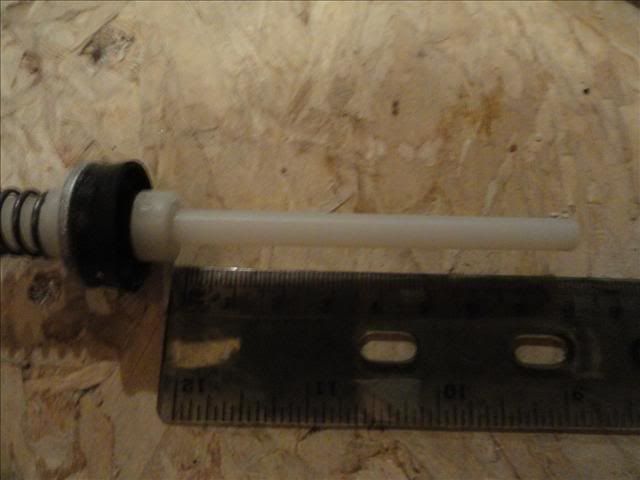
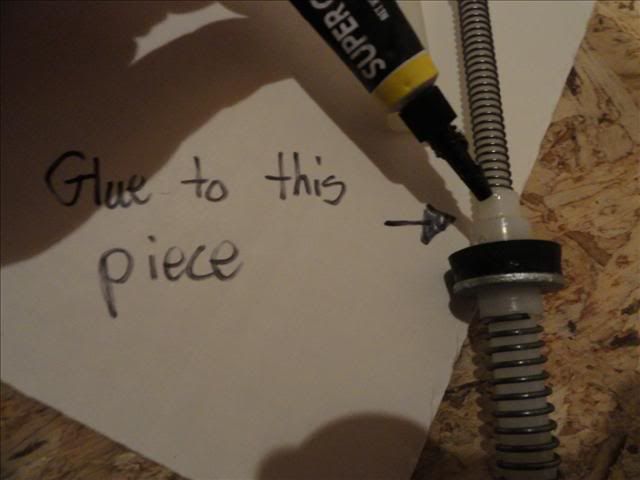
Cut a 8 cm piece of the 1/4" nylon rod and super glue .5 cm of it into the end of the assemly shown in the photo above.
Posted Image
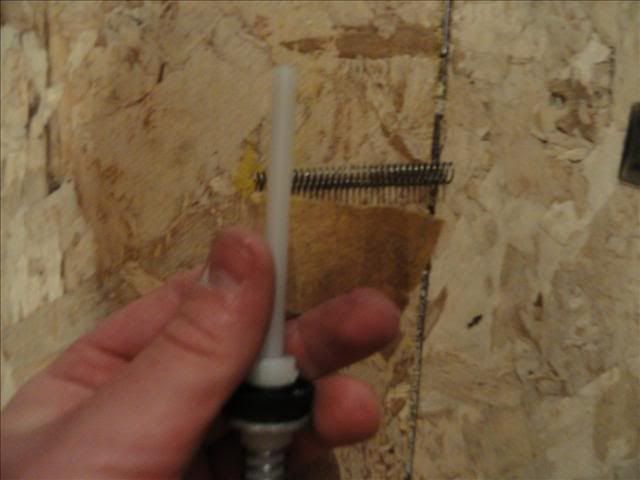
Now perform the tedious task of sanding down the installed 1/4" rod unil a 6.5cm piece of .028 wire diameter spring slides on and off the rod freely and easily. Set the spring off to the side for now.

Posted Image
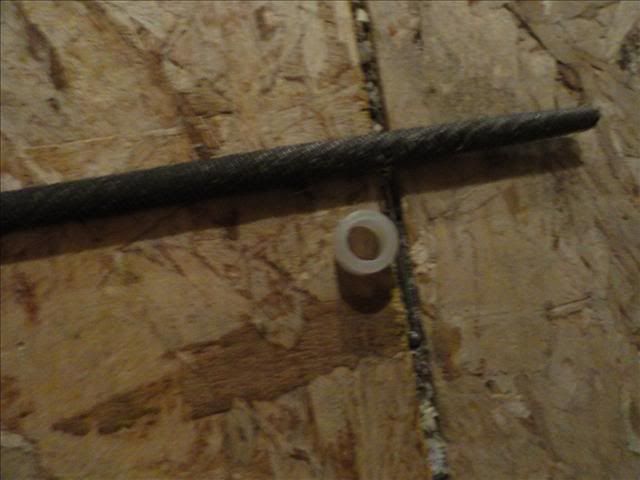
Cut a .5 cm piece of 3/8" nylon tube and file the inside until it too slides over the 1/4" rod freely and easily.
Posted Image
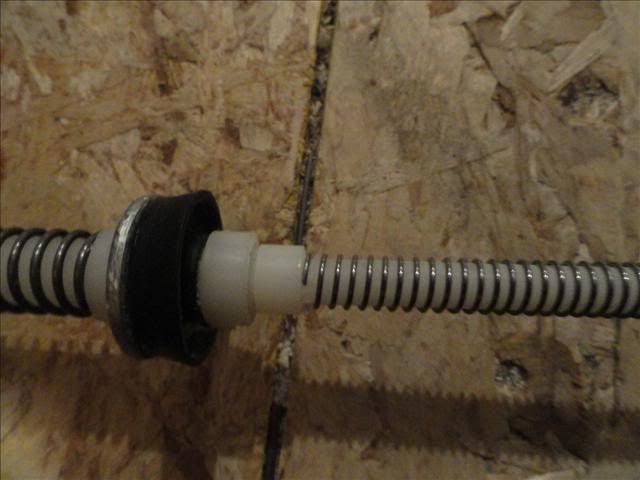
Slide on the .5 cm piece of 3/8" nylon tube, followed by the 6.5 cm length of spring.
Posted Image
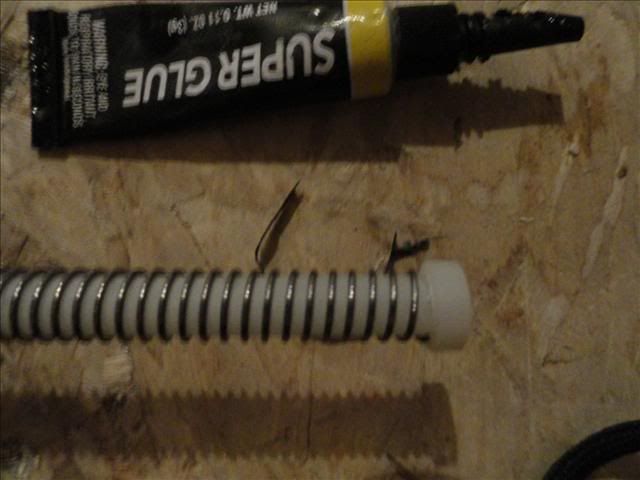
Cut a .3 cm piece of 3/8" nylon tube and super glue it above the spring, as well as flush with the end of the 1/4" rod, seen above.
Posted Image
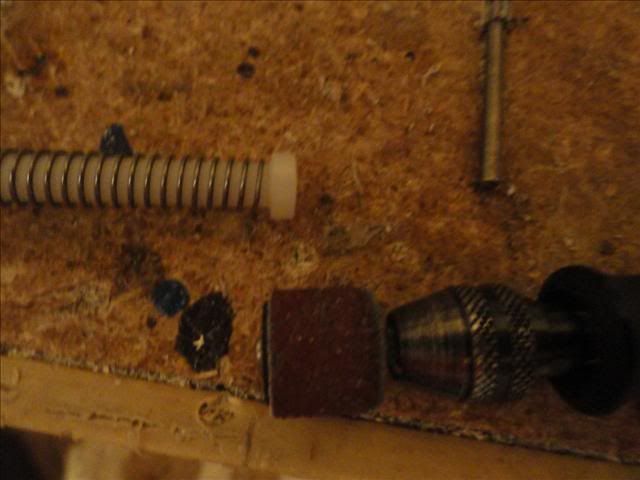
Sand the .3 cm piece previously glued on the rod until it slides in and out of 1/2" nylon tube freely and easily. Set assembly aside.
Posted Image
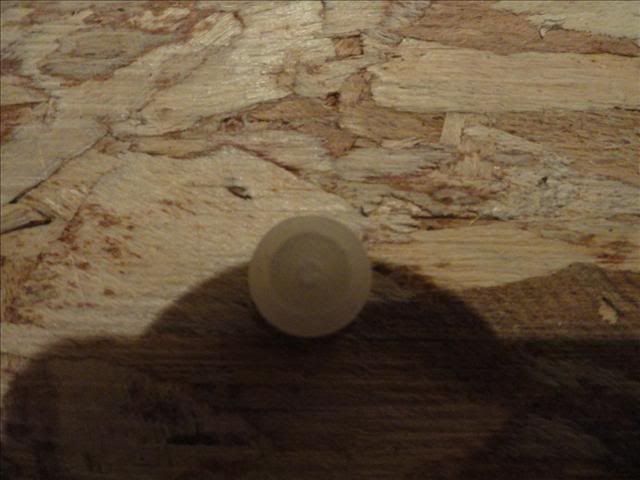
Cut .5 cm lengths of both 1/4" nylon rod and 3/8" nylon tube. Super glue the .5 cm piece of 1/4" nylon rod into the .5 cm piece of 3/8" nylon tube so that they are flush. Shown above.
Posted Image
Posted Image
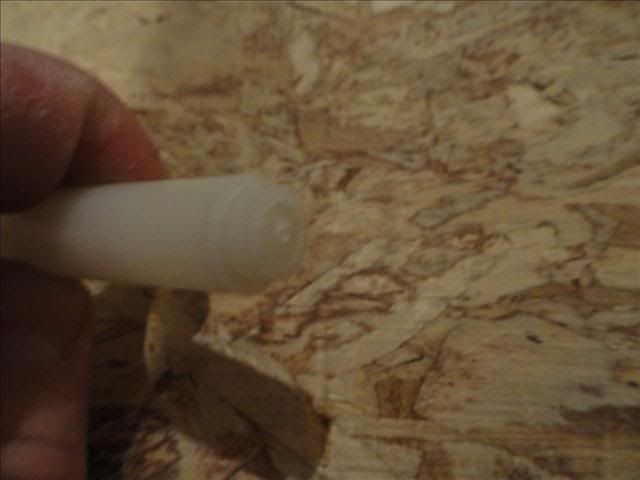
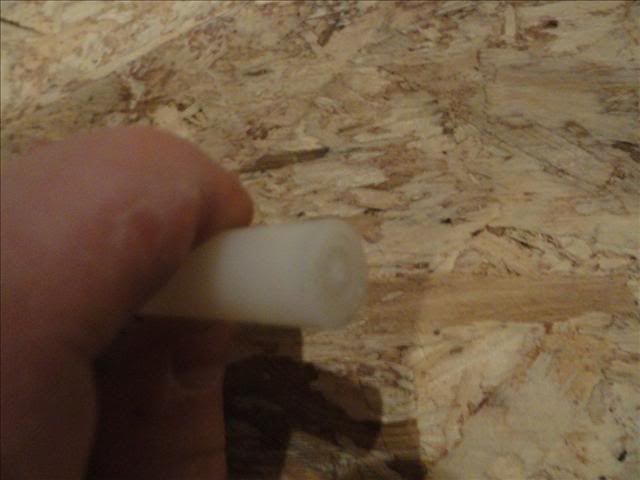
Super glue the 3/8" nylon tube and 1/4" nylon rod combination fabricated in the previous step into a 9 cm piece of 1/2" nylon tube. It needs to be flush and smooth. Again, shown above.
Posted Image
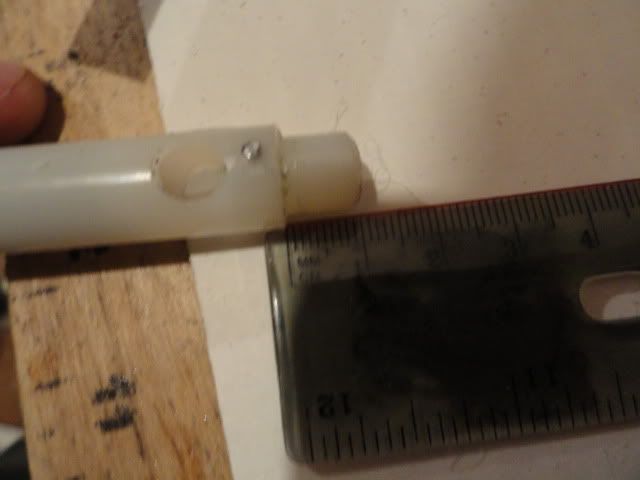
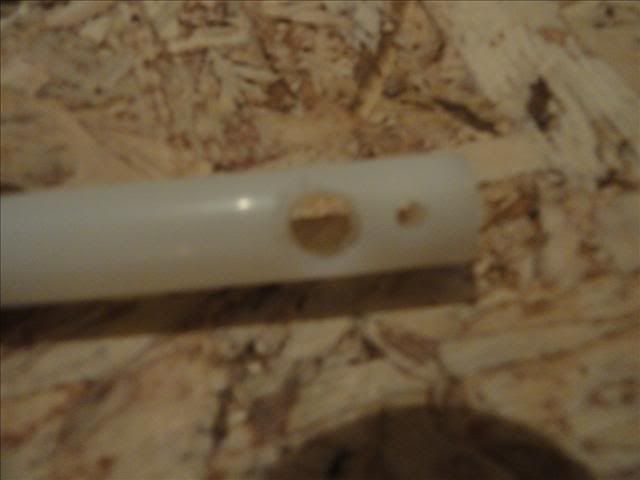
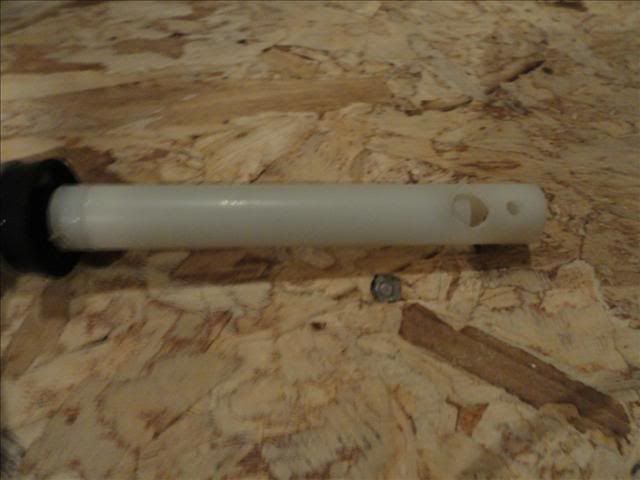
Directly below where the piece in the previous step was glued into the 1/2" nylon tube, drill some holes like shown in the picture above. One hole needs to be within .5 cm of the glued part and the the rest can be where ever you choose. In my picture, the small hole is it the .5 cm or less "zone" and the larger is behind it where I thought it belonged.
Posted Image
Posted Image
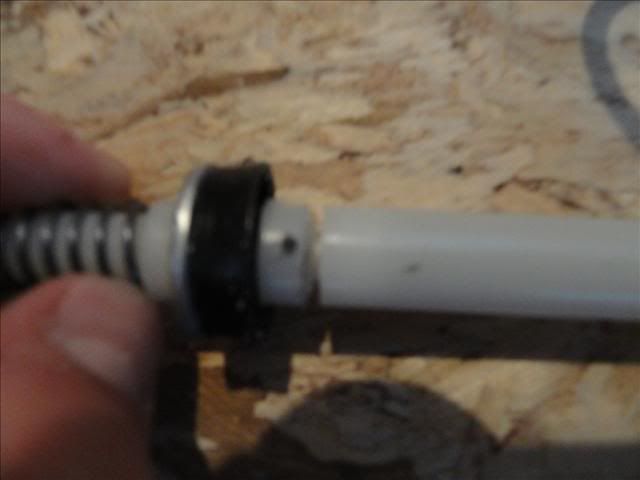
Glue the 9 cm 1/2" nylon tube assembly to the .5 cm piece of 3/8" nylon tube at the bottom of the 1/4" rod. The picture describes this part of fabrication best. Once the glue has set, the 1/2" nylon tube assembly should slide back and forth easily, and be retraced backwards by the spring. Do not repeat this retracting action much until the next step is performed.
Posted Image
Drill a hole through the assembly at the point shown in the picture. Then insert a nail, super glue it in place, and trim the excess part of the nail. The hole should go through all 3 layers, the 1/2" tube, 3/8" tube, and the 1/4" rod. Installing the nail through all the layers increases the longevity and durability of the piston.

Now onto the cylinder:
Posted Image
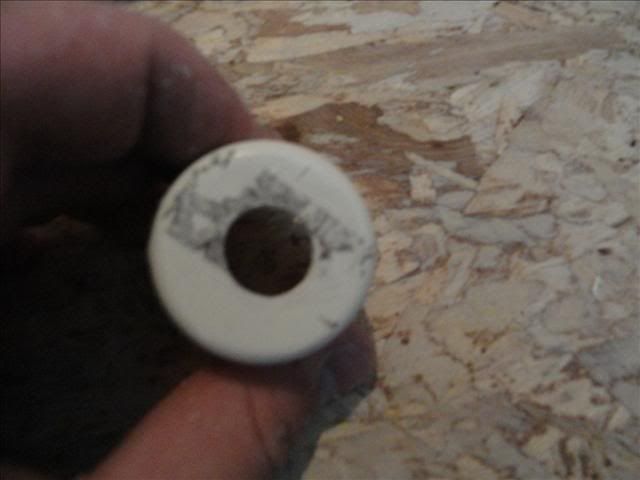
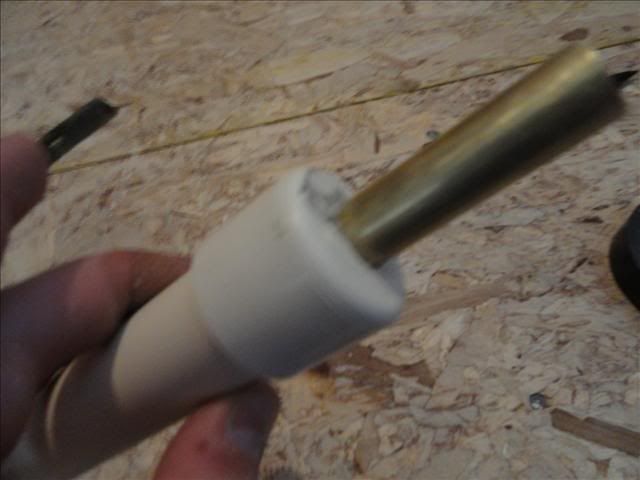
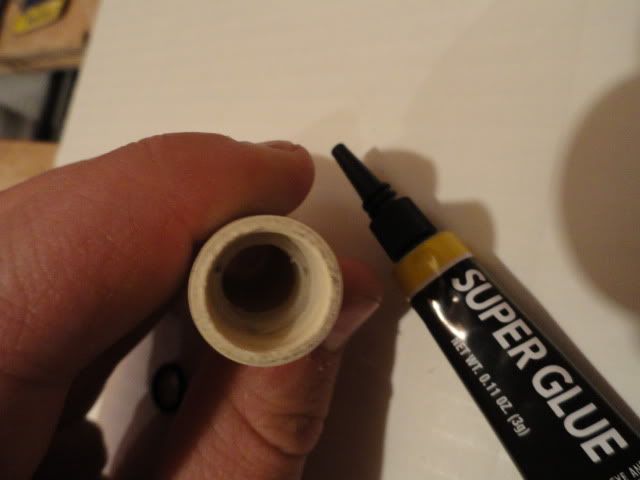
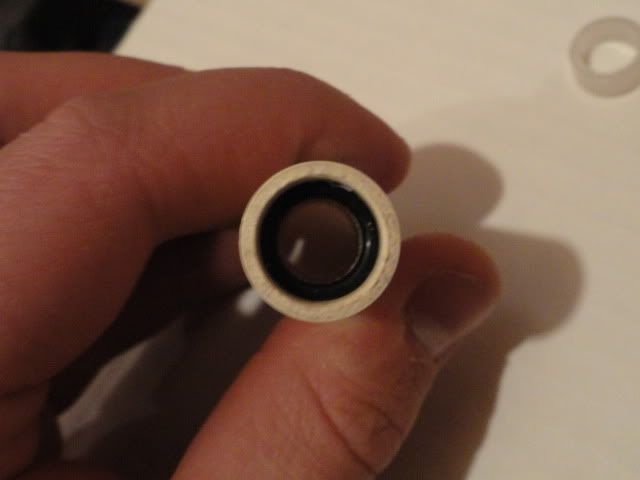
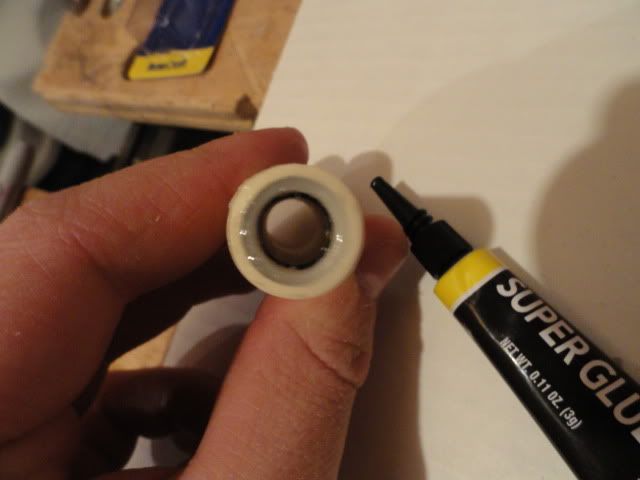
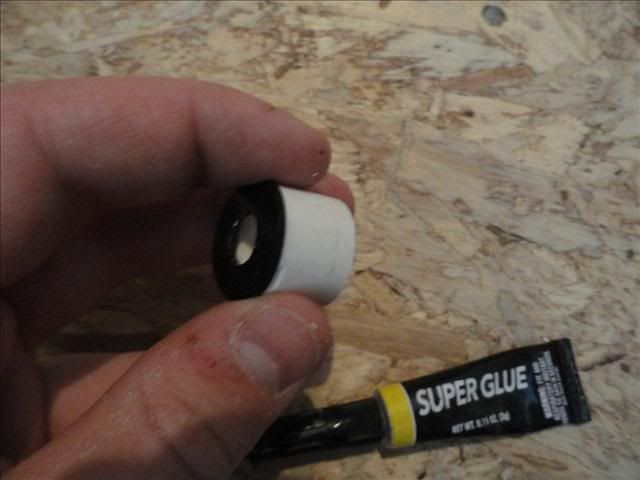
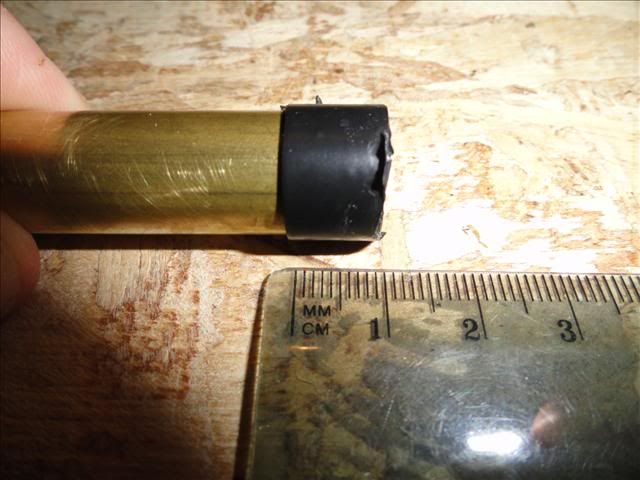
Cut out a 1.5 cm length of 1/2" PVC. Bore out the piece of pvc with a 5/8" drill bit if you desire, this is optional, but it may help the piston run a bit more smoothly. Then super glue the rubber washer to an end of the PVC centered as accurately as possible. Make sure it is glued completely, you obviously need it to be airtight.
Posted Image
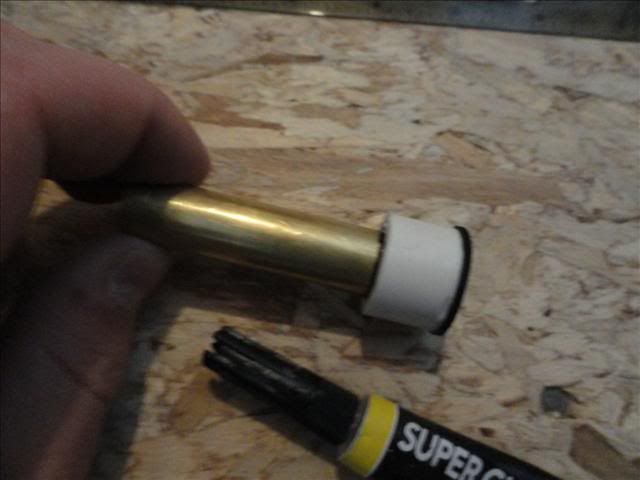
Next, cut a 6.5 cm piece of 17/32" brass and tape an end with 1 cm of tape with enough layers so it fits snuggly in 1/2" PVC. There should be 5.5cm of brass visible after this step. Refer to the picture.

Edited by ricochet, 03 January 2011 - 07:53 PM.

  • 0

#27 ricochet

ricochet

    Member

  • Members
  • 108 posts

Posted 03 January 2011 - 07:54 PM

Posted Image
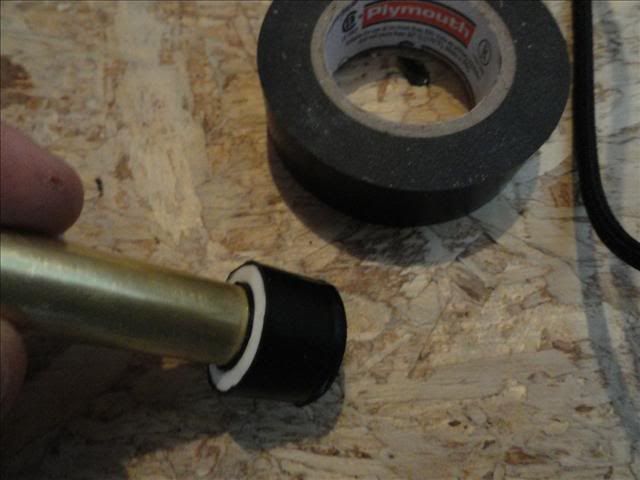
Next, super glue the taped portion of the brass into the opposite end of the rubber washer on the 1.5 cm piece of 1/2" pvc. Once again, the picture describes this step better than words can.

Posted Image
Now, apply a few layers of e-tape to the PVC portion of this breech so it fits snuggly in 1" CPVC.

Posted Image
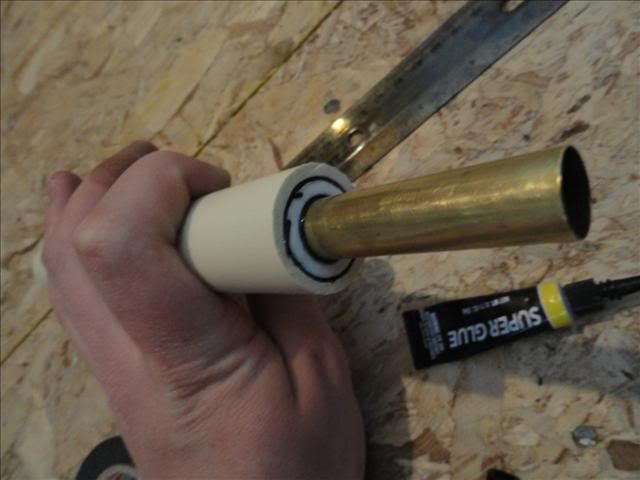
Cut a 21 cm piece of 1" CPVC. Insert the assembly from the previous step into the 21 cm piece of 1" CPVC as centered as possible and super glue into place. Note: Before gluing the brass into the cylinder, test the piston component for a seal with the rubber washer on the brass/pvc part previously fabricated. The tip of the piston will go through the hole of the washer and should go in about .5 cm. Just play around with it until you think it is time to glue it.

Posted Image
Take the second 1" CPVC end cap and drill a hole in the CENTER slightly larger than the OD of the 17/32" brass.

Posted Image
Slide the end cap over the brass and glue it to the 1" CPVC with some pvc cement. It will result like the assembly shown in the photo above.

Posted Image
Posted Image
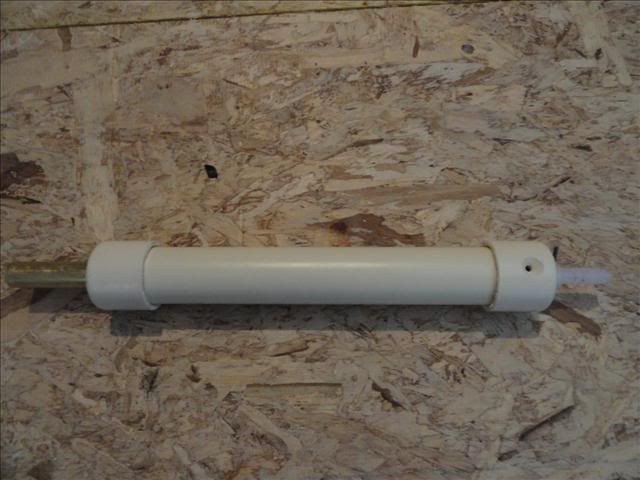
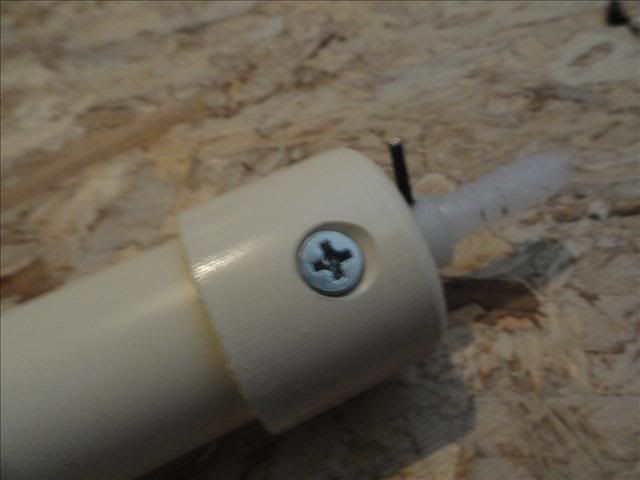
Once the cement dries, insert the piston assembly into the cylinder. There should be some resistance as the front of the piston seals on the washer. Apply some o-ring lubricant to the front of the rod and the u-cup seal for better performance. Once assembled, the piston shouldn't stick out far from the end cap, but rather be within a milimeter or 2 of the encap. Refer to the photos if you don't understand. Once that is settled, drill a hole and insert a screw as shown in the pictures to keep the end cap from flying off during actuation of the piston.

Ending notes:
1. If the nylon tubes have trouble fitting into one another, be patient, sand them and try again. It will fit in the end.
2. The front seal may be troublesome, just keep moving the piston around and apply lubricant if it seems to not push in the .5 cm to seal. If you push it but there is a lot of resistance, chances are the piston is caught on the pvc protion of the front seal. Make sure things are centered and the problem should be fixed.
3. Save yourself the frustration and time and BE ACCURATE!
4. If the front seal is stiff (which can happen often), sand the end of the piston that nmakes contact with the rubber washer and apply more lubricant. Firing the piston and leaveing the piston in sealed position when not in use will also help soften the seal.
5. When firing hold the barbed end of the piston and do not hold any other part of the piston. For some reason, it helps it frie more reliably.
6. Keep in mind these dimensions are for a 5 cm (2 inch) breech, but feel free to modify them to your own liking.

If you come across any errors in my write up or problems, please let me know and I will fix it immediately. If you are having problems getting the piston to work, feel free to ask any questions. I hope this write-up is easy to follow, due to the fact that this is my first write-up I have ever made. Finally, if you make one of these, please let me know how it turns out and what you think of it, I appreciate feedback. Happy building!

-Ricochet
  • 0

#28 roboman

roboman

    Member

  • Members
  • 489 posts

Posted 03 January 2011 - 08:13 PM

Wow, excellent writeup! I'll have to try this, out of aluminum, or something...
Out if curiosity, why did you choose those particular springs?
  • 0

Youtube

LS and Retaliator boltsleds are currently available at https://www.facebook.com/RoboM8/


#29 ricochet

ricochet

    Member

  • Members
  • 108 posts

Posted 03 January 2011 - 08:56 PM

Wow, excellent writeup! I'll have to try this, out of aluminum, or something...
Out if curiosity, why did you choose those particular springs?


Two reasons:
1. They have the same wire diameter as the actual magstrike piston.
2. They work perfectly with the nylon sizes I used.
  • 0

#30 Nerf Gra

Nerf Gra

    Member

  • Members
  • 145 posts

Posted 03 January 2011 - 11:57 PM

Simply beautiful I have been wanting for quite some time now to have a magstrike-like-system to fire a spring loaded clip gun. I was going to try and do this with an actual magstrike piston and a recon or something but what you have come up with is beyond brilliant.
  • 0
QUOTE(VelveetaAvenger @ Dec 6 2010, 12:14 AM) View Post

Maybe there's no Mcmaster, but you could make the first coconut airtank.


#31 TxNerfer

TxNerfer

    Member

  • Members
  • 126 posts

Posted 05 January 2011 - 09:15 PM

Would you be willing to contract one of these? If so, for how much?
  • 0

1. Thank you, I take donations in horse/wolf porn


#32 ricochet

ricochet

    Member

  • Members
  • 108 posts

Posted 05 January 2011 - 09:57 PM

Would you be willing to contract one of these? If so, for how much?


Sure, just pm me due to the fact that this thread should not be filled with sales offers.

Edited by ricochet, 06 January 2011 - 11:36 PM.

  • 0

#33 Nerf Gra

Nerf Gra

    Member

  • Members
  • 145 posts

Posted 11 January 2011 - 09:15 PM

What are you using for an air sorce? Do you use a MS bladder, home made bladder or something like a regulated air tank?
  • 0
QUOTE(VelveetaAvenger @ Dec 6 2010, 12:14 AM) View Post

Maybe there's no Mcmaster, but you could make the first coconut airtank.


#34 ricochet

ricochet

    Member

  • Members
  • 108 posts

Posted 11 January 2011 - 10:03 PM

What are you using for an air sorce? Do you use a MS bladder, home made bladder or something like a regulated air tank?


I used my 4 gallon 135 psi air compressor. I used it during testing to see how the piston functioned at different psi levels.
  • 0

#35 ricochet

ricochet

    Member

  • Members
  • 108 posts

Posted 25 February 2011 - 09:59 PM

To start off, I understand this topic is well over a month old, but this update is necessary. I have played around with new front seals and this most recent one is the most reliable yet. I have been asked to add a small write-up of this new seal, so here it goes.
Posted Image
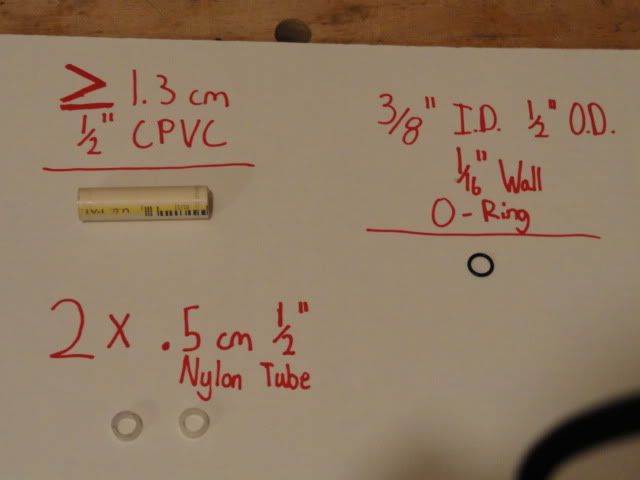
Start off by gathering your parts shown on the above part board. Sand/file out the inside of the 1/2" nylon so that a piece of 3/8" nylon slides through easily with minimal force.

Posted Image
Take one of the .5 cm pieces of 1/2" nylon and insert it into the cpvc .7cm deep. I did this by marking .7cm on a piece of 1/2" nylon and used a vice to push the nylon piece in until the mark (shown above).

Posted Image
Once the .5cm length of nylon is inserted, add some super glue on top of the nylon piece so that glue will seep into the small gap between the cpvc and nylon. Let this dry before continuing to the next step.

Posted Image
Place the o-ring on top of the nylon, as shown above.

Posted Image
Next, insert the last .5cm nylon piece above the o-ring. Add super glue on top of the nylon, once again, to bond it to the cpvc. DO NOT let any glue touch any part of the o-ring, or else it will solidify and be completely destroyed.

Posted Image
The only modification to the retraction rod, is the addition of a 3/8" nylon tube with a 1/4" nylon rod glued inside to make a solid, airtight piece. It needs to be 1.5 long. .5cm is inserted and super glued into the end of the retraction rod, and the remaining 1cm seals on the o-ring. A small bevel to the tip will help the rod seal easier and, of course, a lubricant is used to reduce friction and help the rod seal easier. Insert and super glue in a nail through the 1/2", 3/8", 1/4" nylon pieces to secure them to one another. If this step is a tad unclear, refer to the picture and compare it with the washer seal used earlier in this thread.

Posted Image
Sealed.

Posted Image
Seal broken.

That's it, you now have a much more reliable front seal. To insert the o-ring assembly into the piston cylinder, either add e-tape until it fits and super glue it in, or put it inside some 1/2" pvc, e-tape the 1/2" pvc, and super glue it into the cylinder. It is your choice. This seal allows for the piston to be compatible with a stronger spring and, most importantly, Tantum's nerf mg. Enjoy.

Video Demonstration

Edited by ricochet, 26 February 2011 - 12:42 PM.

  • 0

#36 Inferno Falcon

Inferno Falcon

    Member

  • Members
  • 196 posts

Posted 01 March 2011 - 10:50 PM

This couplered with this:

http://nerfhaven.com...?showtopic=8234

Would be awesome.
  • 0

#37 Forsaken angel24

Forsaken angel24

    Member

  • Contributors
  • 2,472 posts

Posted 02 March 2011 - 03:08 AM

I got to admit, I am very impressed.
  • 0
I don't get my kicks out of you,
I don't feel the way I used to do.
I know its bad,
After what we had,
But I’m just not the angel you knew.


1 user(s) are reading this topic

0 members, 1 guests, 0 anonymous users