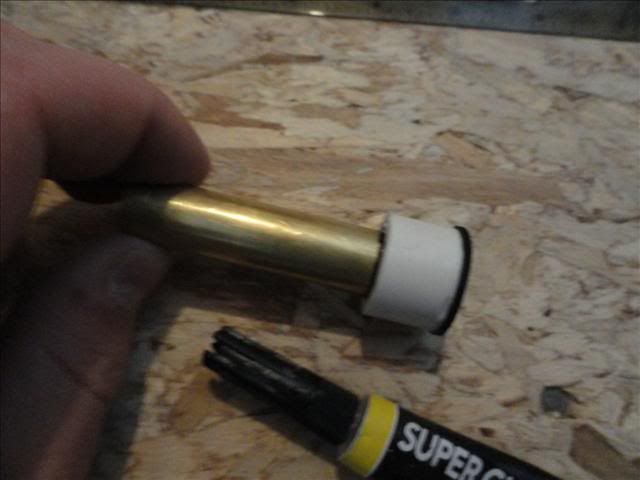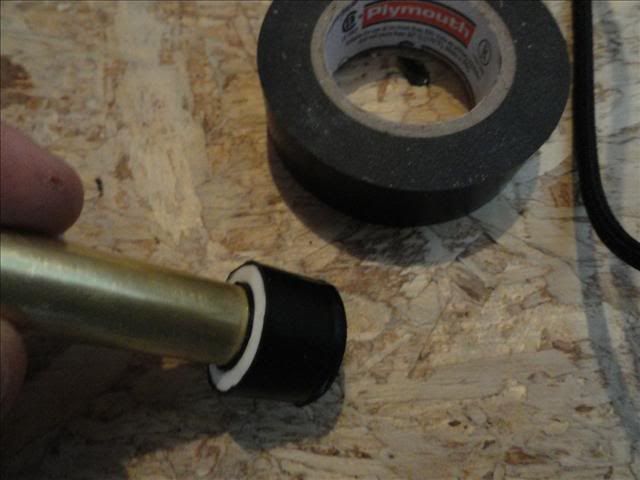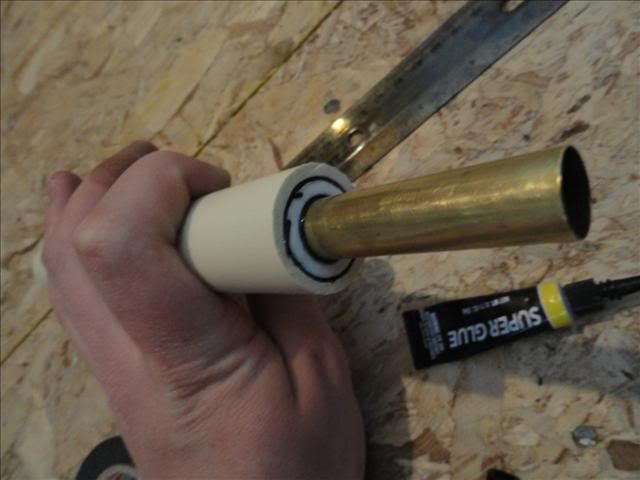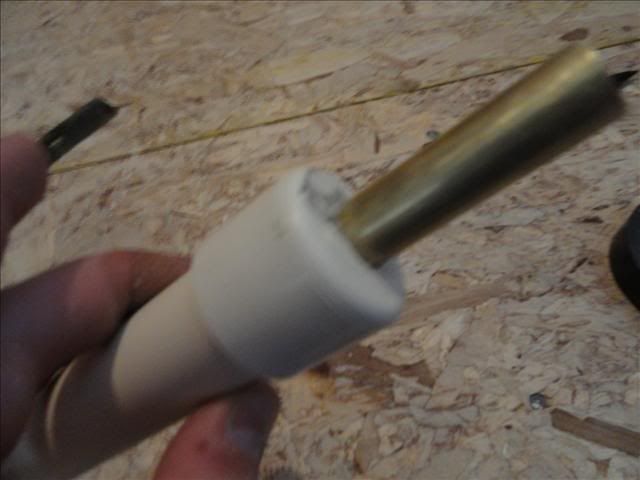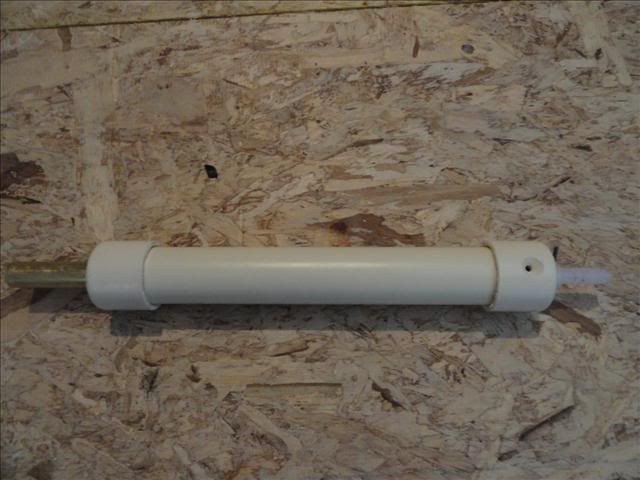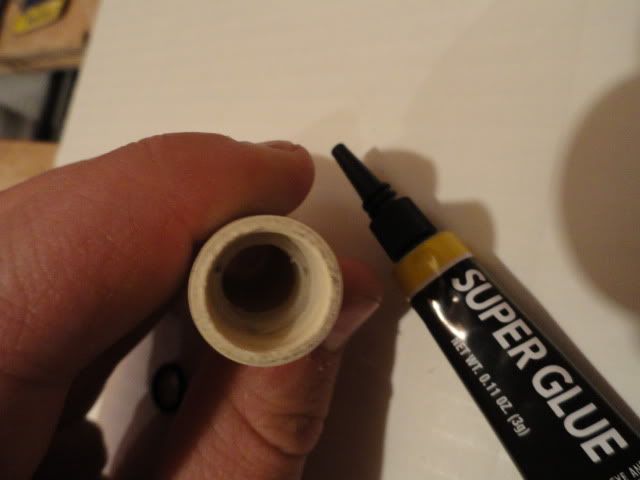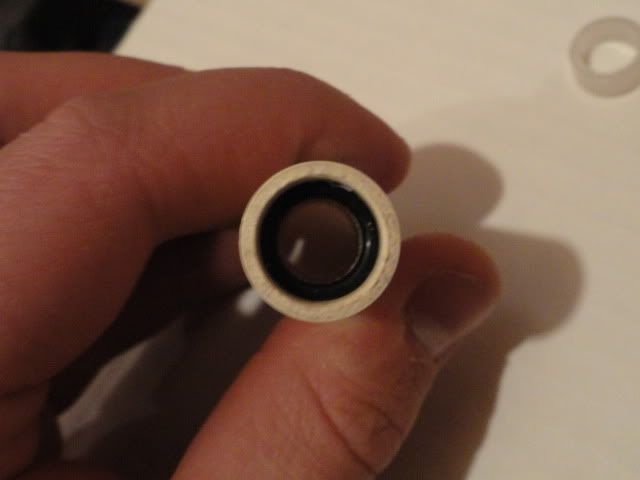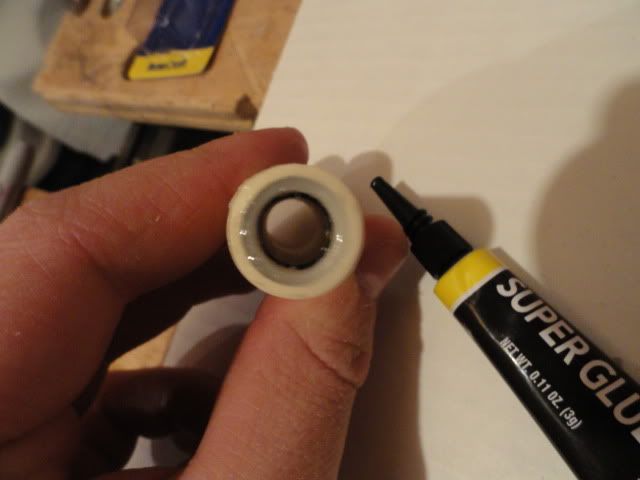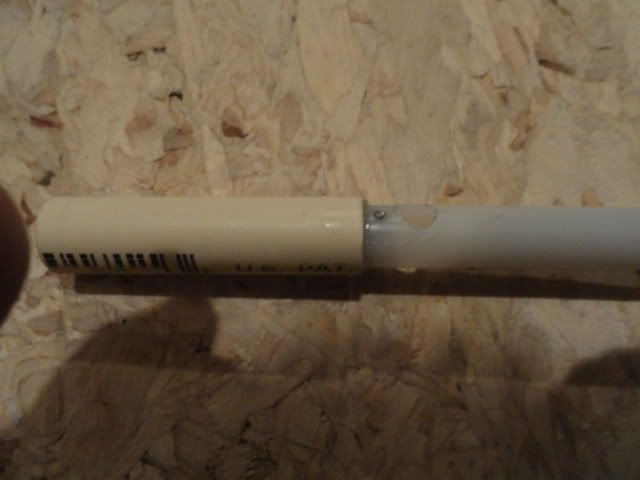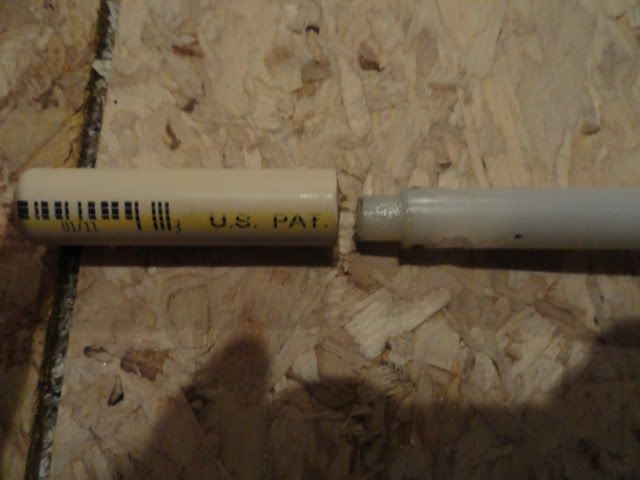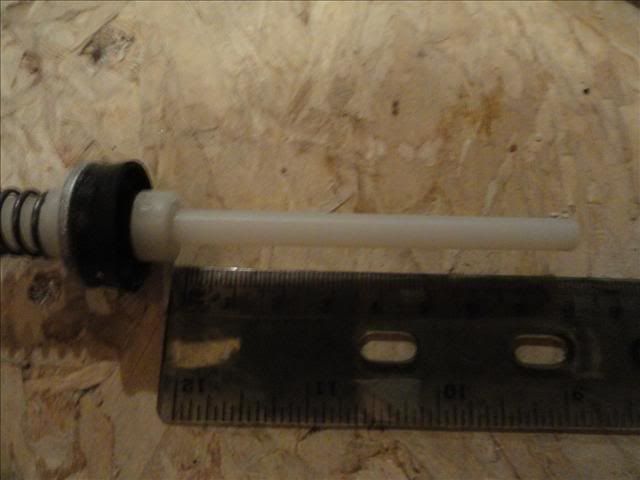
Cut a 8 cm piece of the 1/4" nylon rod and super glue .5 cm of it into the end of the assemly shown in the photo above.
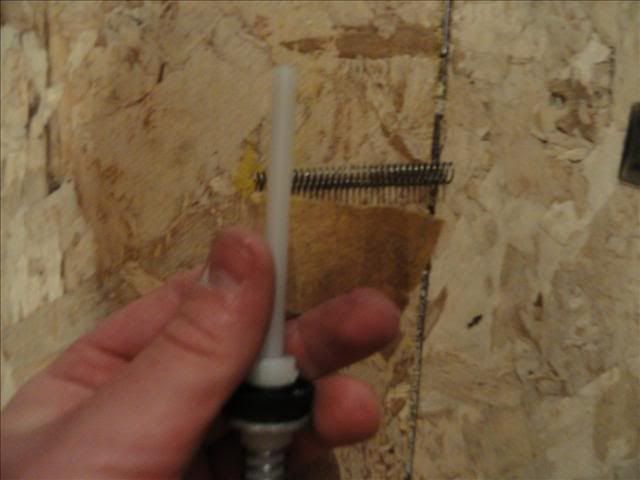
Now perform the tedious task of sanding down the installed 1/4" rod unil a 6.5cm piece of .028 wire diameter spring slides on and off the rod freely and easily. Set the spring off to the side for now.
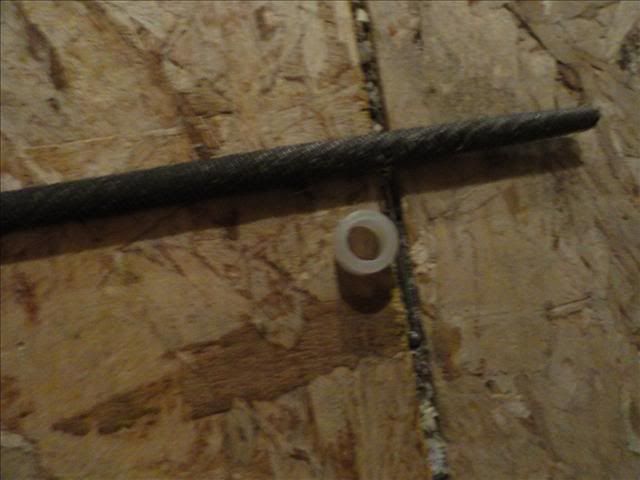
Cut a .5 cm piece of 3/8" nylon tube and file the inside until it too slides over the 1/4" rod freely and easily.
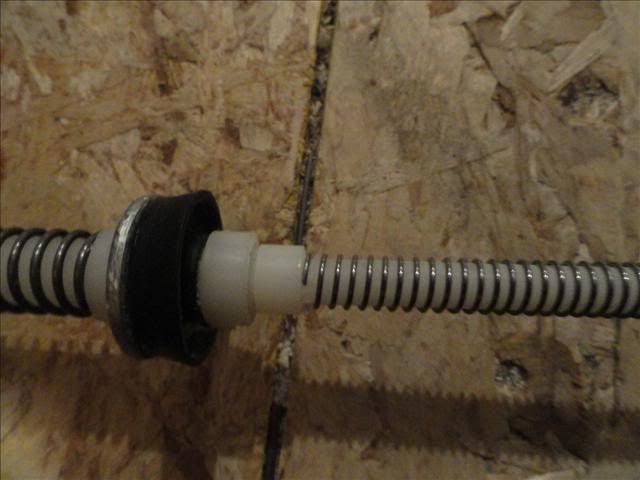
Slide on the .5 cm piece of 3/8" nylon tube, followed by the 6.5 cm length of spring.
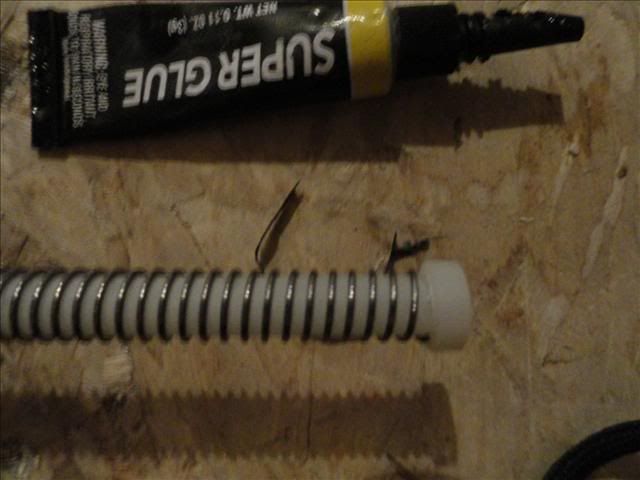
Cut a .3 cm piece of 3/8" nylon tube and super glue it above the spring, as well as flush with the end of the 1/4" rod, seen above.
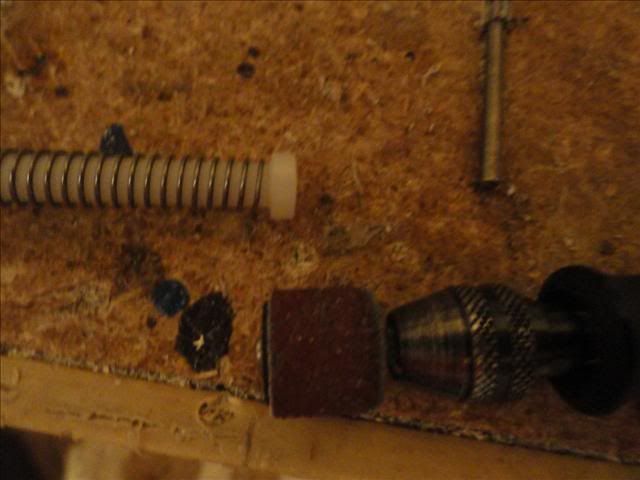
Sand the .3 cm piece previously glued on the rod until it slides in and out of 1/2" nylon tube freely and easily. Set assembly aside.
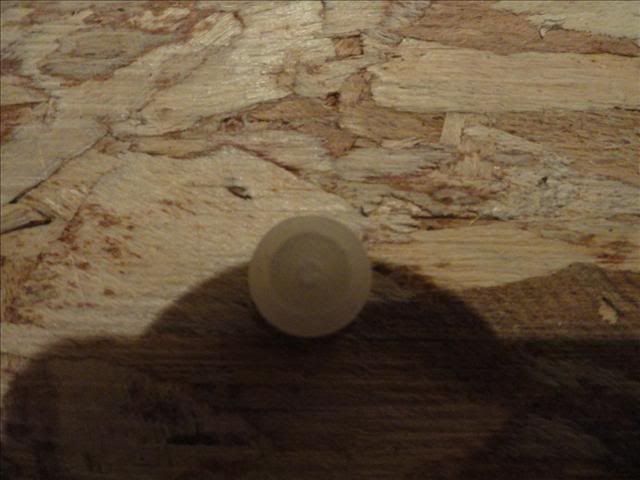
Cut .5 cm lengths of both 1/4" nylon rod and 3/8" nylon tube. Super glue the .5 cm piece of 1/4" nylon rod into the .5 cm piece of 3/8" nylon tube so that they are flush. Shown above.
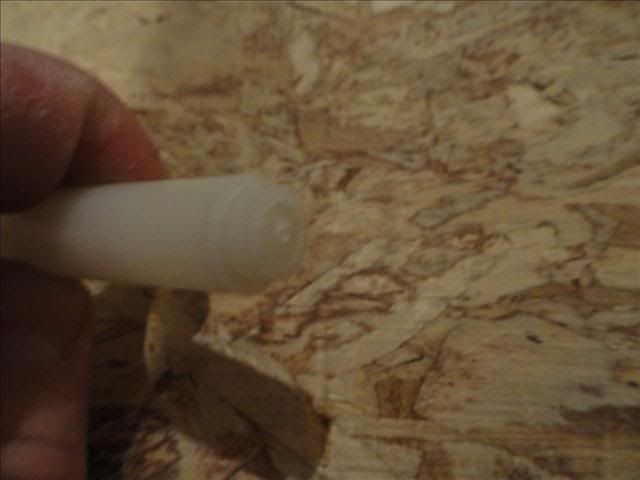
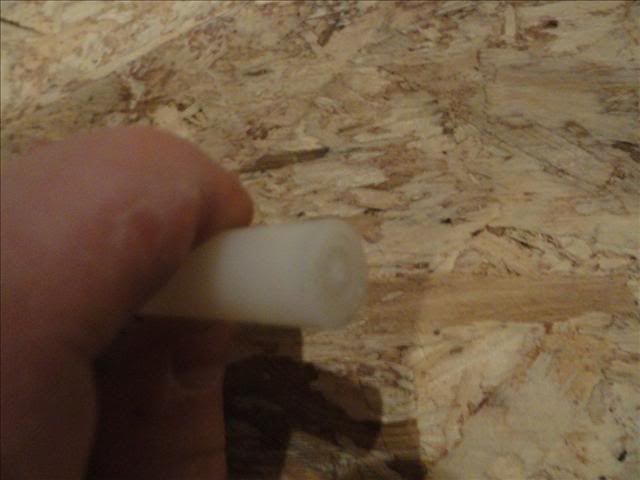
Super glue the 3/8" nylon tube and 1/4" nylon rod combination fabricated in the previous step into a 9 cm piece of 1/2" nylon tube. It needs to be flush and smooth. Again, shown above.
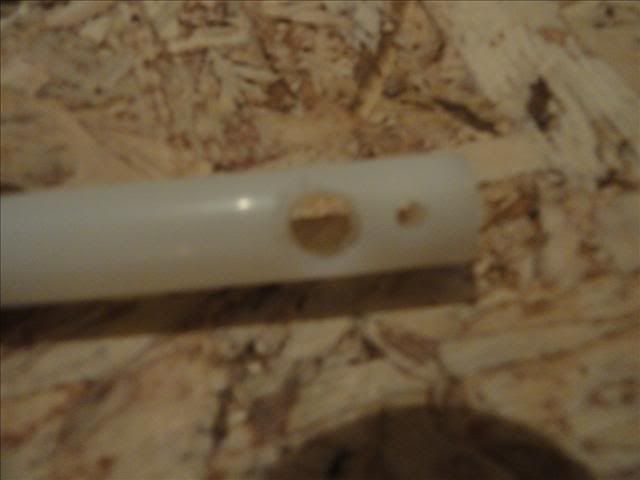
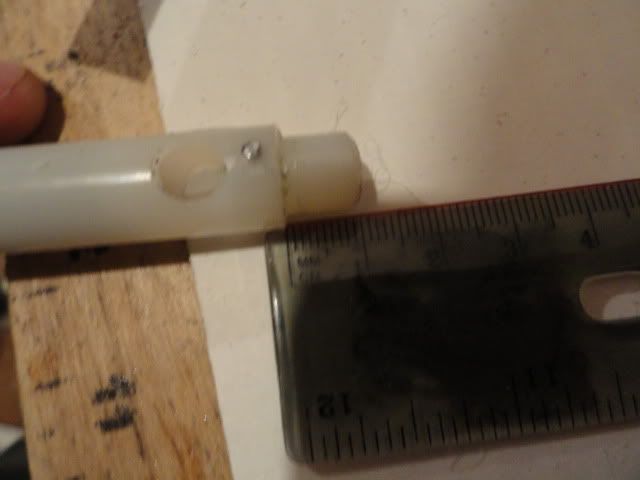
Directly below where the piece in the previous step was glued into the 1/2" nylon tube, drill some holes like shown in the picture above. One hole needs to be within .5 cm of the glued part and the the rest can be where ever you choose. In my picture, the small hole is it the .5 cm or less "zone" and the larger is behind it where I thought it belonged.
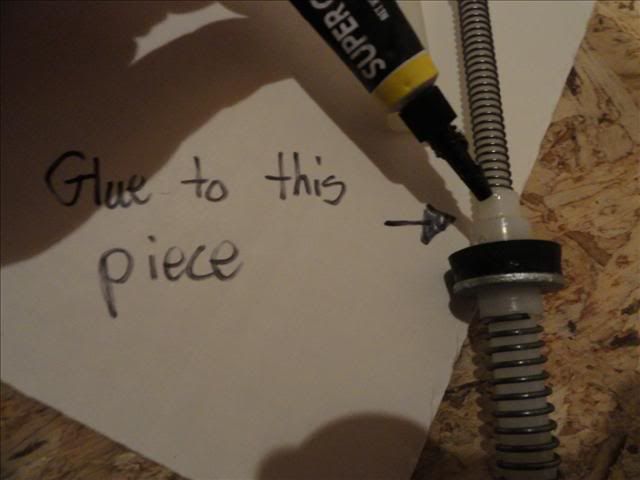
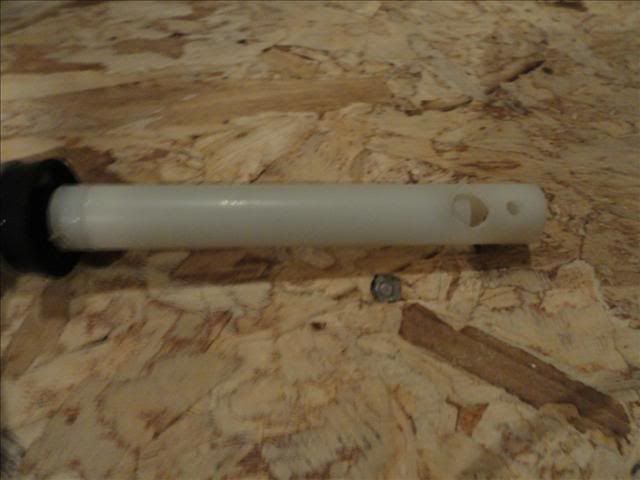
Glue the 9 cm 1/2" nylon tube assembly to the .5 cm piece of 3/8" nylon tube at the bottom of the 1/4" rod. The picture describes this part of fabrication best. Once the glue has set, the 1/2" nylon tube assembly should slide back and forth easily, and be retraced backwards by the spring. Do not repeat this retracting action much until the next step is performed.
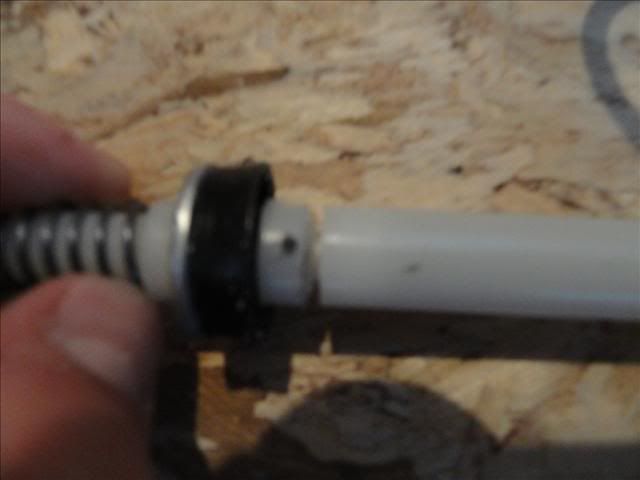
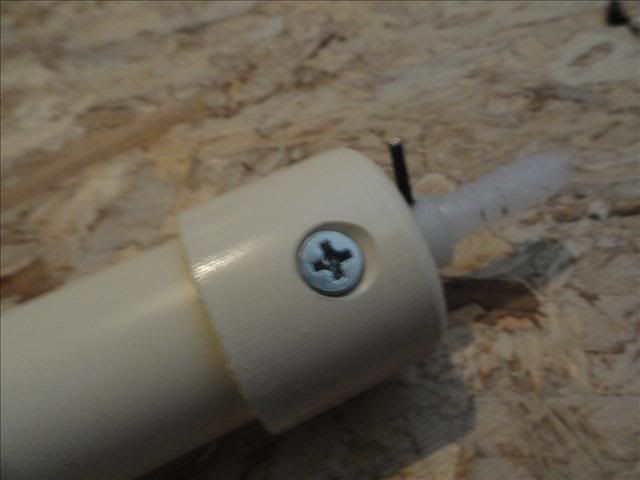
Drill a hole through the assembly at the point shown in the picture. Then insert a nail, super glue it in place, and trim the excess part of the nail. The hole should go through all 3 layers, the 1/2" tube, 3/8" tube, and the 1/4" rod. Installing the nail through all the layers increases the longevity and durability of the piston.
Now onto the cylinder:
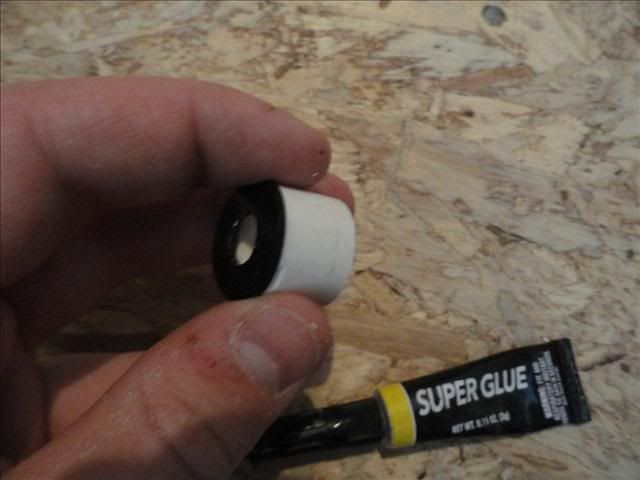
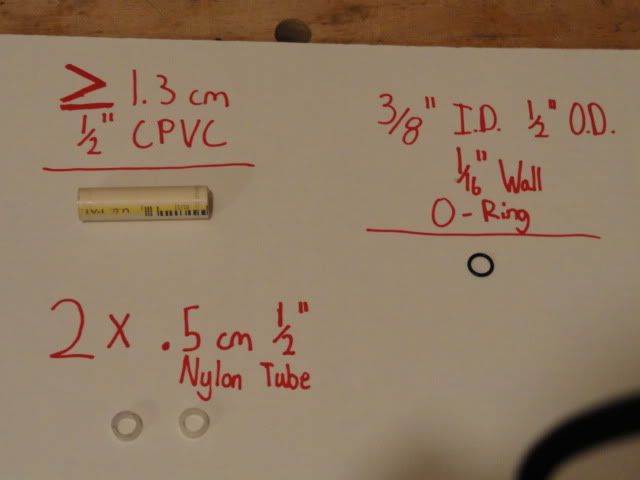
Cut out a 1.5 cm length of 1/2" PVC. Bore out the piece of pvc with a 5/8" drill bit if you desire, this is optional, but it may help the piston run a bit more smoothly. Then super glue the rubber washer to an end of the PVC centered as accurately as possible. Make sure it is glued completely, you obviously need it to be airtight.
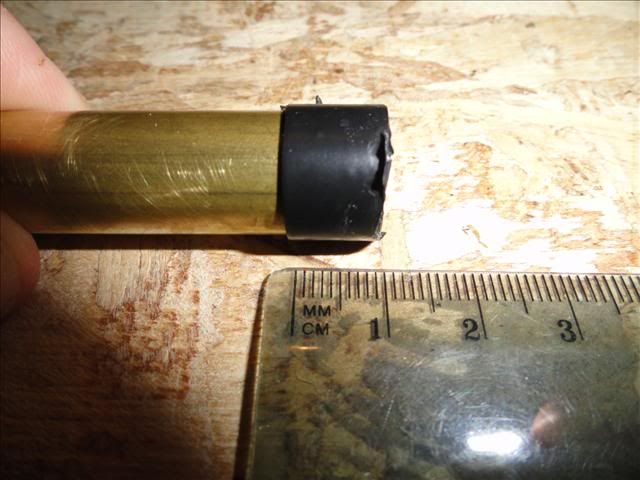
Next, cut a 6.5 cm piece of 17/32" brass and tape an end with 1 cm of tape with enough layers so it fits snuggly in 1/2" PVC. There should be 5.5cm of brass visible after this step. Refer to the picture.
Edited by ricochet, 03 January 2011 - 07:53 PM.


