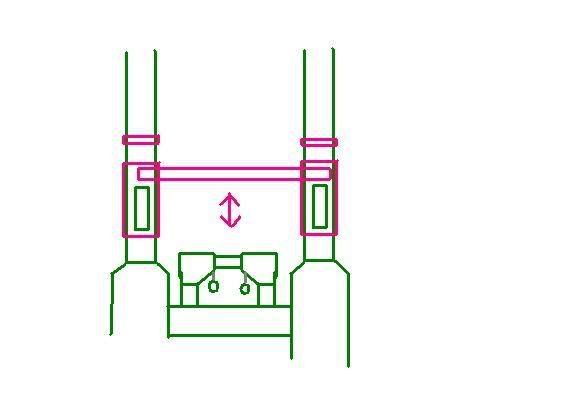
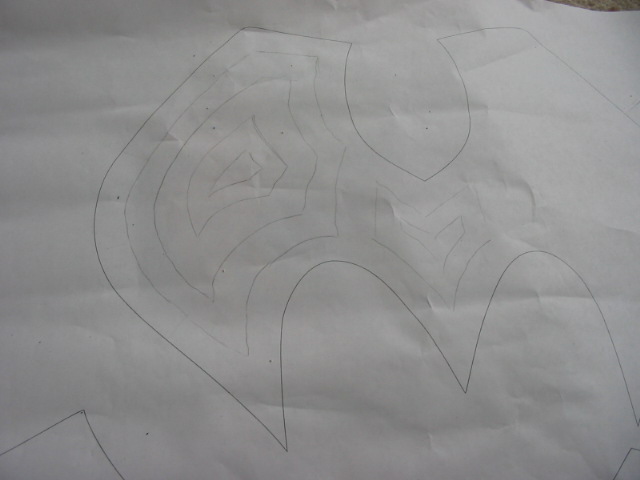
Proportions aren't right but you get the picture.

Member

Posted 04 February 2008 - 05:36 PM
Member

Posted 04 February 2008 - 07:07 PM

Contriberator
Posted 04 February 2008 - 11:33 PM
I was thinking combined or independent breeches.
Proportions aren't right but you get the picture.
Edited by Carbon, 15 January 2025 - 12:47 PM.
Member

Posted 05 February 2008 - 03:01 AM
Contriberator
Posted 05 February 2008 - 09:33 AM
PowerBeard

Posted 05 February 2008 - 10:53 AM
Edited by jwasko, 05 February 2008 - 10:57 AM.
-Jwasko, STILL Sole Surviving member of Steel City Nerf and Sober Sister of the Sex Dwarves
We NERF ON all day, and FUCK OFF all night
Contriberator
Posted 05 February 2008 - 12:53 PM
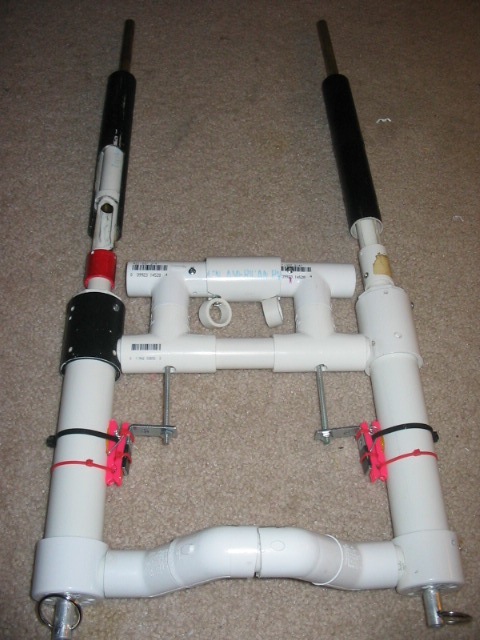
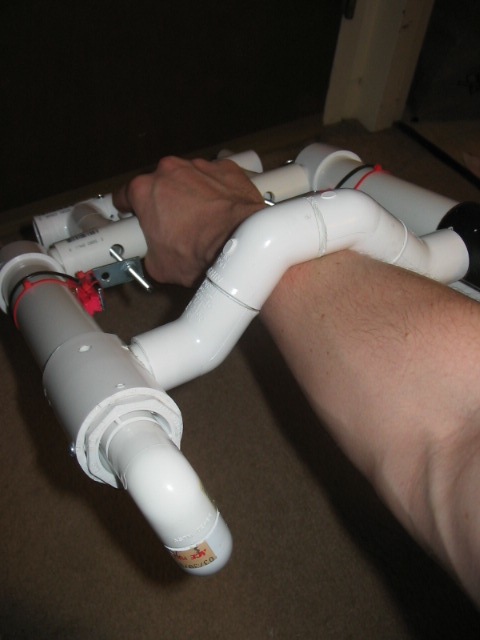
I don't see how having the charge rods forward would be bad, Carbon. I mean, that's how the Manta does it and it worked out alright. It seems wide enough that you wouldn't have to worry too much about the charge rods smacking your hand or anything. Although, you would then have charge rods sticking out the front (though, they look shorter than those breeched barrels).
It would also simplify your triggers somewhat, as you wouldn't have to reverse the pulling back of the triggers into the pulling forward of the clothespins.
Edit: Although, now that I think about it, you could have just attached the clothespins in the "normal" direction in the first place and accomplished the same thing...so, you must have a reason for not doing that.
Edited by Carbon, 05 February 2008 - 12:54 PM.
Contriberator
Posted 06 February 2008 - 01:12 PM
Edited by Carbon, 19 April 2015 - 04:51 PM.
Member

Posted 06 February 2008 - 01:16 PM
Contriberator
Posted 06 February 2008 - 01:22 PM
The plunger direction doesn't affect range, more ergonomics. And I've never actually tested range on this gun. However, its construction is identical to the SNAP-4, with a slightly smaller inline. As such, it should get ~50-80 feet. Considering the number of shots, and that it'll eventually have a shield, that's great. I'll get "official" ranges later.So how does the inverted plunger affect the range?
Up or Down?
Member
Posted 06 February 2008 - 01:24 PM
Cool.The plunger direction doesn't affect range, more ergonomics. And I've never actually tested range on this gun. However, its construction is identical to the SNAP-4, with a slightly smaller inline. As such, it should get ~50-80 feet. Considering the number of shots, and that it'll eventually have a shield, that's great. I'll get "official" ranges later.So how does the inverted plunger affect the range?
Up or Down?
Vacc is Legend

Posted 06 February 2008 - 01:41 PM
PowerBeard
Posted 06 February 2008 - 01:42 PM
I have no idea why I hesitant to use a reverse plunger, because it works great.
 Just kidding.
-Jwasko, STILL Sole Surviving member of Steel City Nerf and Sober Sister of the Sex Dwarves
We NERF ON all day, and FUCK OFF all night
Contriberator
Posted 06 February 2008 - 01:53 PM
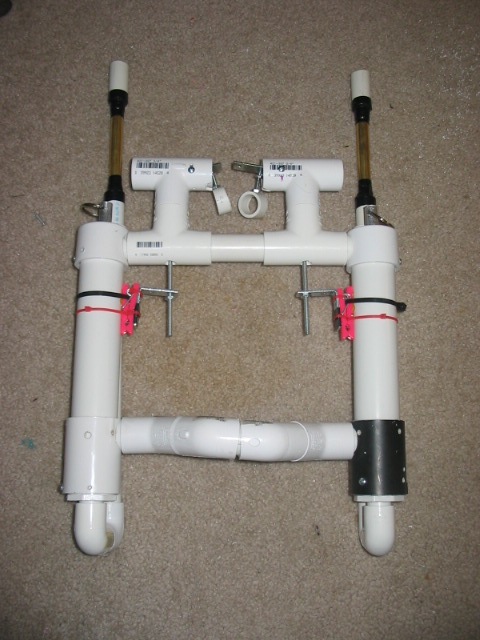
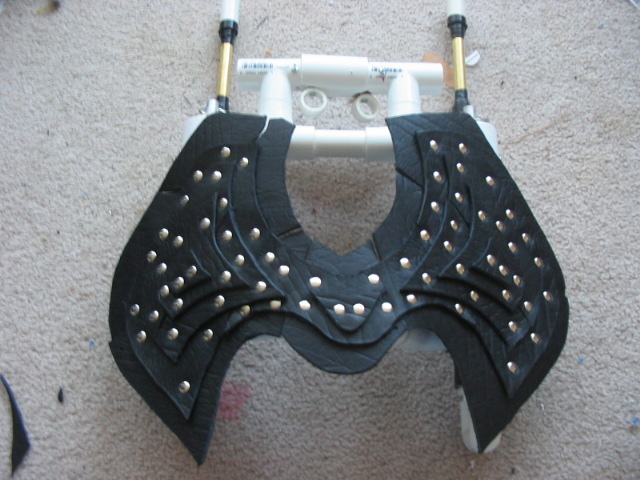
Current'y, it's 12" wide by 15" long, and the barrels add a shade under 5" to the length. Size-wise, it's still under the width of baghead's homemade shield.The only concern I'd still have with this thing is it's overall size. While it's not large for a homemade, it is very wide for a mantaray. What are the measurements from side to side and from the rear elbows to the front T-joints?
*laugh* I was thinking it while I was writing that post, but neglected to say it...thanks for pointing me in the right direction, jwasko.I have no idea why I hesitant to use a reverse plunger, because it works great.
You're welcome.
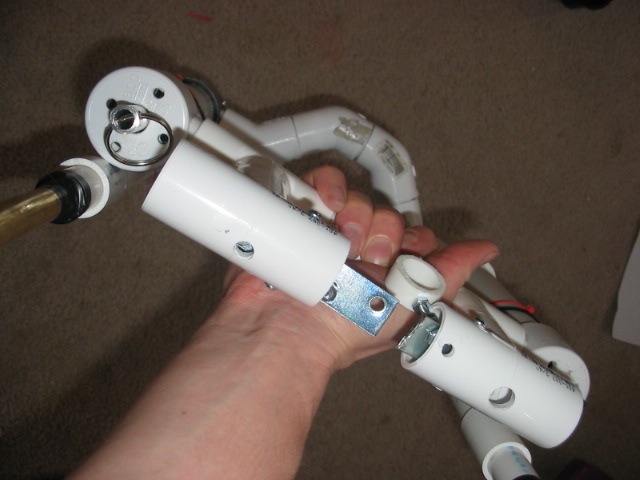
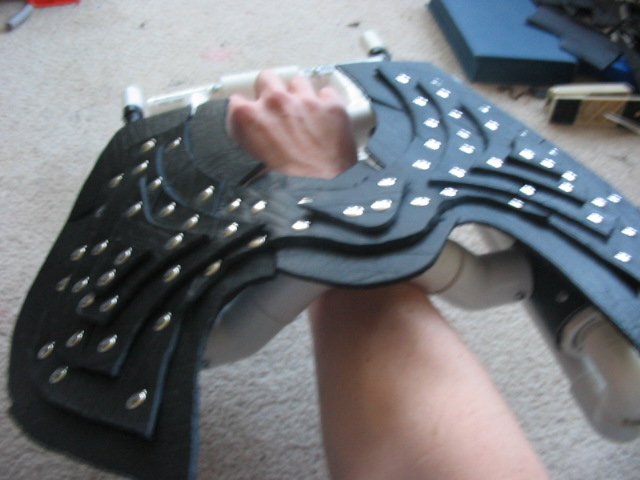
Just didn't put it back in. The part I had put in there was pretty temporary...I'm going to cut a better one, and drill out some cleaner holes for the trigger posts. Also, I want to use cap nuts for the triggers, so I'm leaving it accessible for now. The nuts I have on there tend to fall off.But, I notice that you changed the triggers slightly...are you leaving that center part out, or did you just forget to put it in for these pictures?
Posted 06 February 2008 - 01:59 PM
Contriberator
Posted 06 February 2008 - 02:19 PM
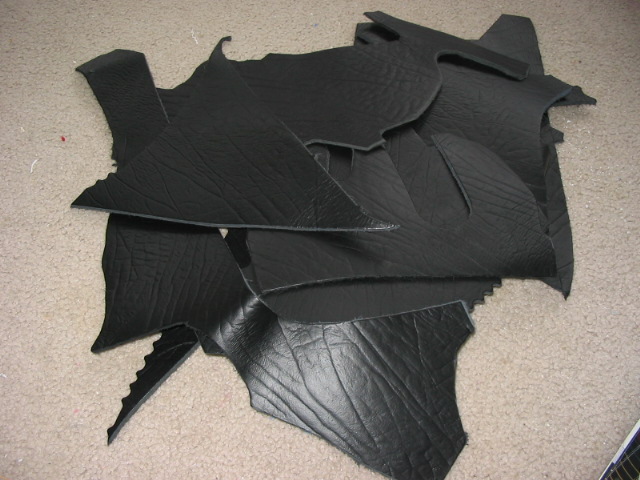
Yup. I'll be starting on that this weekend. I have...plans.Excellent, Carbon. Will you be adding one of Baghead's homemade Manta covers? That's about the only thing it needs to kick 100% ass.
Posted 06 February 2008 - 03:16 PM
Contriberator
Posted 06 February 2008 - 04:06 PM
I'm not going to go that route, if I have to. Smaller springs would end up being a pain, as I'd have to completely refigure the triggers and the length of the PC. If people end up having a problem with ranges, I'd use small ID washers as a sort of air restrictor. Either that, or I could drill small vent holes at the base of my barrel, to bleed a touch of pressure. However, considering that the first page of the thread consisted of most people saying they didn't see a problem with SNAP ranges, I'm not too worried.The ranges sound a little excessive for a Manta, though. Have you tested it with the smaller springs yet?
Member
Posted 07 February 2008 - 03:42 AM
Velcro'd Beanpole

Posted 07 February 2008 - 03:27 PM

Contriberator
Posted 10 February 2008 - 06:06 PM
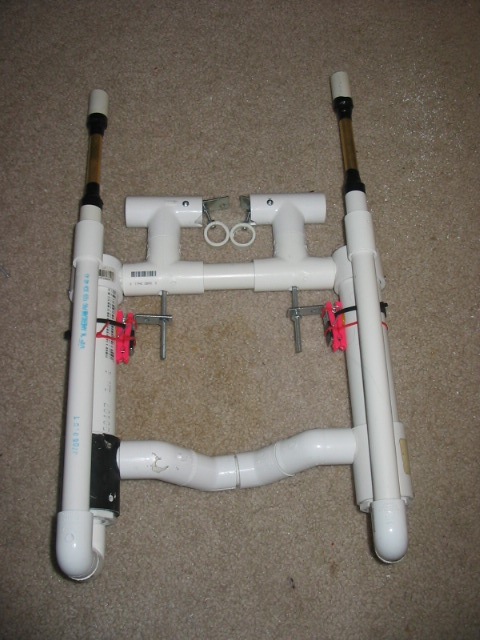
Turns out the trigger tees block where I'd put the turrets a bit too much. It's just as well...I really wasn't looking forward to building another turret. I like the end resutls, but man, they're expensive and time consuming. I *gotta* get myself some PETG and see if it's a decent barrel material for my darts.Do the recent additions mean you're not gonna turret it?
*whimper*?

Edited by Carbon, 19 April 2015 - 04:50 PM.
Member

Posted 10 February 2008 - 07:05 PM
Member
Posted 10 February 2008 - 08:16 PM
Member
Posted 10 February 2008 - 08:59 PM
Member

Posted 10 February 2008 - 10:47 PM
0 members, 1 guests, 0 anonymous users


