
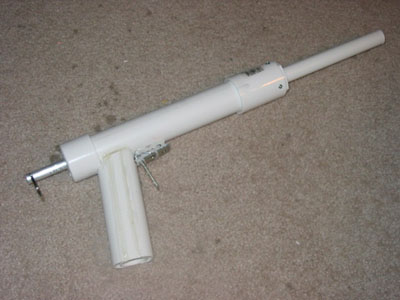
This is a writeup and assembly guide for the SNAP-1 mk 2, a basic spring powered Nerf blaster. I have incorporated a few improvements into this version that have been gained from the succeeding two models
-Lighter plunger
-More efficient, easier to build gasket system
-More compact size
-Stronger trigger
Parts Needed: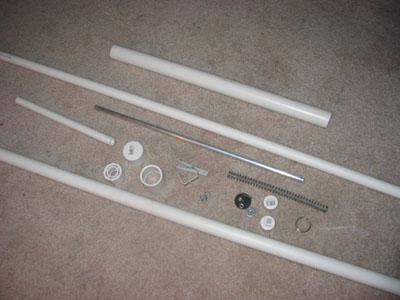
Pressure Chamber:
1.25” Sched. 40 PVC
1.25” PVC Endcap
1.25” PVC coupling
1.25” x .5” PVC reducing bushing
Plunger:
.75” thinwall PVC (Sched 40 will work)
.75” PVC Endcaps (x2)
Cotter pins (I used 3/32”)
.5” aluminum rod (wooden dowel will work)
3/16” x 1.5” rubber fender washer
#6 Finishing Washer
5/32 x 7/8 washer
#6 x .75” Oval Head machine screw & nut
9.5” x .5” spring (you can find this at True Value Hardware. It fits around a .5" rod.)
Handle:
Split key ring
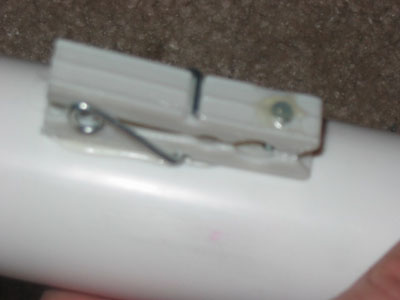
Trigger:
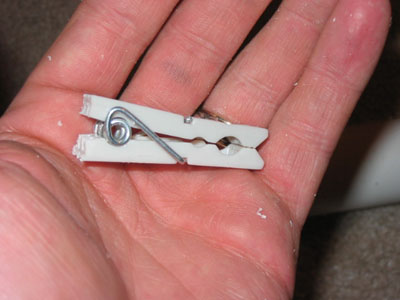
Clothespin (plastic is best)
Small nail (not finishing, needs a head)
Small angle iron
Small zip ties
Barrel:
Barrel material (crayola, brass, etc.)
.5” Sched 40 PVC
Tools (bare essentials):
Hacksaw
Power drill and bits
Sandpaper
Hot glue gun
Not essential, but will make things easier:
Pipe cutter
Small files
Dremel
X-acto knife
Plunger:
The size of the plunger determines with size of the whole gun, so we’ll start there. Take one of the endcaps, and drill a .5” hole in the end. Be sure to center the hole.
Start with a small diameter hole, and gradually increase the size to avoid gouging, and to keep the hole centered. You want your aluminum rod (or dowel) to fit snugly in this hole. Cut a small length of .75” PVC. The SNAP-1 has a fixed chargerod, so a short plunger is fine, and reduces mass. About 2” is good. When you put it together with the two endcaps, you want roughly .25" of PVC showing in between the endcaps.
Now for the plunger head. Take the other endcap and drill a hole large enough for your #6 oval head screw. On top of the endcap, place the washer, fender washer, and finishing washer. Drop through the screw, and tighten down a nut underneath.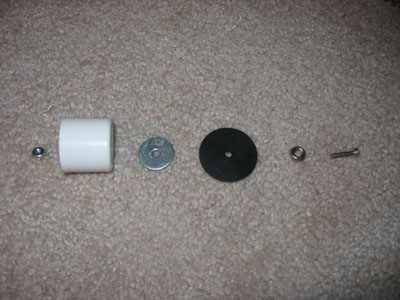
As you tighten the nut, the fender washer will cup upwards. This is a good thing, as it will hug the sides of the pressure chamber and make a great seal.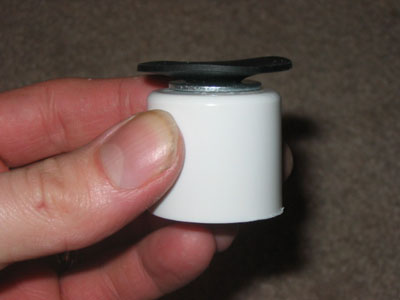
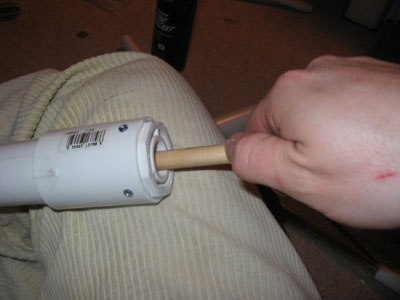
Drill a 3/32” hole in the end of the aluminum rod and sand off the rough edges. Twist it through the hole, pop in a cotter pin, and wrap it around the post. Pull it snug against the cap.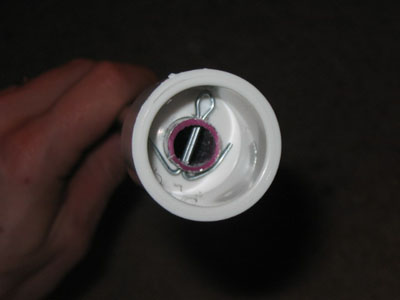
Press on the bit of .75” thinwall you cut off before. Then add the plunger head. Wrap a small length of e-tape around the chargerod where it meets the plunger to ensure that it doesn’t slip inside the plunger.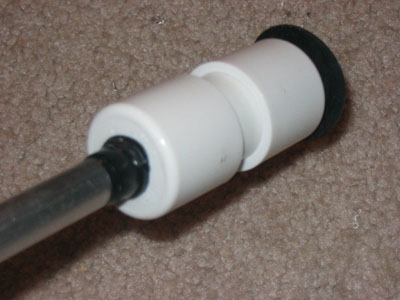
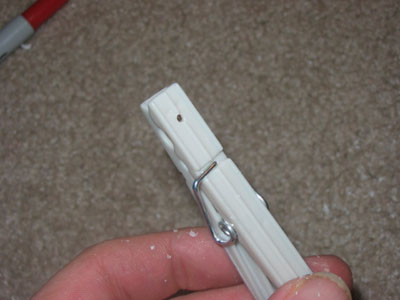
You’ll want to round the end of the rear endcap, to allow the firing pin to slide up over it, then click into place. You don’t have to do this, but if you don’t you’ll have to hold down the trigger to prime, and run the risk of bending your catchpin. It’s possible with sandpaper, but you’ll have a much better time of it with a Dremel. (this is about 5 minutes of work with a Dremel and the drum sanding bit.).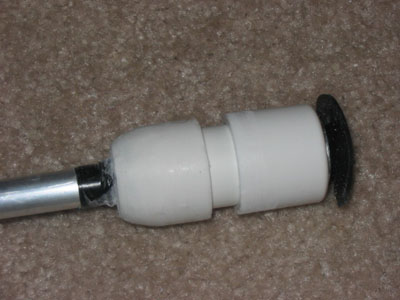
Also, sand off any edges of the endcaps that keep them from moving freely in the PC. The endcaps don't need to be airtight, but they doo need to slide freely, so don't worry about sanding them too much
Set it aside for now, you’re done with the plunger.
The Pressure Chamber (hereafter called PC)
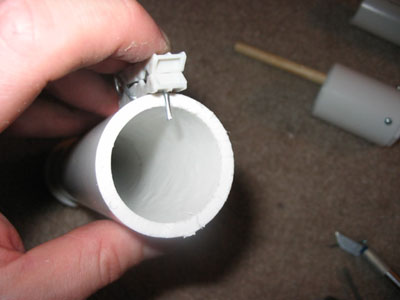
First, prepare the 1.25” endcap. You’ll need to drill a 9/16” hole in the exact middle of the cap. If you don’t have a bit that big, drill it as large as you can and sand/file out the rest. It needs to be centered, and large enough that the chargerod is loose in the hole. Also, drill several other holes in the endcap to help with venting pressure from behind the plunger (for both cocking and firing).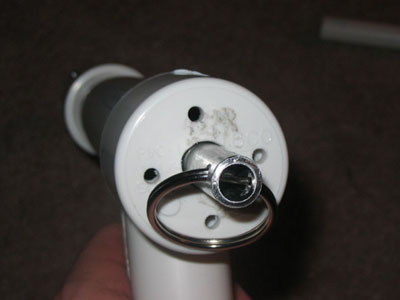
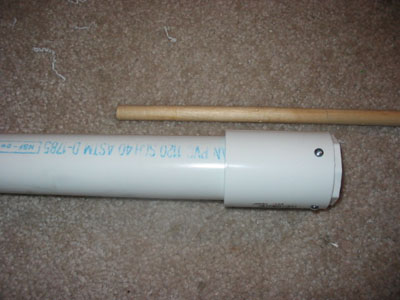
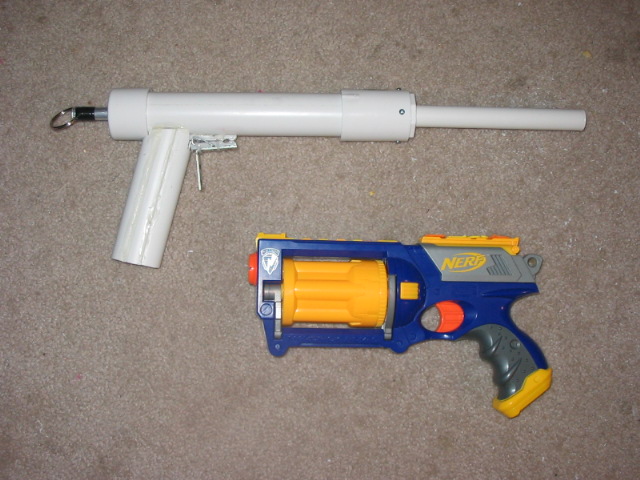
Now, you need to cut the pressure chamber to length. The best way to describe this is to see it: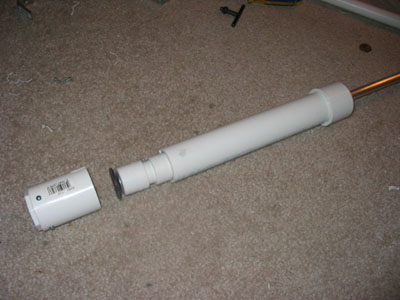
You want the PC to be shorter than the length of your plunger, so when the plunger is at full extension, the spring is still compressed slightly. With this design, having the PC be this much shorter seems to work well.
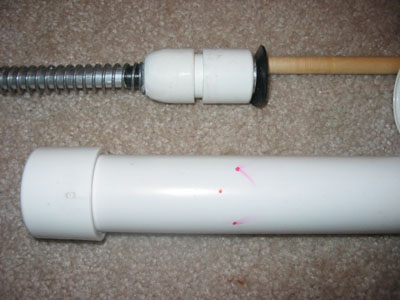
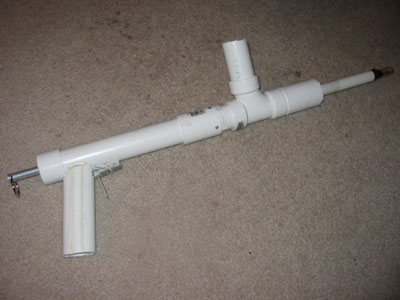
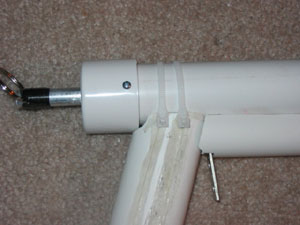
Drill some pilot holes, and screw the bushing and coupler together: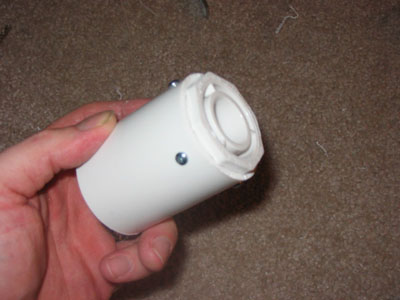
Press this over the end of the PC, and set it aside.
End of part one (picture limit).
Edited by Carbon, 20 May 2016 - 11:18 AM.


