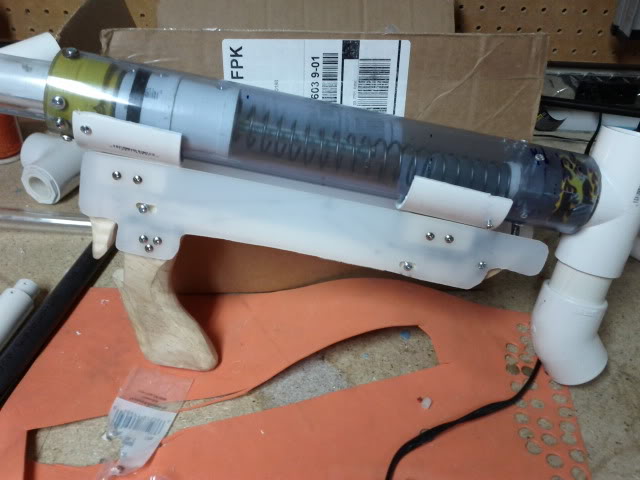
ABSTRACT
Design goals:
- Compact pump action springer capable of shooting dart out of at least a 12 dart hopper clip with standard priming motion
The current iteration of homemade pump action blasters of the +bow, SNAP, and rainbow variety, up to and including the shortened pumpSNAP by snakerbot are all rather lengthy and bulky. The largest immediate impacts concerning a nerf war is portability and accuracy - a lengthened barrel amplifies any angular error from the intended path. Various attempts to circumvent this with pull strings and backwards plungers (Carbon's SNAP-4bp and taerkitty's adaptation) have non-intuitive and unergonomic priming motions.
The idea was to create a springer with the same over size (including barrel) of the backwards-plunger variants while maintaining the intuitive and more ergonomic motions of the forward facing varieties.
Critical design elements:
- Coaxial pump action mechanism that travels around the barrel/hopper
- Unidirectional "rodless" rainbow catch mechanism
The two largest factors of concern here are a shortening of the plunger rod such that when primed no part of it extrudes from beyond the catch, and to relocate the pump action system coaxially and internally (as opposed to any adaptation based of external rails).
Flaws:
- Poor materials planning leading to sealing issues [implementation flaw]
- Forward design difficult to produce [both design and implementation flaw]
* Can be solved with better prior planning
* Circumvented using casted pieces
- Obvious further issues with ad-hoc implementation
* Prolific abuse of electrical tape
* Plunger head implementation atrocious
* Poor spring choice
* Trigger system terrifying
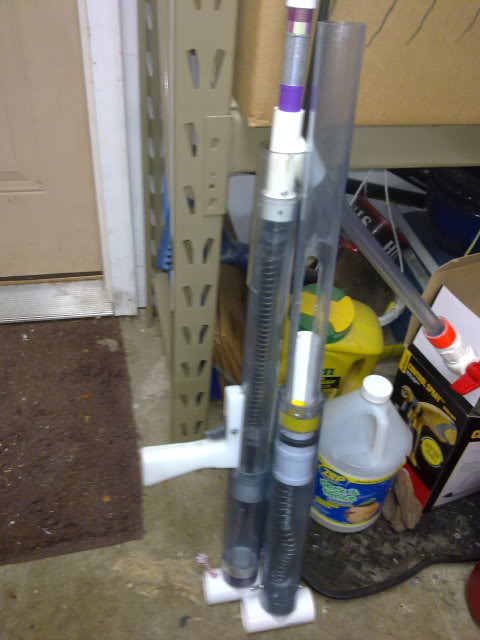
This blaster pictured is a prototype and made with a nonoptimal selection of materials. In particular, the plunger head is unnecessarily hefty and could be shortened by over 60%. Also, on the actual blaster I have, the barrel-sealing piece was initially beveled too much and I had to splice in a new one. The adhesive used in the splicing was insufficient to hold up and broke 4 rounds into Apocalypse 2011. Proper construction initially would obviously bypass this.
There will be no materials list as anyone who understands how the blaster functions could come up with a better one. This is also not a true writeup as anyone who understands how the blaster functions could implement the design in more optimal (suboptimal?) fashion.
Priming Pump
I started with a section of failed RBP plunger tube and cut channels on both the top and bottom. In hindsight I shouldn't have cut the top channel all the way through. Originally I did so to facilitate addition of the wye, but discovered you could actually just "pop" it in.
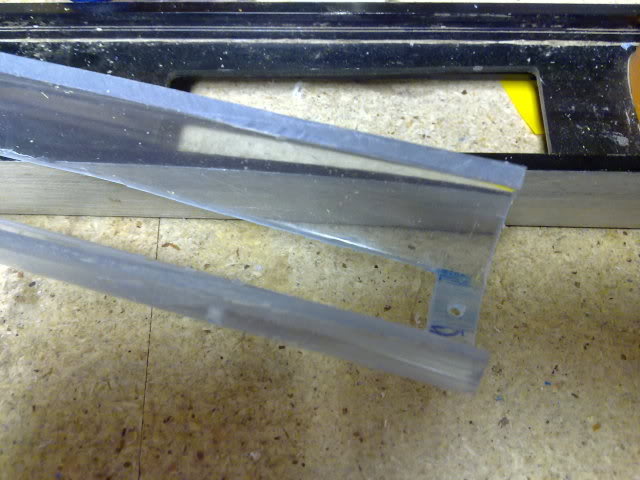
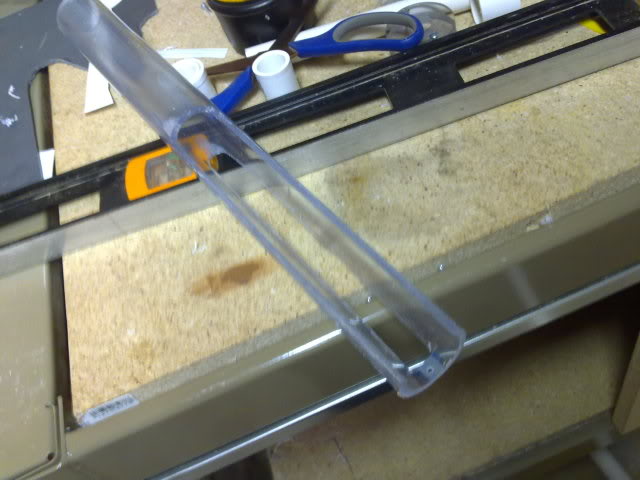
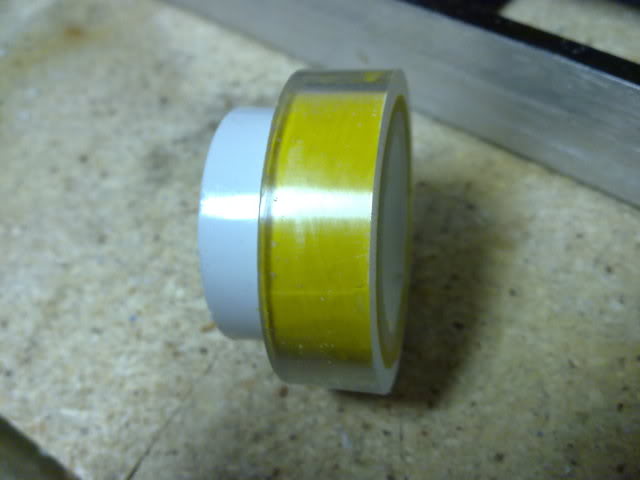
The priming arm free floats in a piece of tube of exact ID (ID > 1.66", the OD of 1-1/4" PVC). The priming arm is then connected to a piece of tube of exact OD (OD = ID of previous tube, OD > 1.66"). To join the two, I used some internal coupler and some electrical tape.

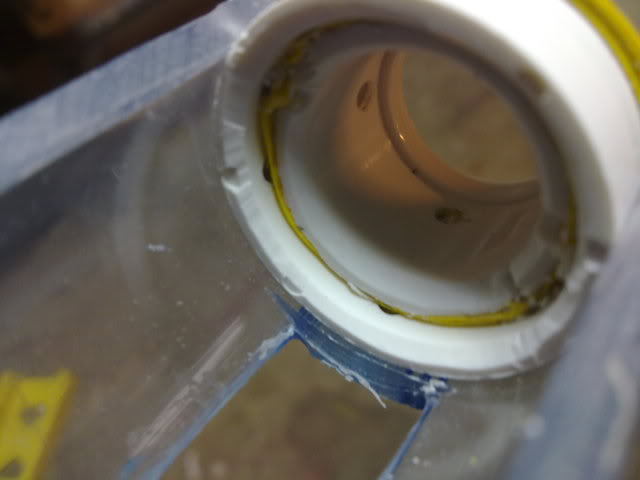
The tubes in question are I believe 2"x1.6875" and 1.675"x1.5" This is probably wrong. It doesn't matter.
Thus, the priming pump now has a mechanism by which to seal with the inside of the plunger tube, by way of the aforementioned tubes of exact ID and OD.
To seal with the barrel, simply add a section of 1/2" PVC coupler.
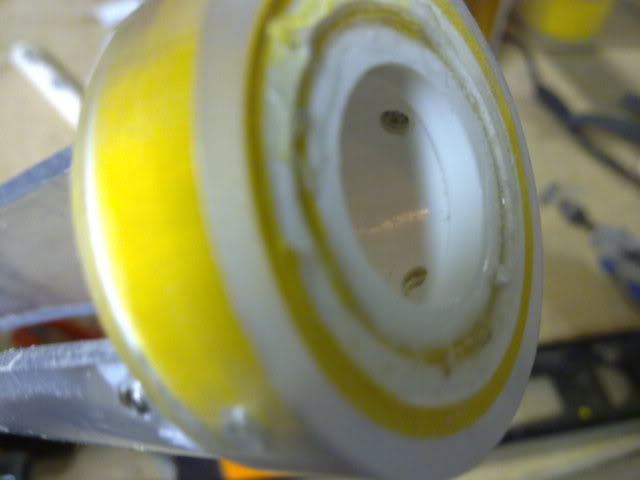
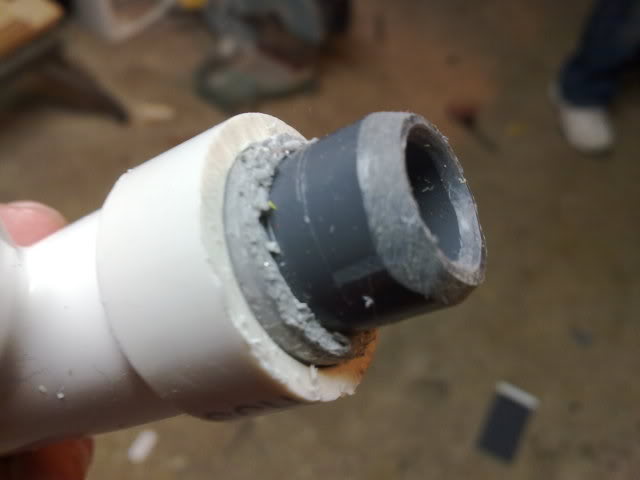
In these steps you can see why you should have left a ridge on the pump tube so it gets better grip on the internal coupler. Also not picture, a lot of set screws.
Barrel
Stick some PVC into the back of your wye. Then fit some more pipe/tube over it to stabilize it inside the 1-1/4" PVC.
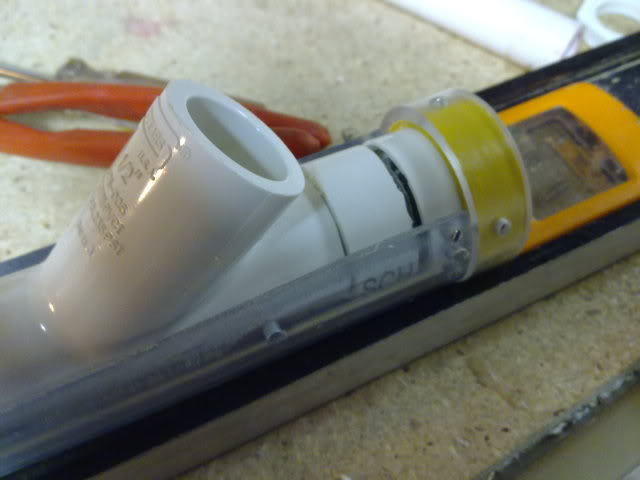
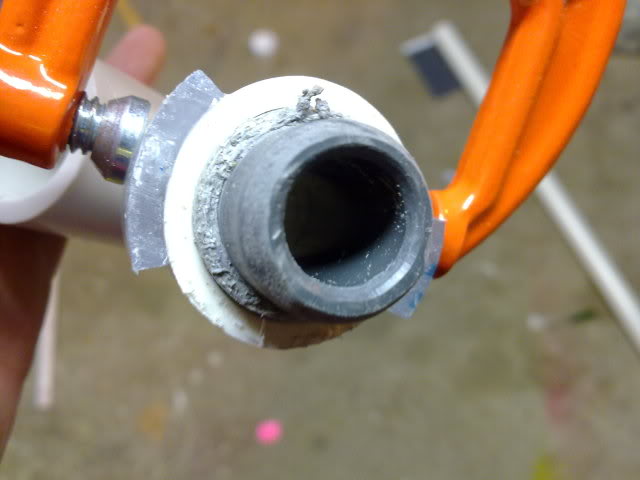
I used 3/4" thinwall. And duct tape. This is clearly not the best way.
Take some scrap from the channels you cut in the 1-1/4" PVC and put it over the aforementioned pipe/tube to create a rail along which the pump can stabilize. Superglue is sufficient for this stage.
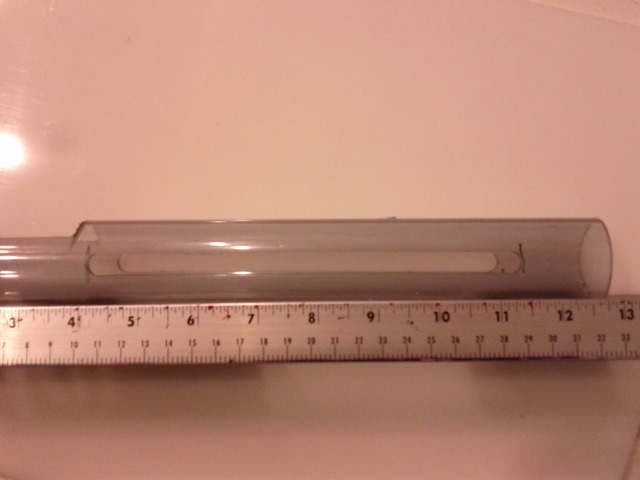
Now grab the tube of specific ID and work some magic. I used electrical tape. I probably could've used sections of internal coupler and then the tube of specific OD to achieve this way better.
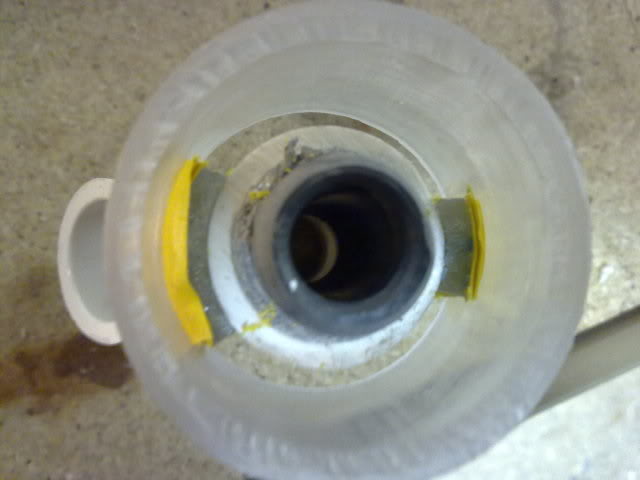
Not pictured: a lot of set screws
Pictured: how the sealing mechanism works*
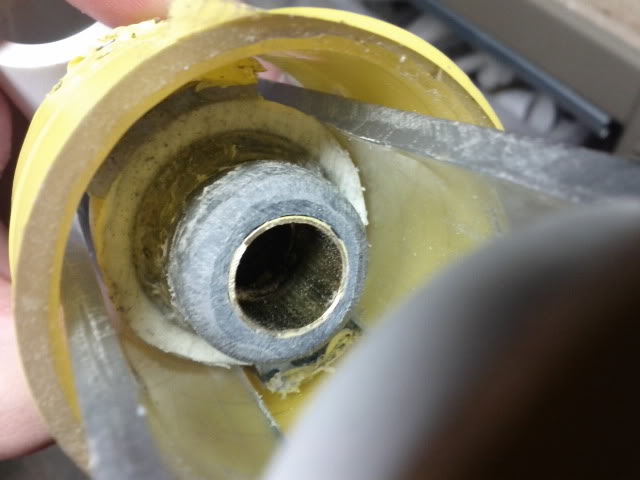
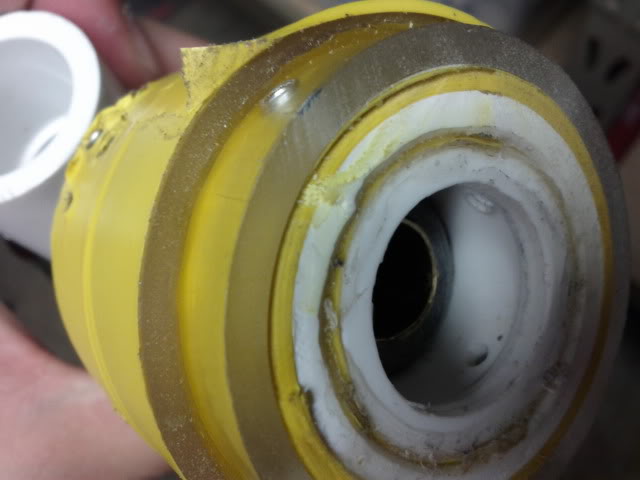

*see that brass? Yea that's from splicing new SCH80 in. I forgot brass sucks donkey nuts.
Plunger
To achieve the unidirectional catch notch I went with something inspired by the 2-11 but prefabricated. McMaster sells these security nuts that double as awesome beveled washers: http://www.mcmaster....lnord/90013a200
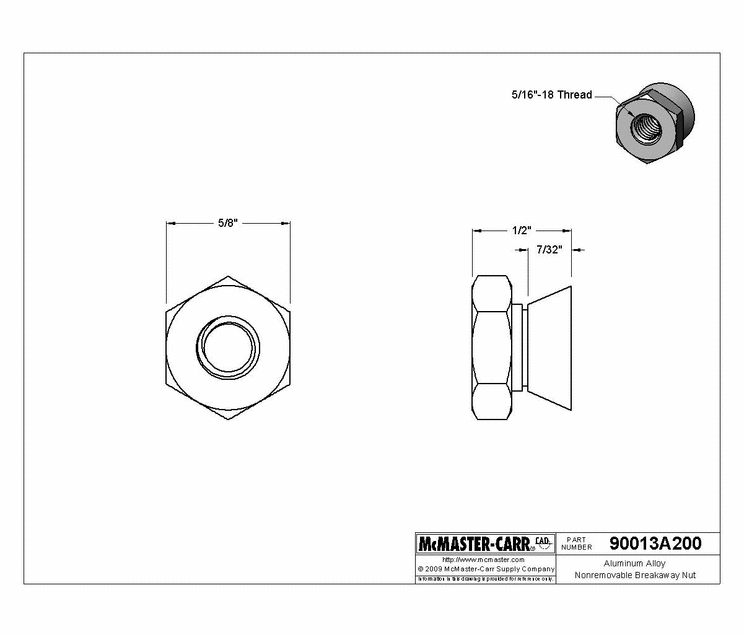
I took this and put it on the end of some appropriate threaded rod. I then found some vinyl tubing to prevent the rod's thread from destroying everything.
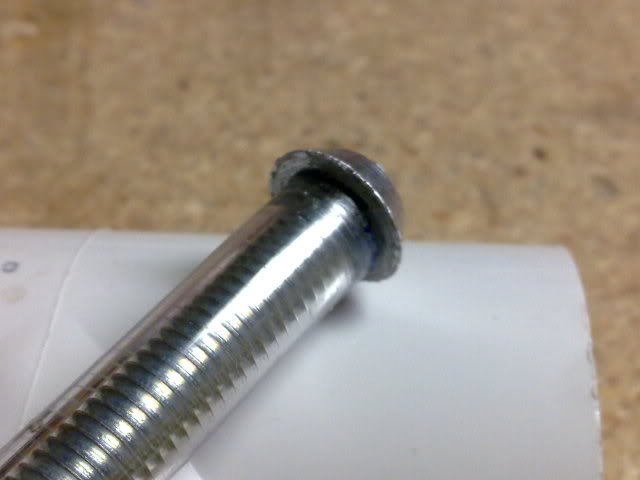
The plunger head is an abomination and we shall not speak of it. I was lazy.
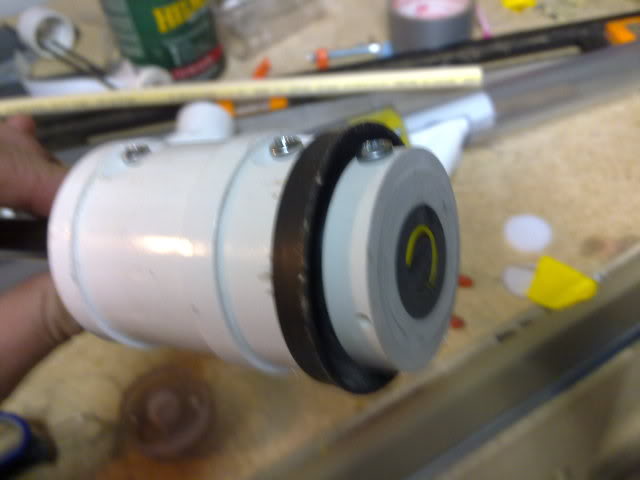
Catch and Spring Rest
Make a rainbow catch that fits the plunger tube you are using (2" PVC). Make the holes however large to accommodate your catch "notch." Make sure that when you cut the sliding piece that it isn't so short that at rest it goes past the halfway point. I kept it 1/8" above the center axis and beveled the inside lip so the plunger rod would have no issues catching.
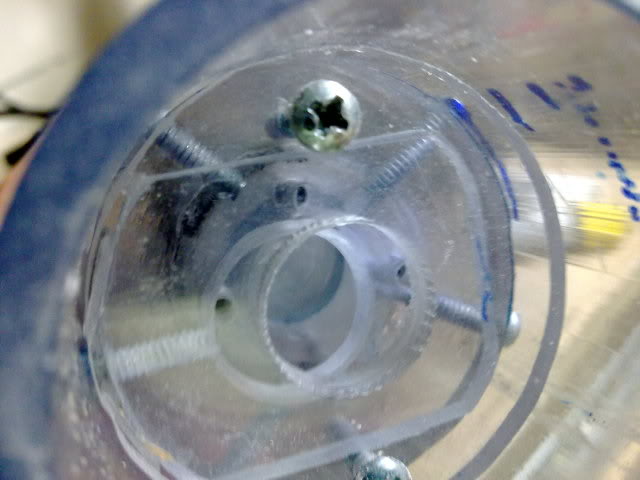
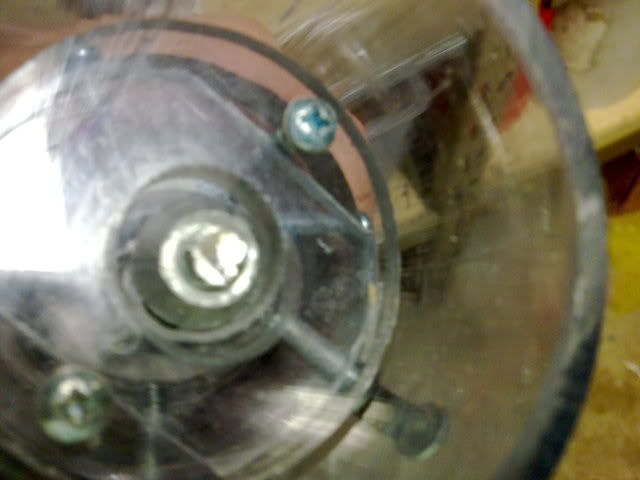
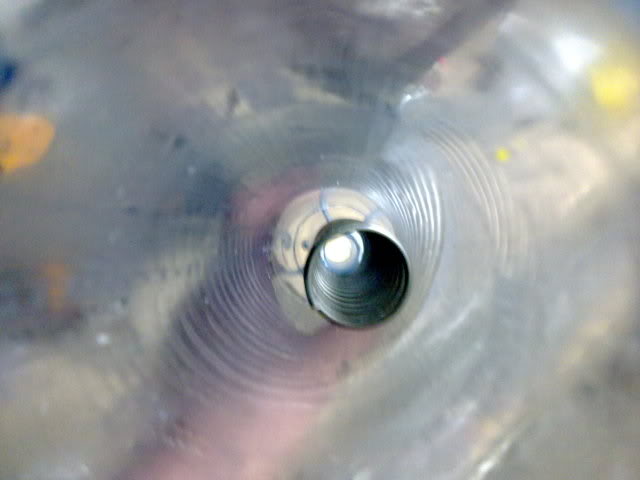
In terms of the spring rest (front piece of the catch system), you also want to creatively attach some tube to support the spring. I did it by nesting tubes in tubes for a flat surface, a lot of MEK, and then set screws from the back of the catch. A smarter way would be to drill the front hole larger and then slide the tube in and secure it with normal-oriented screws rather than coaxial-oriented screws.
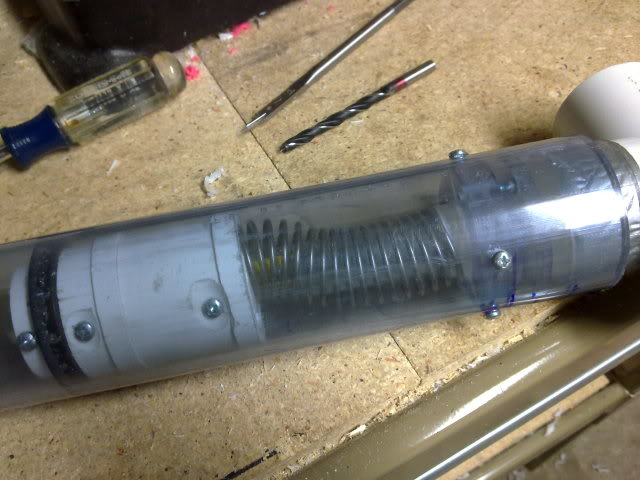
[ some magic happens here ]

Handle and Trigger
I used SNAP-style demicouplers to grip the plunger tube. Then I countersunk in wood screws to attach blocks (visually a SNAP handle, but the handle is 3/4" long. Using these blocks as attachment points, I added some polyethylene sheet. Then I screwed everything else in. The mechanism is a tiny lever trigger in the back, using a non-threaded spacer as a fulcrum. This then attaches to a horrendously long slide trigger that goes in front of the handle. You pull the visible trigger and the bar pushes back the lever which pushes up the catch. A all contact points (trigger bar, both sides of secondary lever trigger) to prevent wood getting destroyed, I added some teflon tape.
Final Product
With a barrel on, this is the same length as a rev 2 Rainbowpump without barrel. This would be shorter if your plunger head wasn't retardedly 2" longer than necessary. Further optimization in the front (using resin cast pieces?) could reduce another inch or so. Shortening the draw (5.5" on a 2" plunger tube is excessive) could also optimize the design.
Edited by CaptainSlug, 01 November 2017 - 07:52 AM.


