Jump to content


cheesypiza001's Content

There have been 541 items by cheesypiza001 (Search limited from 16-December 96)


By content type

See this member's


Sort by                Order  

#258376 Modification and Paintjob Pictures

Posted by cheesypiza001 on 08 December 2009 - 12:11 AM in Modifications

More 1500 stuff:

Posted Image

Posted Image


#258823 Modification and Paintjob Pictures

Posted by cheesypiza001 on 13 December 2009 - 01:34 AM in Modifications

I love this thing. It's so much fun.

Posted Image


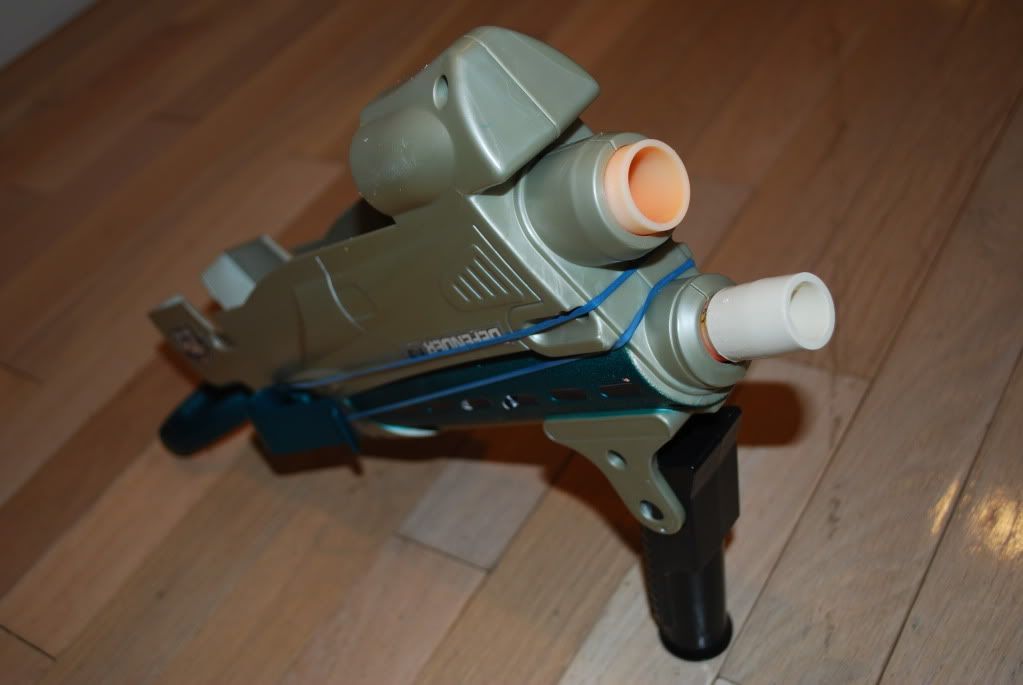
My Eliminator. CPVC barrel nested in 1/2" PVC. I made the bottom from part of a plastic container and cut it so that the gun can still be opened up.

Posted Image


#258253 Modification and Paintjob Pictures

Posted by cheesypiza001 on 07 December 2009 - 01:47 AM in Modifications

My rear-loading PETG SM1500. I used Ryan's idea for a PVC stock and for a new pump (though I used a Magstrike pump). Also, Ryan made the spacer.

Posted Image

Posted Image

Posted Image


My ERTL Pump Action Shotgun (PAS). It is couplered, reinforced, has almost all the deadspace removed, added trigger spring, added catch spring, increased seal, and spring addition.

Posted Image


If you have any questions, comments, or suggestions, feel free to PM me. Thanks.


#257493 Modification and Paintjob Pictures

Posted by cheesypiza001 on 28 November 2009 - 11:47 PM in Modifications
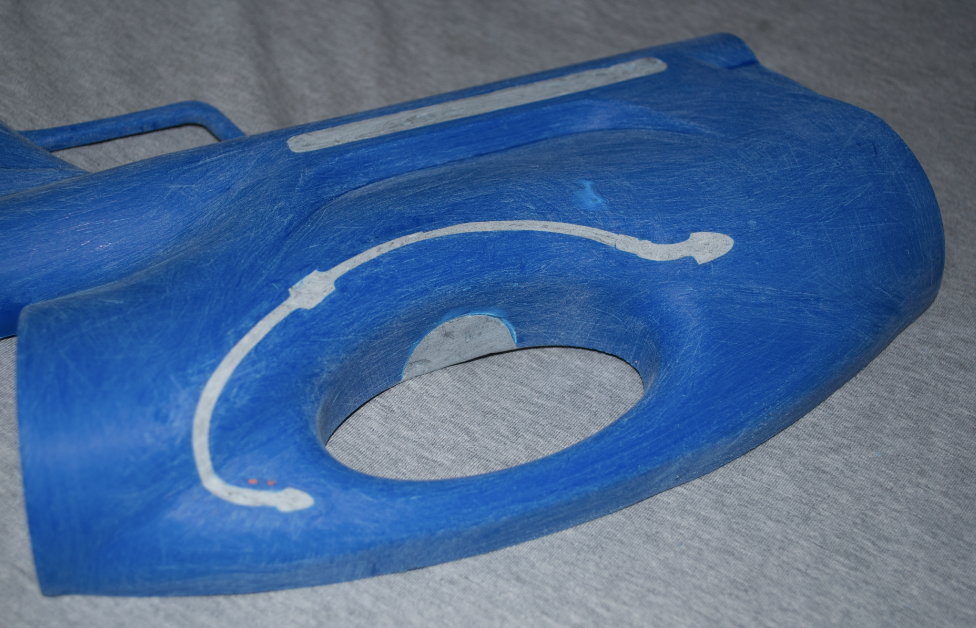
A Current Work In Progress:

Posted Image

UPDATED:

Posted Image


#188382 Modification and Paintjob Pictures

Posted by cheesypiza001 on 09 November 2008 - 12:19 AM in Modifications

My Tech Target:

Posted Image

Posted Image

Mods:

AR removed

Crayola barrel

Added Nite Finder spring

Added O-ring

Replaced catch spring

Custom dremmeled iron sights

Trimmed eye of plunger rod handle

Banded

Minimization

Paint job


#255659 Modification and Paintjob Pictures

Posted by cheesypiza001 on 07 November 2009 - 11:19 PM in Modifications

I just finished my rear-loading AT3K. It is extremely powerful and is complete except for the spacer plate which I will hopefully be receiving soon, after waiting about 2 months. I basically did what is in Ryan201821's writeup except that I setup the turret in a different way and I used a Magstrike pump as apposed to a hornet pump.

Anyway, here are the pics...

Posted Image

Posted Image

Posted Image


#259202 Modification and Paintjob Pictures

Posted by cheesypiza001 on 16 December 2009 - 09:41 PM in Modifications

My Semi-Auto Valve.....version 2.

Posted Image

Check this thread for more details.


#260146 Modification and Paintjob Pictures

Posted by cheesypiza001 on 30 December 2009 - 12:12 AM in Modifications
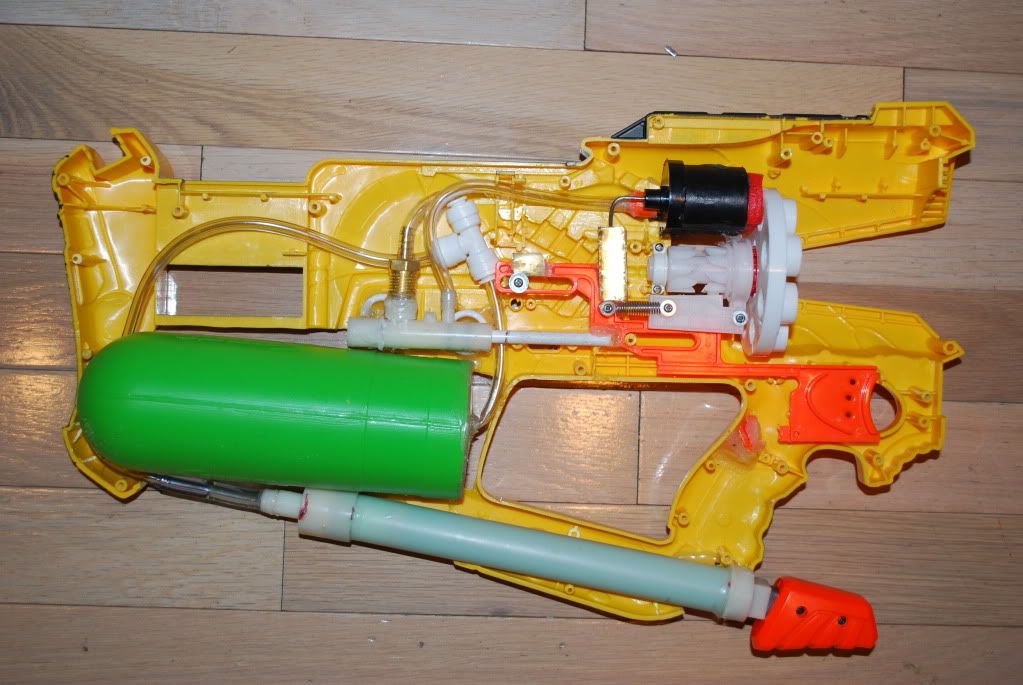
My Semi-Auto Firefly in its final stages:

Posted Image

The Magstrike bladder is housed in that green tank (minimized SS50 air tank).


Feel free to PM me with any questions, comments, or suggestions. Thanks.


#271285 Modification and Paintjob Pictures

Posted by cheesypiza001 on 04 April 2010 - 12:56 PM in Modifications
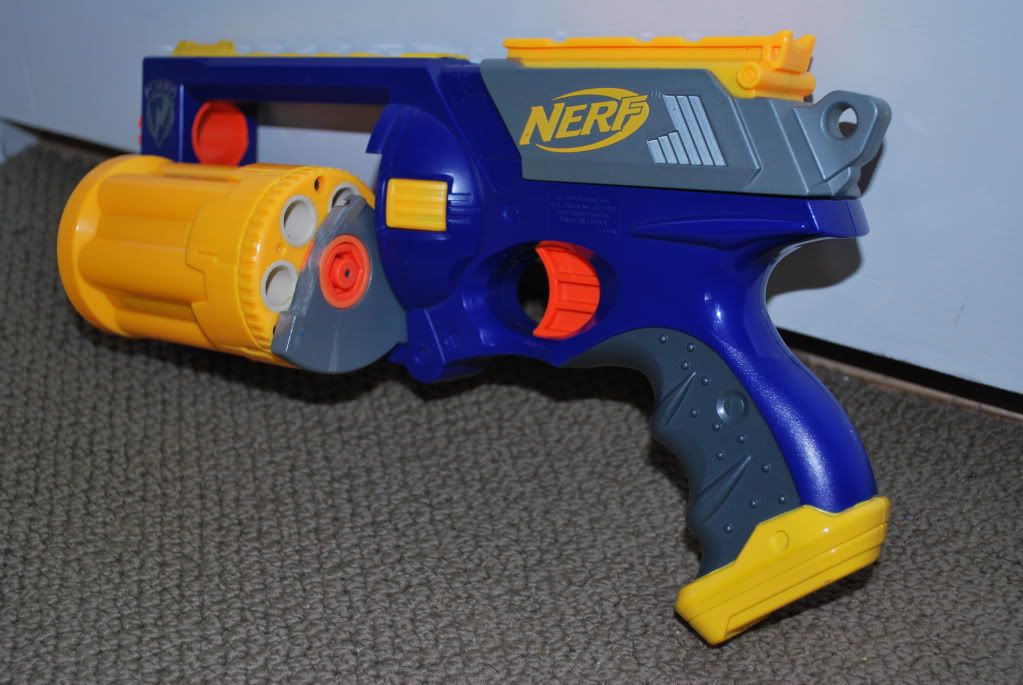
I just finished up a Maverick. Mods include: Rear loading, CPVC barrels, straw mod [dead space removal], spring replacement, "Roulette mod", plunger tube - turret seal improvement, plunger tube seal improvement, catch spring addition, and trigger spring addition.

Posted Image

Posted Image

Posted Image

Posted Image

Posted Image


#275346 Modification and Paintjob Pictures

Posted by cheesypiza001 on 19 May 2010 - 06:16 PM in Modifications

I finally finished making a video about my Rear-Loading Maverick...


VIDEO


Posted Image


#264557 Modification and Paintjob Pictures

Posted by cheesypiza001 on 06 February 2010 - 11:03 PM in Modifications
Posted Image

Posted Image

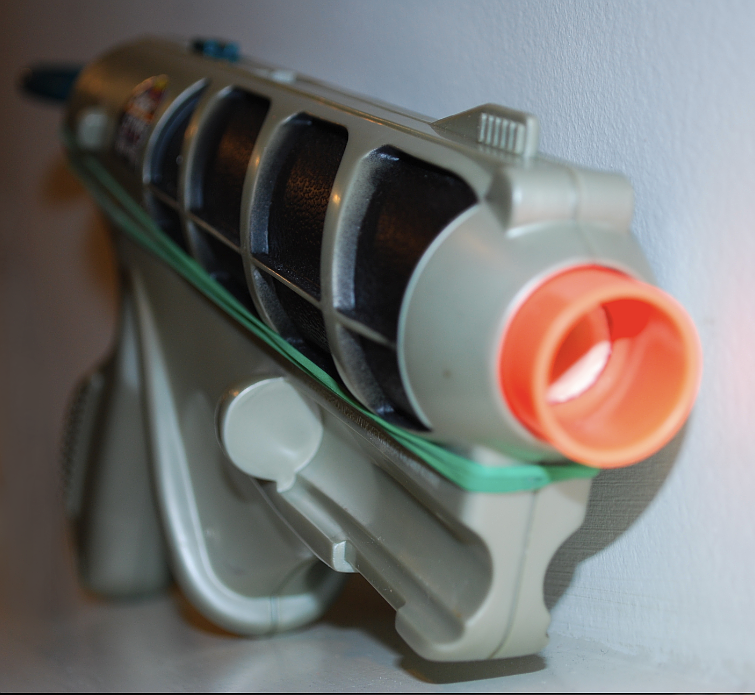
CPVC'd DT3 Pistol + seal improvement.


Posted Image

Posted Image

CPVC couplered DT3 Arrow Shooter + seal improvement.


Both of these guns are a WIP for a contract I am currently working on.


#262326 Modification and Paintjob Pictures

Posted by cheesypiza001 on 18 January 2010 - 08:45 PM in Modifications
I have recently been making a lot of videos.

Here are 3:


Some of My Nerf Modifications

JetForce Pistol Demonstration

Nerf Splitfire Demonstration


I have been meaning to post this for about 3 months now...

Posted Image

Posted Image

Posted Image

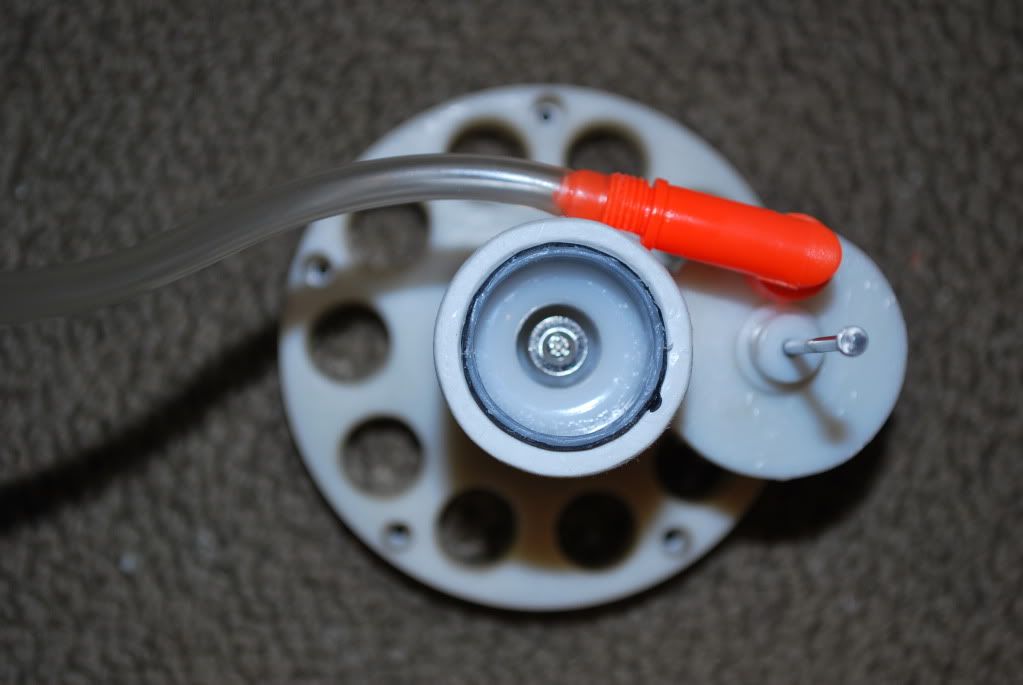
It's a 3k tank glued to a piece of PVC which covers a DTG turret and the tank has a foam seal. Also, the turret would be rear loading, except I don't have any more PETG.


Also, my BBBB:

Posted Image


#260276 Modification and Paintjob Pictures

Posted by cheesypiza001 on 31 December 2009 - 03:42 PM in Modifications
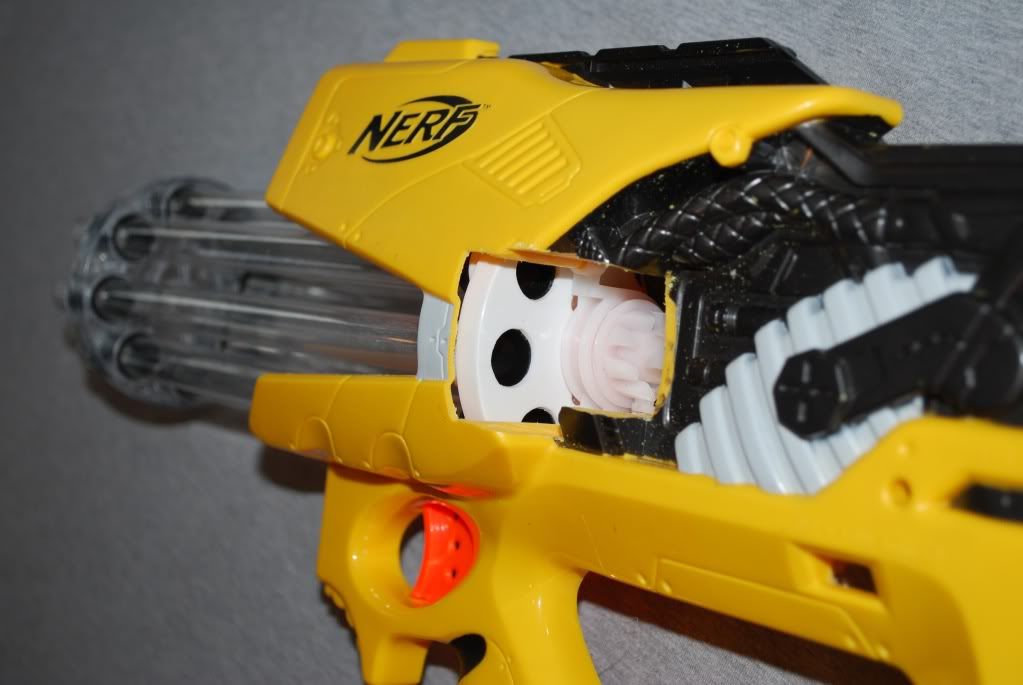
I'm still coming up with a name for it. If you have any ideas, send me a PM please. All I have left to do is glue in the tank, but I have to make sure it is perfectly aligned and synchronized with the action of the trigger valve. Then, I'm gonna put epoxy putty around the green tank and make it solid and strong.

Posted Image

Posted Image

Posted Image


#254406 Modification and Paintjob Pictures

Posted by cheesypiza001 on 23 October 2009 - 09:53 PM in Modifications

My Roto-Rocket with potential airtank extension and barrel/pump stabalizer:

Posted Image

Posted Image

Posted Image

1/4" OD Vinyl tubing ball valve...

Posted Image


My SM5K with a replaced pump (Powerclip pump) and replaced pump rod (CPVC). Making these few changes, not only makes the pumping action much smoother but also reduced the total number of pumps to 4.

Posted Image

There's also a brass breech on there...

Posted Image


My Lightnin' Blitz with sanded PETG barrels:

Posted Image


Here's my Splitifre with sanded PETG barrels:

Posted Image

Posted Image


If you have any questions, comments, or suggestions, feel free to PM me.


#254556 Modification and Paintjob Pictures

Posted by cheesypiza001 on 25 October 2009 - 09:04 PM in Modifications

A current WIP:

Posted Image

Posted Image

Posted Image

If you have any questions, comments, or suggestions, feel free to PM me.


#232091 Modification and Paintjob Pictures

Posted by cheesypiza001 on 23 May 2009 - 07:58 PM in Modifications

Posted Image

Lock N' Load Plunger rod with 2 neoprene washers as the plunger head seal.

Neoprene Washer:
1" - O.D.
7/16" - I.D.

It gives it a PERFECT seal. I can fire the LN'L with my finger over the brass barrel and the plunger rod goes half way and just stops there until I release my finger.

Here's the complete Lock N' Load.

Posted Image

Posted Image


#232154 Modification and Paintjob Pictures

Posted by cheesypiza001 on 23 May 2009 - 11:36 PM in Modifications

Posted Image

Posted Image

Posted Image


#223484 Modification and Paintjob Pictures

Posted by cheesypiza001 on 13 April 2009 - 08:38 PM in Modifications

Posted Image

This is my AT2K Rifle. It has a front loading RSCB barrel that can hold about 6 darts. Its pump is plugged and with a barrel extension can achieve a flat range of approximately 70 feet. It is extremely powerful and quite accurate. To add to the rifle concept of this gun, I drilled holes in the stock and in the front of the AT2K shell in order to be able to clip on a Case-It strap..........And yes....I know........It needs a paintjob.

Some more pictures:

Posted Image

Posted Image
_________________________________________________________

This was my attempt at an AT2K pump/tank in SM750 form.
It originally worked out very well but later on started to develop a few leaks.

Posted Image

Posted Image

______________________________________________________________


This is basically a mini-gun that I built from the remains of a DTG. I used the plunger tube, plunger rod, and the catch. In order to fire this weapon, you simply push up where the catch is. The range is spectacular when its 1.5" plunger stroke is taken into consideration. Its range is about 1.5 times that of a well modified SSPB (35 ft flat).

Posted Image

_______________________________________________________________

In a thread, I once saw someone saying this Air-Bazooka has potential. No offense to them, but I tried it, and it seems that unless you plug up all the little gaps at the points between the reducers, the stefan will not even move 1 inch down the barrel on a full pull/release.

Posted Image
________________________________________________________________

If you have any questions, feel free to PM me.

WOOT.....2,000th Post in this thread.


#215819 Modification and Paintjob Pictures

Posted by cheesypiza001 on 01 March 2009 - 11:06 PM in Modifications

Posted Image

Posted Image


#209568 Modification and Paintjob Pictures

Posted by cheesypiza001 on 04 February 2009 - 07:51 PM in Modifications

jerm78, where is the pump on the Titan Bazooka?


DTB - Minimized, ARs removed, straw mod, simple paintjob.

Posted Image


Crossfire - Minimized, AR removed, crayola barrel replacement, spring replacement, sliding bar replacement, simple paintjob.
YOUTUBE VIDEO

Posted Image


Lock N' Load - Minimized, barrel post removed, crayola barrel (nested in SCH40 PVC) replacement, banded, Chainblazer spring replacement, FBR silencing.

Posted Image


Chimera Variant - (Long gone)

Posted Image


#248844 Modification and Paintjob Pictures

Posted by cheesypiza001 on 27 August 2009 - 09:47 PM in Modifications

Posted Image

Check out THIS thread for more details.


#230591 Modification and Paintjob Pictures

Posted by cheesypiza001 on 16 May 2009 - 02:08 PM in Modifications

My TechShot

BBB spring, LS plunger tube, LS plunger head, everything else is from the TTG.

Posted Image


#250393 Modification and Paintjob Pictures

Posted by cheesypiza001 on 14 September 2009 - 01:46 PM in Modifications

Posted Image

Posted Image


Brass breech I just finished working on for my BBB:

Posted Image

Posted Image

Posted Image


My BBB: (internal coupler, spring replacement, reinforced, improved seal, minimization, foam silencing)

Posted Image

Posted Image

You can PM me with any questions, comments or suggestions you have.


#251717 Modification and Paintjob Pictures

Posted by cheesypiza001 on 26 September 2009 - 12:31 PM in Modifications

PETG'd SM1500 with PVC pump grip

Posted Image


In terms of my progress with the rear loading SM1500 (my other 1.5k), all I have left to do is cut the dart slot...

Posted Image


#253816 Homemades Picture Thread

Posted by cheesypiza001 on 18 October 2009 - 10:39 AM in Homemades

Go here for more details and some more awesome pics.

Posted Image

Posted Image


#255666 Homemades Picture Thread

Posted by cheesypiza001 on 07 November 2009 - 11:57 PM in Homemades

How many more airsoft accessories do you plan to add to you +Bow from my collection of airsoft parts? Bi-pod? Laser? Sling mount? Why not a M-203 while you are at it? :P


None of the above. I only attach airsoft parts that increase the comfort of the blaster. So far, I have only attached two foregrips of different styles. Stuff like lasers, bipods, and Grenade Launchers, is a bit ridiculous on a +Bow.


#258639 Homemades Picture Thread

Posted by cheesypiza001 on 11 December 2009 - 03:22 PM in Homemades

Posted Image

L+L made by Draconis. I cut of a bit of the polycarb in the front, Gooped the brushing, and added grip tape. AMAZING STUFF. BUY HIS L+Ls.

I highly suggest Gooping the couplers as it makes a noticeable difference in range.


#253321 Homemades Picture Thread

Posted by cheesypiza001 on 11 October 2009 - 11:36 PM in Homemades

Here's the Writeup/Explanation

Posted Image

Posted Image

Posted Image


Look here for more details.


#273628 Homemades Picture Thread

Posted by cheesypiza001 on 28 April 2010 - 07:18 PM in Homemades

I used MAPP gas to heat up the PVC so that I could bend it to the desired angle and then I just attached an elbow for the vertical shoulder support (stock). The bent PVC is bolted to the bottom of the handle.

Posted Image

Posted Image

Posted Image


#271102 Homemades Picture Thread

Posted by cheesypiza001 on 02 April 2010 - 02:46 PM in Homemades
WIP:

Posted Image


#255656 Homemades Picture Thread

Posted by cheesypiza001 on 07 November 2009 - 10:41 PM in Homemades

I just attached an airsoft grip to my airsoft rail on my +Bow and it is now so much more comfortable. It actually feels as though it melts in your hands.

Posted Image

Posted Image

Posted Image


#207200 Modifying A Longshot?

Posted by cheesypiza001 on 28 January 2009 - 12:29 PM in Modifications

Anyone have a recommendation on what kind of method to use to cut a (presumably) steel AR15 action spring? I tried wire cutters and I can't get the part I want to cut into the bottom of the wire cutter so it isn't very effective. I also tried using a butane lighter to heat the section of the spring to weaken it, then cut it, but that also didn't work.


Before I had a dremel, I simply hot glued the spring (only the specific part of the spring i wanted to cut) to a piece of thin wood. Make sure you use a lot of hot glue. Wait until it dries, then take a hacksaw and cut away. Though, it will take a long time and will get hotglue stuck to your hacksaws teeth. You must pick off the hot glue from the blade every so often otherwise you blade will just be a thin piece of metal without teeth.


#193792 Longshot Modification.

Posted by cheesypiza001 on 03 December 2008 - 05:34 PM in Modifications

so the 1/2 inch is where the dart goes into and how close to petg does it fit because it fits may dart perfectly i want to try this thanks in advance


Code of Conduct


#272070 +bow: Diy Thread

Posted by cheesypiza001 on 13 April 2010 - 11:44 AM in Homemades

I thought I would share a pretty cool discovery I made....

The plunger head from a Marshmallow Shooter...
Posted Image


fits perfectly in the plunger tube of both the +bow and the L+L.

I will soon be updating this with a picture and a followup on the improvement of the seal.


#230100 +bow: Diy Thread

Posted by cheesypiza001 on 13 May 2009 - 09:57 PM in Homemades

Get one of these:

Won't protect you from plastic fumes. If the plastic you are cutting is producing fumes, then you're cutting it with the wrong tool/speed/coolant and you need to stop.


Is it still affecting me (when I where the respirator) even though I cannot smell even the slightest presence of a usually odor-full substance? A lot of times when I am cutting with my dremel, The plastic produces fumes that smell like.....well, plastic. Does this happen to other people? (By the way, my dremel only has two speed settings, one of which is really low powered, and the other which is very high powered....nothing in between.)


#255737 +bow: Diy Thread

Posted by cheesypiza001 on 08 November 2009 - 08:37 PM in Homemades

Another +Bow Improvement: Sling clips


After seeing someone do this to a BBB, I decided to do it to a +Bow. Buy 2 "D Ring Hangers" and unscrew the following screws on your +Bow. Screw #1 = top back of stock plate, screw #2 = right in front of the "iron sight." Then, simply put the screw through the top hole in the ring hanger and screw it back in, while making sure the hanger stays straight. This takes about 30 seconds and makes an easy way to clip on a sling/strap.

Posted Image

Posted Image

Posted Image

Posted Image

Posted Image


Feel free to PM me or post here with any questions.


#255747 +bow: Diy Thread

Posted by cheesypiza001 on 08 November 2009 - 10:29 PM in Homemades

I'm having trouble lubin' my tube. Yup yup. I'm using liquid wrench silicon spray and it's good for about 8 firings. After that the plunger starts slowing to the point where it won't travel the full length of the plunger tube. Could a different brand of silicon make that big of difference? Any insights?


Silicon lube has been known to do that. As for an alternative, I have heard that lithium grease works well for +Bows.

EDIT: Busta beat me to it.


#230205 +bow: Diy Thread

Posted by cheesypiza001 on 14 May 2009 - 05:53 PM in Homemades

Is it still affecting me (when I where the respirator) even though I cannot smell even the slightest presence of a usually odor-full substance? A lot of times when I am cutting with my dremel, The plastic produces fumes that smell like.....well, plastic. Does this happen to other people? (By the way, my dremel only has two speed settings, one of which is really low powered, and the other which is very high powered....nothing in between.)

You shouldn't be using a dremel to cut plastic. The most harmful components of the fumes cannot be effectively filtered out. Especially if you are cutting polycarbonate or PVC with the wrong tool.


Is it bad to be cutting PVC with a cutting bit like this?

Posted Image


#229880 +bow: Diy Thread

Posted by cheesypiza001 on 12 May 2009 - 07:44 PM in Homemades

The reduction of fumes would probably get me using it. I hate having the cut things with fumes coming out, cause it makes it hard to work with.


Get one of these:

Posted Image

I picked one up at my local hardware store a few months ago and it makes everything much easier. Though it does cost about $40, it is well worth it. Some of the tools I use say on the side, "This product contains chemicals known to the state of California to cause cancer." (or something like that)


#253815 +bow: Diy Thread

Posted by cheesypiza001 on 18 October 2009 - 10:35 AM in Homemades

Posted Image

This is my +bow with it's new foregrip.

Posted Image

Posted Image

Posted Image

Posted Image


I cut out and sanded down a piece of 3/8" Polycarbonate then epoxied it onto the bottom front of the plusbow. I then epoxied on an airsoft rail so that I could attach a foregrip. Not only does this serve as a comfort +, but it also helps to reinforce the front bolt that seems to break on many peoples +Bows.

I also added some grip tape followed by E-tape.

Posted Image


Other +Bow Improvements

- Plunger head cushioning
- Gooped brushing
- Epoxied spring rest


1. Plunger Head Cushioning

Everyone knows that +Bows are somewhat loud. I decided to cut off part of a red BBB rocket, burn a hole through he center with my hot glue gun (for the screw), and Goop it onto the plunger head.

Posted Image


2. Gooped Brushing

Upon recieving my +Bow, I realized that a large amount of air was lost due to the lack of an airtight adhesive/sealant (only e-tape was used). I decided to apply Goop over the E-tape and then shove the brushing back in. As mentioned before, this also serves as a reinforcement for the bolt that sometimes breaks.

Posted Image


2. Epoxied Spring Rest

Upon receiving my +Bow, I realized that the catch mechanism was occasionally faulty due to the springs tendency to get stuck in the spring rest and then get sucked into the catch (I have pics if requested). I decided to epoxy the spring rest in place.

Posted Image


If you have any questions, feel free to post or PM me.