Find content


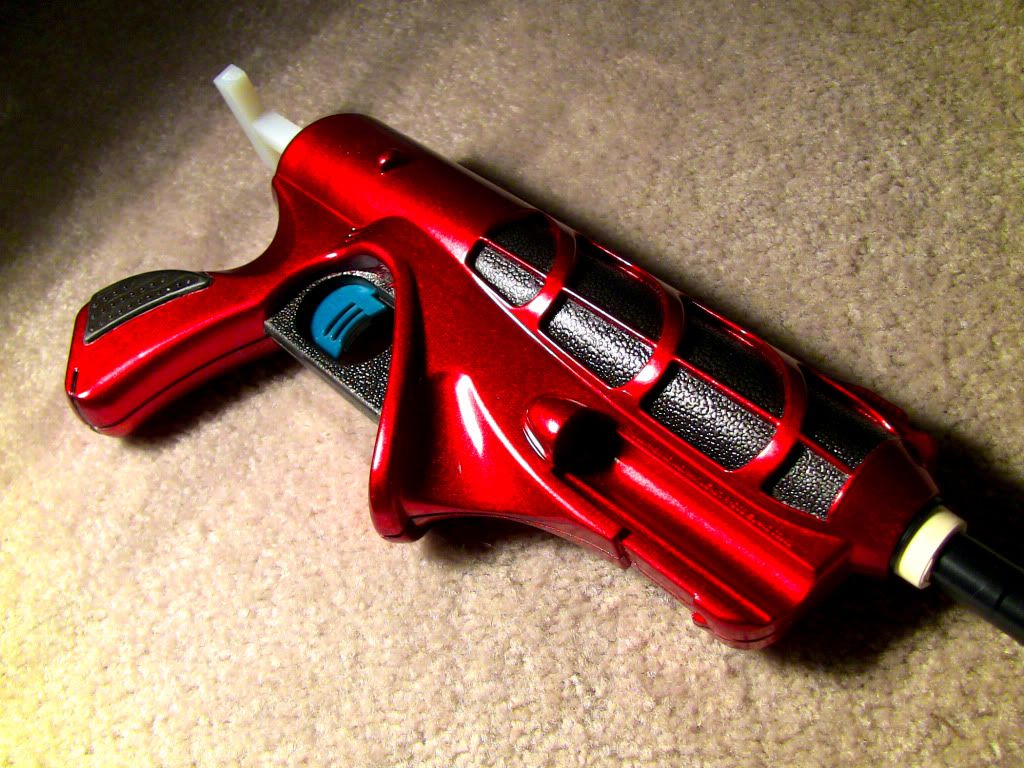
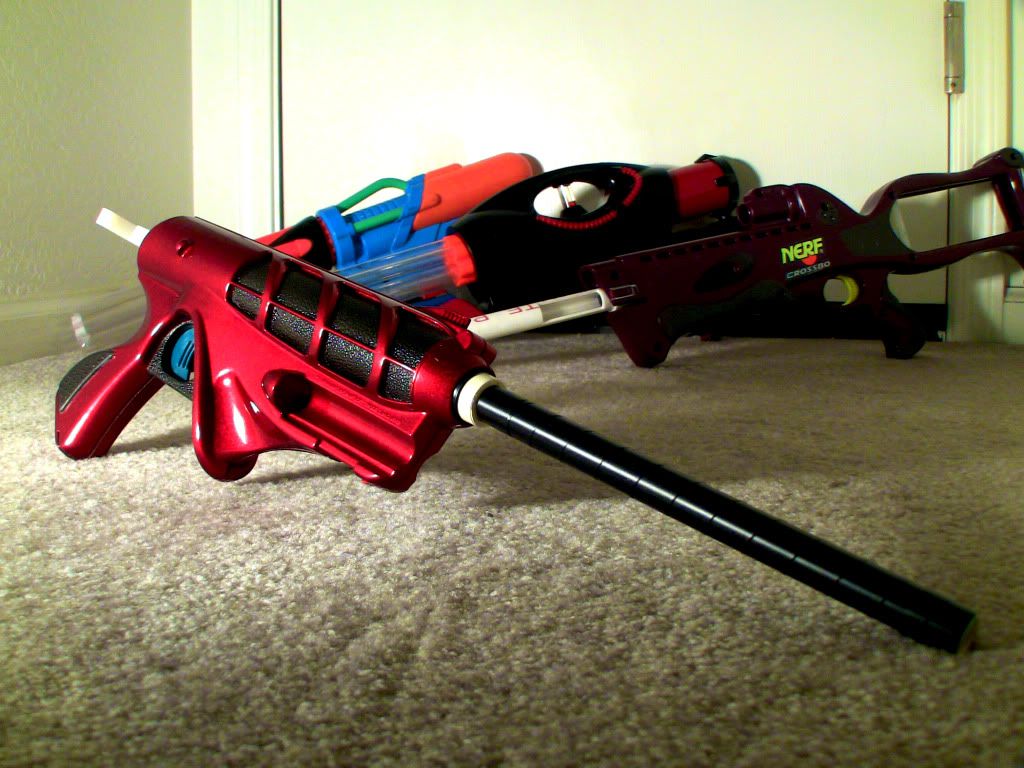
Step 1: Body Work
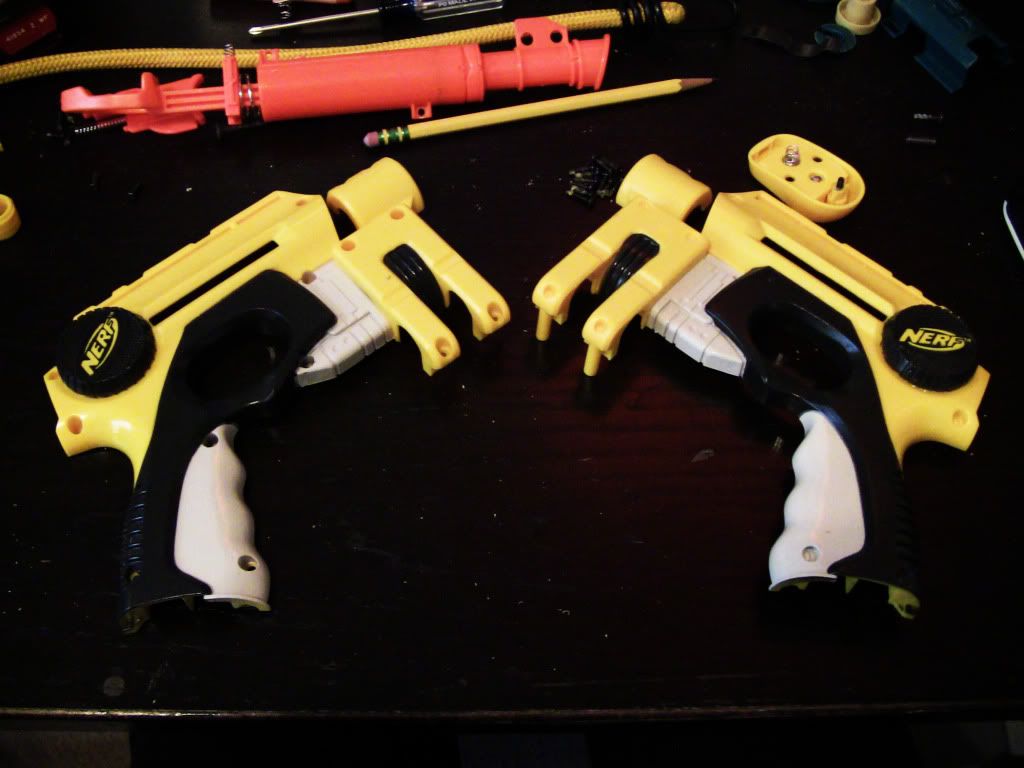
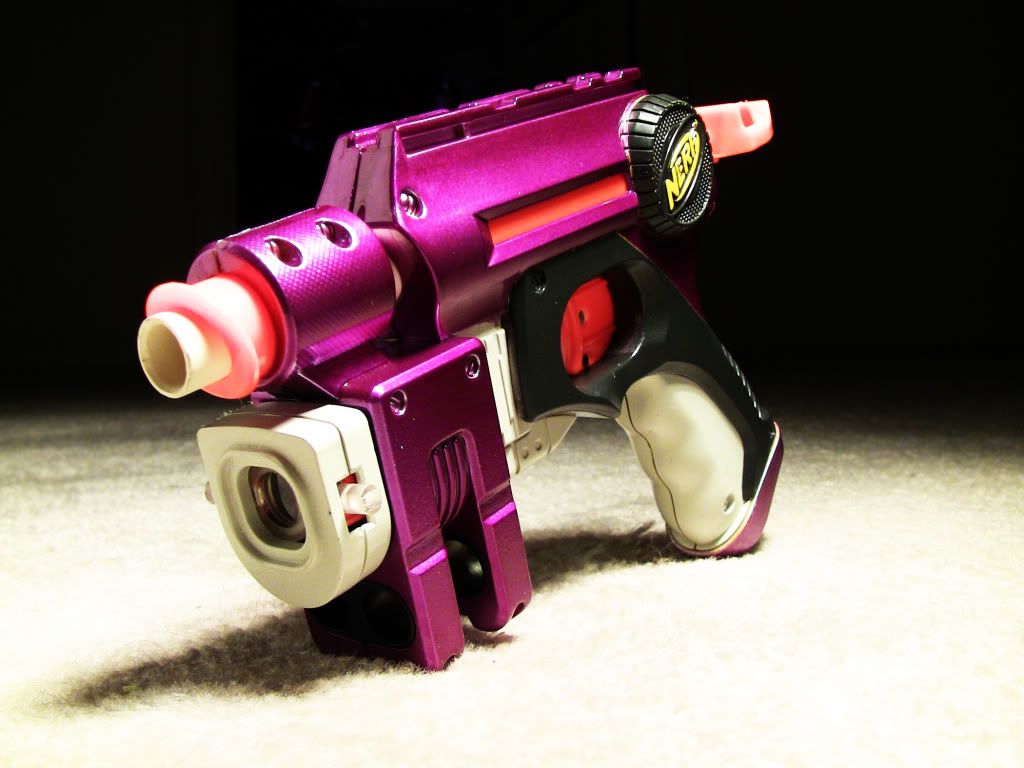
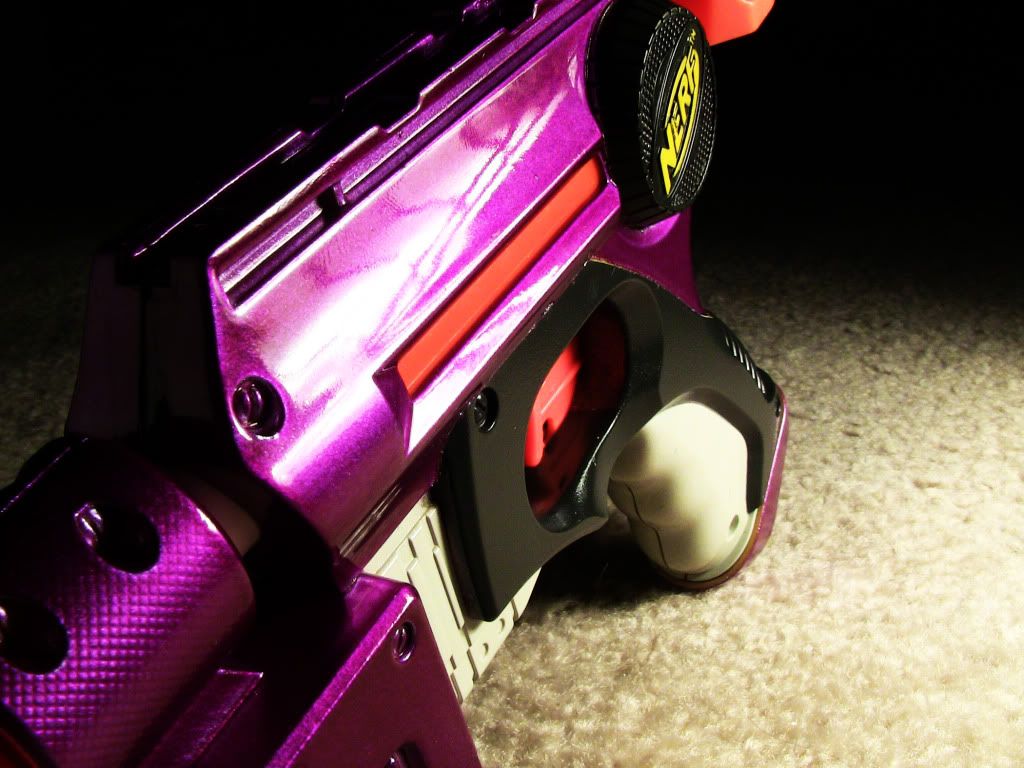
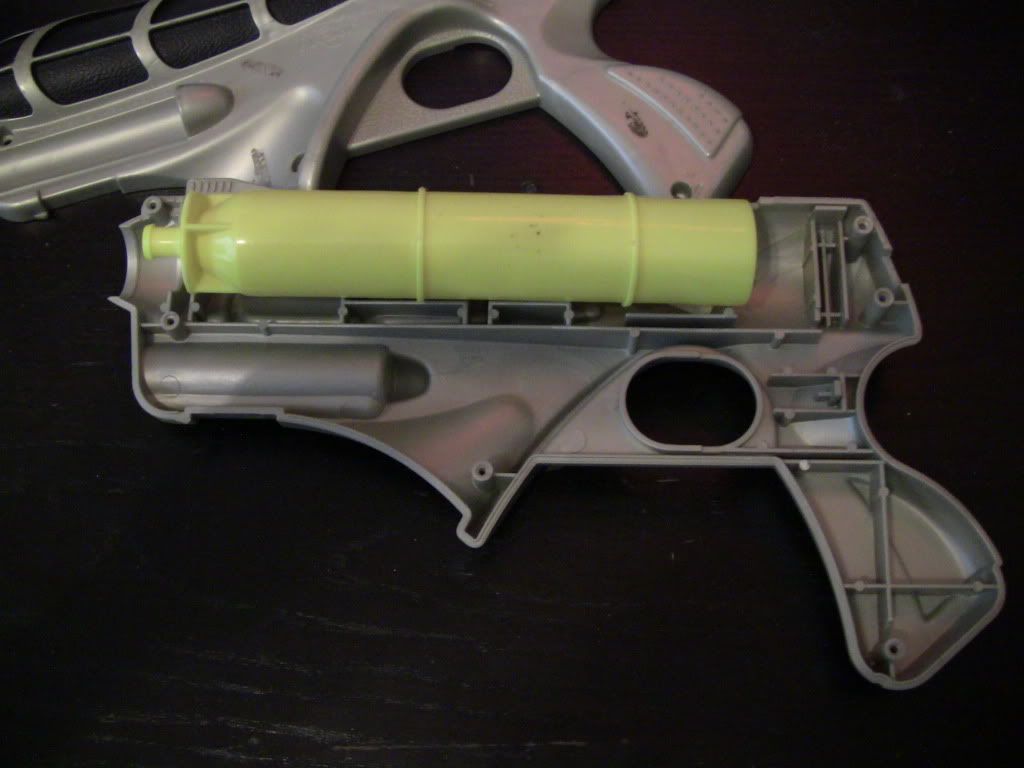
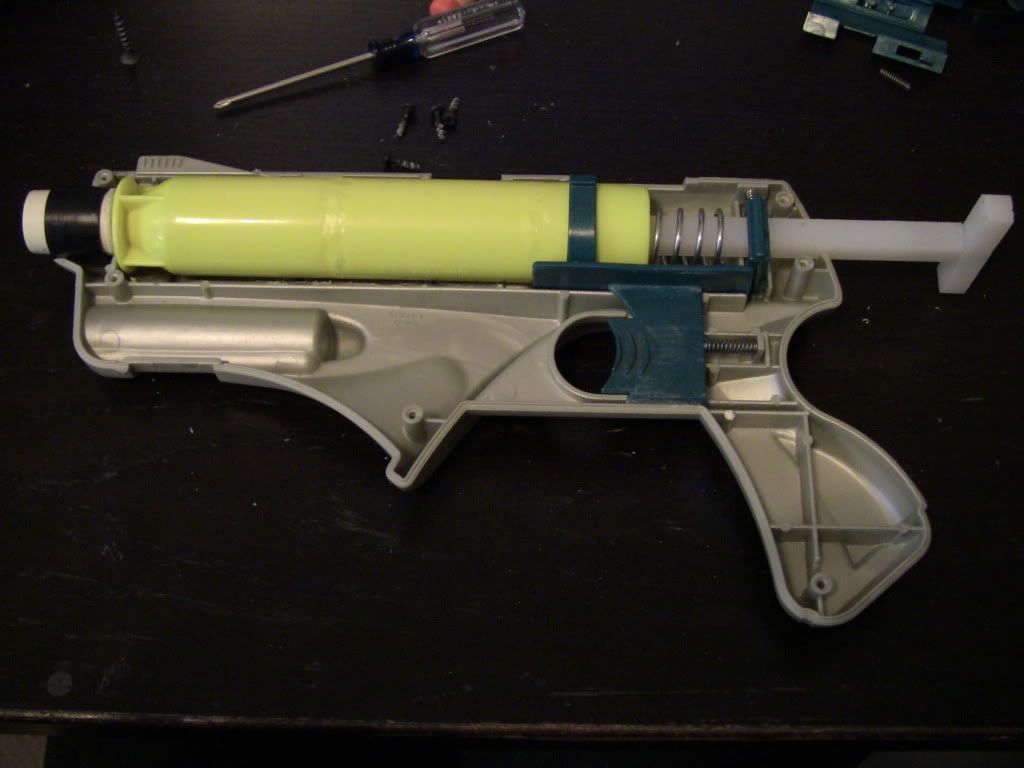
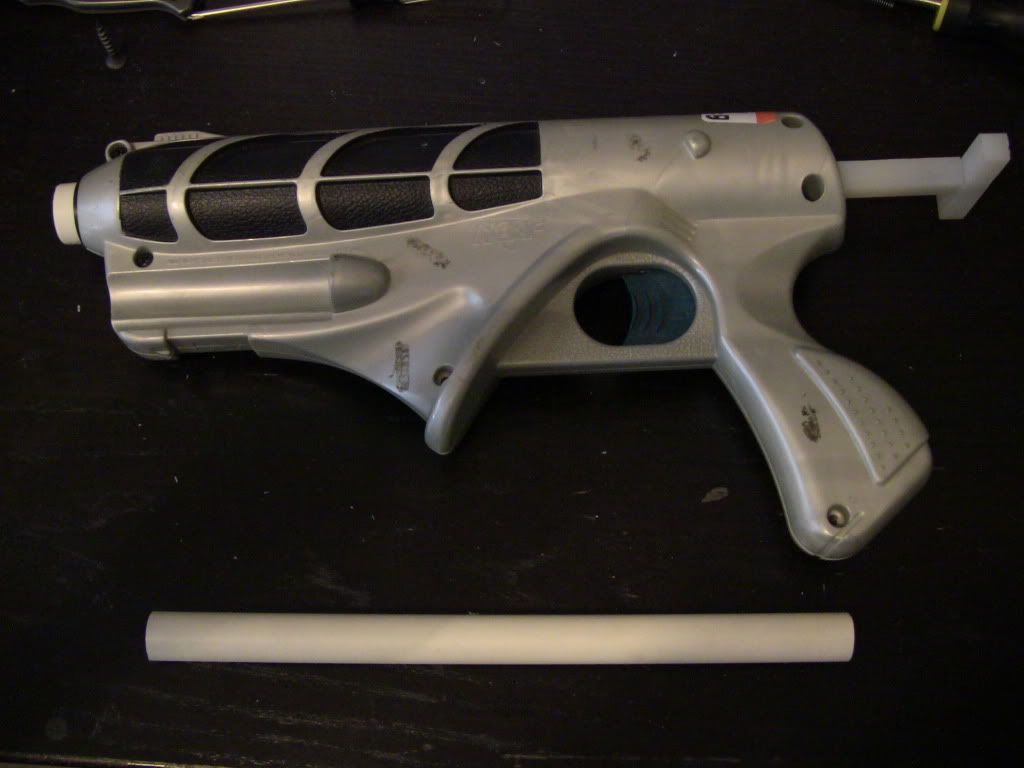
In this segment, my test subject will be an overhauled AT3K. This particular AT3k has had its pump replaced with a Magstrike Pump, and I no longer use the slots on the sides where the shotgun style pump used to be. How tacky does it look with these huge gaping holes in the side that do nothing? Let cover them up!
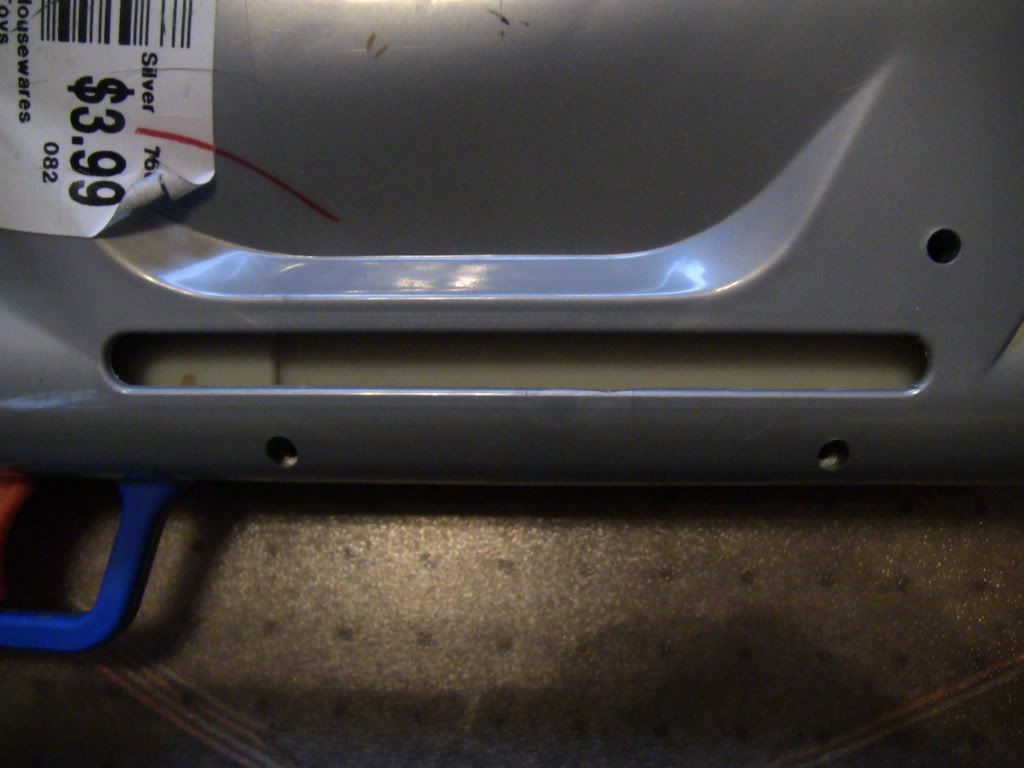
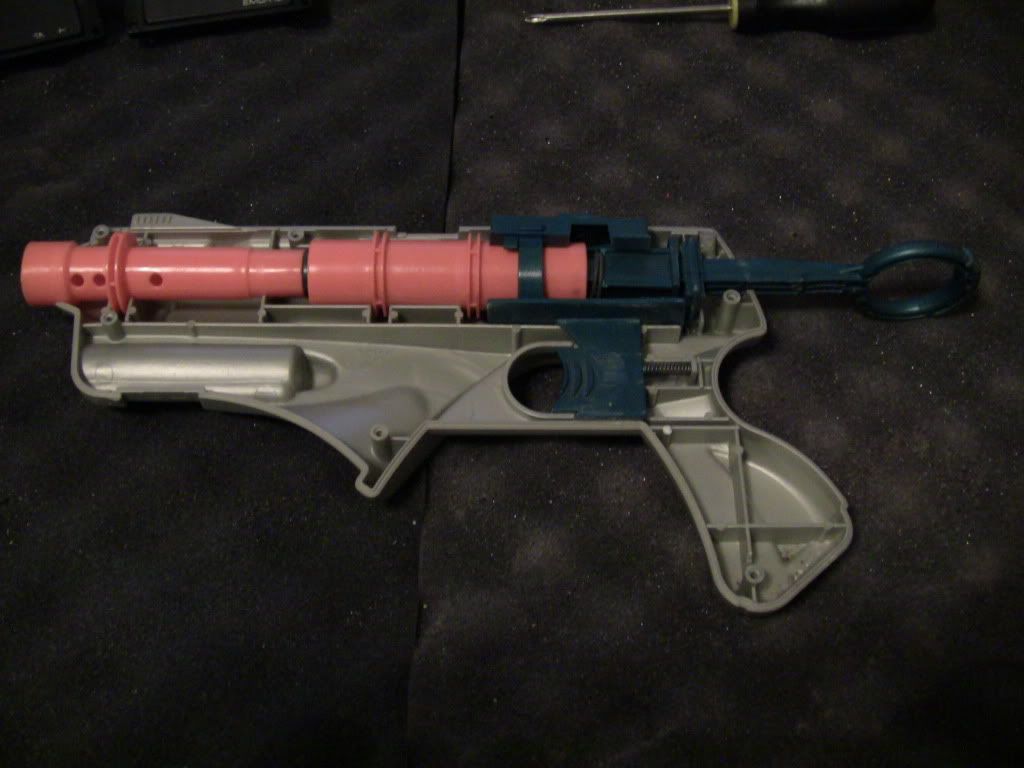
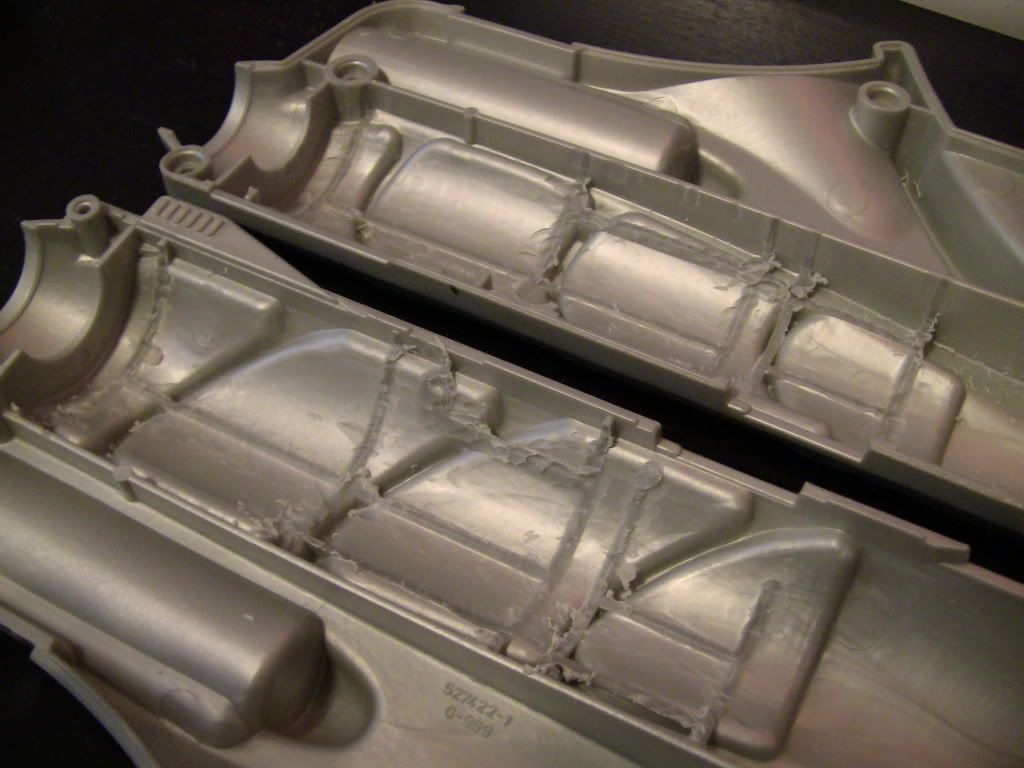
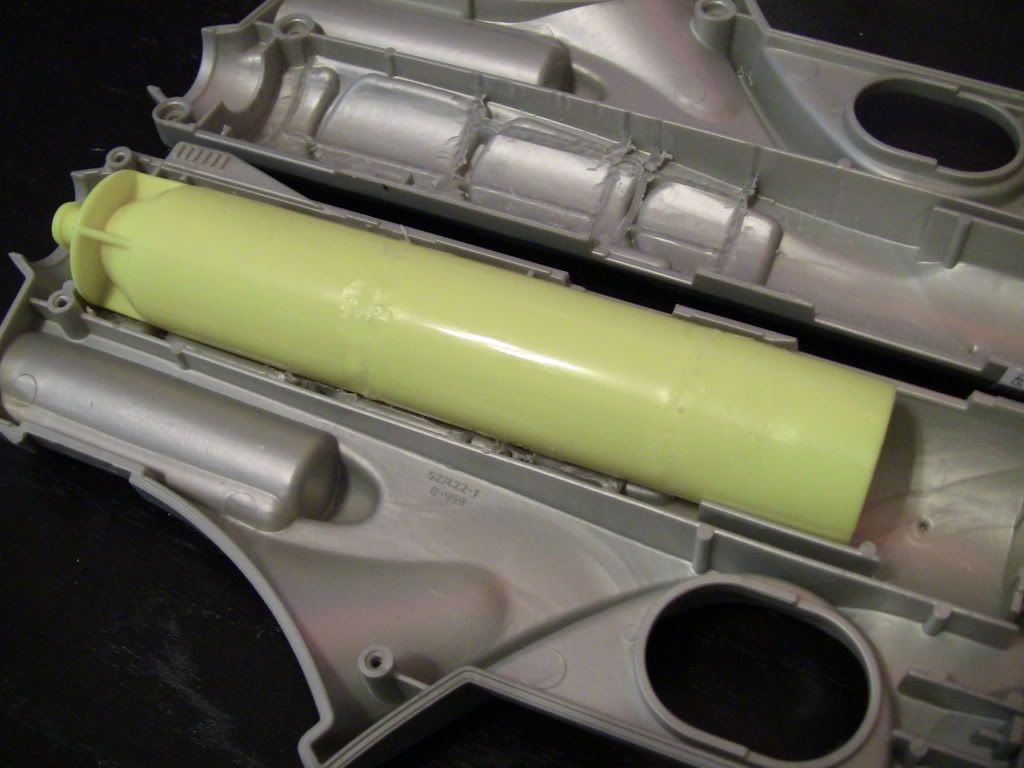
Before we start filling the hole, we need to seal it off from the backside so the filler can stick to something. There are several ways to do this, but I've done this to at least half a dozen AT3K's, and this is how I do it. I take two shish kabob skewers, one for each side.
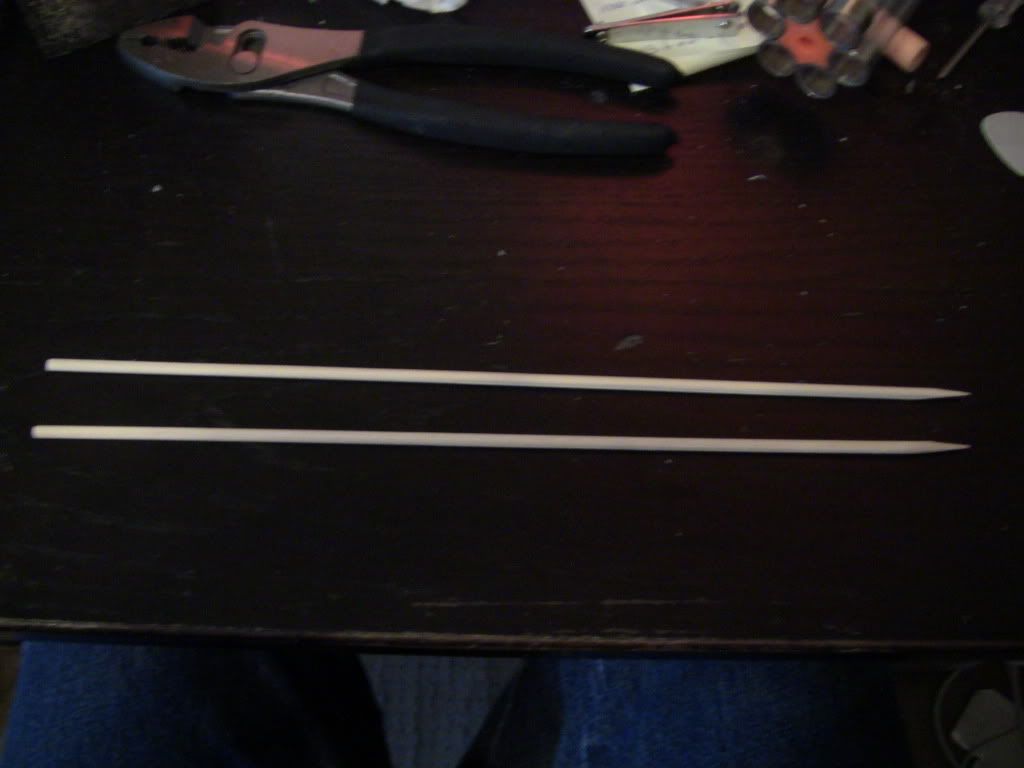
Then I measure them to the length on the inner channel and break them to the right length. You can this with your hands. Then place them into the channel and glue them in place with hot glue. The picture is pretty explanatory:
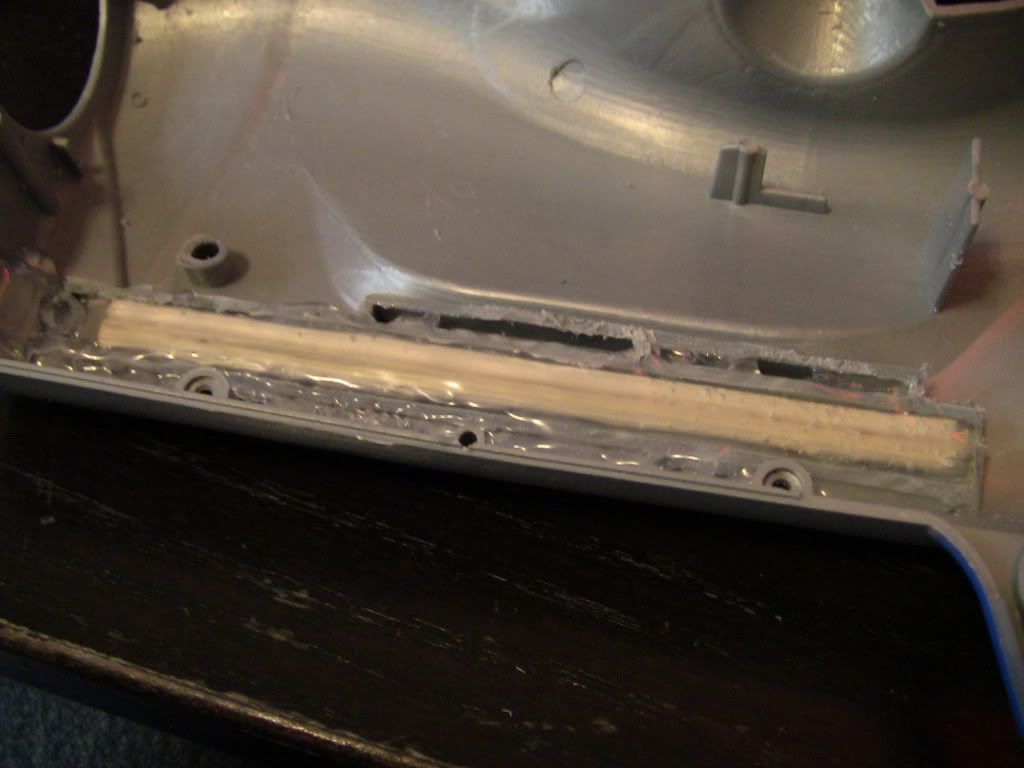
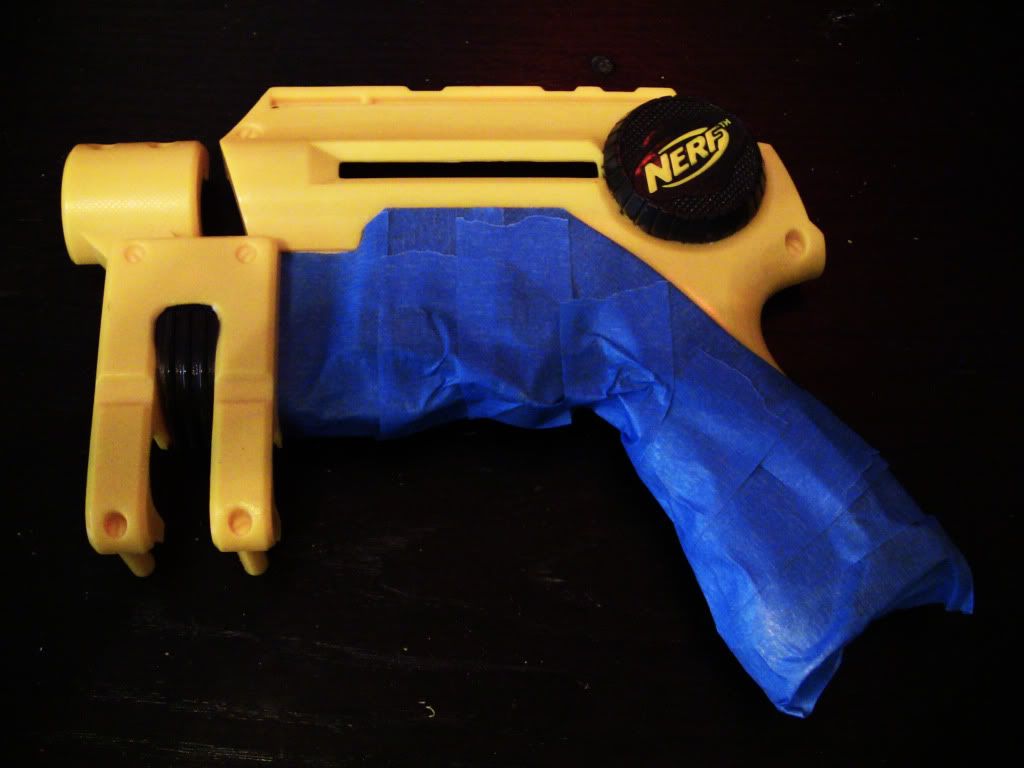
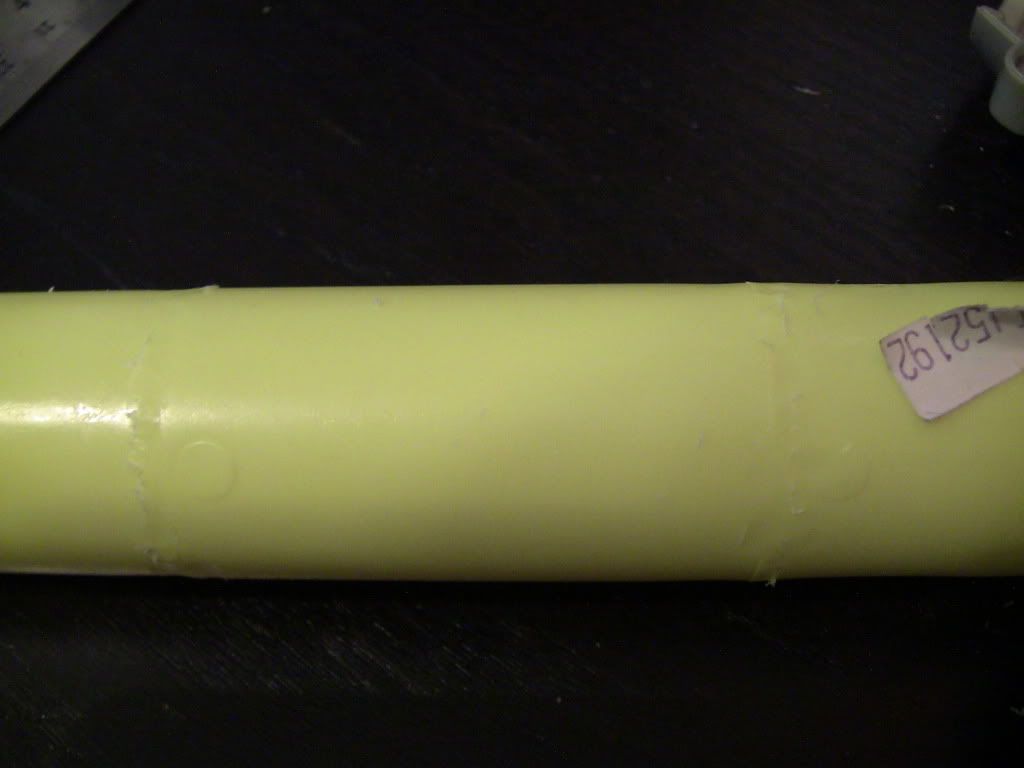
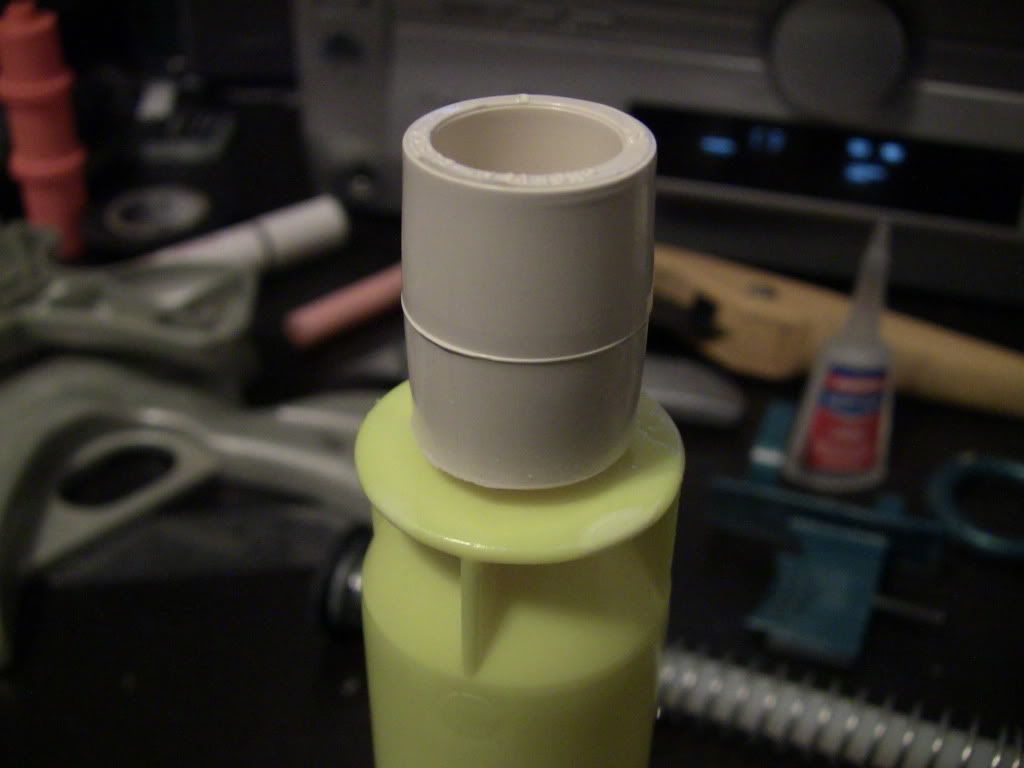
Next you're going to want to fill the outer side with a thin layer of hot glue. You want to make sure that you keep the glue below the edge of the gun. This step isn't completely necessary, but we will be using Bondo later, and the thinner the layers of Bondo you can use, the better. This part takes up some of that room.
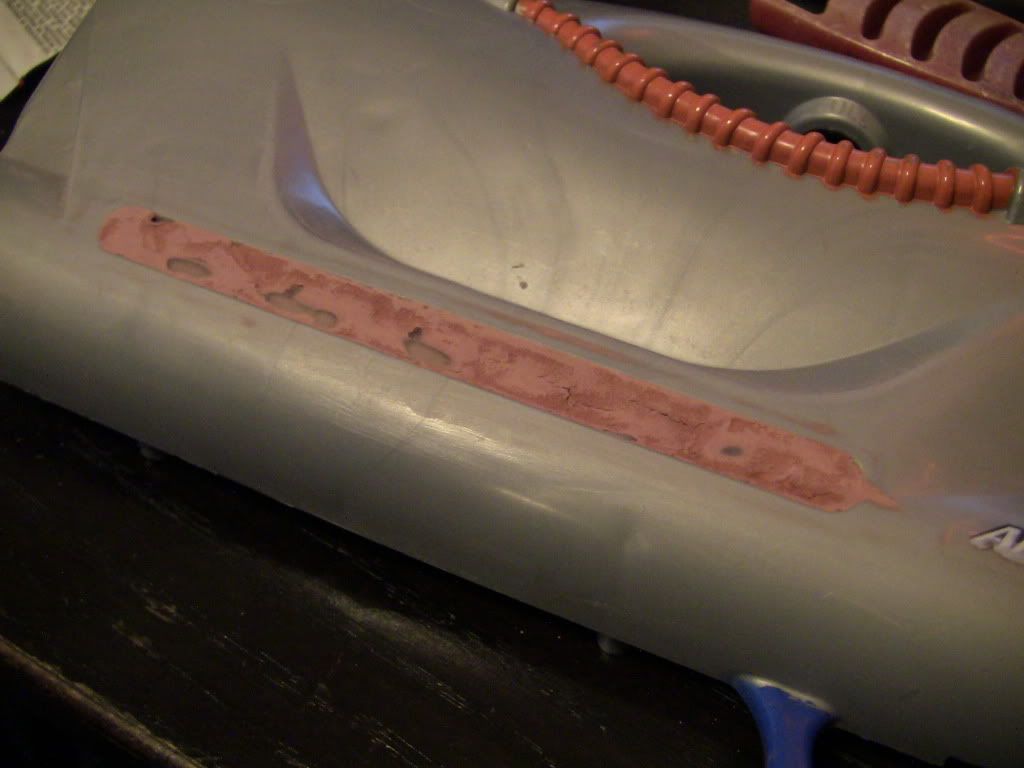
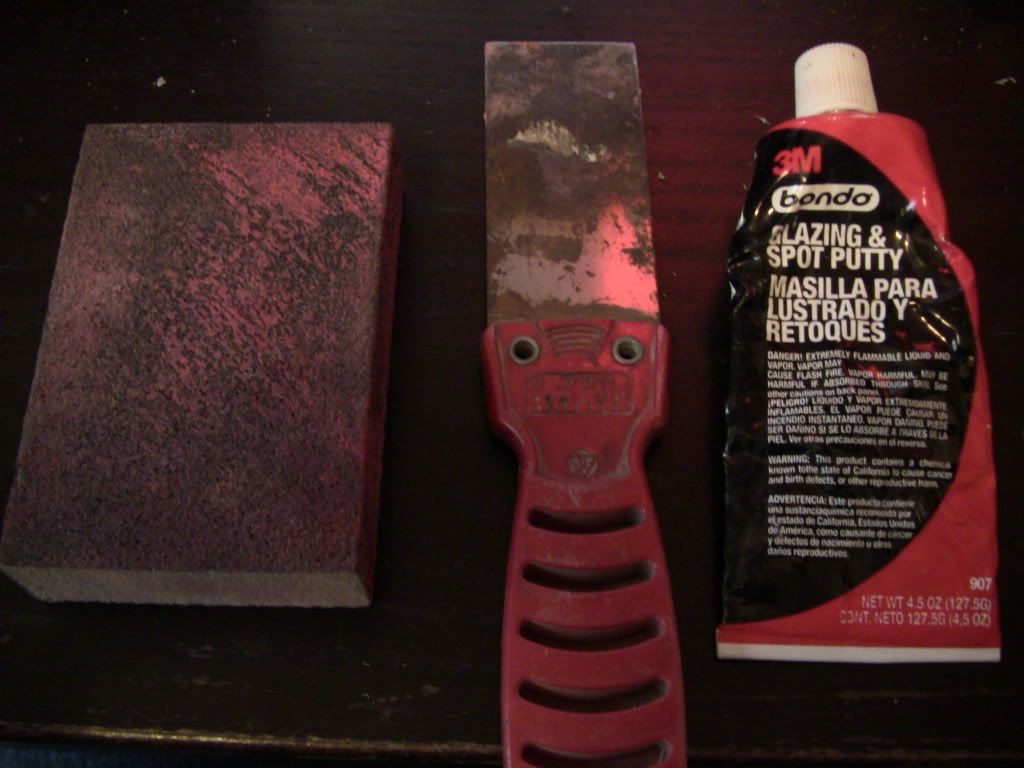
This is what we're going to need for this part, a sanding block, a putty knife, and Bondo Glazing Spot Putty. For those of you who have never used Bondo because they only sell it in huge containers at high prices, and you have to mix it all together to use it, and it’s just so overwhelming for such a small project like a Nerf gun, this is for you! Spot putty is pre-mixed, ready to use Bondo in a tube! It’s as easy to use as tooth paste. You can even buy it at Wal-mart, it’s like $4 in the automotive section.
Bondo is something that takes a little practice to get good at using, and a lot of patience. But some tips when using it, the thinner layers you can use, the better. Even a millimeter thin layer will form cracks as it dries. If it does, that’s not a big deal, you can put another layer over it, but thicker layers also take an exponentially longer time to dry. A paper thin layer may take 10 minutes, but a 2 paper thick layer could take an hour. But just remember, one or two layers will NEVER be enough. By the end, I believe I ended up doing about 8 layers on each side with sanding in between each one. Bondo isn’t an easy thing to work with, but it’s the best way to get good results.

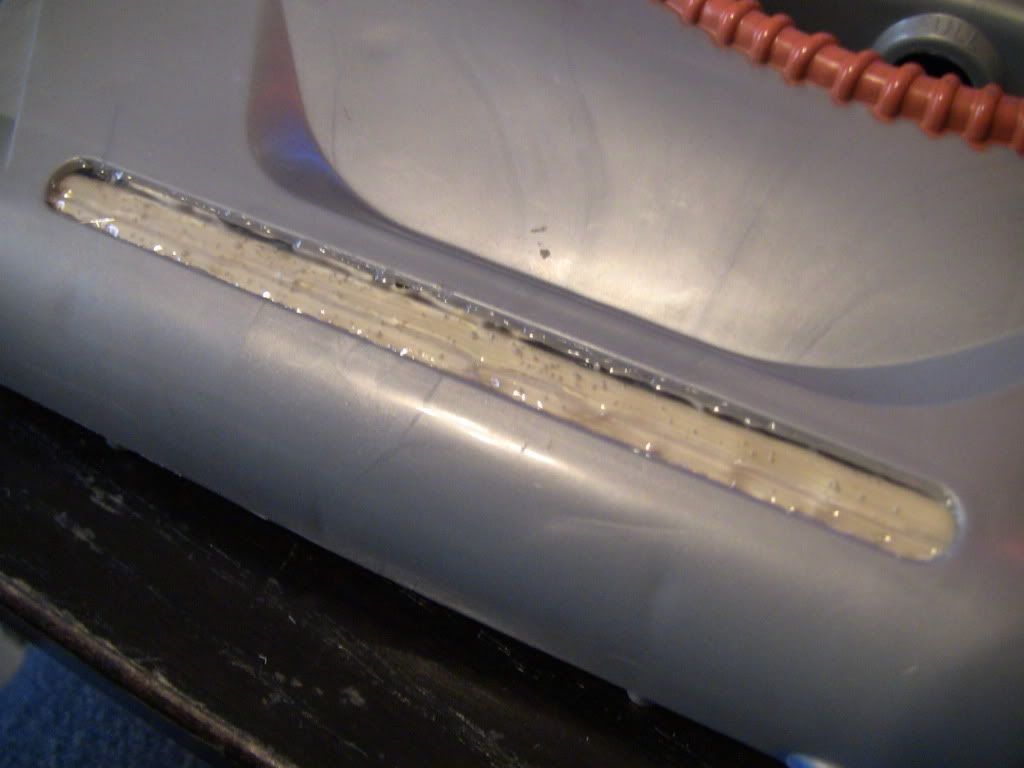
After you smear the first layer in, let it dry completely. DO NOT rush this part or you could ruin everything you’ve done. You’ll know its dry when all the dark spots are gone and it’s a flat redish orange color. Then take your sanding block and sand it smooth and continue applying layers until you’re satisfied. Generally speaking, the more time you put into it, the better it will look.