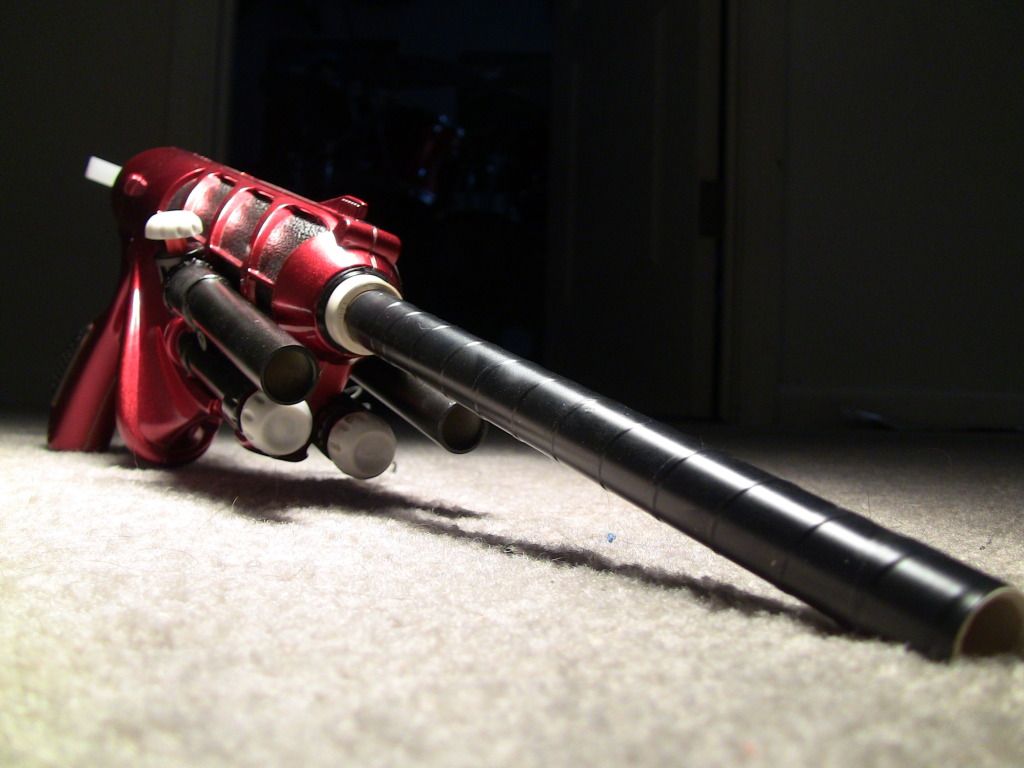
Thanks. I use the camera mode on my Canon HF200 camcorder. Its a decent camera, not great, but the trick to a nice looking picture is lighting. I use a huge work lamp straight above the gun for those last few shots. It looks really good that way.An amazing guide, out of curiosity, what kinds of camera do you use, it has amazing quality, or maybe my camera just sucks.
- NerfHaven
- → Viewing Profile: Posts: Banshee
Banshee
Member Since 22 Jul 2007Offline Last Active Dec 09 2016 02:31 AM
About Me
If you would like me to modify you a Nerf Gun, feel free to PM me with exactly what you want and I can give you an estimate on a price. I can do paint jobs as well as high level modifications to any gun currently on the market. If you would like me to modify a gun that is no longer in stores, I can't make any promises, but I will see what I can do to find you one. It will generally cost more for out of production guns, however. If you have the gun/s that you can ship to me to have modified, I can certainly do that as well.
-Banshee
Community Stats
- Group Members
- Active Posts 668
- Profile Views 18,040
- Member Title Member
- Age 34 years old
- Birthday January 21, 1992
User Tools
Latest Visitors
Posts I've Made
In Topic: Banshee's Guide to Painting: Part 2
05 June 2012 - 12:37 AM
In Topic: Modification and Paintjob Pictures
31 May 2012 - 06:59 PM

That's two SSPB's with CPVC barrels on each side where the original ammo holder was.

I had the idea to do this before I ever posted the original writeup, but unfortunately I only had one SSPB and all the nearby stores were out of stock. So I finally got one and slapped it on!

Its like the gun was made for them! In case you were wondering what screws those are mounting them on, its a 1" coarse thread drywall screw on each side. It only takes one and its rock solid. Three shots out of one gun!
In Topic: Banshee's Guide to Painting: Part 2
30 May 2012 - 06:41 PM
A quick tip, that bondo is going to crack and fall out. Spot putty is used for what it says in the name, filling spots or small air bubbles in primer coats and things like that. When used thickly it doesnt cure correctly. The whole process was well done though, just use real bondo and you're good to go. You can get a reasonable size thing for cheap at harbor freight.
This isn't the first time I've used spot putty. I've done 5 AT3K's using that exact method, I filled a dent the size of a quarter on a motorcycle tank, and I've refinished half a dozen guitars all using spot putty. You're right that it cracks when you put it on thick, but that's why I put in my post that you need to use thin layers for that exact reason. I use tons of Bondo as well, but the purpose of this write-up was to show how a person can do this cheap, and with little experience. Spot putty is very simple, and very cheap.
Also if you carried the curve of the bottom over where the slots were it would look real nice.
And I have no idea what you're talking about... Haha
In Topic: Banshee's Guide to Painting: Part 2
25 May 2012 - 08:17 PM
Well, what grit of sandpaper would you say your handle is comparable to? I would say mine feels like 350 grit, so that's pretty fine grit, its certainly not rough on the hands. But yes, I do have very calloused hands, I work as an auto mechanic. No I didn't use a sealer on the handle, though that would help, I just laid it on really thick, which might have an effect on the texture, though I'm not positive. Did you use the same Rustoleum brand that I used? Because Duplicolor's version is considerably rougher.So I tried your recommendation for using Truck-Bed Liner for handles...and you're right, "it’s like liquid sand paper," and it feels like sandpaper on my hands too. To say that this increased the feel of my handle was an understatement. Maybe my hands aren't as calloused as yours, but after spraying it on a test handle it felt like I was holding fine grit sandpaper. Which was uncomfortable. I was wondering if you coat the Truck-Bed Liner with sealer afterwards, and maybe that's why it feels rough to me. The rest of your painting advice is great, I'm just not sure that Truck-Bed Liner is for everyone.
In Topic: Adhesive recommendation - Nerf plastic to epoxy putty
25 May 2012 - 12:40 AM
- NerfHaven
- → Viewing Profile: Posts: Banshee
- Terms of Service and Privacy Policy
- Code of Conduct ·


 Find content


