
 Find content
lionhead333
Member Since 26 Apr 2007Offline Last Active Oct 30 2010 10:07 AM
Topics I've Started
Weird 90's Spy Blaster
10 April 2008 - 07:30 PM
Well, I'm working on a writeup for this pathetic little spy gun I was given in the late 90's. Can anyone id it for me? I can't find anything.
Sharpshooter 2 Cpvc Mod
10 March 2008 - 05:53 AM
Well, I bought a crayola’d SSII from Conor (Shadowkid) at the Fall DCNO. Its performance made me sad, and I decided to remod it.
Materials-
Sharp Shooter II
Glue
1/8” drill bit
~2” of ½” PVC
8” of ½” cpvc
Teflon tape
Silicone spray
Screwdriver
New spring
Dremel
Pipe cutter
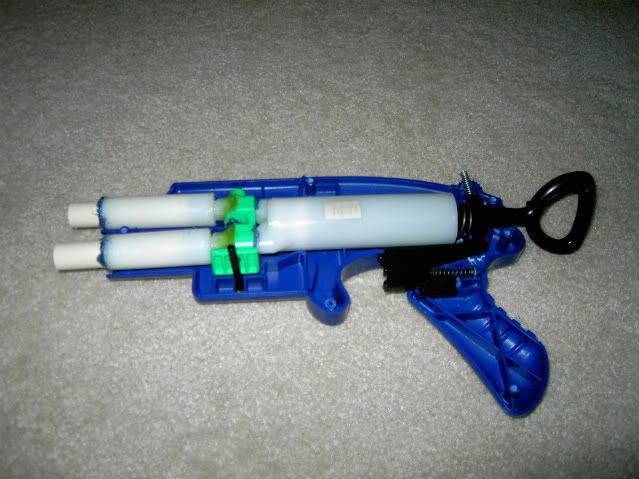
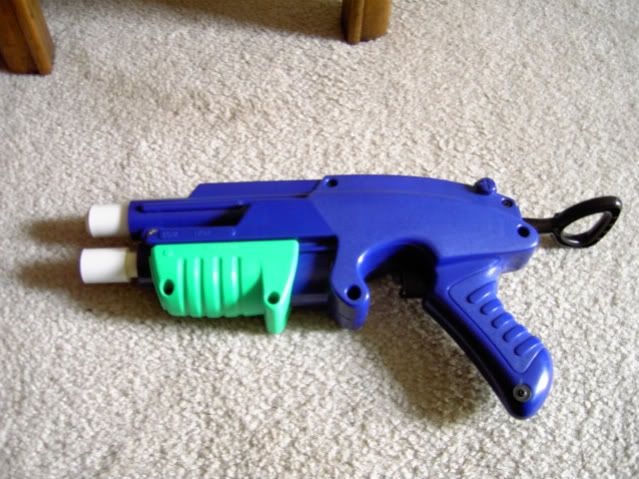
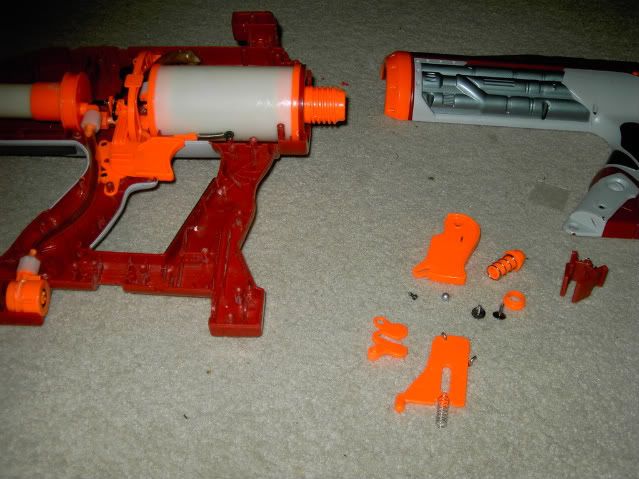
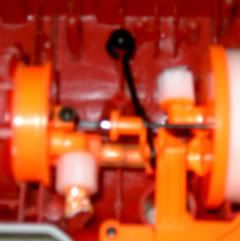
Open up the blaster. The internals are pretty strait forward. The green slider moves the small black bar, which blocks one barrel and opens the other. This is a near post-picture of the mod, but before the only difference was crayola barrels.
The first thing I did was replace the barrels. I cut my cpvc a bit longer than the white tubes, although you’ll probably want about 4” barrels.
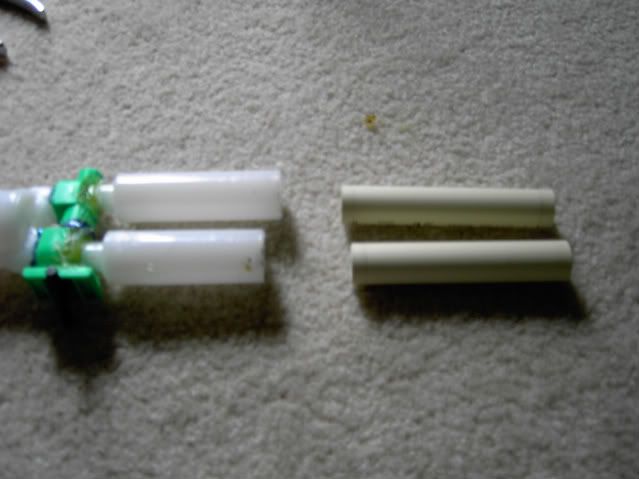
Glue those in.
I don’t have a picture of this next step, because I didn’t really think it was important, but I believe that it is. Take the white tubes with the barrels, and widen the holes at the back with your drill bit. Then take the barrel selector, and widen the holes that lead to the barrels. Be sure not to hit the selector piece itself, or make the hole so wide that the barrel selector doesn’t make a seal.
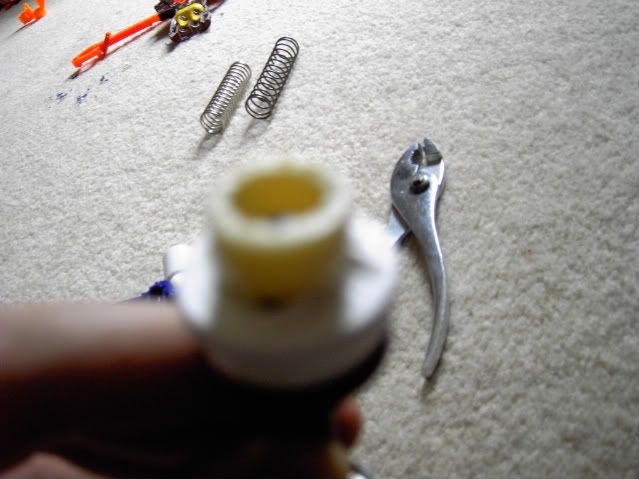
Now let’s take a look at the spring. It’s all right, but I’d like more power out of it. I eventually put an Ace #54 spring (the same as a 49, but labeled differently) on the plunger rod. Here are 3 springs. From left to right are the 54, a stock nitefinder spring, and the original SSII spring.

Now, however, the power is wasted. So get out your teflon tape and wrap it around the plunger head. After I had mine wrapped, I took the tip of my glue gun and melted the end of the tape, so it won’t come unraveled.
Now what?
Put everything back together.
When it’s closed, take your ½” PVC, and dremel out the ID until it slides over your barrels. Using the PIPE CUTTER (for a much cleaner, even cut) cut the PVC into 2 1” sections. Slide them over the barrels, and glue them down. This keeps the barrels more or less straight. I wasn’t quick enough with the bottom barrel.
RANGES-
The top barrel averages 36 feet, and the lower gets 41 feet. Not magical, but better than the 15 or so that I was getting.
This has been an Aslan Arms production.
Questions? Comments? Flames?
Materials-
Sharp Shooter II
Glue
1/8” drill bit
~2” of ½” PVC
8” of ½” cpvc
Teflon tape
Silicone spray
Screwdriver
New spring
Dremel
Pipe cutter
Open up the blaster. The internals are pretty strait forward. The green slider moves the small black bar, which blocks one barrel and opens the other. This is a near post-picture of the mod, but before the only difference was crayola barrels.
The first thing I did was replace the barrels. I cut my cpvc a bit longer than the white tubes, although you’ll probably want about 4” barrels.
Glue those in.
I don’t have a picture of this next step, because I didn’t really think it was important, but I believe that it is. Take the white tubes with the barrels, and widen the holes at the back with your drill bit. Then take the barrel selector, and widen the holes that lead to the barrels. Be sure not to hit the selector piece itself, or make the hole so wide that the barrel selector doesn’t make a seal.
Now let’s take a look at the spring. It’s all right, but I’d like more power out of it. I eventually put an Ace #54 spring (the same as a 49, but labeled differently) on the plunger rod. Here are 3 springs. From left to right are the 54, a stock nitefinder spring, and the original SSII spring.
Now, however, the power is wasted. So get out your teflon tape and wrap it around the plunger head. After I had mine wrapped, I took the tip of my glue gun and melted the end of the tape, so it won’t come unraveled.
Now what?
Put everything back together.
When it’s closed, take your ½” PVC, and dremel out the ID until it slides over your barrels. Using the PIPE CUTTER (for a much cleaner, even cut) cut the PVC into 2 1” sections. Slide them over the barrels, and glue them down. This keeps the barrels more or less straight. I wasn’t quick enough with the bottom barrel.
RANGES-
The top barrel averages 36 feet, and the lower gets 41 feet. Not magical, but better than the 15 or so that I was getting.
This has been an Aslan Arms production.
Questions? Comments? Flames?
The Titan 2000
08 March 2008 - 07:35 PM
I wanted to add something to my shotgun titan, as a backup while repumping. Sitting on my desk was a 2k, so I got on it. Please note that photobucket was being a bitch about resizing, so most pictures are in the form of links.
Materials-
Something to cut with
Glue
Screwdriver
Drinking straw
40 lb fishing line
Key ring
Epoxy
Titan with Absolver mod (or similar)
At2k
Dremel
Zip ties
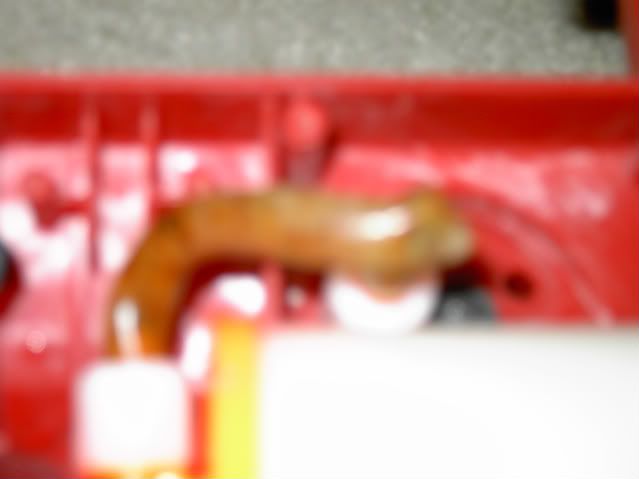
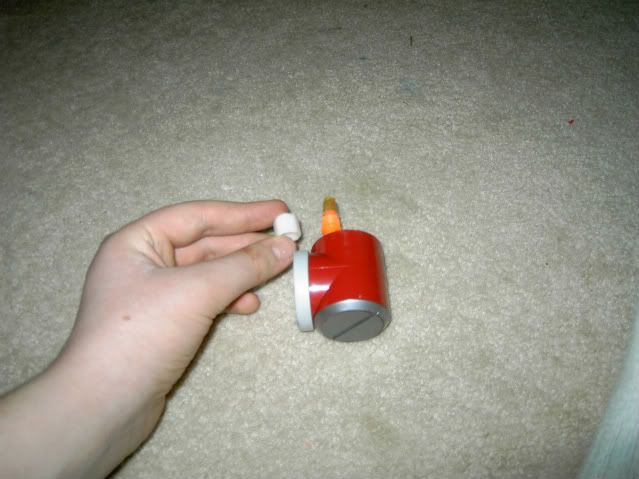
Upon opening my titan, I found that the vinyl tubing to my pressure gauge looked like this
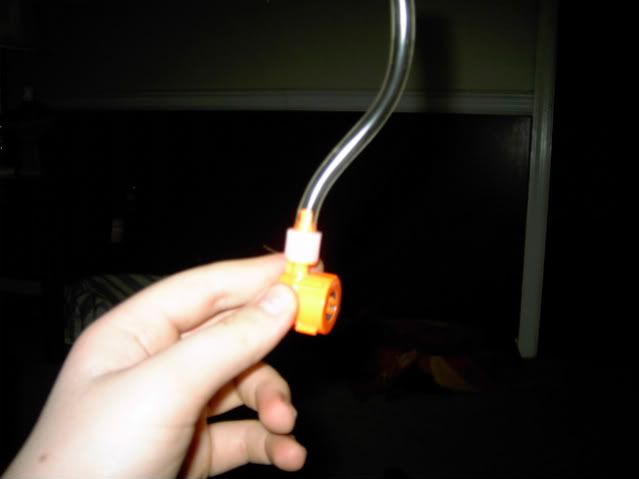
Instead of this (Which we also end up removing)
So, in addition to removing the stuff around our integration point (the bottom handle) I went about cutting off the gauge as well.
Use whatever you like to cut, and cut the vinyl tubing between the check valve for the hornet, and the pressure gauge. After you cut the pressure gauge, unscrew the white cap holding the tubing. This allows you to pull it out.
Take your epoxy and goop over the holes you've just made. This is what mine looked like right after I epoxied.
http://i266.photobuc.../Picture386.jpg
After this, I tore out anything related to the Scout, as I don't have one, and the rest of the hornet parts (like the trigger) as it is now pointless.
All in all, remove this stuff.
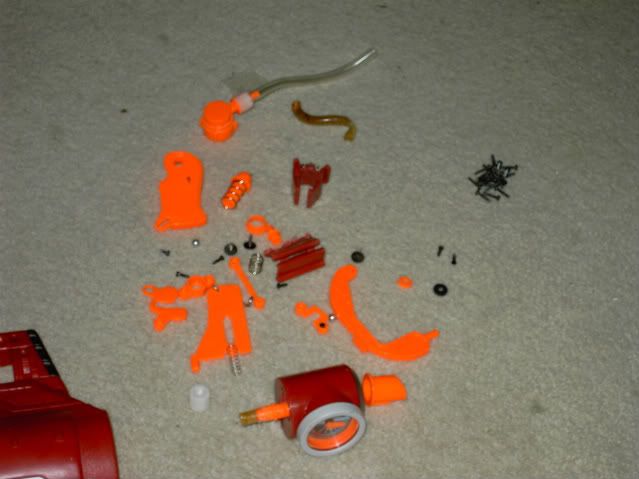
It's not necessary, but I completed the hole that the pressure gauge was resting in.
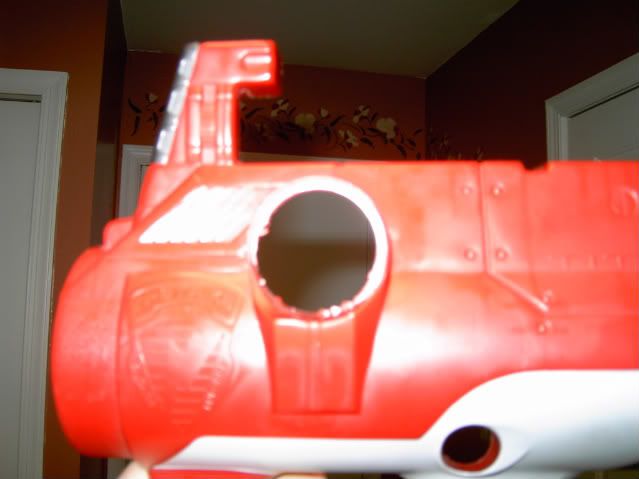
Now we dremel out the bottom handle. Make it look like this,
and don't forget to dremel out the front to allow the pump tube to poke through.
I don't have any more open pictures of the blaster, but place your 2k internals in the shell, pump in the clean dremeled space, air tank and liquitron hanging out. If you didn't notice the dremeled holes for the 2k's tubing in the other picture, dremel holes for it through the bottom of the titan's handle. Glue the pump tube in place. Close up the titan.
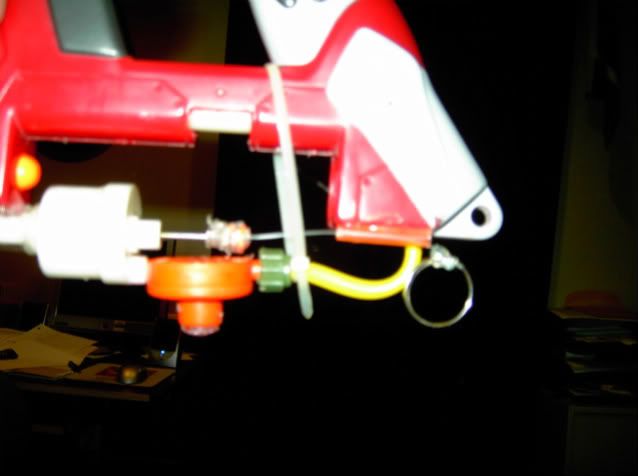
Glue the barrel of the 2k to the bottom of the squarish jut on the front handle. Because the vinyl tubing is trying to expand, your barrel will point upwards. I used 2 zip ties to fix this- one on the tubing, one on the barrel.
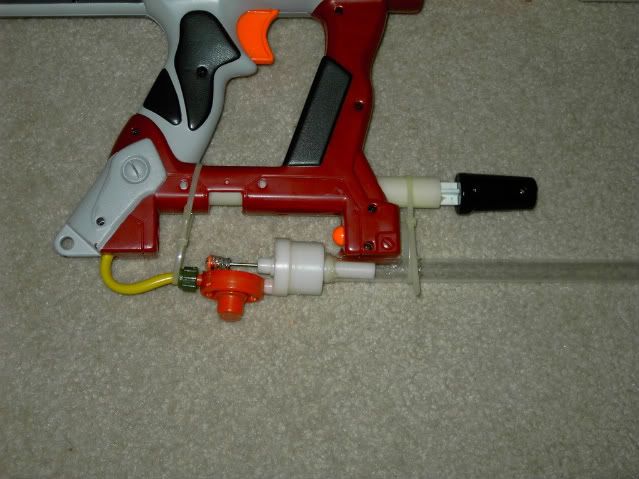
Lastly, the trigger system. Take your fishing line and cut about a foot off. Lace it through the spring on the firing pin, and tie it off. Cut about an inch of your straw, and thread the line through it. Glue the straw to the side of the titan's handle. This will keep it in place while you run. Tie the rest of the line around your key ring, and cut off the excess.
You're done! I would only keep about 4 pumps in the airtech, like any other. As for the titan, I didn't plug the overpressure valve, so I just pump until it kicks in.
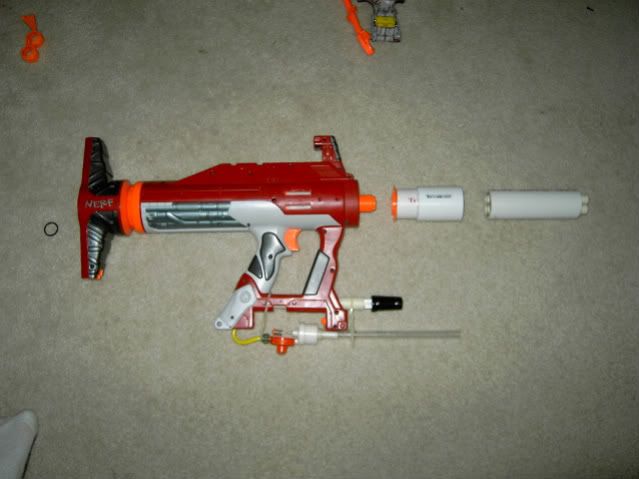
Ranges are typical. The 4 shot titan gets around 80', and the airtech about 110'.
This was my first integration, and while it's not very clean, I'm proud of it. This has been an Aslan Arms production.
Questions? Comments? Flames?
Materials-
Something to cut with
Glue
Screwdriver
Drinking straw
40 lb fishing line
Key ring
Epoxy
Titan with Absolver mod (or similar)
At2k
Dremel
Zip ties
Upon opening my titan, I found that the vinyl tubing to my pressure gauge looked like this
Instead of this (Which we also end up removing)
So, in addition to removing the stuff around our integration point (the bottom handle) I went about cutting off the gauge as well.
Use whatever you like to cut, and cut the vinyl tubing between the check valve for the hornet, and the pressure gauge. After you cut the pressure gauge, unscrew the white cap holding the tubing. This allows you to pull it out.
Take your epoxy and goop over the holes you've just made. This is what mine looked like right after I epoxied.
http://i266.photobuc.../Picture386.jpg
After this, I tore out anything related to the Scout, as I don't have one, and the rest of the hornet parts (like the trigger) as it is now pointless.
All in all, remove this stuff.
It's not necessary, but I completed the hole that the pressure gauge was resting in.
Now we dremel out the bottom handle. Make it look like this,
and don't forget to dremel out the front to allow the pump tube to poke through.
I don't have any more open pictures of the blaster, but place your 2k internals in the shell, pump in the clean dremeled space, air tank and liquitron hanging out. If you didn't notice the dremeled holes for the 2k's tubing in the other picture, dremel holes for it through the bottom of the titan's handle. Glue the pump tube in place. Close up the titan.
Glue the barrel of the 2k to the bottom of the squarish jut on the front handle. Because the vinyl tubing is trying to expand, your barrel will point upwards. I used 2 zip ties to fix this- one on the tubing, one on the barrel.
Lastly, the trigger system. Take your fishing line and cut about a foot off. Lace it through the spring on the firing pin, and tie it off. Cut about an inch of your straw, and thread the line through it. Glue the straw to the side of the titan's handle. This will keep it in place while you run. Tie the rest of the line around your key ring, and cut off the excess.
You're done! I would only keep about 4 pumps in the airtech, like any other. As for the titan, I didn't plug the overpressure valve, so I just pump until it kicks in.
Ranges are typical. The 4 shot titan gets around 80', and the airtech about 110'.
This was my first integration, and while it's not very clean, I'm proud of it. This has been an Aslan Arms production.
Questions? Comments? Flames?

