
 Find content


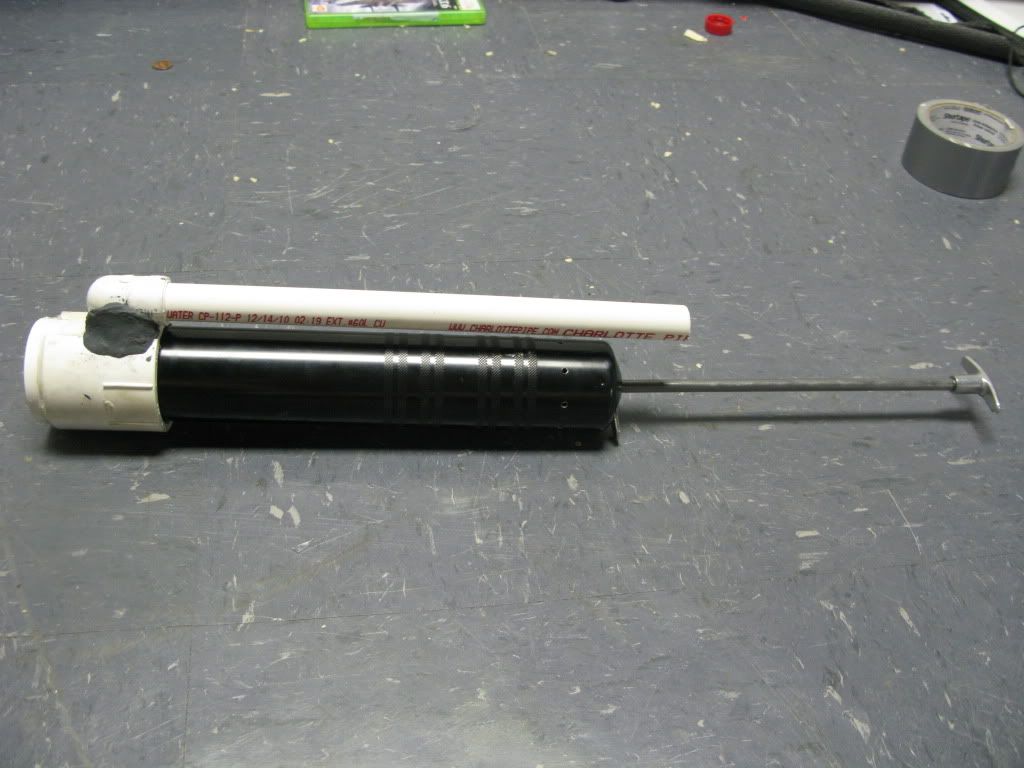
This is a write-up for a modification to turn a spring powered workforce grease gun into a modular powered homemade nerf gun. The grease gun is a metal plunger system with a spring inside and a perfect seal that is used to push grease out a nozzle. The plunger rod is released by pushing the tab on the read of the grease gun. The grease gun costs less than $20 at home depot (all the materials are from here, no specialty materials required) and is hilariously durable, a feature that I definitely need.
Here are most of the materials, give or take a few
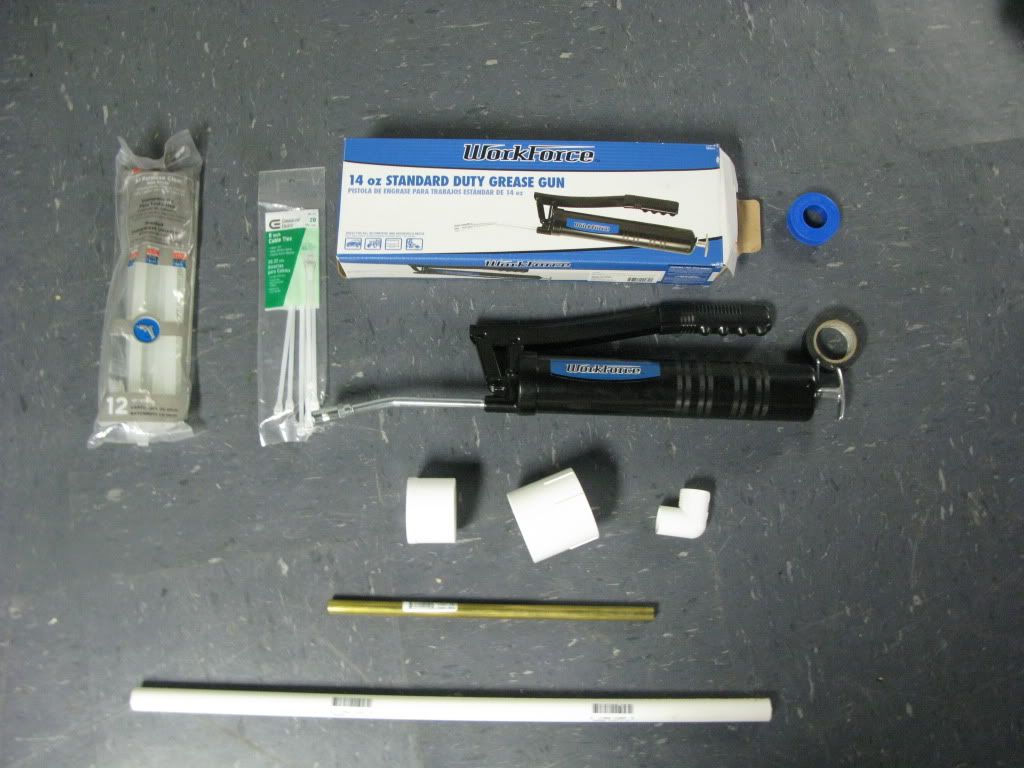
Materials:
Workforce 14oz standard duty grease gun
Teflon tape
Hot glue
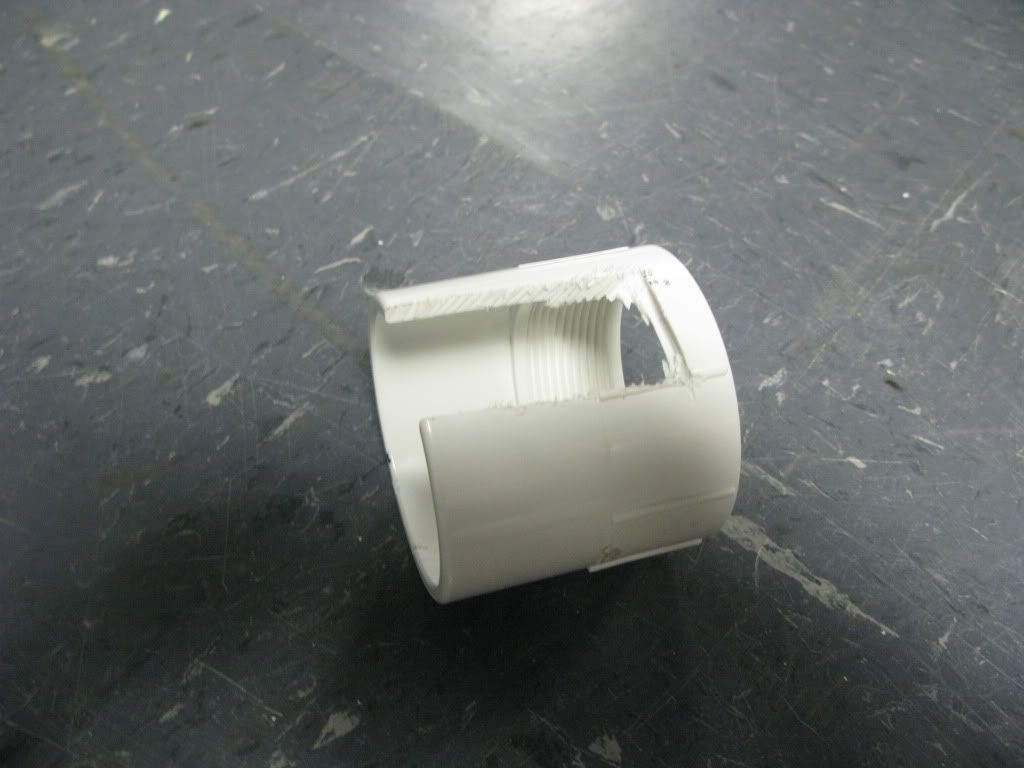
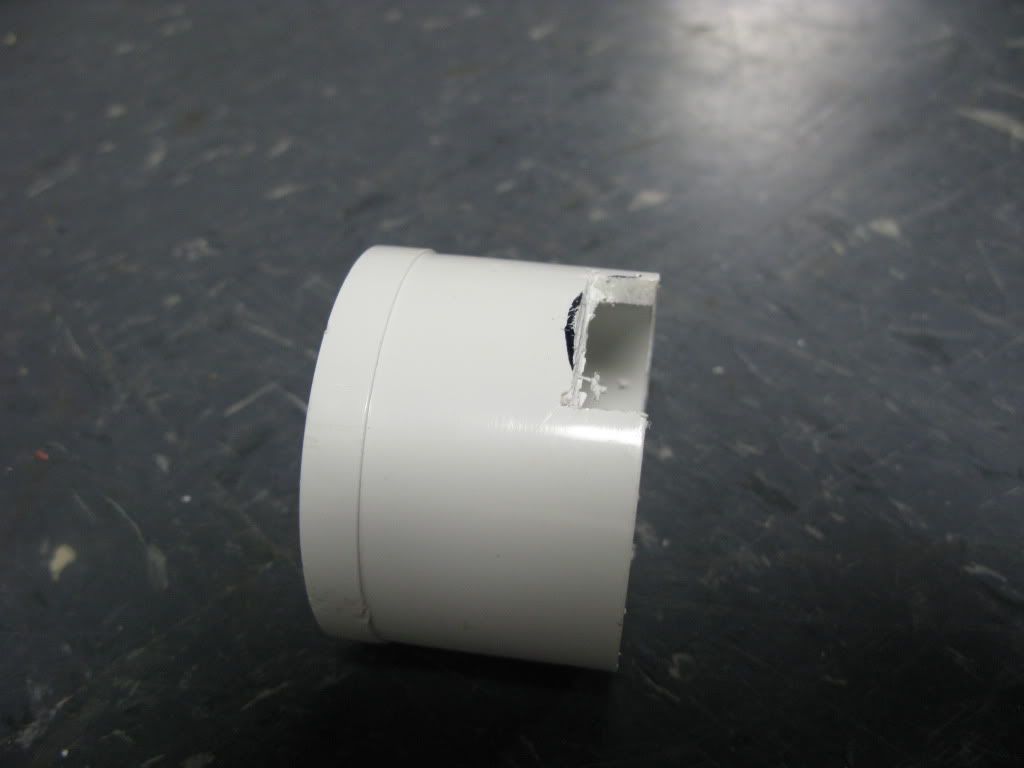
Half threaded half unthreaded 2in coupler
Barrel of choice
And either
2in plug
1/2in elbow
Epoxy putty
Or
2in to 1in threaded reducer
2in coupler
Electrical tape
Nail or bolt over 1.5 in
Stage 1: Prepare the power plant
This step will be preparing the grease gun to become a powerful nerf powerplant.
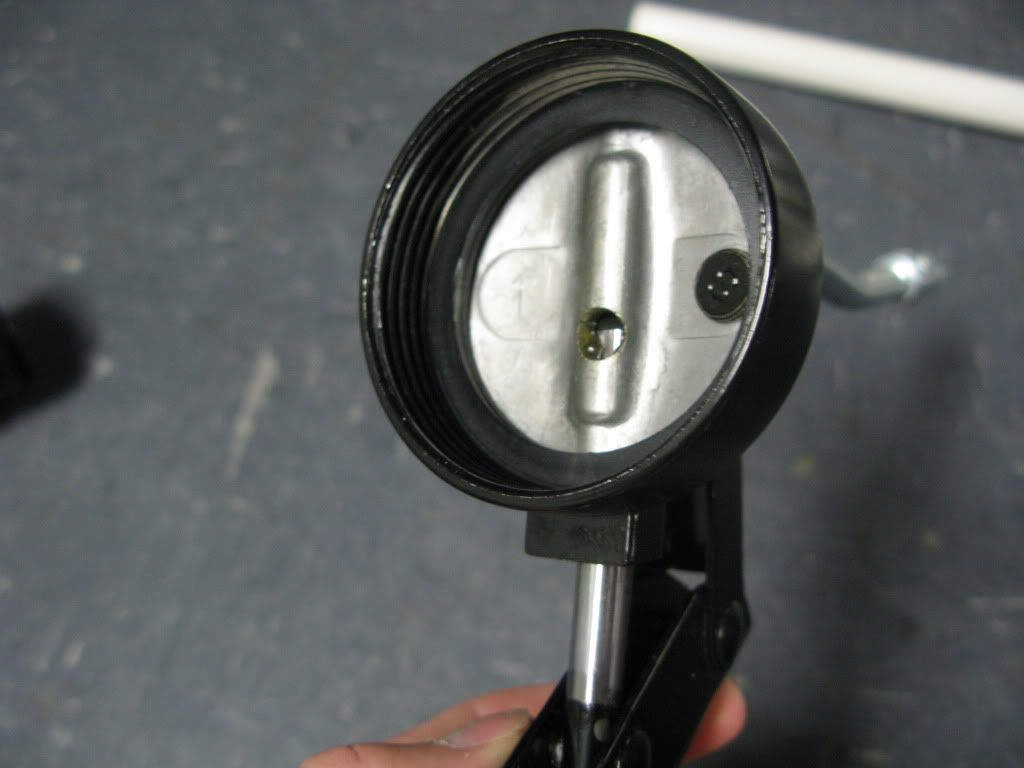
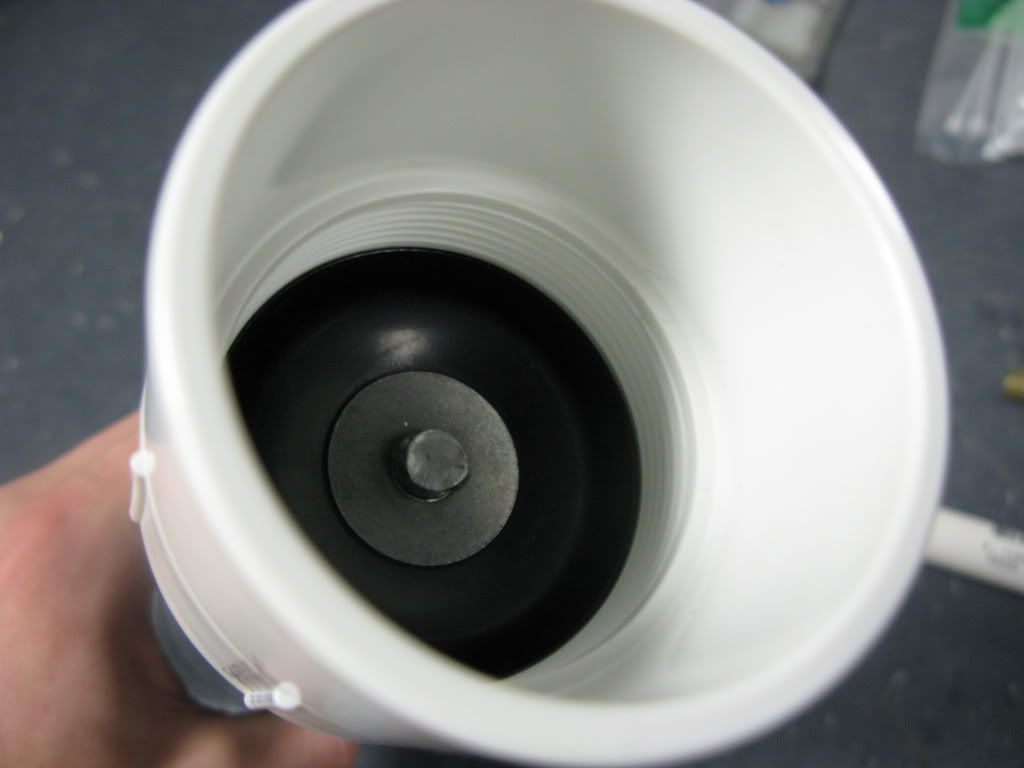
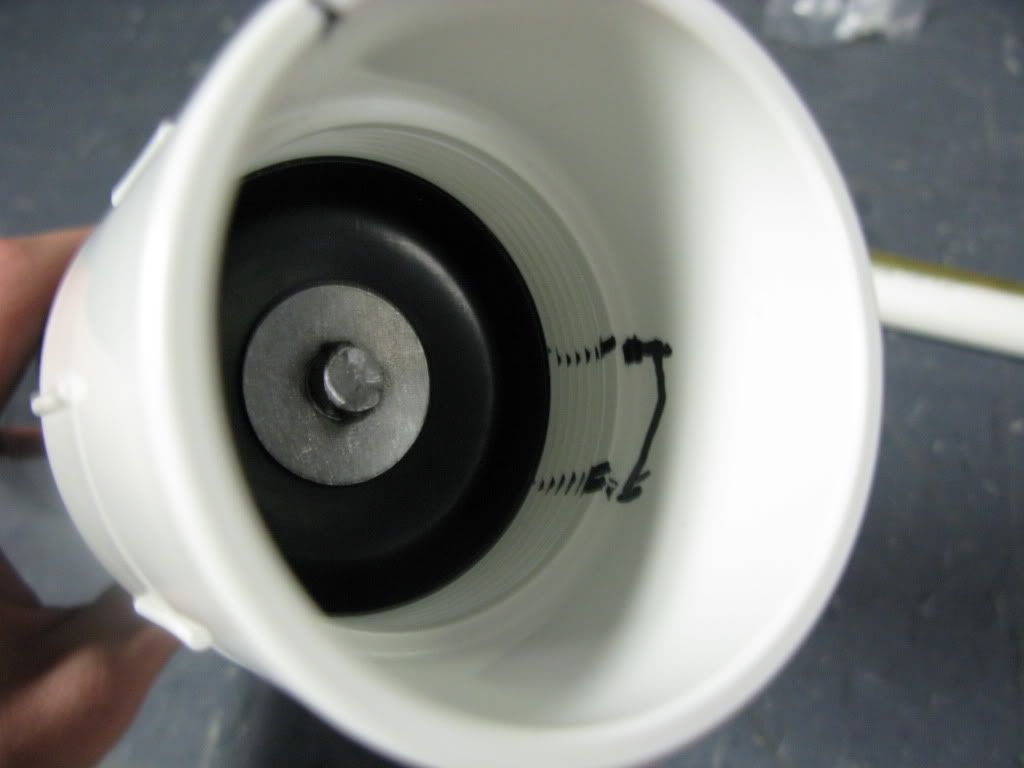
First, unscrew the front part of the grease gun from the body.
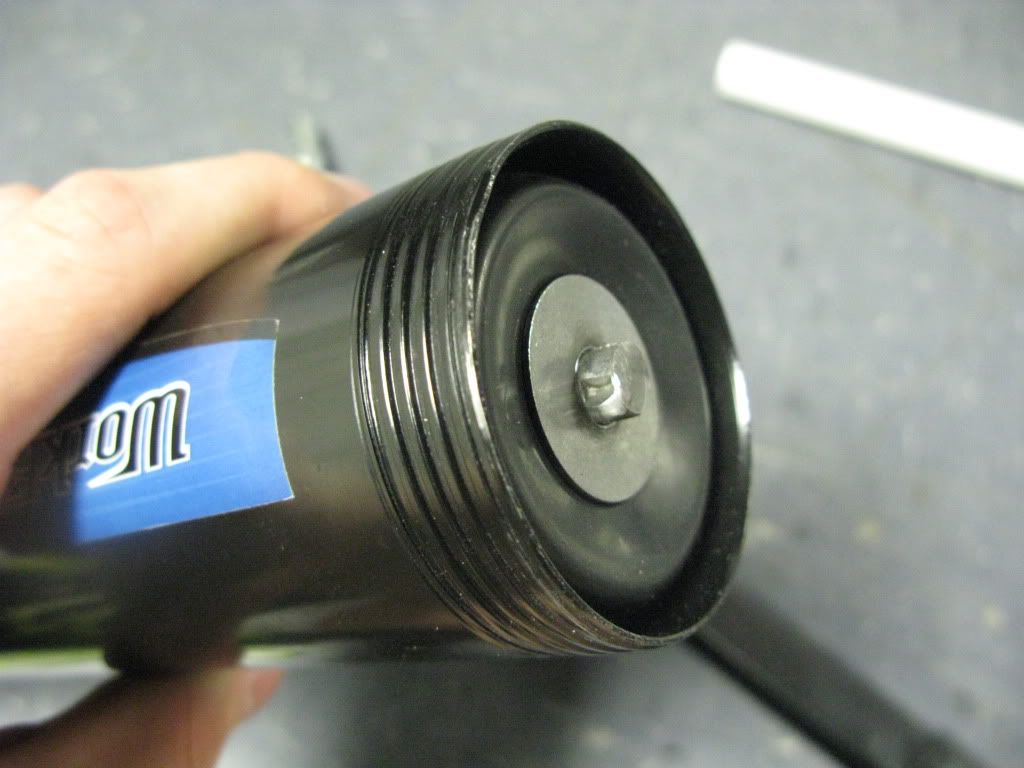
Also, this is un-needed in this project, but it comes with a free valve you can use for other things!
Second, the grease gun forms a very significant vacuum behind the plunger when it is fired, so we need to create a pathway to let the air flow in behind the plunger rod when the blaster is fired.
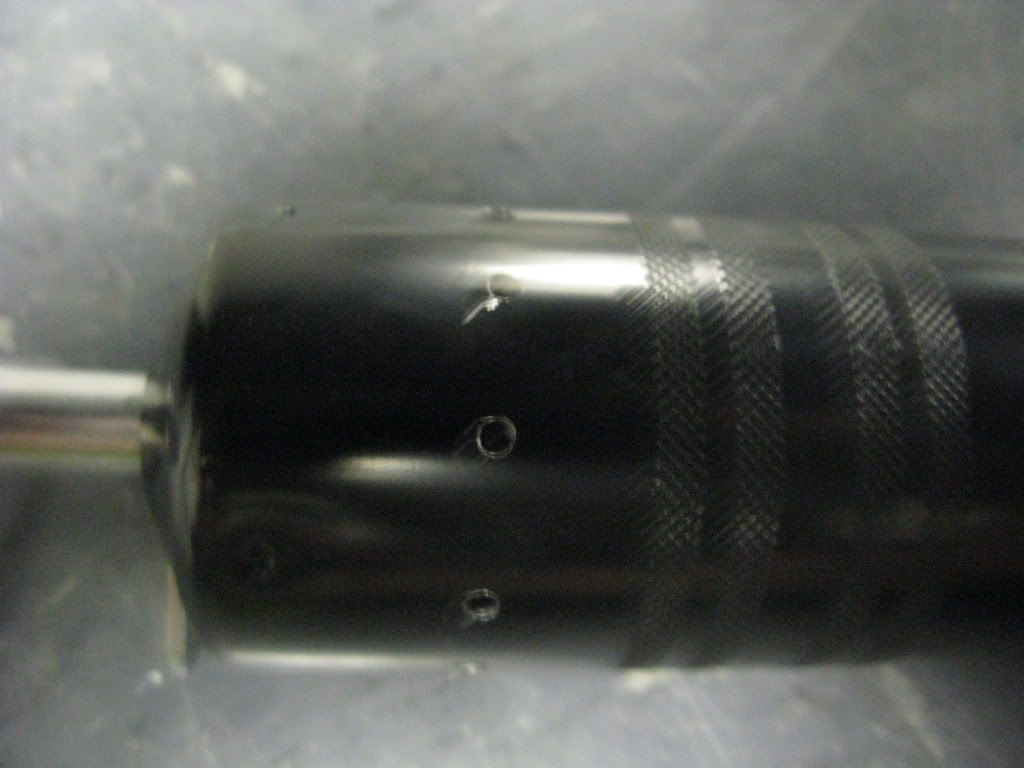
Drilling some holes in the rear of the blaster accomplishes this. I just took a smaller drill bit and drilled a ring of holes 1.5in away from the back end all around the blaster. The bigger and more holes there are the better the performance, but the weaker the structural integrity, so use you judgment here.
Stage 2: Connecting power plant and barrel
Option A:
Connect the 2in coupler to the threaded part of the grease gun. They have the same threads, how convenient…
Make a mark where the edge of the grease gun goes into the coupler, then draw a rectangle approximately the width of the 1/2in elbow from the mark to the edge of the unthreaded end.
Cut out the rectangle.
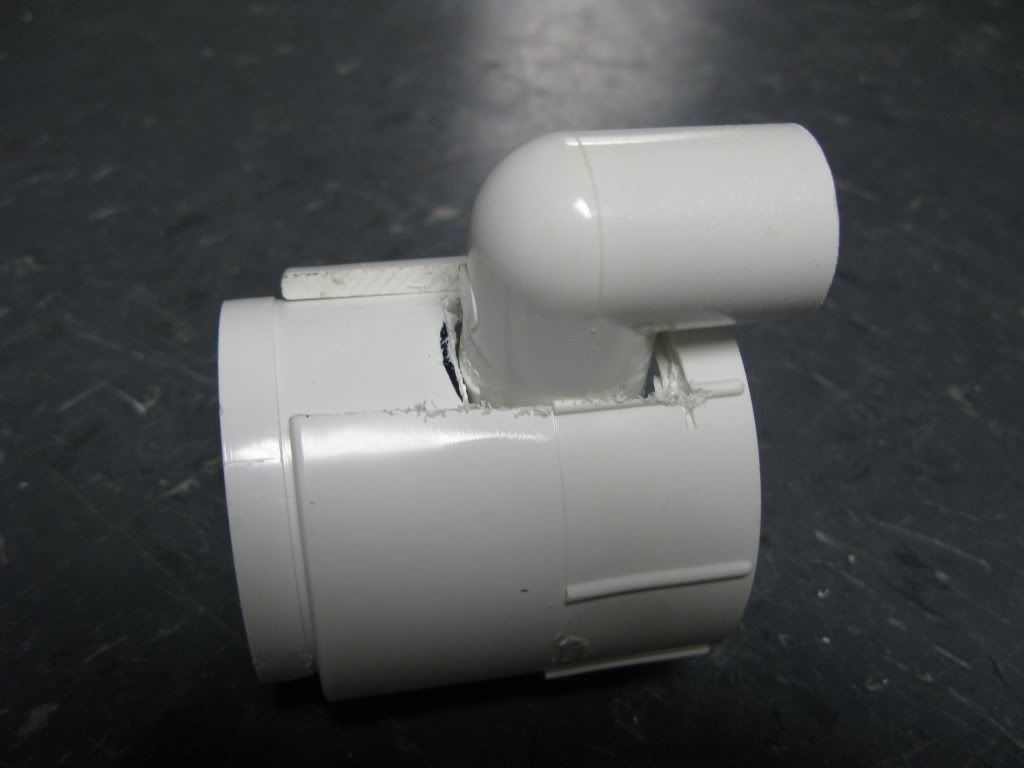
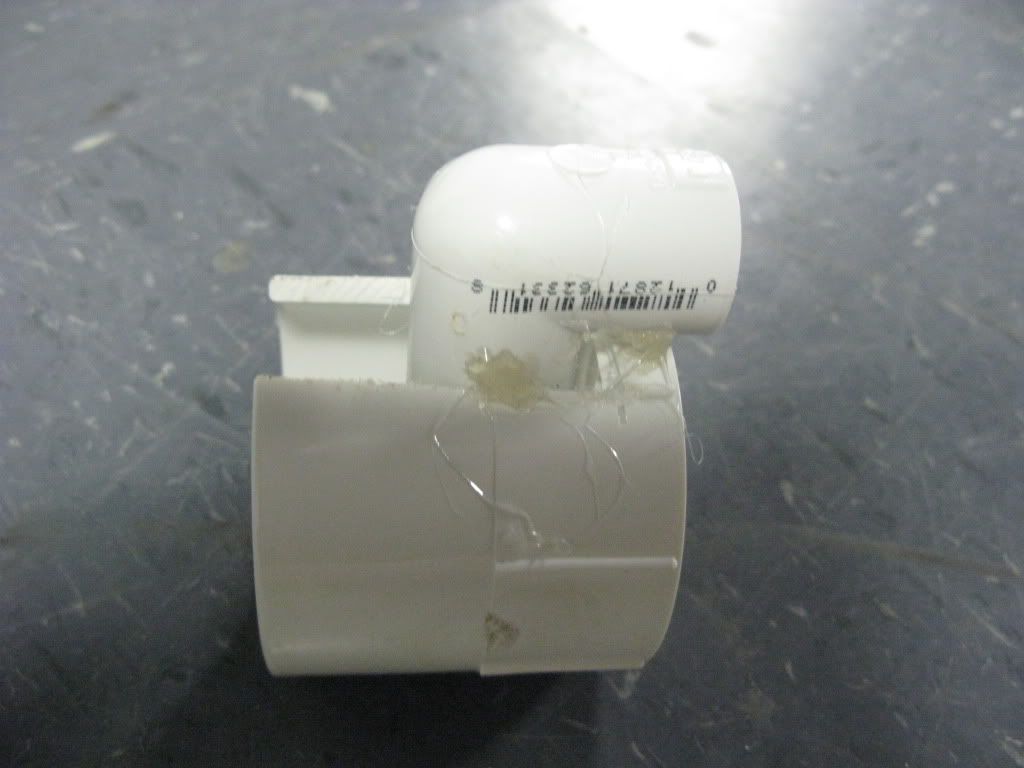
Insert the plug into the coupler and test the fit of the elbow.
Make a mark approximately where the plug would need to be cut to fit the elbow.
Cut out the marked section.
Make sure that everything fits.
At this point you are going to want to put a barrel in the elbow and connect the unglued assembly to the grease gun.

Align and straighten the barrel to where you want it to be in the end blaster.
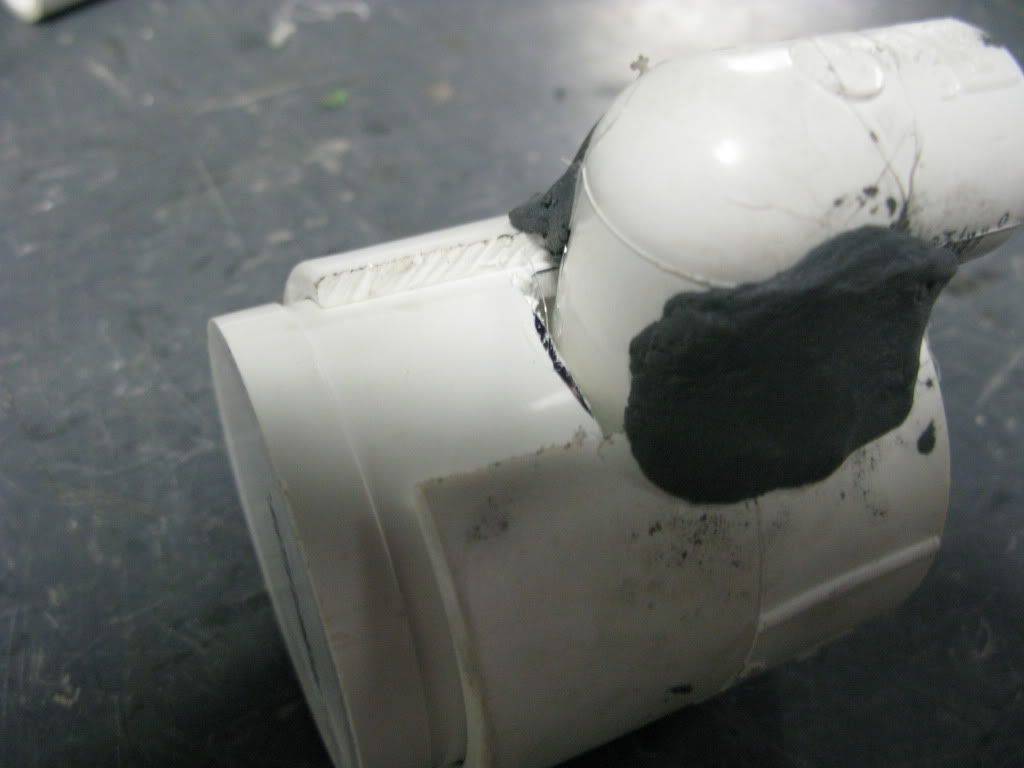
Use a hot glue gun to spot glue the elbow in place to the coupler (only glue the elbow to the coupler).

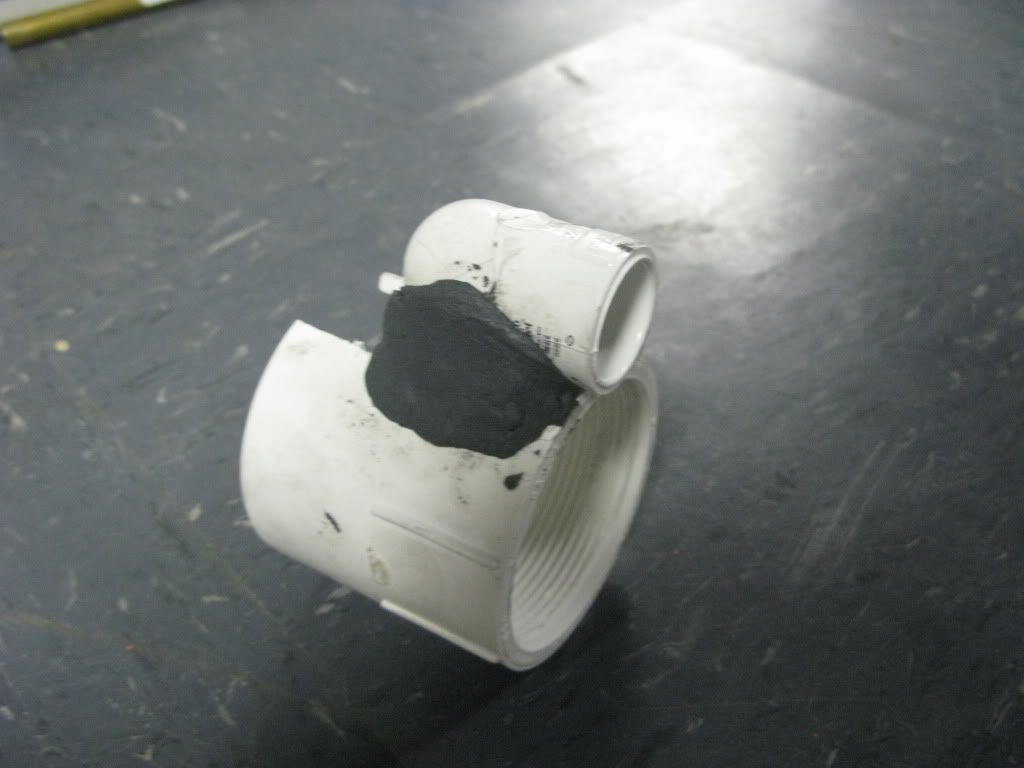
Then once the hotglue has dried, remove the barrel, take the assembly off the Grease gun, and remove the plug.
Mix some epoxy putty and use it to glue the elbow to the coupler. Make sure not to put any behind the elbow though, because the plug still needs to fit there.
While that’s curing, we need to get rid of most of this dead space.
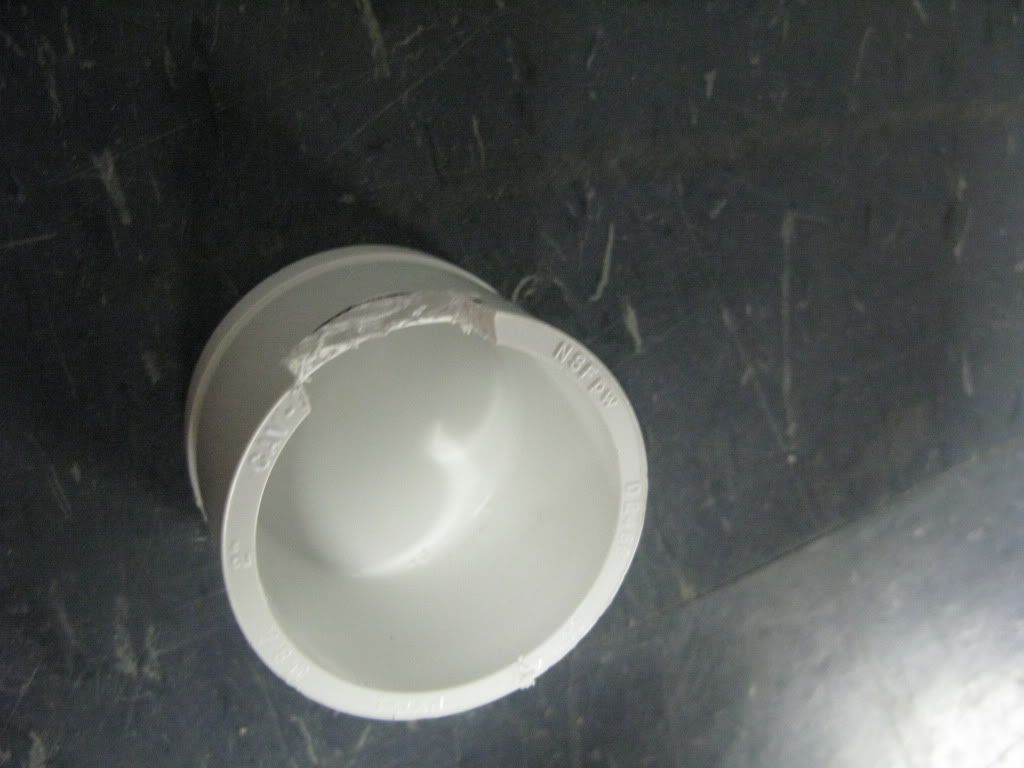
Fill the plug with aluminum foil, than use something to compact it. Repeat this until the plug is filled to just below the beginning of the cut-out portion.
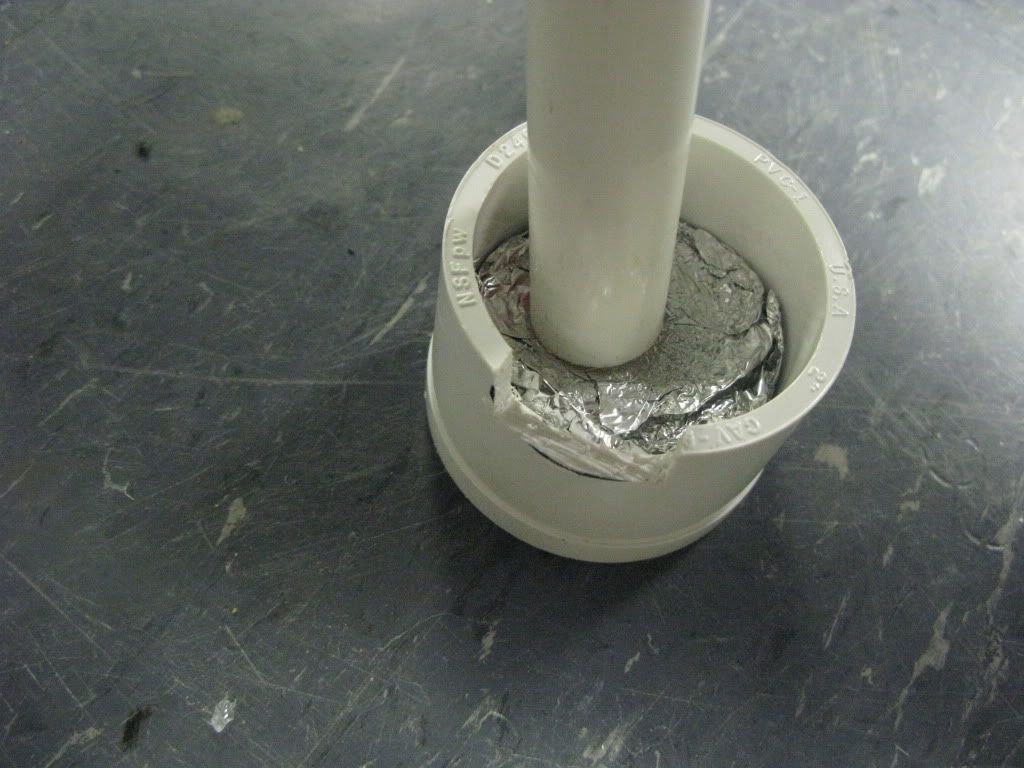
Then, cover the aluminum foil in a thin layer of hotglue to prevent any air from escaping. Be especially carful to get the edges.
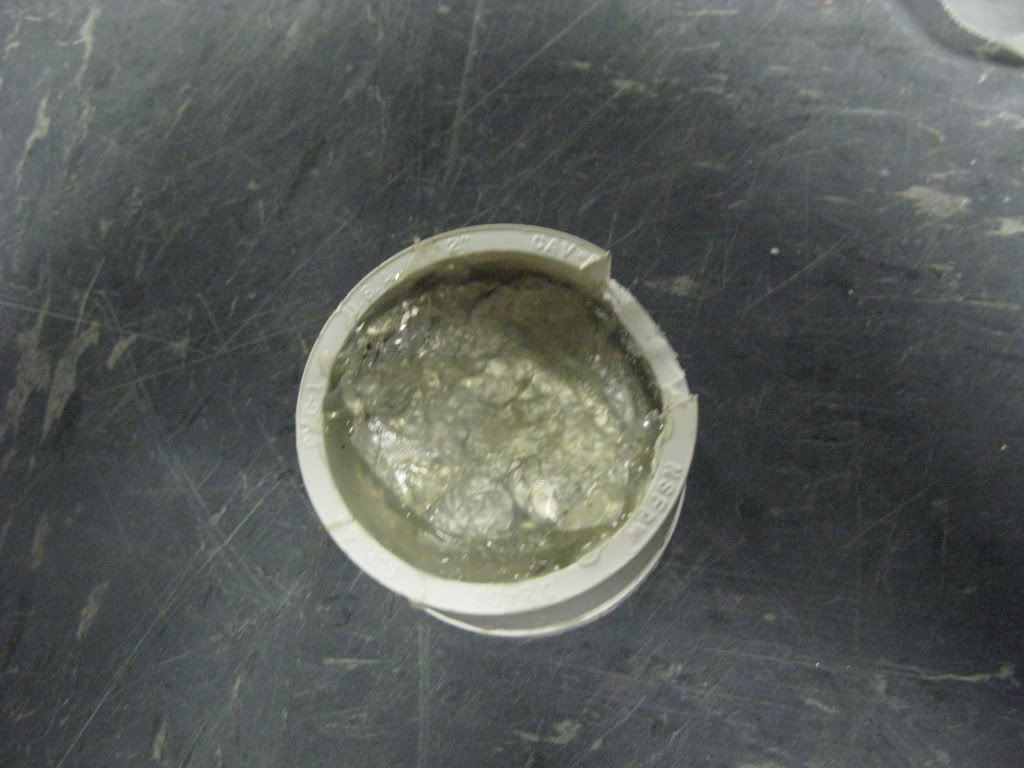
Once this is dry, fit the plug and the coupler assembly together.
Cover the gap between the plug and elbow with a healthy amount of hotglue and seal the edge of the plus with hotglue.
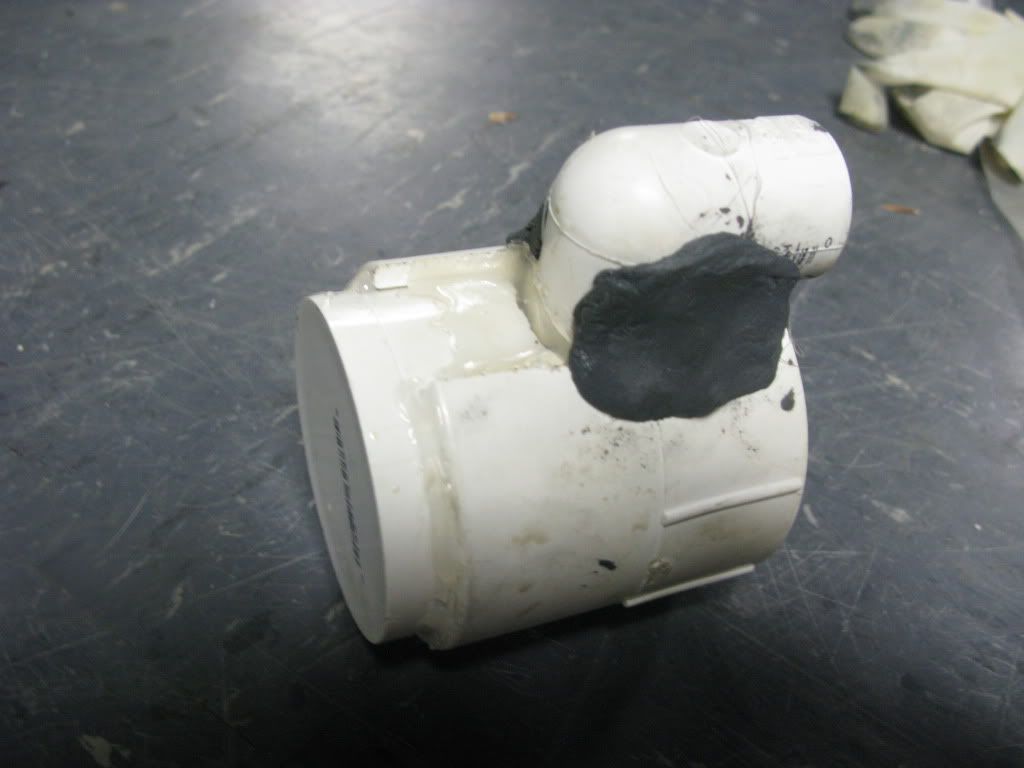
Finished Product with barrel-
Continue to post 2

