Find content


So here are the supplies
All parts acquired from ace
1/4" steel rod no idea
3/4" pvc 20 cents a foot
1/2" pvc pre acquired
1/2" cpvc 50 cents a foot
pvc cement pre acquired
4 #82 o-rings od 1/2" id 5/16" thickness 3/32" - 29 cents each (make sure it fits snug on your rod and when you try to put it in cpvc without gluing the tubing in place they twist/slide slide down the rod)
3 (one extra for good measure) #59576 washers 1/4" ID - 16 cents each
2 (one extra for good measure) #59578 washers 3/8" ID - 18ish cents each
superglue
drill and drill bits
epoxy putty - pre acquired
some size vinyl tubing for you pump - pre acquired
some size vinyl tubing that fits over the steel rod (venom you know this size since you gave me it) - pre acquired
4 1/2" cpvc end caps (2 extra in case you mess up on the first 2) - 59 cents each
2 3/4" couplers - 29 cents each
1 1/2" pvc coupler - 39 cents each
silicone grease or some lubricant that doesn't eat away at o-rings - 4.79 dollars
tape measure pre acquired
pipe cutter device whether it be a ratcheting pipe cutter or a hack saw - pre acquired
hammer - pre acquired
vice - pre acquired
e-tape
sharpie
So cut 5 1/4" of 1/2" cpvc and 6 1/2" of 3/4" pvc.
Now take 2 of your cpvc end caps and find the center (I drew lines across what I thought was the middle and went in a circle like that) when you like you found the center put it in the vice and drill a hole.
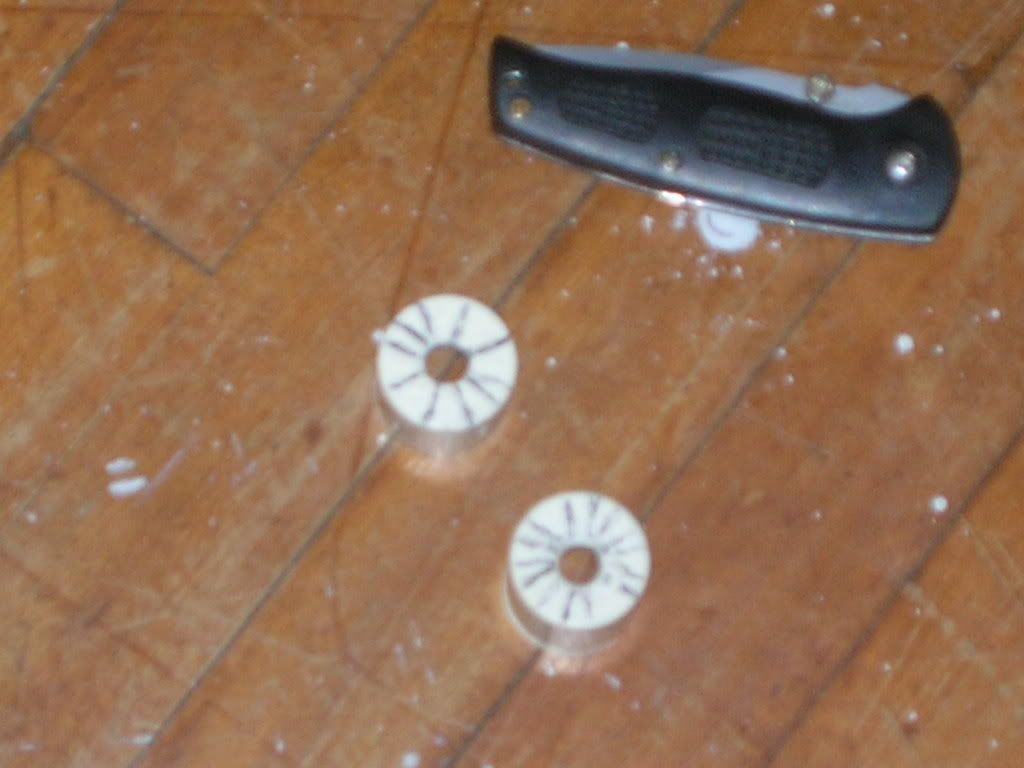
Now cut some cpvc and put it in the end caps. Make sure you have one tube 2 and 1/2 o-rings longer than the other to ensure that when you pull the firing pin the front o-rings come out pf the cpvc and the back o-rings come close to or rest on the end cap. Then shave down the inside lip of the cpvc to round it so the o-rings can slide in and out easily. Then super glue them into the end caps.

Now take your washers.
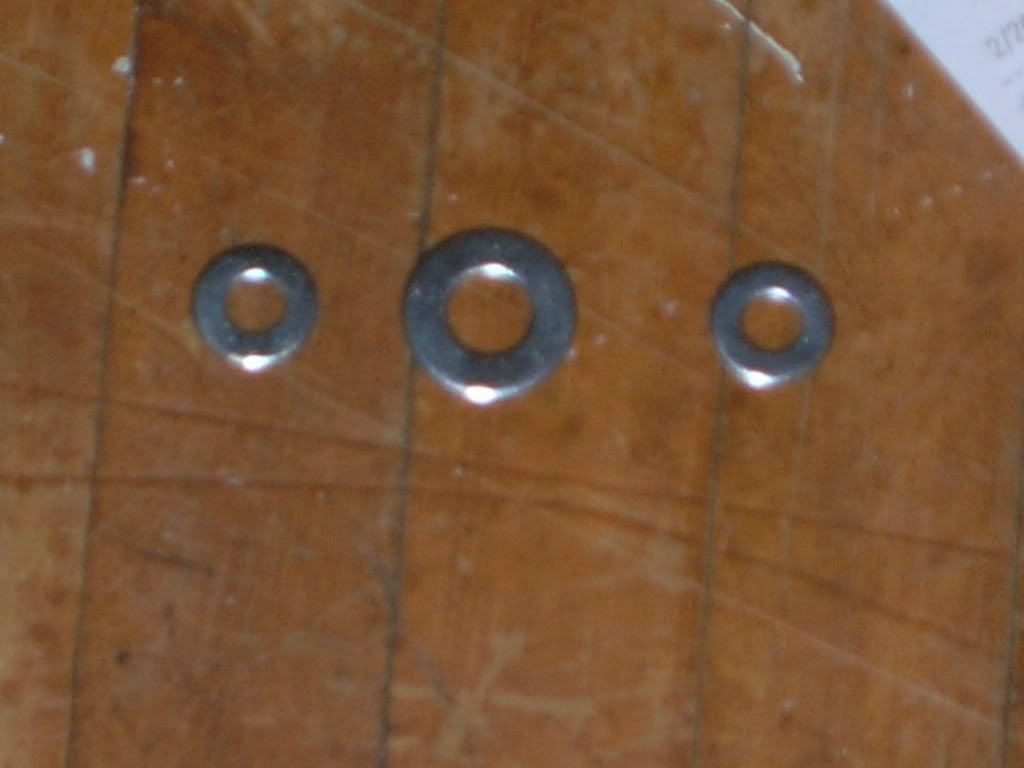
Then glue them together somehow while having them centered for best support. Washer sandwich! (that's right venom stole your term) I hot glued them first then added super glue to it.
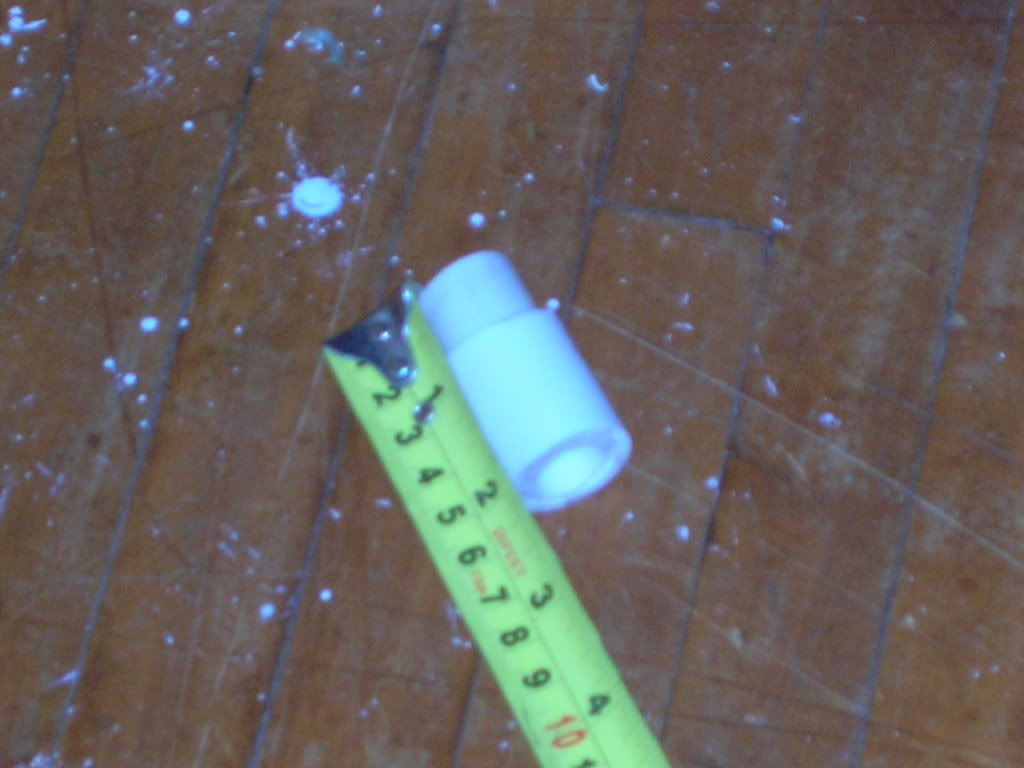
Now measure out on your 3/4" pvc so that you have enough room for air to flow through the hole in the washers and around the o-rings. Here is how much I measured.
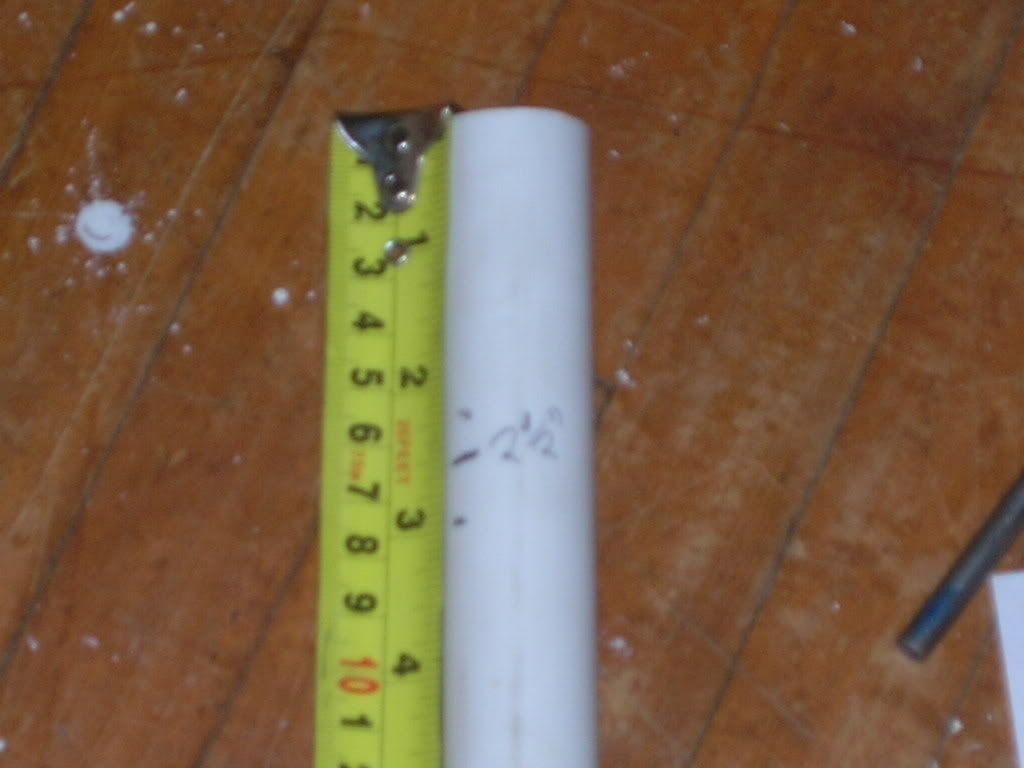
Here is an example on how I cut mine based on my front tube (the shorter one). Then when you have it measured appropriately and have cut it round off one side of the pvc edges so hammering it in is easier, then hammer it in with maybe 1/8" to 1/4" stid\cking out then super glue it in.
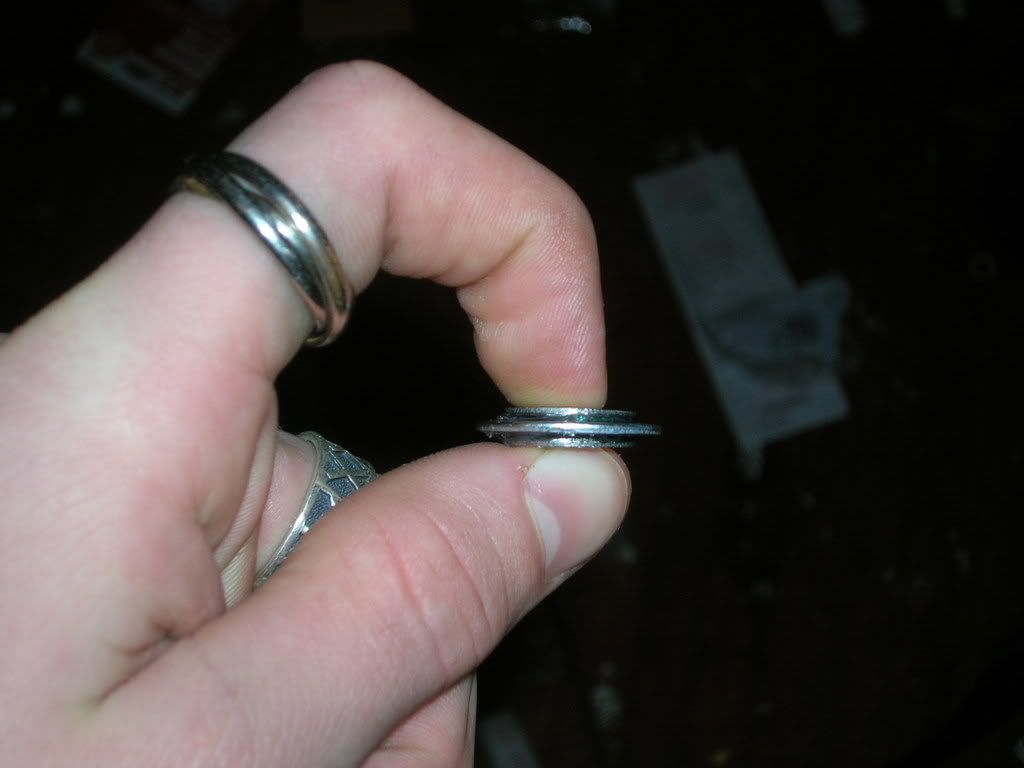
Now we work on the seal for the front half. Slide some tubing on and twist it down the rod and cut it off, try for it to be about the size of the orings to save space. Then slide two o-rings on and push them together,
then slide some more tubing on the front side like the first time you did it. Take your other end cap with the cpvc in it and make sure its the smaller one and put the rod into it. Push it flush against the end cap so there is a small amount of rod actually inside the plastic sticking out so none of it is inside the end cap where you put the cpvc cpvc in. See how I made sure that there was enough space on the rod to go into the cpvc equivalent to its thickness. Super glue the vinyl tubing to hold it in place, when the glue dires apply some lubricant to the o-rings and put it all the way into the front smaller seal assembly.
Then with the assembly in put the coupler on the front half, don't worry you won't need to get it off later. With the front half assembled with the coupler put the other half next to the coupler at its mid section. Put the longer end cap assembly flush up next to the bottom of the 3/4" pvc and take note to where the o-rings have to be to create a seal, mark that with a sharpie or something so you know where you have to place the o-rings. Slide on some vinyl tubing and make it the size of an o-ring, then slide o-rings on so the side of the o-ring is next to the mark or a little bit away from it. Slide some vinyl tubing up to the o-rings and glue them in(the vinyl tubing). Thats confusing so here is a diagram made on paint.
Then hammer in the back and cap and make it flush with the 3/4" pvc. Slide out the assembly and add your lubricant to the o-rings. Then take the back half and drill a hold in the case using your drill and vice, make sure you make the hold ahead of the cpvc sealer. Put your tubing into it and super glue it in. make sure you don't have any tubing getting in the way of anything though. Then glue your pump to the tubing if you don't have that done already.
Put everything together using the pvc cement make sure it doesn't get on the o-rings. So the assembly will be pump side, coupler and washer sandwich, output side. I put a 3/4" pvc coupler on the end and made an attachment for it so I can use 1/2" pvc (I couldn't find any 3/4" to 1/2" pvc reducers). Start by hammering some 1/2" into 3/4" and glue coupler and the home made reducer together, then glue to the body of the air tank. Make sure you have enough foom for the 1/2" coupler to go onto the 1/2" pvc, then glue on.
Here is your finished product. A bit long but that is due to not finding the reducer.
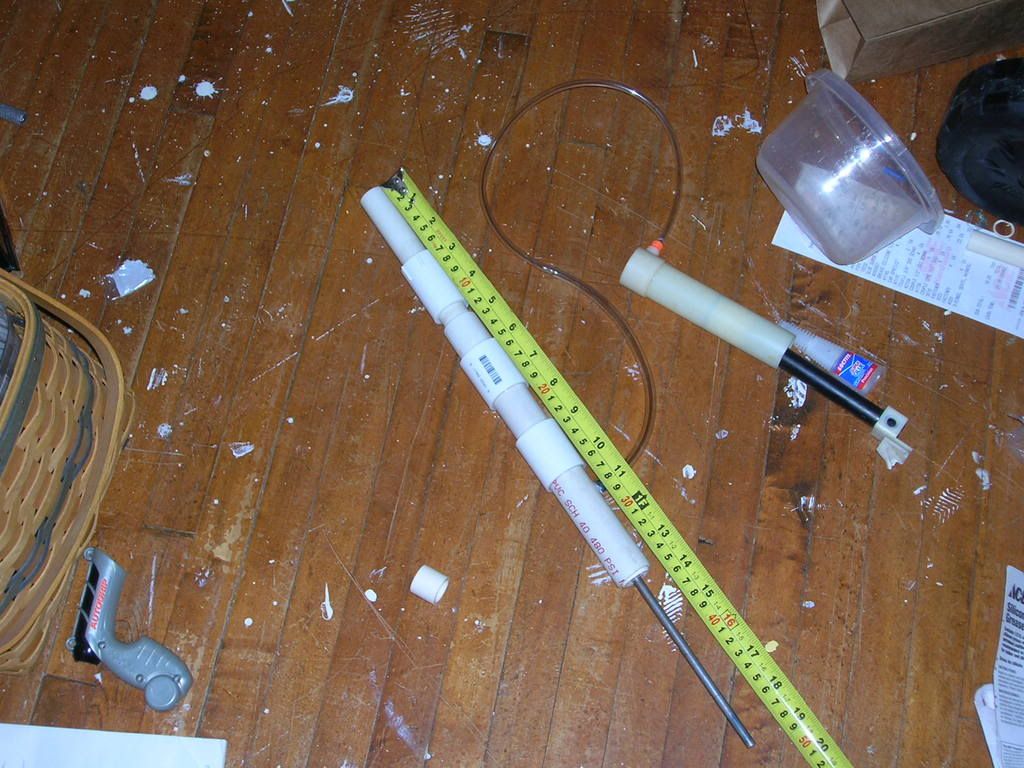
Ranges seem like a 2k maybe better maybe a bit worse but mine has a great air seal. You can now add some epoxy putty to smooth out the edges if you please to.
Ranges are around 110-120 ft using 12" of petg