Find content

-Screwdriver for Magstrike Shell
-Different size screwdriver for bladder screws
-Hacksaw
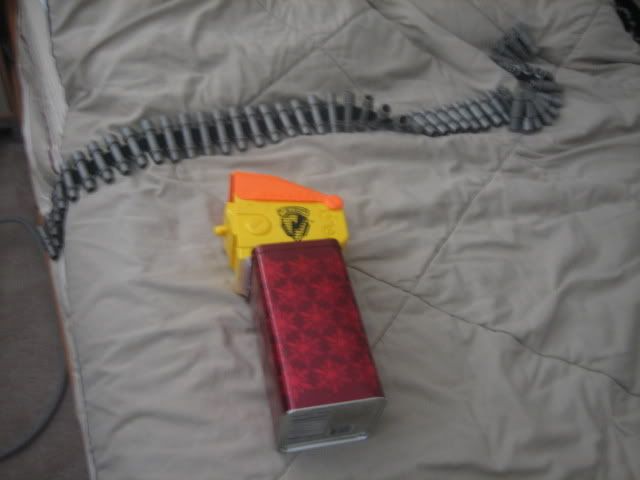
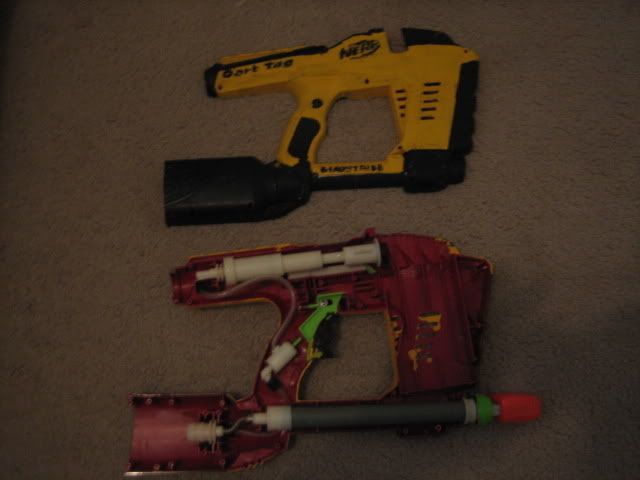
-Wildfire bladder
-Wildfire Plastic case thing
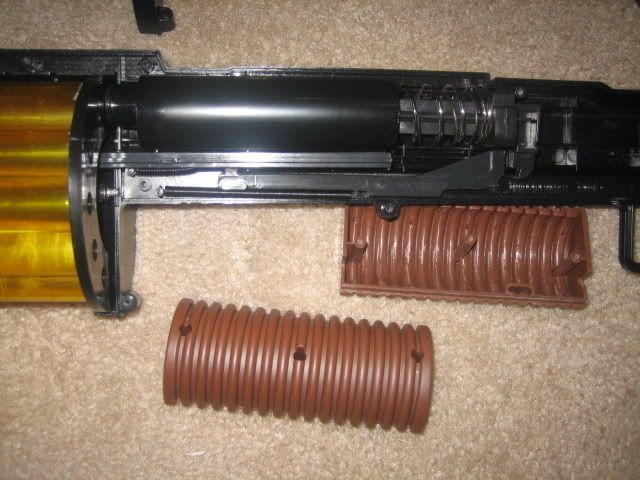
Step 1:
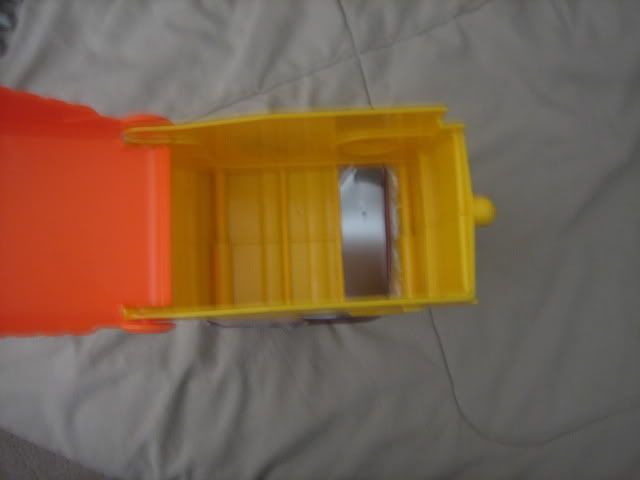
Cut the shell like so
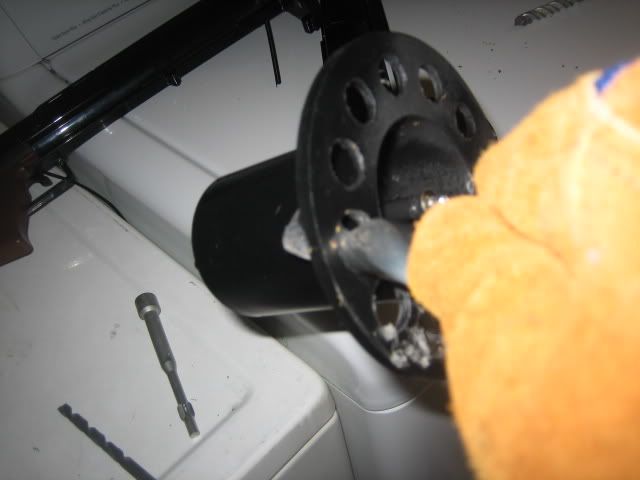
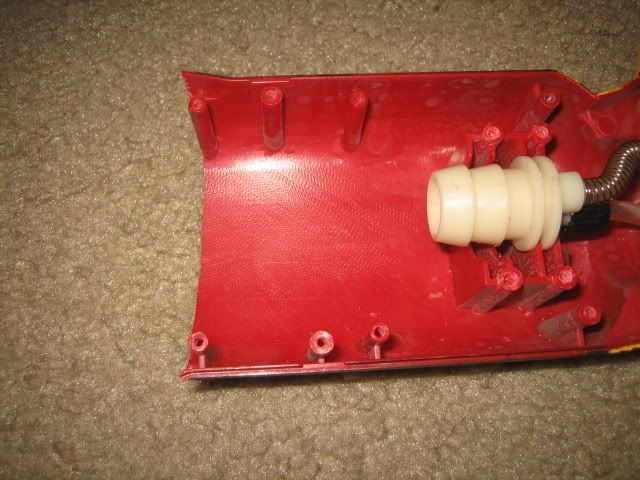
Step 2:
Remove the old bladder
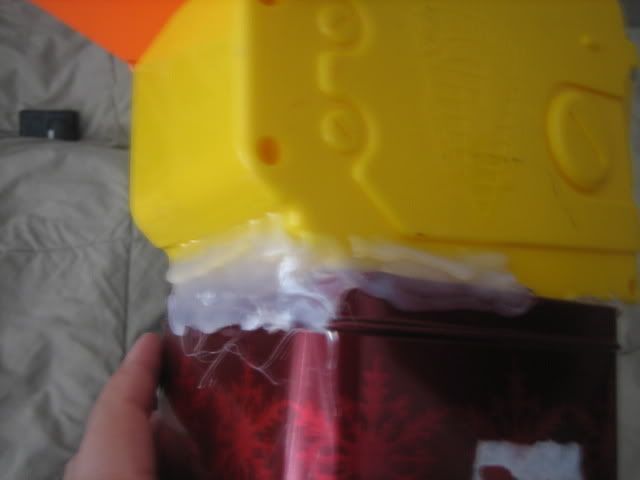
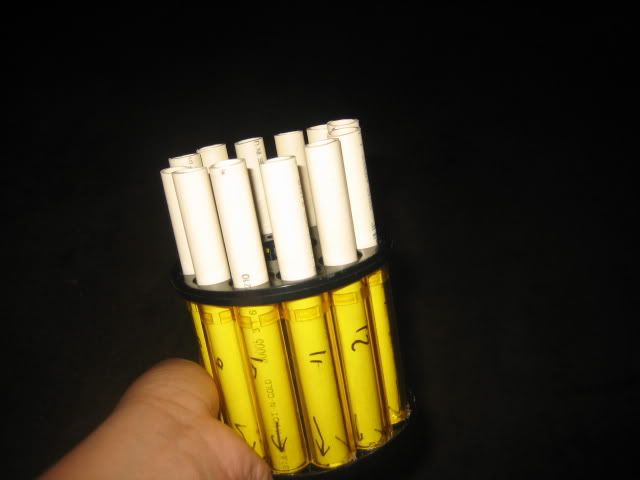
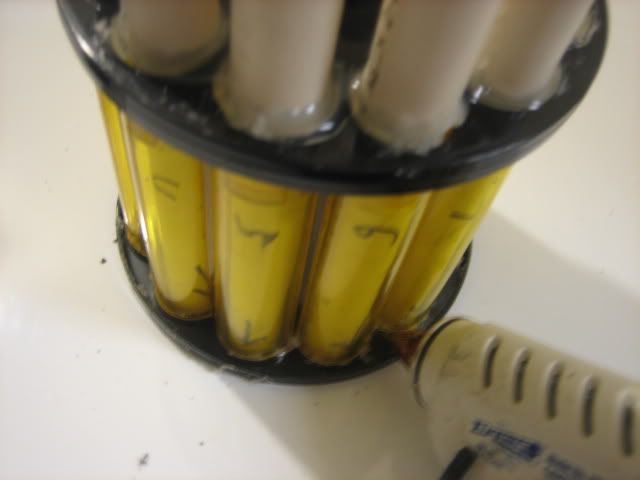
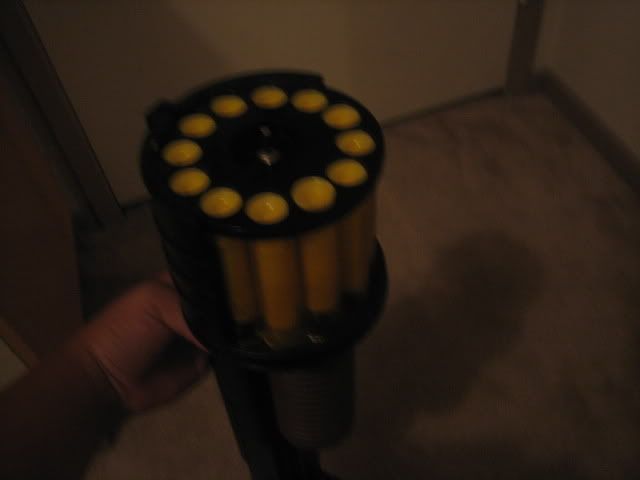
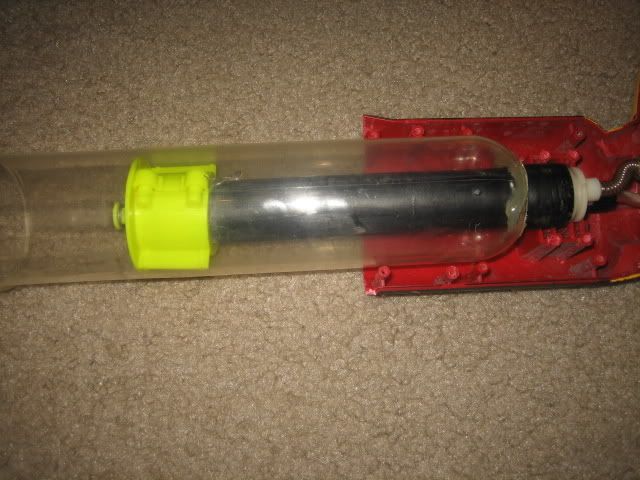
Step 3:
Add the Wildfire bladder with protective case thing
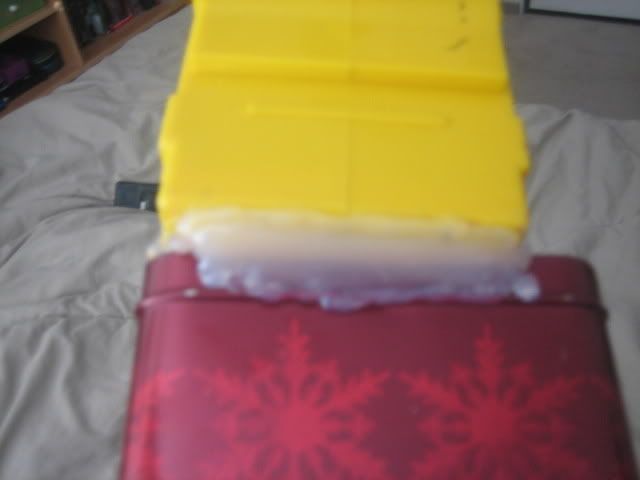
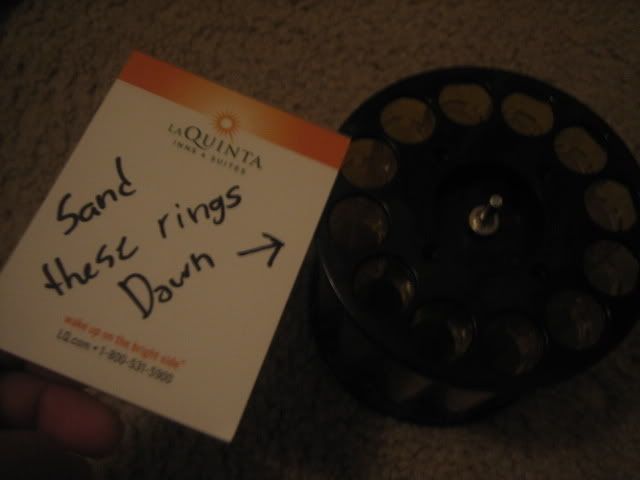
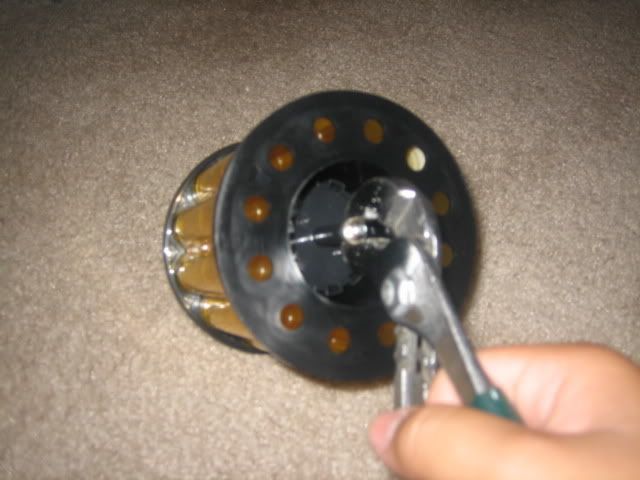
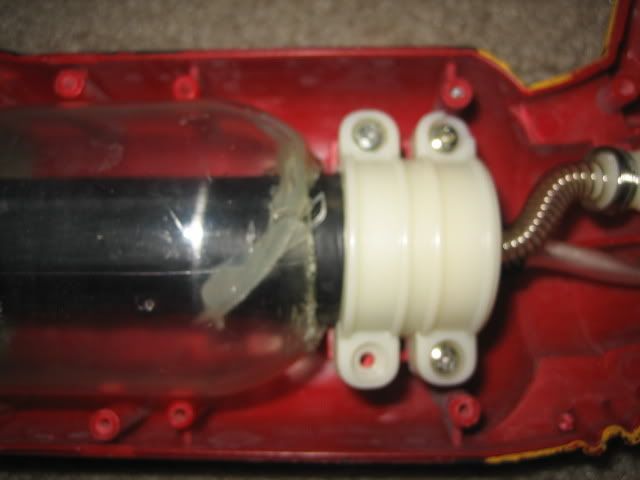
Step 4:
Screw the Bladder screws in
Step 5:
Put it back together