- NerfHaven
- → Viewing Profile: Topics: Spiderbite
Spiderbite
Member Since 27 Dec 2013Offline Last Active Nov 16 2017 05:10 PM
Community Stats
- Group Members
- Active Posts 178
- Profile Views 10,745
- Member Title Member
- Age Age Unknown
- Birthday Birthday Unknown
User Tools
Latest Visitors
Topics I've Started
Calipers or expertise needed!
10 December 2014 - 03:17 PM
Where can I find a write-up for this?
09 April 2014 - 04:44 PM
Here's his beautiful +bow.
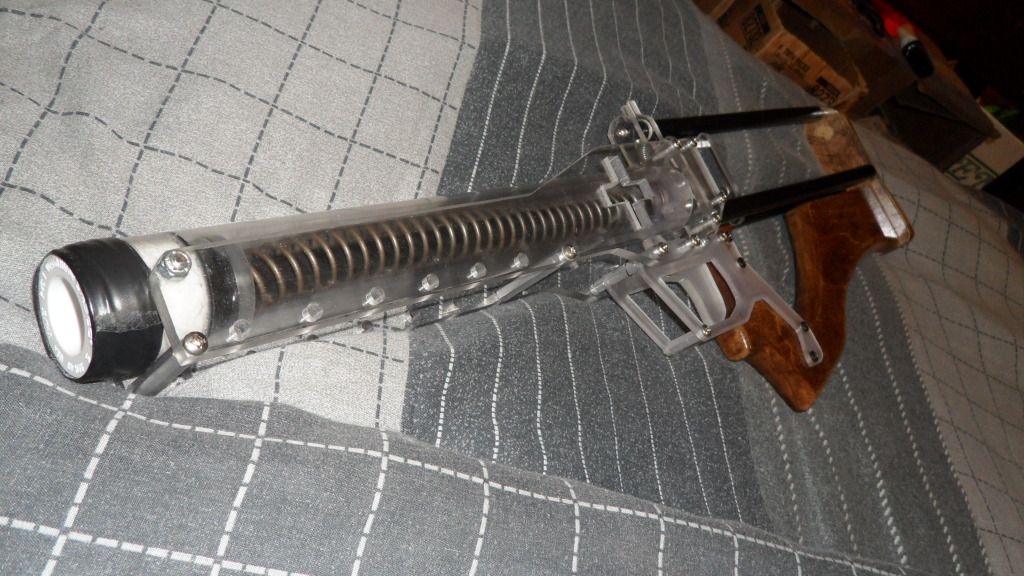
So if anyone knows how I could go about building replicating this masterwork for myself, please tell me. Also, any other tips for machining the +bow will be greatly accepted.
Thanks,
Spiderbite
Super cool gun that i dont know what to do with...
27 March 2014 - 05:33 PM
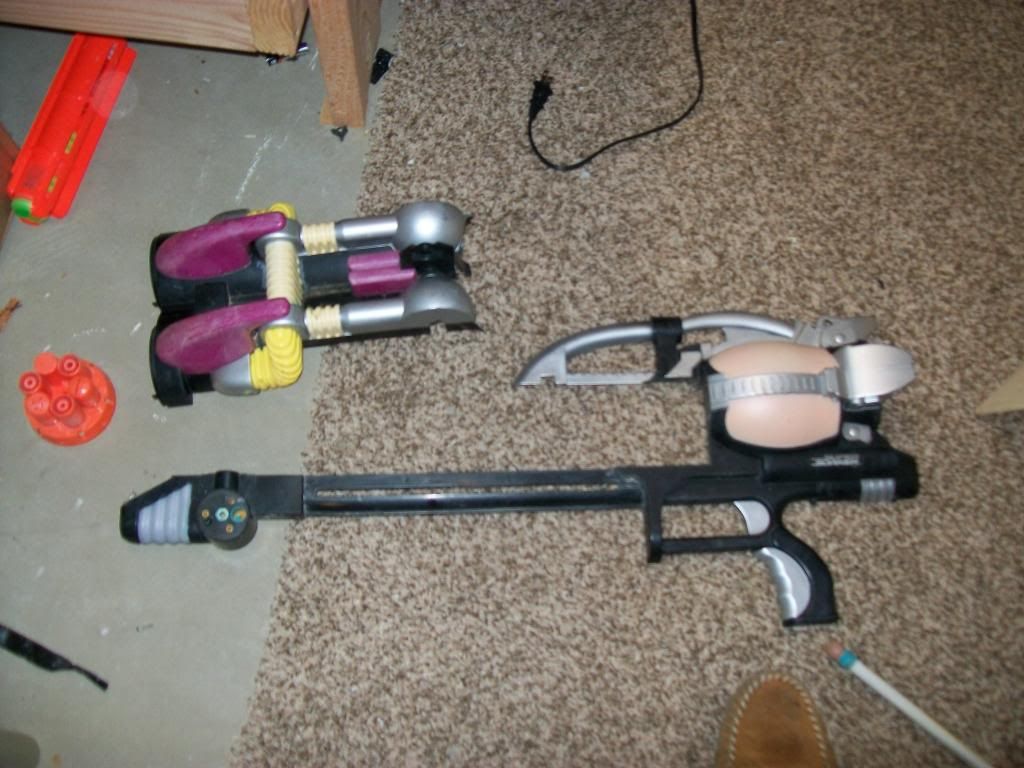
The gun is called the 'Super Soaker Monster XL', and it uses two enormous 16" long air tanks, and they are each the approxamate circumference of 1 1/2" PVC. However, this gun is designed for water, so maybe that is why they are so massive.
Here is a horrible picture of the tank.
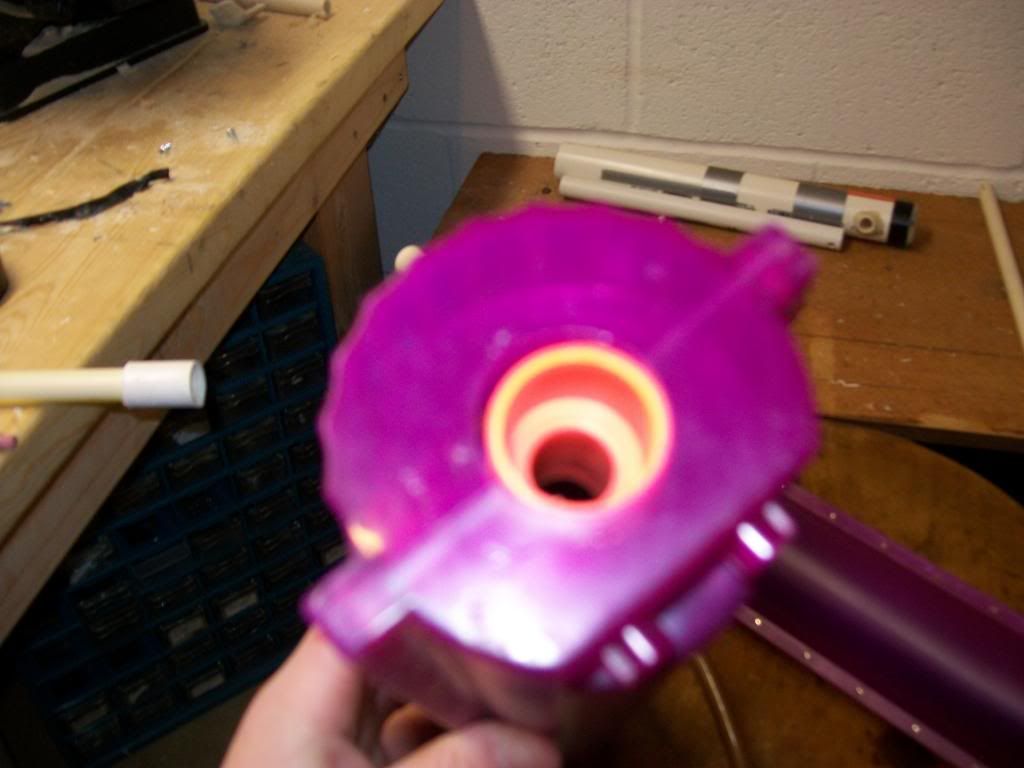
and here is the thingy in front of the two tanks with the valve (for lack of a better word. I plugged one of the holes.
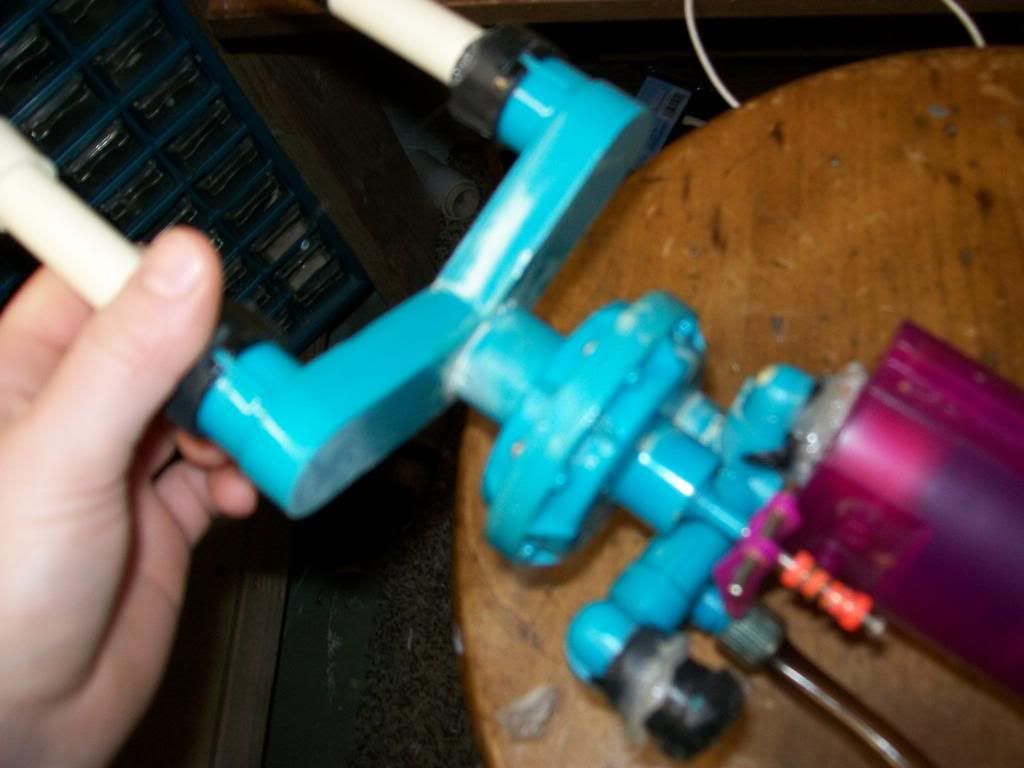
this is the pump shaft.
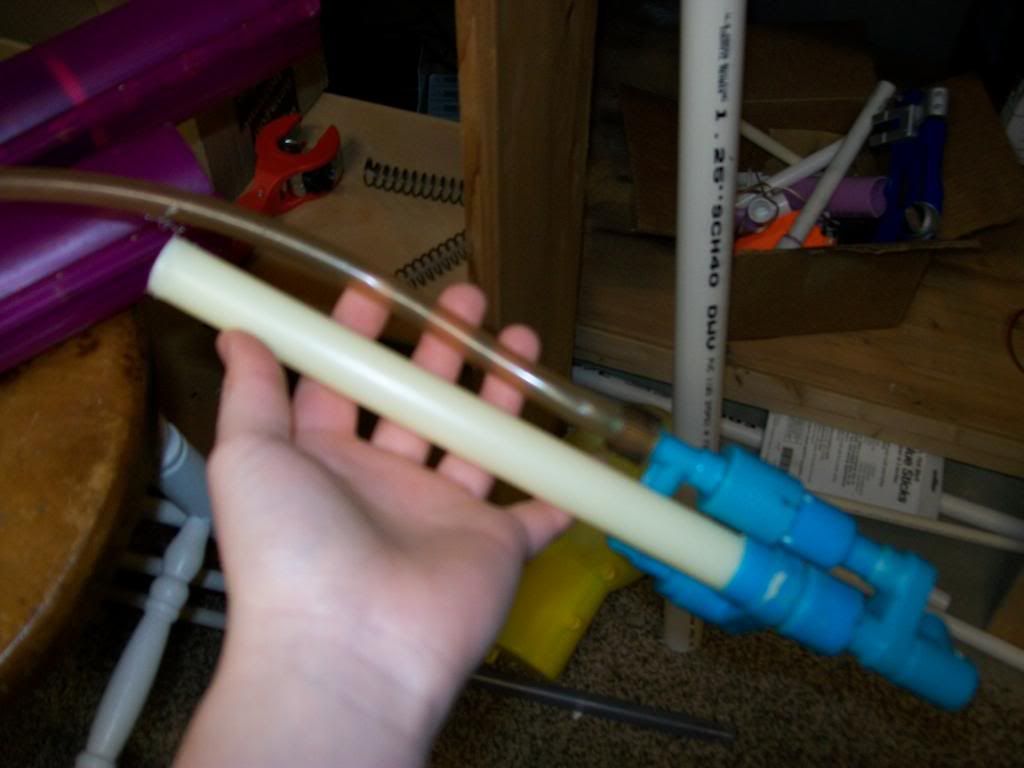
you might also notice the first gen nf in back.
Anyways, thats all the pics I have. The point is, I know nothing about airguns, or how they work, so I ask you out there who are more knowledgeable than I, what you think of this blaster, what I might be able to do with it, etc.
In addition, when i used my air compressor to pump air into it, it literally shot a hole through plywood using slugs, and I am not using the right barrel size or length. Would someone please explain to me how I could use this thing, or maybe I could ship it to you and you could figure it out, i am clueless with air seals.
Thanks
Spiderbite
Alternative Plunger Seal?
10 March 2014 - 05:49 PM
63595K31
I'm not going to show a picture since Mcmaster has 3-D images.
Currently I'm using one in my SnapBow MkV, In place of the two rubber washers, everything else still in place. So far, it seals wonderfully, and I am getting the same to better ranges than before. Since two rubber washers costs like $1.80, and this grommet costs ($.58). 58 cents!! I am already saving a few dollars. I don't think these will ever replace skirt seals, but they're worth a try in my opinion.
Beware: if you buy this alone from Mcmaster like I did, you will pay $6 shipping! <_<
Spider-bow
14 February 2014 - 04:42 PM
So I watched The lord of the rings, then I wanted to be Like legolas. So i built a bow. Here is a pic of the finished product since I hate when you have to scroll down all the way just to see what your making.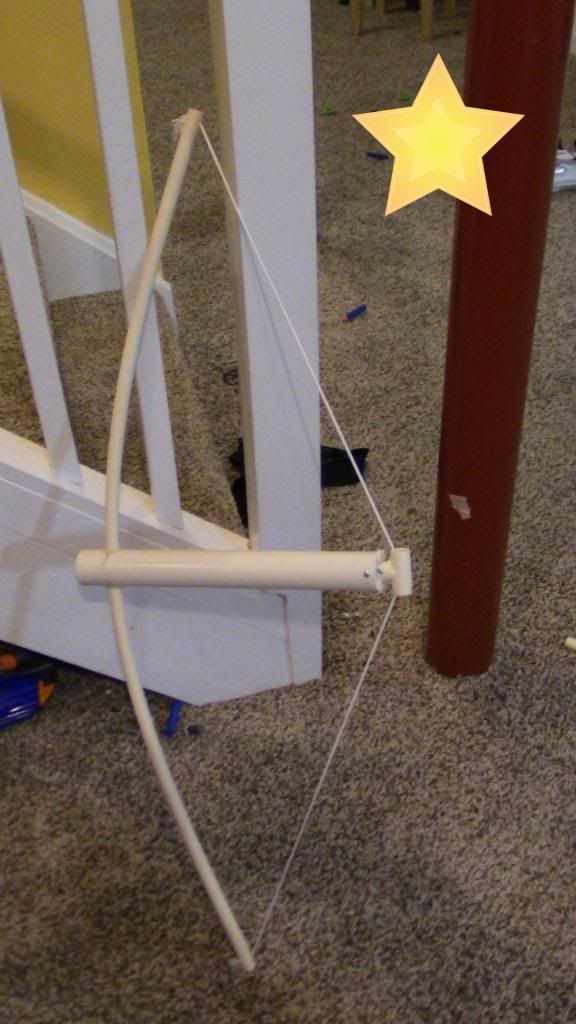
For an experienced craftsman of homemades, this should take you under an hour to build. Like I said, very simple. Alrighty, let's take a journey.
TOOLS NEEDED:
Dremel
-cone sanding bit
-grinding stone bit
-sanding drum
-cutting wheel
Drill
-1/8 drill bit
-1/4 drill bit
-5/8 SPADE BIT
Hot glue gun
Recommended: a pipe cutter to make cleaner cuts than a cutting wheel.
MATERIALS LIST:
Body and arms:
14" of 1 1/4 PVC
3'4" of 1/2" CPVC
1"-1/2" Bushing
[1 1/8" of 1/2" PVC (size is important)] OR [1/2" CPVC coupler]
3/4" PVC Endcap
Plunger Rod/Head:
10" of 1/2" CPVC
1/2" CPVC Endcap
Steel washer, 1/4" ID, 1 1/4" OD.
2 Rubber washers, 1 with a 1 1/4" OD and one with a 1 1/2" OD; Both have 1/4" ID
#10 Finishing washer
1/4-20 Bolt and lock-nut; 1 inch length bolt.
1/2" CPVC Tee
You will also need:
approximately 14ct #6 1/2" Sheet Metal screws (SMS hereafter)
Plumbers Goop
A strong string (experiment with different kinds)
I would also like to give credit to:
Rork, for his Snapbow Mk. V, Revised, upon which this is highly based on
KaneTheMediocre, for his Aabow: Actually A Bow which is where I got the idea.
Start with the body. Measure 14" of 1 1/4" PVC and cut.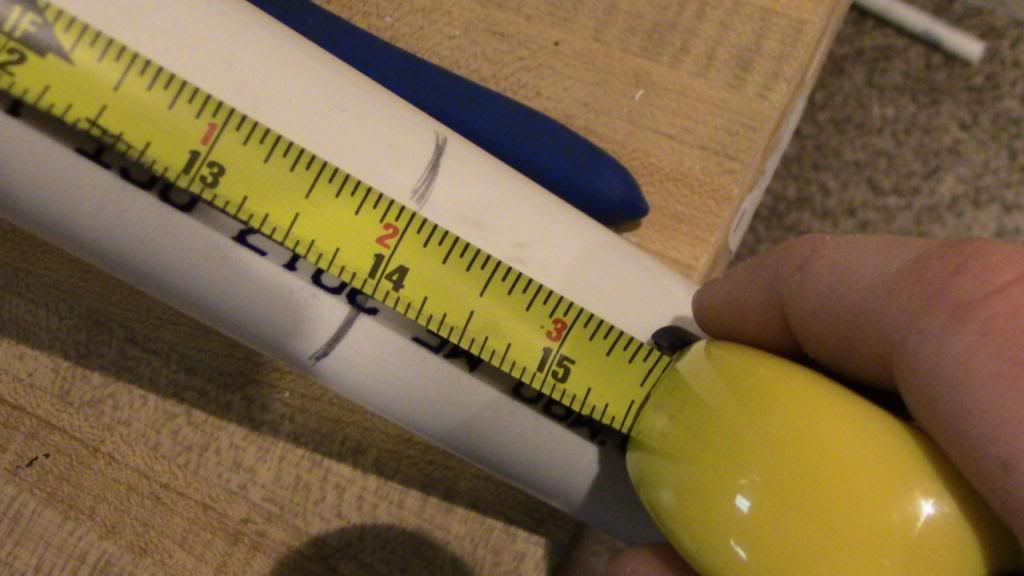
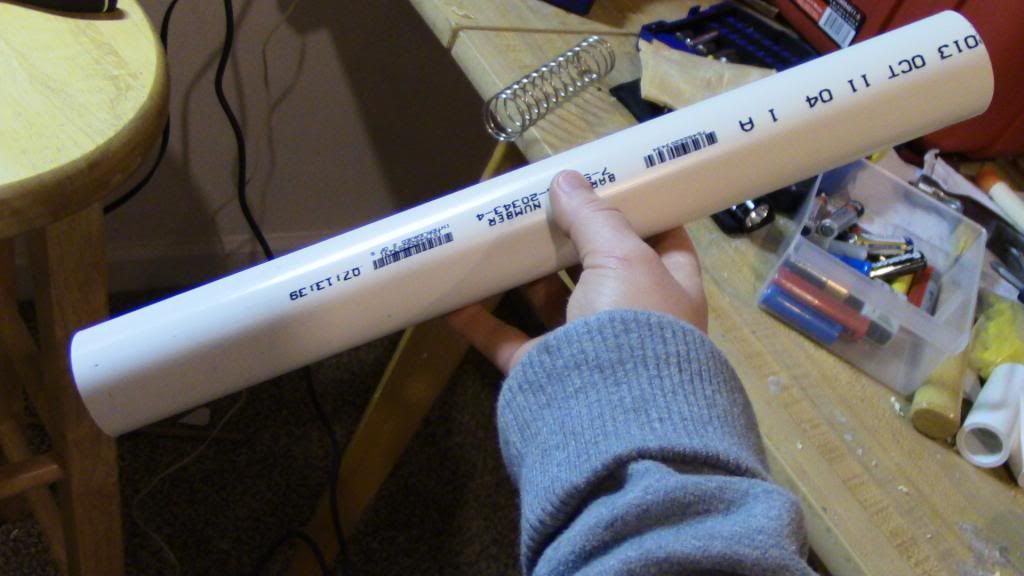
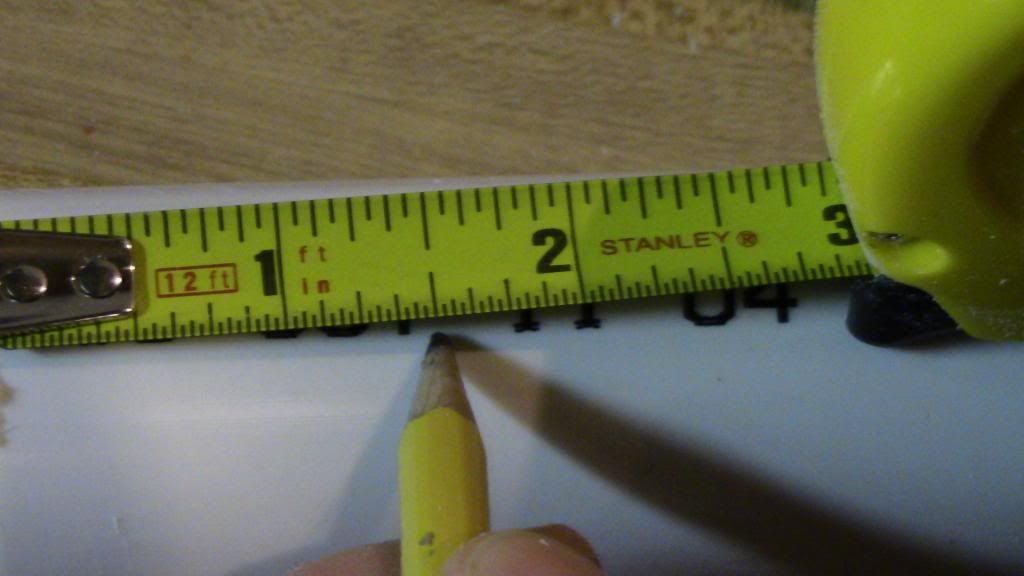
Before you install your bushing, measure for your bow arm holes. Measure 1.5 Inches from the front of the Body then draw a line. Do this on the other side, then connect the dots. ![]()
Find the exact opposite sides of the PVC, then make a star at each. This is where we drill.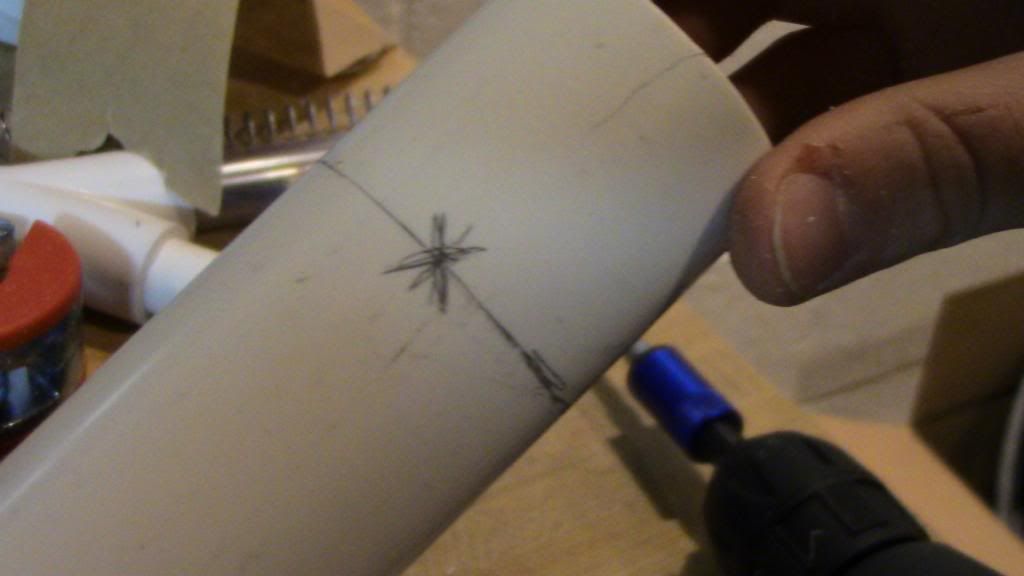
Chuck in your 1/4 inch Drill Bit and carefully drill out both of the marks. Try to get it as centered as possible.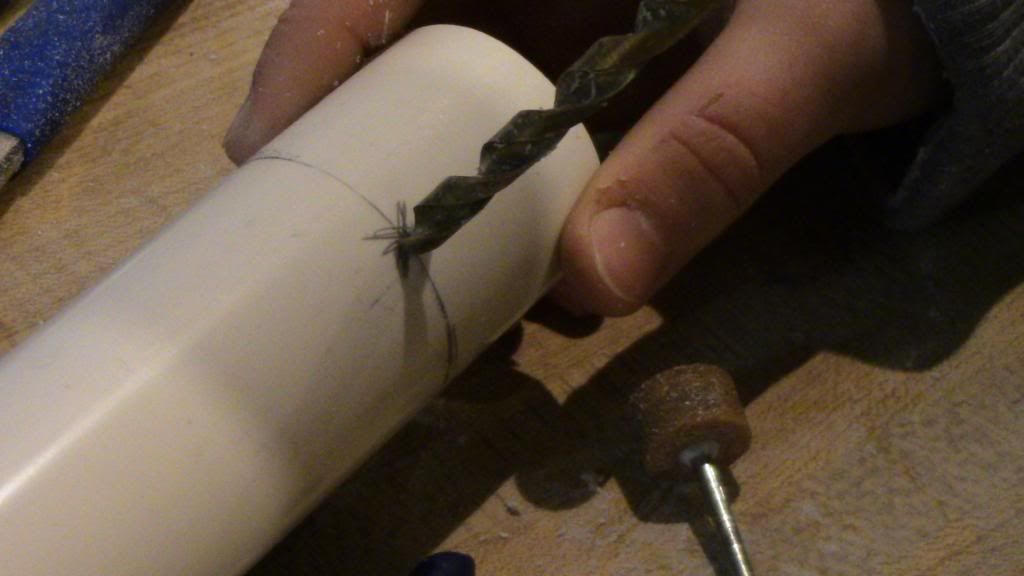
Next, take out your trustee dremel and using your cone sanding bit, enlarge the hole.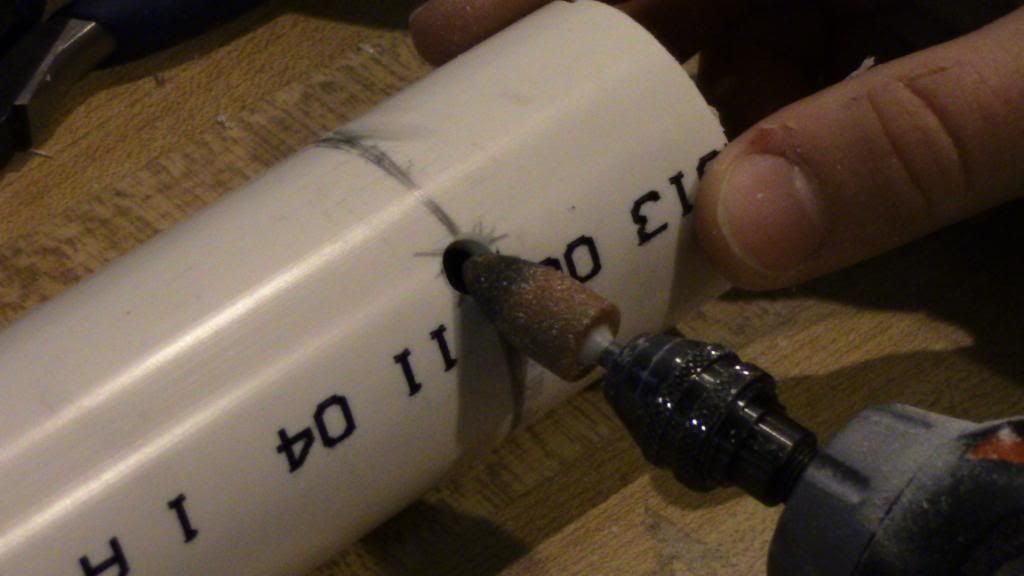
To enlarge the hole just to the OD of the CPVC arms, you want to take out your grinding stone and bore it out till it's even. You will have to work it around a little bit.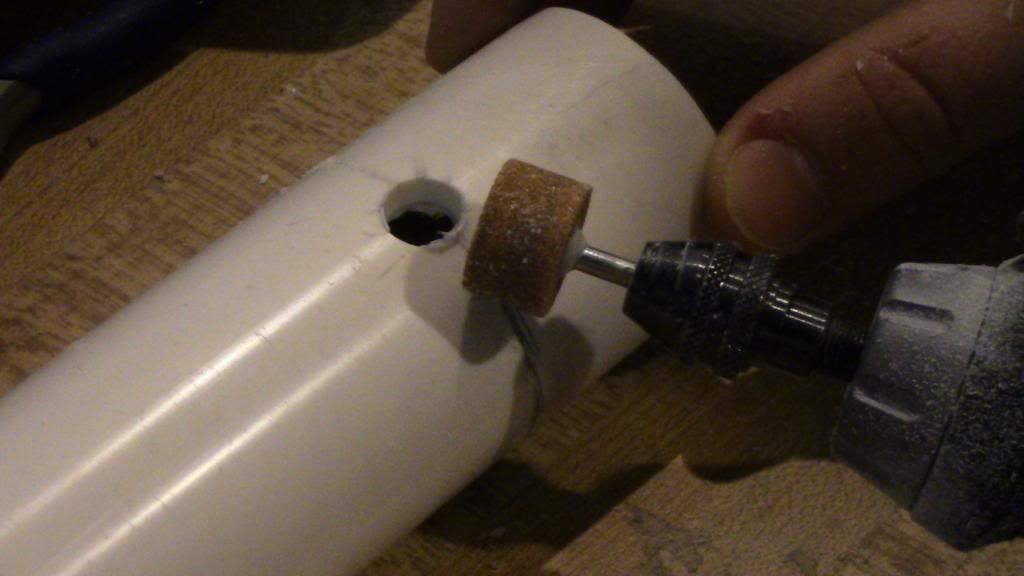
You should end up with this, after doing the same to the other side.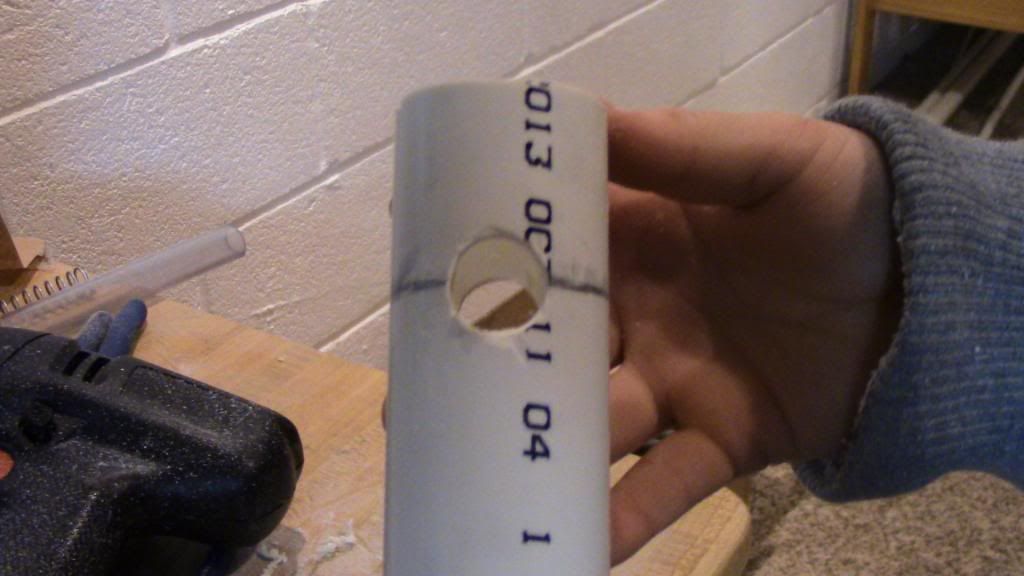
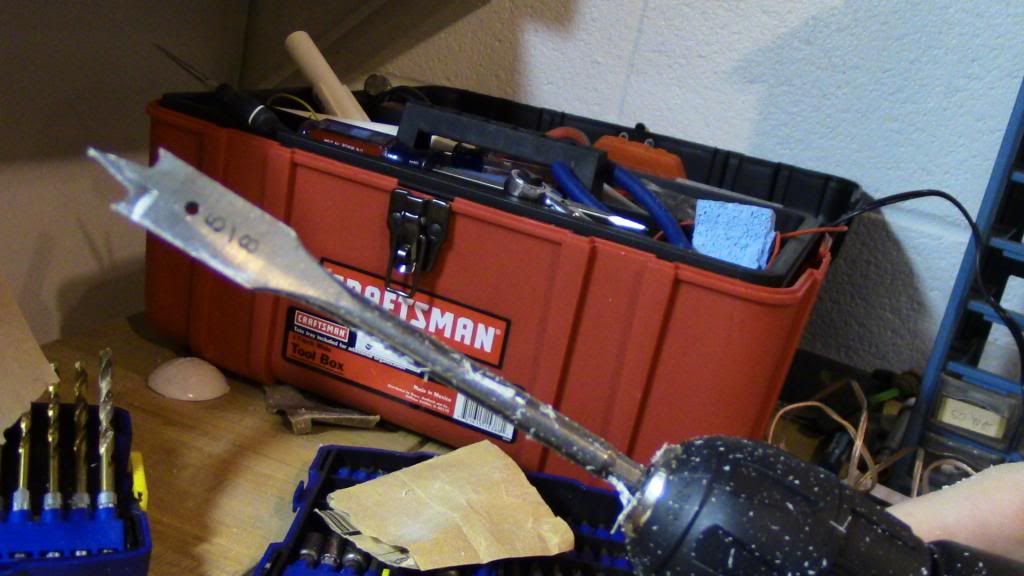
Okay, the holes are drilled, now we need to make sure the CPVC arms are stable on the inside. Take your 1 1/8" long piece of half inch PVC and using a 5/8" spade bit, bore it out. (5/8 is about the OD of 1/2" CPVC)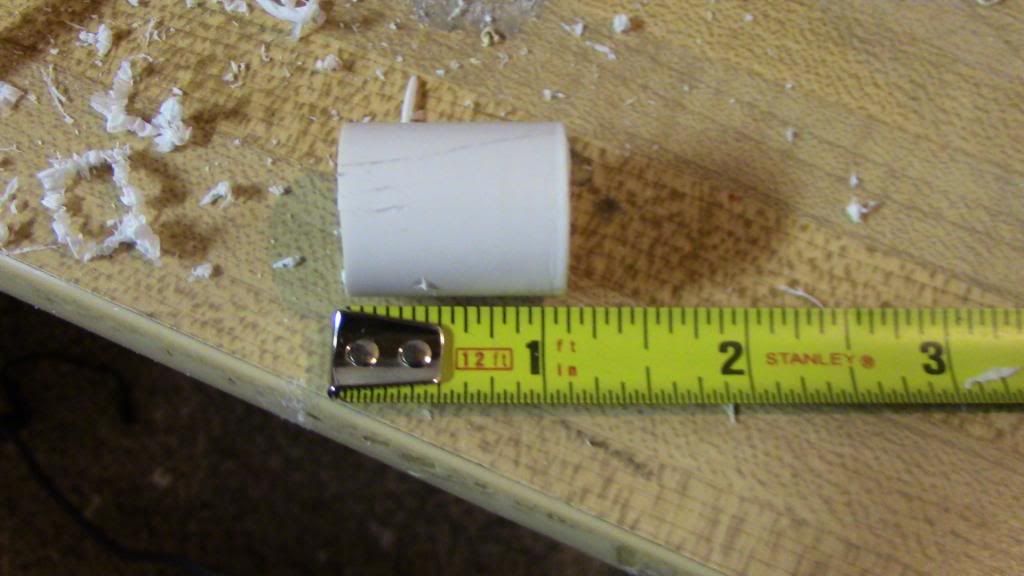
Make sure when you're done, that 1/2" CPVC fits snugly inside it.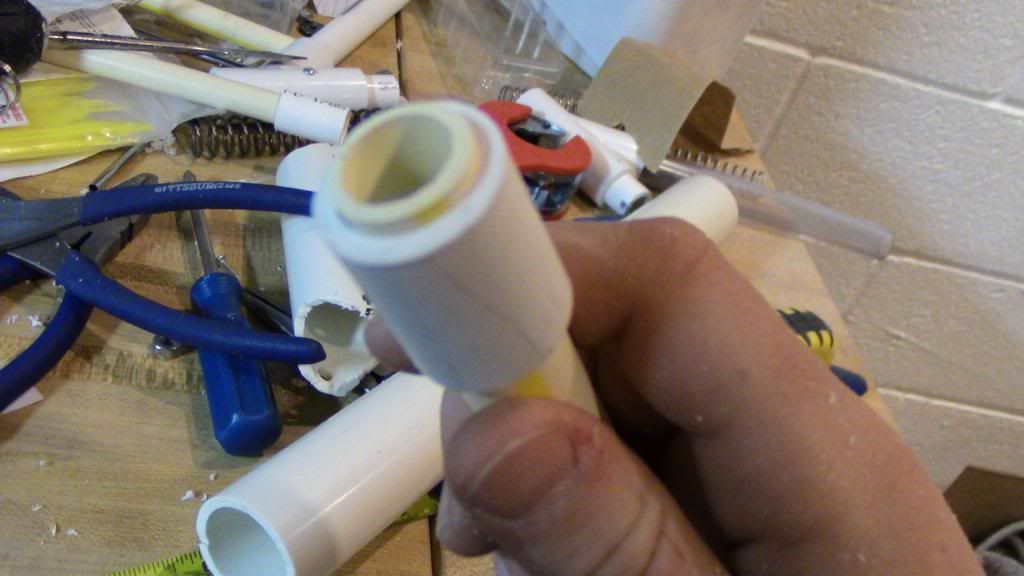
Now test how it fits inside the Main body (perpendicular).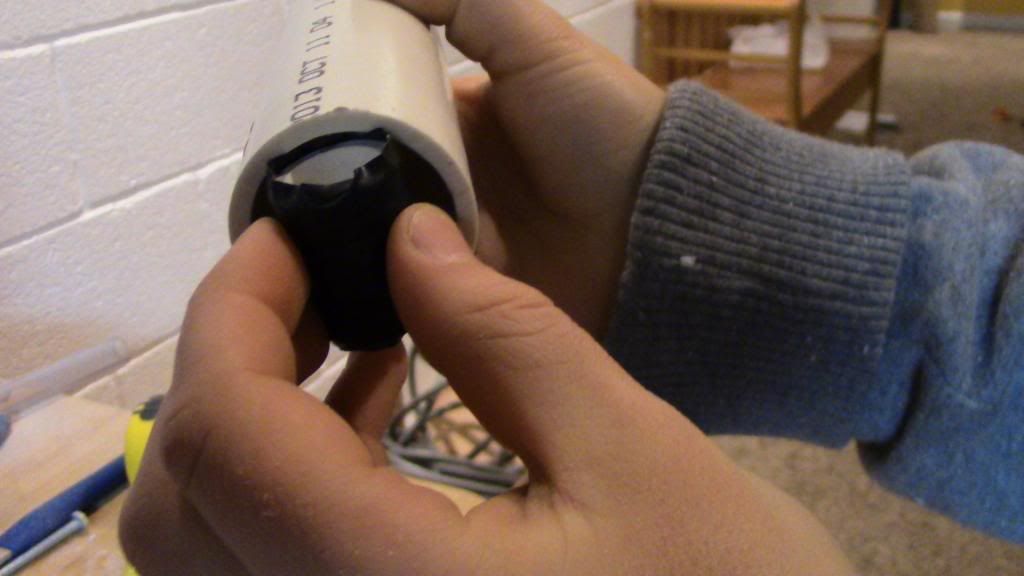
I wrapped mine in a little E-tape because it was too loose. Get it to fit snugly, but it will not be a problem once the arms are inside of it.
Speaking of bow arms, let's cut them. (well technically speaking, it's just one long piece of CPVC.)
Cut 40" of 1/2" CPVC.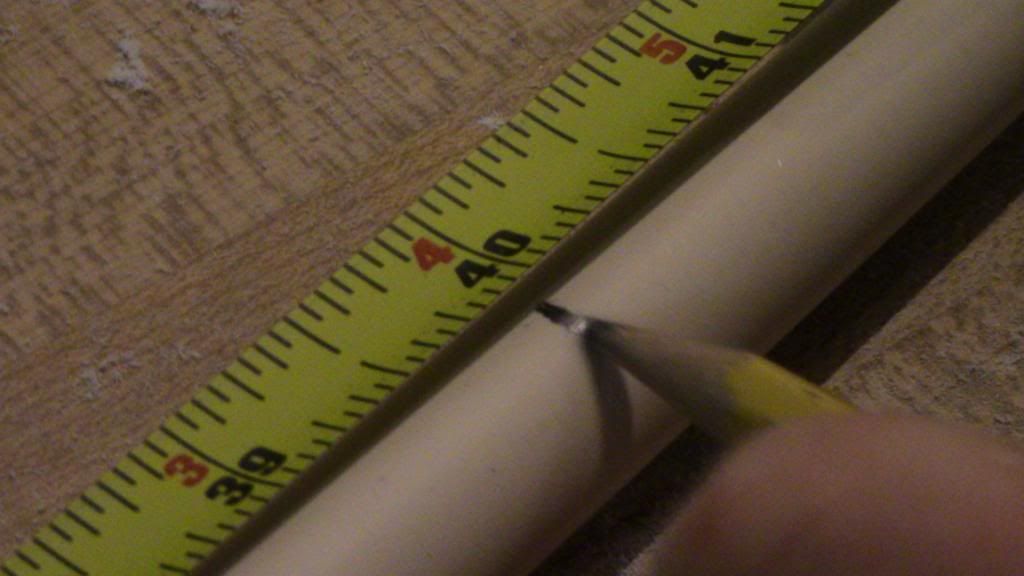
Heat up your glue gun. Meanwhile, push the length of CPVC through the pipe, sliding it through both the holes we drilled, and the short length of 1/2" PVC. Even out the 2 arms, each should protrude about 18 1/2" from the body.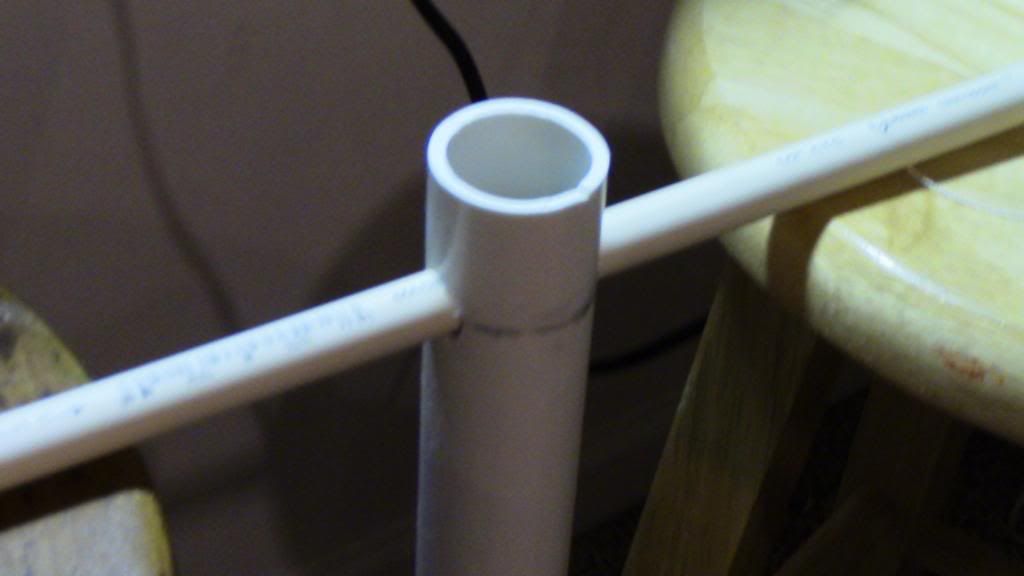
If you did it right, The CPVC will stick in place, and you can now do your bushing.
Take your 1" to 1/2" bushing, and sand it to your liking. (Grinding down the lip is optional). Wrap it in E-tape, (packing tape is better though, I had none) until it fits snugly inside the body.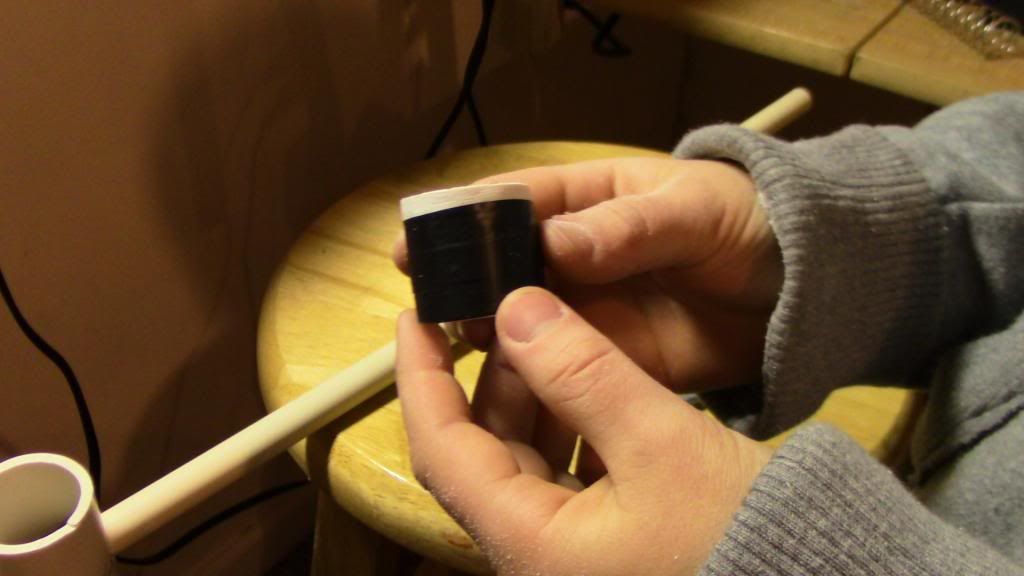
Put some goop around it, and seat it. Push it in until you hear it hit the piece we installed before. Screw it in with 1 or 2 SMS.
Your glue gun is probably ready by now. The objective of the next step is to fill any empty space with hot glue in order for it to seal. No matter how well you drilled your holes, you must still use hot glue, you just need less.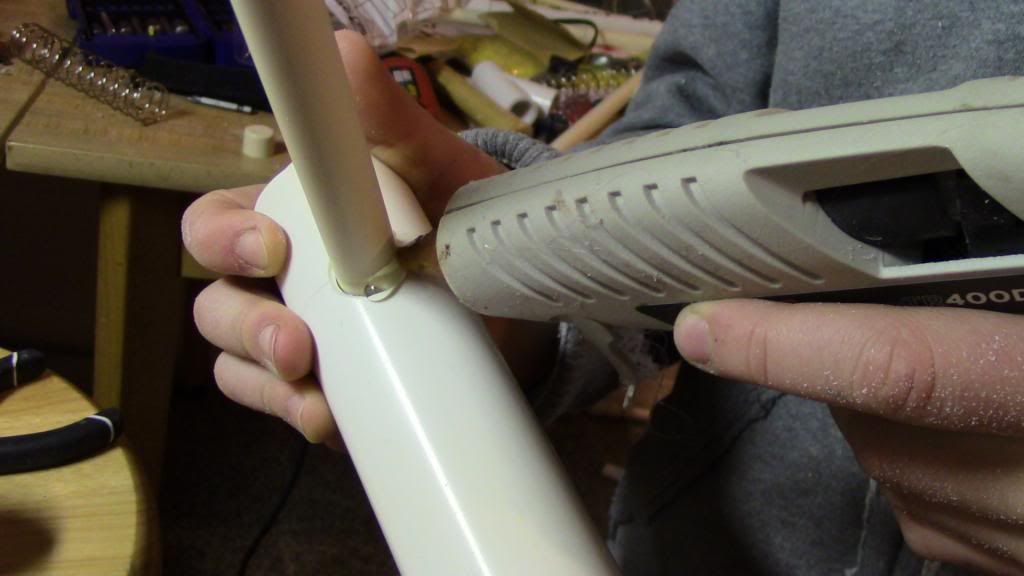
To test your seal, put your hand on the front of the bushing, and blow on the back of the body. It should be hard to blow, however an absolutely perfect seal is not necessary.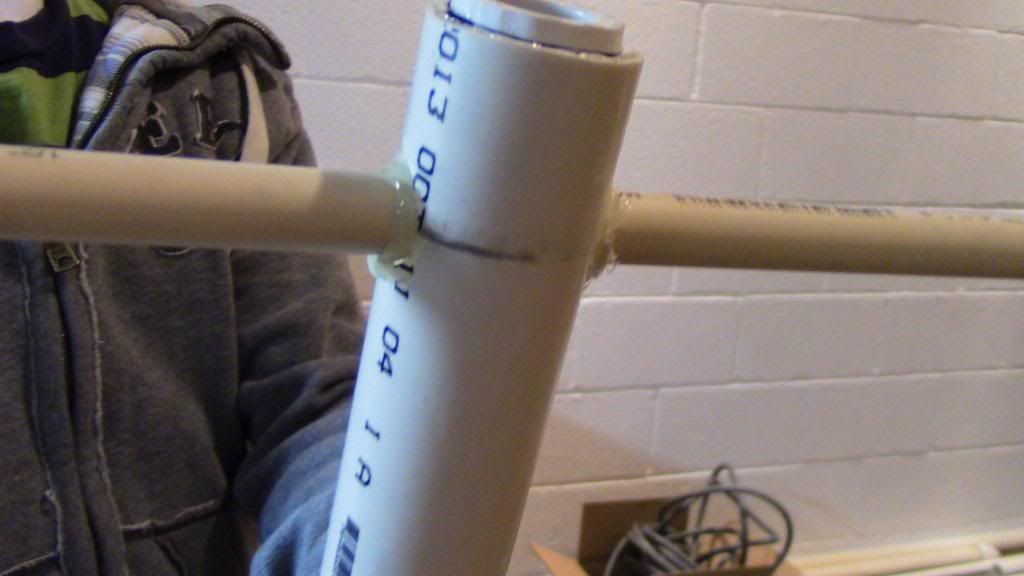
Whew, we're done with the hard part. Now, the plunger.
ASSEMBLY OF THE PLUNGER/PLUNGERHEAD -
Start with your 1/2" CPVC endcap. center and drill a 1/4" hole through the middle. Sand the top if you want.
Next, get all your stuff for the plunger head, and assemble in this order.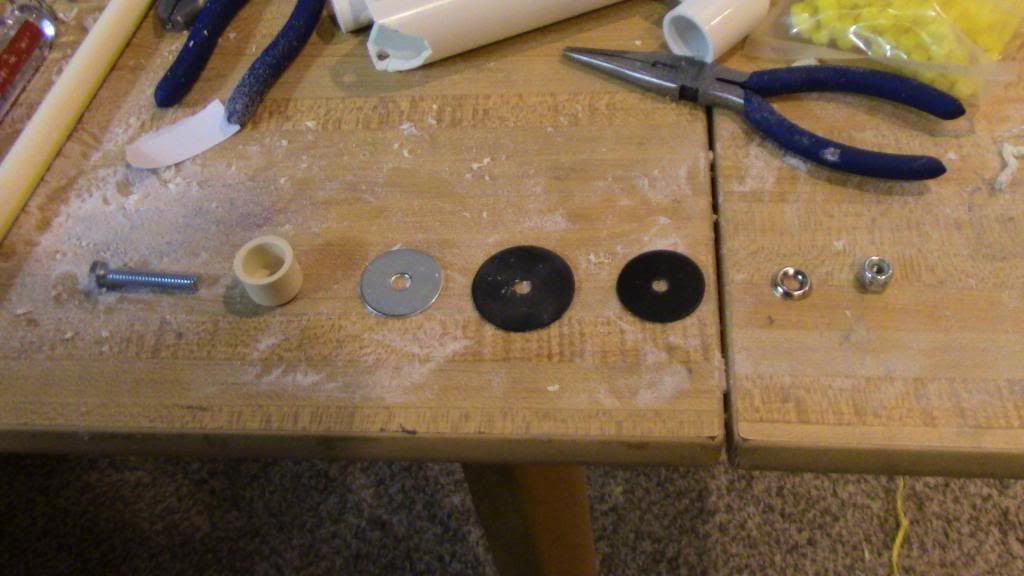
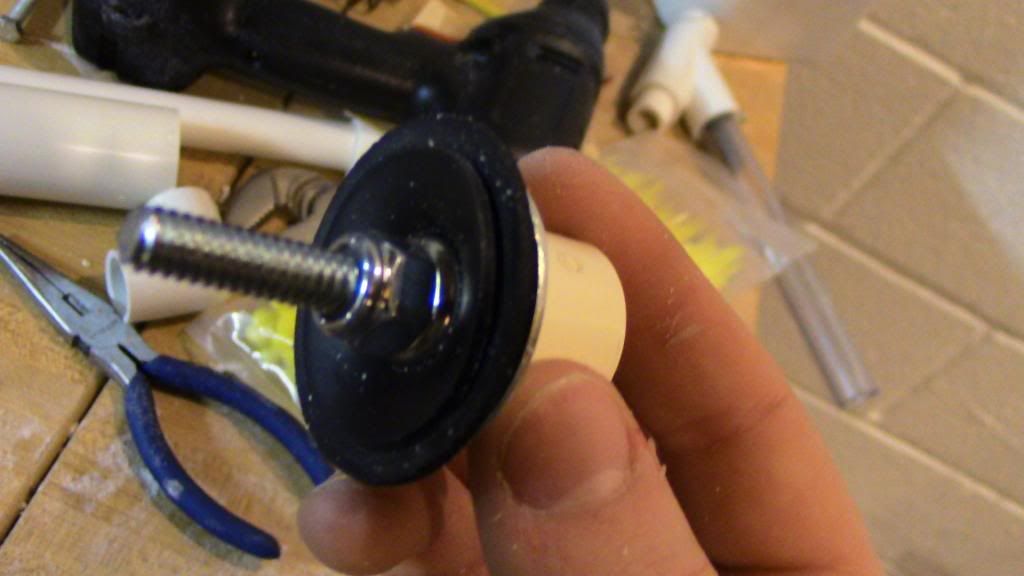
Remember, your rubber washers should concave, or you did something wrong.
Cut your 10" long rod out of CPVC, and affix your head onto it using 2 SMS.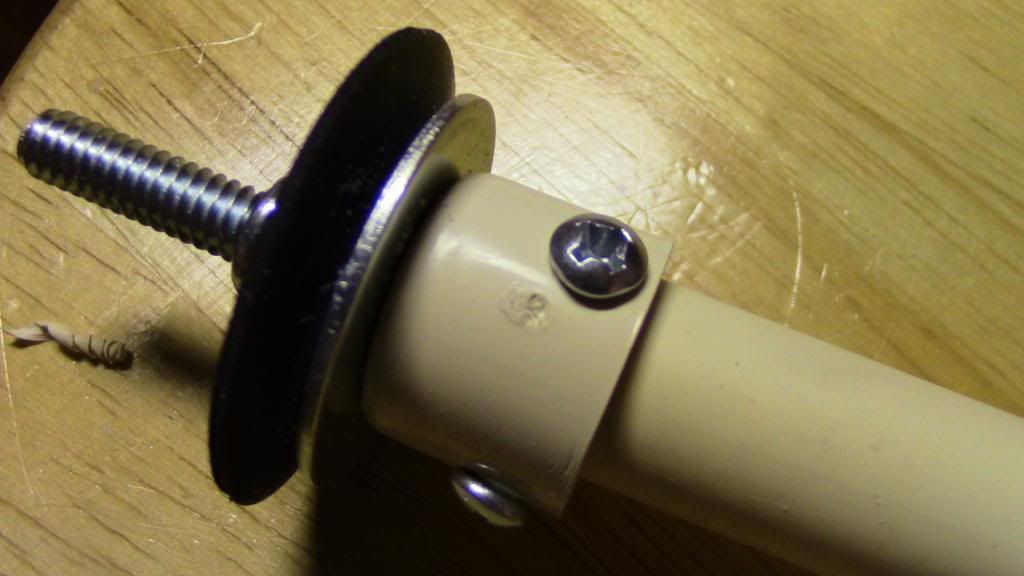
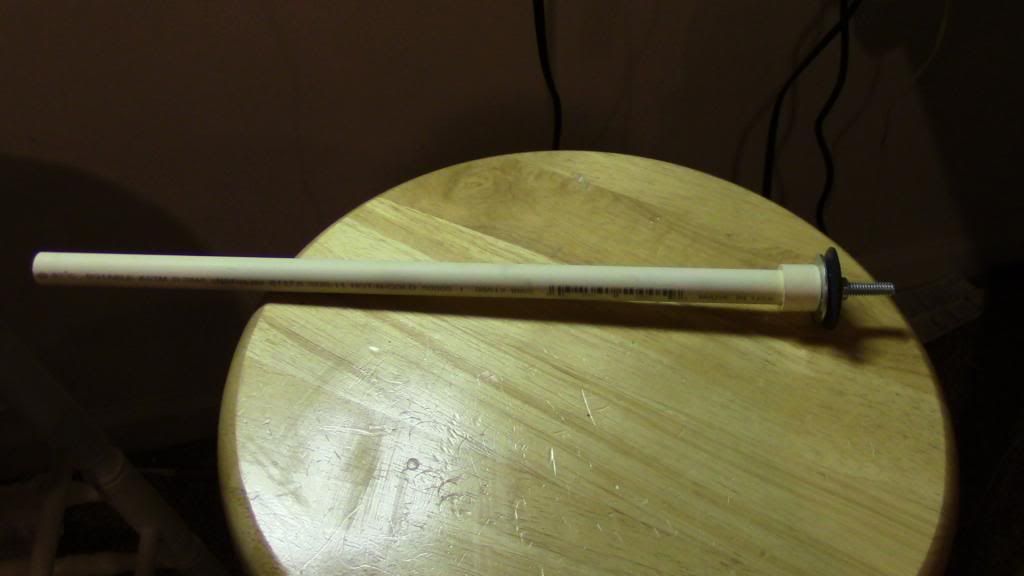
Almost done! Now you want to lubricate the rubber washers. I use lithium grease, but I hear silicone is better. Never given me any trouble though.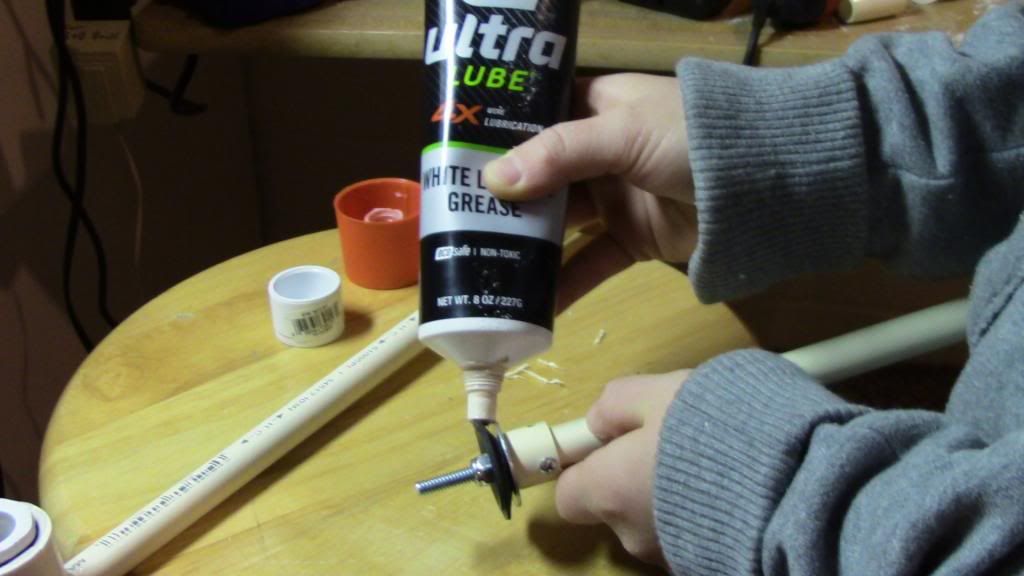
Run it through the body to get both surfaces lubed.
Next, take the 3/4" Endcap and find the center. Drill, and re-drill using the method of your choice. It needs to have the CPVC fit loosely through it.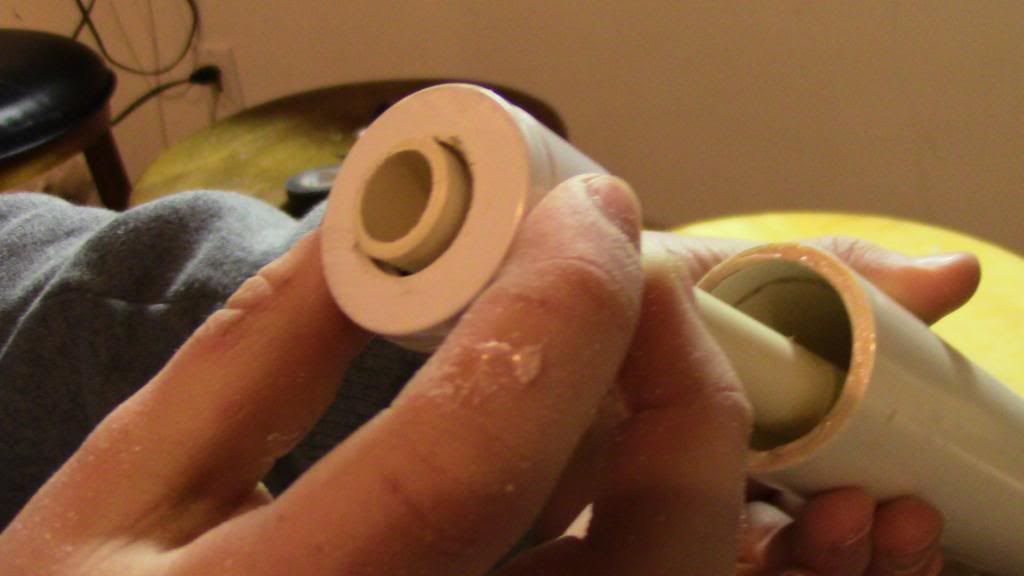
Leave the endcap of the rod, and fit your 1/2" tee on the end. attach with 2 SMS on the side. (top and bottom will hurt your fingers)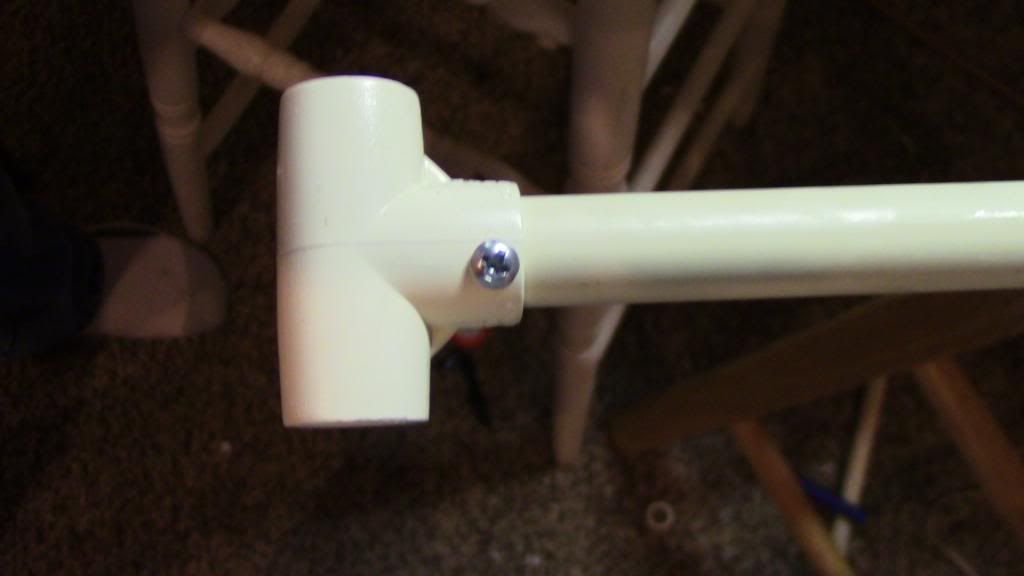
Finally, move your cap so it is flush with the body. Affix with 2 SMS.
All that's left is to string it.
Find a thick string (not rope) that will do the trick. A thicker string is better, however a too thick string may not fit in the arms. Anyways, getting back to task:
Using a cutting wheel, dremel out 2 grooves parallel to the body on the ends of the bow arms. Make a knot on the end of the string. Stick this knot over and between the grooves. Run the other side through the hole in the tee, and do the same to the other side. Feel free to add endcaps and screw them in to ensure that the string does not come out mid-draw and kill you. However, if you do not run the string at ridiculously high tension, this should not be a problem.
So, I would love to hear you guys' feedback. As well as suggestions. I haven't range tested it outside, because there's 3 feet of snow. It's not shooting as hard as a snapbow, or something of that nature, but the rate of fire you can pump out on this thing is amazing. Just like Legolas.
Also, If any of you guys make one, with a hopper, I would like to share testing data for what length and material barrel to use. I am new to airguns like this.
Spiderbite
- NerfHaven
- → Viewing Profile: Topics: Spiderbite
- Terms of Service and Privacy Policy
- Code of Conduct ·


 Find content


