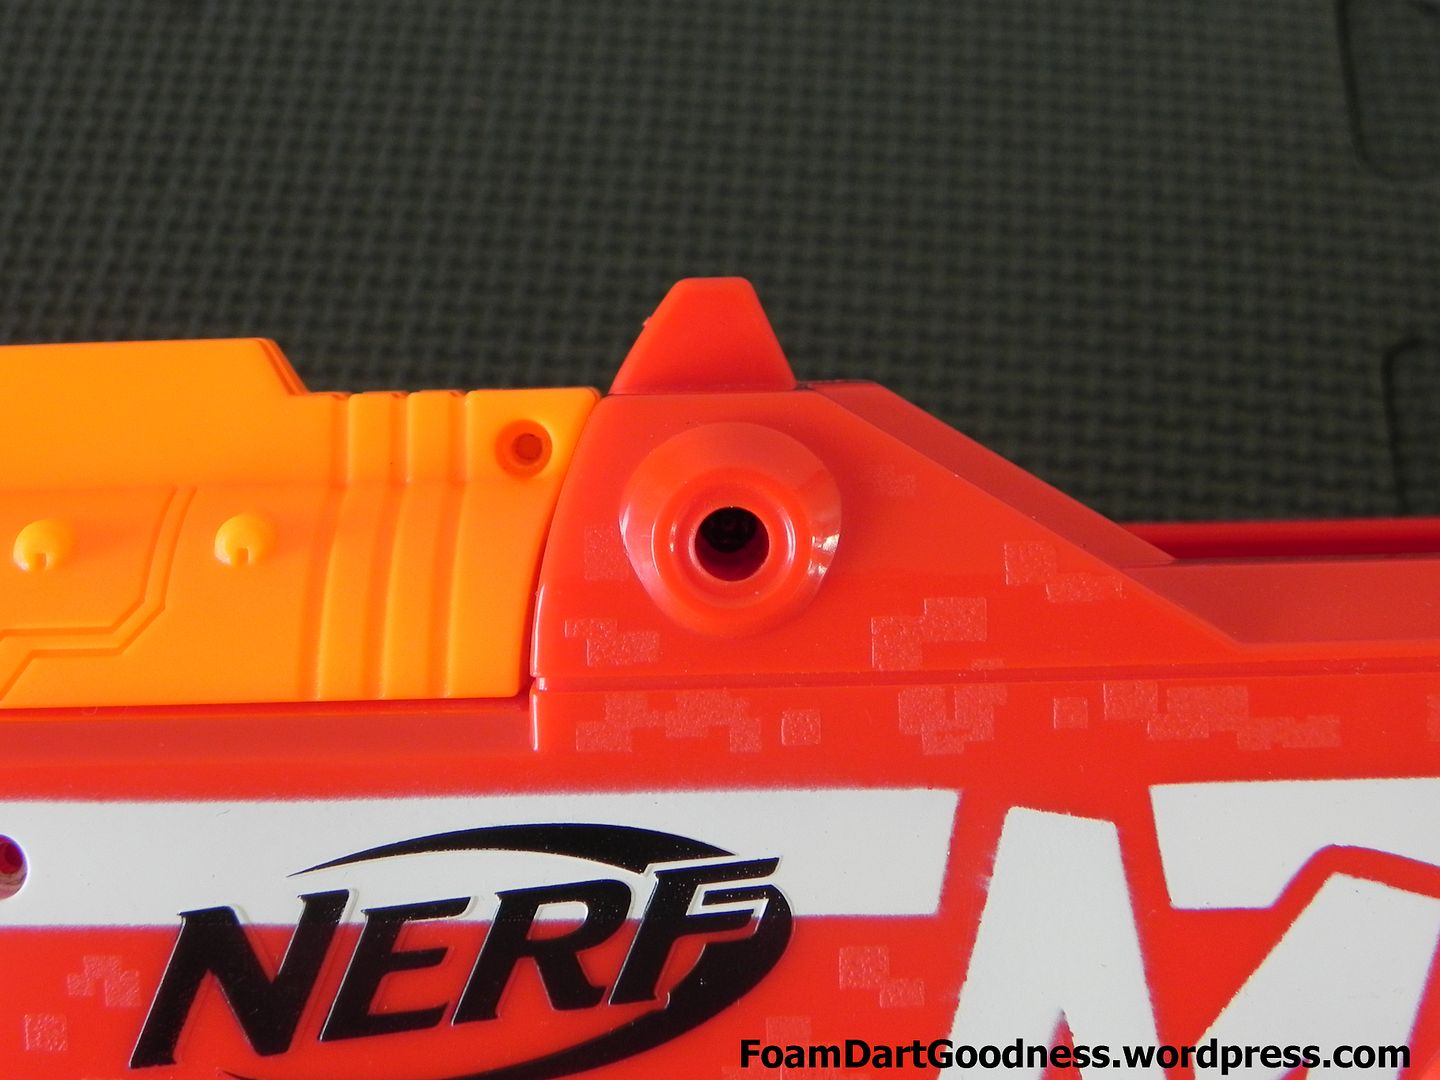
Jump to content


Jeo

Member Since 04 Feb 2012
Offline Last Active Apr 10 2014 03:21 AM

Posts I've Made

In Topic: Nerf Centurion - Streamline/elite conversion

07 October 2013 - 10:47 PM

'Exo', on 07 Oct 2013 - 1:29 PM, said:

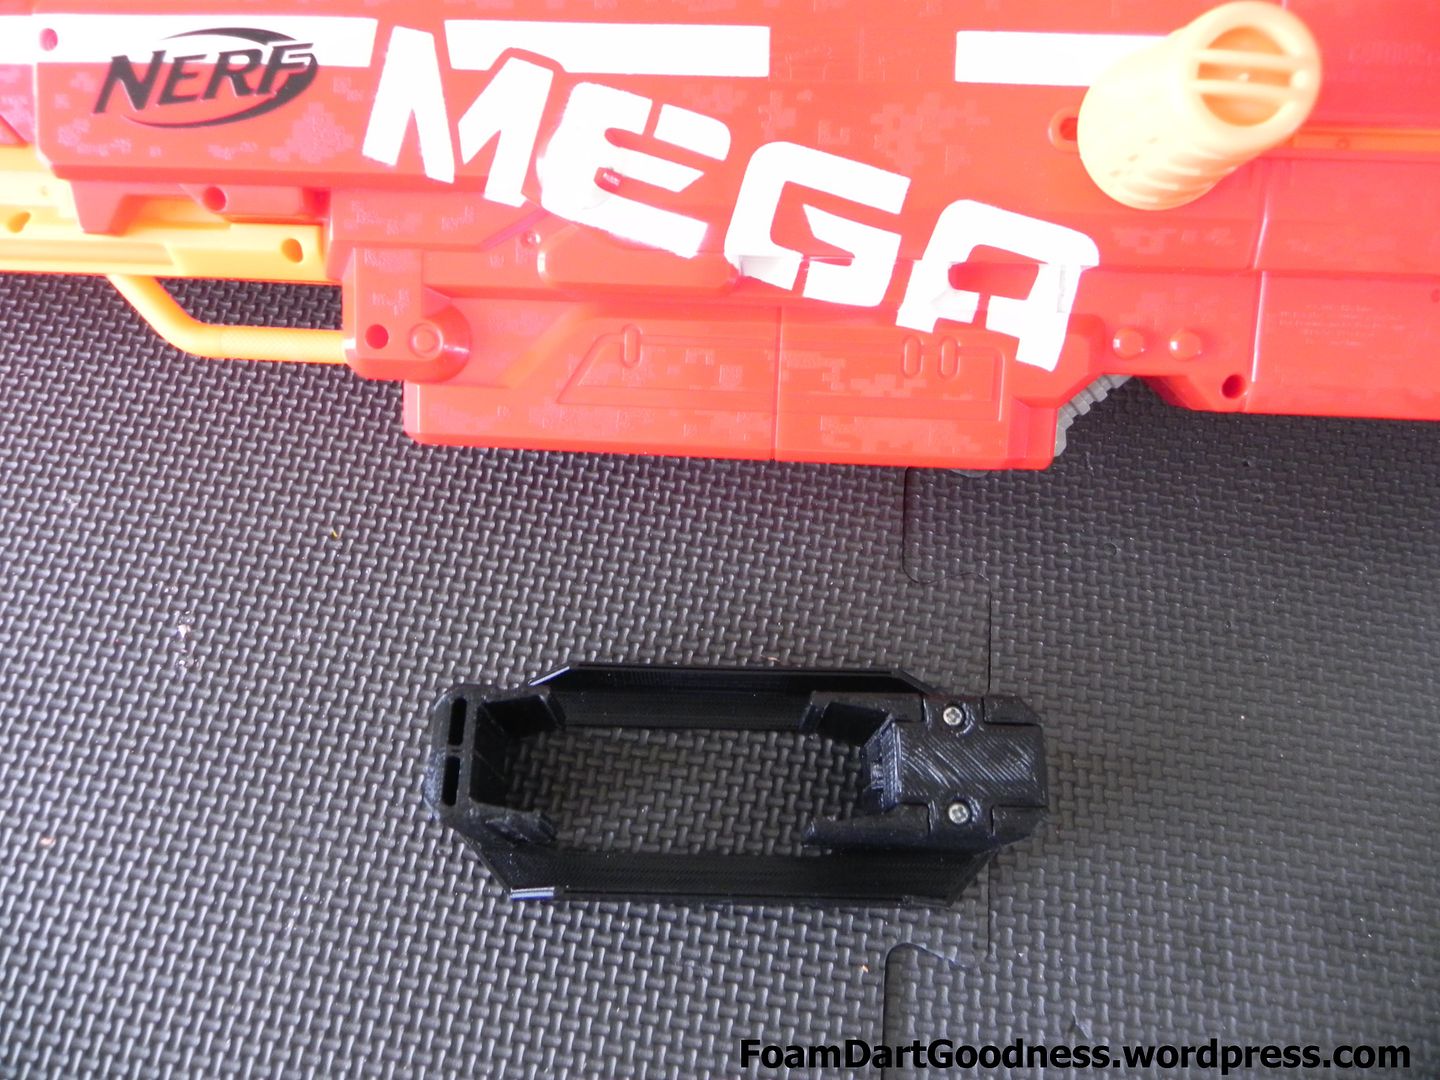
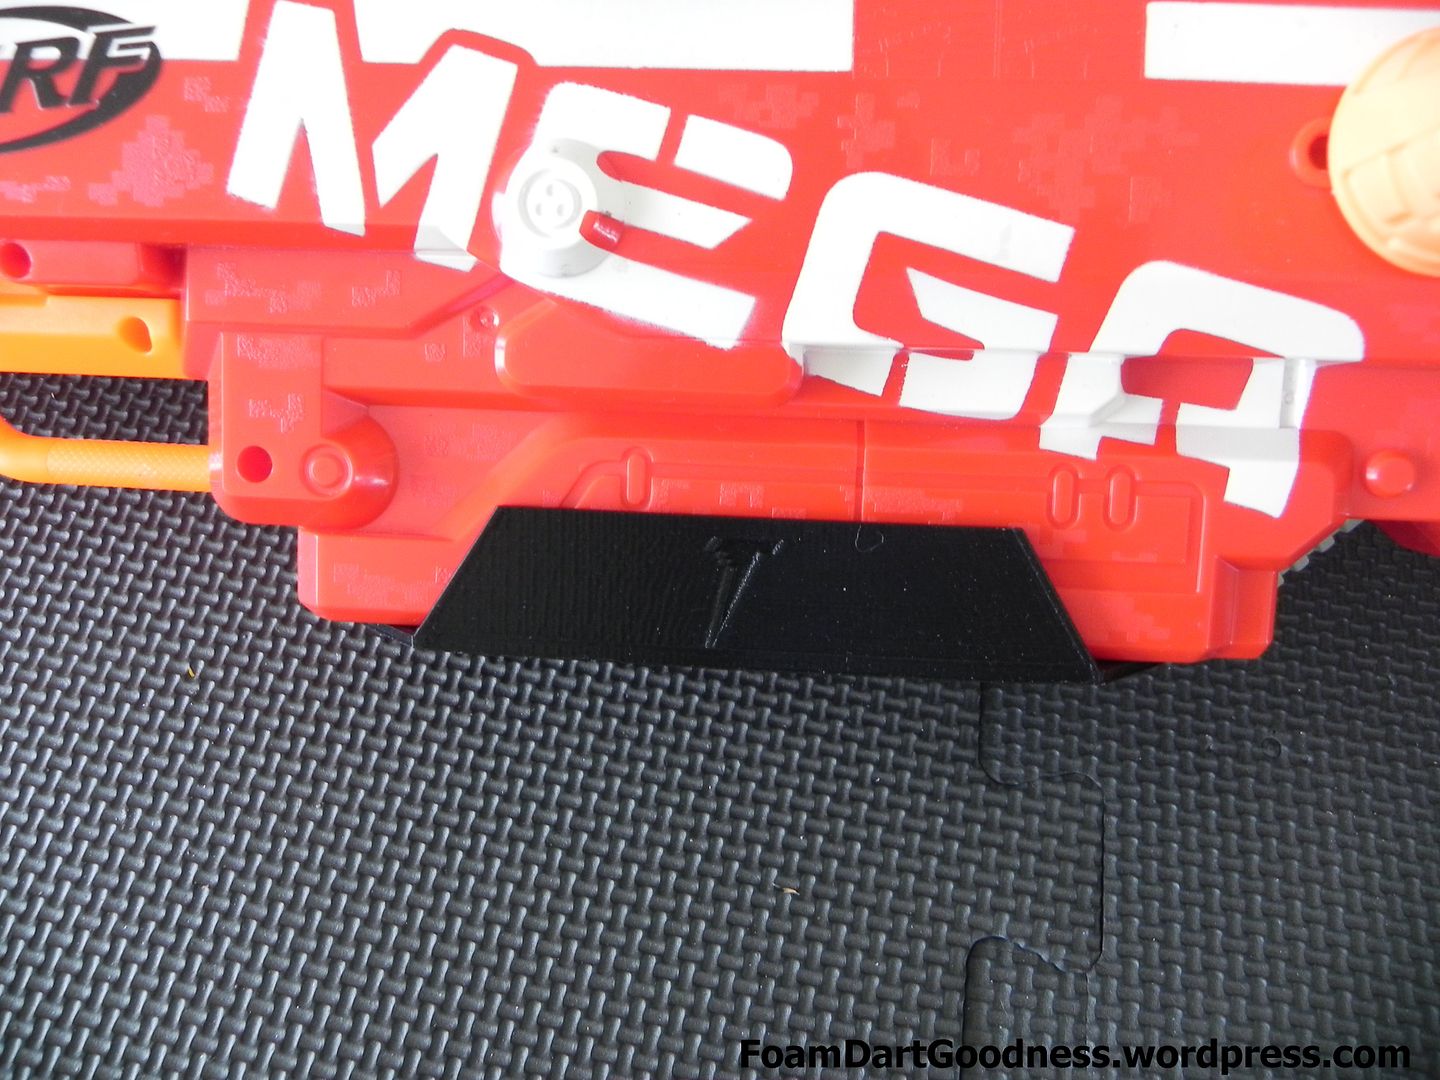
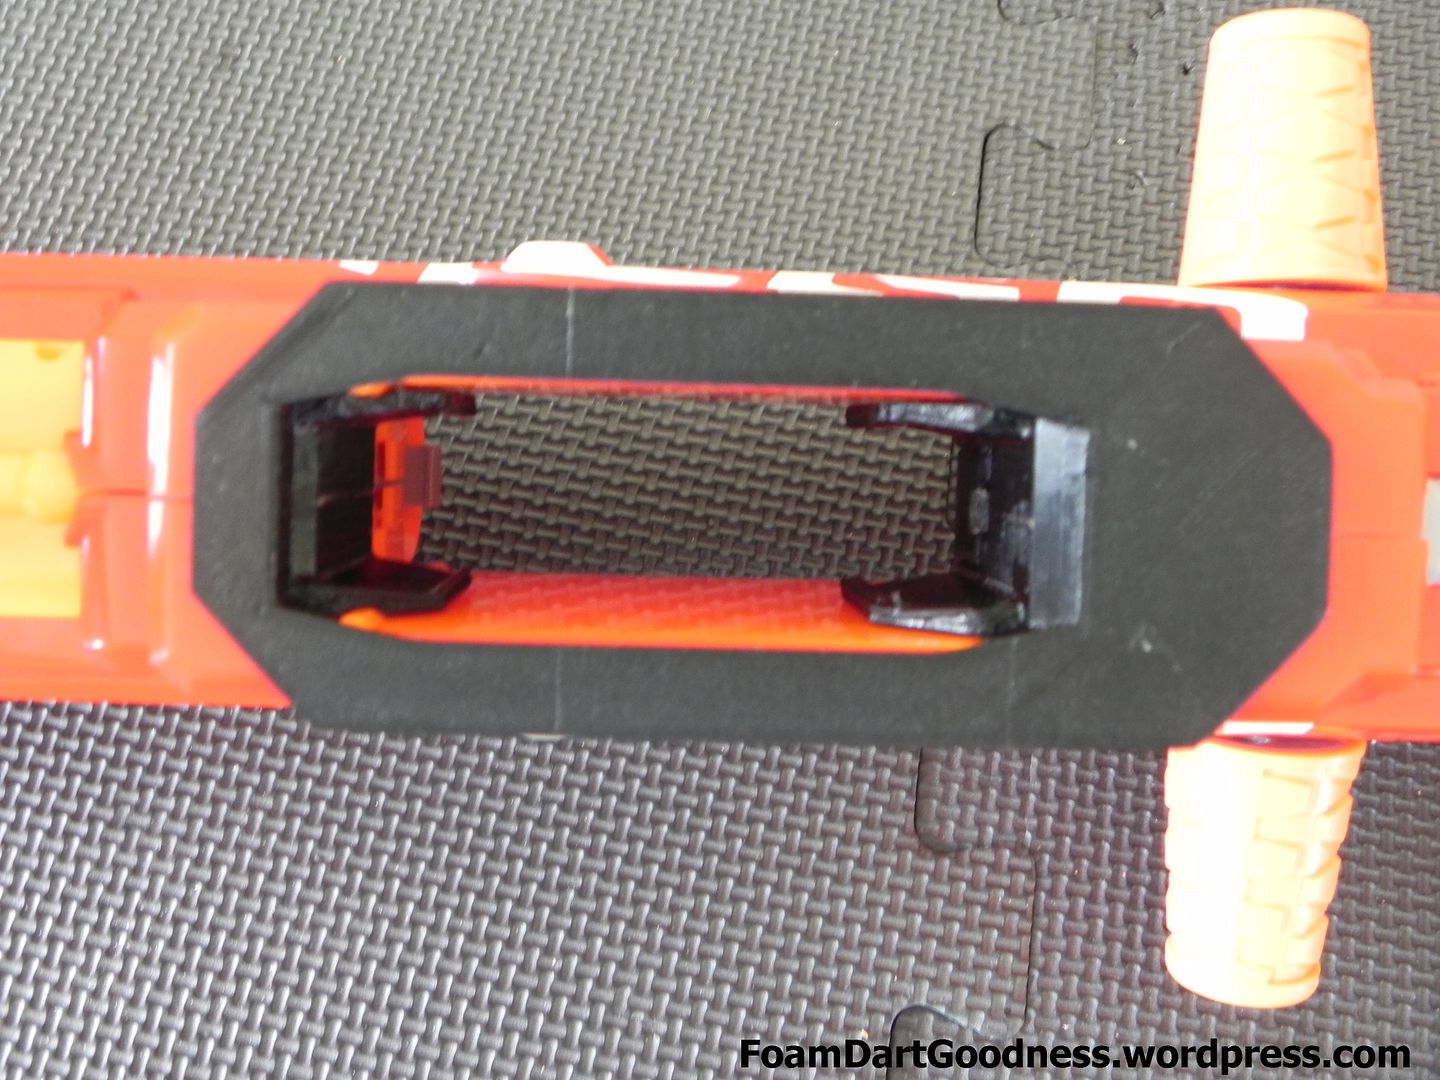
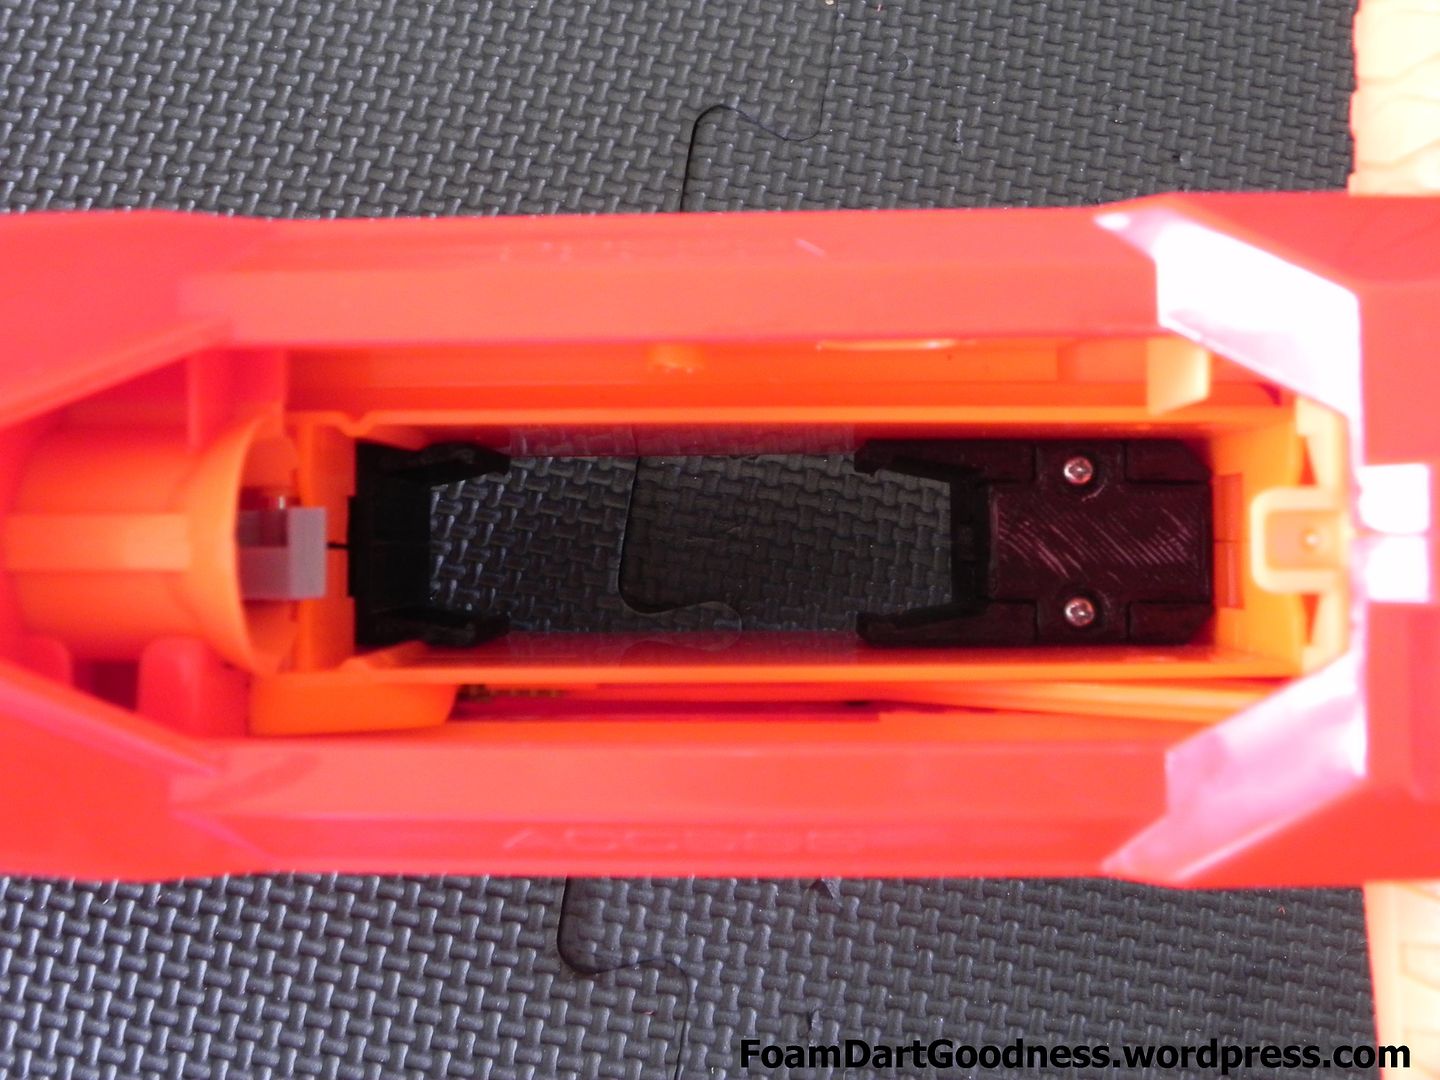
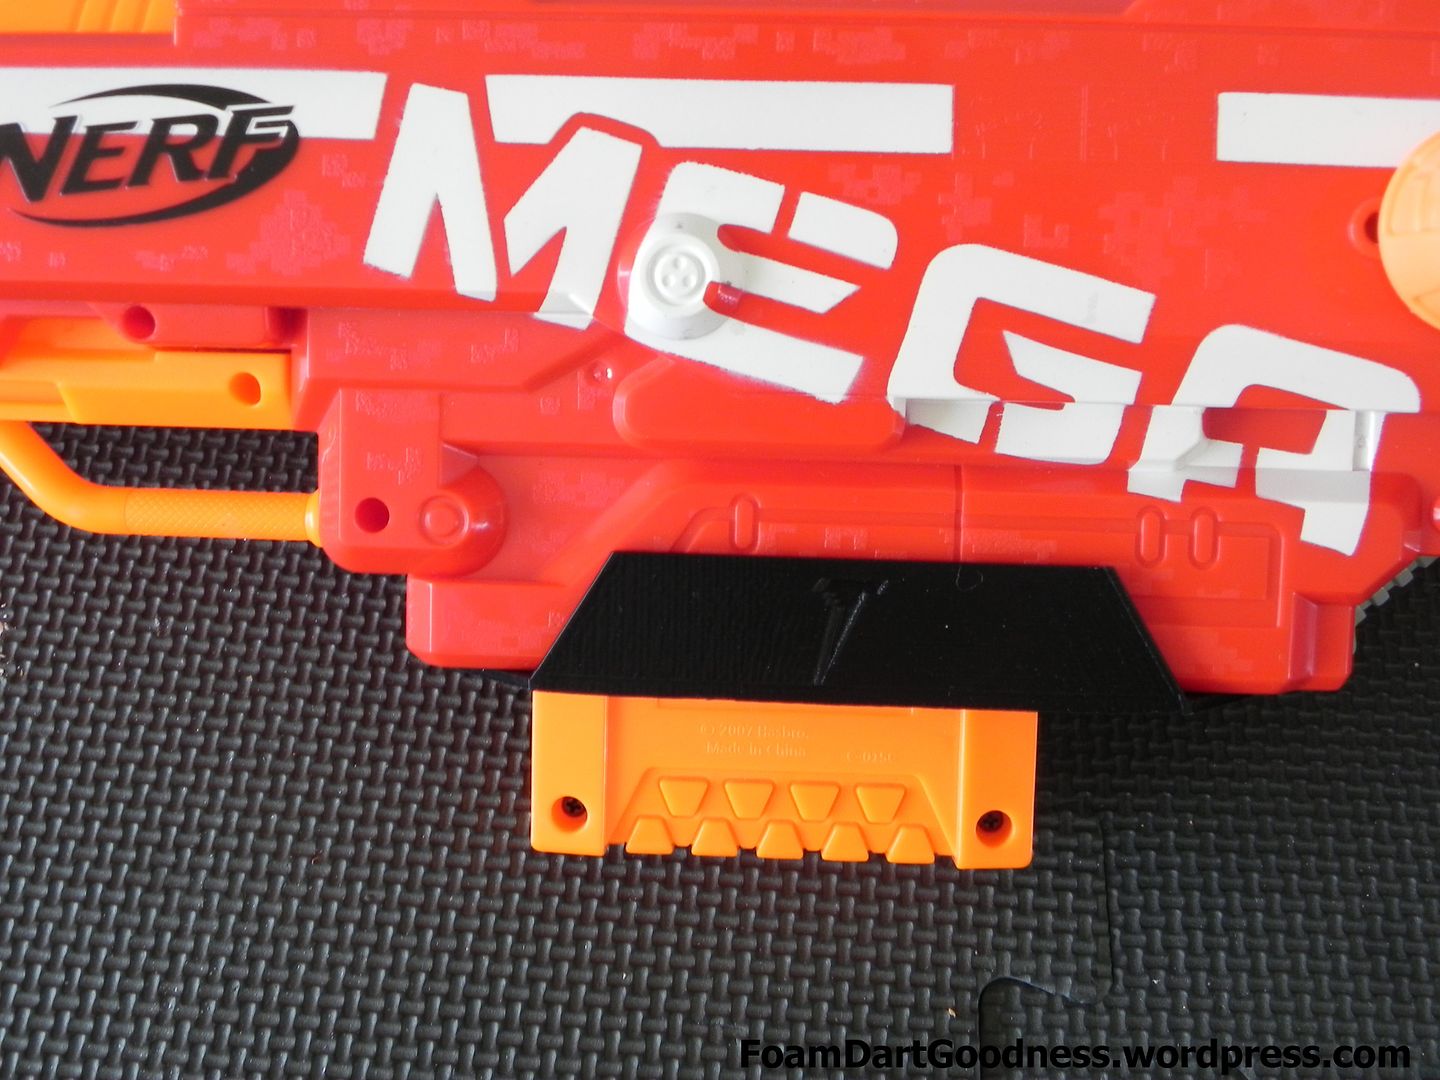
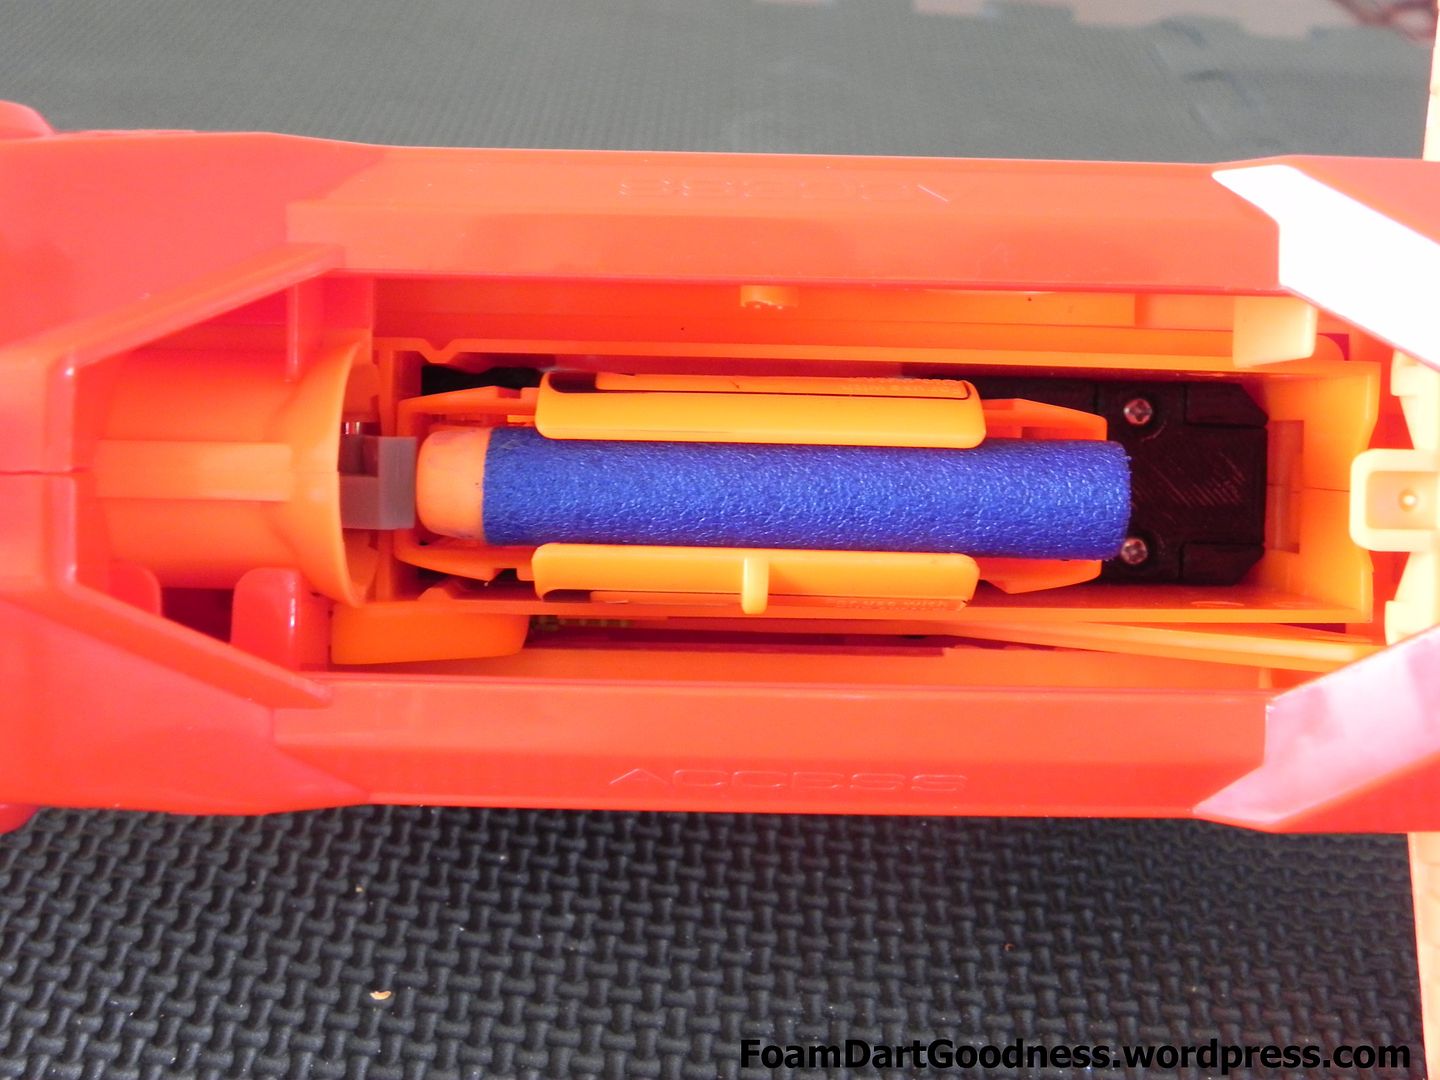
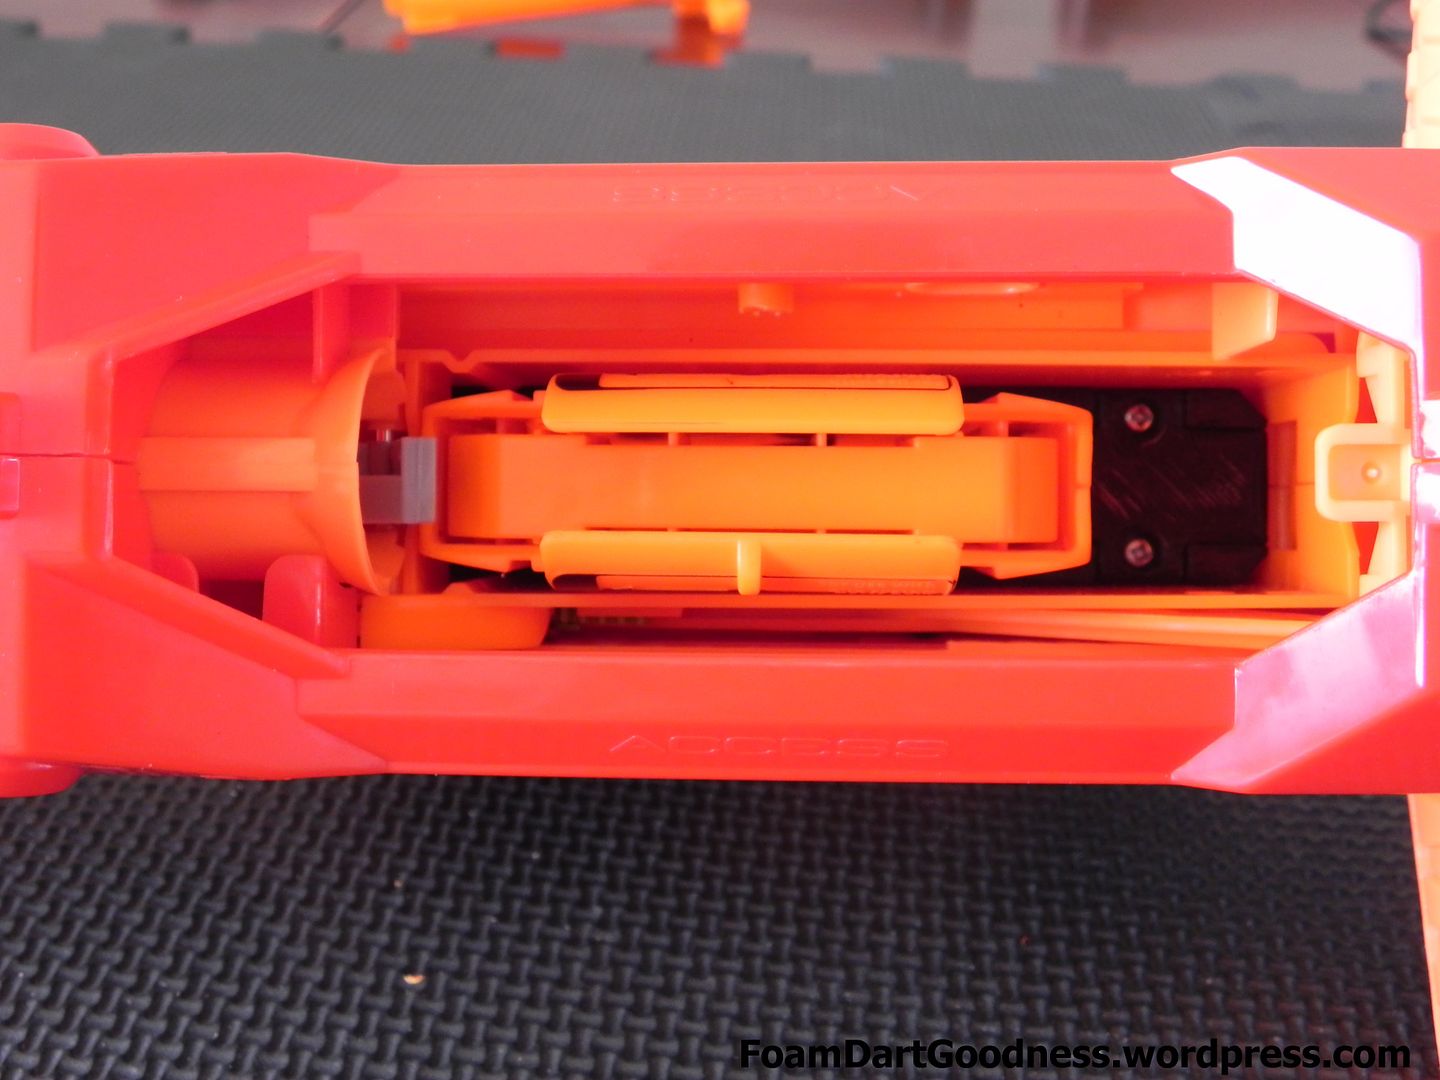
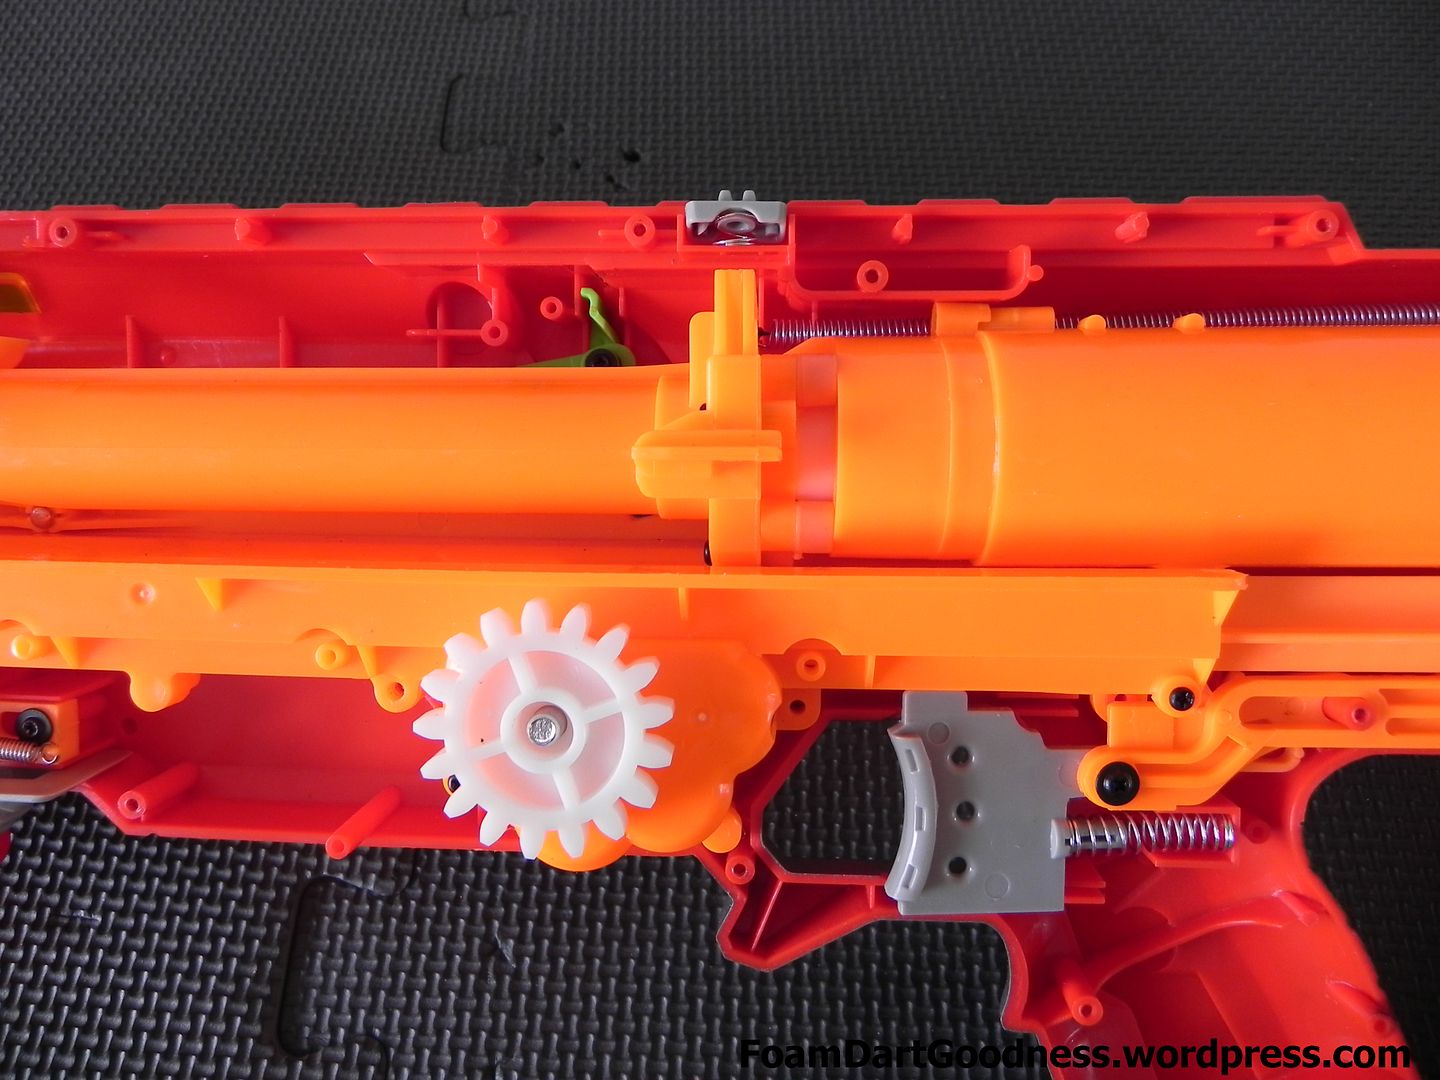
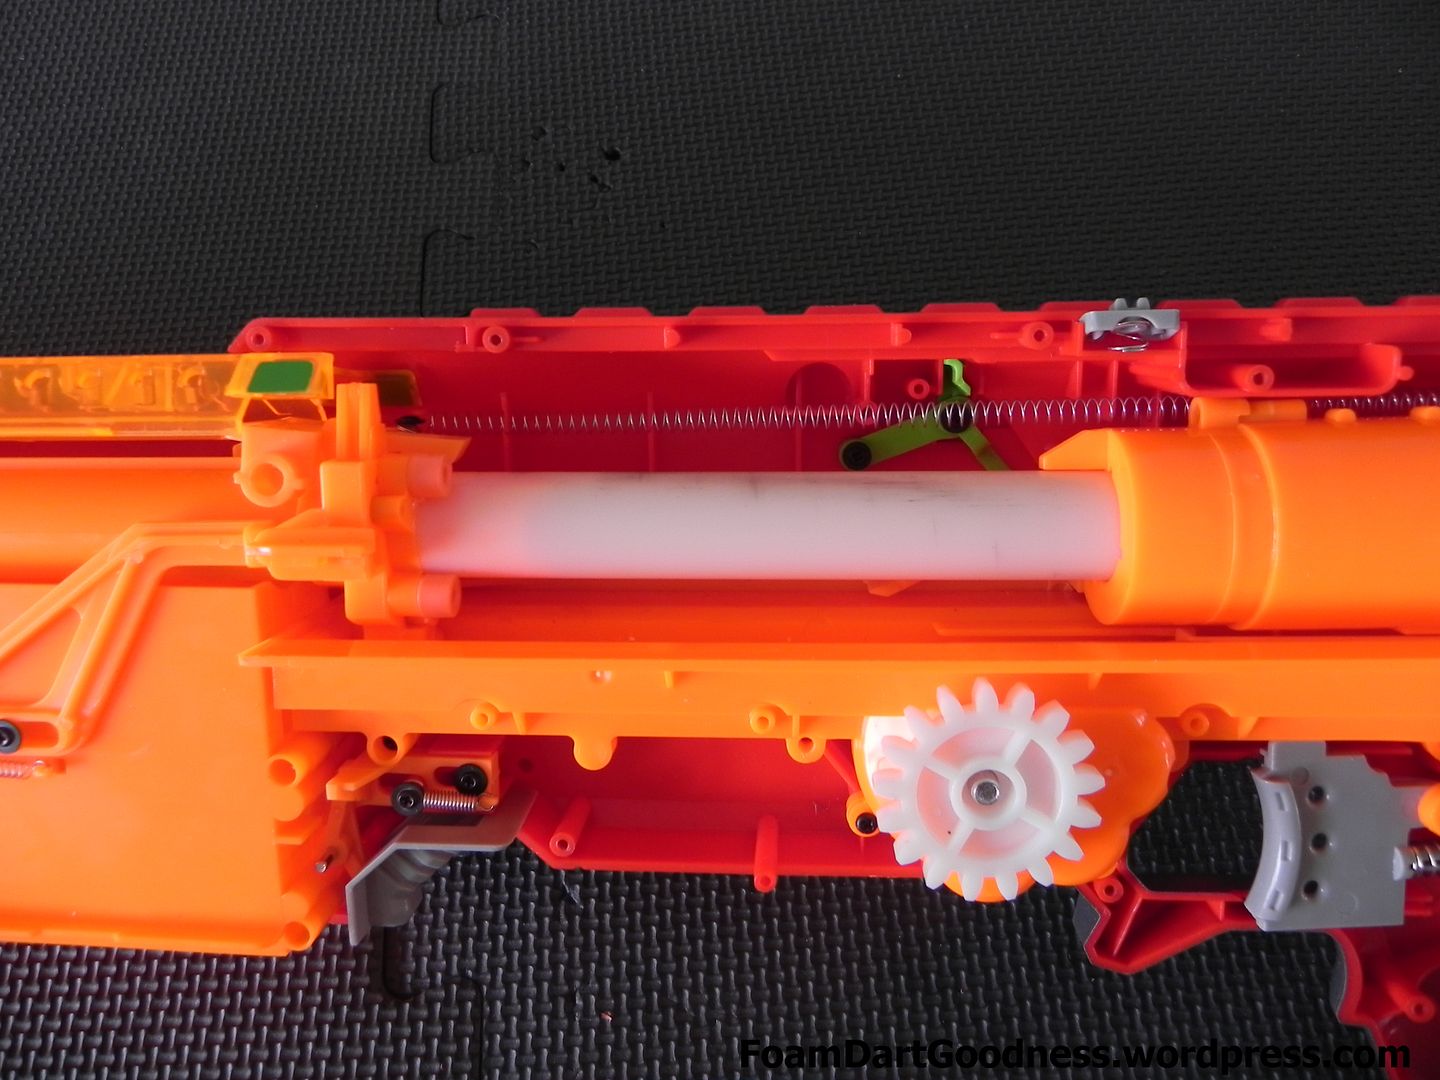
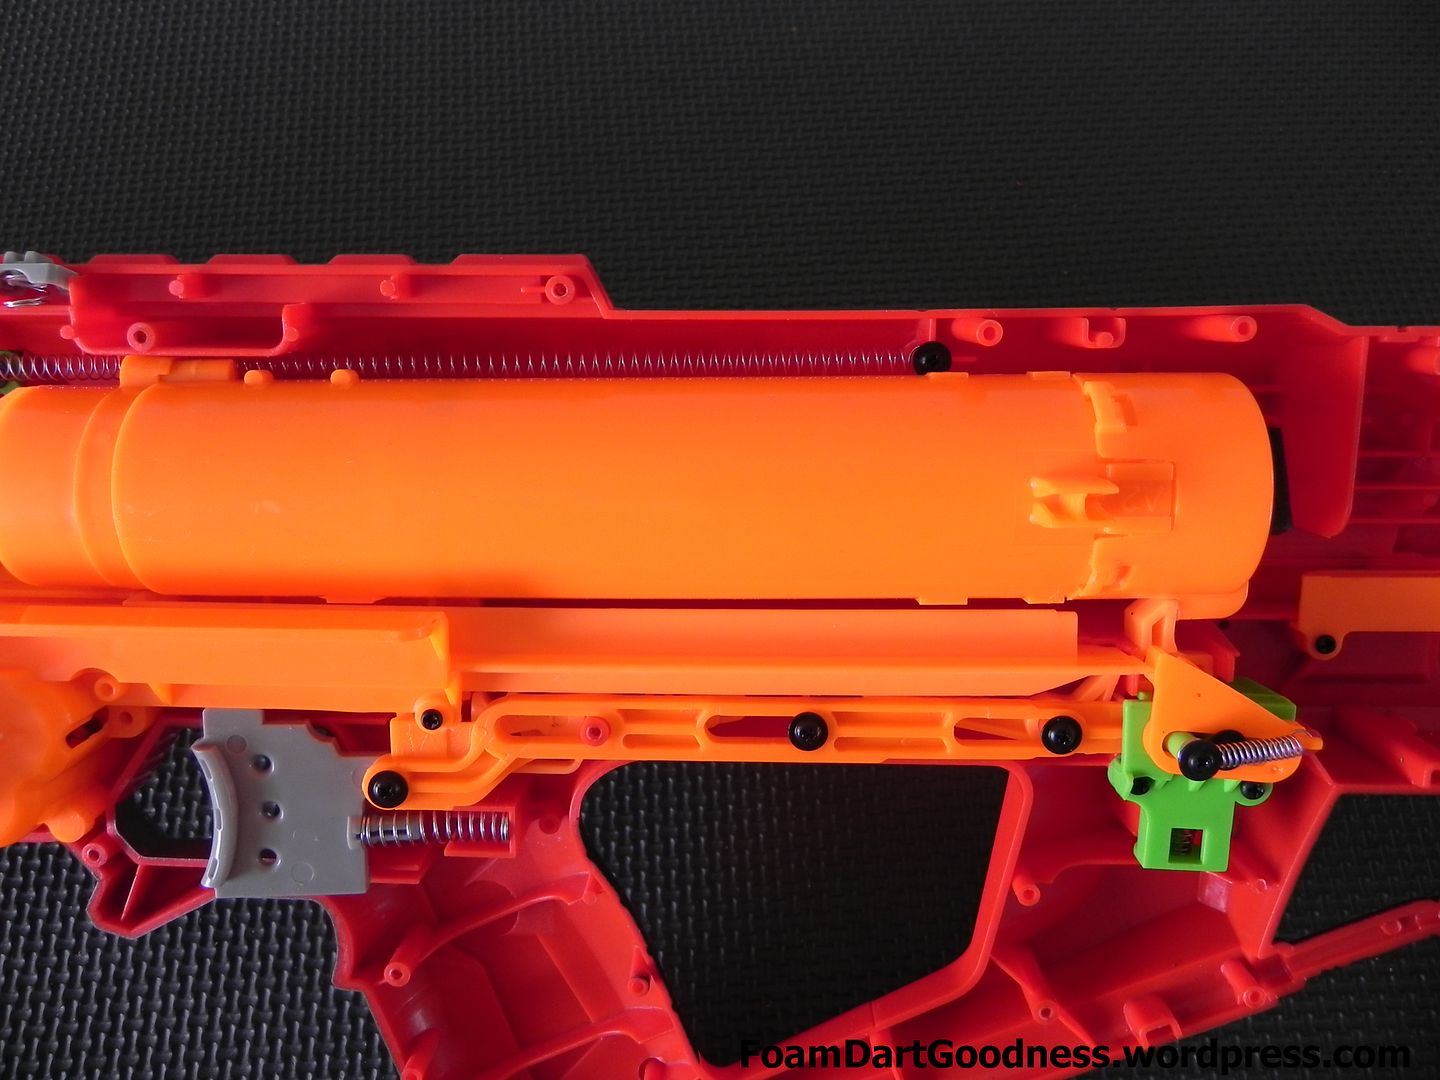
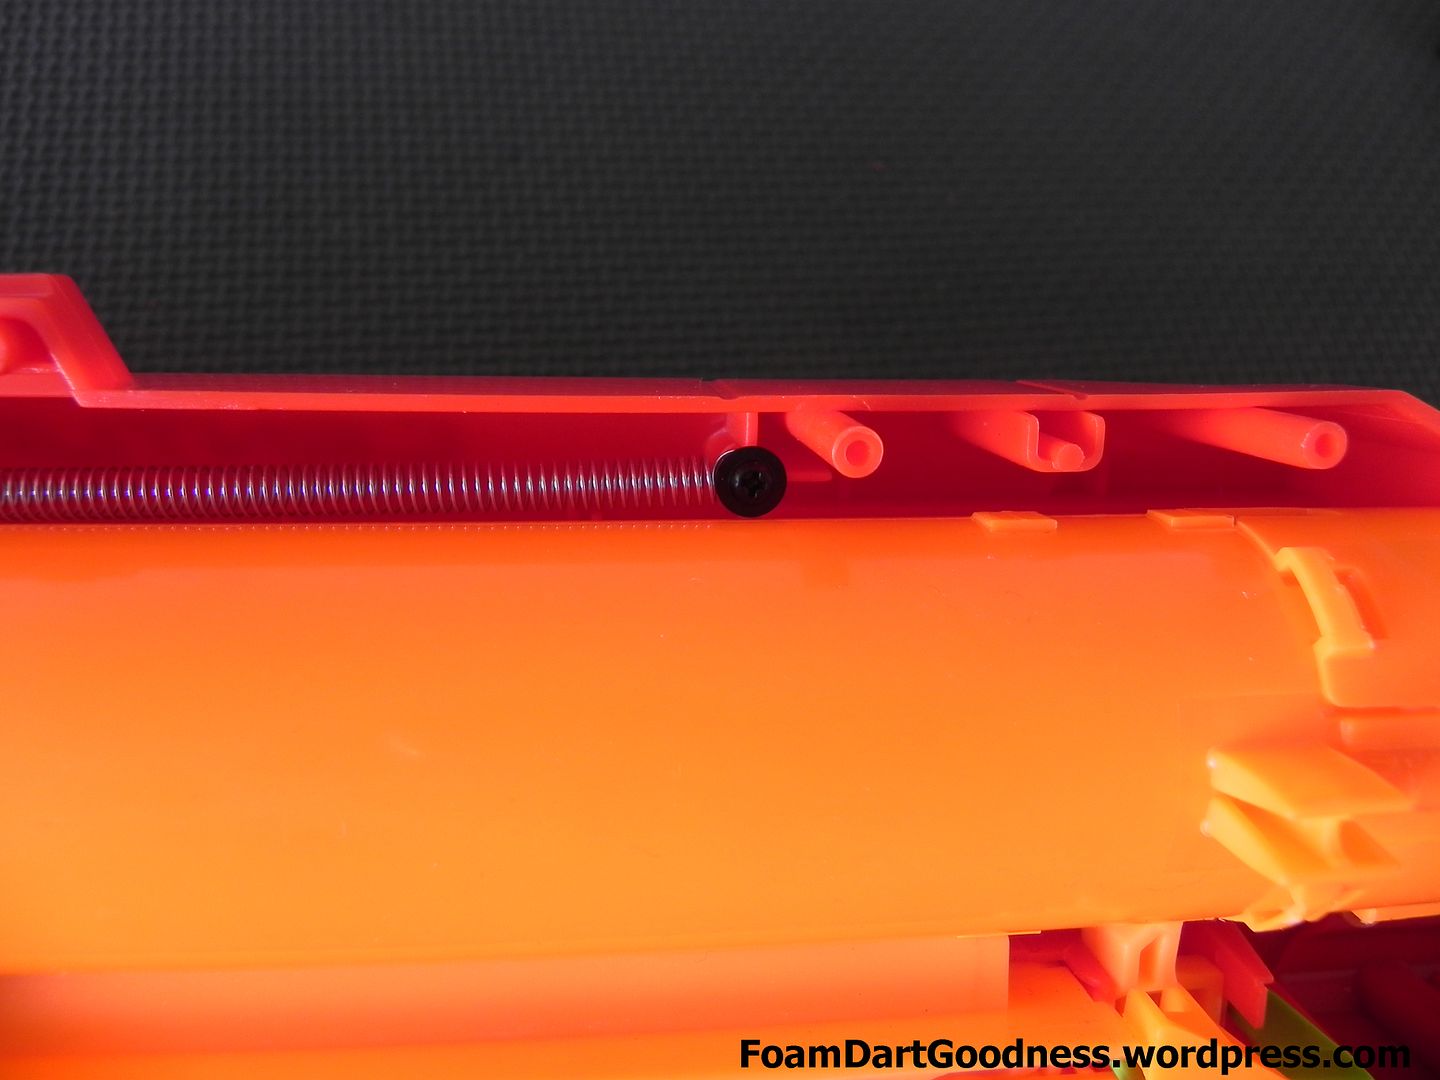
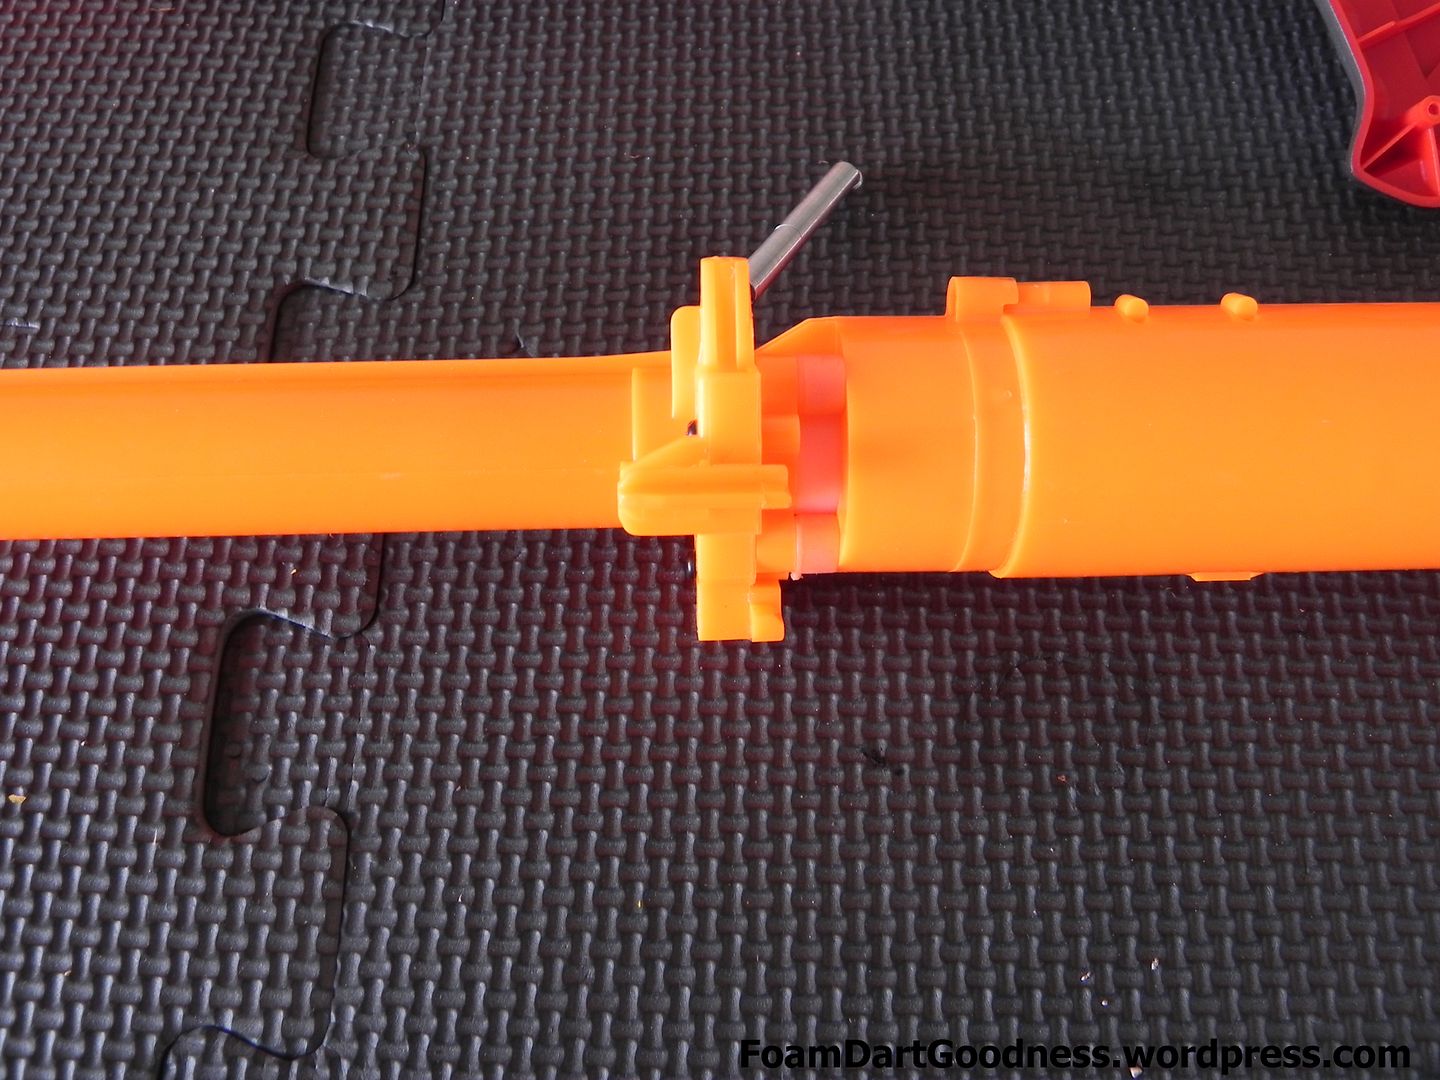
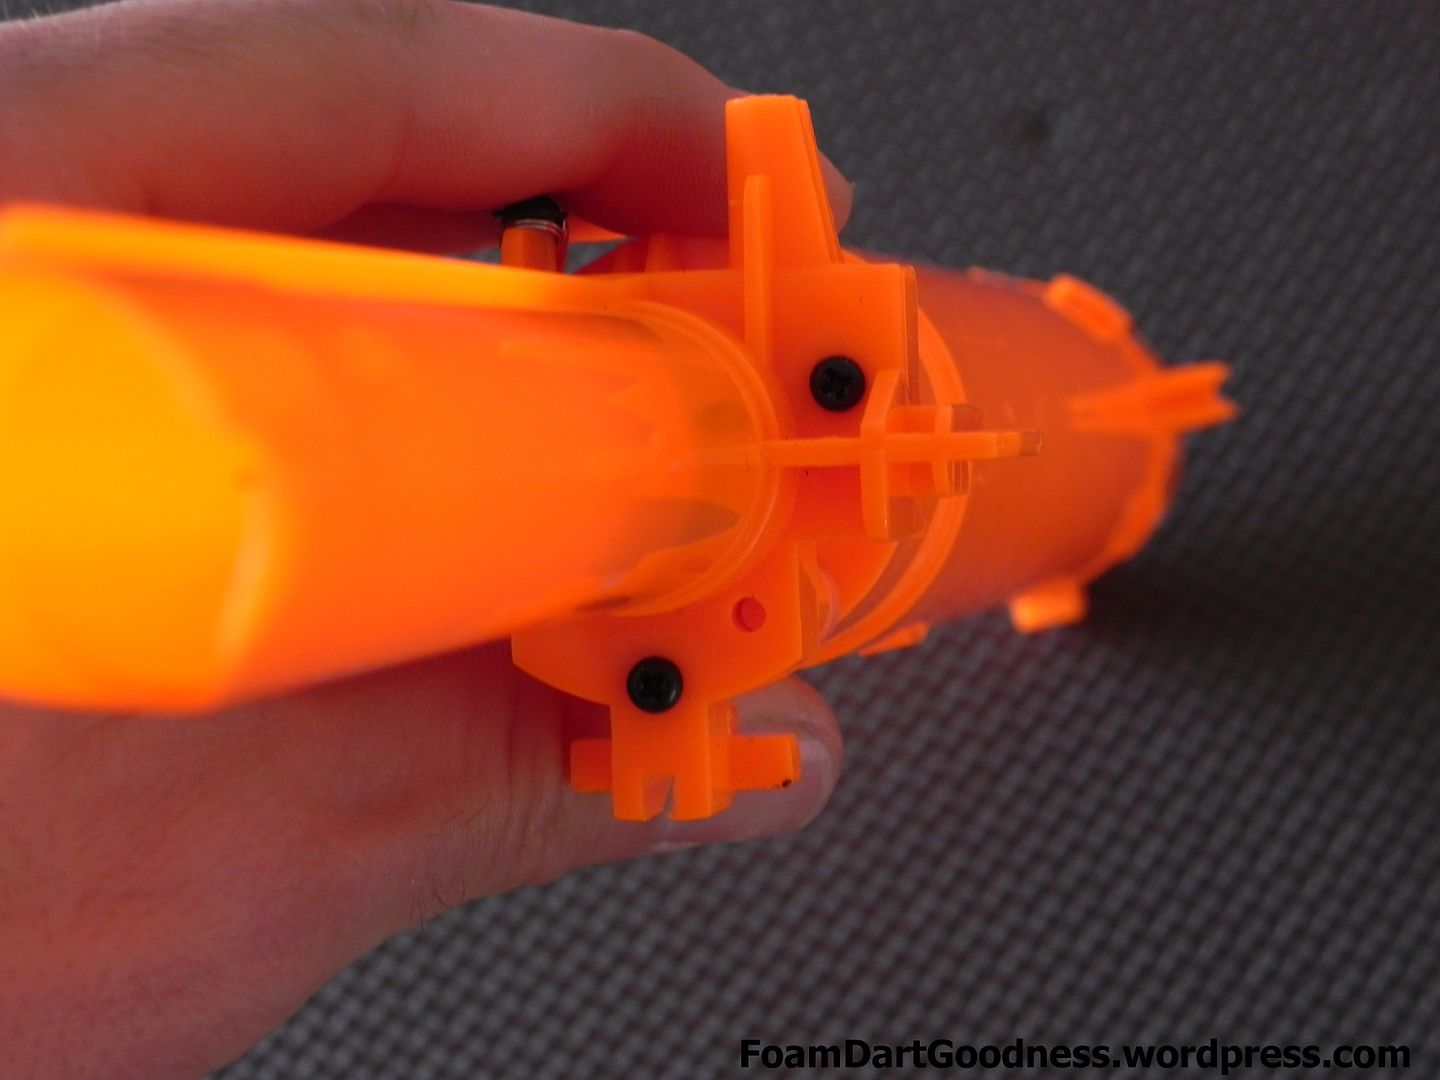
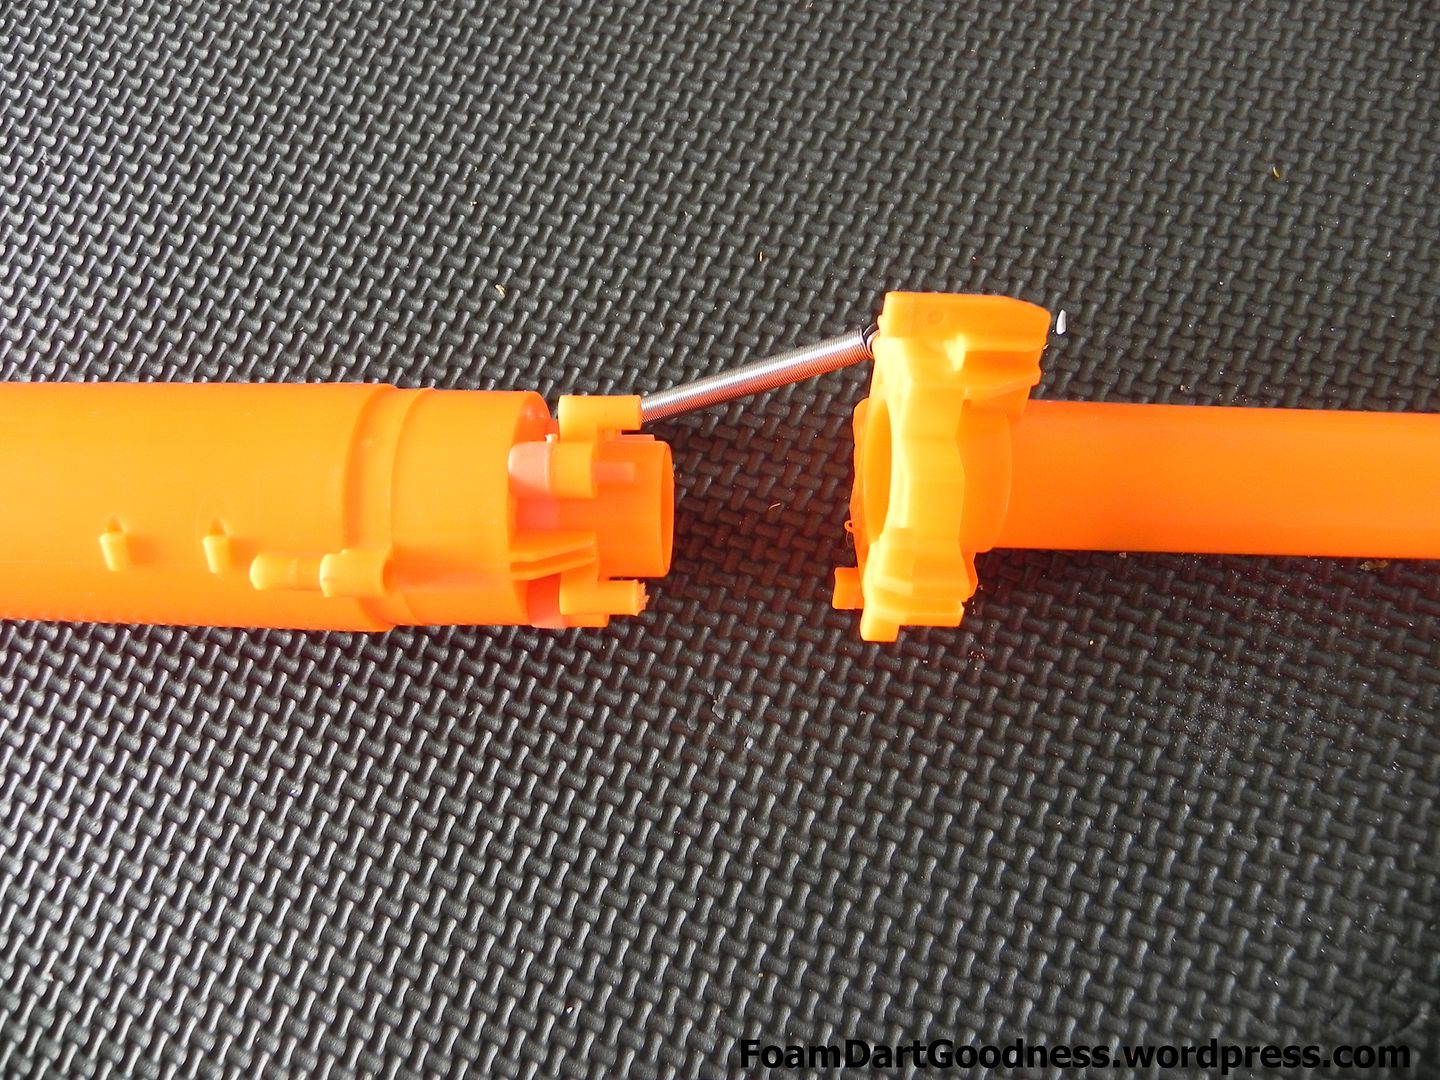
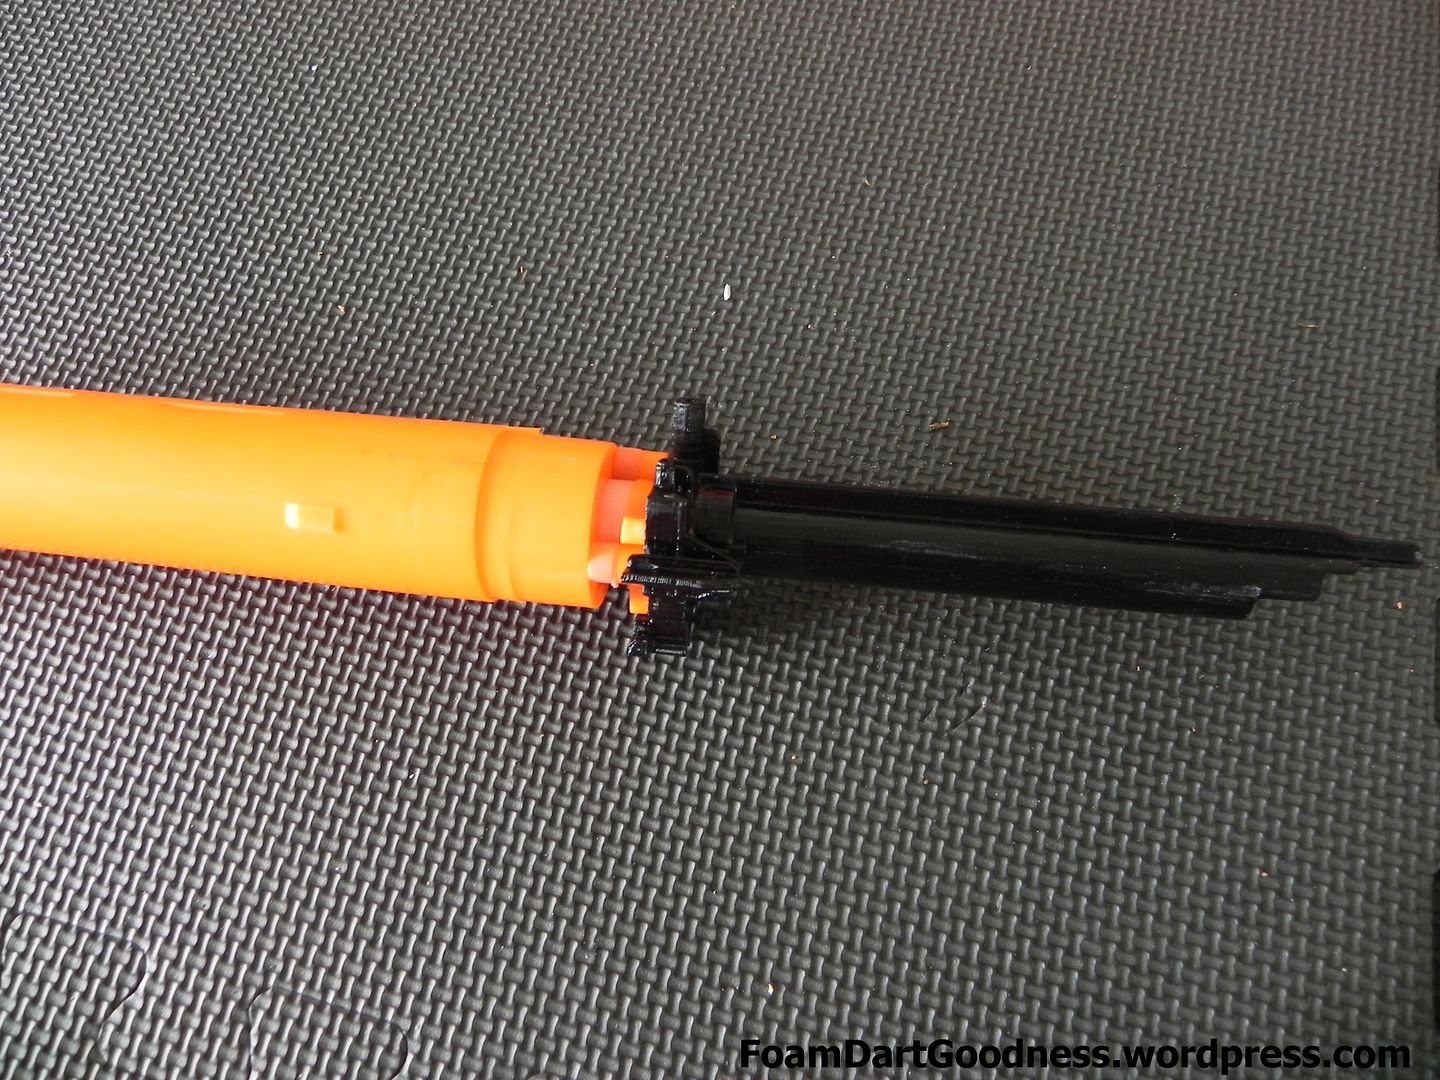
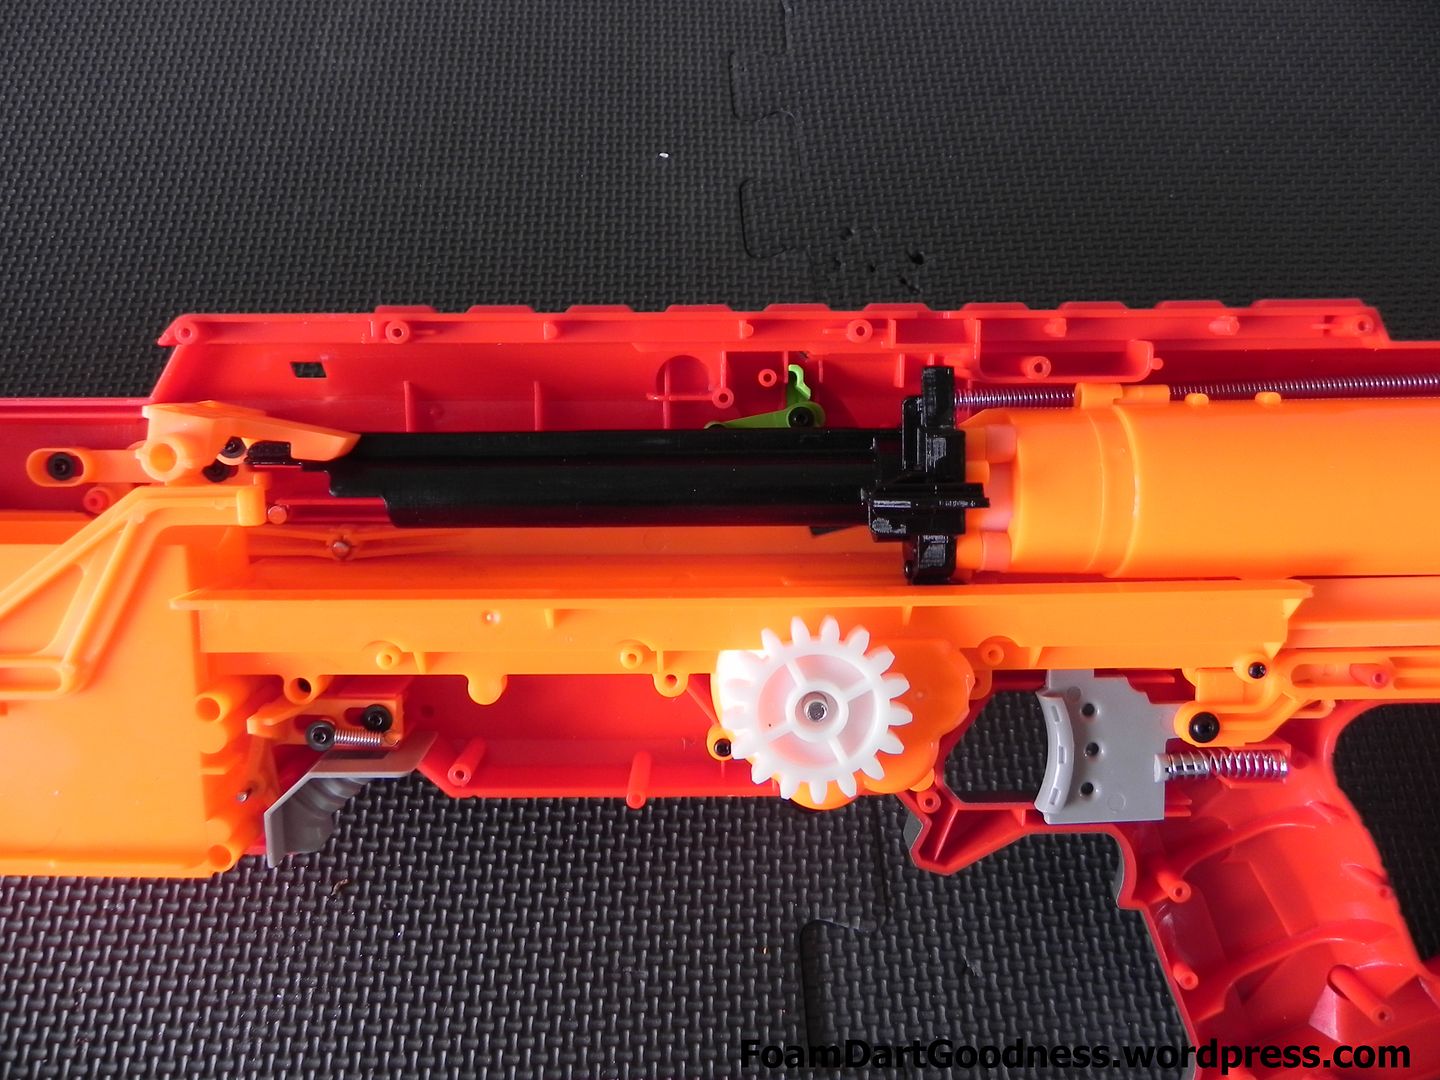
How does the plastic feel? Do you think that the printed bolt we be likely to break under whatever stresses it's under?


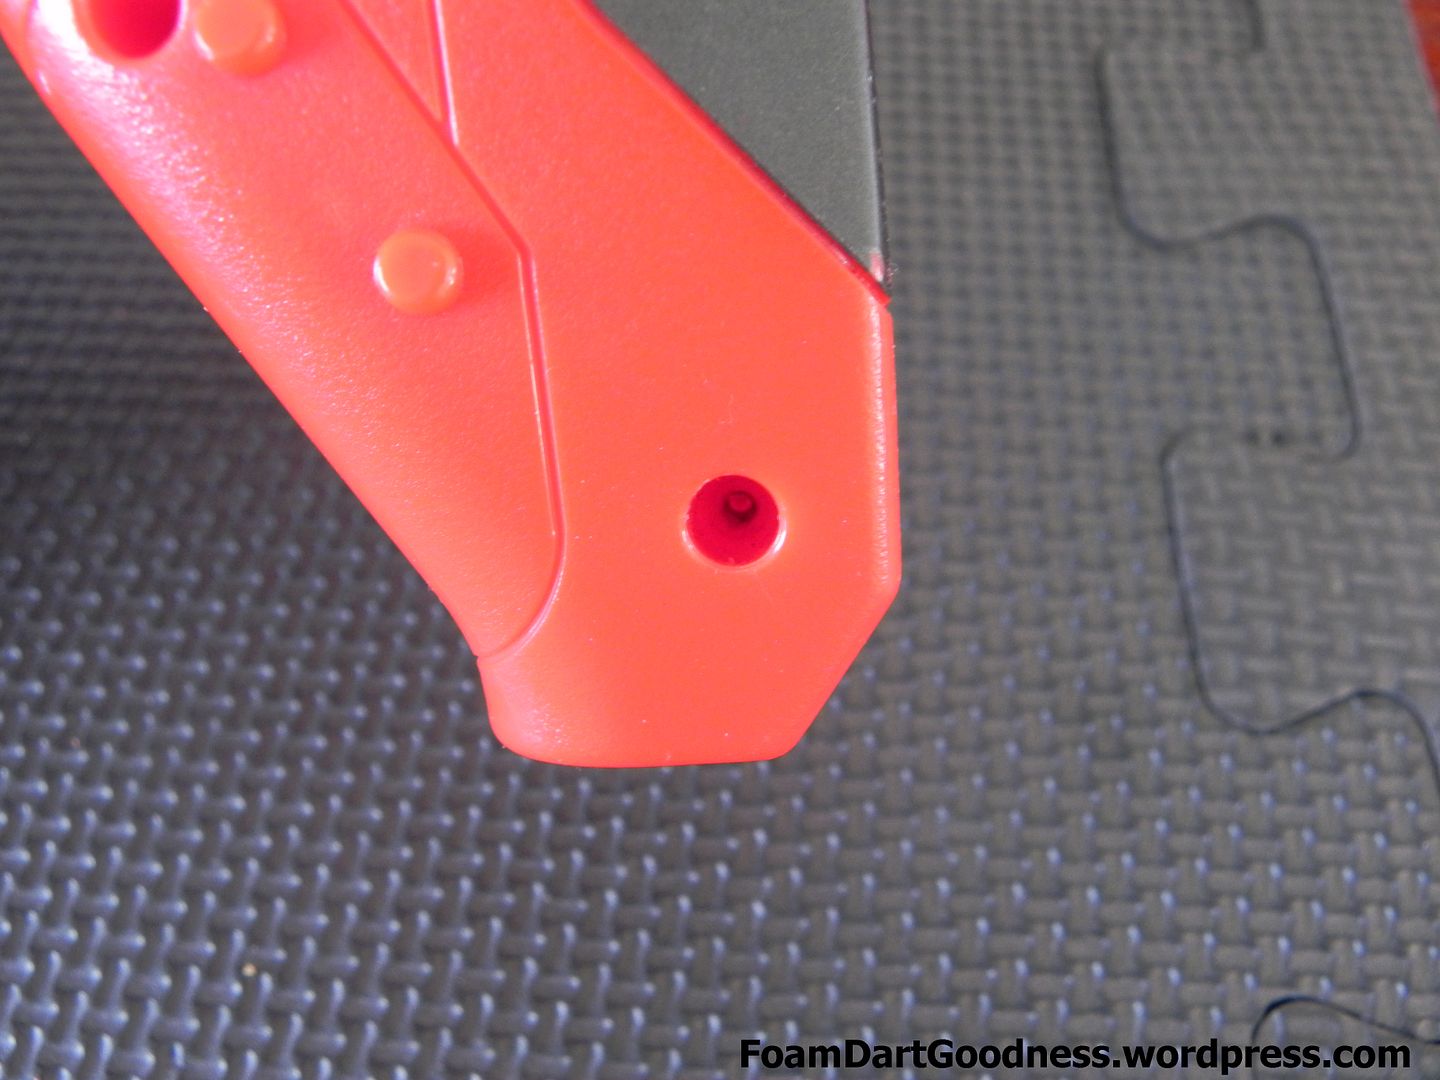
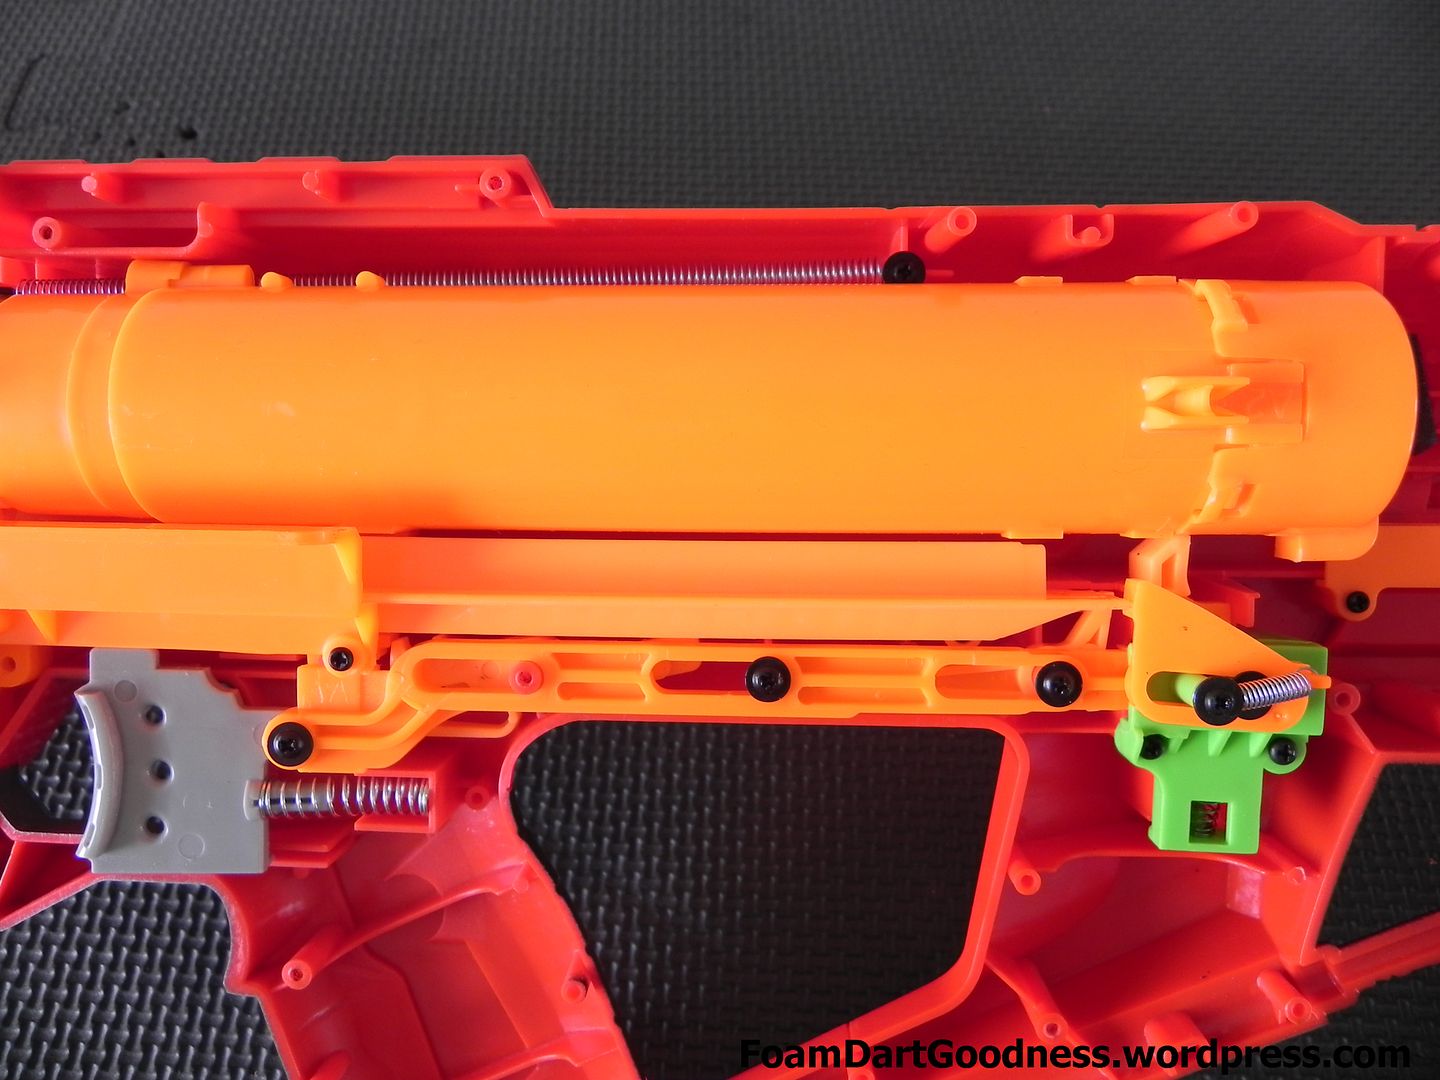
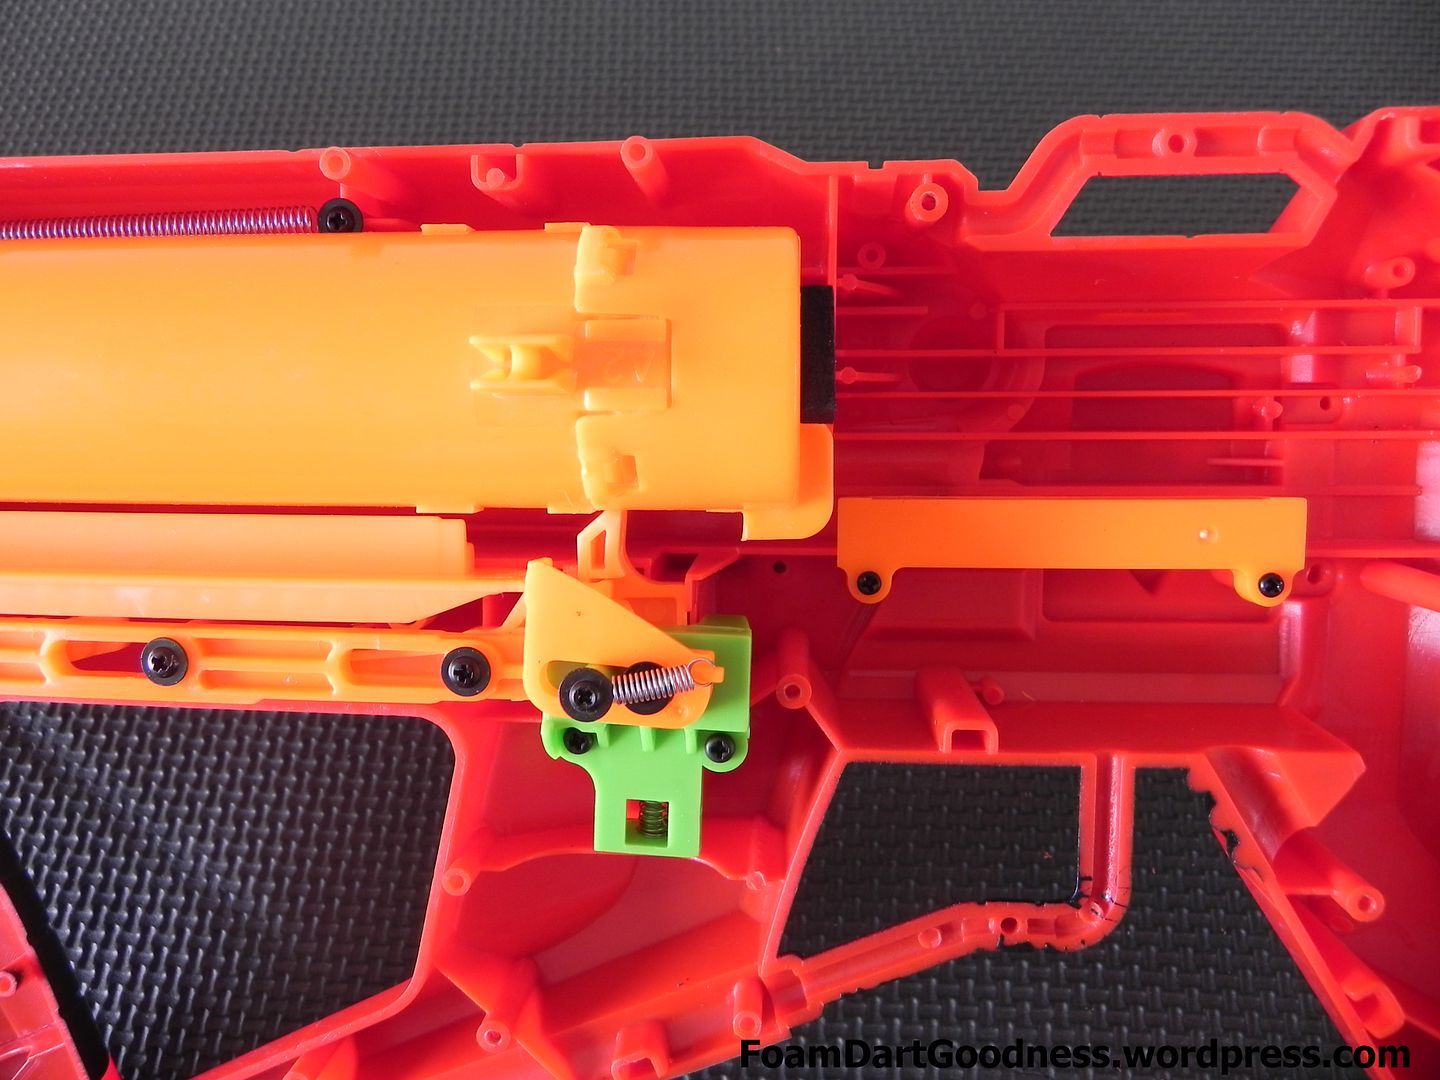
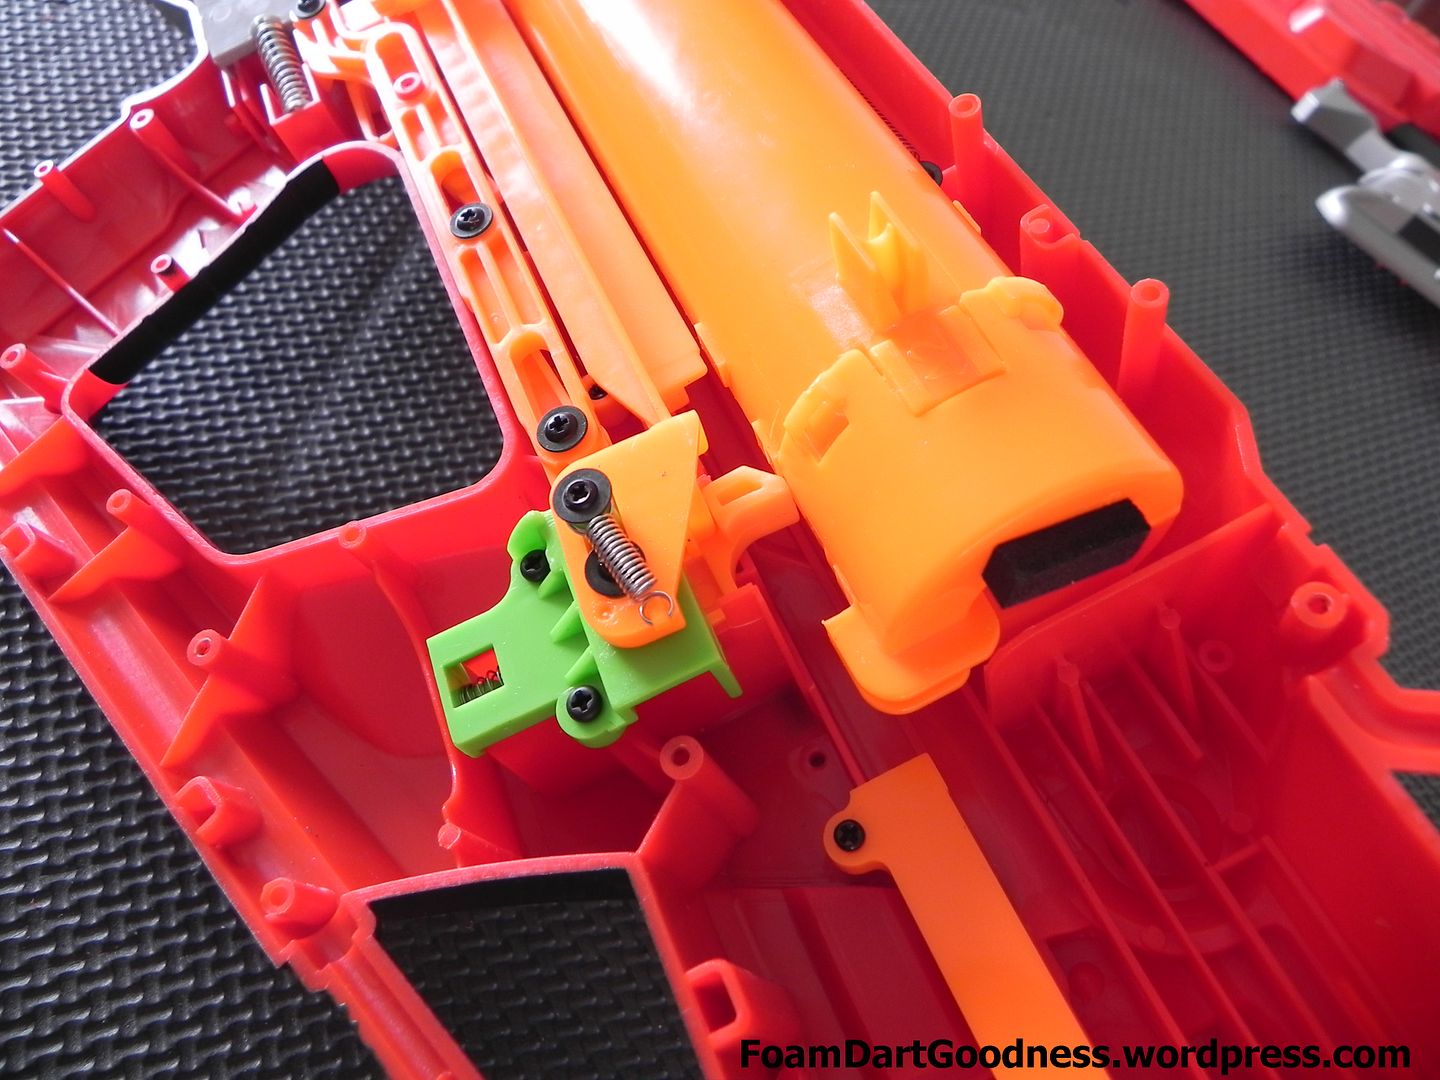
Feels solid, I doubt it would break. There's next to no stress on it, only the return spring which is pretty weak.

In Topic: Nerf Centurion - Streamline/elite conversion

07 October 2013 - 01:32 AM

The two really big and long screws go here, in front of the jam door.

Posted Image

And at the very back of the blaster.

Posted Image

The next two longest screws go here (assuming you were stupid like me and removed all of the barrel screws, despite not needing to).

Posted Image

Two of next biggest screws go in these two holes here.

Posted Image

The third one goes at the bottom of the stock.

Posted Image

The smallest screws go in these four holes along the top of the tac rail.

Posted Image

And the rest of the small screws go in the barrel section. Every other screw on the outside of the blaster is the standard sized Nerf screw.

Posted Image

As is said earlier, the clip well adapter is beautifully simple.

Posted Image

Place it into the stock clip well and you're done.

Posted Image

Posted Image

Here I've removed the jam door to better show you how it sits in the blaster.

Posted Image

With a 6-clip.

Posted Image

Posted Image

Posted Image

With an 18-clip

Posted Image

Posted Image

Then pops out using the standard clip release button.

Posted Image

And again, the smaller clips are held in place by this little nub. To release a clip, simply pull down.

Posted Image

OK, enough photos, how does it actually perform? Not as well as I had hoped. I really wanted this to be at least on par with an AR'd Longshot, but it really isn't. It's a lot better than the stock Mega firing Centurion in that you'll be able to use all of your existing darts and clips, but only a metre or two increase in range.

All told, I still think this is a massive step in the right direction towards making the Centurion game relevant, but there's still quite some work to be done. My next mod on this blaster will be an attempt to improve the stock plunger tube by plugging the slits that run down the side, then I'll have a go at replacing the spring or maybe even a complete plunger replacement. I like giant blasters and I want it's performance to match it's size.

In Topic: Nerf Centurion - Streamline/elite conversion

07 October 2013 - 01:30 AM

This blaster seems like it has a lot going on inside, but it's still relatively straight forward. Each priming handle is attached to a rack, which is connected to the large white pinion gear you can see here. That pinion drives a gear in the centre of the gearbox which pushes the breech forward. Unlike most other blasters, the plunger tube is actually all the way back at rest, and the breech pulls forward to create tension on the main spring inside the plunger tube. As you've all heard rants about it on the internet, I'm not going to get involved in the reverse plunger design debate, but instead just present it for what it is.

As always at this point, take a couple of minutes to have a good look around inside the internals and figure out how it all works.

Posted Image

Posted Image

Posted Image

Posted Image

Posted Image

Posted Image

Posted Image

Here is what it looks like when the breech is closed and the blaster cocked.

Posted Image

This stretched spring you can see here is the breech return spring that pulls the breech back after firing.

Posted Image

Posted Image

The blaster cocked.

Posted Image

Immediately after firing.

Posted Image

OK, happy with how it all works? Let's continue with the disassembly.

Posted Image

Start by removing the jam door.

Posted Image

Then this small screw that holds the breech return spring in place.

Posted Image

Then you should be able to lift out the entire breech/plunger assembly. Start by sliding the breech forward, then slip the plunger tube over the catch, lift up so that the bottom nub of the breech clears its track, then lift the whole assembly backwards and it should slide out. I'm making this part sound way more complicated than it actually is. Once you're here, you'll figure it out pretty quickly.

Posted Image

OK, breech free. You can see here that the whole thing is in two pieces; the breech and the plunger.

Posted Image

It's held together with three screws.

Posted Image

Interestingly the stock air restrictor is housed entirely within the breech section, so if you wanted to retain the ability to shoot mega darts but wanted to lose the AR, unscrew this section and the AR will just fall out.

Posted Image

Like I said, three screws hold it together.

Posted Image

Then screw the new breech segment in it's place. Also apparently I forgot to take a photo of this step, but make sure you transfer the breech return spring to the new breech as well.

Posted Image

Getting the brecch/plunger assembly back int he blaster is the opposite of removal. Start from the right, get the front of the breech under the breech catch, slide the breech all the way forward until the bottom falls into it's track, then slide the whole assembly backwards, ensuring that the plunger aligns in it's track too.

Posted Image

Reattach the breech return spring and the jam door.

Posted Image

Then put the shell back together.

Posted Image

Like I said earlier, there's five different screw sizes. From left to right...

Posted Image

In Topic: EAT (Extreme Alpha Trooper)

06 October 2013 - 08:01 PM

'NerfOfSteel', on 06 Oct 2013 - 10:33 AM, said:

I believe it's because with the spring addition, it's squeezing the back, therefore not letting it prime all the way back.
Again, not completely sure, but I don't really care about stocks in the first place.
-Steel


Spot on. I had the same problem when I used a NiteFinder spring in an EAT. If you grind out some of the nubs around the inside of the back of the shell you'll have enough room for the springs to bind up.

In Topic: Modification and Paintjob Pictures

04 October 2013 - 04:31 AM

Posted Image

Full walk through and review coming over the weekend.