You can find mods for the Maverick and other nerf blasters in the Modification Directory.
Dragonteuthis' Maverick Mod: The Foaminator 3000
Better than the Foaminator 1000 because, well, it has more thousands.
I've "stealthed" these forums for a few days, and from the advice and directions I've picked up here I've managed to increase my nerf experience greatly. So, I'll try to share with you what I've done so far.
It's only fair to preface this with the statement that I am biased towards the Maverick. I think it is an absolutely awesome gun. It's small, which I like, and has a 6-round magazine, which I also like. It's highly accurate, and can have a very high rate of fire, which is absolutely wicked when you're chasing someone who's diving for a piece of ammo. Also, swinging the barrel out and back in to reload makes lots of wonderful clicky noises. And finally, it's $8.
I used the following tools for this mod: A narrow phillips head screwdriver, utility knife, exacto knife, some generic epoxy, a small can of expanding foam sealant, a Dremel (coarse sandpaper), and some good scissors. In restrospect, of course, I didn't need all these things.
I don't have a picture of the completed gun because after I test fired it a bit, I took it apart again and I intend to spray-paint it black. I'm waiting for warmer weather for that, as the basement doesn't have very good ventilation. Also, I apologize if the pictures aren't sized well...I don't know how to resize them.
Step 1: Acquire a Maverick.
Step 2: Unscrew the thing. All the screws are on one side. Three hold the 'cocker in position (they are stubbier than the other screws) and another eight hold the main body together. Don't lose the screws, and gently pry the whole thing apart. The 'cocker has a spring strung on it; don't worry about that, you can put it back on easily.
Dissassembled Maverick:
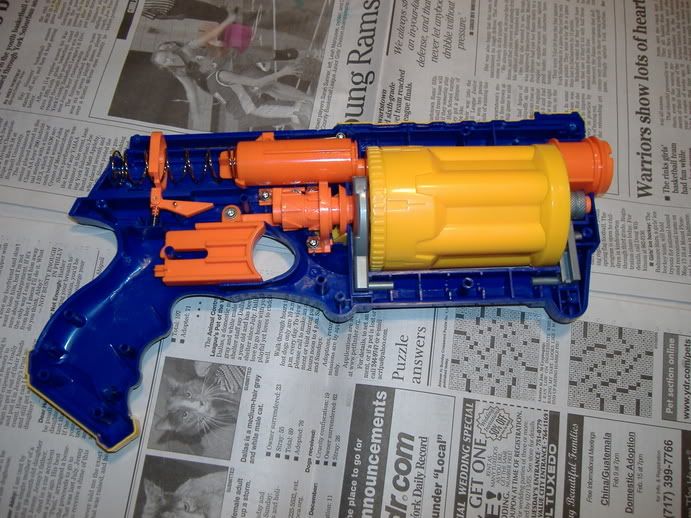
Step 3: See all that complicated stuff involved with turning the barrel? Don't touch that stuff. Instead, take the barrel out.
Step 4: Pry off the "front" (i.e., farthest from the trigger) grey plastic thing. An orange cap will come off with it, also that will release a metal rod going through the barrel center. On the trigger-side of the barrel, the rod has a spring on it. Don't lose this spring. For now, set all the loose pieces aside. There are six screws holding the barrel together, three on each end. Unscrew all of them.
Barrel showing the grey thing pulled off.
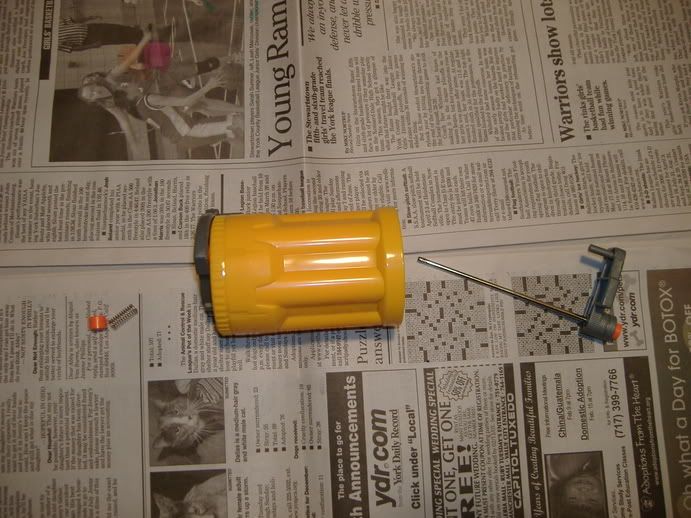
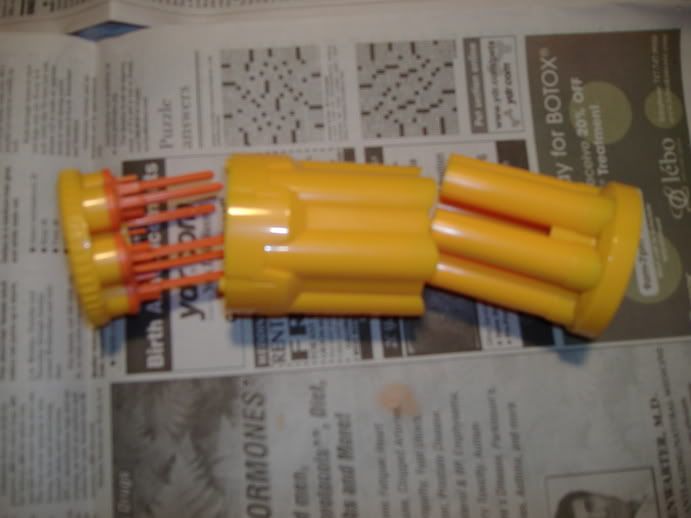
Barrel taken apart all the way.
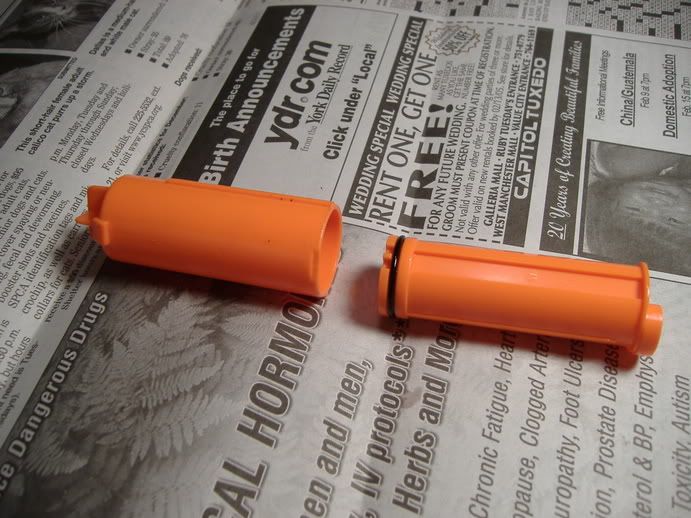
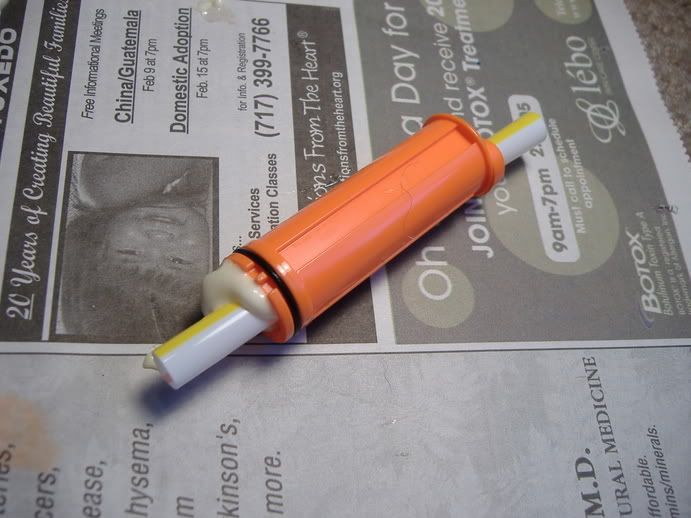
Step 5: (Note: If you are prone to using copious amounts of hotglue and/or epoxy, you could probably throw away the orange rings and make up their lack with a thick layer of adhesive. Your call.) See this thing? It's an air restrictor.
Air restrictor.
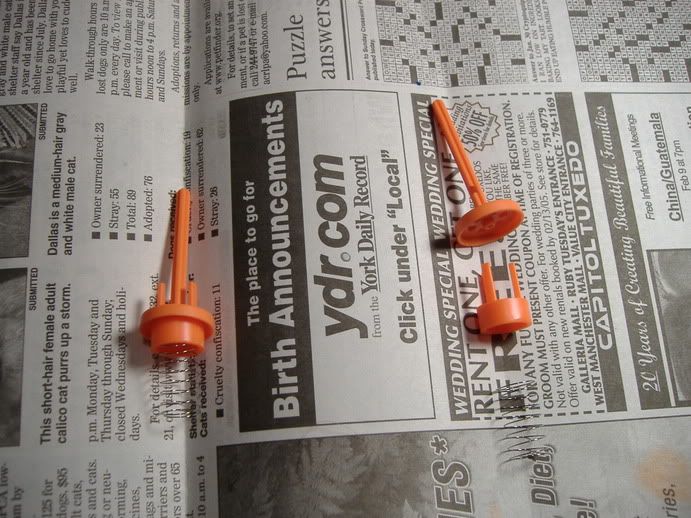
Throw away the bottom part, and use a sharp knife (or a Dremel) to cut off that rod and cut out the center of the restrictor.
After punishing the air restrictor.
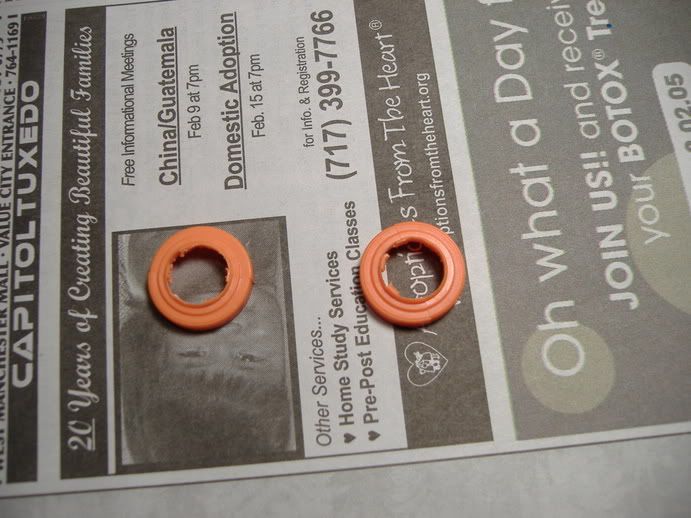
Do that four more times. Now, Set those little orange rings aside.
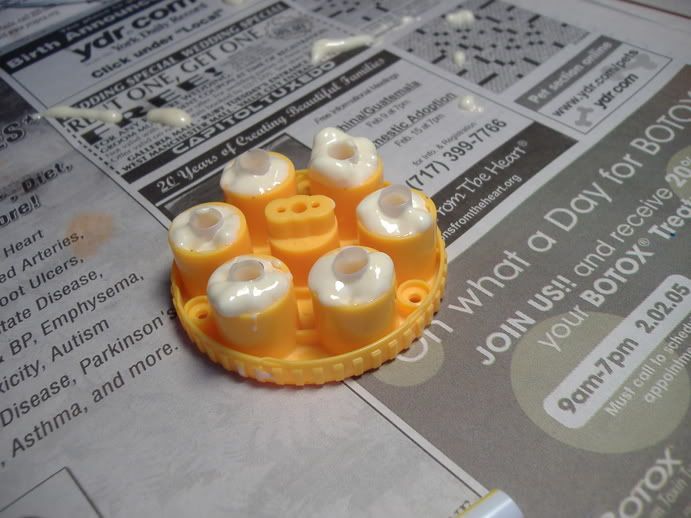
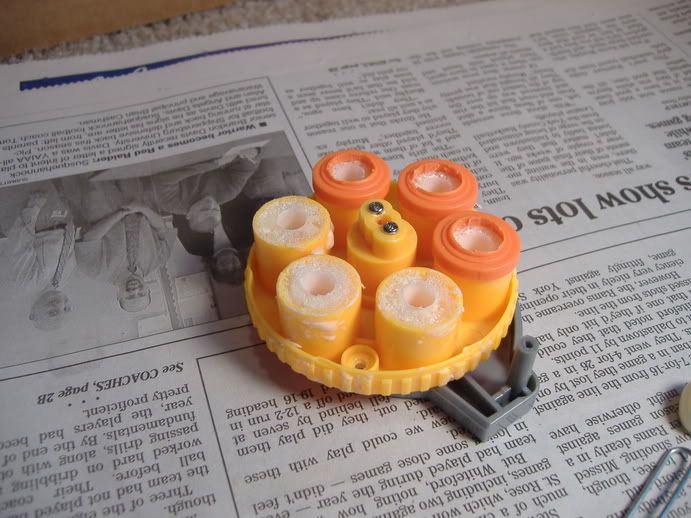
Step 6: Here's the "back" or "bottom" of the barrel, where the air restrictors were.
Barrel Bottom
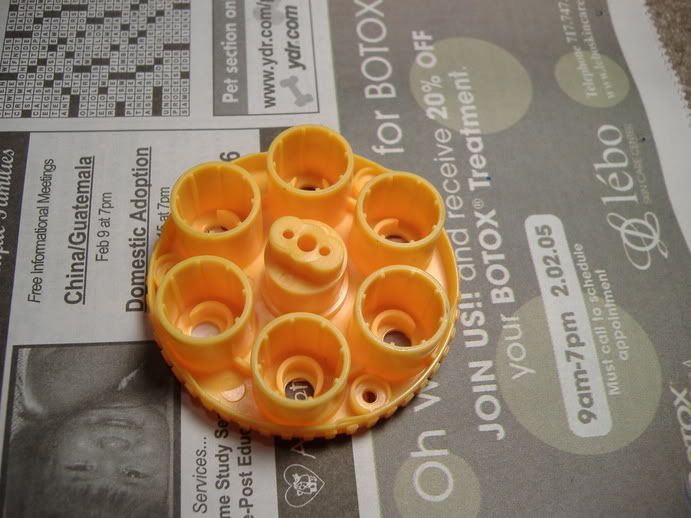
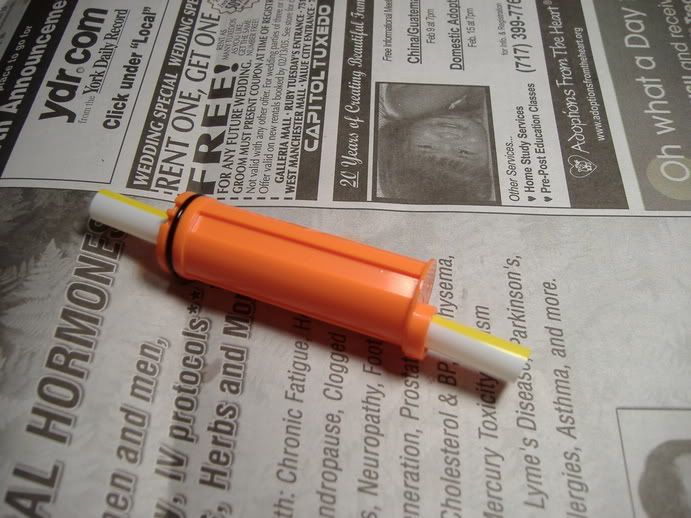
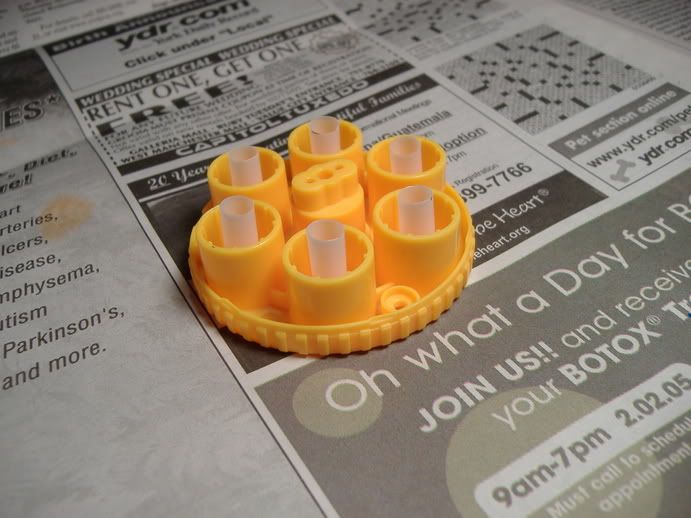
For this part, I used straws from Subway, but use whatever fits. Cut the straw into parts, and fit them into the handy provided slots.
With straws!
END OF PART ONE. I'm going to break this up into a second post.
Edited by Langley, 30 December 2011 - 01:54 PM.


