#776
Posted 29 December 2011 - 04:44 PM
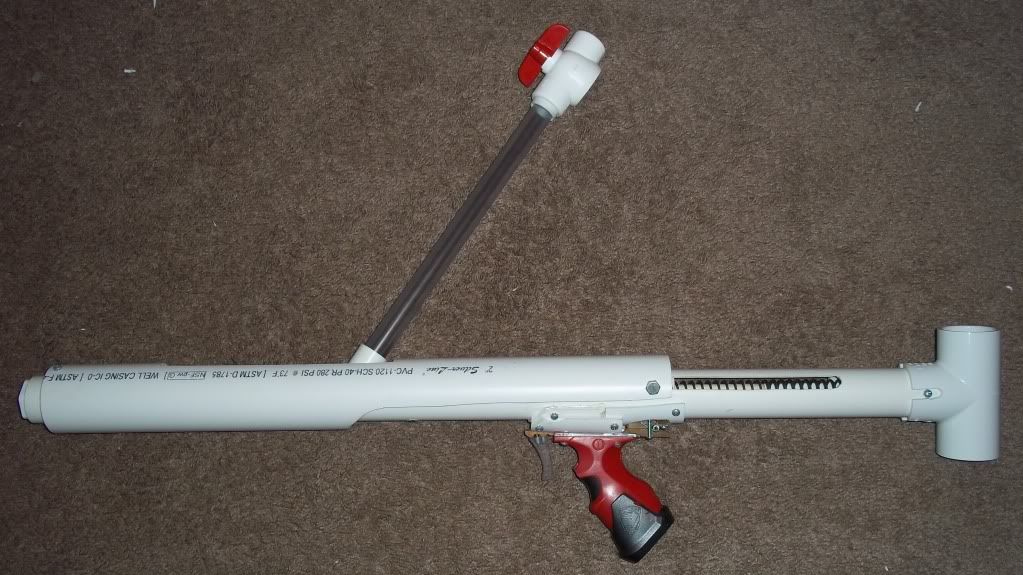
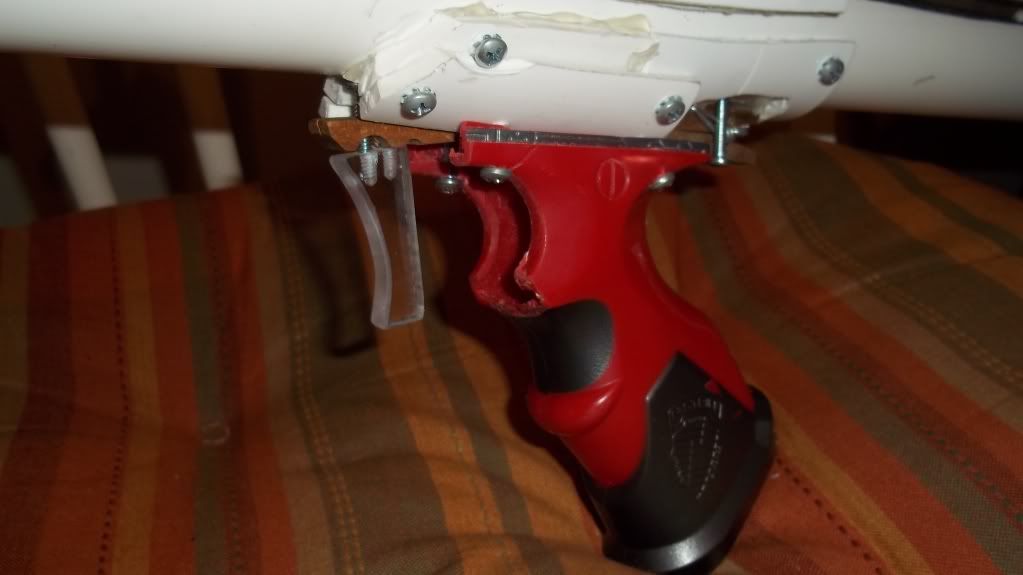
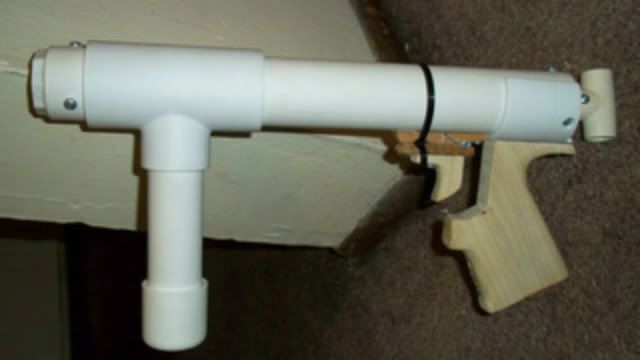
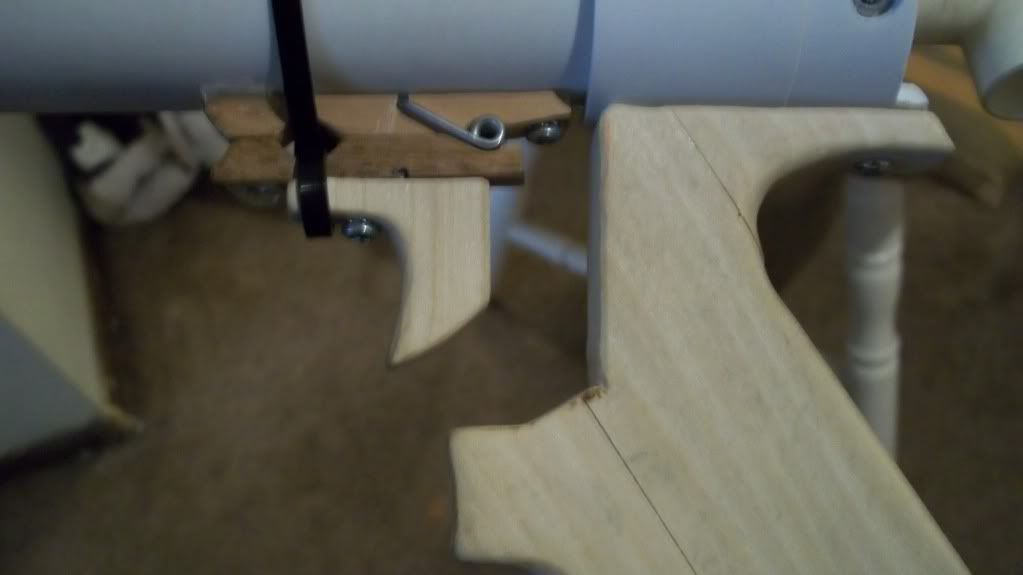
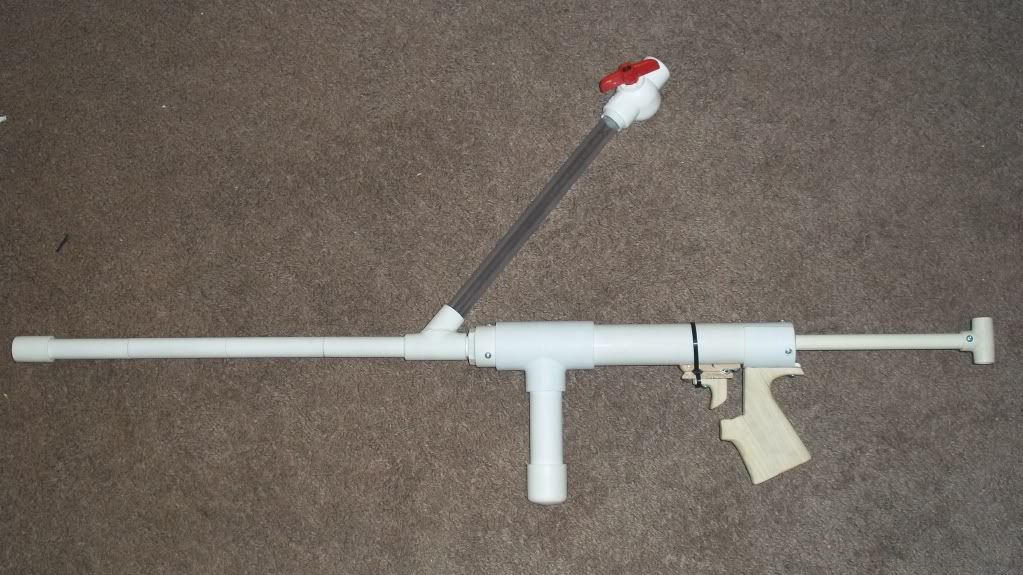
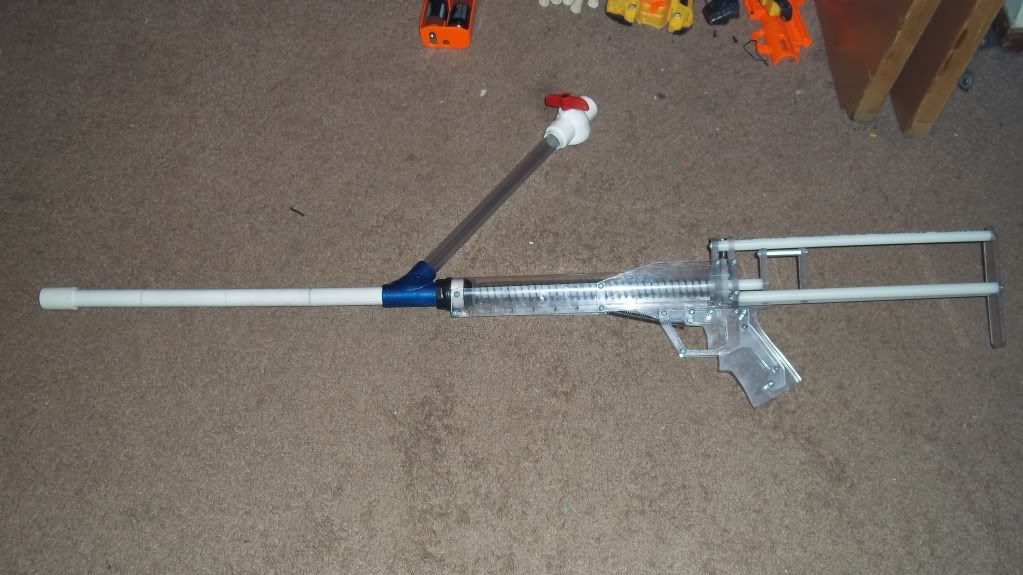
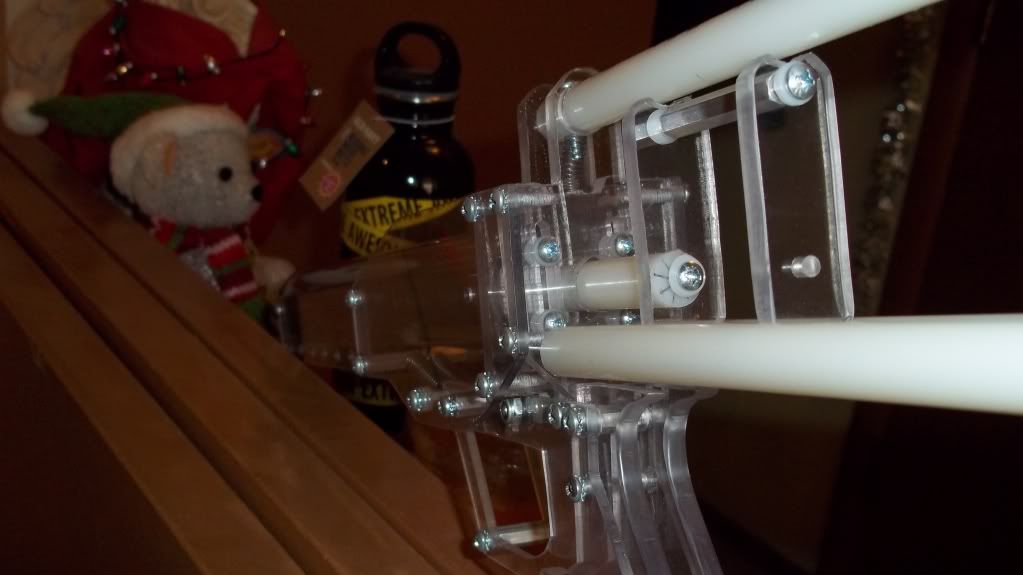
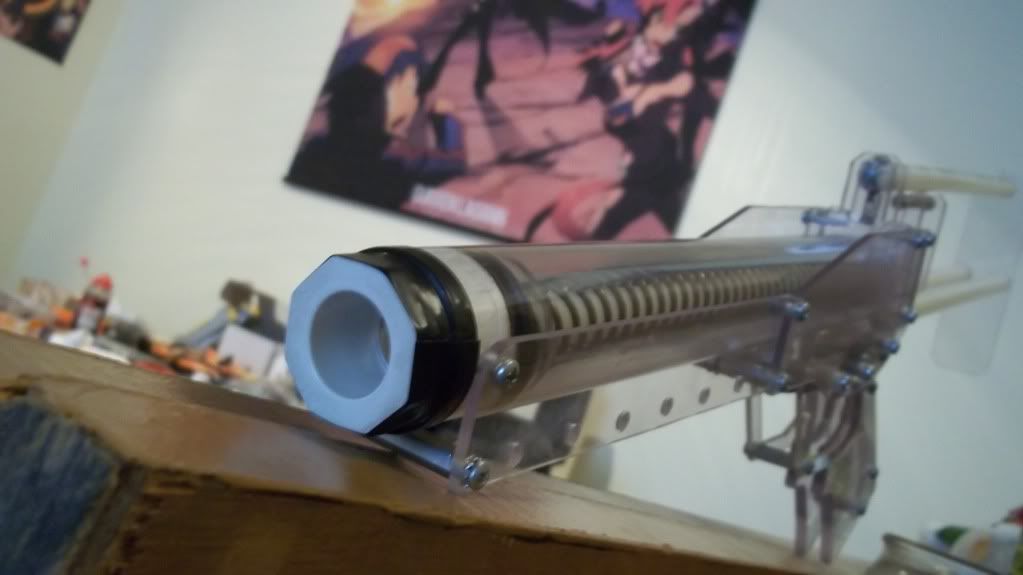
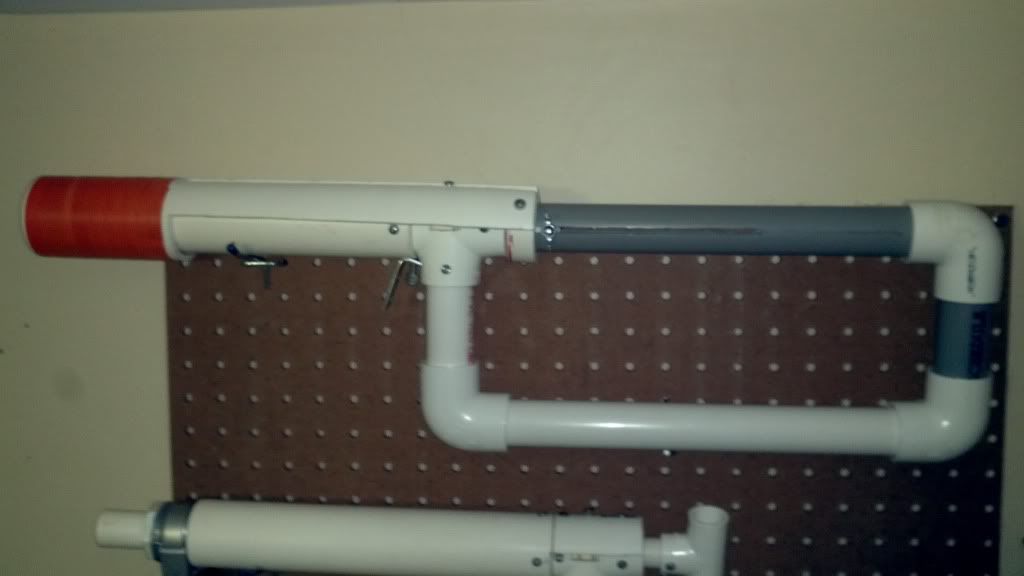
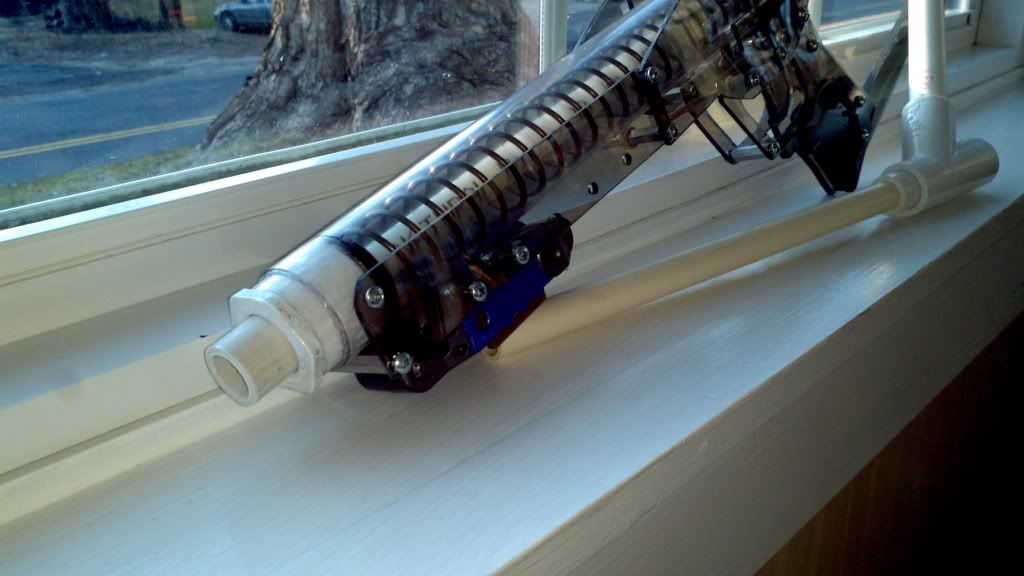
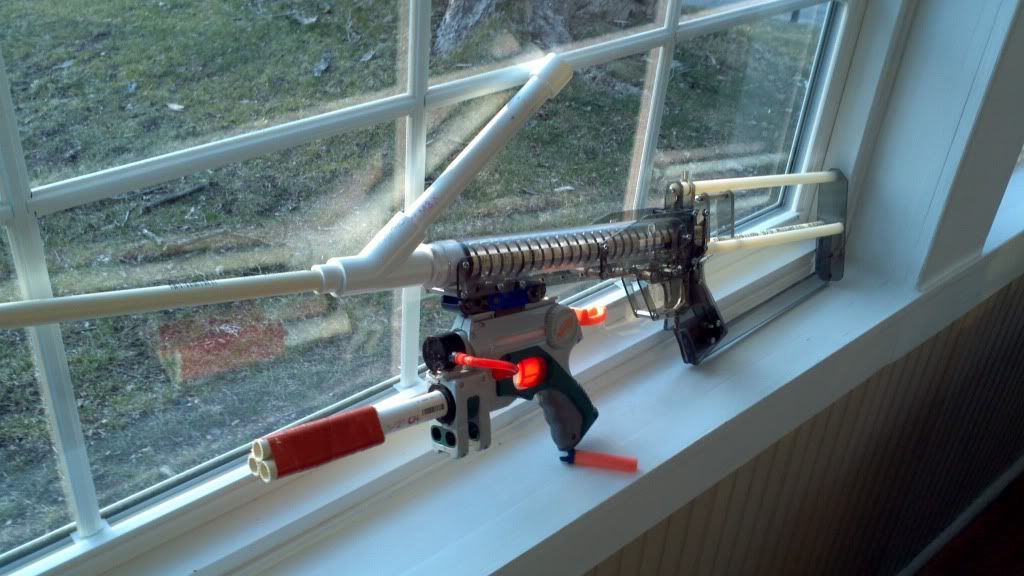
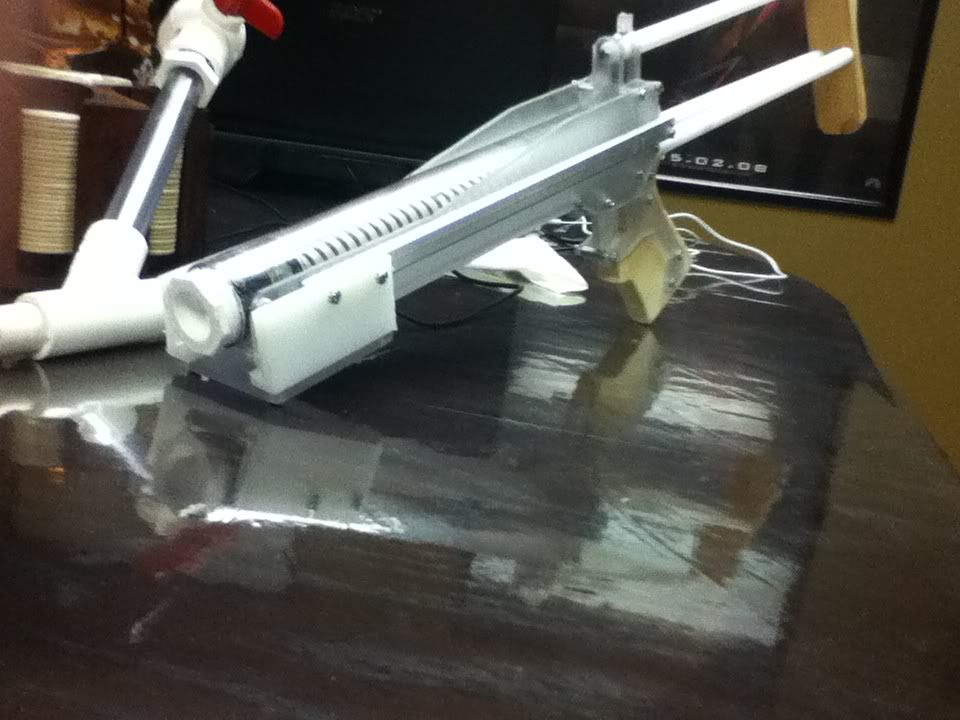
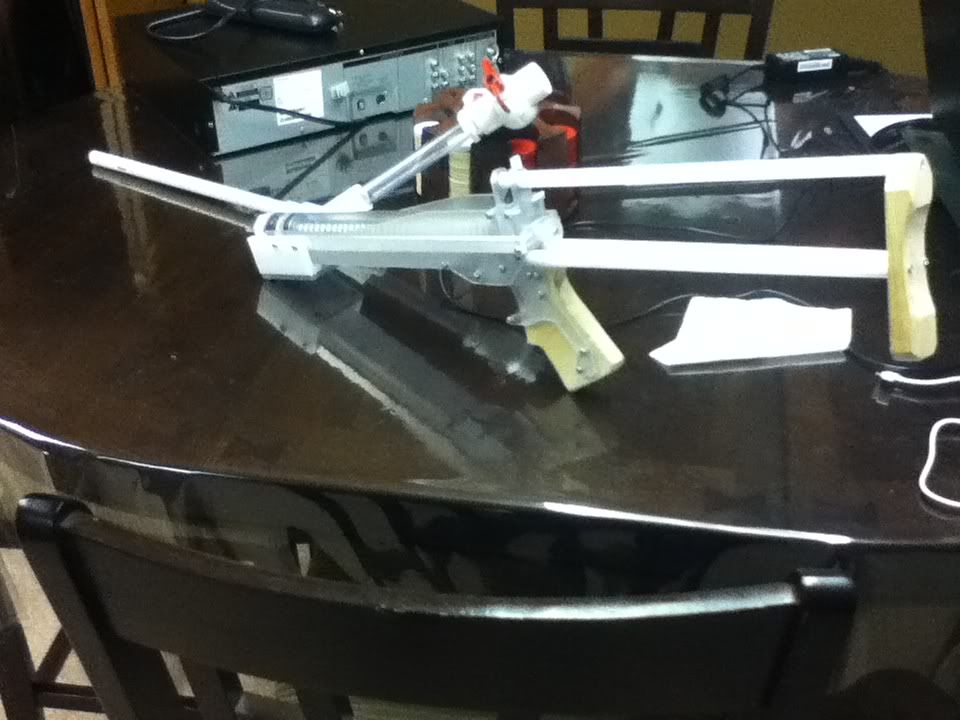
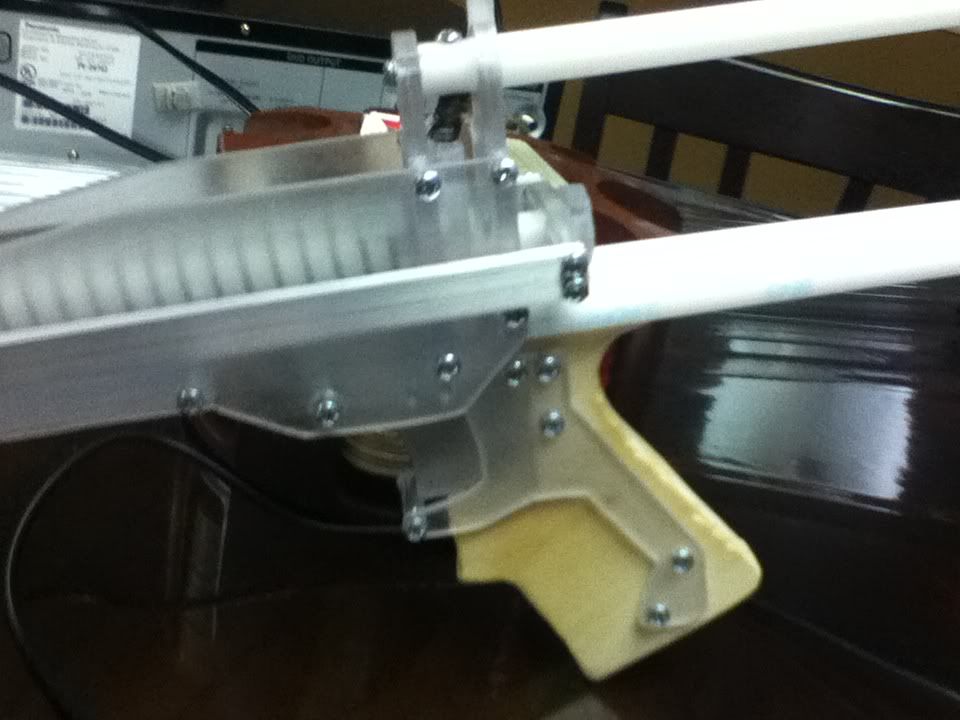
I made a Pumpbow! It still needs the bracket to keep the pump from going up. But Its finished! Took me a long time to finish it and im happy with it. IT uses a [k25] for an easier prime.
-thesoxfan1234
#777
Posted 06 January 2012 - 09:44 PM
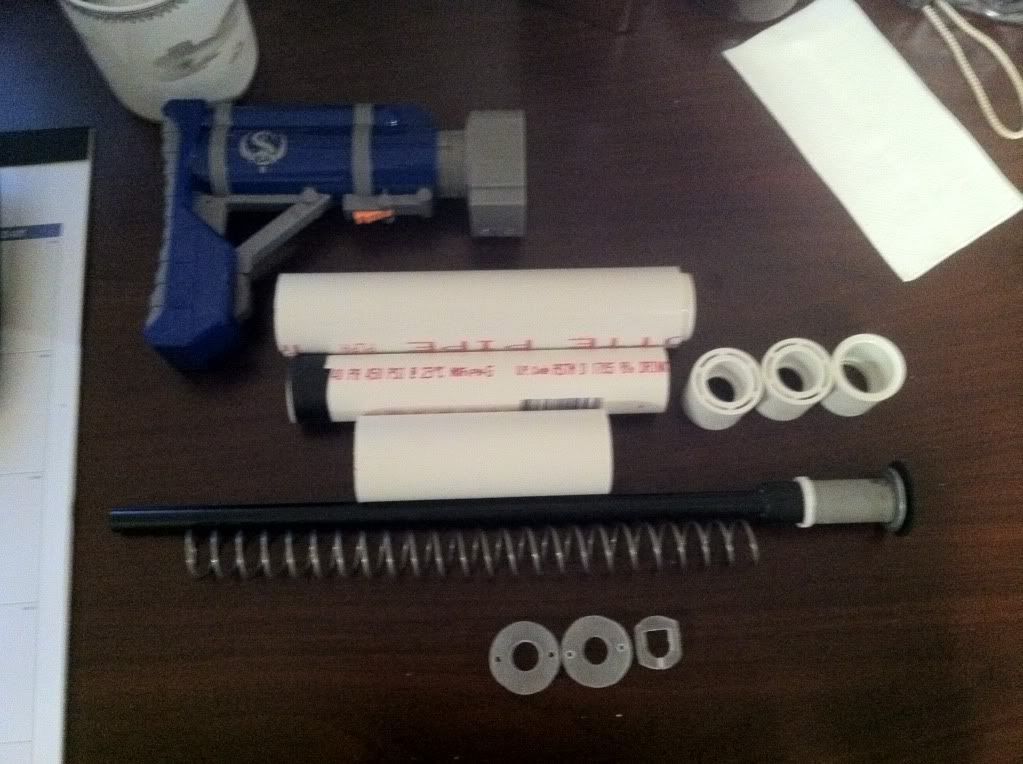
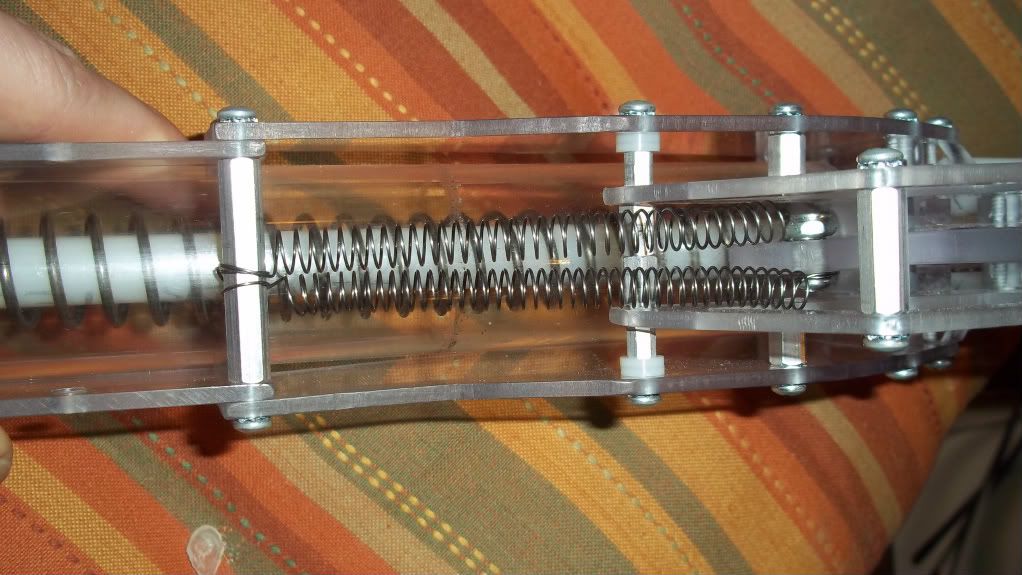
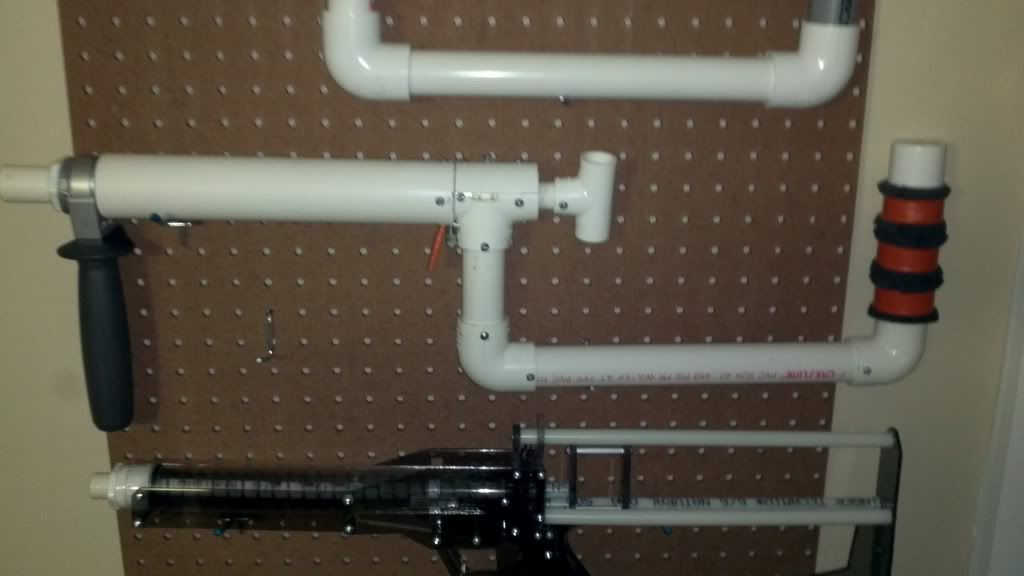
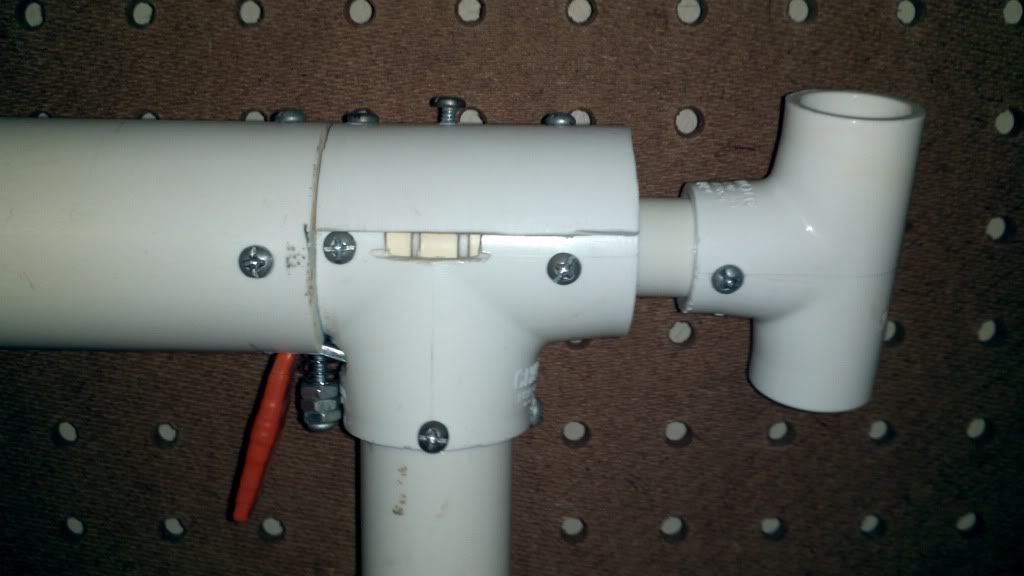
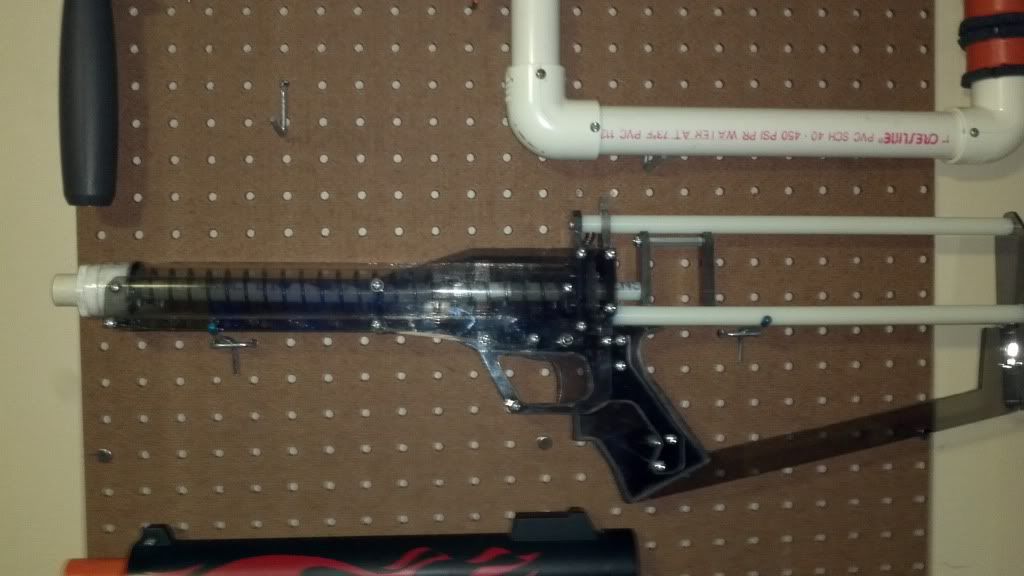
You can see that I have the plunger rod done (except the catch notch, which will come last). This was a real challenge, as in the Fallopian, at least under my measurements (which include 6" draw), there is 13.5" room for a spring. However, the [k25] I'm using is only 11"-that means I need a 1.5" spacer at the front of the plunger rod, behind the head. I used some 1/2" PVC, superglued to the 1/2" delrin plunger rod. However, the [k25] still rode up the PVC, so I made a custom disc out of a PVC endcap (too lazy for polycarb, lol), with a 1/2" hole, and an OD big enough to hold/block the spring, while small enough to still slide in the 1" PVC inner float support. That's the white thing you see. Then there is etape under/to the left of that to stabalize the [k25]/center it.
There's also the rainbow catch I made for it and the SSSB stock I'll be using, similar to Zorn's original build.
I hope to get this finished up tomorrow morning.
Edited by ChaosPropel, 06 January 2012 - 09:45 PM.
#778
Posted 06 January 2012 - 10:49 PM
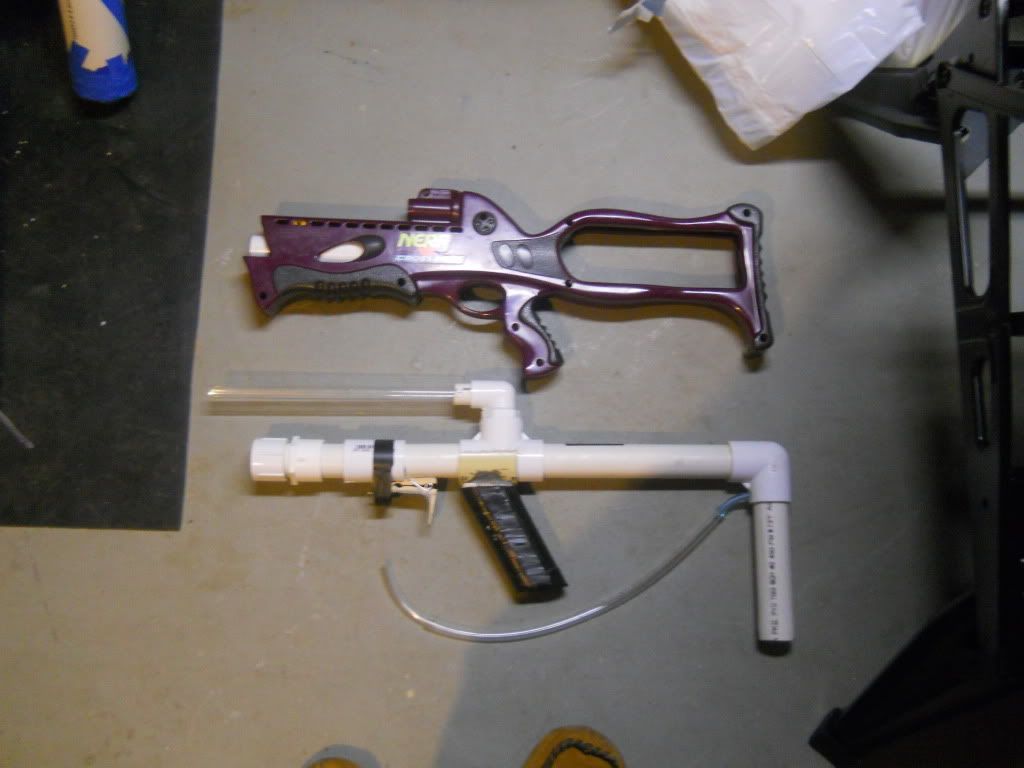
There it is in reference to my crossbow. They look oddly alike, don't they?
Edited by One_long_shot, 06 January 2012 - 10:50 PM.
#779
Posted 09 January 2012 - 06:38 PM
#780
Posted 10 January 2012 - 12:12 PM
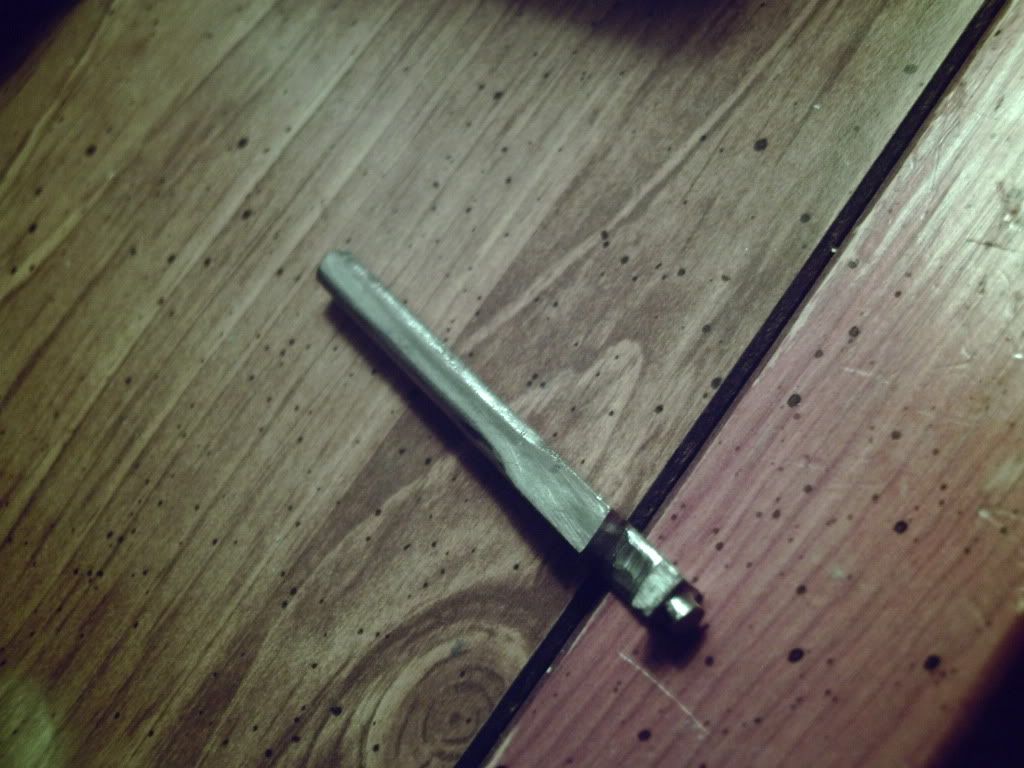
I had the idea of using a Dart Tag Sharpshot catch, handle, and trigger as a replacement for a clothespin trigger on a snap, and he suggested putting a nail through it, and I thought that it wouldn't be strong enough, so I machined this thing out of 1/4" square steel rod.
Edited by Exo, 10 January 2012 - 01:28 PM.
#781
Posted 11 January 2012 - 05:46 PM
Made for Roosky of OzNerf. I really like the tinted polycarb a lot.
Photobucket
Winning rounds is rewarding, deal with it. We don't play fucking patty cake over here.
#782
Posted 13 January 2012 - 02:16 PM
Trigger.
Carrying handle and sight.
Riot shield just for fun:
Edit: Polycarbonate is here and it's getting cut very soon
Edited by the mod man, 17 January 2012 - 08:49 AM.
#783
Posted 15 January 2012 - 01:36 PM
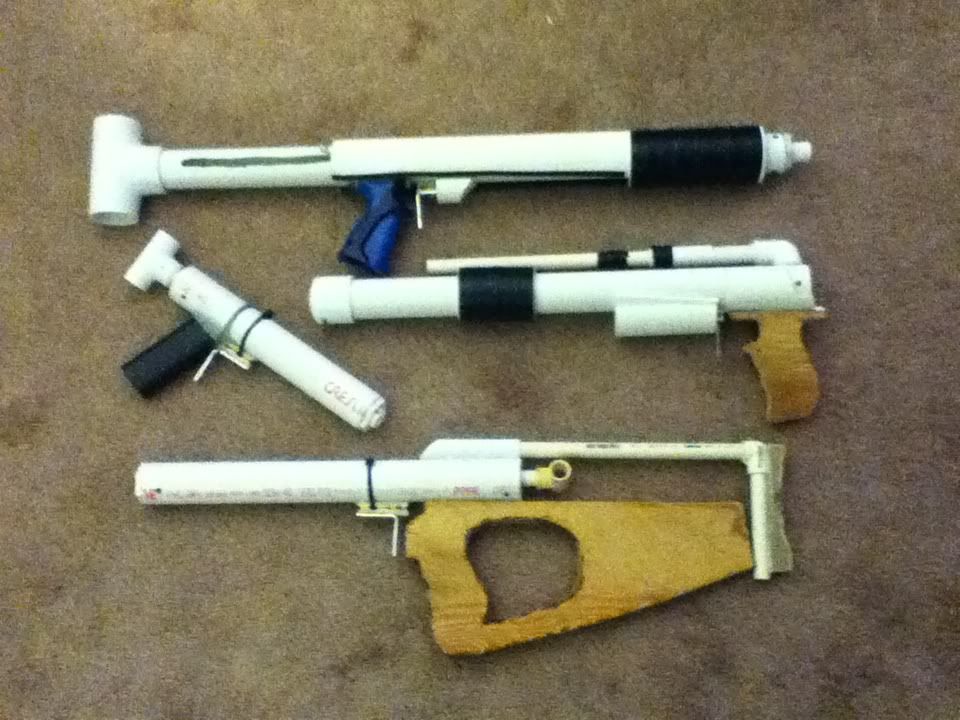
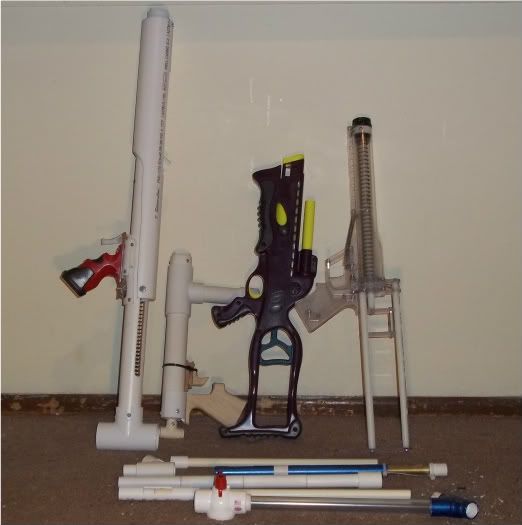
From top to bottom, left to right:
Supa shitty snap revolution:
Doesn't always catch, especially when quickly pumped back
~6" of draw
plunger rod made using 3/4" pvc conduit
Short Snap side arm/secondary:
Very smooth trigger pull
~3" of draw
Powered by 2 home depot NF replasement springs (everbuilt springs?)
Snap 1 style handle using 3/4" pvc
uses 9" CPVC speed loader
Supa dupa shitty mini SanchoPanza:
Powered by 2 Ace 49 springs
3-4" draw
uncomfortable wood handle based off a recon handle(uncomfortable because I haven't rounded the edges yet cause I'm lazy)
Too much friction from the plunger head so it cant move forward fast enough(this will be fixed soon)
was originally going to be mounted under the snap bow on the bottom in the picture
Snap bow
superlative plunger head
super comfy recon handle based thumb hole stock/handle thingy (the fugly gap at the end of the handle/stock piece will be filled with epoxy putty when I get some more
super smooth trigger pull
~6" of draw
currently used with a 14" PVC/CPVC slide breech (shown on SanchoPanza)
6 1/4" vent holes next to where the stock is attached on the top (will be doubled to 12 shortly)
powered by 3 Everbuilt NF replacement springs
Edited by spencerak, 15 January 2012 - 01:38 PM.
Holy shit it's Captain Slug.
#784
Posted 22 January 2012 - 03:10 PM
Uses an extension spring instead of a rubber band. Makes the trigger pull a lot better.
Primed
For posterity. $$$
Edited by andtheherois, 22 January 2012 - 03:13 PM.
Photobucket
Winning rounds is rewarding, deal with it. We don't play fucking patty cake over here.
#785
Posted 22 January 2012 - 07:07 PM
(top)
(underside)
If anyone has any ideas for a feeding mechanism i'm all ears, thanks.
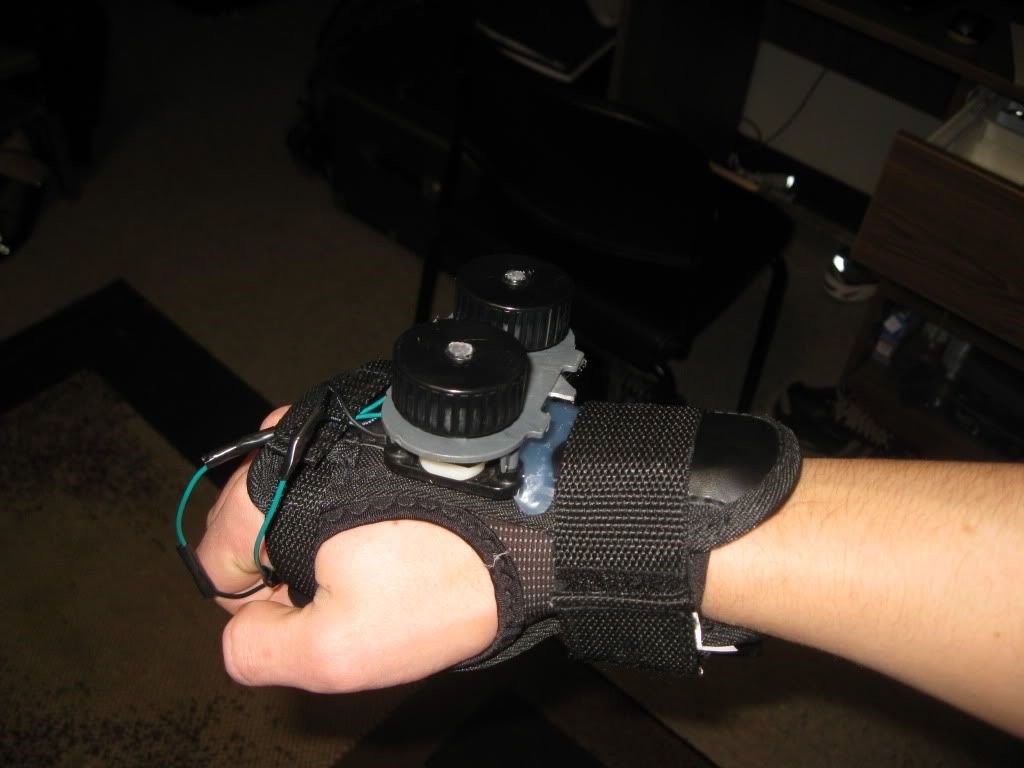
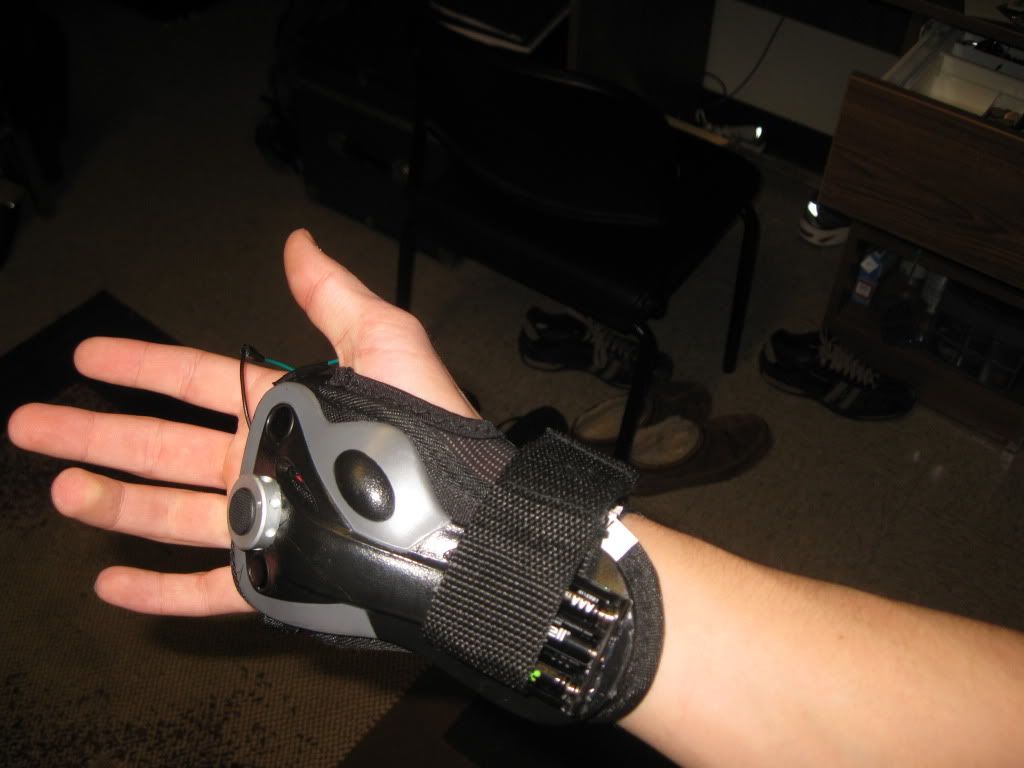
Edit: i mounted it on a wrist guard for skating
Edit: I just posted a write-up for it Wrist Mounted Flywheel Blaster
Edited by Ranger Dave, 24 January 2012 - 02:00 AM.
"Where do I put my but?"
#787
Posted 23 January 2012 - 08:09 PM
Description: PCV and sprinker valve homemade airgun
Caliber: 3b arrows, titan missiles, whistlers
ROF: you could make and eat a sandwich and I wouldn't be done loading it.
Max range: (3b arrows)60 ft (titan missile) 80ft (whistlers) 250ft
Effective range: (3b arrows) 50ft (Titan missile) 70ft (whistlers) 150ft
Accurate range: (3b arrows) 40ft (Titan missiles) 60ft (whistlers) 125ft
Intended use: respect with the neighborhood kids yo!
Loading: Load ammo, pump to 60psi with a bike pump, hit electric switch in handle, powered by 2 9v batteries in a hollowed out clip.
Edited by Flaminace2468, 23 January 2012 - 08:14 PM.
#788
Posted 27 January 2012 - 07:01 PM
I love this thing!
"There is no such thing as over kill! If you can carry it and prime it. You're good to go". -Makeitgo
"Admin Edit: Dumbest Crossbow in existence. Congratulations!" <-- Admin in the Show off your crossbow thread.
#789
Posted 28 January 2012 - 08:32 PM
things painted black to match. Used Psyk's idea of using the firefly handle on the grip. It's comfortable now! I need to pick up some black UHMW next time to go to MMC to swap out with the white.
Self explanatory.
Photobucket
Winning rounds is rewarding, deal with it. We don't play fucking patty cake over here.
#790
Posted 30 January 2012 - 10:14 PM
smaller plunger head
more info stroke 4 inches
springs lanard shotgun nitefinder and a 2 inch by 3/4 id spring
this give me lots of power
ranges 90s
it ways about 5 or 6 pounds because of the 40 screw i had to put in it
Edited by fogeater, 31 January 2012 - 12:53 PM.
#791
Posted 01 February 2012 - 04:39 PM
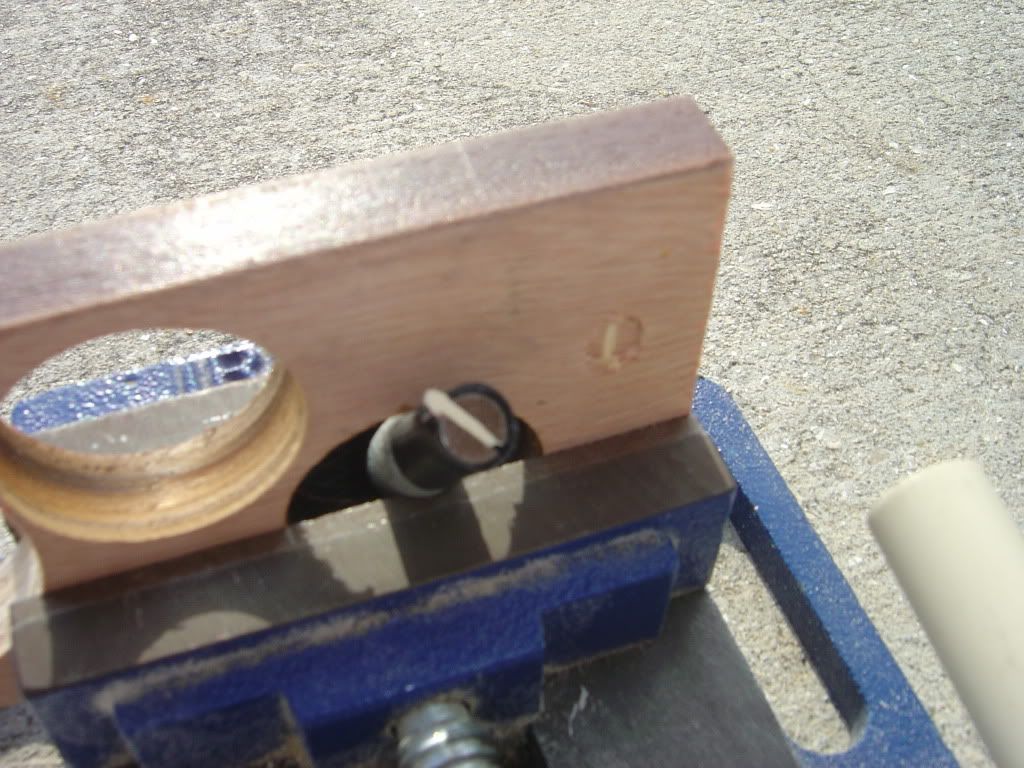
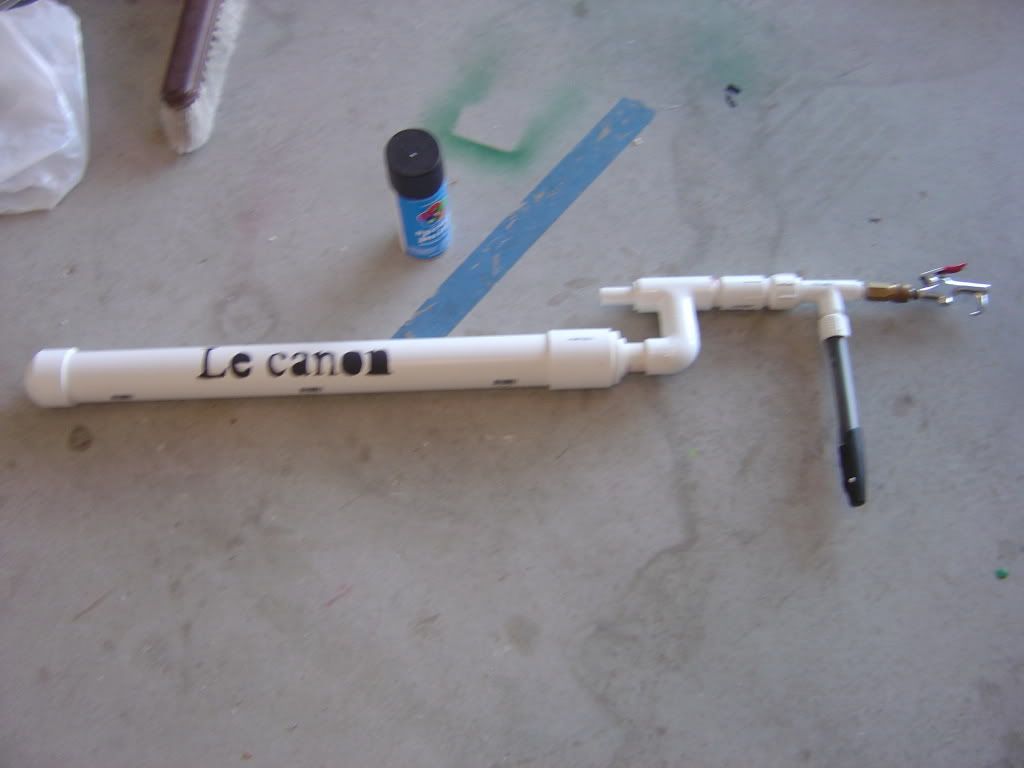
Also created a french cannon of doom. No practical uses have appeared yet thought. Utilizes a homemade piston valve,a two inch two foot long pvc air tank,and a dual action bike pump that takes fifty pumps to get to twenty psi.
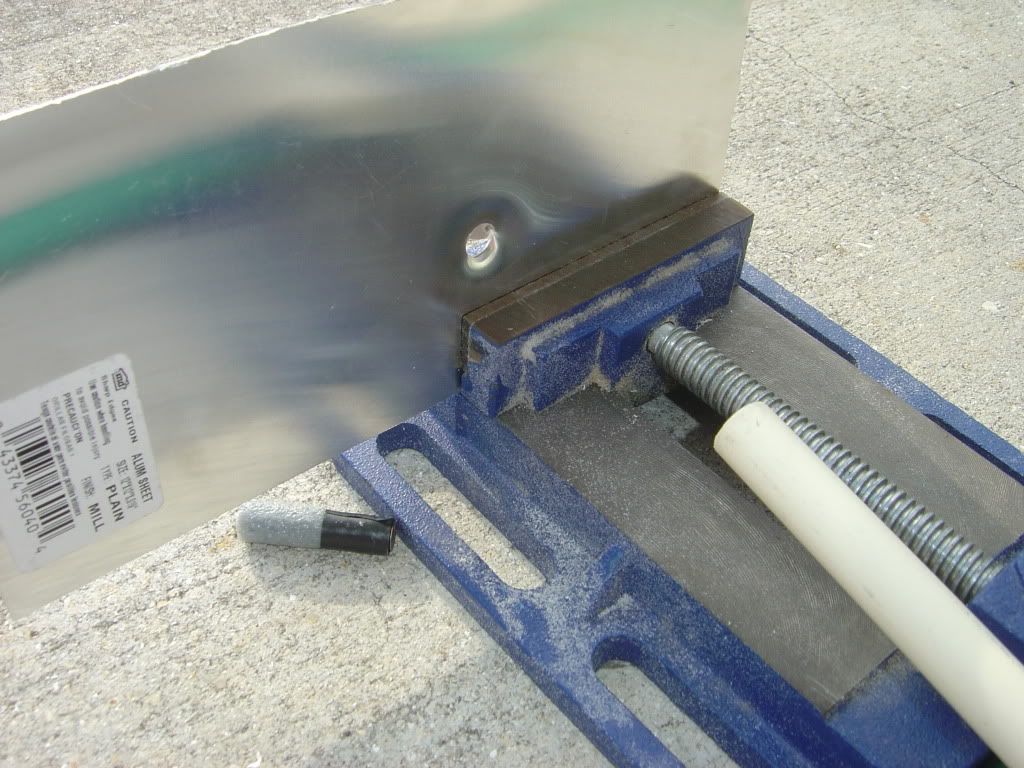
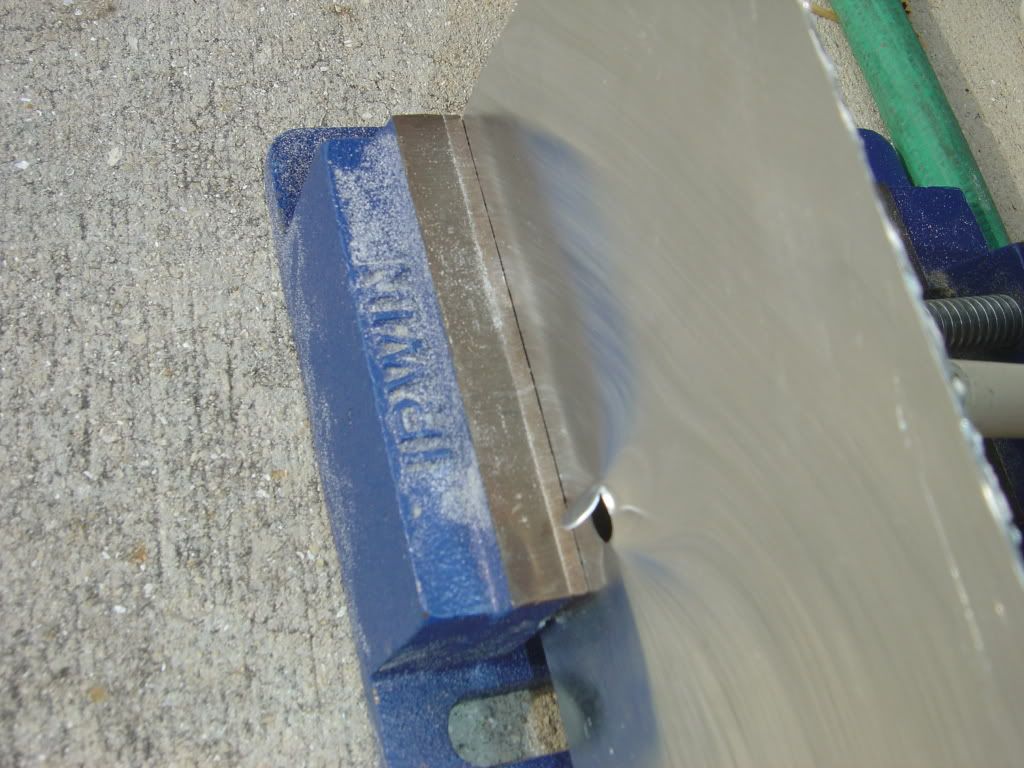
Edit:I've been doing some testing on the power of the cannon.It requires a huge, unwieldy barrel. At less than twenty psi, I shot most of the way through a piece of aluminum sheet metal and dented half inch plywood. Although I was using a dart with a screw jammed in it and wrapped in e-tape, it was still impressive.
Edit 2: I do not even relatively plan on aiming this anywhere near a living organism. I built it for the fun of it and to experiment with piston valves. To even aim it at a person I would have to shotgun it over forty times.
Edited by rego, 19 April 2012 - 05:48 PM.
#792
Posted 03 February 2012 - 09:25 AM
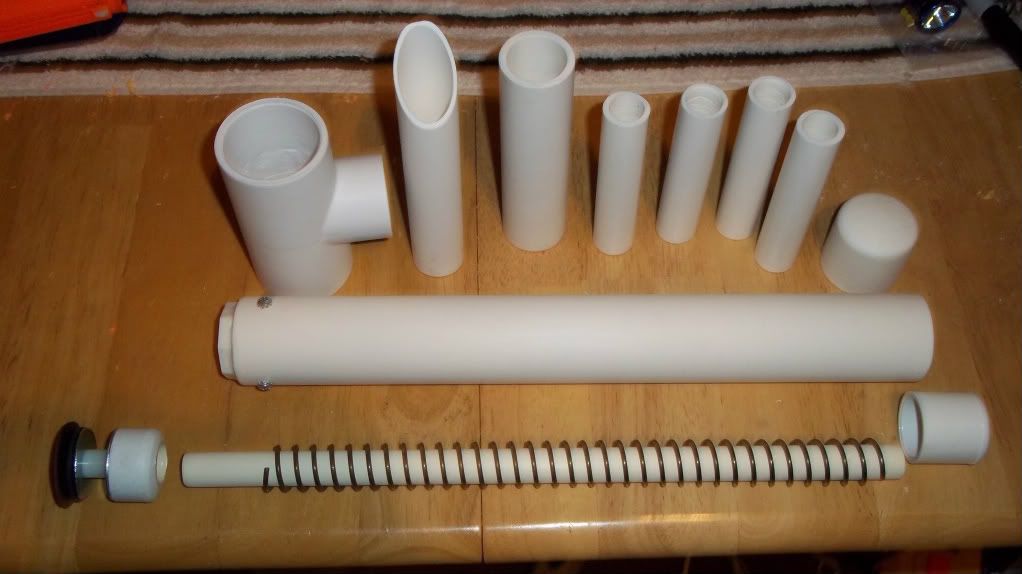
I couldn't find 1.5" Thinwall PVC, so I had to use two 1.25" couplers, sanded out and bolted to a 2" pump slide. The extra PVC makes it slightly heavier, but the extra-wide grip is nice.
I used a Scout grip for the handle. It's mad sloppy because of several different attempts at getting the trigger to catch properly. I don't like using L-brackets as triggers, so I used a scrap piece of 1/4" polycarb. The sliding trigger takes some getting used to, but it works great and I haven't had a misfire yet.
This is my take on the SNAPbow Mk5. The design is great, except for the dependence on hot glue to hold the forgrip onto the body of the blaster. So I sanded out a 1.25" tee that reduces to 1" for the foregrip and solvent welded it all together. It's rock solid now and I never have to worry about it coming off.
Here's a close-up of the CPT
The entire handle and CPT assembly is entirely mechanically fastened, excluding a bit of hot glue to keep the clothespin from wobbling around. There's a 3/8" screw bolting it to the body of the blaster for actual support. I used my leftover +Bow templates or the handle, which is made up of three different pieces of wood that I scrolled out and bolted together.
Here are some components of the SNAPbow pre-assembly. I took the time to ladder sand every piece (80 grit to 600 wet-sanded to finish). The blaster is "soft" to the touch and I really like how smooth the draw is.
I'm not a fan of using a plunger head with an epoxy putty ramp, so I went with the combination plunger head from snakerbot's write-up (or whoever came up with it). I've found that 3/4" PVC endcap ramps give me a much more consistent catch and are easier to fabricate (personal opinion). I use this head in all of my SNAPs and it gives me a great seal every time.
I use a full [k26] that hits almost full compression. I compressed the spring fully inside the blaster and marked on the plunger rod just outside of the 3/4" PVC spring rest. I then drilled my CPT hole accordingly. (See Louiec3's method here)
Hopper with a 1' clear magazine and a 16" CPVC barrel nested inside of 1/2" PVC. Standard stuff. I have yet to add a stock, but I'm thinking that I will use a chopper instead of a hopper, integrated into the stock.
Here's my +Bow with the same 16" barrel and hopper. It was my first homemade that I made about a month ago but haven't had a camera to post pictures of. I'm really happy with how cleanly it came out.
I use two extension springs bolted to the trigger to give it a very crisp pull. The dual spring set-up keeps the trigger and catch nicely centered.
Since everybody's doing it:
(Thank you andtheherois for the sealing tips on the front bushing)
Lastly, a group picture of my four favorite blasters with various barrels and hoppers:
I included the X-Bow (Zelda) because I'm thinking about homemade internals. Not sure yet if I want to make them myself or contract them.
Edited by Xellah, 03 February 2012 - 01:24 PM.
#793
Posted 03 February 2012 - 06:15 PM
The owner is my 8 year old brother, who can barely prime it LOL. Powerful, but not so much that he cant use it in the house.
I'm the only respectable person here. The rest of the NIC are pretty much just child molesters.
AKA: ObiWonTwo on Nerfrevolution, and most of the rest of the internet for that matter.....
#794
Posted 06 February 2012 - 09:51 PM
First homemade ever! Thanks to Ace!
#795
Posted 10 February 2012 - 08:05 AM
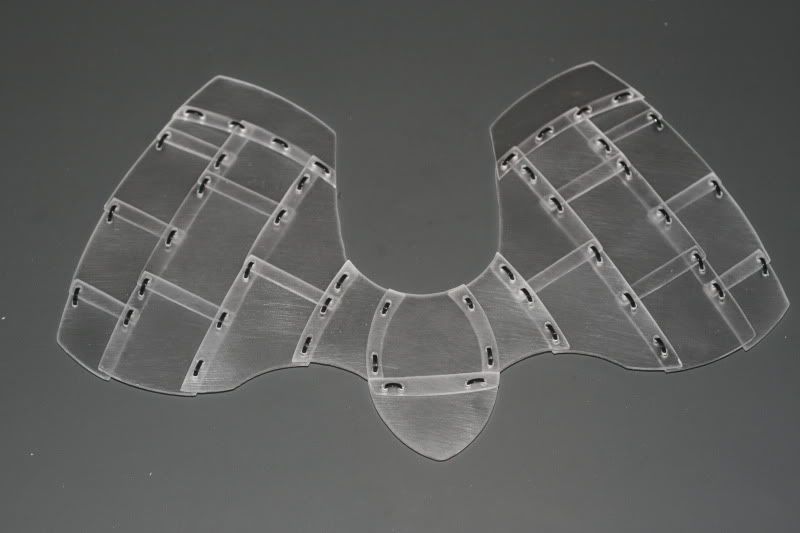
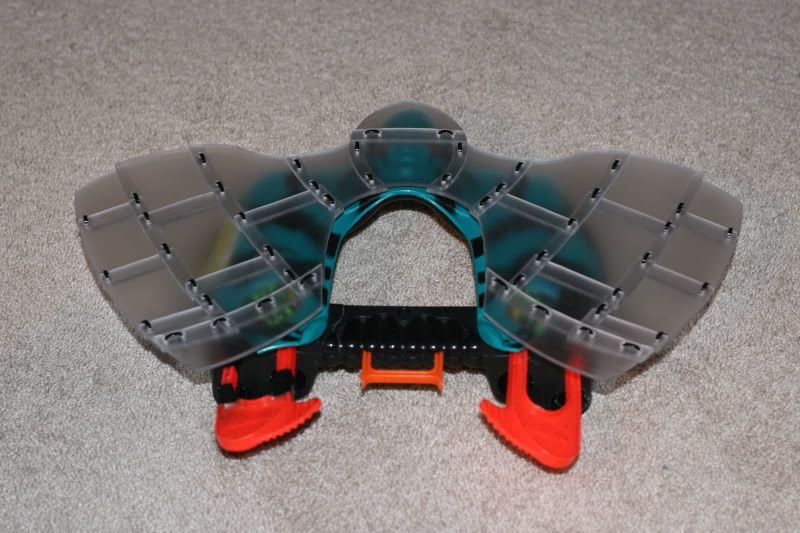
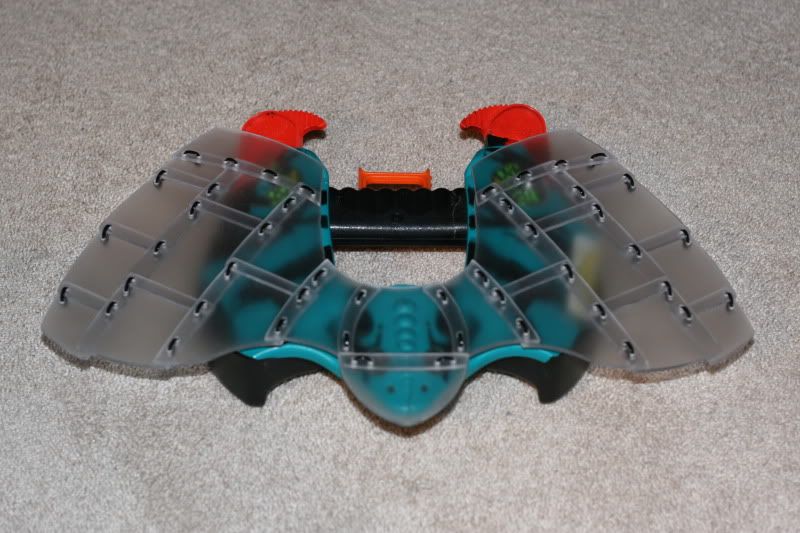
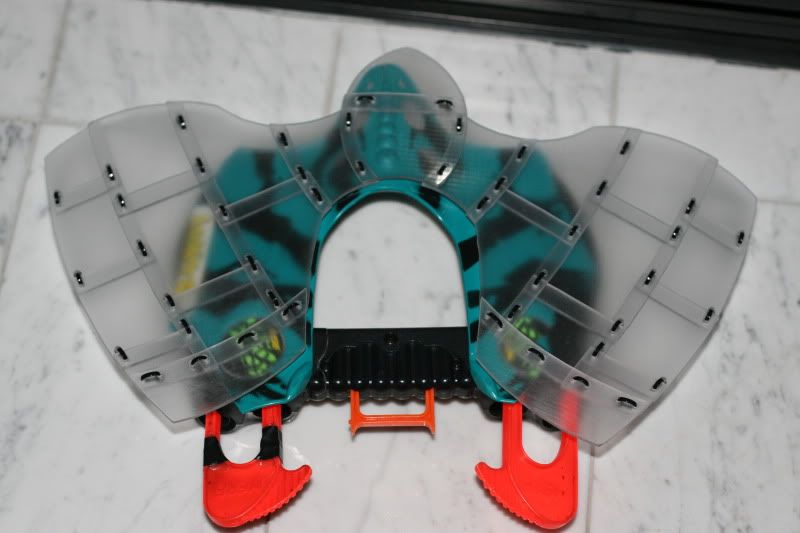
This item is for sale, and it is likely I'll be producing these shields in numbers if there is enough interest for them. PM me with serious offers. I ship free to the USA, and I ship half price internationally. This thing is fairly light and can be broken into smaller parts for shipping with extreme ease, which greatly reduces the shipping cost.
Compared to my SadManta. No explanation of the name is needed.
#796
Posted 11 February 2012 - 04:26 PM
#797
Posted 11 February 2012 - 09:15 PM
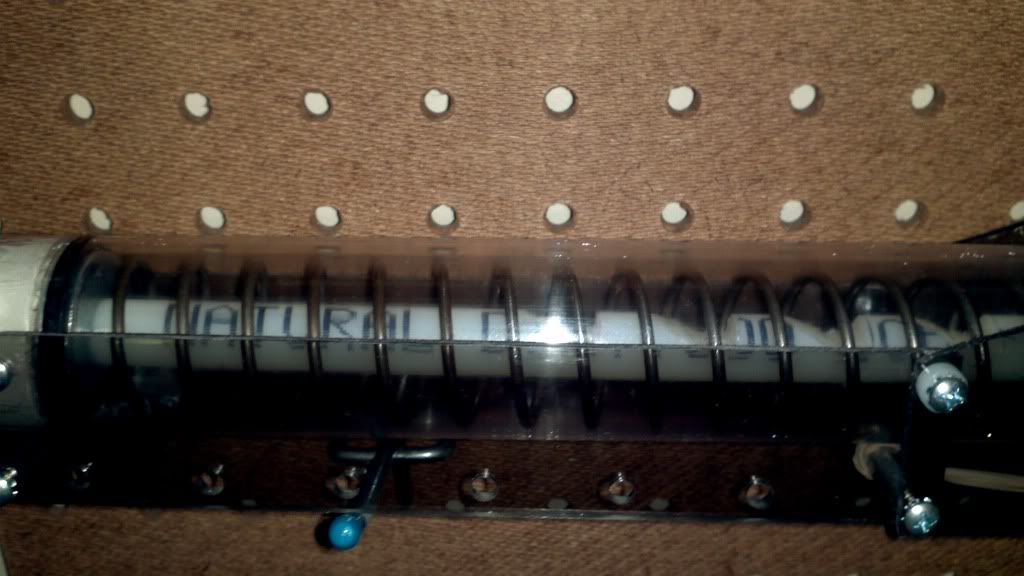
My main homemade and first primary.
Writeup can be found here
My first plusbow, currently with a K18 for Grid Code. All cuts were made with a drill press with a bit that has lateral cutting groves.
And finish today is a Par55 that will be going to Nerfaholic.
Flat flush fronts are extremely sexy. (I got really lucky)
I contract R2L's and Par55's like the one's in my writeup, pm me for pricing.
EDIT:
Update on my plusbow with a new front attachment.
Attaches any N-strike rail to the bottom. For example my Cyclops with a shotgun adapter.
Grid Code here I come!
Edited by SlightlySane813, 13 February 2012 - 07:20 PM.
#798
Posted 16 February 2012 - 08:37 PM
Turbotron's LpL (white) along with Keo's (blue).
Keo's handle is superior in every way.
Photobucket
Winning rounds is rewarding, deal with it. We don't play fucking patty cake over here.
#799
Posted 21 February 2012 - 02:39 AM
CNC milled aluminum pumpbow sideplates. I hand-polished these for hours.
Youtube
LS and Retaliator boltsleds are currently available at https://www.facebook.com/RoboM8/
#800
Posted 21 February 2012 - 11:43 PM
Photobucket
Winning rounds is rewarding, deal with it. We don't play fucking patty cake over here.
1 user(s) are reading this topic
0 members, 1 guests, 0 anonymous users