Definitive AABow
Preface
This is my entry into the Spring into Homemades writeup contest. I noticed while looking for a first homemade to build that the AABow seemed simple enough, but there weren't any good instructions for making one. Kane's updated writeup is well done but his design is flawed. This design requires less materials, less glue and can be built entirely with materials obtained from Lowe's/Home Depot. To begin, though, I'm giving credit to WARnerfmods on youtube for designing this. Linky. However, all he made was a video that was pretty long and didn't give any measurements or actual step by step instruction on how to build it. I believe this to be the single best AABow design out there, and here's why.
Cost
I’m not sure exactly, but I’d guess around $30 USD. I probably spent $35-45 CAD to make this but the Canadian dollar is pretty worthless right now so you should be able to find all the materials for much less than I did. Also, if you spend a couple extra dollars for duplicates of some parts like the washers, you will have enough materials for two bows.
Materials
Body and Plunger Rod
3/4” PVC- 16” length
1/2” CPVC- 15 1/2” length
1 1/4” PVC- 16 5/8” length
3/4” PVC endcap- 1
3/4” PVC tee- 1
Bow Arms
3/4” PVC cross- 1
3/4-1/2” reducer- 3
1/2” PVC- 5' length
Rope rated to at least 90lbs to be safe
1/4” ID 3/8” OD vinyl tubing (or whatever fits your string, thinner is better, I wouldn't go larger than this)- 4” length
1/2” PVC endcap- 2
Plunger Head
1/2” CPVC endcap- 1
1 1/2” rubber washer-1
1 1/4” rubber washer-1
1 1/4” OD 3/16 ID metal fender washer- 1
#8 finishing washer- 1
10-32 bolt- 1
10/32 nylon locknut- 1
6/32 machine screws- 3/8” long- 4
General
6/32- 1/2” machine screws
Tools- Required
Drill
Dremel with sanding disc and drum (or some other way to cut slots)
File/Sandpaper
Pipe cutter
Hacksaw (or some other way to cut 1 1/4” PVC)
Adhesives- Goop, superglue/epoxy/solvent weld
Packing tape
Knife or scissors
Rubber mallet
Lube (I used Super Lube, but white lithium or silicone greases are also great)
Wire (I used 20 gauge hardware wire from the dollar store)
Tools- Optional
Band saw/scroll saw
Drill press
6/32 tap
10/32 tap
6/32 countersink
Architect’s Ruler
Circle-drawing jig
BOW ARMS
Step 1
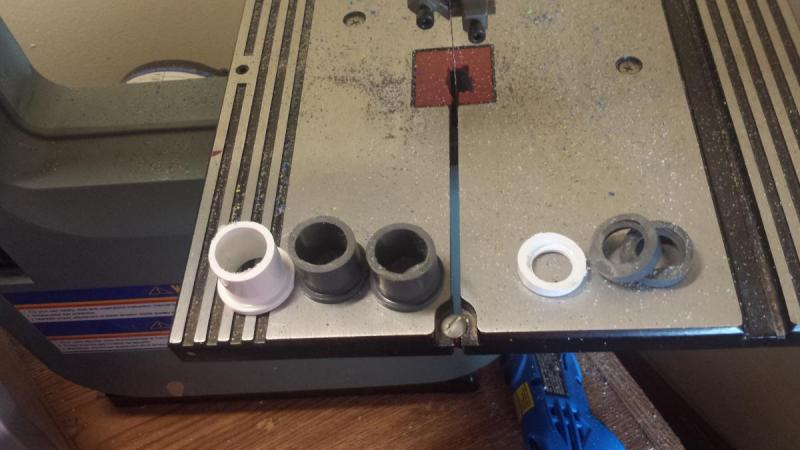
Take your 3 reducers and cut the ridge off the end. It doesn't have to be pretty.
Step 2
Take one of your 3/4” endcaps and cut both ends off. If you have one where there is no lip on the end and it already fully slides into 1 1/4” PVC then you only have to cut the back off. You could also use any scrap coupler for this, as long as you end up with a piece that is effectively a ring of a 3/4” coupler at the end.
Step 3
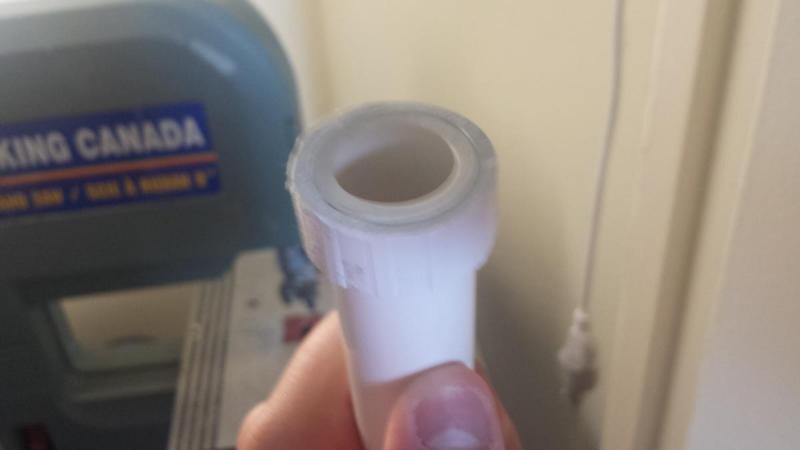
Hammer this piece onto a length of 3/4” PVC about 1 1/2” long.
Step 4
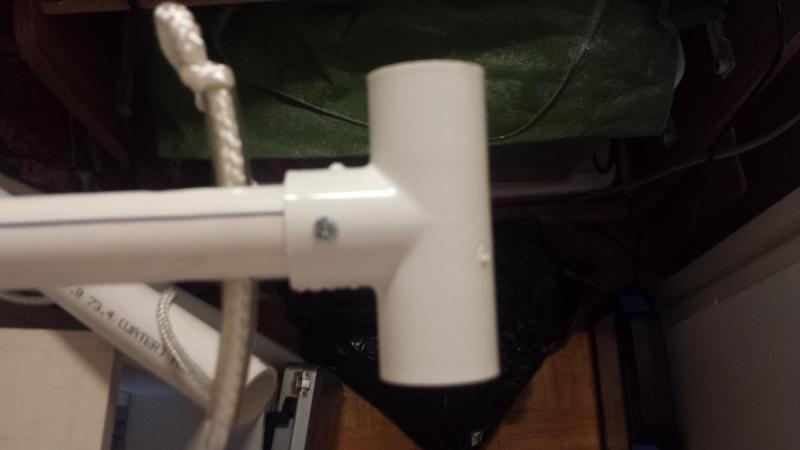
Take the piece from step 3, the 3 reducers, the 3/4” cross and some epoxy/solvent weld/superglue and attach them all together. Also, wrap the back end with packing tape until it fits into the 1 1/4” PVC.
It should look like this:
Step 5
Take your length of 1 1/4” PVC and use the goop and 4 6/32-3/8” machine screws to attach the cross inside. If you tap the holes for the screws they should be airtight but you can also goop the screws for the same effect.
Step 6
Take your 5” of 1/2” PVC and mark a dot at the midpoint (2 1/2’). Then, mark a line about 1 3/4” away from the dot on both sides. This will allow you to easily get the cross/PT assembly exactly in the center of the arms.
Step 7
Take the rest of the 3/4” PVC and cut slots for the bowstring. The slots should be as long as you want your draw to be, with these measurements you get approx 12” of draw. This is much more exact if you mark off the quadrants with a circle-drawing jig and extend the lines with an architect’s ruler. I used a dremel to widen the slots but I’d recommend a file instead, should be cleaner. The slot needs to be a little over a 1/2" wide.
Step 8
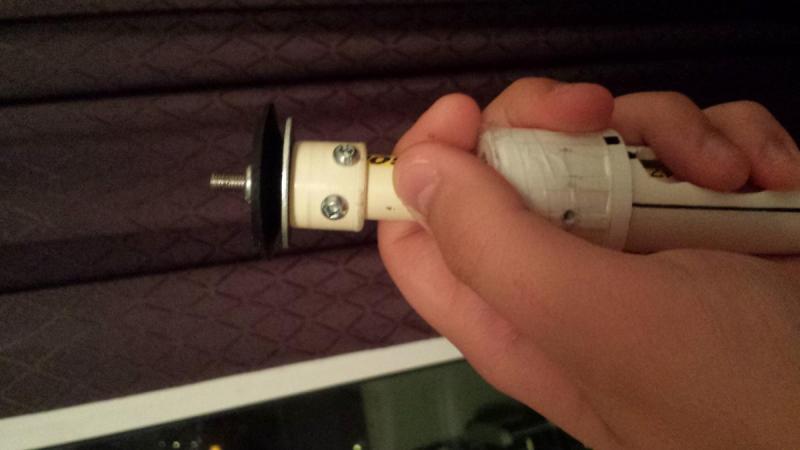
Assemble your superlative plunger head by drilling a hole in the center of the CPVC endcap; the order of the parts is 1 1/14” metal washer, 1 1/2” rubber, 1 1/4” rubber, #8 finishing washer (remember to put it on with the round side down), 10/32 nylon locknut. Then, attach it to the rod with 4 screws.
Step 9
No image of this, but dremel down the sides of the PVC arms in the center (the part that will end up inside the cross at the end) about 1/16" or 1/8". This will improve airflow. DO NOT DRILL A HOLE THROUGH THE ARMS. That only works with a pipe running through the entire assembly, which this design doesn't have.
Step 10
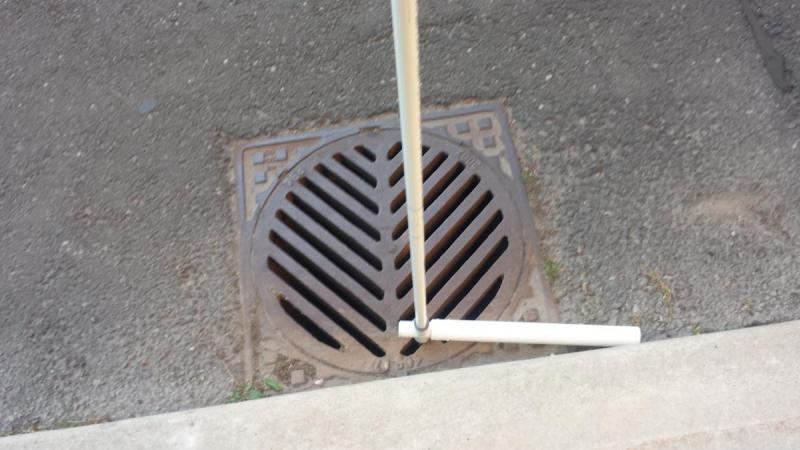
Find a sewer grate. Yeah, sounds ridiculous, but let me explain. For this next part you need a place where there is a hole in the floor and about 2 1/2’ of space under it for the bow arms to end up as you hammer them down. A sewer grate fits the bill nicely. Take your rubber mallet and hammer the bow arms into place, using the marks we made earlier as a guide to know when to stop.
Step 11
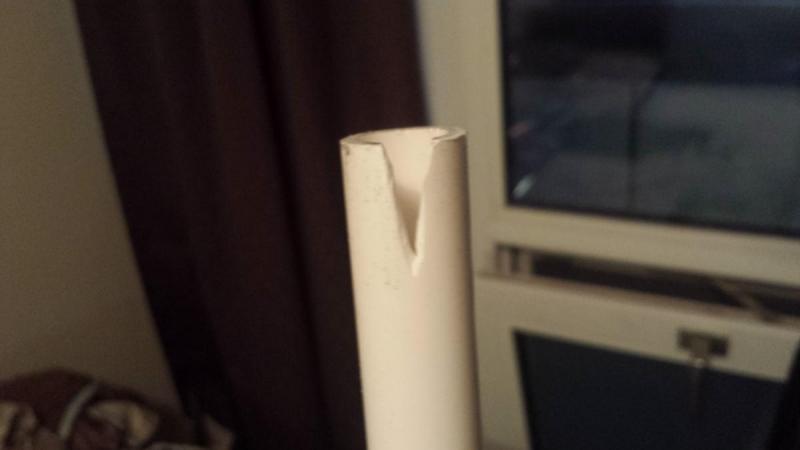
Cut v shaped notches in the ends of the bow arms, making sure they’re pretty perpendicular to the bow. Make sure they’re deep enough so the caps can go on after you add the string. I've seen some bows where these are cut in both sides and the knot ends up on the far side. That's probably better, but this works fine. I'll update the writeup when I make another one where I'll test that idea.
Step 13
Take the second endcap and drill a 5/8” hole in the center, then sand it out lightly until the plunger rod slides loosely through it. Wrap it in tape until it fits in the plunger tube and put it in with the end that’s usually closed facing towards the front. Drill a hole on each side for a 6/32 screw (7/64 bit) and tap the holes if you want.
Step 14
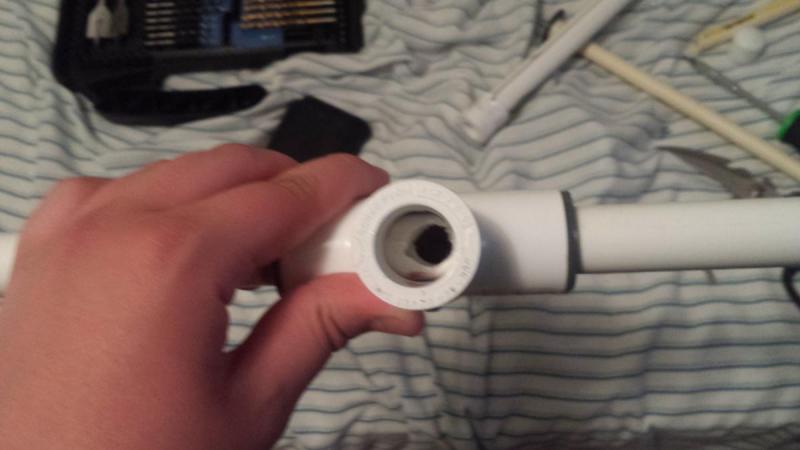
Lube up your plunger head and assemble the bow. The slotted piece of 3/4” PVC will be placed into the endcap., and the 3/4" tee will be placed on the back perpindicular to the bow. My tee was a very tight friction fit so you probably don't need screws here but I added one on each side anyway.
Step 15
Drill a hole near the back of the rod just large enough for your vinyl tubing. In my case I used a 9 3/2” bit and widened it a bit with a knife. Make sure that the hole is placed such that the vinyl tubing will stop the rod just before it hits the front. This makes the bow dry-fire safe and doesn’t cost any performance because the volume is so large and there is about 12” of draw anyway.
Step 15
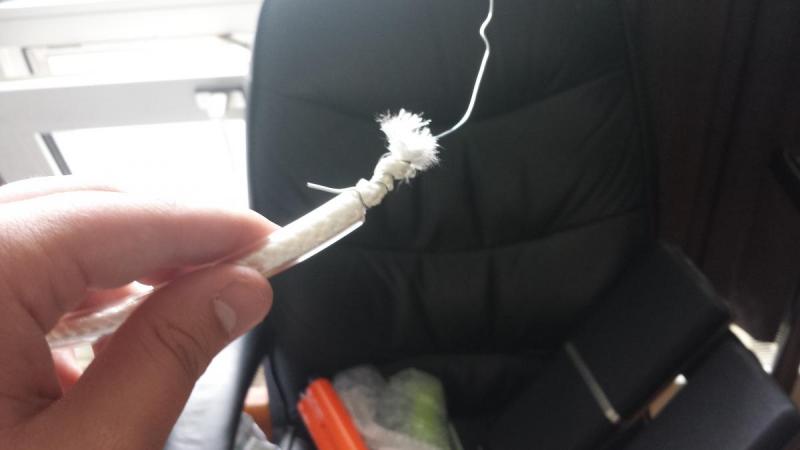
Tie a knot on one end of the string and put it into the bottom notch. Then twist some wire around the other end and pull it through a 4” long piece of the vinyl tubing.
Step 16
Remove the wire and eyeball a length of string that will work. Make a knot in it and keep tying knots farther down the string until you have your desired level of power. You can tie multiple knots for different power settings if you want. Add the caps on each end to be sure the string won't come out and to make it look cleaner. You could add a screw to each cap, but I didn't. I might in the future if the cap ever comes off on me.
Now you’re done! I haven’t tested ranges yet because I didn’t have the right washer on hand to make the seal, but since it has 12” of draw it should be hitting well over 100’ easily like most homemades.
Edited by The2ndBluesBro, 03 June 2017 - 10:53 PM.


