
We double down on this blaster, of course. It just needs more time invested into it.
Before getting to the dissection and modification section, I'll post basic performance numbers here. All test shots were done with Elite streamlines, with at least 30 shots out of each barrel.
-Avg. dart speed - 54 fps (right barrel), 45 fps (left barrel)
Out of the box, with a few screws loose, you can see how simple the blaster is in operation. You prime the blaster like a Nitefinder or Firestrike, and then you pull the trigger.

The plunger follows the style of the Jolt, Triad, Cycloneshock, and other previous blasters. The ridge at the back of the plunger head is what engages the catch mechanism. If it ain't broke, don't fix it, right?
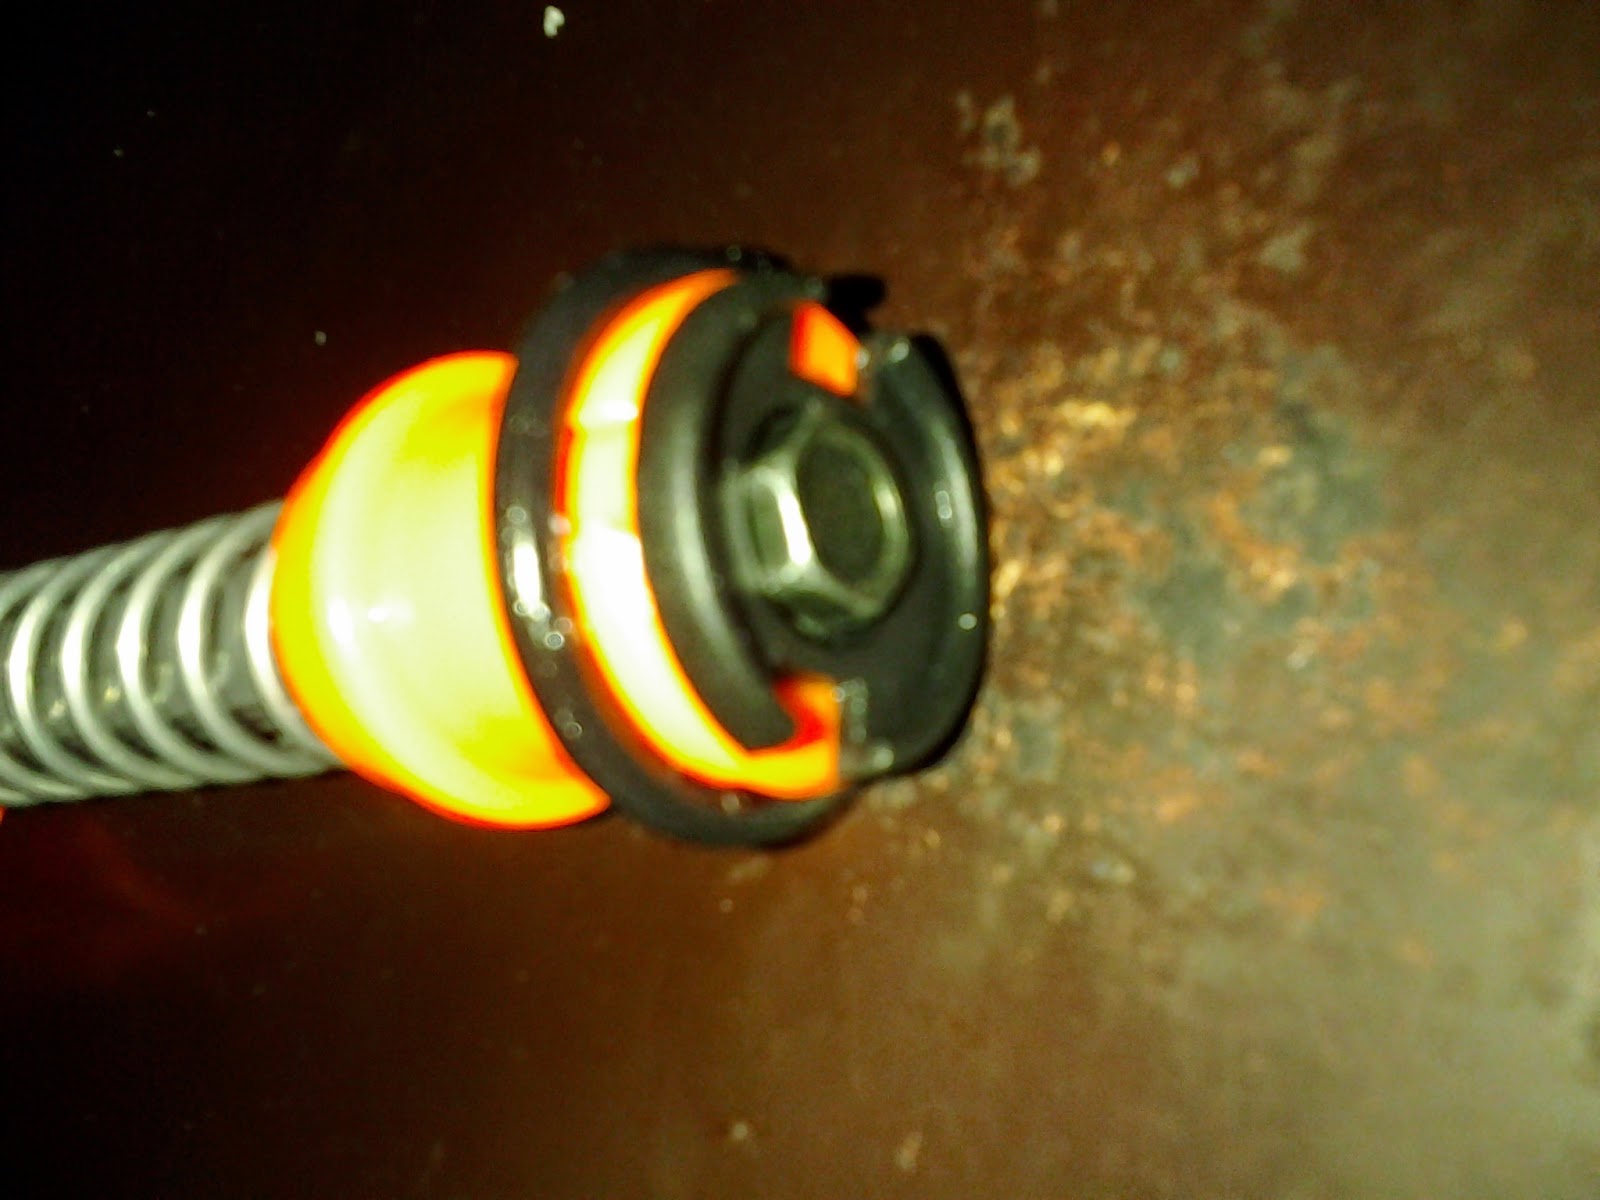
^This was after modification, where I used larger hardware to secure the plunger head.
To start our mod, slice up the plunger tube after removing all the innards. We're going to be replacing most of it. If you wish, you can keep the dart chambers for slapping onto other projects. I chose just to discard them.
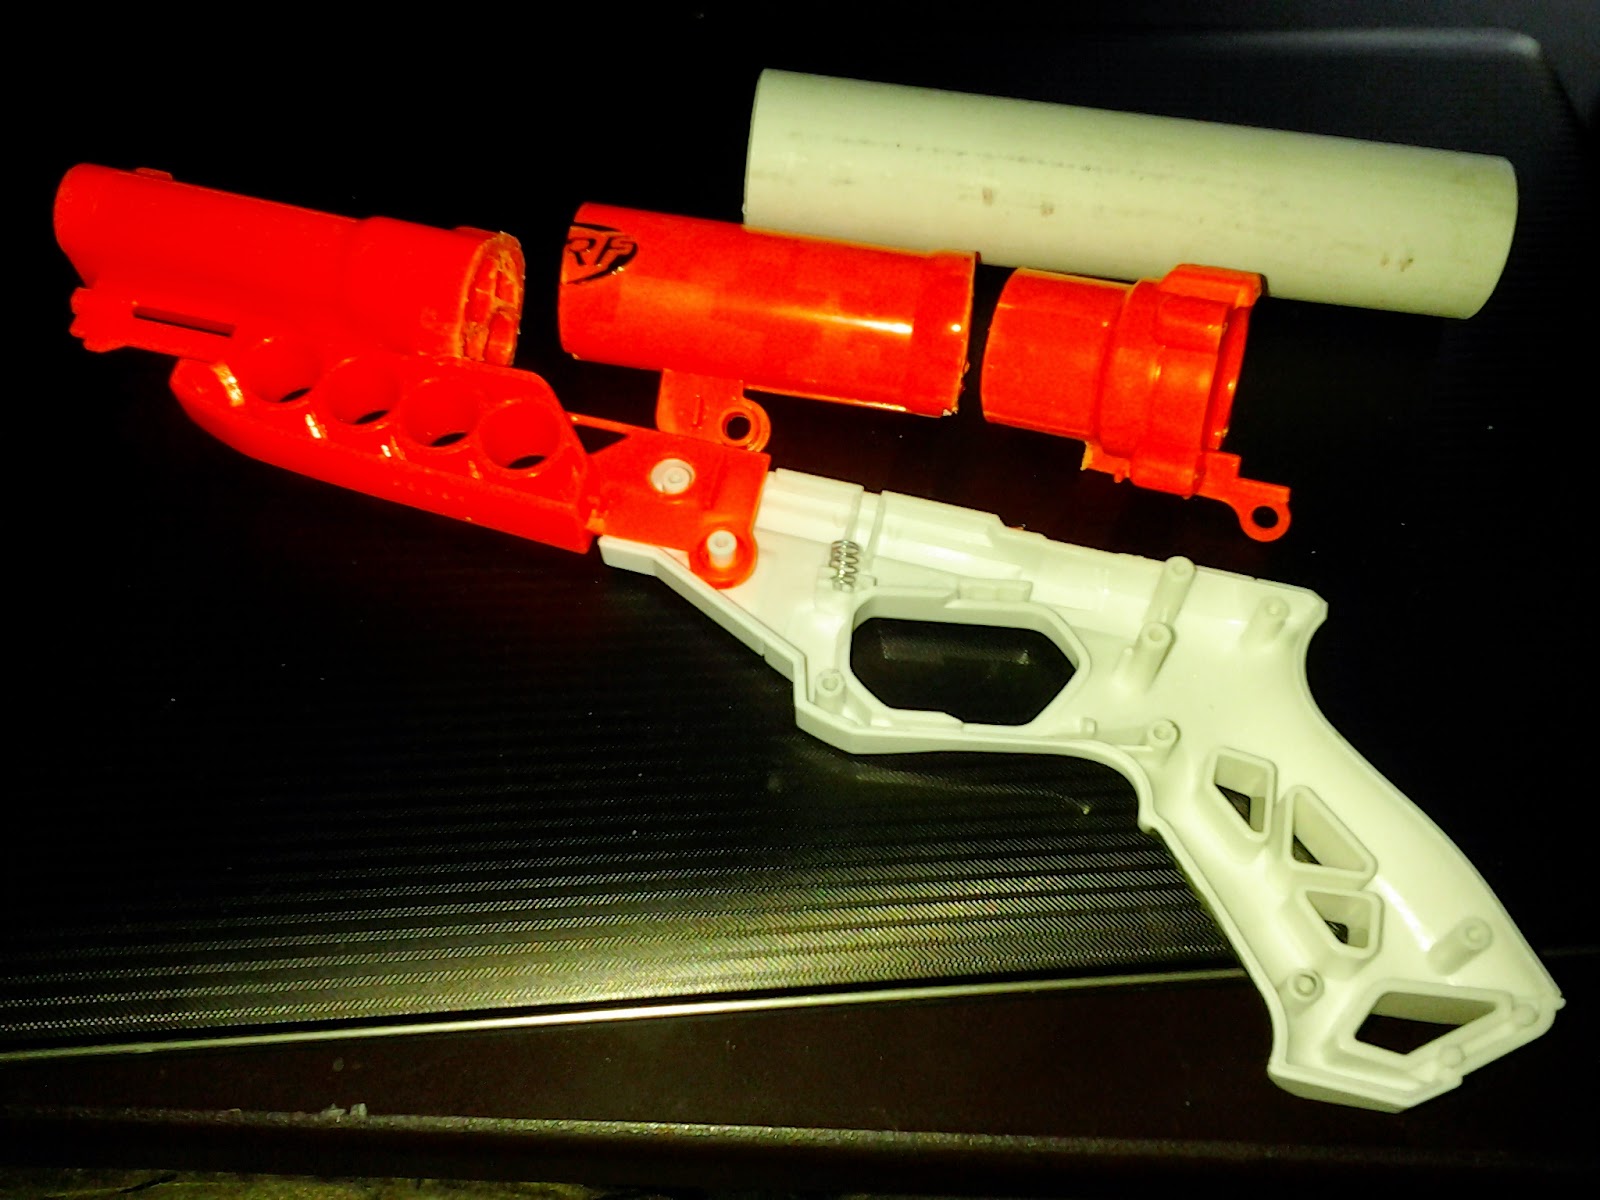
I kept the front "rail"/ammo storage piece, and sanded down the top surface until flat. I then added a new plunger tube - a 5" piece of thinwall 1" PVC pipe. I plugged the end with a 1" x 1/2" CPVC bushing, wrapped a couple times with vinyl electrical tape, and super glued into place. Using screws is also a viable option. Hold off on using any adhesives or screws until you know everything fits together!
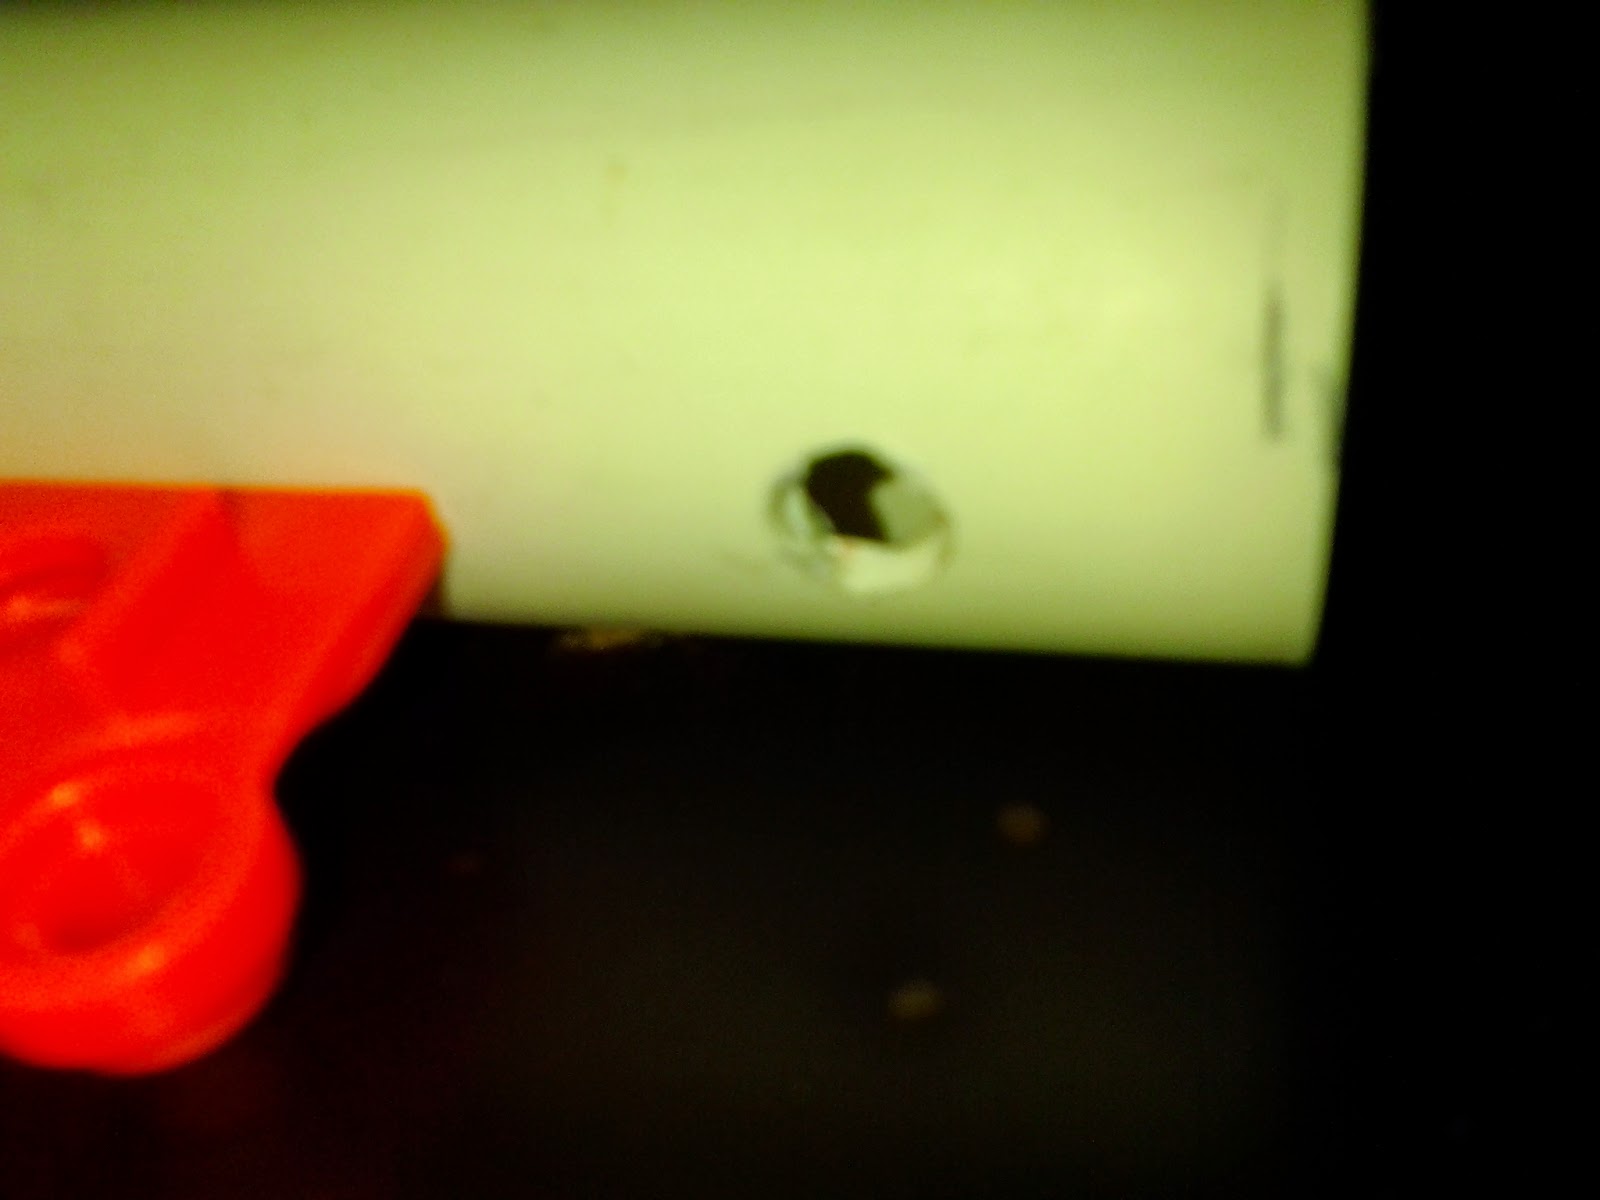
You also need to drill a 1/4" hole near the rear, for the catch piece to slide through.
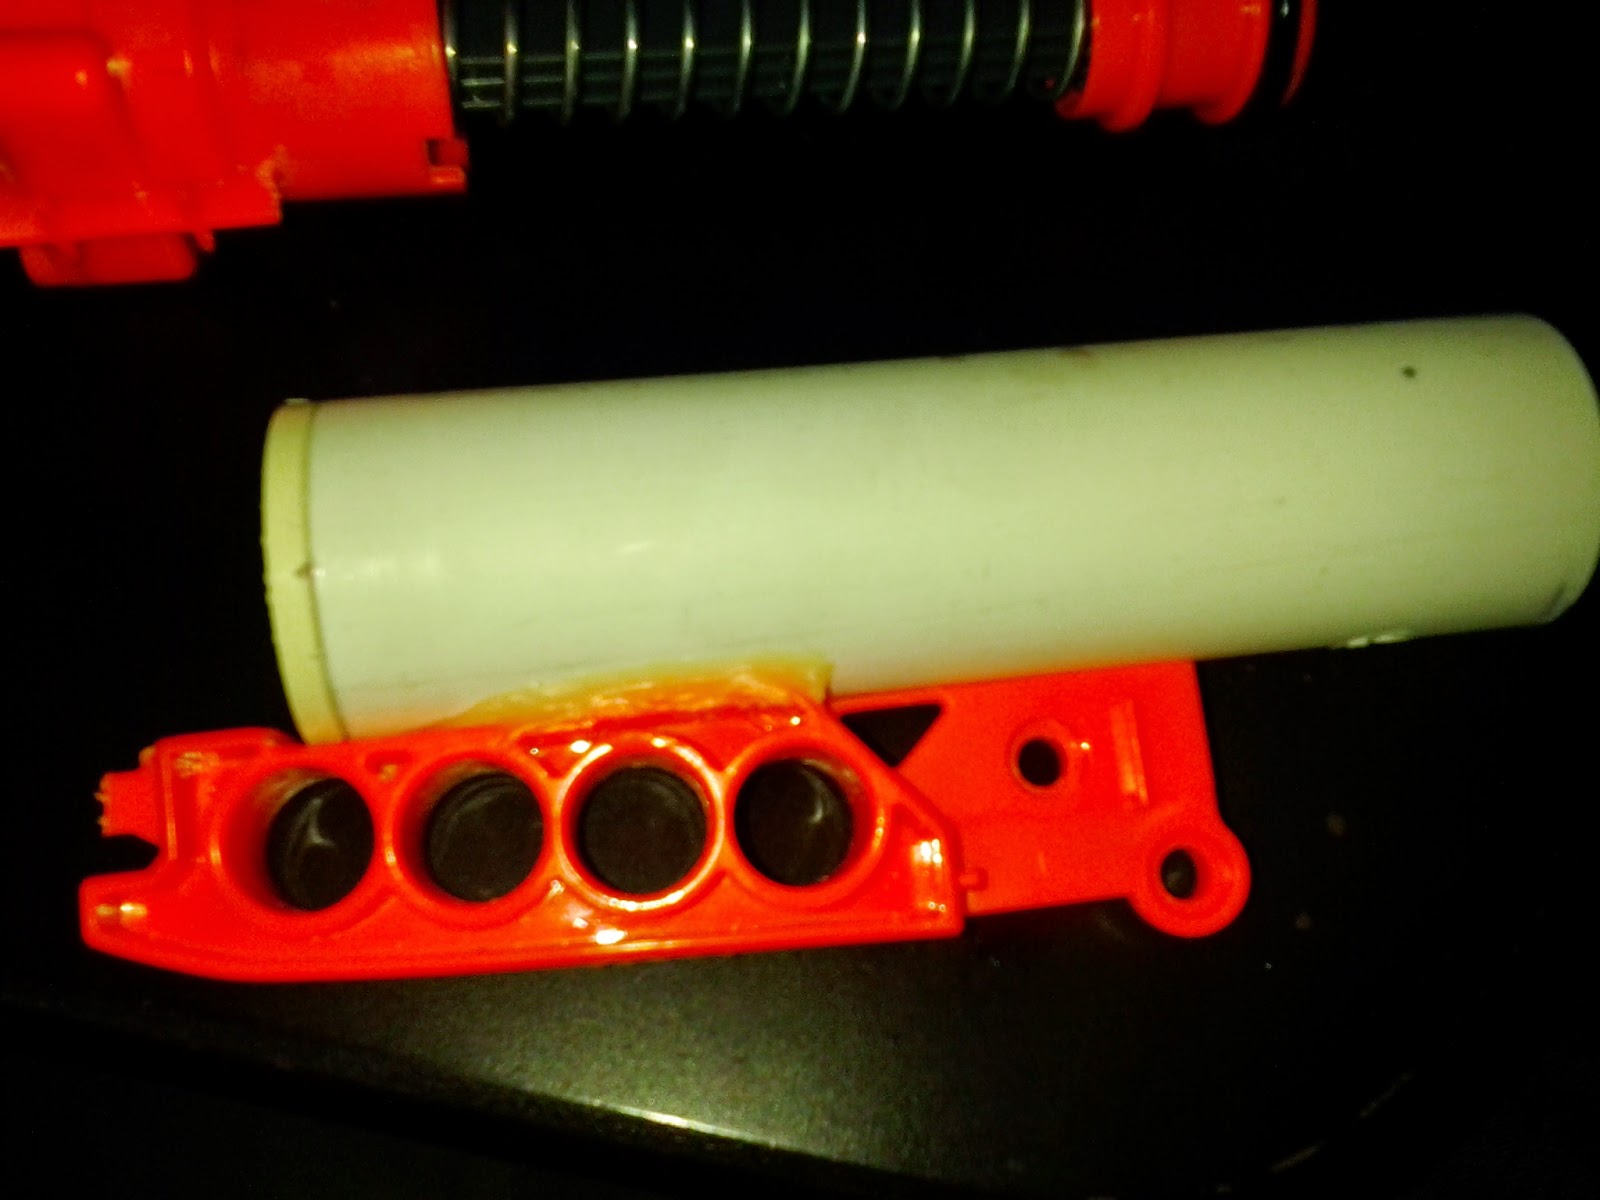
I traded the stock spring for one measuring 5/8" OD, 1/2" ID, cut to 5" in length. I believe it came from Menards, but I'll have to check again. The (former) rear of the plunger tube should slide into the new one with a nice friction fit.
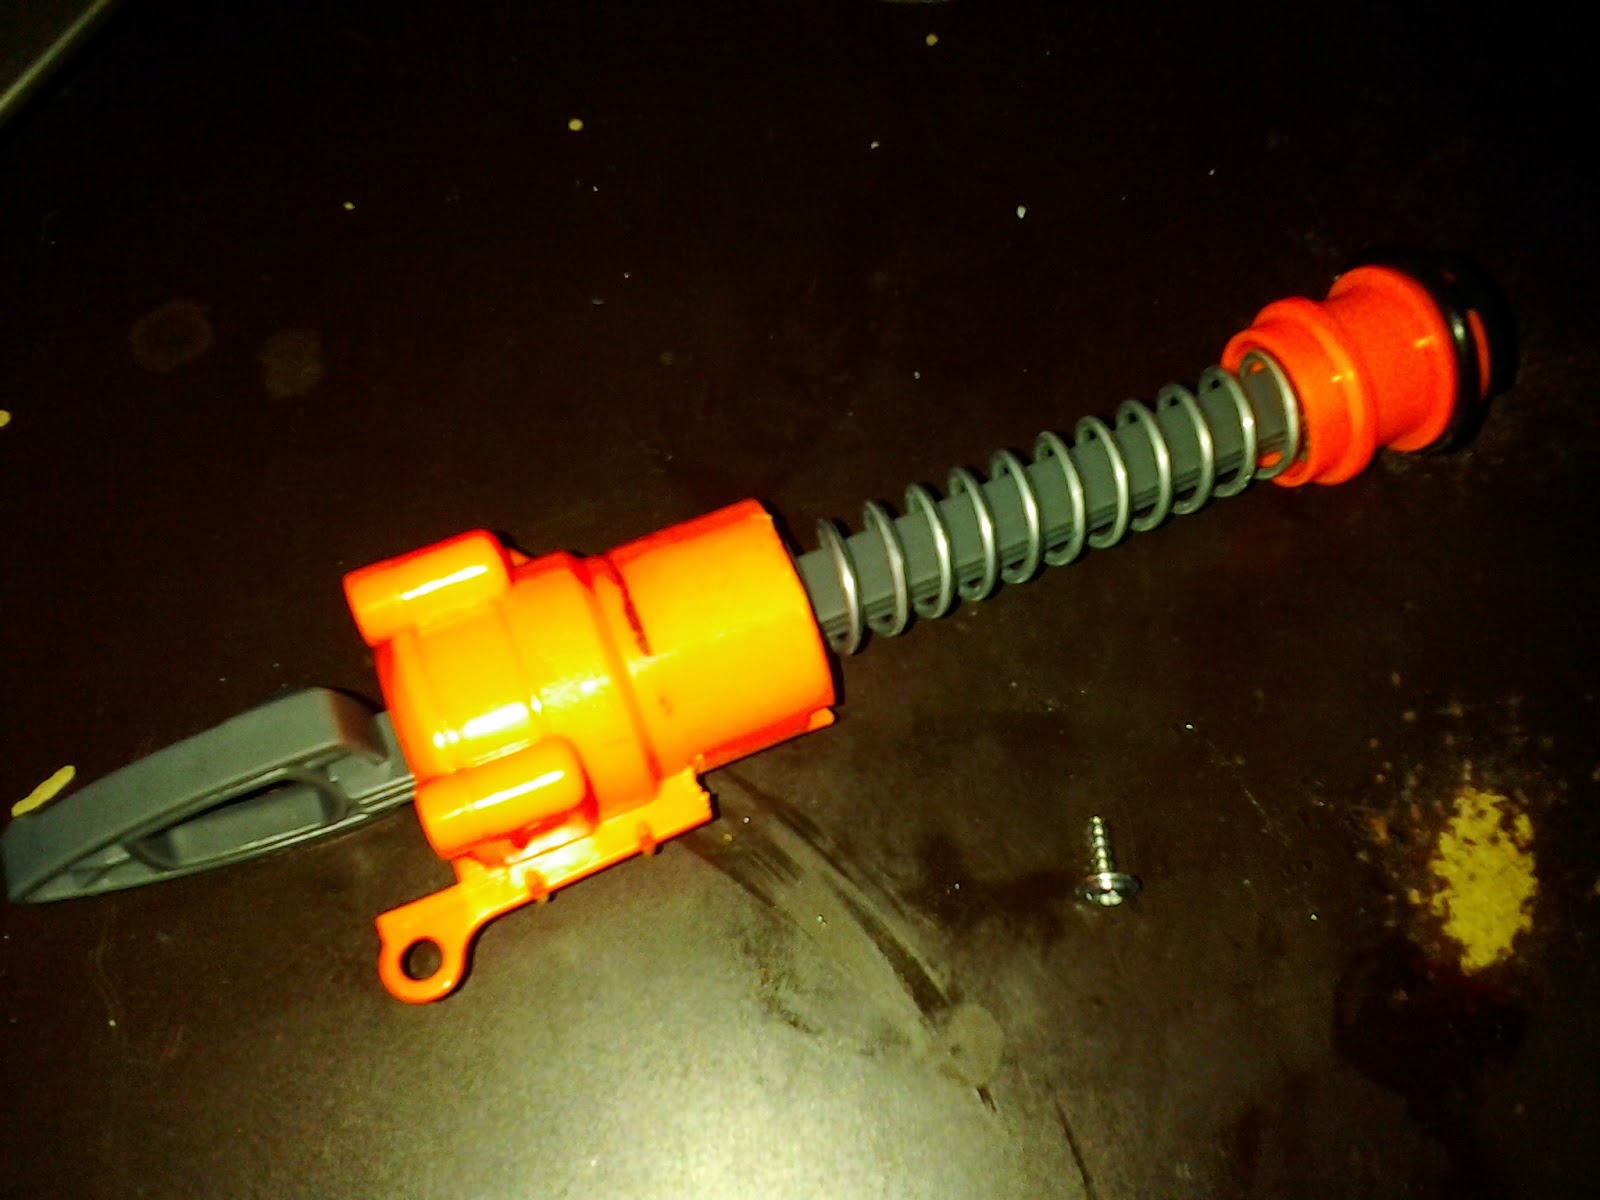
You'll be replacing the stock o-ring with a #213 O-ring (1 3/16" OD, 15/16" ID).It may appear loose on the plunger head, but once it goes into the plunger tube, it will compress enough to stay in its slot. I also recommend drilling out the existing screw holes in the plunger and plunger head to allow the use of a 1/4 screw.
Throw everything back together. The original orange pieces of plastic will fit back into their original slots, and the plunger tube should sit on top of everything, in a flat position. If not, then sand down/cut off plastic as necessary to make things fit, Then you can apply your adhesives and plastic epoxies.
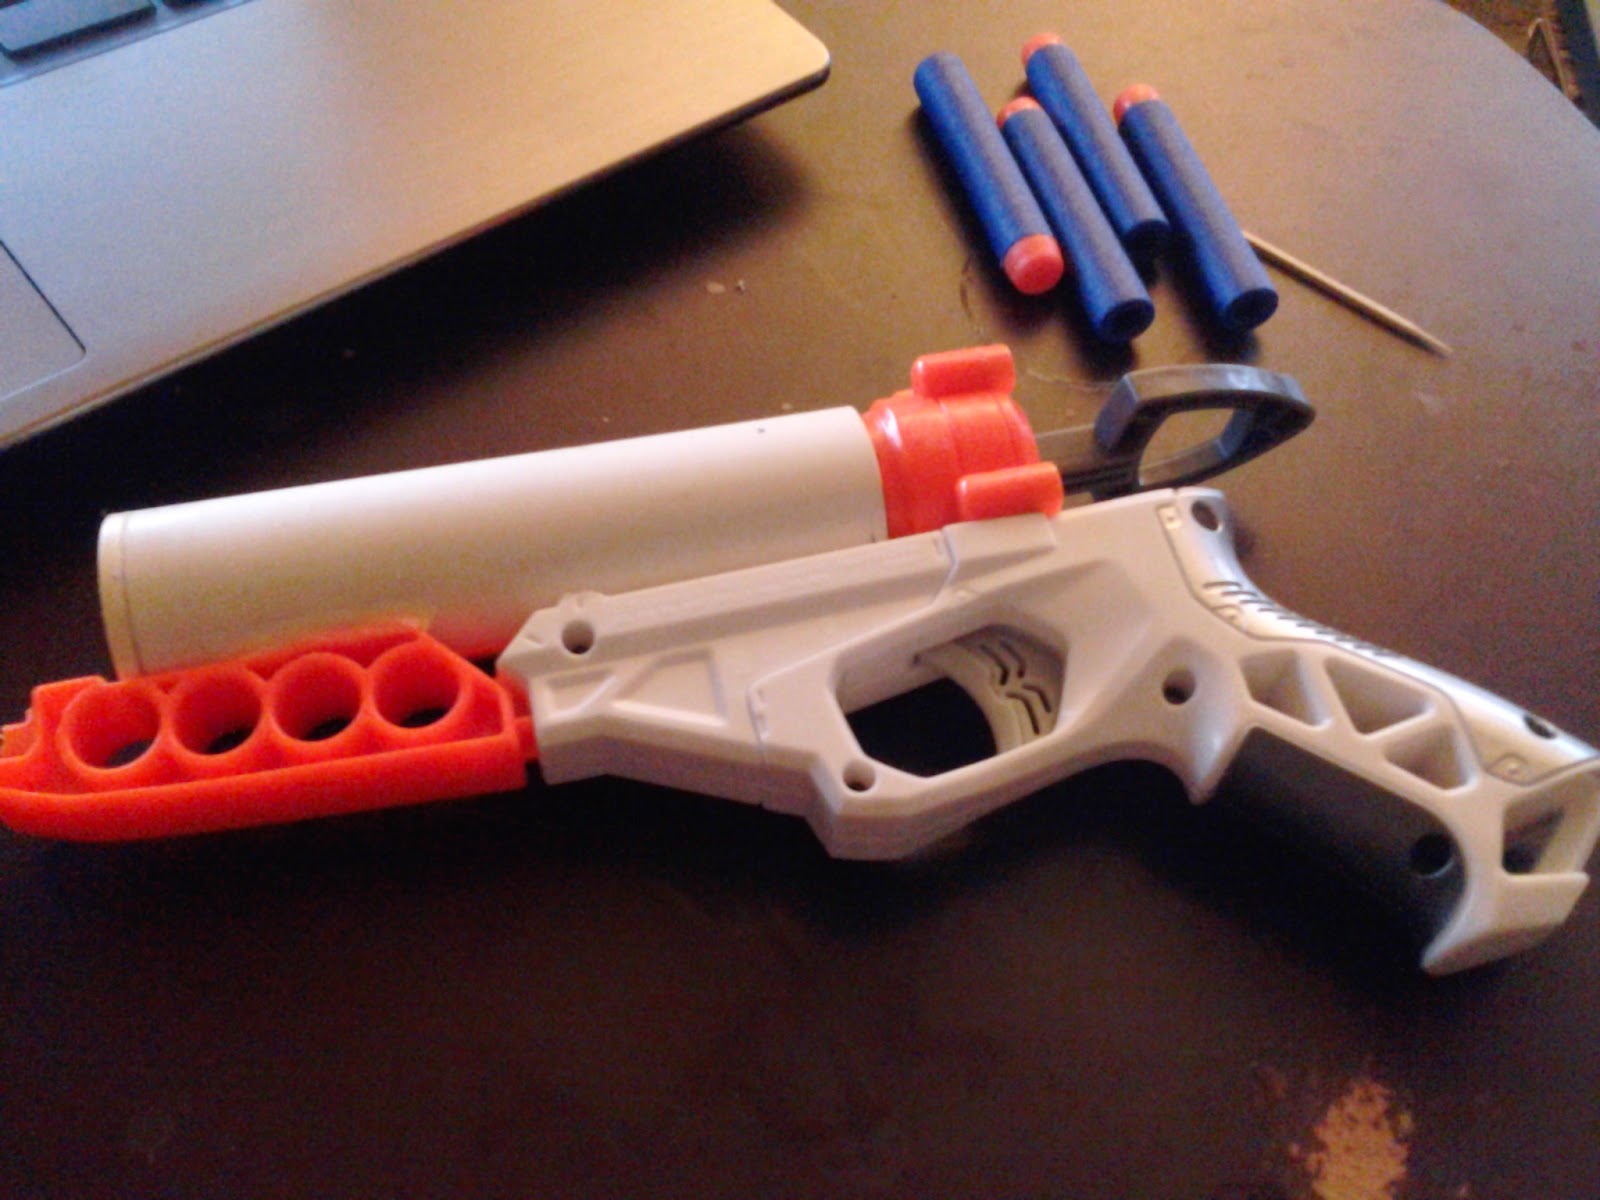
How does our newly modded blaster hold up? Very well. Using a 6" length of 1/2" CPVC for my barrel (a well worn barrel that really is .50" ID), I was shooting 100'+ with Elite streamlines. FLAT. On my homemade chronograph, my Double Down averaged 168 fps.
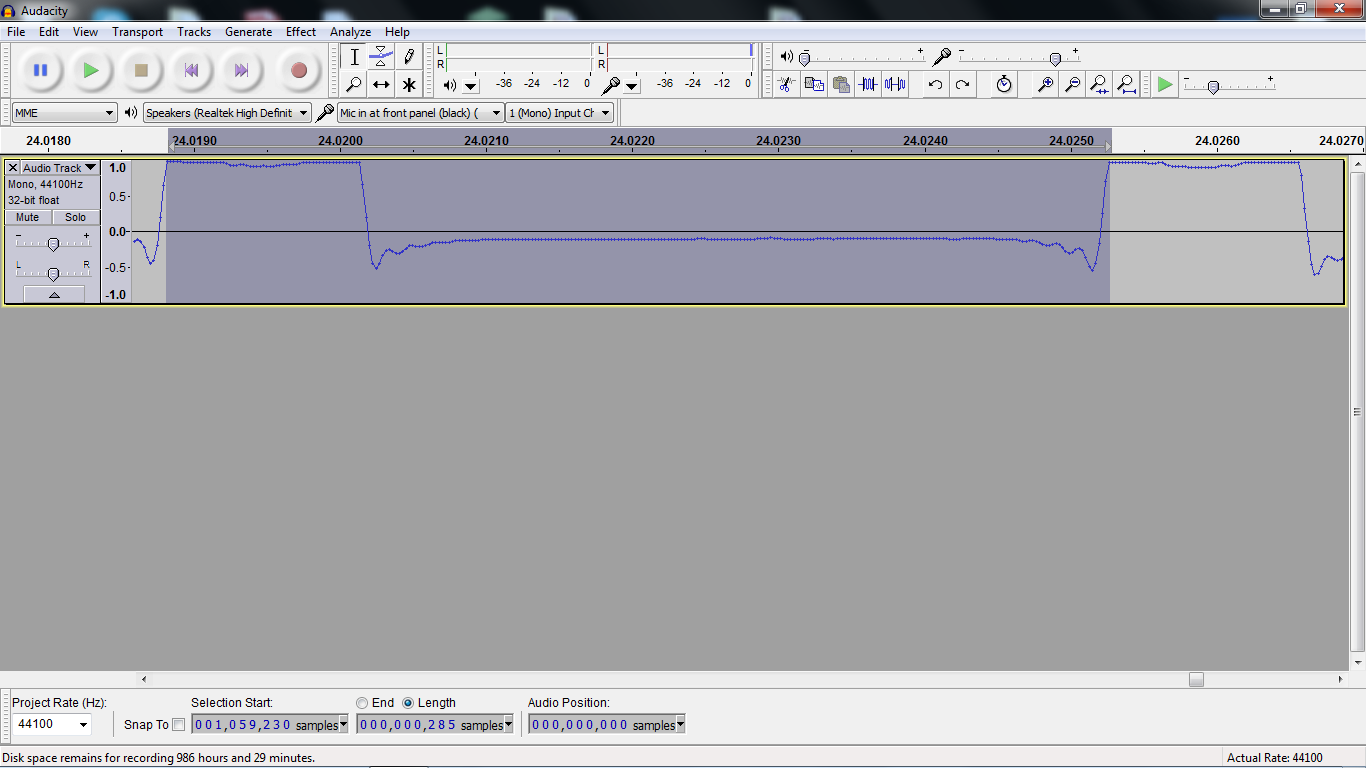
One of the shots from the chronograph, displayed in Audacity.
1.125 ft / (285 samples/44100 Hz) = 174 fps.
I'm sure I could eke out more power if I tested different barrels. But I'm content with a threefold increase in dart velocity.


