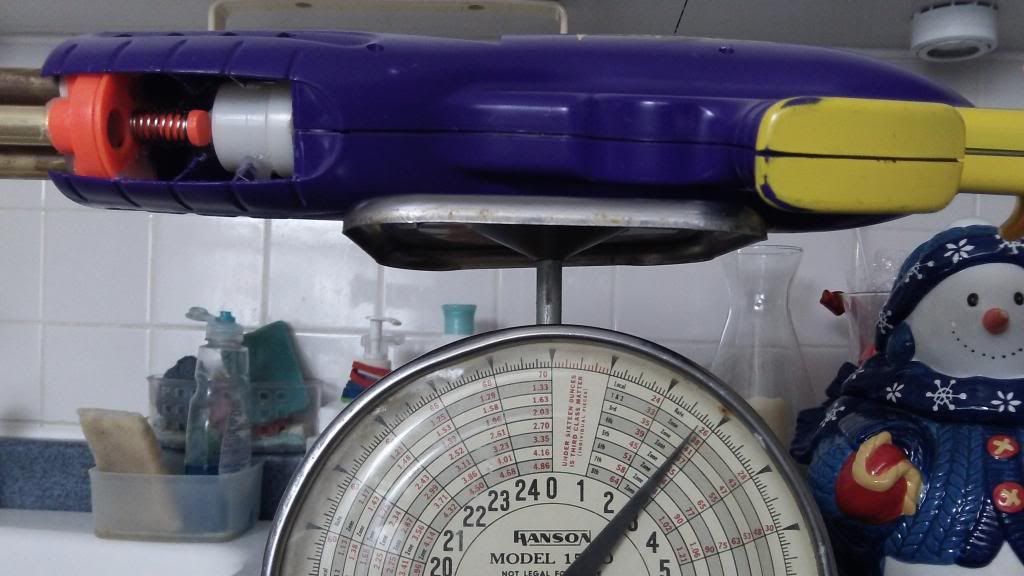
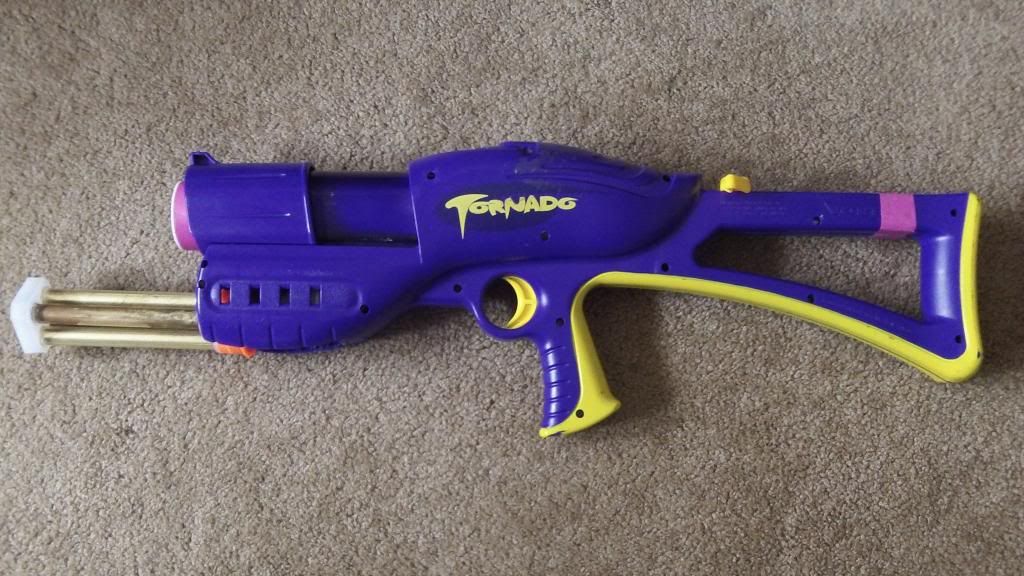
The Koosh Tornado was a blaster that I always believed was begging to have a Titan tank inserted into it's sweet insides. The forward grip is completely barren of any working internals, meaning their is ample space to graft some in there. An AT2K fit in there pretty nicely, but looking back, there are certainly other options for this role.
Blaster Sacrifices
Nerf Titan: For the Tank
Nerf AT2K: For the Tank
BuzzBee Air Maxx 6: For the Pump
Koosh Tornado: For the Housing
EDIT: I thought I was using a Panther Pump originally, it is actually from a Buzzbee Air Maxx 6. If I reference a Panther pump, I am actually referring to this pump.
For this build, descriptions will be going underneath the photos they are referring to unless otherwise specified. Start by gutting your Tornado.
The Pump
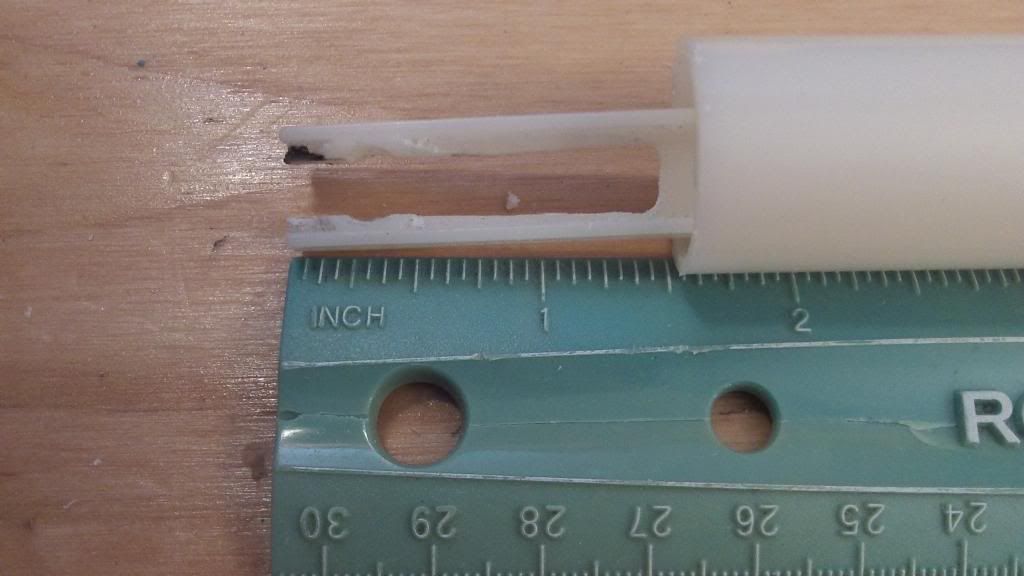
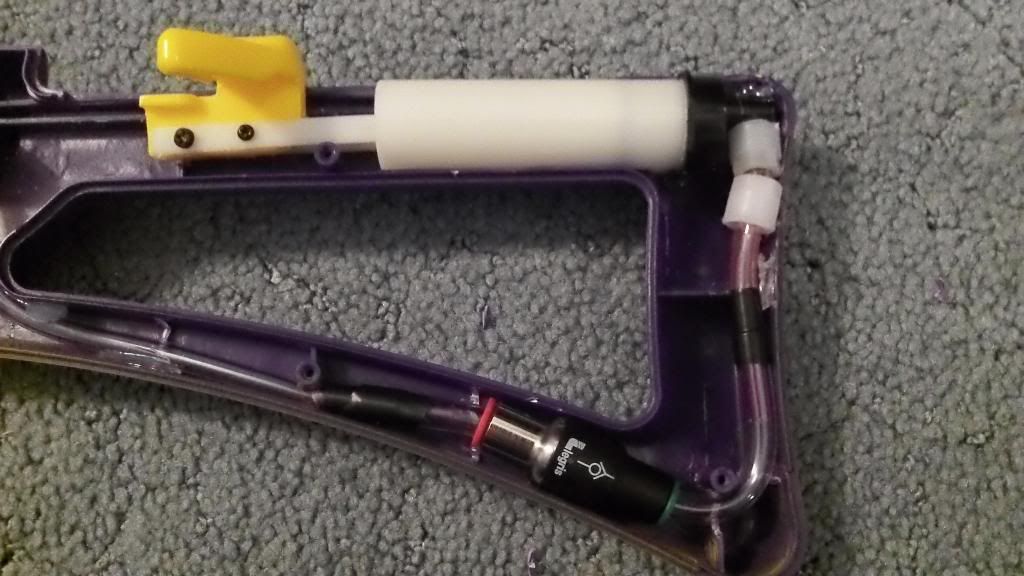
Gut the pump from the Panther andcut out a slot in the "I-beam" of the pump rod, as shown above.
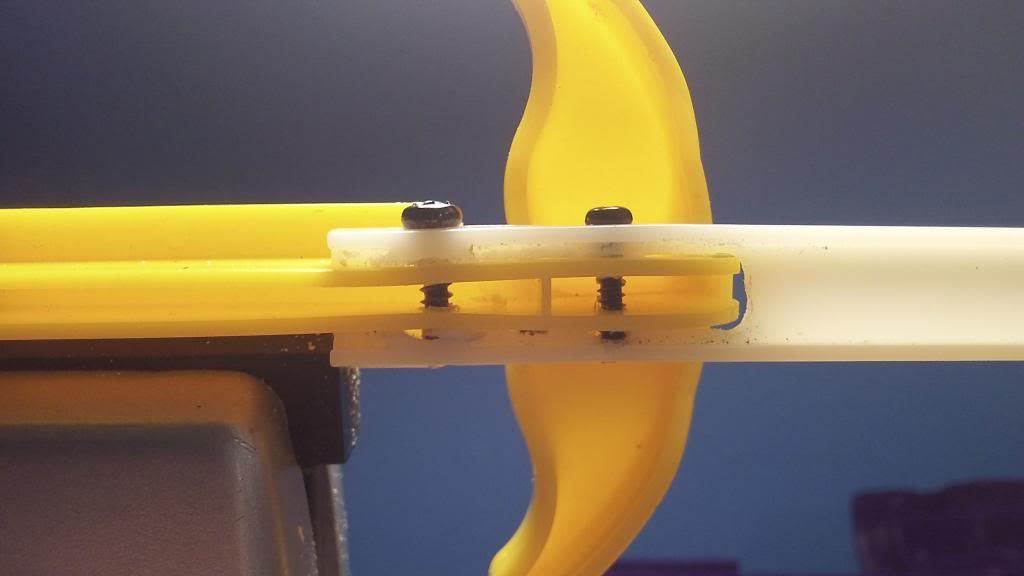
Place the Tornado "priming handle" into the slot you created until the bottom of the handle is flush with the pump beam. Drill two holes through both parts and screw together to unite the two components. Use the epoxy putty or hot glue to fill in the gaps.
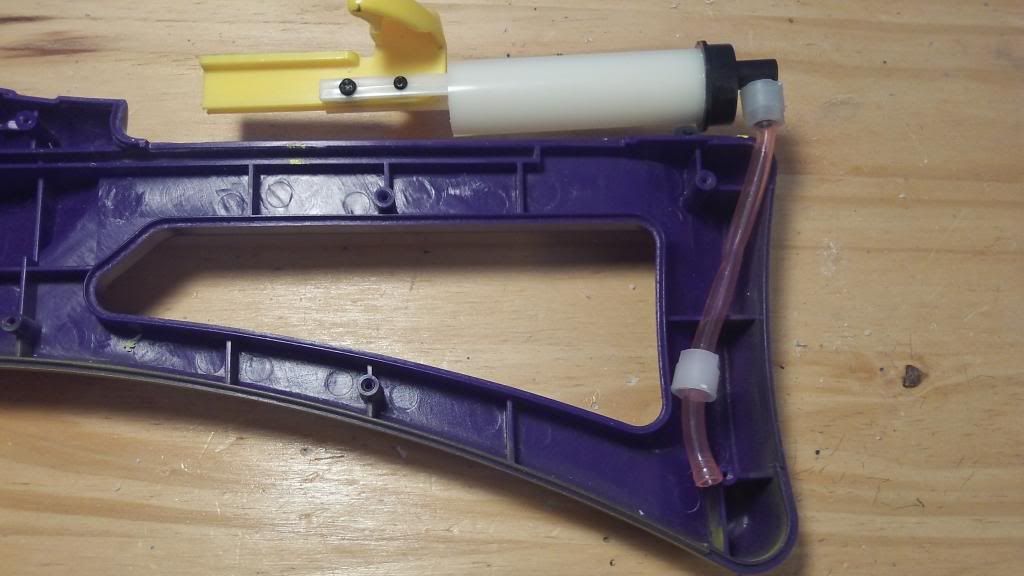
Cut down your pump plunger tube down to be about the size shown above. The idea here is to achieve maximum draw in the limited space available
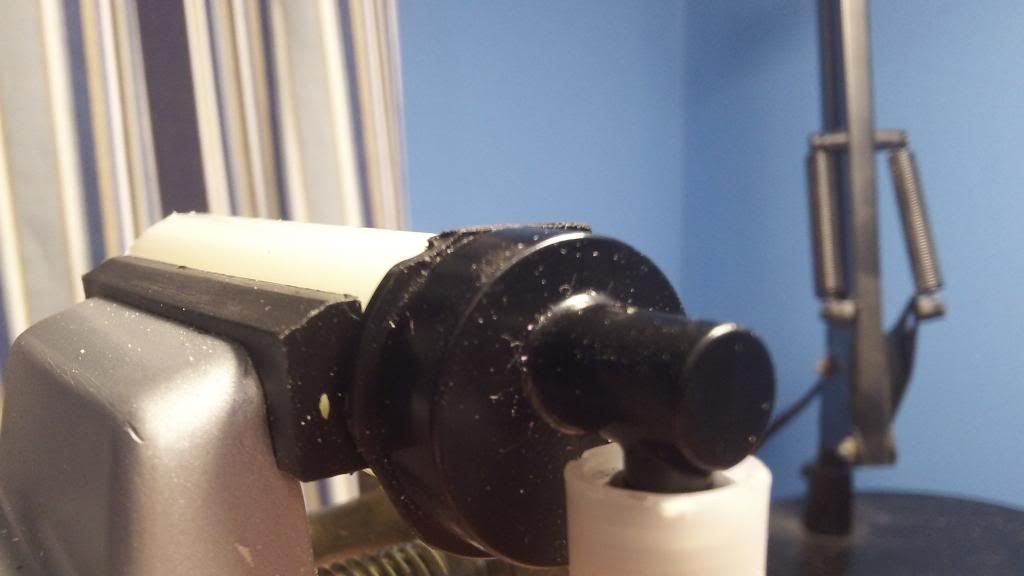
Sand down the top part of the Panther plunger to allow for an easier fit inside the shell.
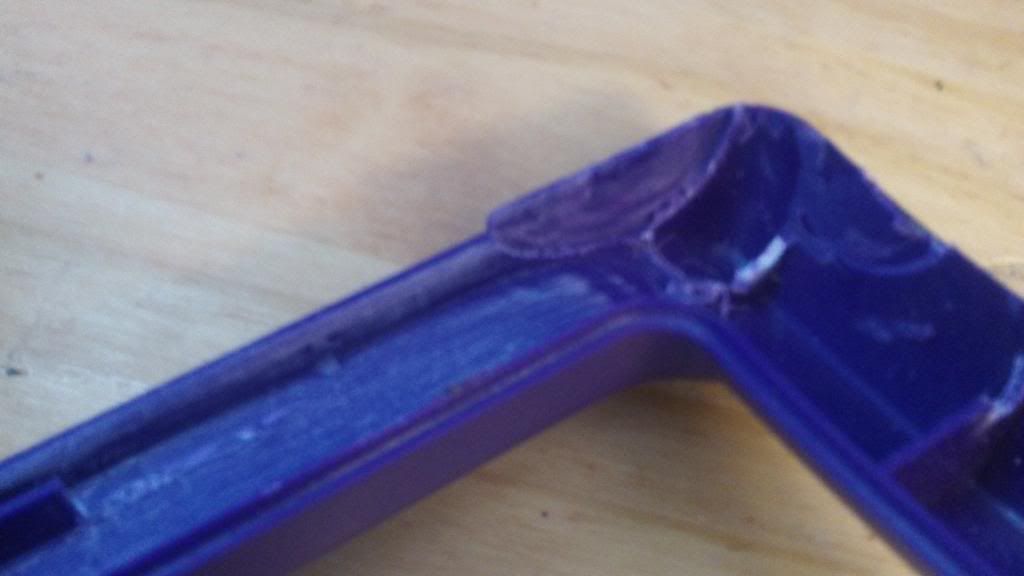
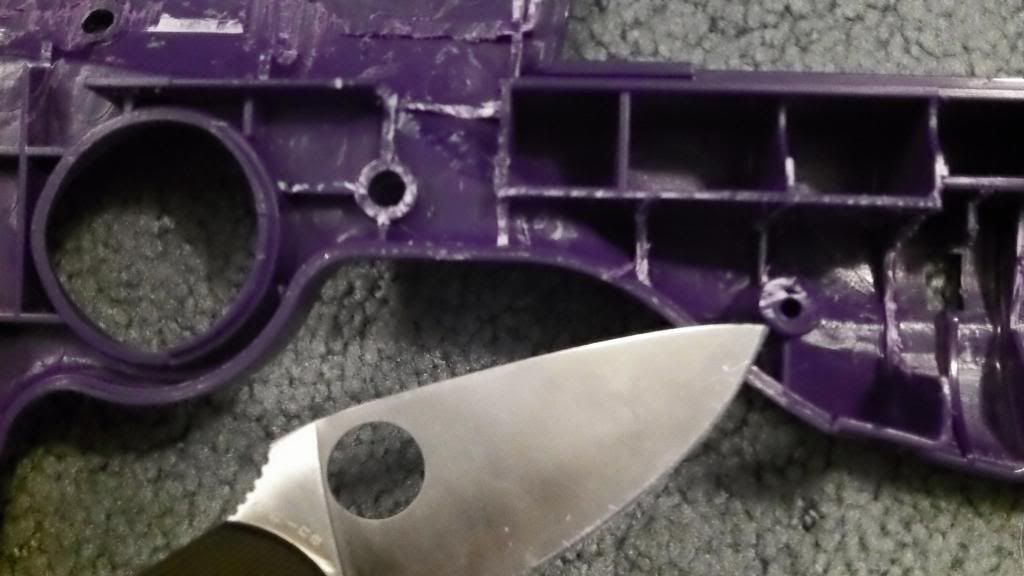
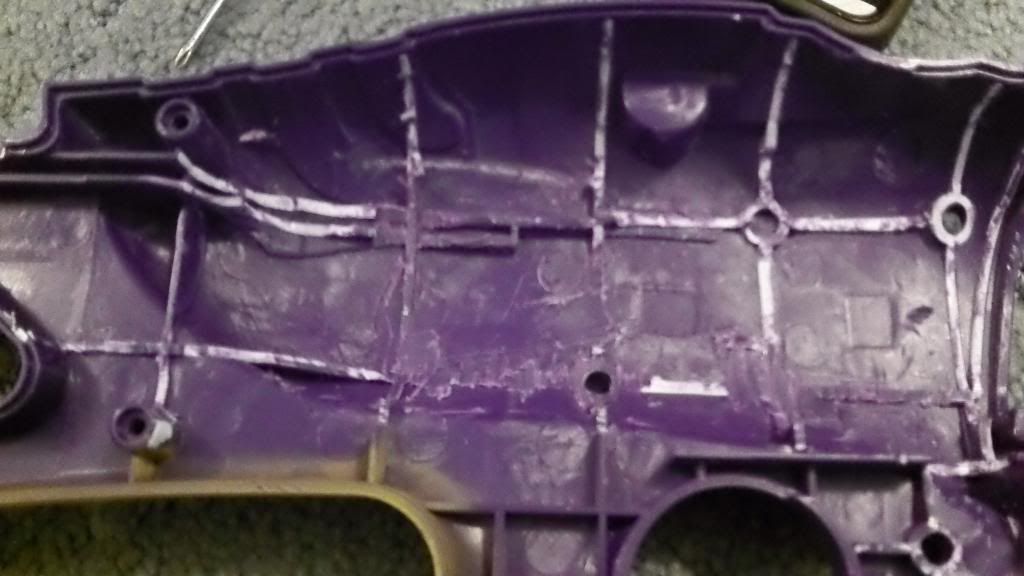
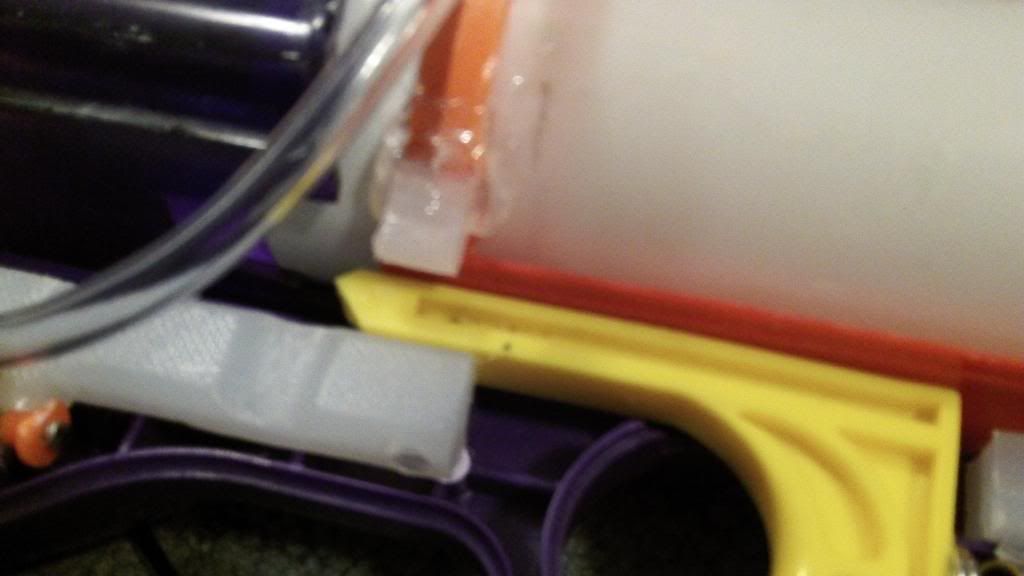
It's a bit blurry but the inside of the shell must be hollowed out in order for the pump to fit properly. A screwport must be sacrificed here. Not that the horizontal supporting rib was cut to allow a perfect fit for the pump, and the top of the rearmost portion of the stock was also sanded down to allow for the back of the pump, with a slightly larger outer diamter, to fit properly.
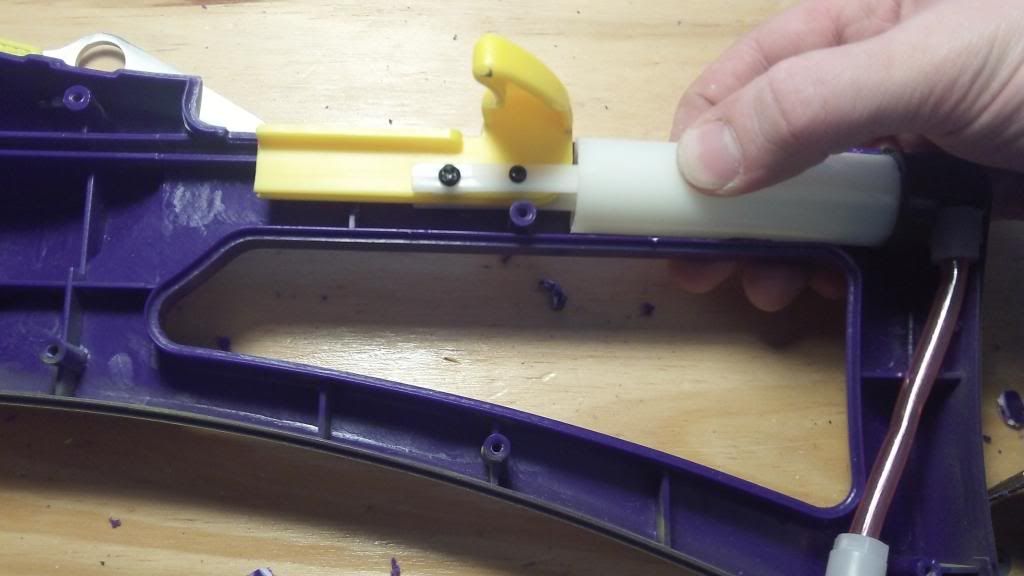
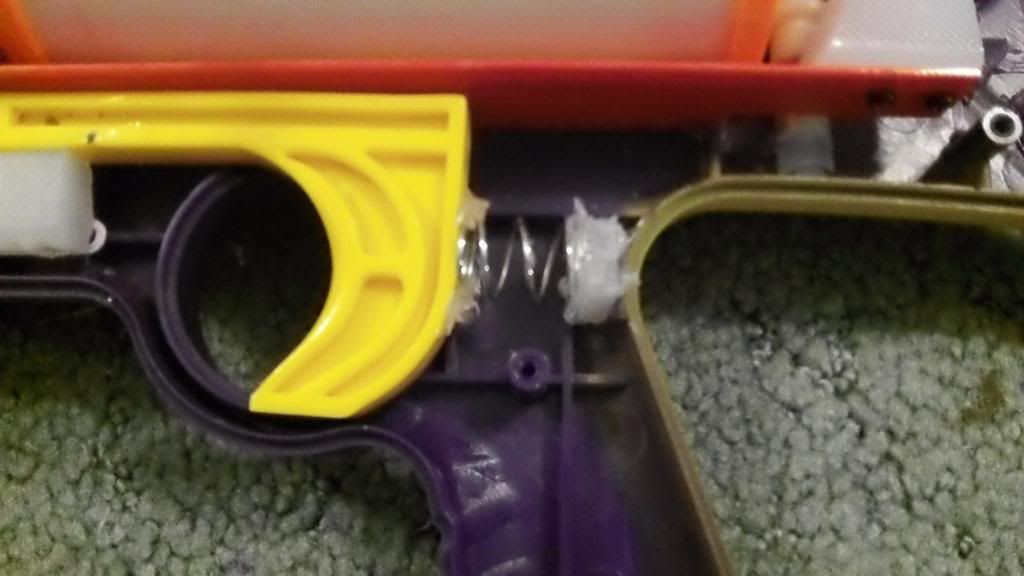
Perfect fit. Note that the Tornado handle has been cut down, it can and should be cut down more to avoid interference later on with the Titan tank controls. Only about 3/4" of guide rail remains in the final iteration, so you can chop it down more at this point.
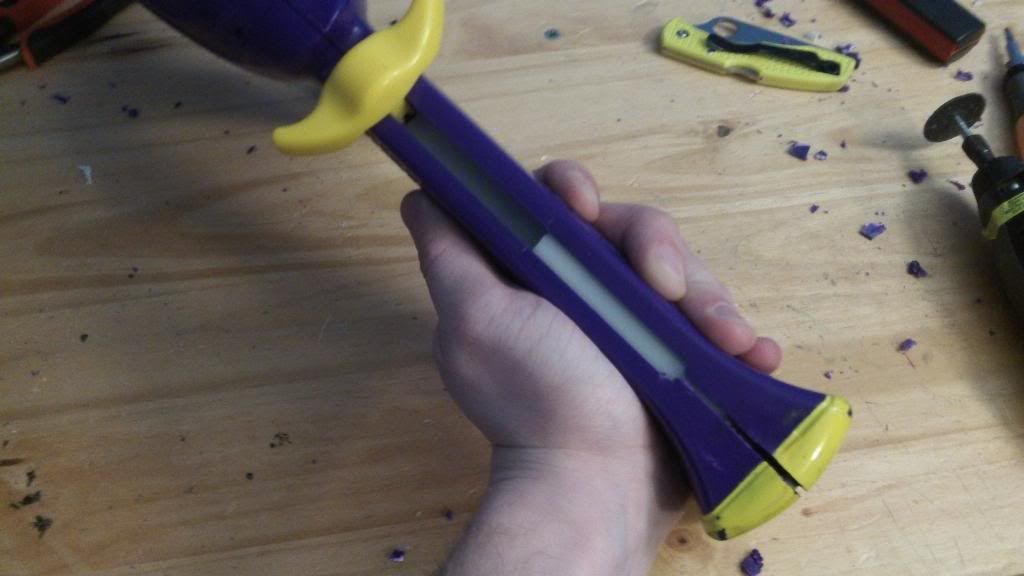
Test fit.
The Shotugn
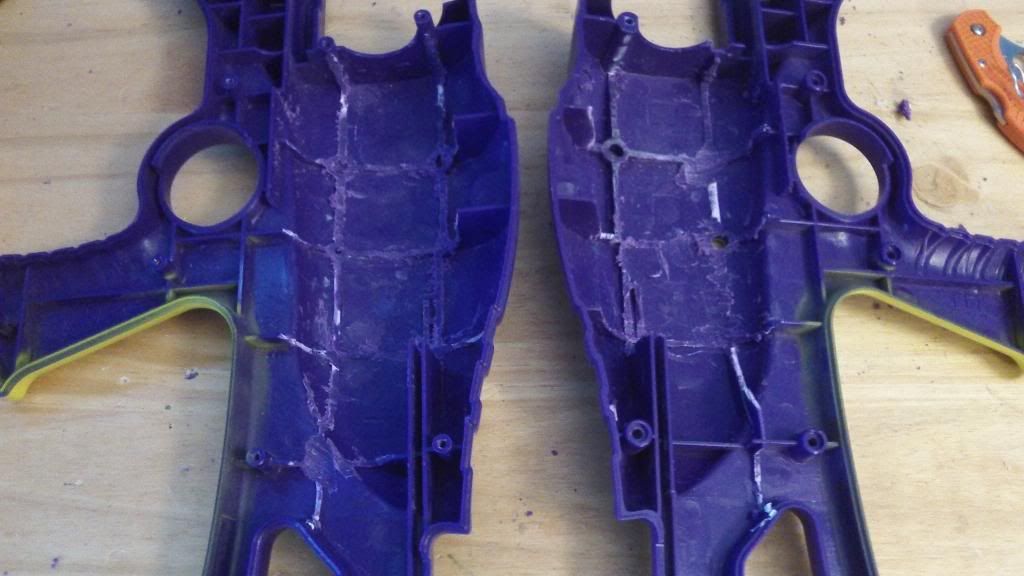
Go to town on the inside of your Tornado. You need to fit something larger than a soda can in there.
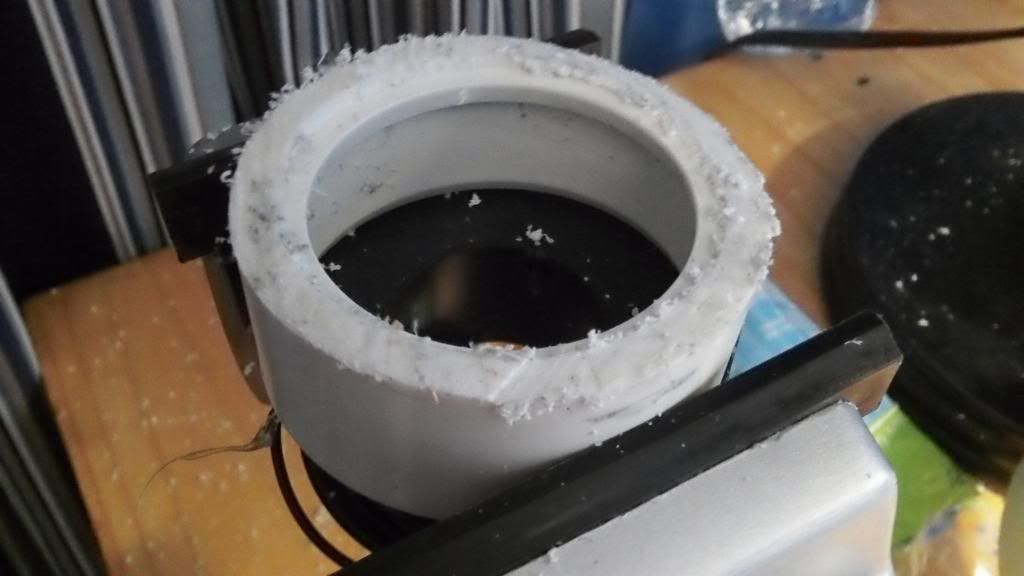
This is a short 1 1/4" PVC coupler I picked up at Ace hardware. It's about half the length of a typical coupler, so it helps in the small space we're working in. Cut off half the coupler leaving central rim. Sand it flush.
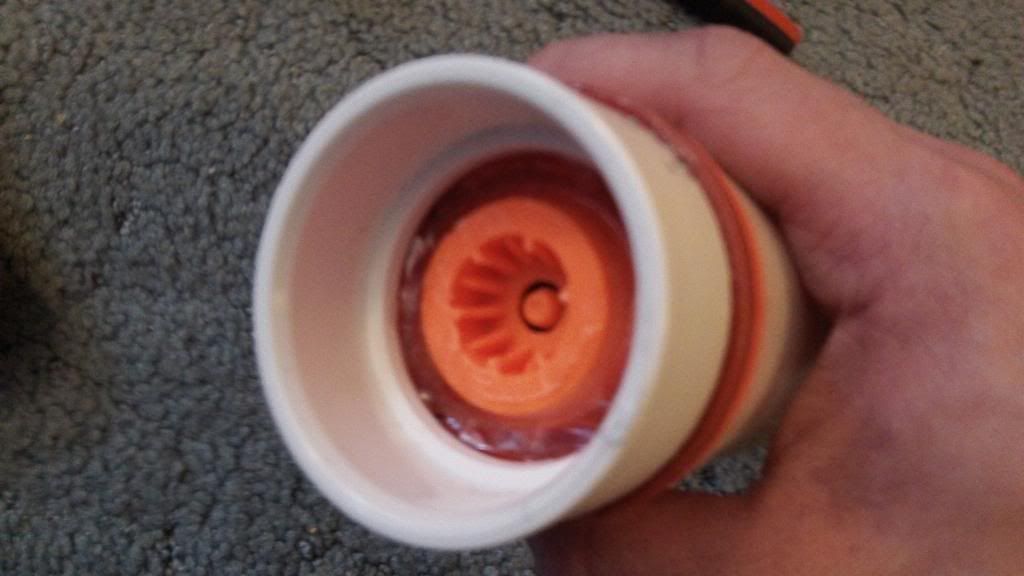
Use plumber's goop to secure the coupler onto your Titan Tank. Mine already had the threaded portion removed, so if you haven't done so, take care of that.
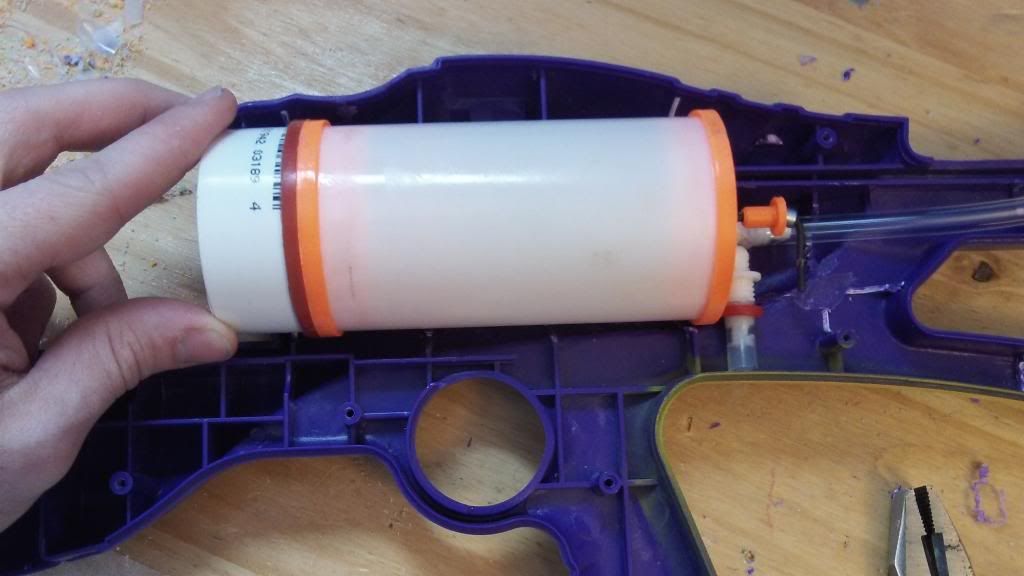
Test fit your Titan tank. A good way to find out where your parts are rubbing is to coat the suspected shell areas in white-out correction fluid, and observe where it rubbed off. Cut away those areas.
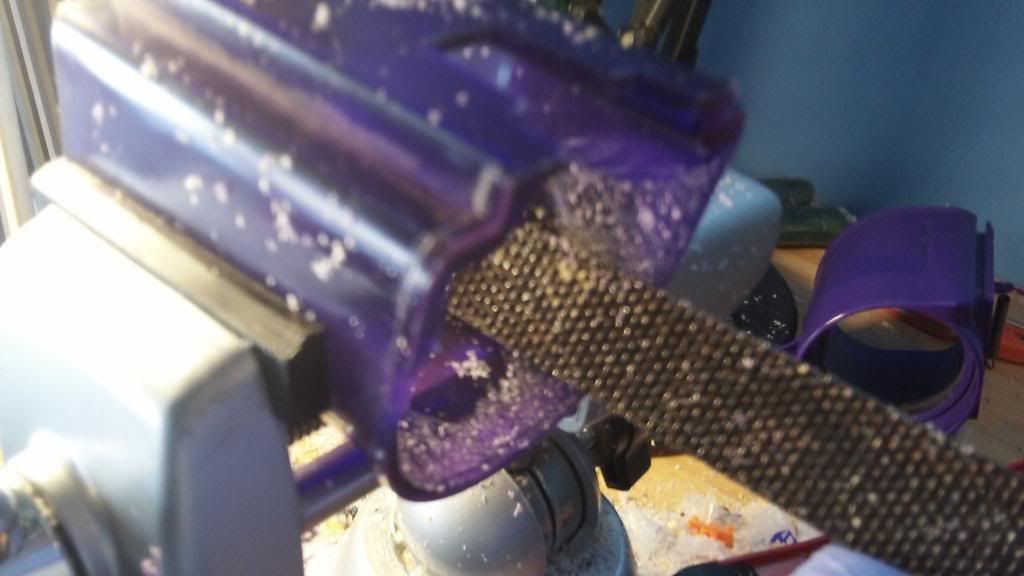
To get the clear cover of the Tornado to fit over the coupler, file away at the rear corners until it can easily slide over the coupler, which should be poking out a little less than an inch. This step can be omitted if you don't care for the cover or the asthetics of the blaster.
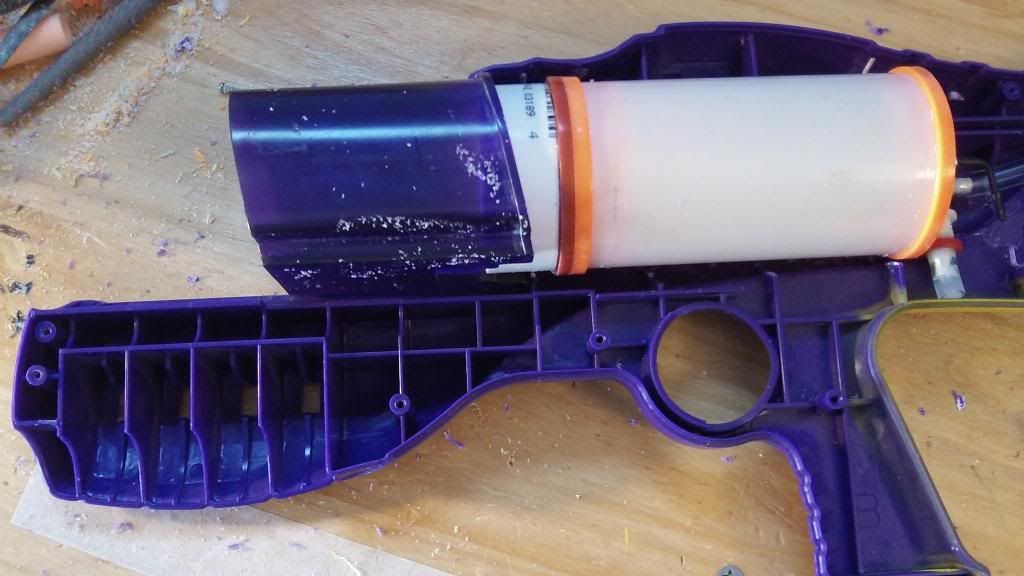
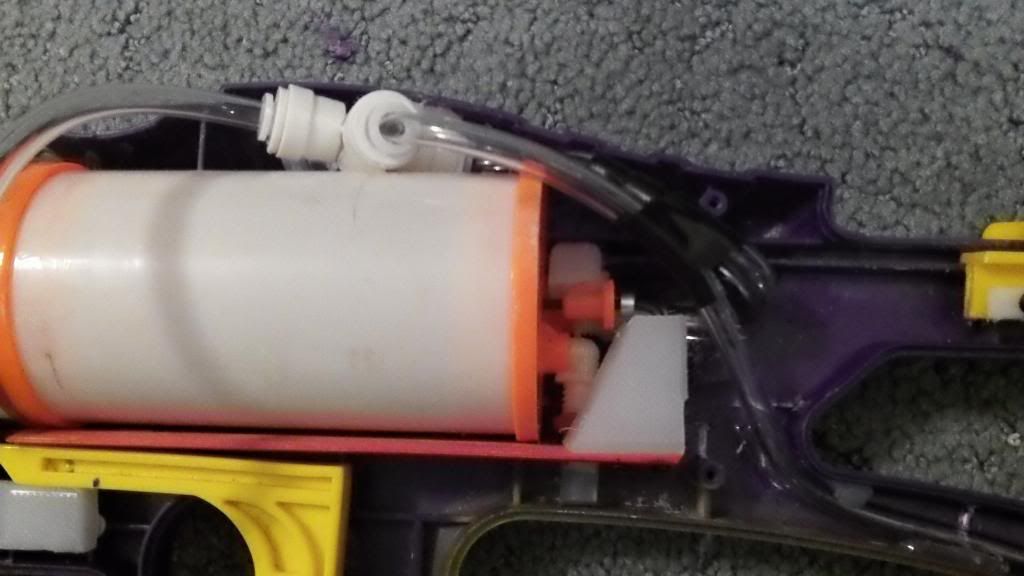
Lookin' good. When everything fits in place, take an exorbitant amount of epoxy putty an slap it in the shell to secure the Titan Tank to it. Ensure proper alignment. Not here that I plugged the pressure gage on the Titan, and bent the actuation rod on the tank as well, I will explain in a moment.
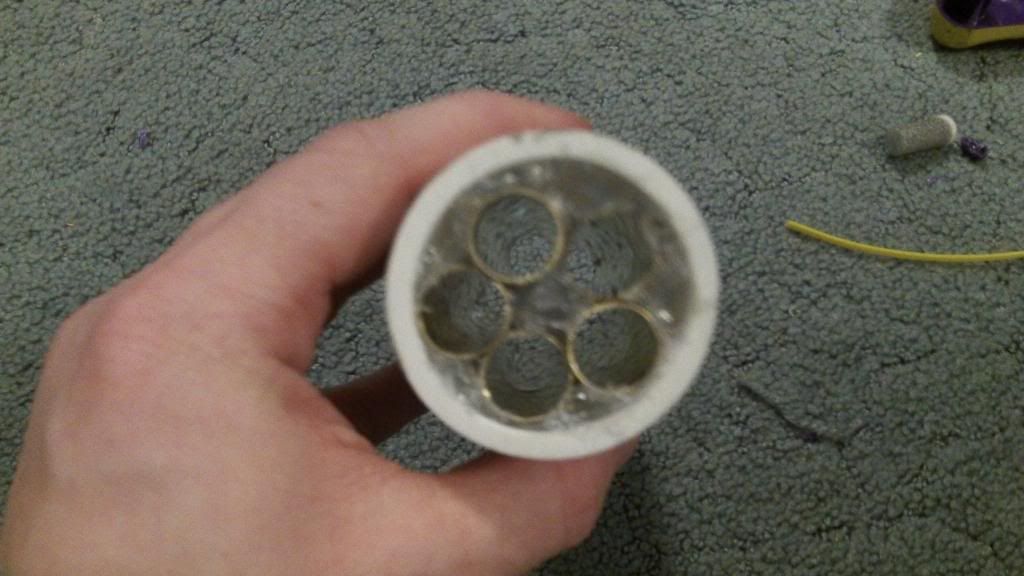
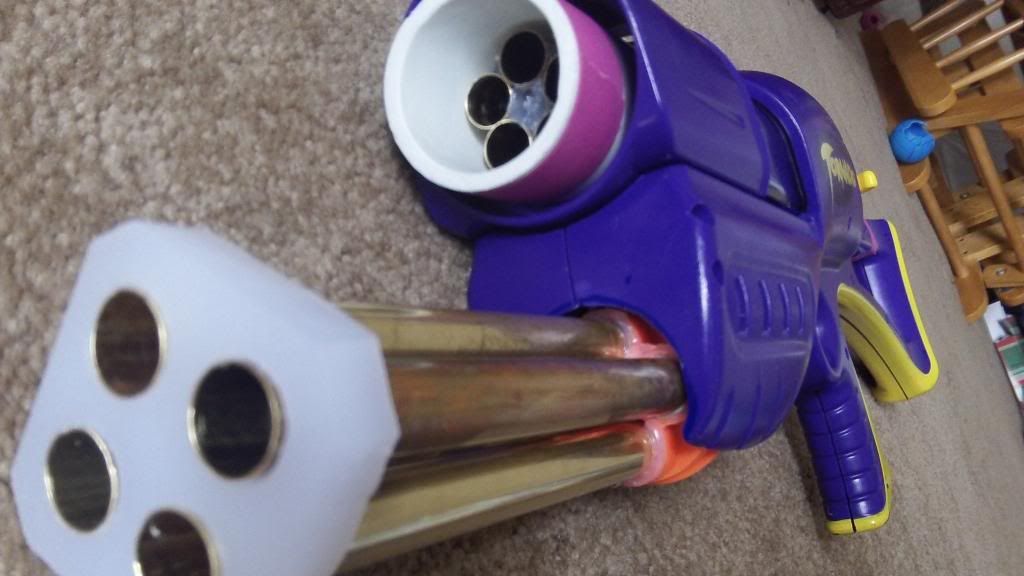
Here is your "shotgun shell" consisting of five 6" segments of 17/32" brass barrels enclosed by a 1 1/4" PVC pipe length about 7" in length. It's incredibly simple in design. I used hot glue to glue together five brass rod segments. Using strips of foam cut from old darts, I created shims in the empty space between the brass and the PVC to hold the barrels straight. I then hot-glued together. Back to the tank...
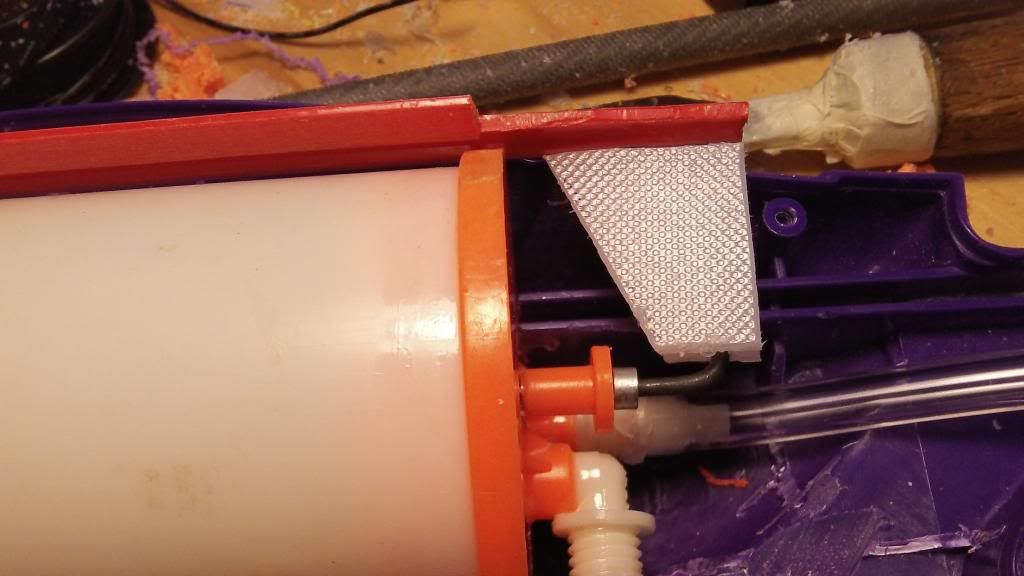
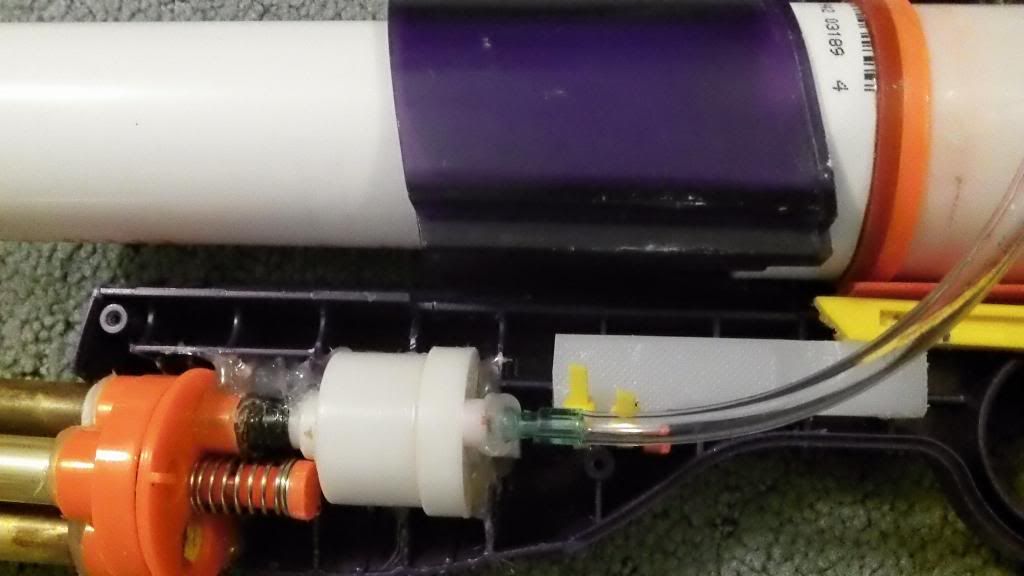
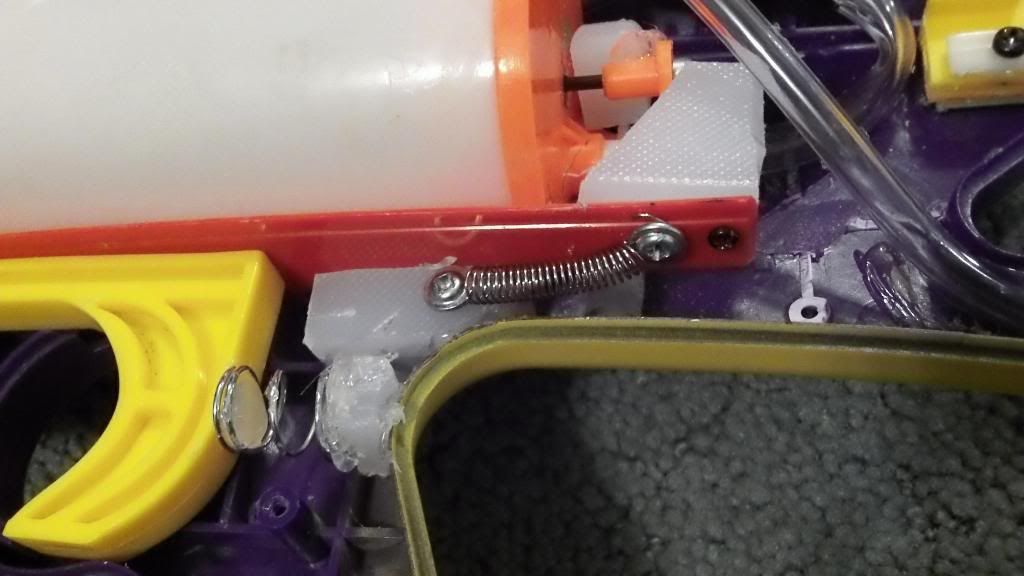
This is the trigger system, upside down at the moment. The red strip of material on top is a 6" ruler, cut down slightly and with a corner taken out in order to clear the plugged tube, shown in the next photo. The white semi-translucent chunk screwed onto the ruler in a piece of cutting board shaped to precision with a knife. A hole was drilled into this material to allow the bent actuation rod to fit right in.
The idea here is that the forward pump in the tornado, when pushed all the way back, will push against the ruler, which in turn will pull out the actuation rod in the Titan tank, and fire some darts. This naturally creates a moment about the point right where the actuation rod meets the face of the tank. We really don' want that. The next photo shows how I managed to combat the phenomenon.
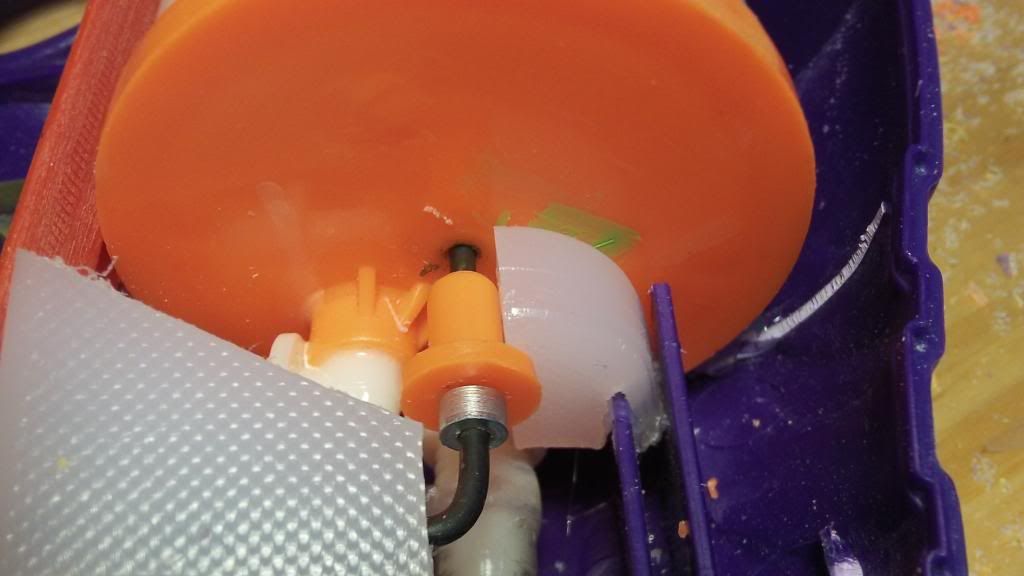
That white nub on top of the black Titan rod rests on the orange collet, and is attached to on of the support structures on the Tornado shell. This prevents excessive moments on the Tank, and takes the lateral force instead of the rod. This is also made from a piece of cutting board.
The Rotary
I followed Ryan McNumber's guide for this one, so I won't go into too much detail here. After the turret modifications are complete, the only real difference is the mounting of this hardware.
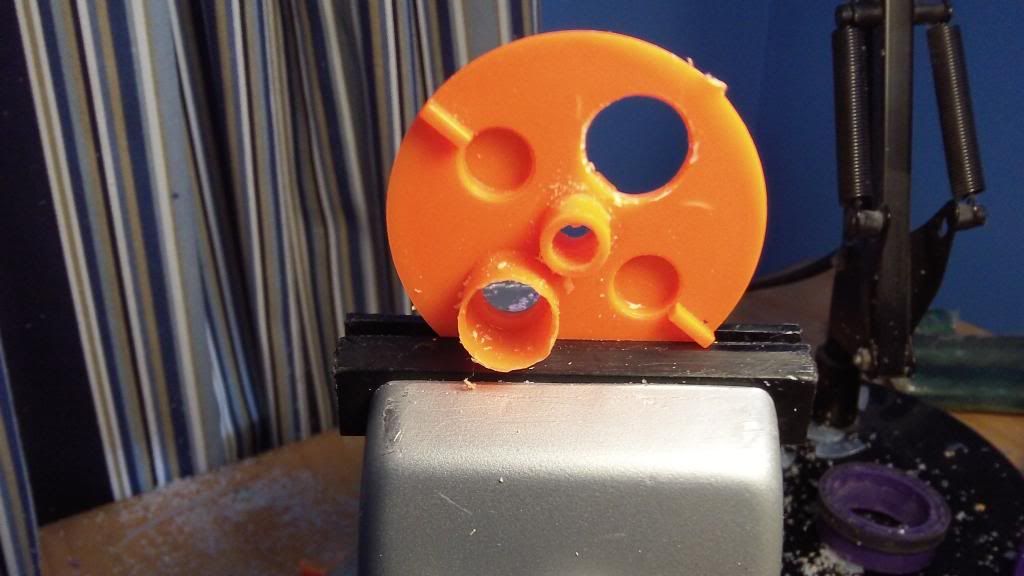
The only difference here is the reloading hole, put it on the bottom to allow for rear loading in the empty space already in the Tornado shell.
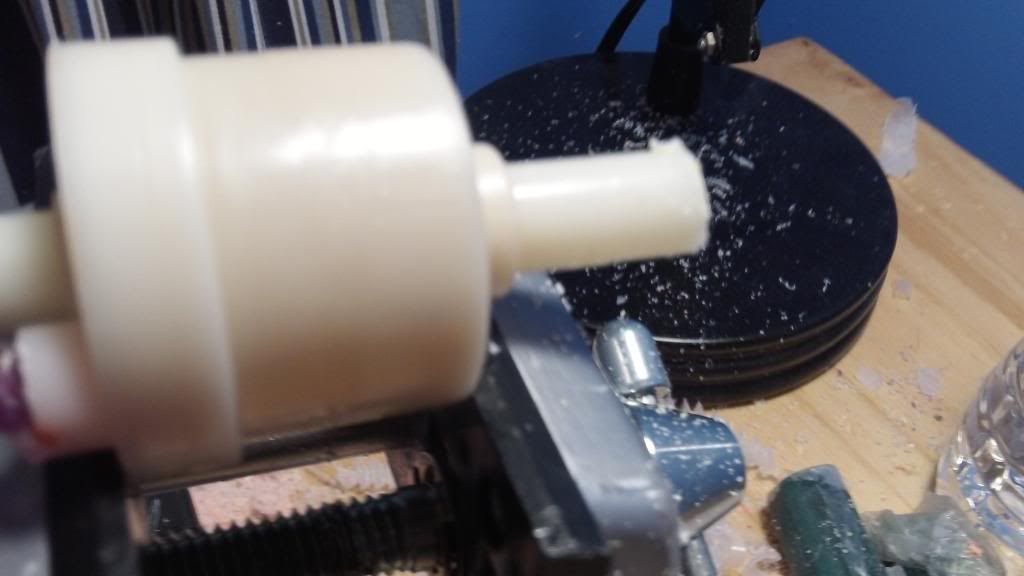
Cut off a tiny bit of the AT2K tank output protrusion, maybe 1/8".
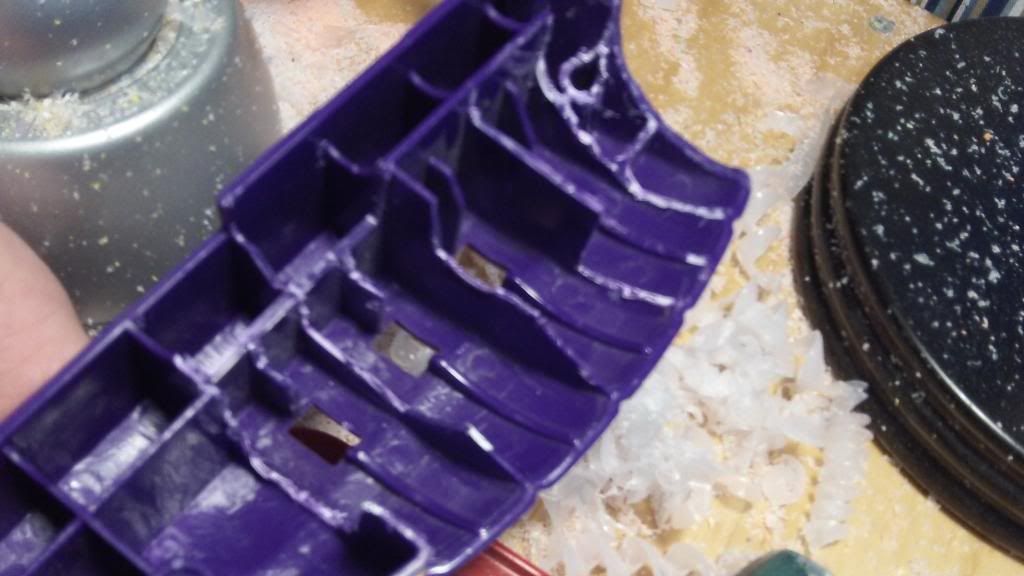
Cut out the shell as shown. Again, the best way to do this is to slowly test fit the parts into the shell.
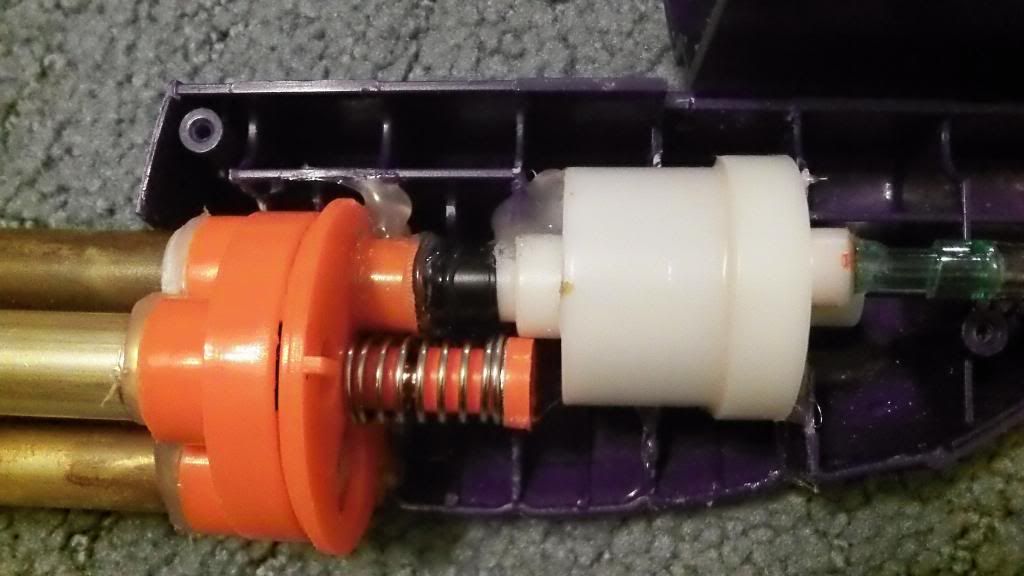
Here is what it should look like. On the output of the AT2K Tank, it is more apparent now how it was secured to the turret. Wrap the output tube in a few wraps of electrical tape, then use goop or hot glue to ensure an airtight seal. To the rear of the tank is the air input, created by drilling through the old input hole in the tank, and inserting about 1 1/2" of a section of a plastic "crazy straw." The fit was good and it was what I had on hand. Goop it in place to ensure a good seal.
Now it's time to create the trigger for this guy.
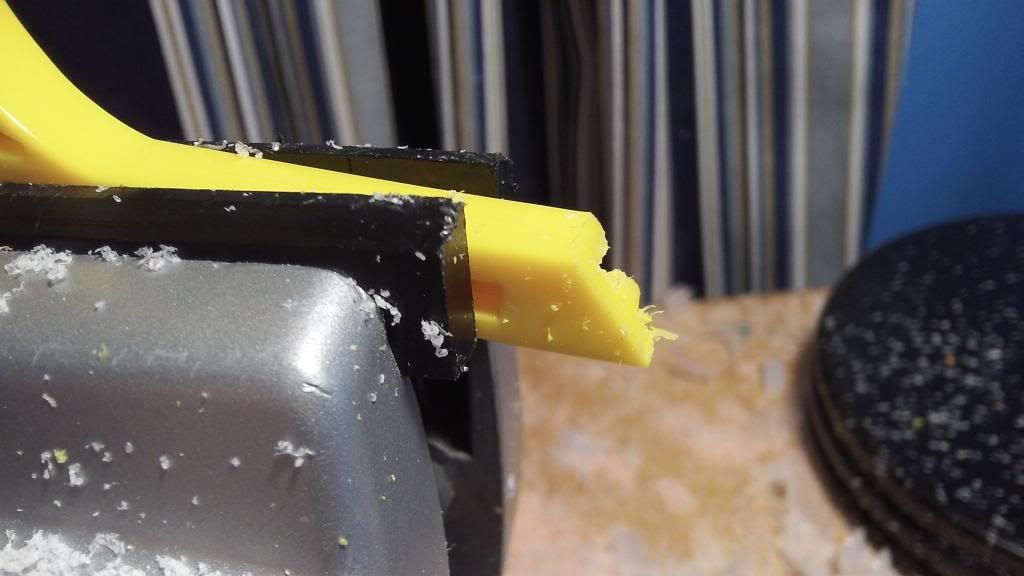
Cut off the nub on the bottom of the Tornado trigger, as shown.
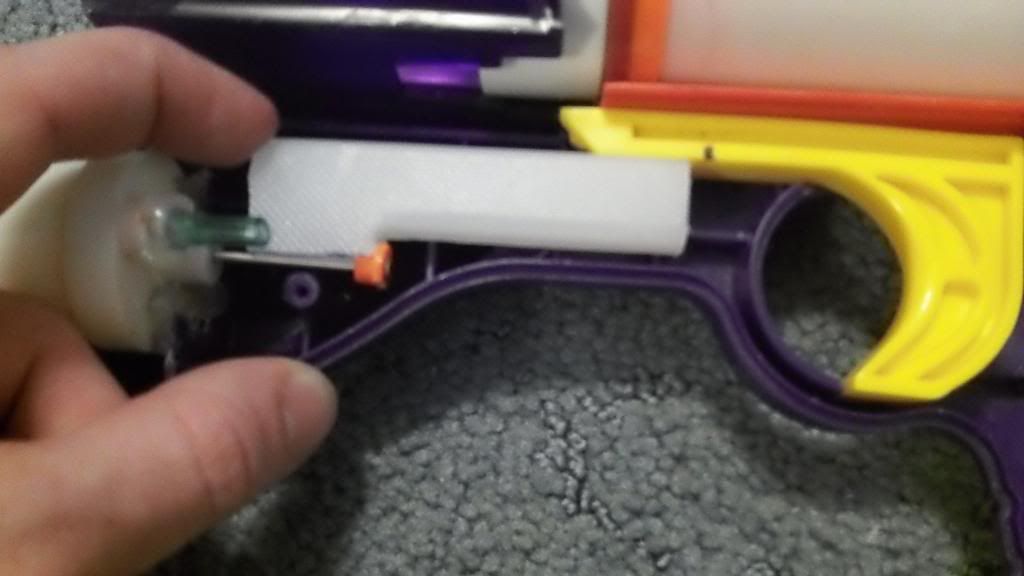
This photo illustrates the versatility of cutting board. The white part has a small notch on the front bottom portion that hugs the actuation rod of the AT2K tank. The top face mates with the bottom of the Tornado trigger.
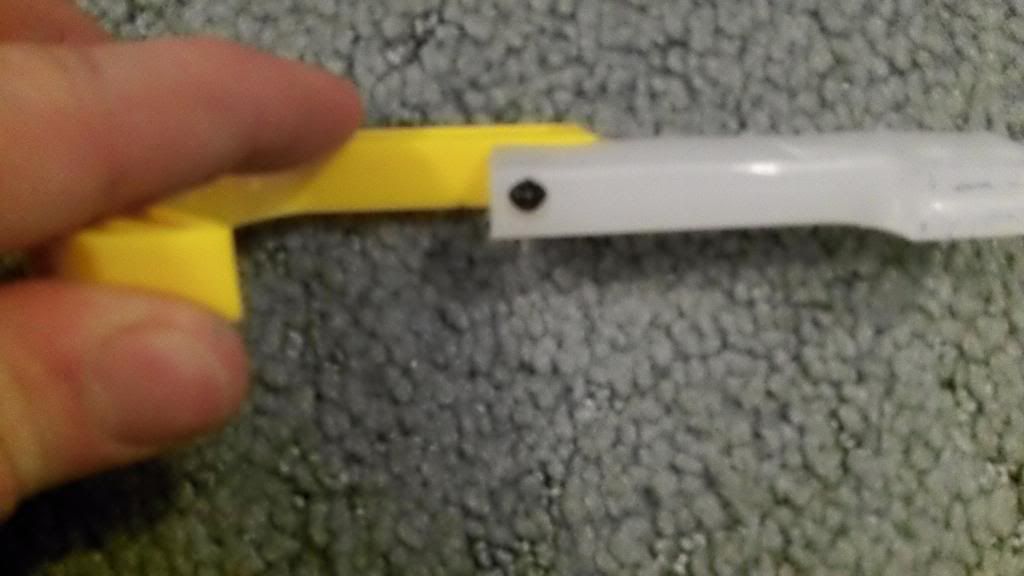
Screw together the rear of the linking bar and the Tornado trigger.
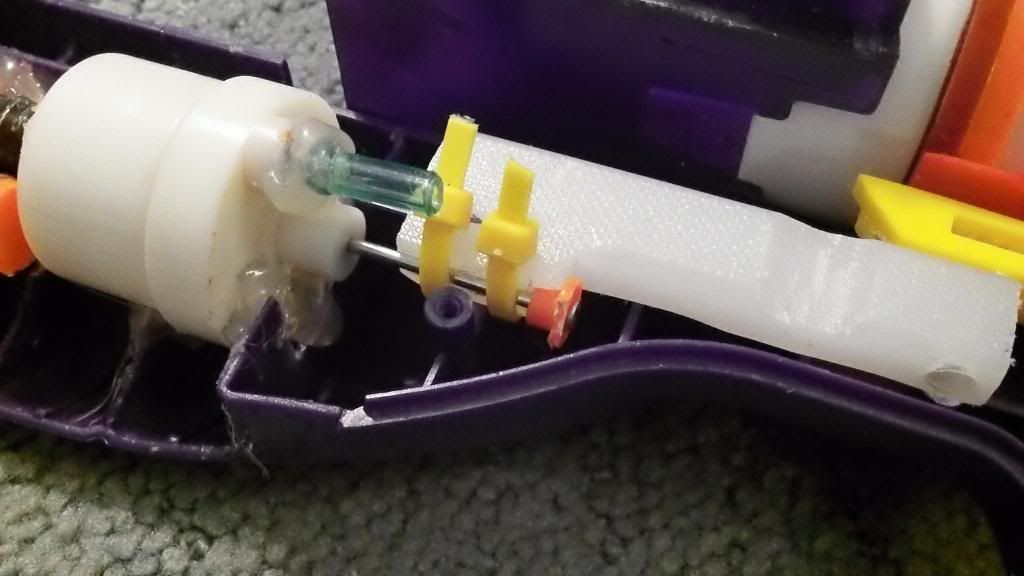
Drill two more holes near the front of the linking bar, and use two zip ties to hold the actuation rod to the linking bar. The AT2K should now be actuated when the tornado trigger is pulled.
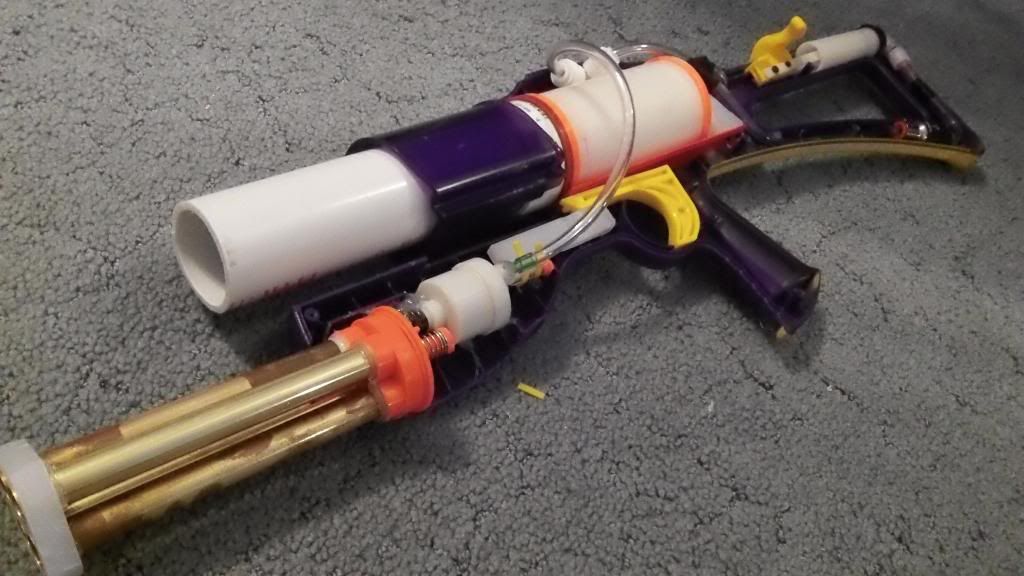
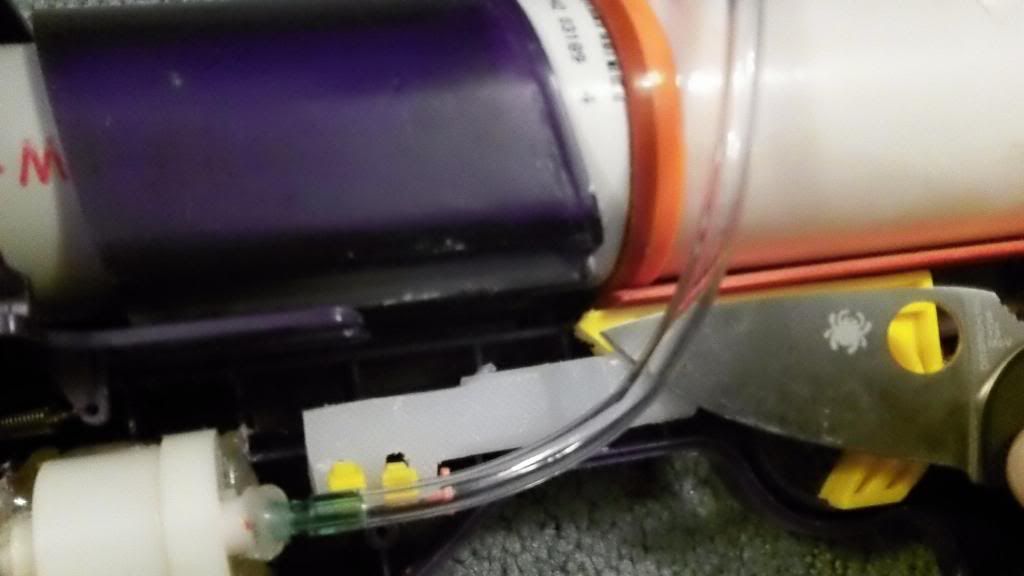
Connect together the pump and the two blasters together with adequate tubing. I was using 5/16" OD vinyl tubing I found at Home depot. A T-connector fits atop the tank in the bit of empty space in the top of the shell. The black, red, and green cylindrical device in the bottom arm of the stock is a check valve from McMaster-Carr.
We are almost done, but there are a few more steps needed to guarantee the function of this blaster. To avoid hitting the image limit, I will start a new section.
Edited by Aeromech, 16 March 2014 - 09:10 PM.


