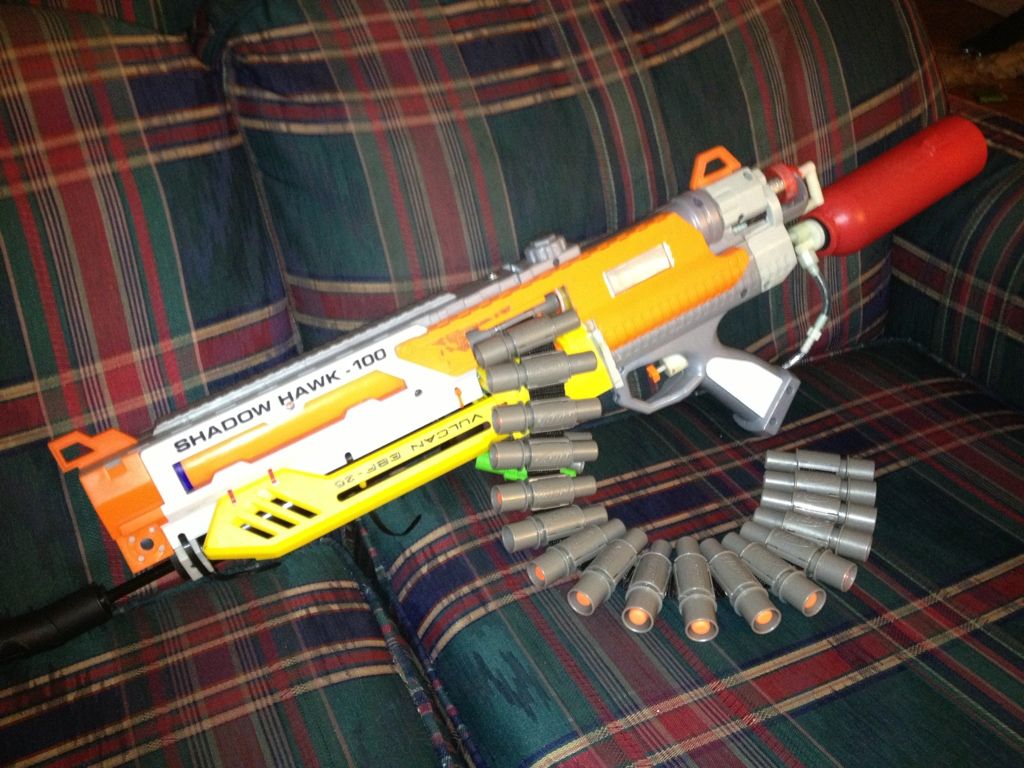
First a (probably incomplete) list of things used:
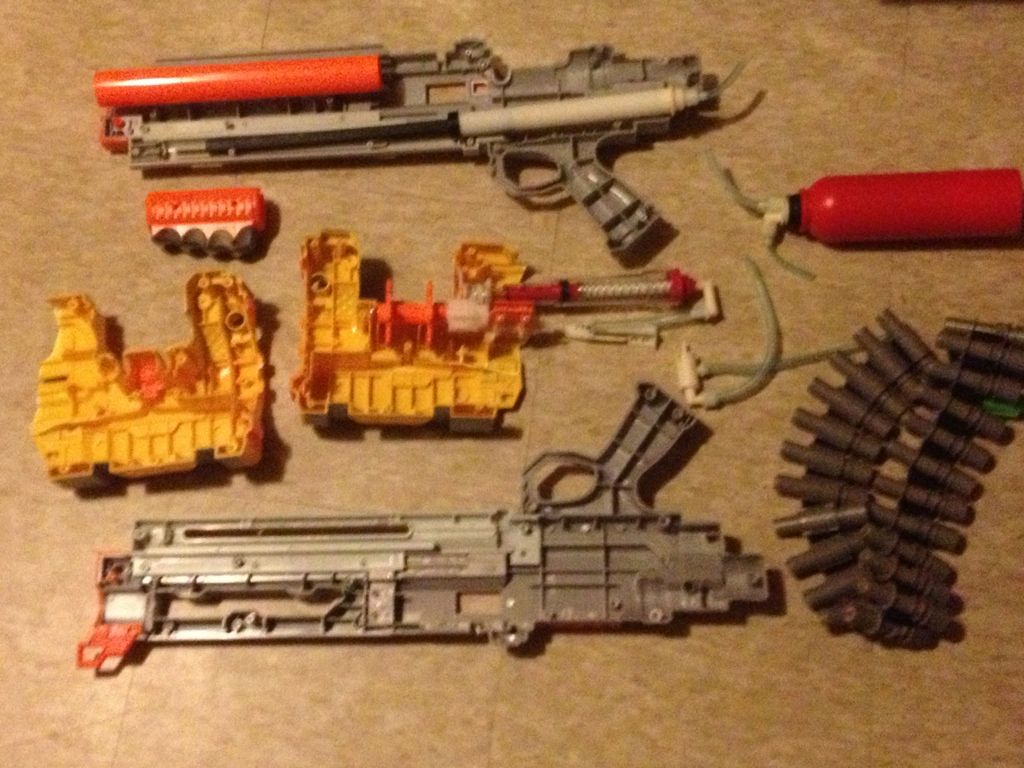
Shadow hawk shell
RF-20 (almost all of it)
Vulcan (the rotation mech, and associated shell pieces, and some other parts from other areas)
Zip ties (small and medium sized)
Random pieces of plastic/polycarb/whatever
Spare screws
Bell Airstrike 1000 pump, or whatever your pump of choice is (not pictured above)
Some nuts, bolts, and washers
Plastic welder (the epoxy stuff)
Tools, lots of them
First the shell:
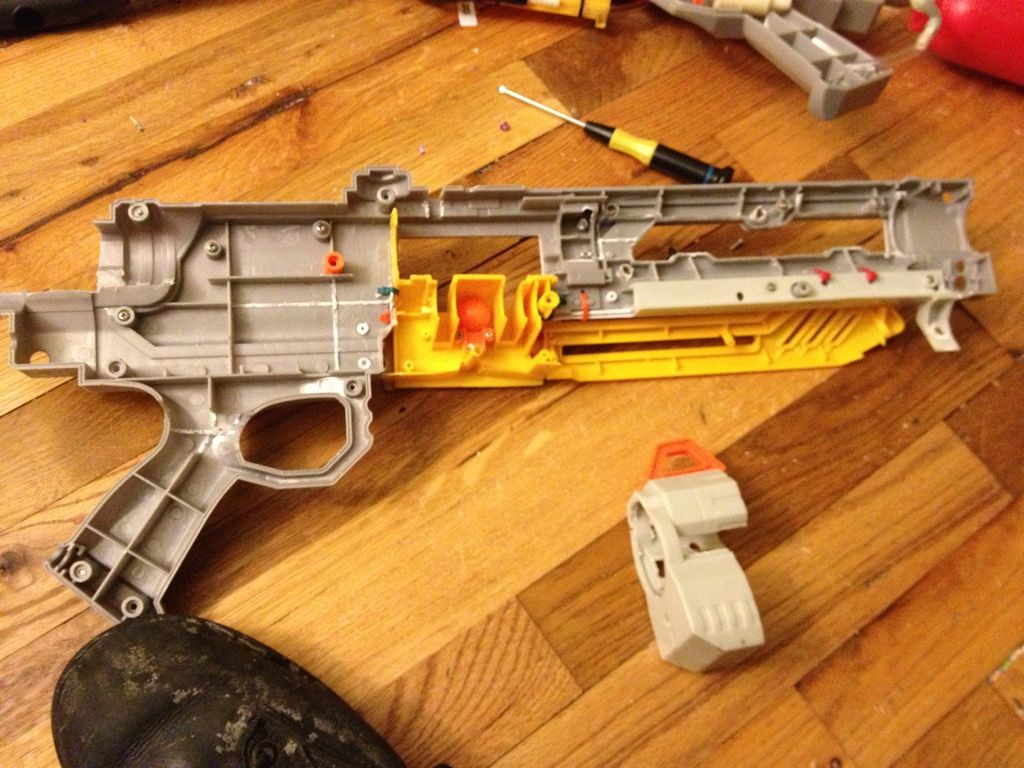
The shadow hawk shell is actually made of more rigid plastic than most Nerf brand blasters, it is also assembled in sections (each half is actually six pieces) this is both easier to work with because you don’t have to deal with the whole thing at once, and a pain because a lot of material has to be removed from certain areas, and the thing still has to hold together, lots of screw ports will be omitted.
The only parts of the Vulcan shell needed are the barrel insert, and the area where the chain goes. You don’t want the front wall, but the back one is very important for lining things up (more on that later)
the front part of the Shadow hawk shell gets lots of attention from the Dremel. Its original bore is around .25 inches, and the Vulcan barrel is a lot closer to 1.5 inches, so go crazy, but make sure it is straight. To accommodate your hand pump of choice, just cut the existing pump grip slide out (I left a part of the stop from the original grip on for aesthetic purposes.)
For the middle part of the shell, all you have to do is cut a section out of the shell wide enough to fit the part of the shell from the Vulcan. When epoxying this in place however, it is crucial that it is centered as perfectly as possible (I mechanically fastened it with zip ties and then used the epoxy, just to be sure). I attached pieces from the front of the Vulcan for structural reasons (also because I thought that they looked cool)
The rear section is relatively simple, some holes need to be drilled for air lines, and the space around where the RF-20 piston needs to move needs to be cleared up (you will probably have to go back and clear some more out later, I had to go back in there three or four times due to the piston rubbing on things and wasting energy
Next for the piston and related parts (pretty much everything but the rotation mechanism)
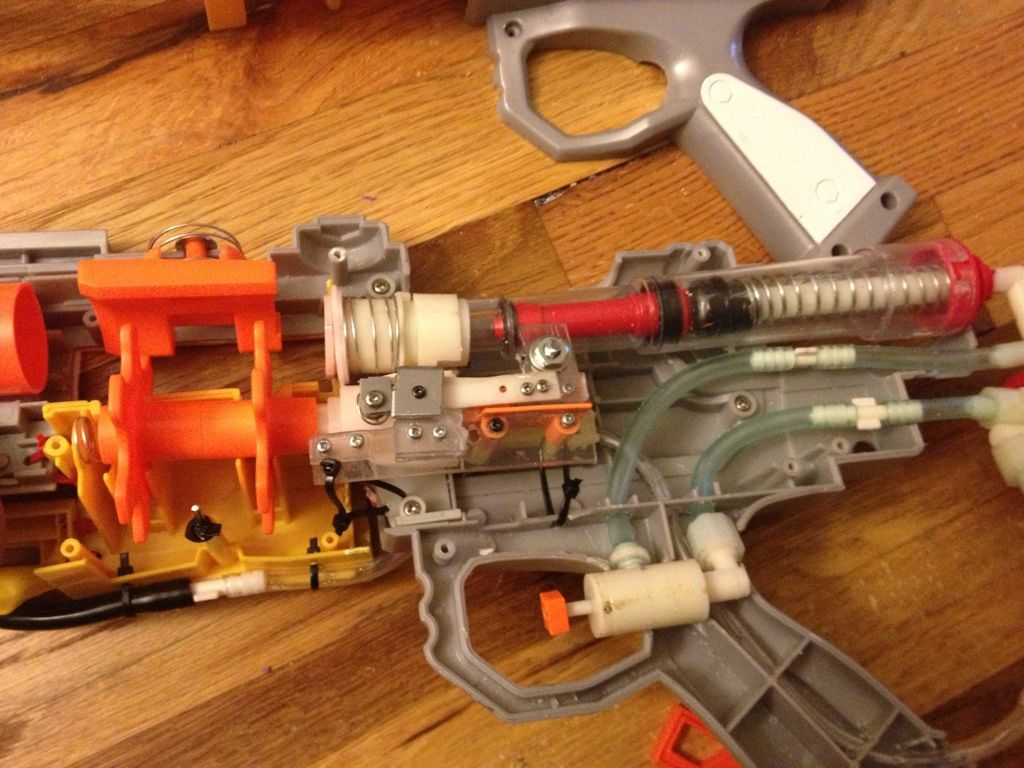
This is also around the point where documentation and specific dimensions is almost nonexistent (not that there has been much of it up to this point) so I apologize for that
The piston is secured to the rearmost part of the Shadow hawk shell (as it turns out it is the same thickness as the gap in the mount on the back of the piston)
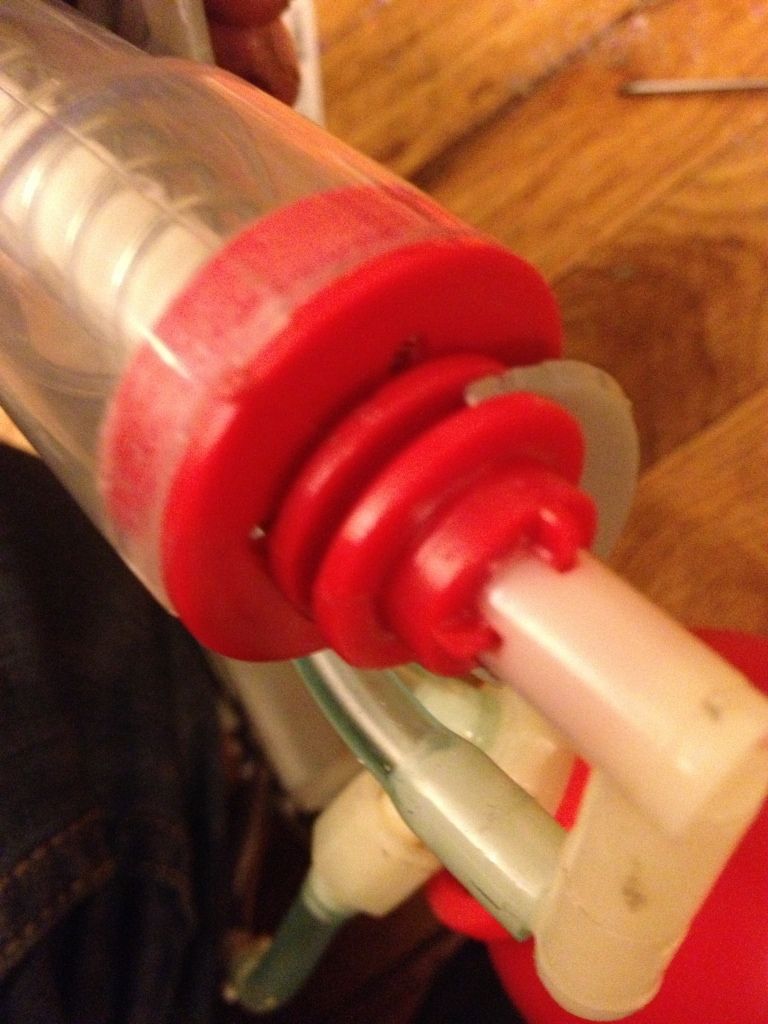
when supplied with air (using the stock RF20 trigger valve)
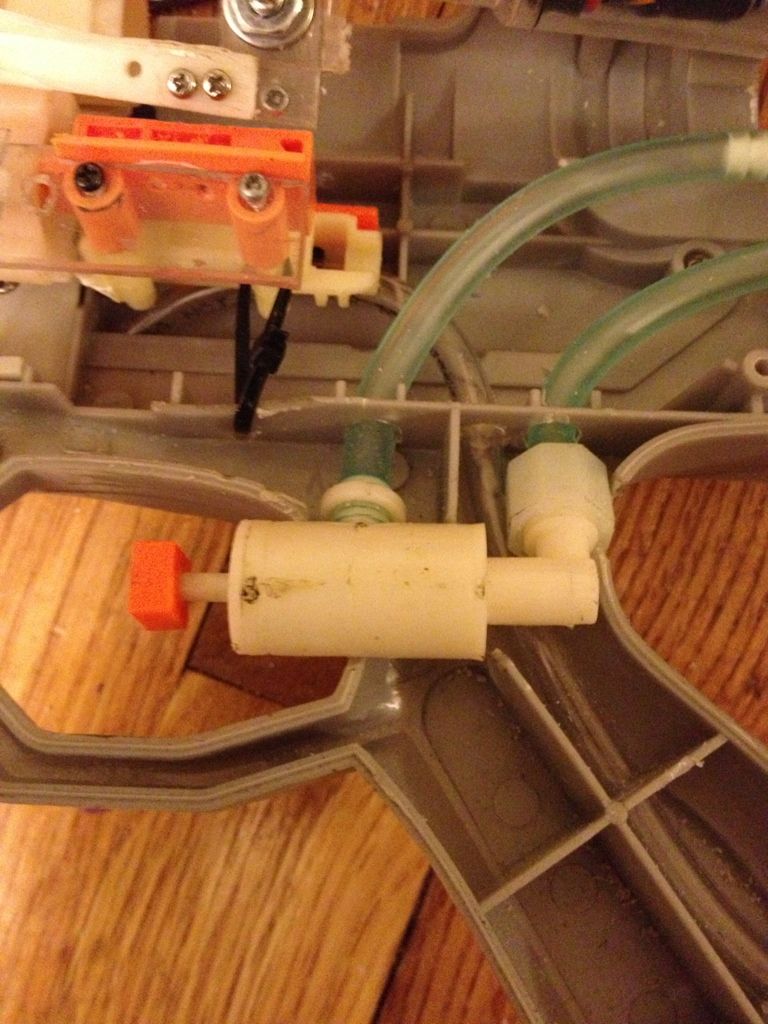
It moves forward until it meets up with and then pushes the part that seals against the Vulcan chain. The front RF20 seal has been super glued to the back of it, and part of the Vulcan plunger tube has been used to prevent the return spring from pulling the whole assembly out (another part of the plunger tube has been used as a guide)
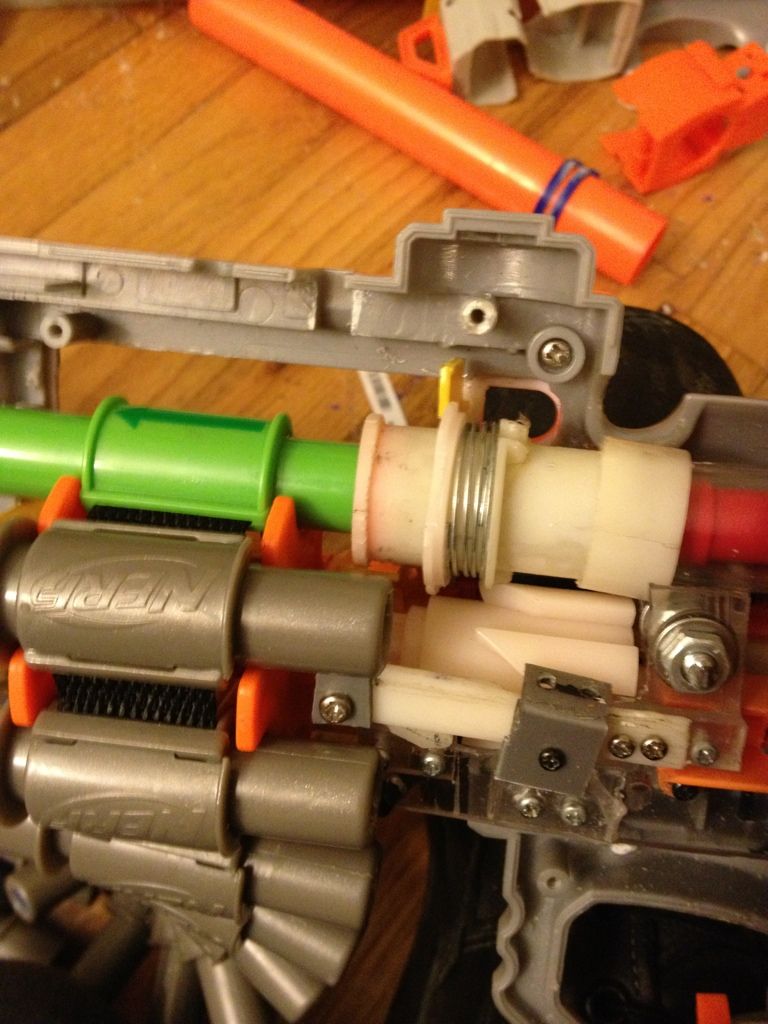
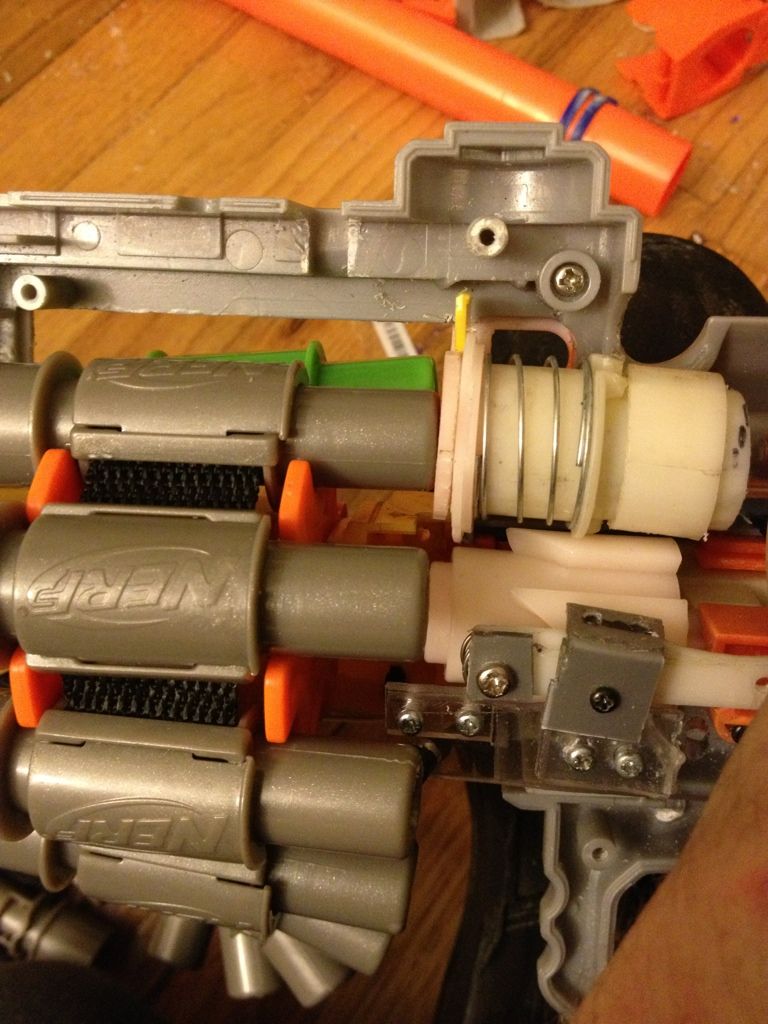
And now for the rotation mech:
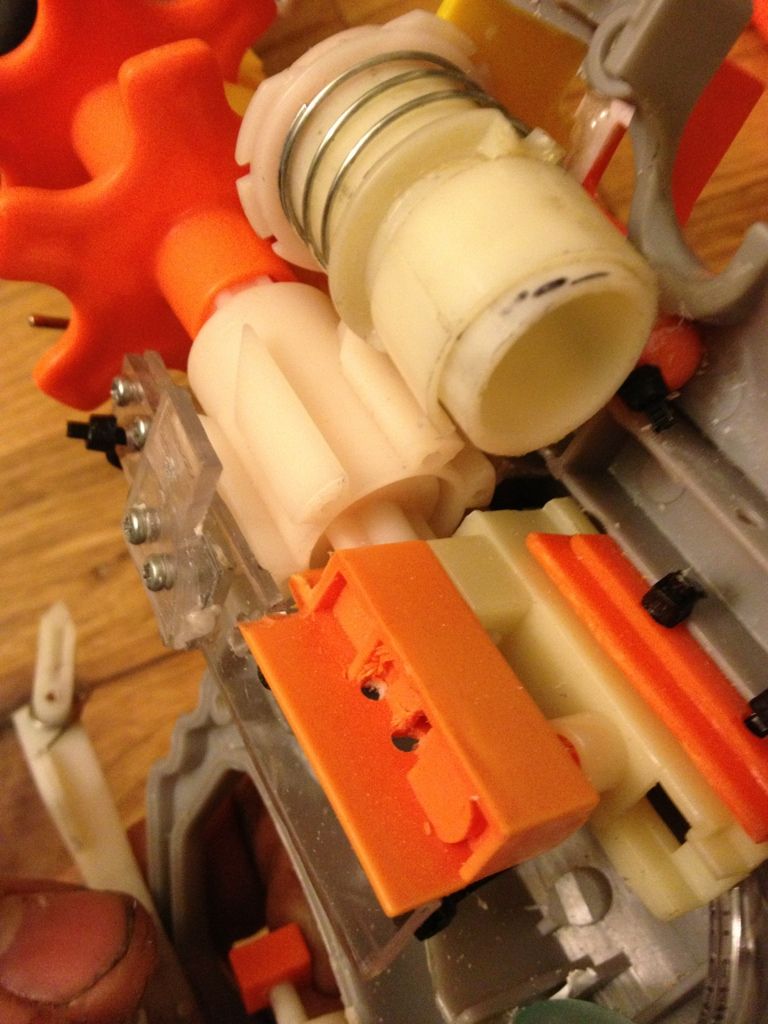
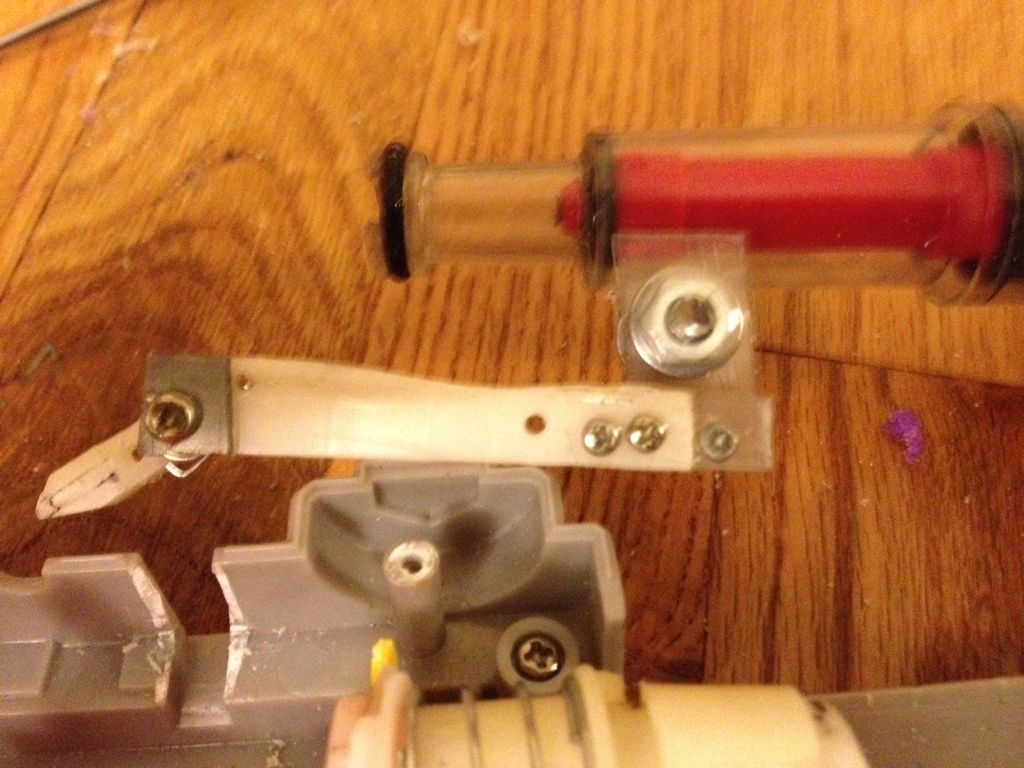
First off the stock mech in the Vulcan was actually broken in the one I found at the thrift store and the RF20 is a push-type rotation mechanism whereas the Vulcan is a pull-type. Anyone who has used a maverick will tell you how unreliable it is when the firing chamber advances at the same time as firing, so I had to start completely from scratch. The other important thing here is the location of the part that actually does the pulling, it has to be on the side in the same place as the Vulcan otherwise the rest state of the Vulcan belt won’t be lined up with the barrel and piston (and it won’t fire). Since this is the only part being attached to the Shadow hawk shell, I just made fine adjustments on the angle with zip ties so the belt sat in the correct place.

To get the spacing right between the rotation mech tab on the piston (which needs to be trimmed a bit to allow for full travel) and where the puller arm is just used a bolt, some washers and some nuts. That way it can be finely tuned and adjusted, when you get it right, use some blue or red Loctite on the threads to prevent the nuts from moving.
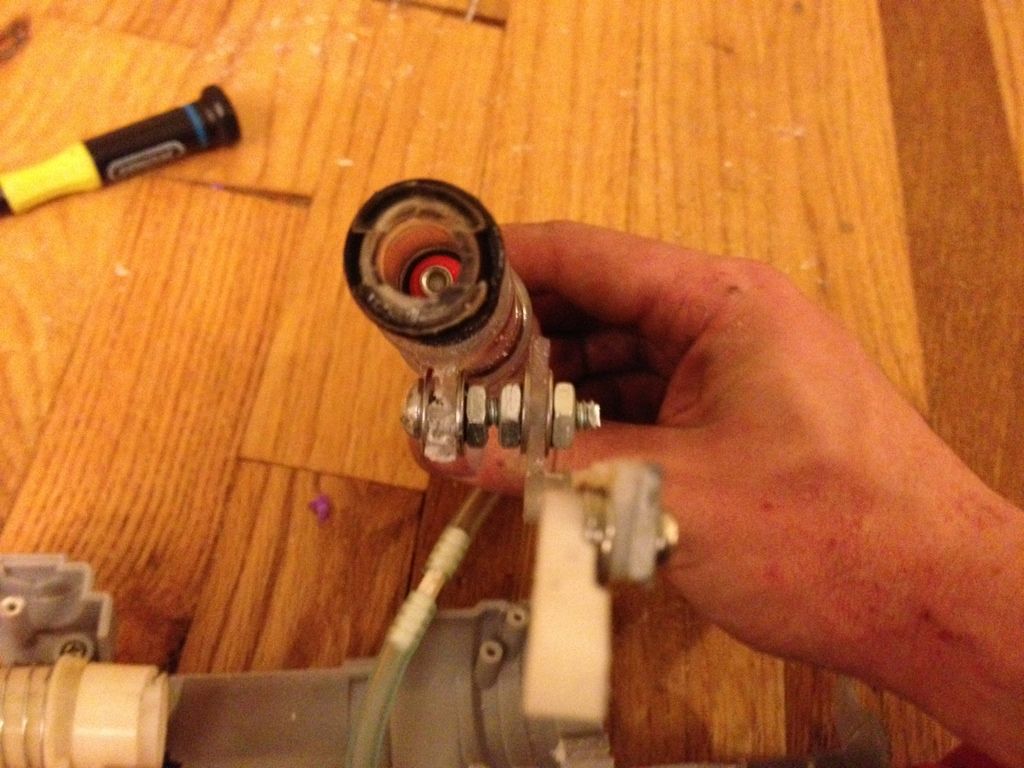
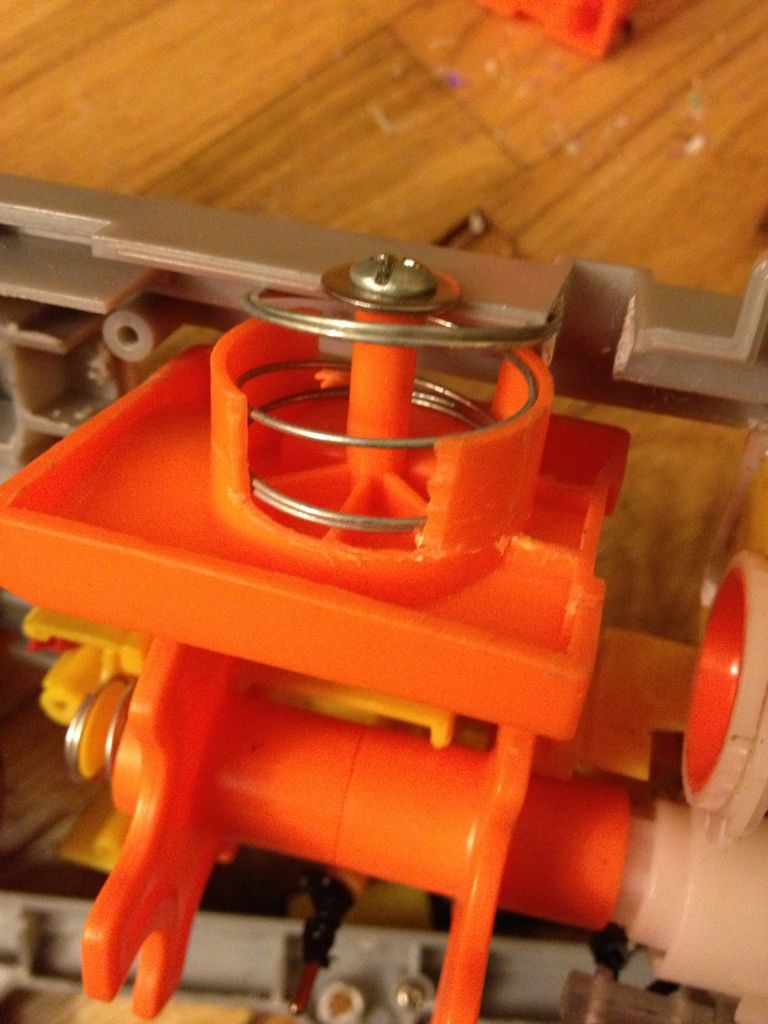
The other important part of the rotation mech is the chain tensioner (that little spring loaded piece in the big orange part that goes over the Vulcan chain) I just screwed a bolt and washer down through the center piece, a small amount also needs to be trimmed from the sides of the spring retaining circle just so that it fits in the Shadow hawk shell and can travel up and down freely. This part is important because it keeps pressure on the top of the chain so that it only moves when the rotation mech pulls on it (or when you are pulling it through)
I probably missed some stuff (as I have said before documentation wasn’t very good) if you have any questions, ask me. And if you want plans, PM me and I’ll get them to you when they exist.
Also I can’t get a firing video as of right now (or rather, I can, but you would only get a few shots before it stopped) the piston needs a higher pressure than the stock RF20 due to the fact that it is doing more things.
