Q: Will there be a writeup? Templates?
A: In due time, but don't expect either in the immediate future.
Q: Will you be selling these? For how much?
A: Yes. I can't say for sure yet, but I've just been telling people that it'll likely be "around the cost of a Plusbow". Keep in mind, this is by no means a guarantee.
Q: When will you have these up for sale?
A: I'm trying to have these up and finalized within two weeks.
VenoMaxx: Homemade SuperMaxx 5000
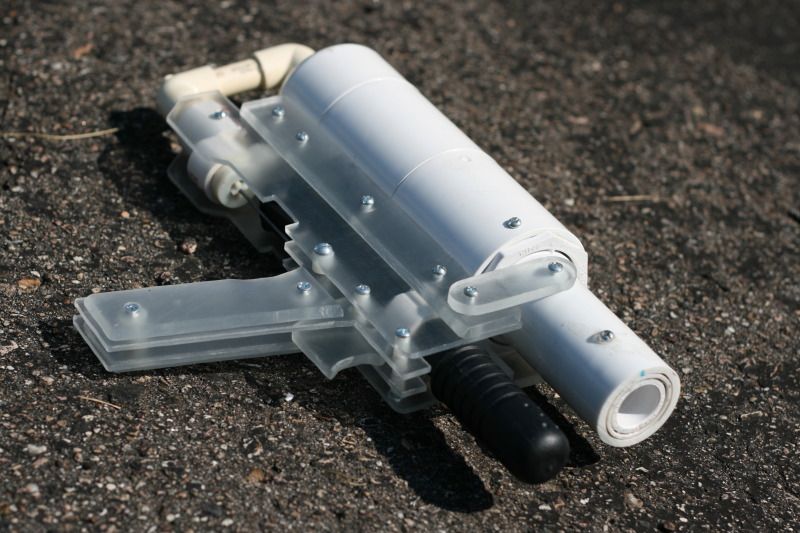

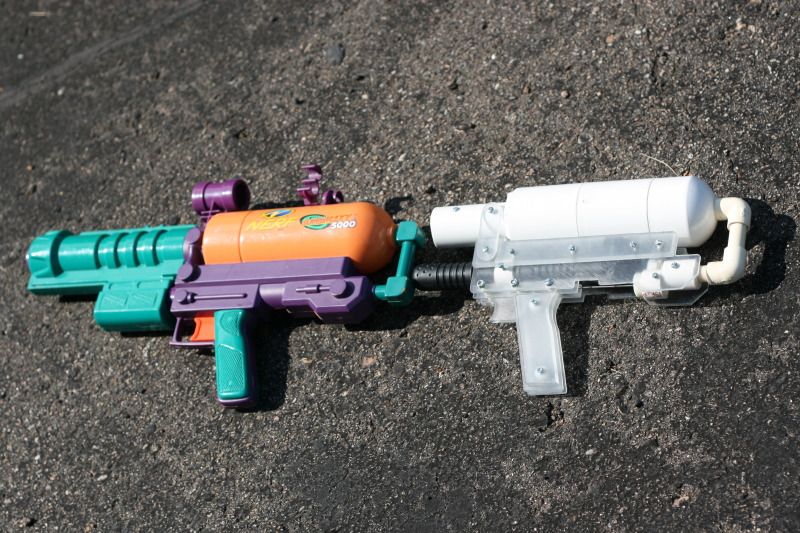
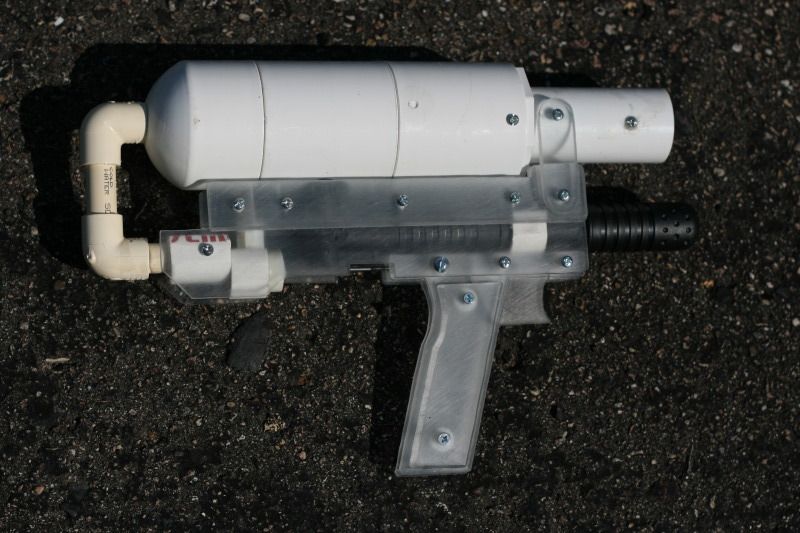
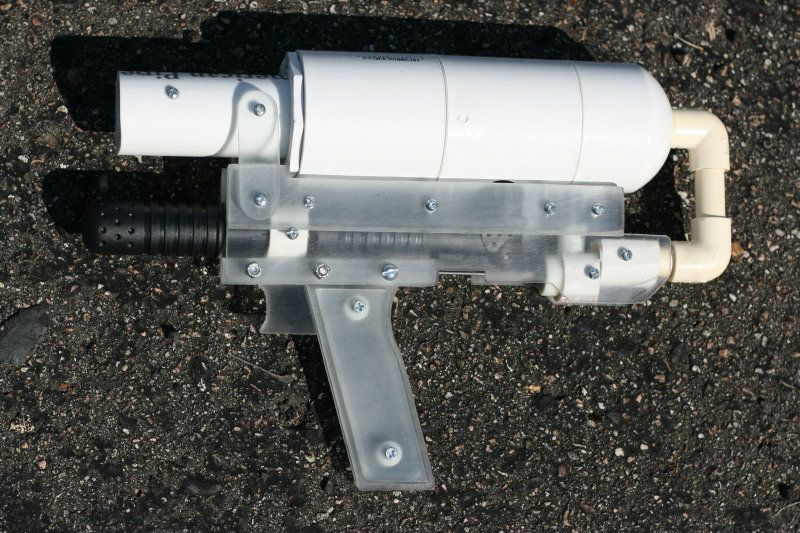
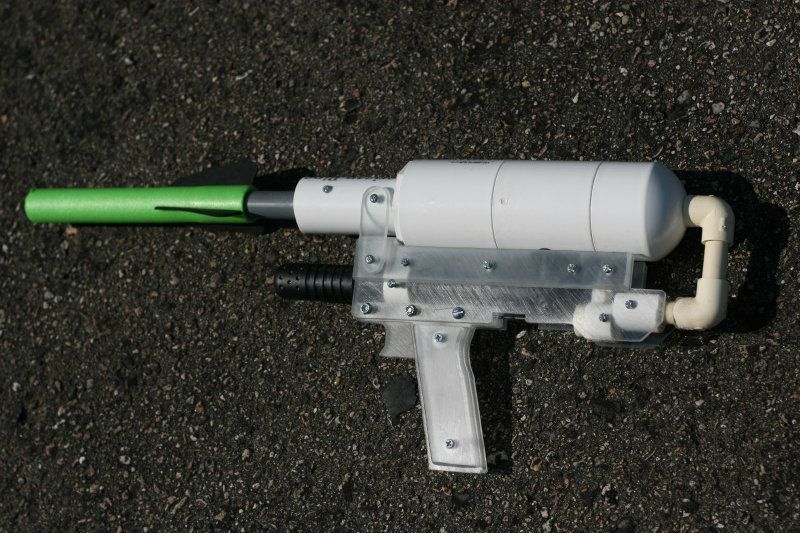
This is a project that I had in the works long before this contest came around. This contest proved to be the motivation I needed to finally finish this project, however. It is by no means "done", in a sense of finality, but it is fully functional as of now.
The VenoMaxx is constructed in a similar style to a +bow. The main body and handle are made out of polycarbonate, held together with mechanical fasteners. The only adhesives used on this gun were used to connect vinyl tubing to the pump and blast button as well as gluing together the air tank. The tank is an expanded hornet tank, with roughly 3-4 times the volume of the stock tank. I just used one of those because they've been reliable in the past, but really you could use virtually any backpressure tank. I have an updated version of my OPRV inside of it to make sure the pressure stays within reason. The trigger is a sliding trigger that connects to a hornet blast button via a piece of music wire. The fake tank portion of the blaster is made out of a rounded 2" PVC cap (Home Depot kind) and two 2" PVC coupler. This assembly reduces down to 1 1/4" PVC, which the expanded hornet tank is nested into and secured with screws. The tubes sticking out of the back of the gun are made out of 1/2" CPVC and 2 CPVC elbows. This assembly in conjunction with the two plates at the front of the blaster are what keep the tank assembly secured to the blaster frame. The pump, blast button, and CPVC coupler at the rear of the blaster are in snap on piece of 3/4" PVC with squared off sides. This makes them very easy to secure in the shell as well as more snug.
How it works:
It works like any backpressure release system. The bike pump pressurizes air into the expanded hornet tank and blast button. Pushing the blast button releases the piston in the expanded hornet tank, allowing to air to escape and fire the projectile.
Part list (most of these prices are from Ace Hardware, which is much more expensive than McMaster per unit):
-4x 3/8" 6-32 flat head screws $.32
-2x 1" 6-32 pan head screws $.20
-2x 3/8" pan head screws $.18
-5x 3/4" 6-32 pan head screws $.50
-2x 1.5" 6-32 pan head screws $.22
-9x .5" 6-32 pan head screws $.45
-2x 6-32 lock nuts $.22
-3x 1" Long 1/4" OD 6-32 Thread Aluminum Spacers $2.40
-2x 1/4" ID 1/2" OD Nylon Spacers $.60
-2x 1/2" Long 1/4" OD 6-32 Thread Aluminum Spacers $1.20
-2x .5" 10-24 screws $.40
-2x 3/16" ID 3/8" OD 1/4" thick nylon spacers $.40
-6x #6 1/4" OD 1/4" thick nylon spacers $.78
-5/64" Music Wire $.43
-1x Hornet tank
-1x Hornet Blast Button
-1/4" Polycarbonate ~$2
-1/8" Polycarbonate ~$2
-1x Small Bike Pump $4.89
-2x 2" PVC Couplers $1.94
-1x 2" PVC PVC Cap $1.56
-2x 1/2" CPVC 90 Degree Elbows $.26
-1x 1/2" CPVC Coupler $.26
-1x 1/2" CPVC Cap $.20
-1x 1/2" PVC Coupler $.36
-1x 1" PVC Cap $.66
-1/4" Vinyl Tubing NA (scrap)
-1x Barbed Tee or quick connect tee $1.25
-2" PVC NA (scrap)
-1 1/4" PVC NA (scrap)
-1" Thinwall PVC NA (scrap)
-3/4" PVC NA (scrap)
In order to differentiate this post from the one in the contest submission thread, I added some more photos and a rough overview as to how I constructed this.
I started off by carefully measuring the shell of my SM5K to make the templates. From there, I determined how to fit most of the parts together. When the templates were finally done I printed them out onto label paper and put them on their according sheets of Polycarbonate.

I started off by using an automatic center punch on the spots where I needed to drill holes. I then moved up to the corresponding drill bit for each hole, tapping holes where necessary. Here are some pieces fresh after cutting:

Next, I cleaned up the cuts with files/sandpaper, removed the paper templates, and sanded the pieces to get a frosted look.
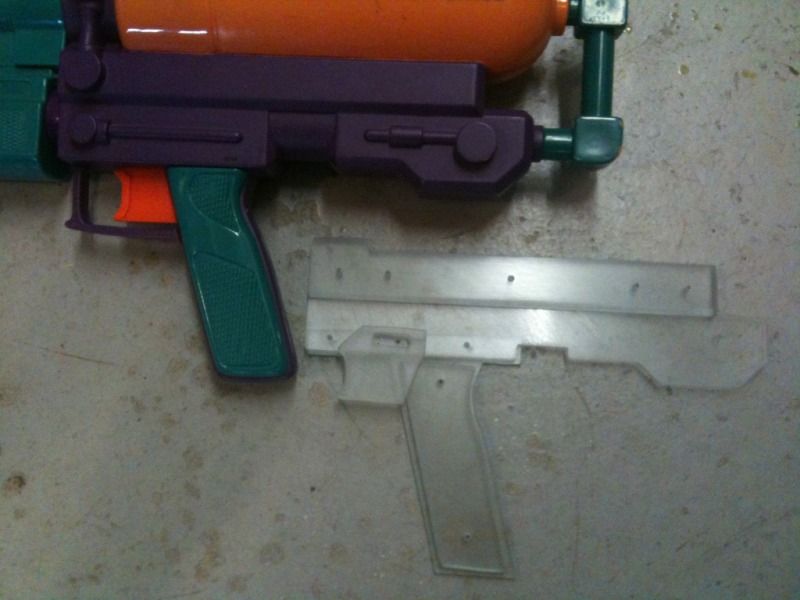
I did a lot of detail oriented things with this, such as making sure the fake screw ports form the stock blaster lined up with the real ones on the VenoMaxx.
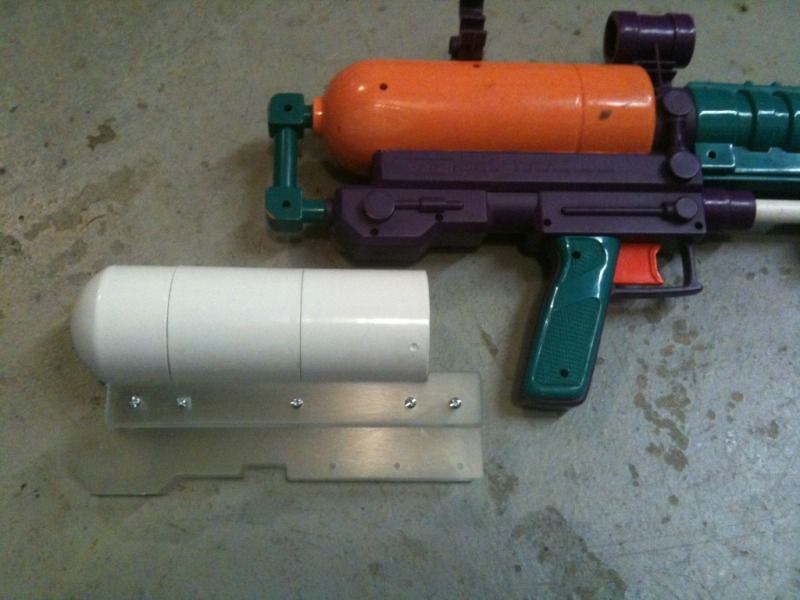
Once I had partially assembled the frame of the blaster, I determined that 2 2" PVC couplings and a rounded 2" PVC cap would make a good replacement for the orange "fake tank" portion of the stock blaster. Once I was able to measure how the PVC assembly rested on the frame, I determined what size to make the side plates that hold down the PVC.
Here's another view of the main body partially assembled.

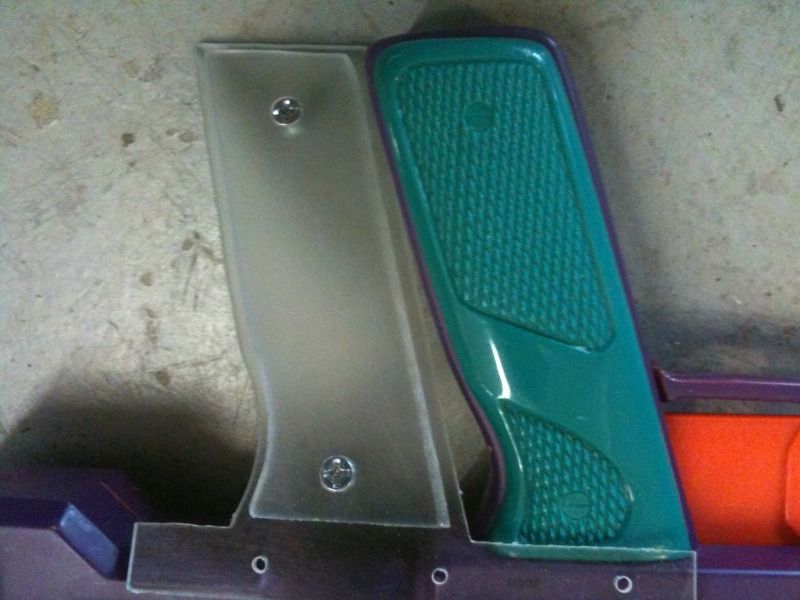
Using a series of spacers, bolts, and nuts, I attached the handle.
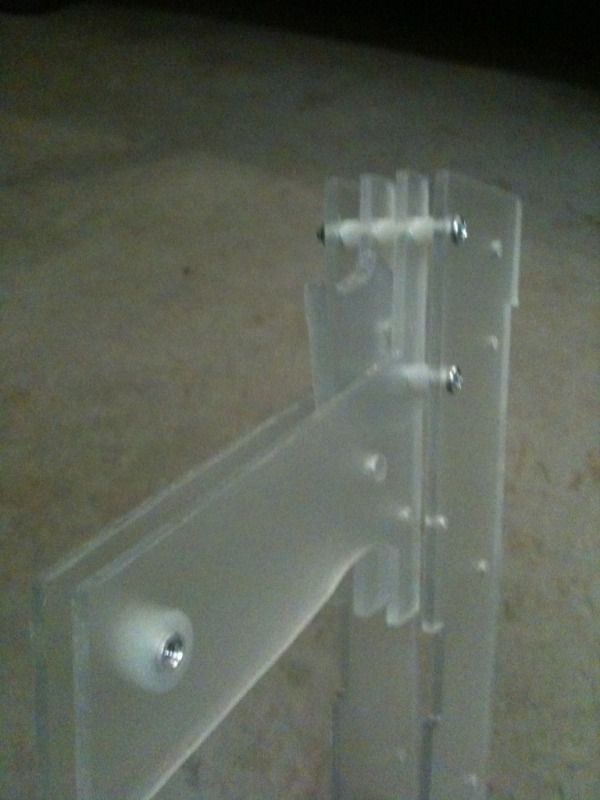
Here are some more pictures of the handle as I was building it.
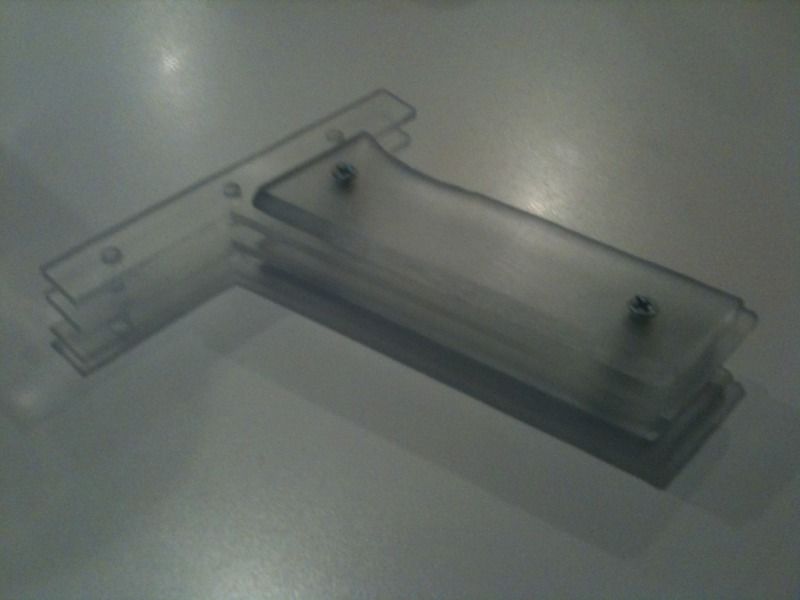
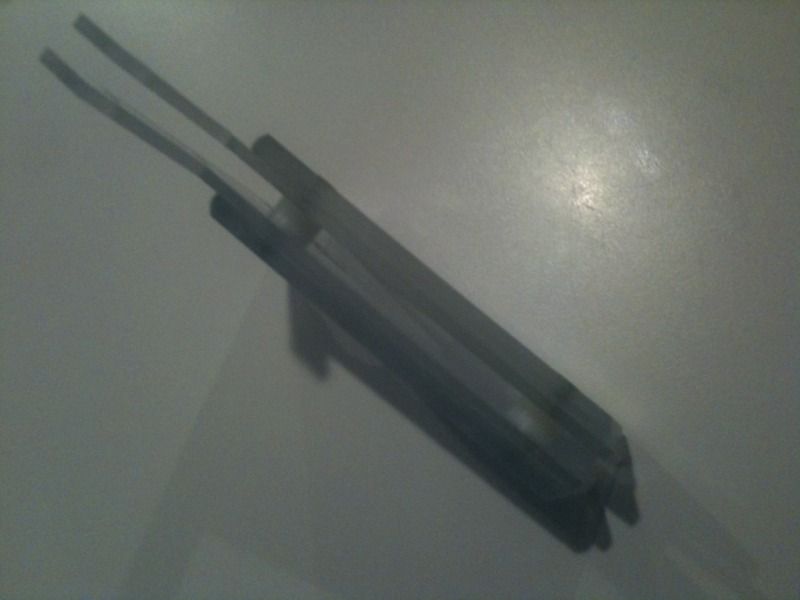
One thing I didn't completely plan for when designing the templates was the placement of the pump and blast button. Luckily, the pump I used already fit well in the shell and had a ridge in it that was a perfect for making sure it stays retained. All that I had to do was cut a piece of 3/4" PVC, cut a ridge out of it, snap it on the pump, square off the sides of the PVC, line the pump up in the shell, and add a bolt to make sure the ridge stays in place.
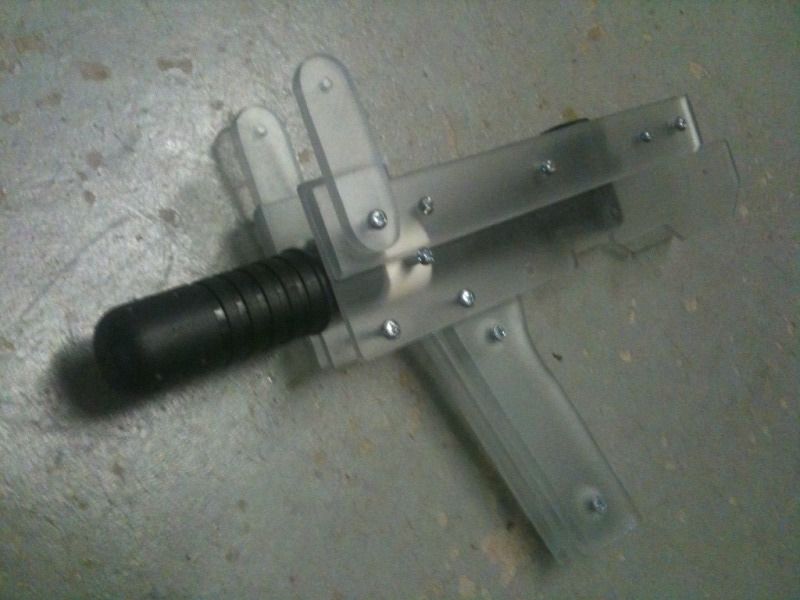
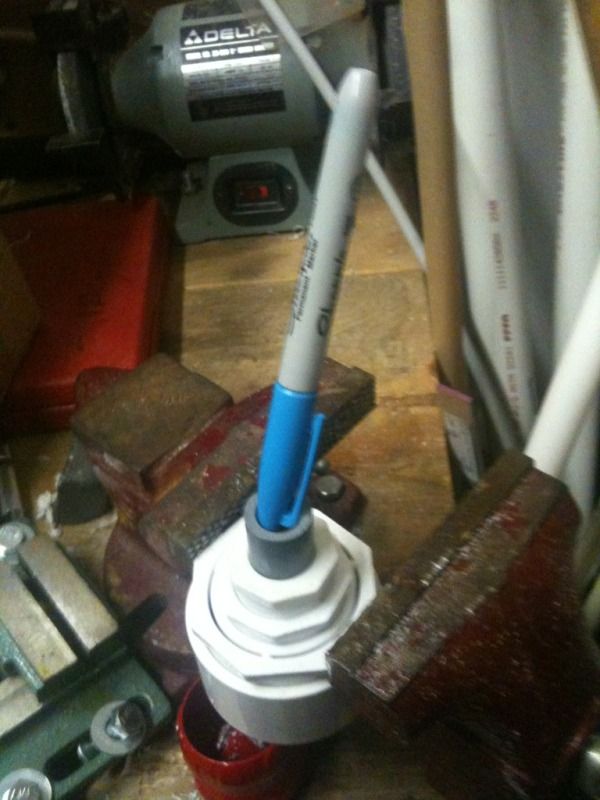
To drill a (mostly) centered hole in the 2" Cap, I used a series of reducers to run a piece of 1/2" SCH 80 PVC down the middle of the cap. From there, I dropped a sharpie marker (with the cap OFF, of course) through the PVC several times to mark the center of it.
I affixed the blast button in the shell in much a similar way to the pump. The length of the music wire connecting the trigger and the blast button was determined by cutting a piece of it slightly longer than I would need, and gradually trimming it down with a dremel until it fit well.
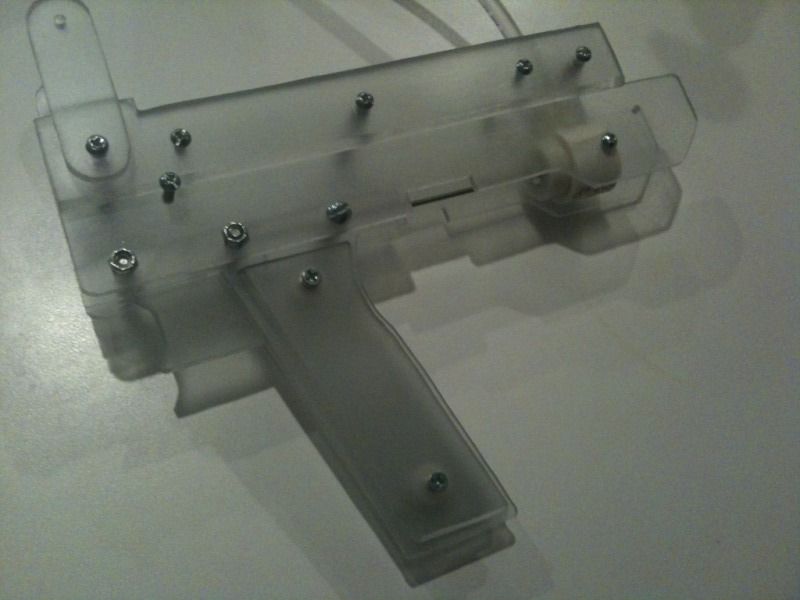
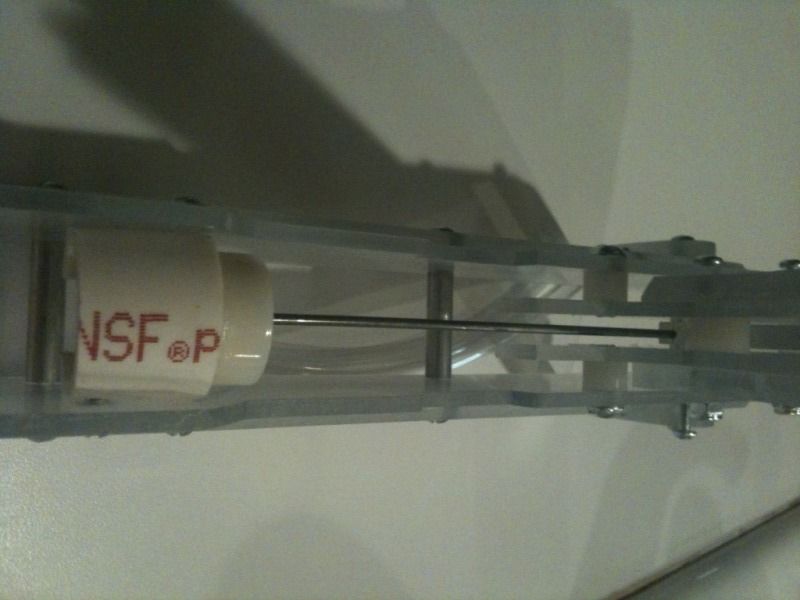
That's all the in process construction pictures that I have of the blaster at the moment. Obviously, the real write-up will be much more comprehensive and detailed.
Ranges:
My Draconis Missile is a lemon. It doesn't shoot more than about 10 feet from my Roto Rocket, which I know for sure works well. This blaster is definitely less powerful, so it's no surprise that the ranges with the Draconis Missile are pitiful. I'm going to be getting some fresh missiles soon, so I'll post ranges then. For now, all that I know is that it shoots an Air Zone Missile 40-50 feet flat.
Cost:
I certainly did not pay over $30 for this project. It helped that a lot of the materials and parts were purchased in bulk, as well as a lot of the parts/materials were scrap or just random things I had sitting around. If you have NOTHING and want to build one of these, yeah, you'll probably pay over $30, but then you'll extra parts/materials for more builds.
Watch the video below:
http://www.youtube.com/watch?v=iZEgxT1-HKs
Notes:
-More comprehensive range/performance testing with darts coming soon.
-I'll be war testing it tomorrow at Augustsational.
-I have a lot of plans for future additions to this blaster, many of which pertain to reproducing elements from other SuperMaxx blasters (ie an Arrow Turret to reproduce the SuperMaxx 1500 Missile Blaster).
Edited by venom213, 17 August 2012 - 03:41 PM.


