
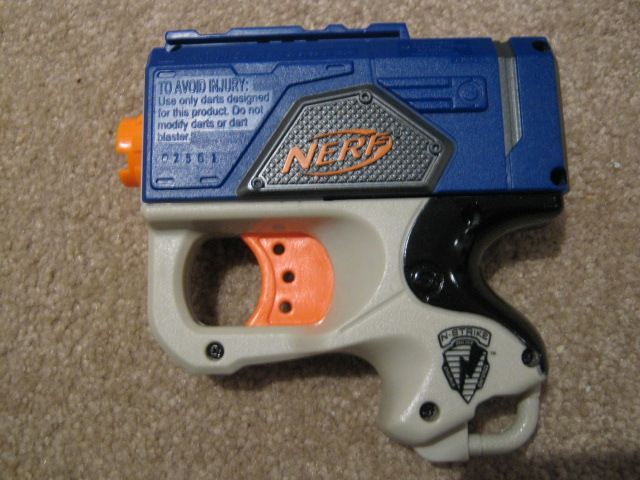
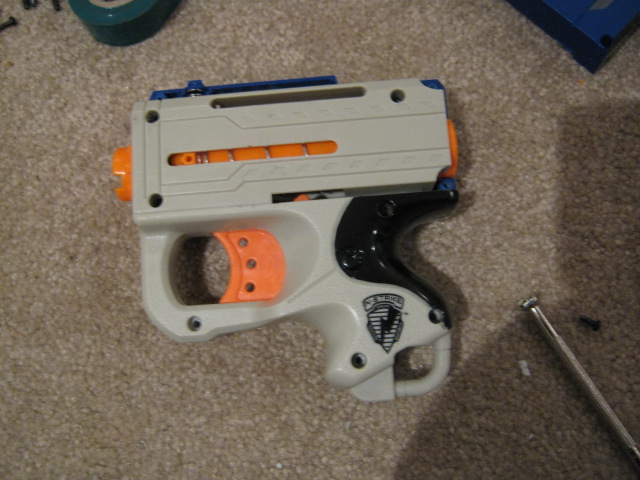
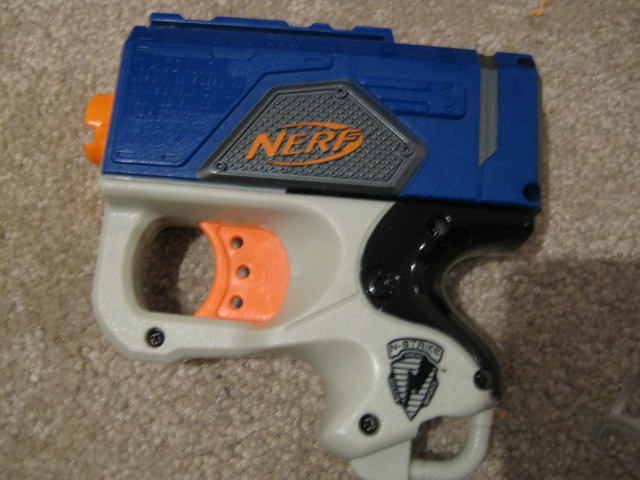
This is the Reflex, or as it's sometimes known as, the Eliminator. This particular blaster originally fired up to around 20-25 feet, so not very good. I like the blue color scheme better than the yellow.
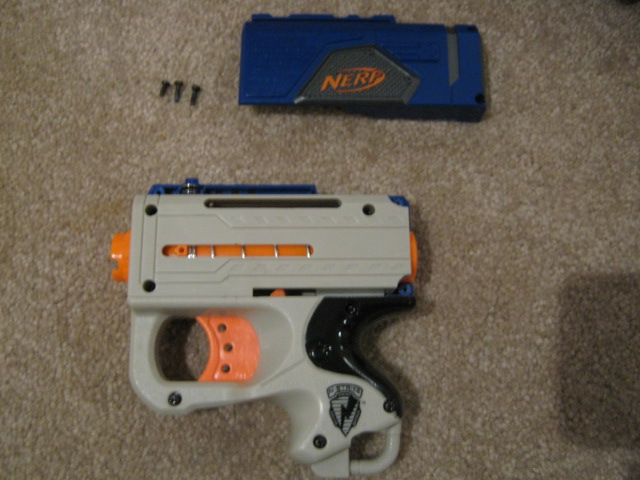
First, unscrew the cocking handle. There should be three screws, with one being smaller than the others.

Next, unscrew the rest. In total, there are two smaller screws, and eight larger ones. Make sure to hold onto the tactical rail clip so that it doesn't burst out at you.
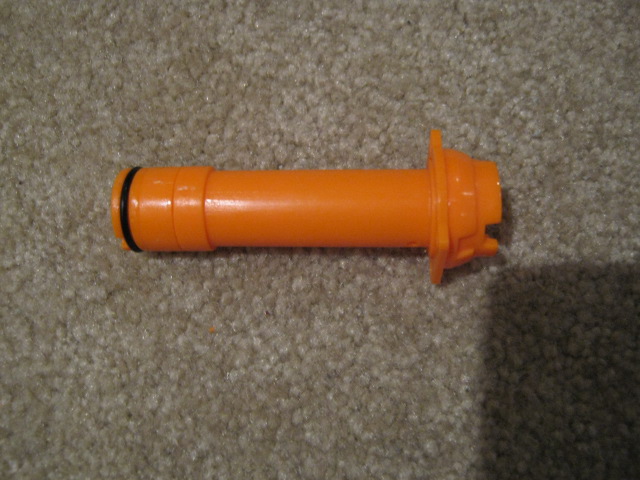
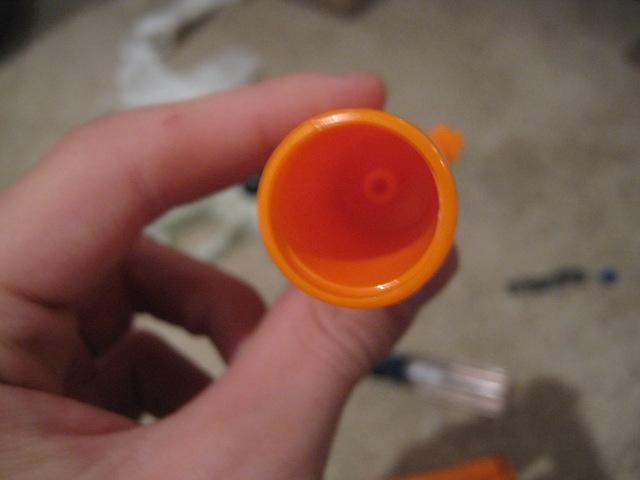
Focus on this for now. There's no more room to put any more o-rings, so one's all you got.
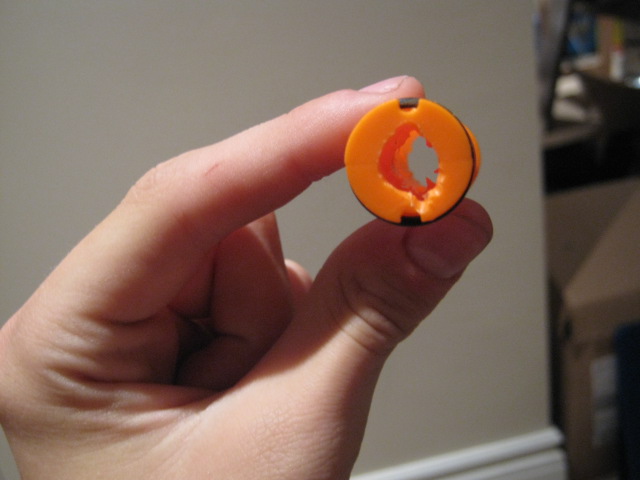
Take your drill and drill out the back, so that the peg falls off. I could not get the actual air restrictor piece out fully, so it's still in there, but Ill go back in there and get it out later.
You can also unscrew the back of the plunger tube if you want, it's hollow on the inside. If you want to add weight to the blaster, this is the best place to do it.
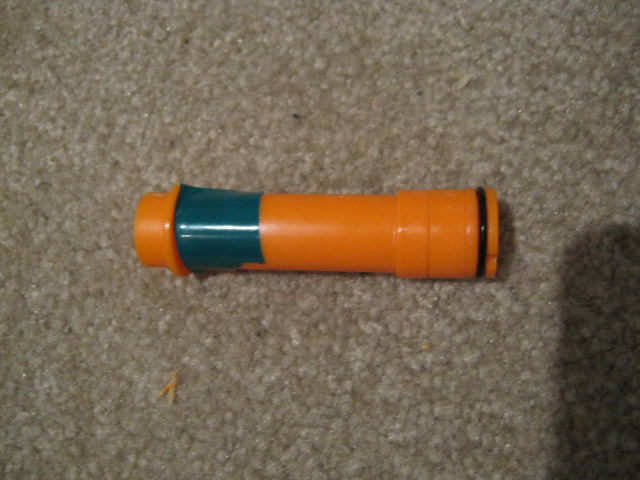
Also grab a piece of electrical tape and tape over the hole on the side of the barrel, to prevent any air from getting out.
We're done now, so start putting everything back together. Shouldn't be too hard.
And we're finished. I tested it out, and I have only one word. DAMN. I never knew a Reflex had this amount of power in it. It sounds awesome to hear it fire, and I can easily shoot it up to around 40 feet. It outranges my newly-modified Scout and probably the Sharp Shot too. I'm impressed. For the little amount of work done, this is a good payoff. Thanks for reading.


