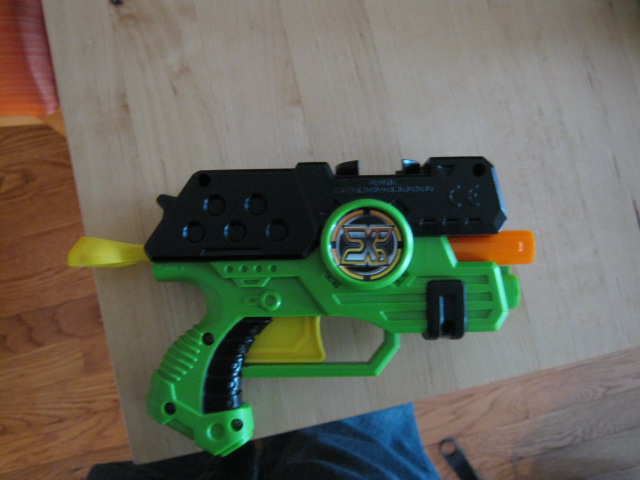
This is the Dual stock. A rather small blaster, but larger than the Jolt. I intend to make this a decent competitor to the Jolt when I'm fully finished with it.
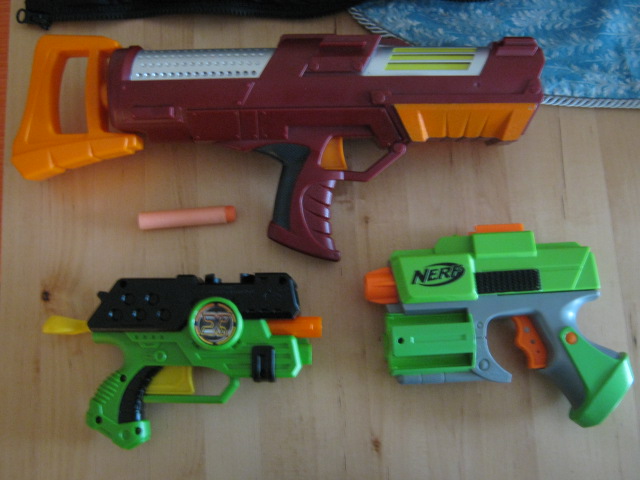
For those of you not familiar with it, it is slightly smaller than a Crossfire/Strikefire. The blaster comes with I believe four darts and six disks, both of which are terrible. The darts get decent range, but are poorly made and don't fire well. Any other dart improves range when used over the included dart. The disks are just pieces of foam and suck ass. You can hold up to 2 darts at a time, and a few disks, although the disks usually fly out as mine did not include the disk lid. I find the handle very uncomfortable because it is too small for my hands, so if you have adult-size hands, it might be difficult to hold comfortably.
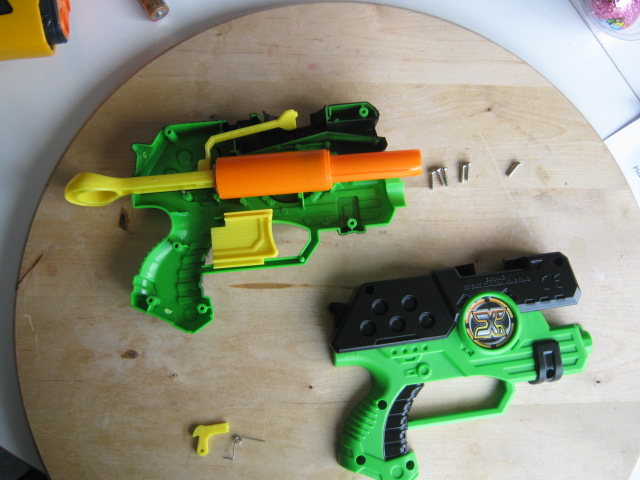
So anyways, open up your blaster. It has six phillips-head crews, all of which being the same size. It should be no problem opening up. Be prepared though, because the catch might pop out once you open it up like mine did.
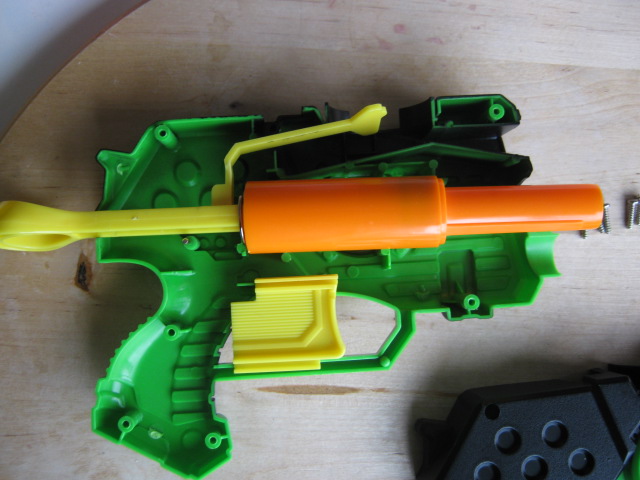
First, we are going to remove the spring assembly. I tried to use an extra O-Ring I had on a broken Iron Strike blaster, however it did not work out too well so I removed it. I do not believe you can fit a second one on it, although it may be just the O-Ring I tried on it. I did not add grease underneath it as I did not have any, but that might improve the ranges.
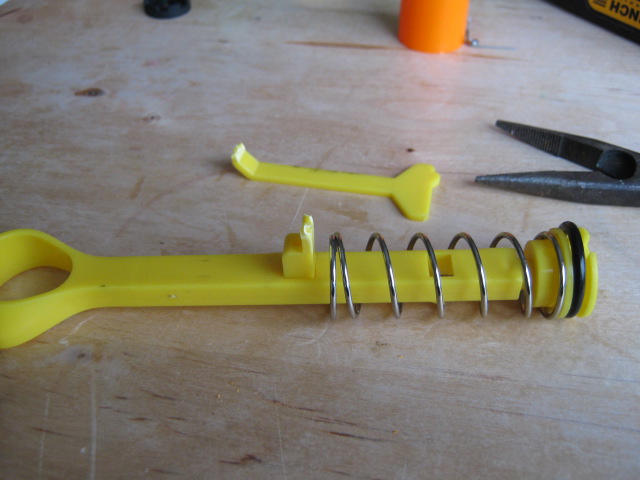
This part is optional, but it does help quiet down the blaster by a little. Twist off the device that fires disks. The disks go maybe four feet, and they always curve to the right. I would rather remove this useless feature than keep it in there, somewhat like the Nite Finder EX-3's light. This is optional, but I believe it sounds a little quieter without this.
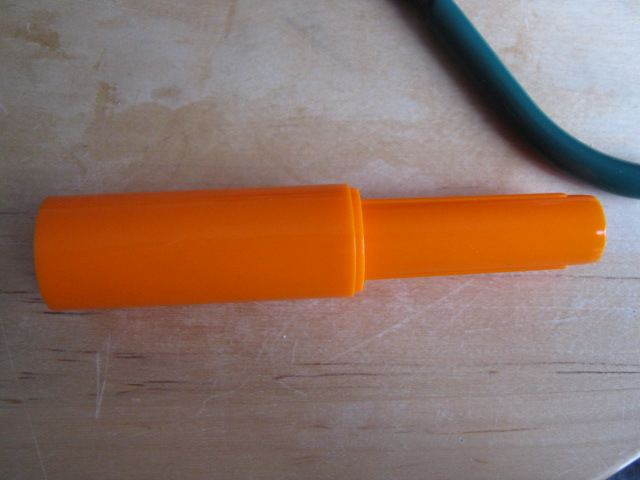
Now we are going to focus on the barrel assembly. Take this out of the blaster, and open it up.
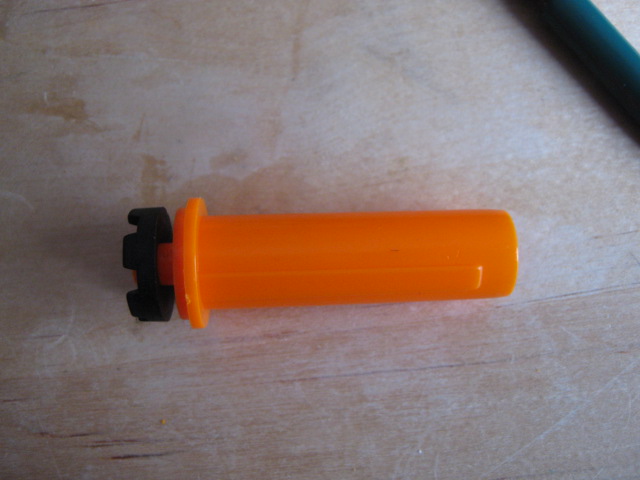
This should appear. I have no idea what this black piece is, however I chose to leave it inside the blaster. Anyways, I found the best way of removing the air restrictor was to take a pair of plyers and twist until it popped out.
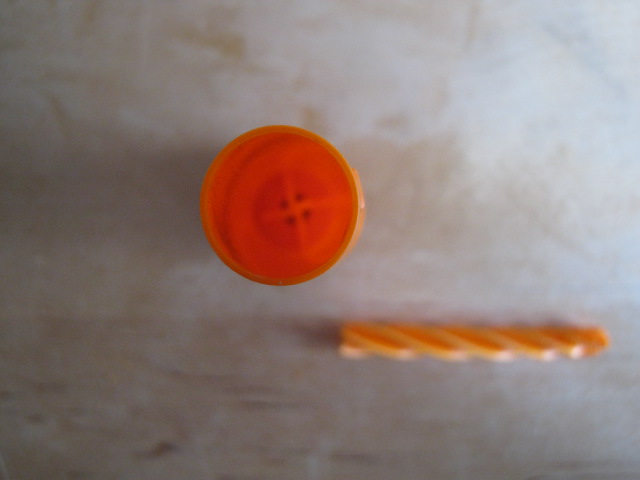
The end result should look something like this once it is removed.
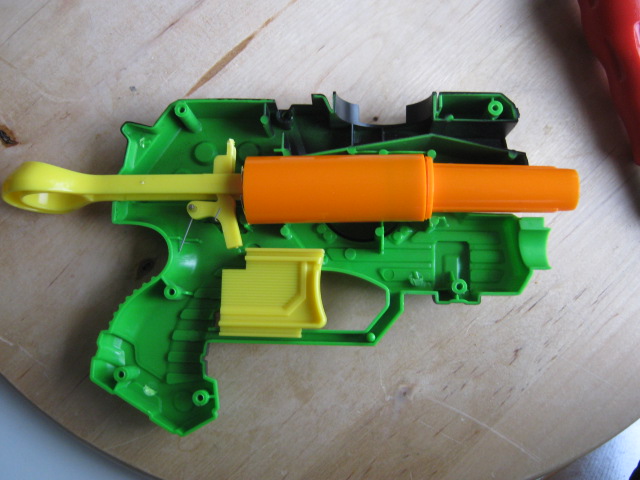
Now, we are going to close the blaster up for now. Remember to put the catch back into place if yours exploded out like mine had done. Do not use this as an exact reference to how things go, as my spring and plunger tube should be pressed back. Getting the catch back in place is a bitch if you're not sure how do it correctly.
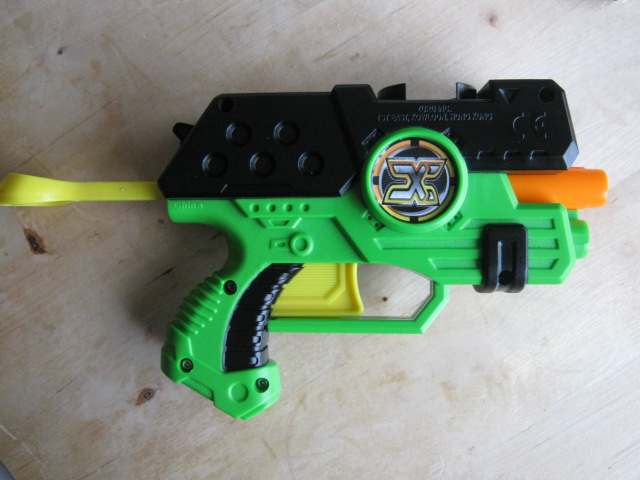
Close the blaster back up after you have finished putting everything back in place. This should be rather easy, however I had to do this step several times due to the catch not being placed in properly.
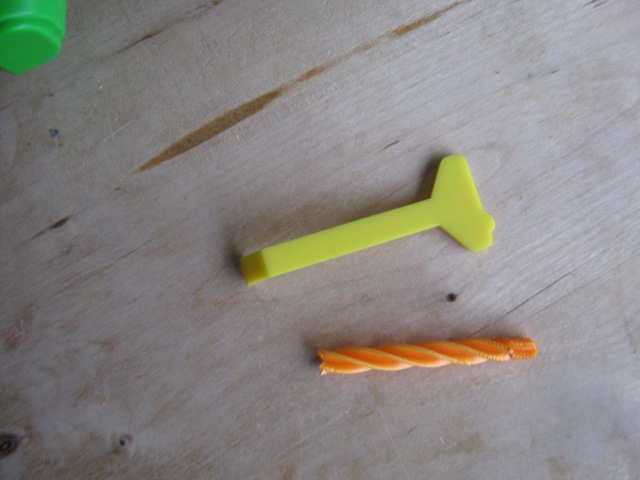
You can throw these pieces out, as they are now useless and do not server any function anymore.

So, there you have it, if you put everything back correctly it should look like this. I could have done more to this blaster (spring replacement, barrel replacement etc.) which I might do in the future. I just wanted to see if there was any way to properly modify this blaster. Now, unfortuantely I do not have ranges from before, but I was getting in the 30 foot range with the blaster stock. Now, when I shot it into my backyard, it went up to 40 feet, possibly more, with a Streamline dart. That's a definite improvement, and the blaster for sure fires better. The range also could increase if I used stefans, however as of now I do not own any. So, thanks for reading, and I'm sorry if I messed up or anything on my first post. Hope this will make it into the directory, might do future mods to this blaster soon.
EDIT:
I recently opened up and tweaked around with this blaster again, and figured I might as well put up the newer mods. Consider this the "part 2", with a part 3 (barrel replacement, spring addition) coming soon.
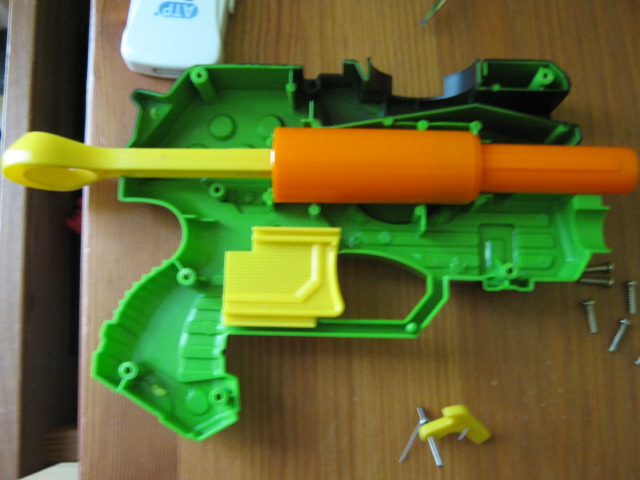
First, I made an error on the first part. ALWAYS remember to spin the position of the barrel so that the extra bar is on the horizontal line and not the vertical line. It is correct in this picture.
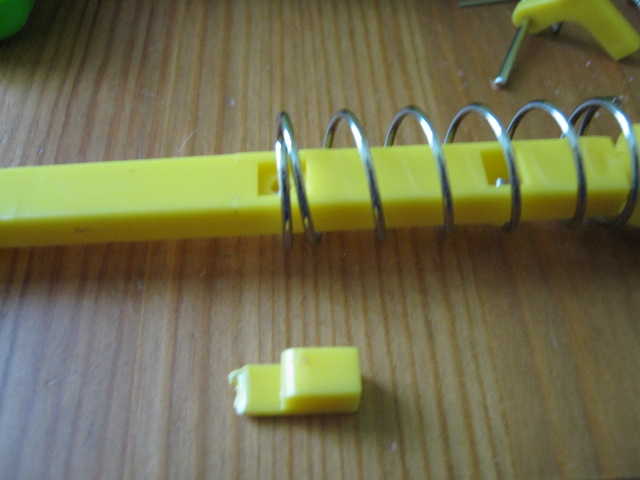
I discovered that you can remove the disk function completely by unscrewing this part at the bottom and removing it. It will also allow access to easier spring replacements.
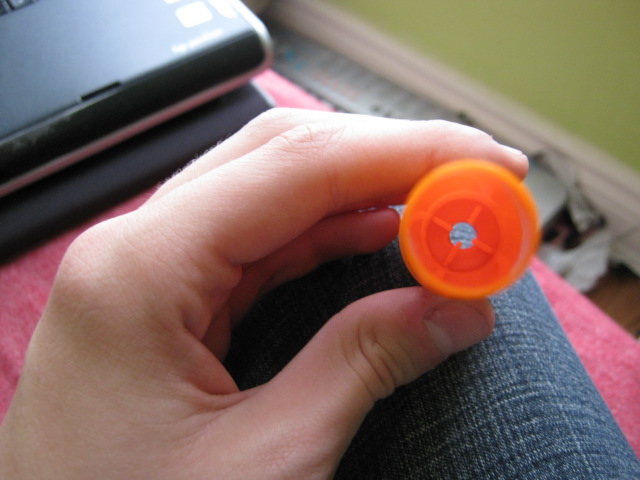
Next, take a drill or, as I did, a small flat-head screwdriver and remove the grate in the post. There should be a straight shot through when finished.
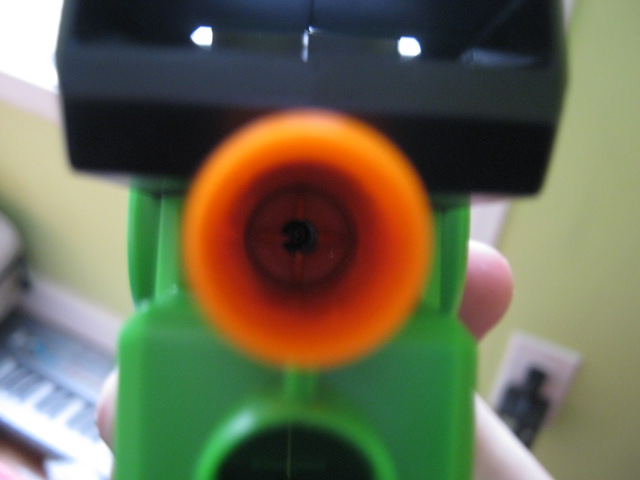
Screw everything together and you'll be able to see the screw from the plunger head easily. This is what we are looking for, so if you can easily see it, then you've done it correctly. With one streamline, I was able to hit 45 feet and 35 feet with tagger darts. This little blaster packs a punch, I think it's probably better than the Eliminator or a stock SSPB, might even be as good as the Jolt.
Edited by Gage, 08 May 2012 - 05:56 PM.


