Note: Read the entire write before attempting.
Tools Needed
Dremel
Drill
#6 screw tap
file
You will need...
for the catch
1 - 1" PVC tee
1 - L bracket
a lot - 1/2" #6 screws
a lot - 1/3" #6 screws
1" CPVC
1.5" PVC
ductape or 1" PVC
2 springs
#6 nuts
for the plunger rod
1/2" PVC
1/2" rod (I used solid core for more strength)
#8 or bigger screws
1/2" PVC tee
for the plunger tube
1.5" PVC
1" PVC coupler
1" to 1/2" reducer
for the stock and handle
1" PVC
2 - 1" elbows
Before you start you want to sand off any writing before cutting the surface.
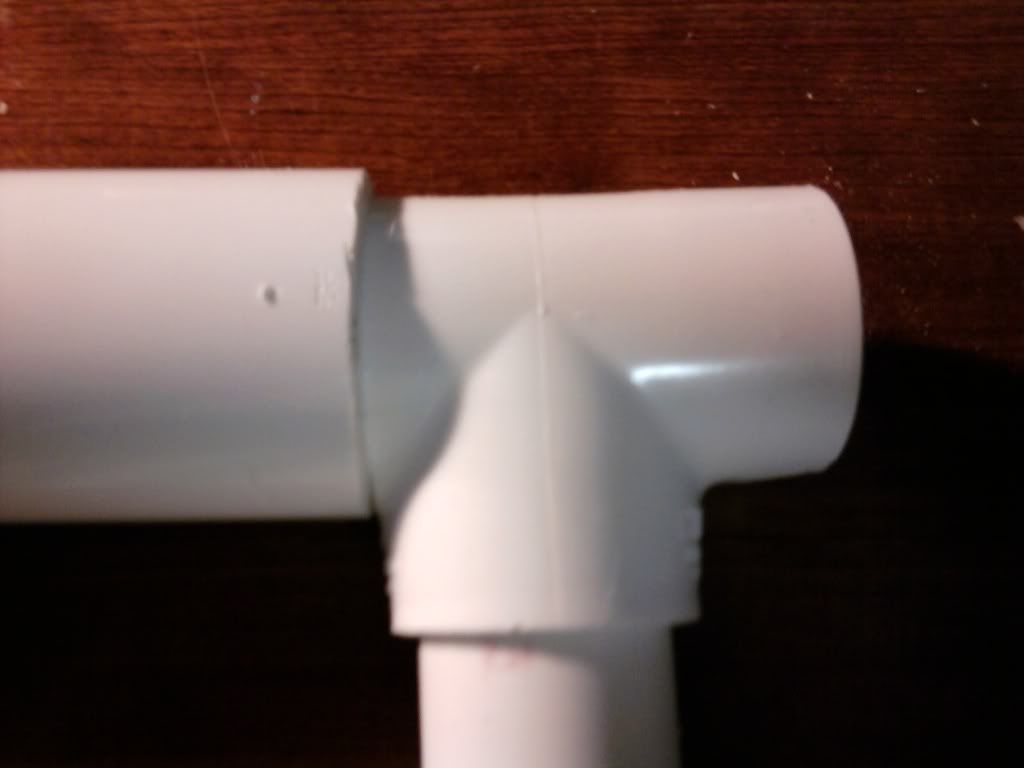
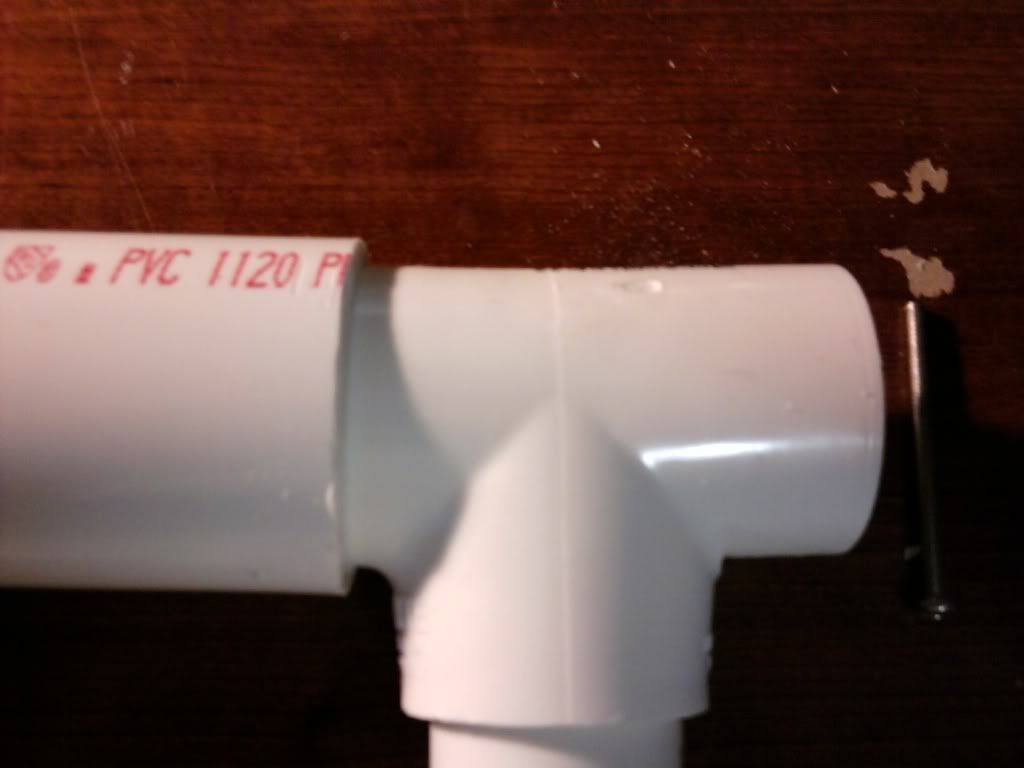
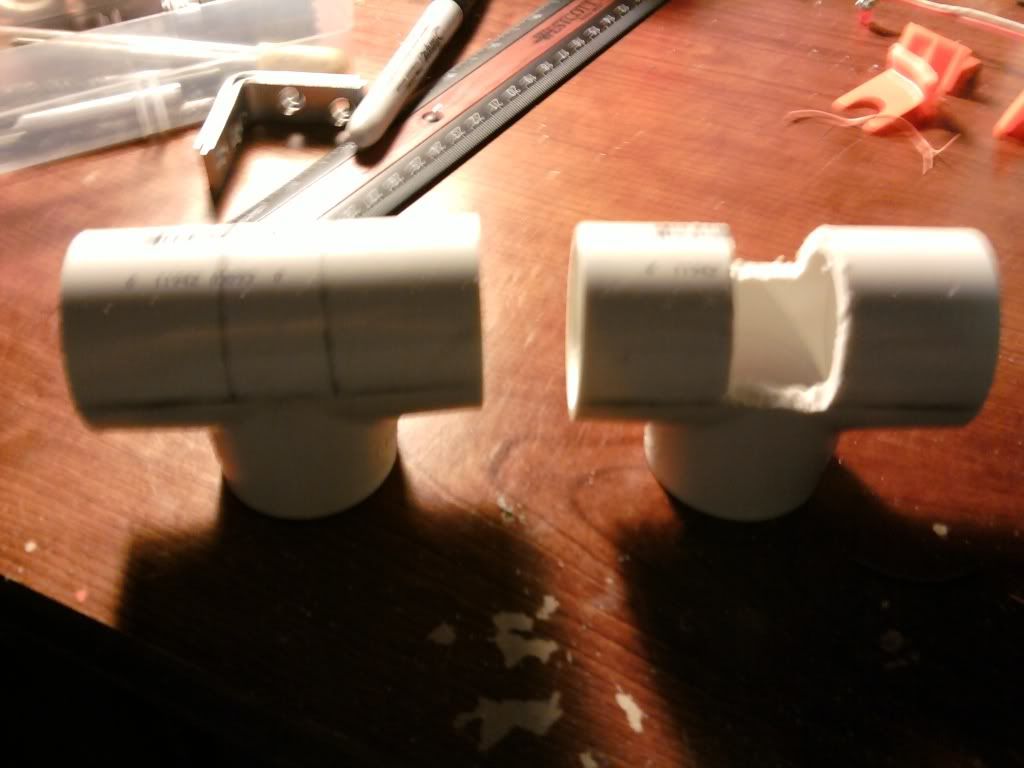
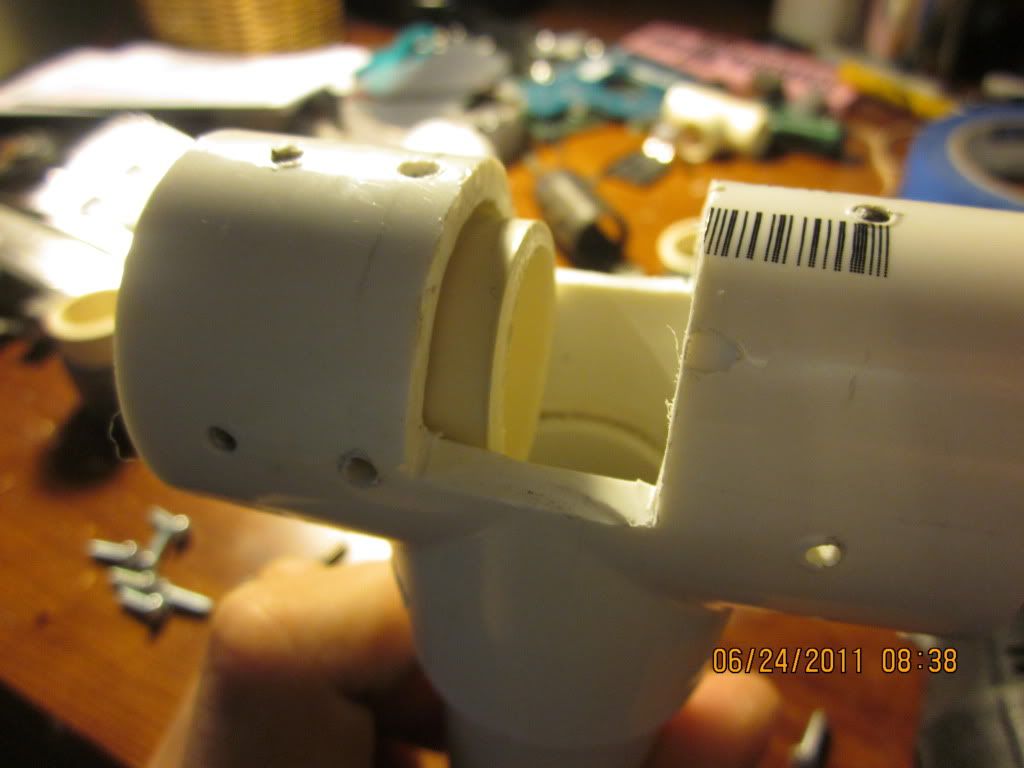
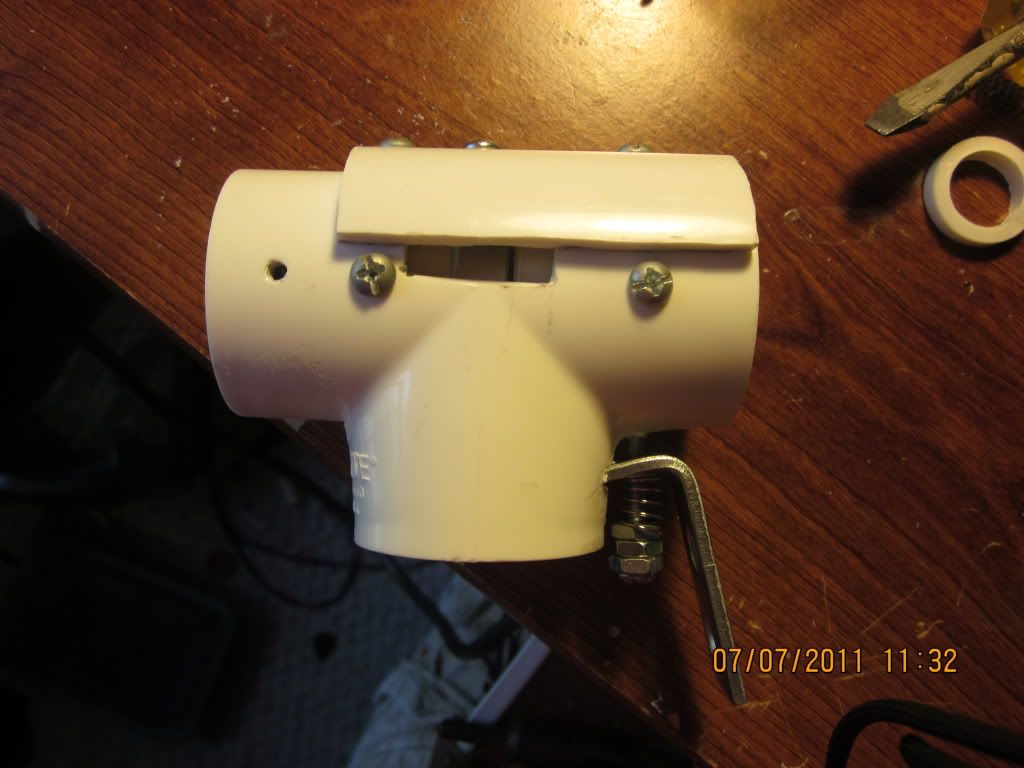
To start off, you will need to make the catch body out of a 1" PVC tee by cutting it like this.

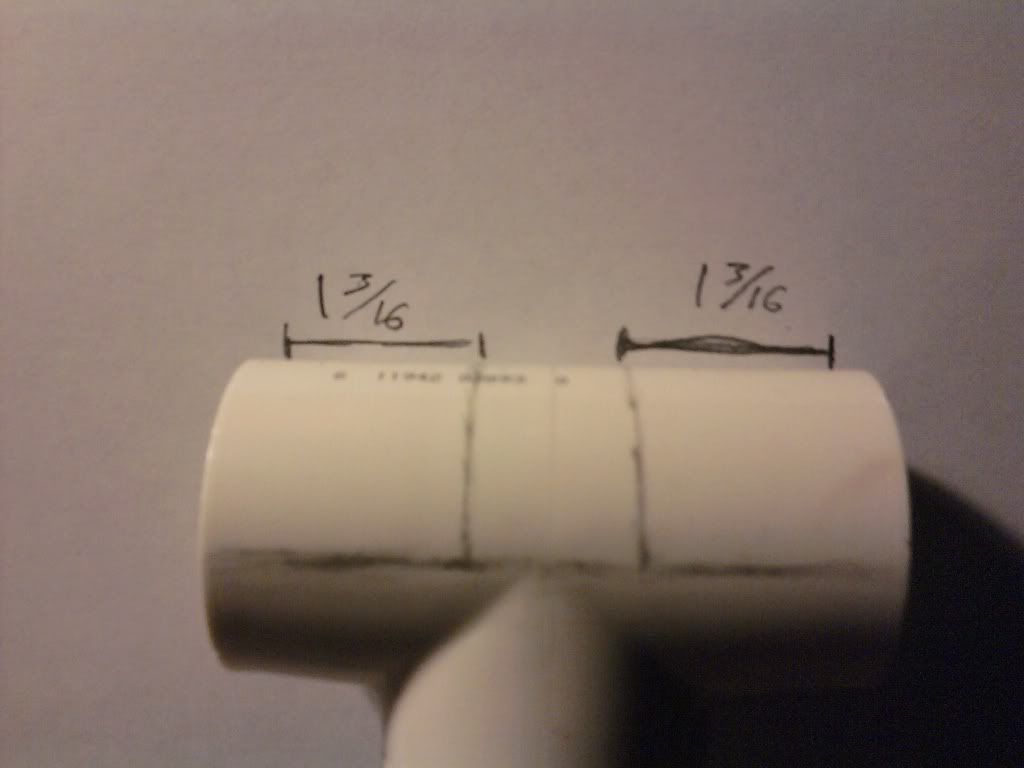
Then cut the catch cover out of 1.5" PVC cut it as wide as you'd like.
(it determines how much of the catch ring is showing out of the side)

This was the width I used but it may vary due to how well your plunger tube fits.
Find the two center anchor points for the cover and the catch screw guide.
I chose to leave this area open to see the catch ring.
Drill and tap the screw holes and drill a slightly larger hole for the catch screw.
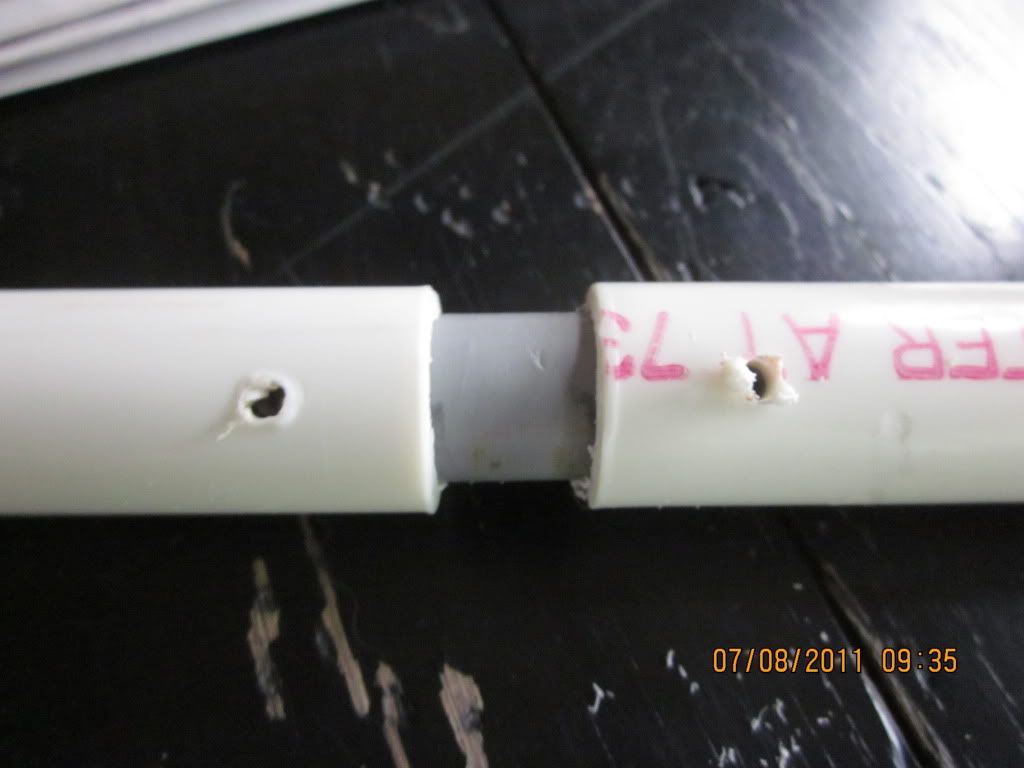
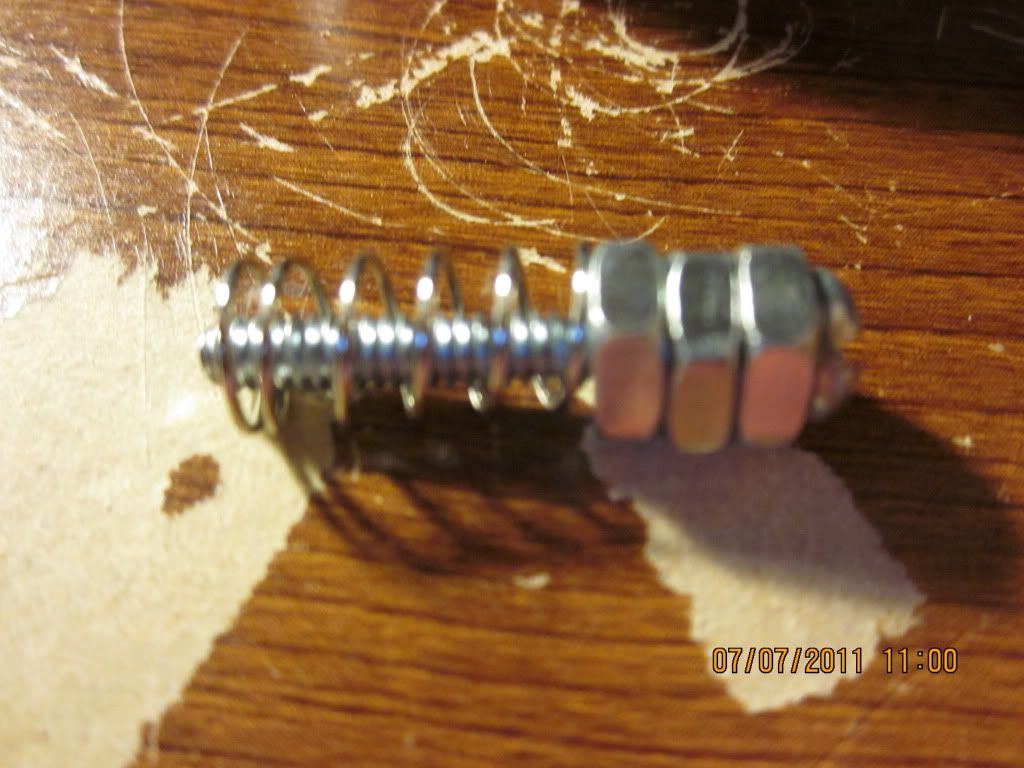
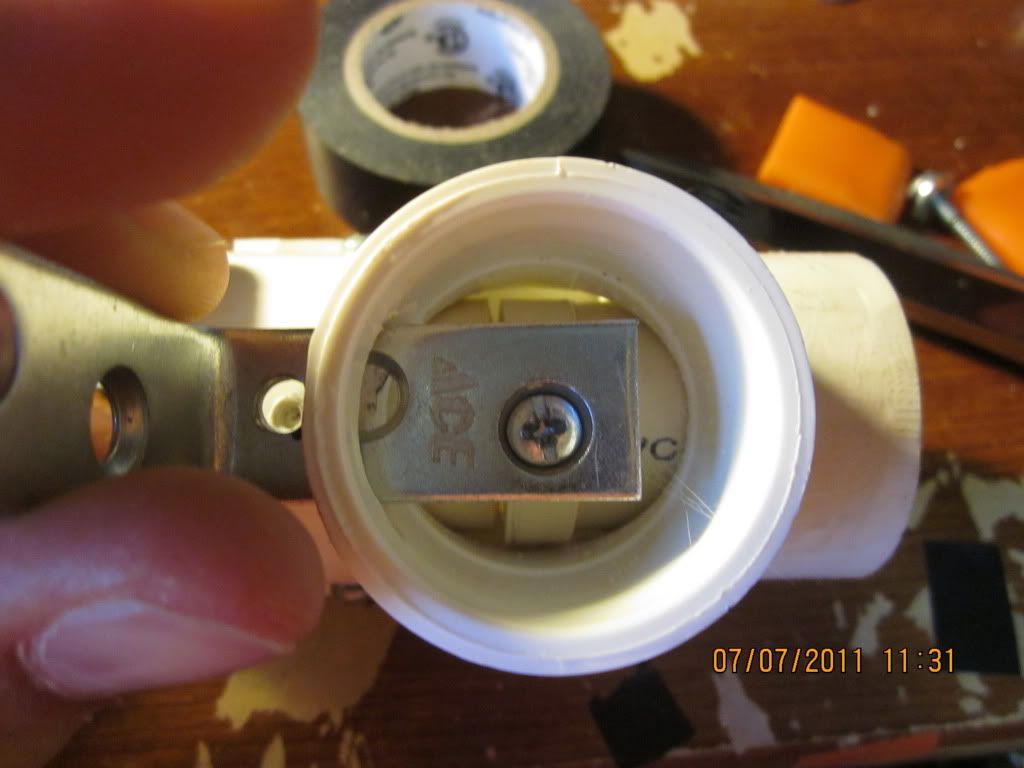
Next cut a 3/8" segment of 1" CPVC and drill and tap a hole for a #6 screw in the center of the ring.
This is the catch ring.
Then screw in a #6 screw the length will vary so adjust to the size that works for you.
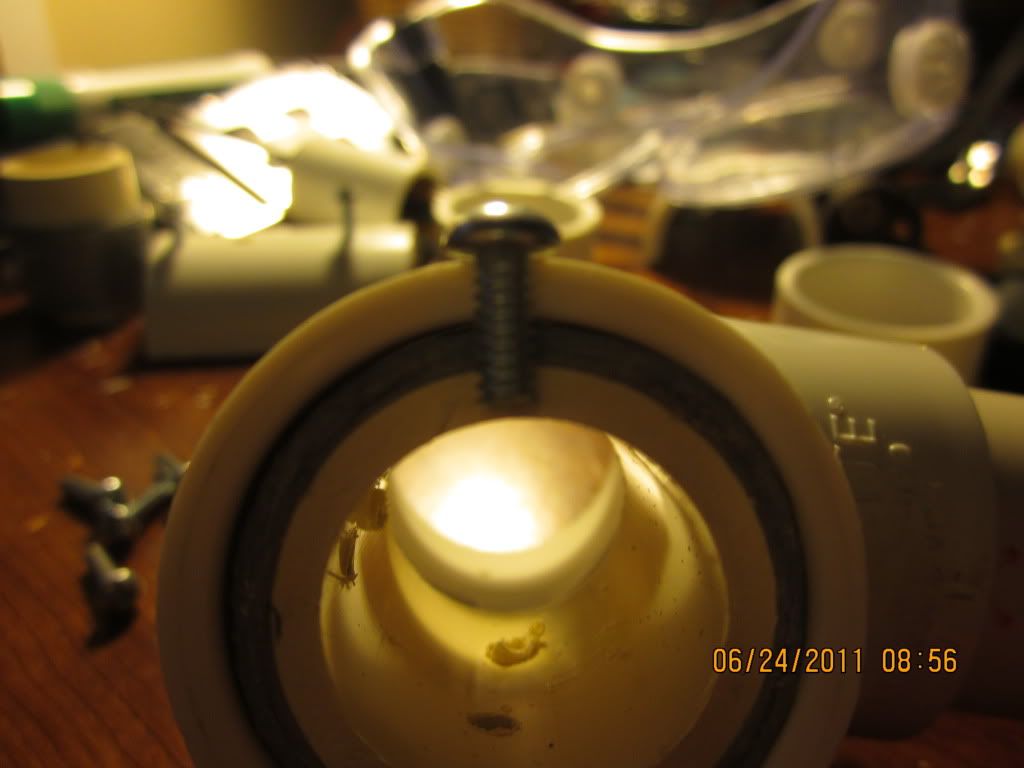
Once you have the right length, install it onto the catch cover with a spring pushing down on the ring. Make sure to sand down the extra bit of screw for a clear path.
You want it to stick past the spacers to be able to catch on the catch notch.
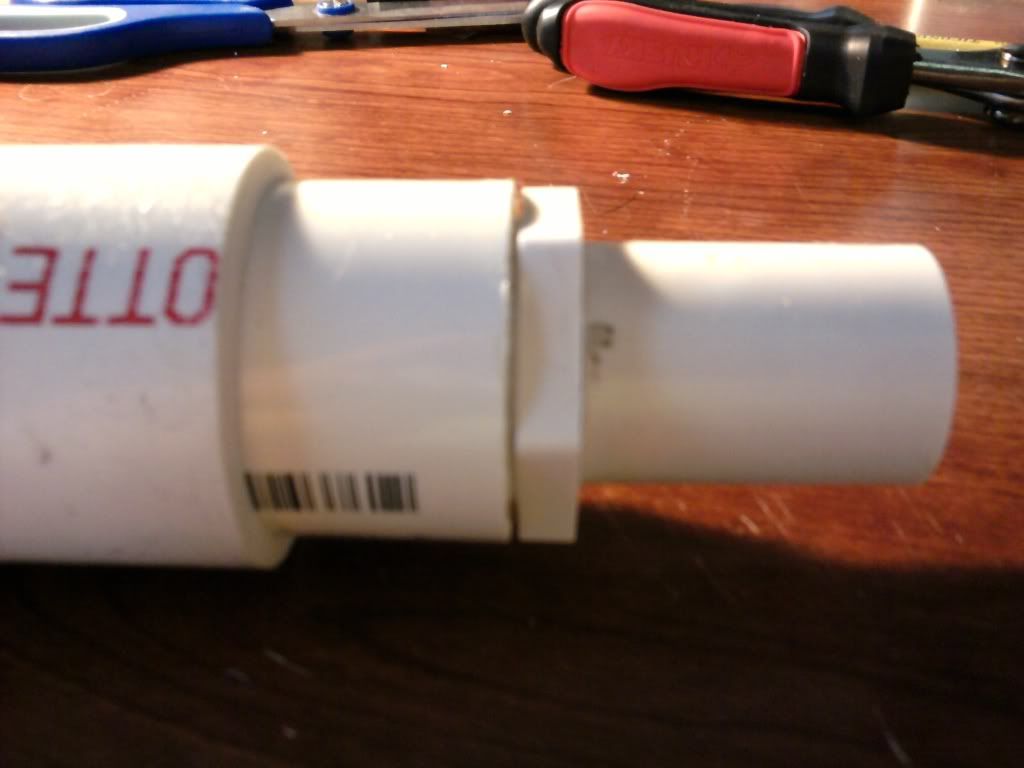
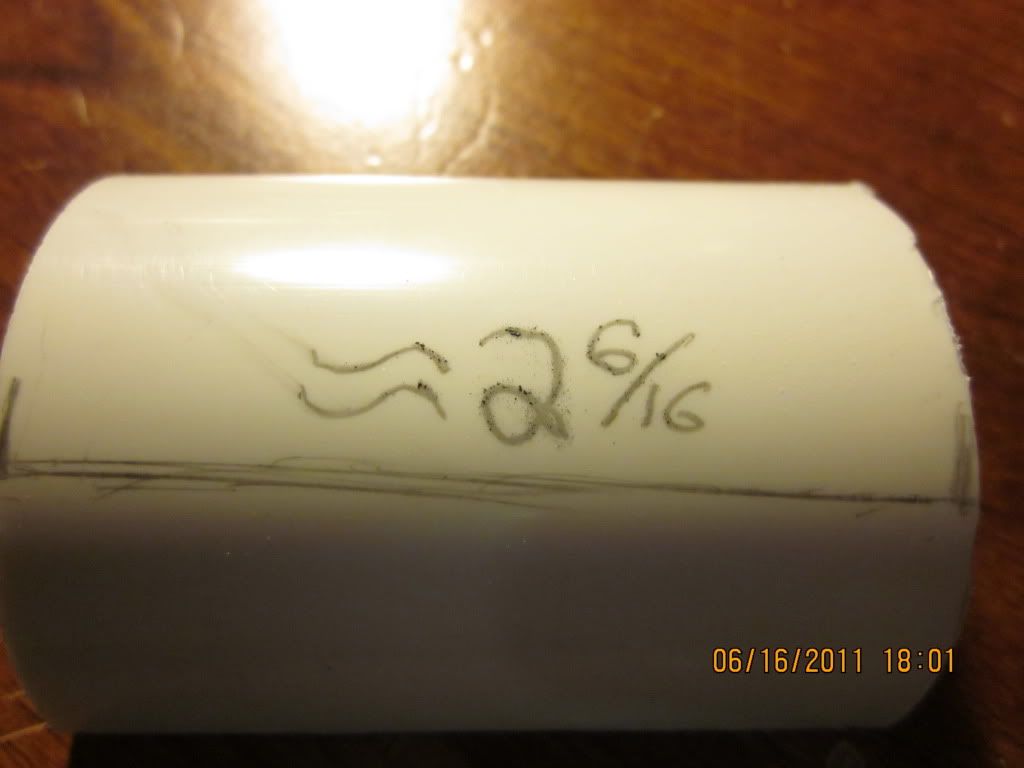
Now for the spacers. The spacers are segments of 1"CPVC
and you should mark it like this,
and wrap it in duct tape on the larger section until it fits into the 1" PVC tee. I used duct tape because the purpose for it is to space the PVC evenly so the screws can anchor it.
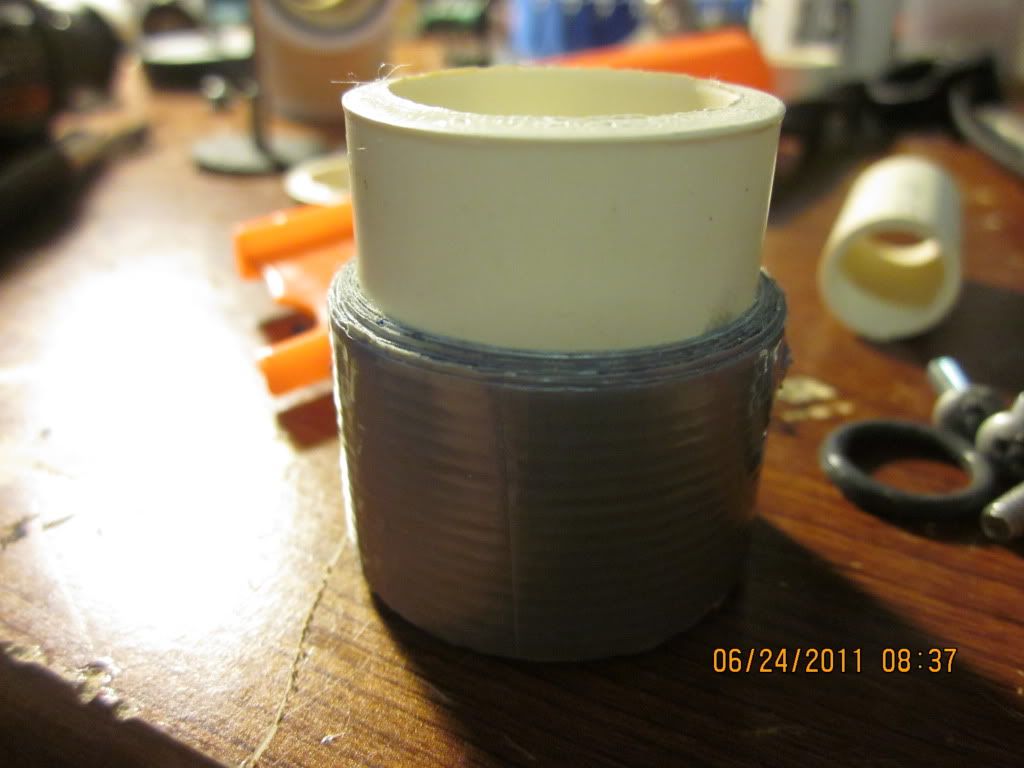
this will be the finished spacer.
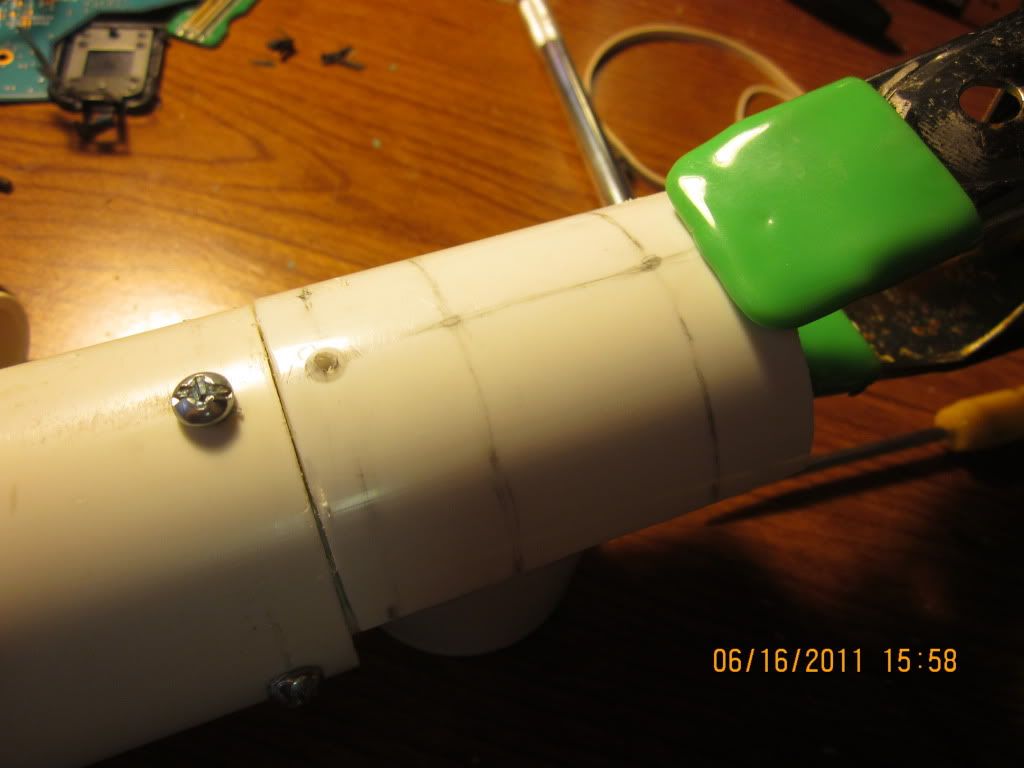
Make sure the spacers hold the catch ring in place LOOSELY!!!!
Then you want to screw them in on both sides.


An easy way to measure the correct screw length is to use the end of the coupler with the spacer.
Now for the hard part.
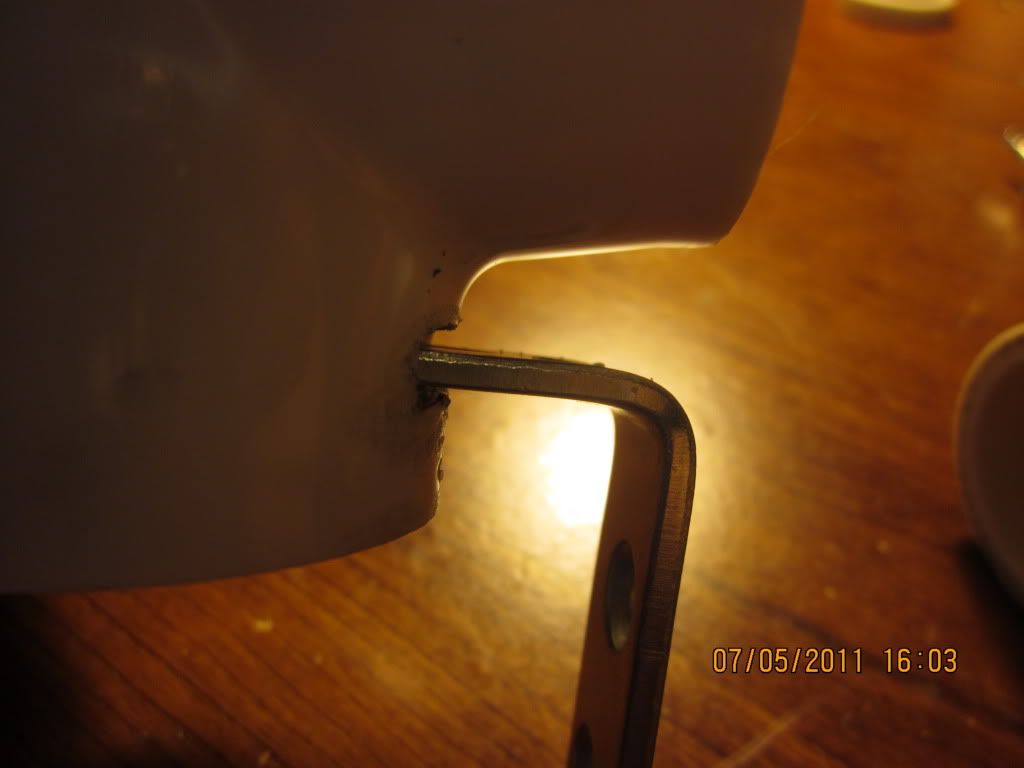
Mark on the lower part of the tee where the trigger is going to go and cut the slot so that the fit of the L-bracket allows NO wiggle from side to side. It should be as centered as possible.
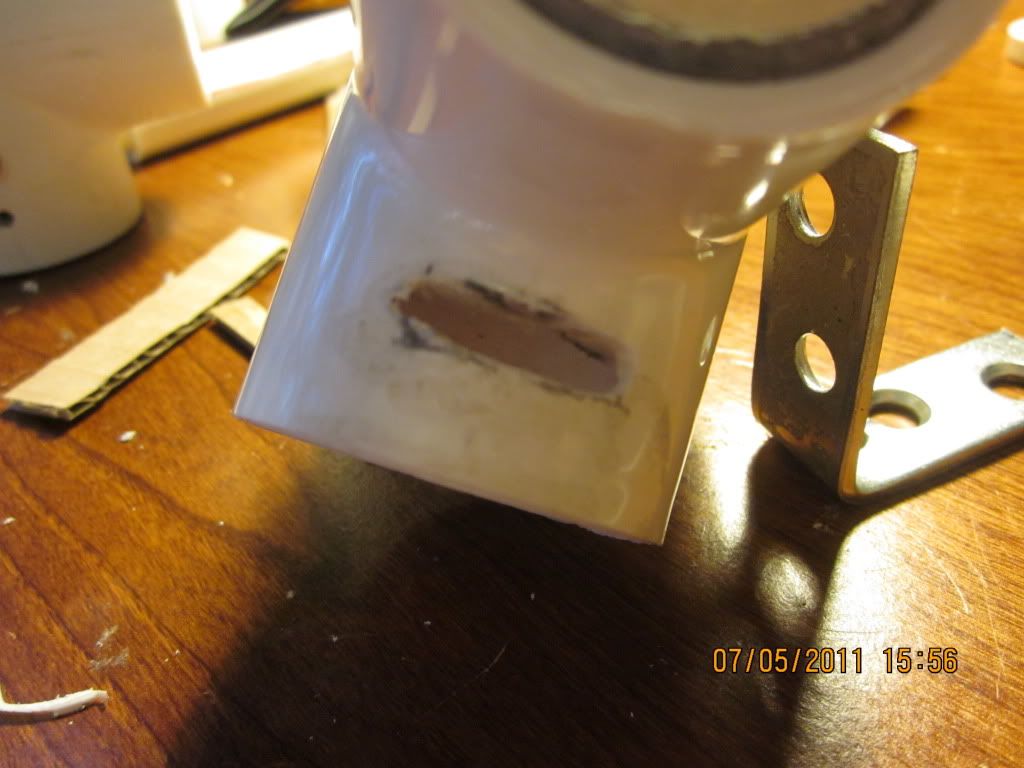
But it the L-bracket should be able to pivot a reasonable distance.
I would suggest cutting the slot smaller than needed and then filed to fit.

Depending on the L bracket you use you might have to drill another hole.
Then line up the position of the bracket and mark and drill a hole.
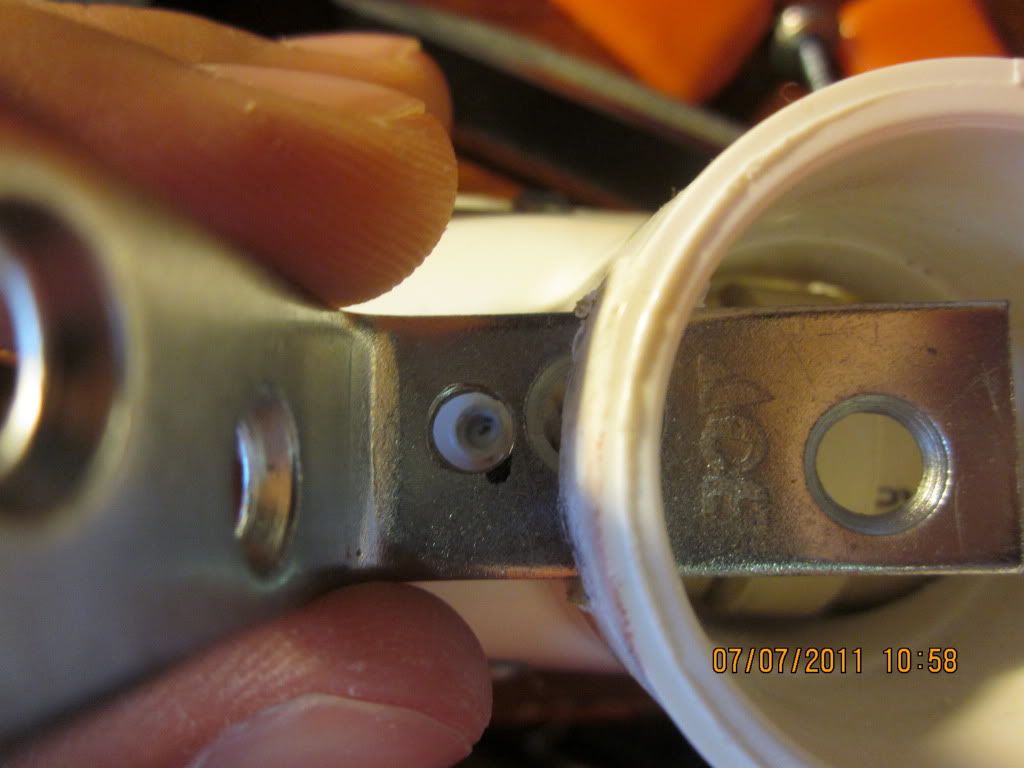
Make sure another hole is lined up with the bottom of the catch ring.
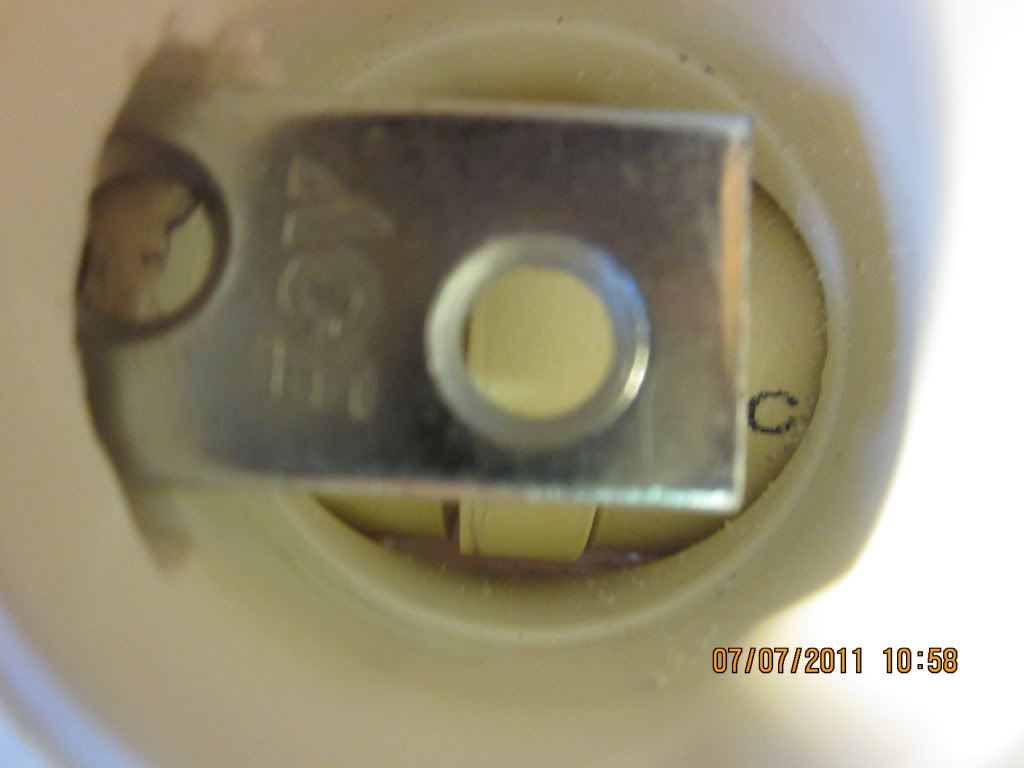
Then put this together. Add nuts as needed.
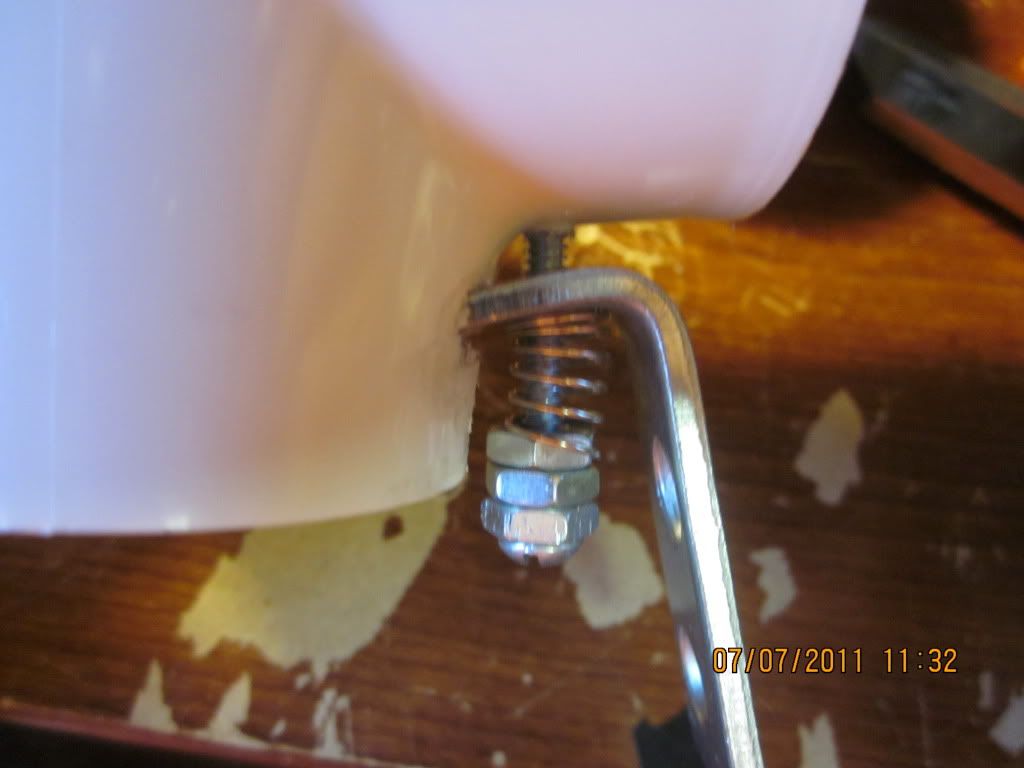
Lastly fit put a screw through the hole inside the hole in the L-bracket that is below the catch and add a nut.
Finished ring catch.
Note:This version I put the trigger on the other side for a different homemade.
Note2:If you built it right, when you run the plunger rod through it, it should lock tight and should only let go when the trigger is pulled. Don't worry if the catch doesn't go all the way up without the plunger rod because the plunger rod is what keeps it centered.
Edited by SlightlySane813, 05 February 2012 - 11:04 AM.