
My SNAP-2 style of blasters have proven themselves very effective over the last year of nerfing, but they have always suffered from "gigantic and unweidly" syndrome. There are ways of making compact pumpSNAPs, but I wanted something radically short. I'm never one to pass up stealing a good idea, so I built a prototype blaster based on the SNAP-4. That was sort of a one-off project which I didn't have much hope for, but it ended up performing very well at the first Puerto Rican war I held. In some of the tight corridors at the school we played at, the compact reverse layout proved to be very handy. I set out to improve that blaster, and the result proved to be quite practical in the following war.
I present Quixote's punchy sidekick, SanchoPanza:

What makes this blaster special? The entire blaster, barrel included, is 21" long. For comparison, Quixote is 50" long. Even a "small" SNAP, such as a SNAPbow mk5, is significantly longer - about 27" when you use a footlong barrel. That compact size comes at zero cost to performance. With a draw length of 6.5" and a barrel length of 16", this blaster matches the performance of top-tier springers.

Materials
- Required
* Optional, but recommended
Tools
- Power drill
- Drill bits to go with it (1/16", 1/4", 1/2", etc)
* Tapping bits
- Rotary tool (dremel)
- Reinforced cutting disk
- Sanding bit
* Diamond cutting wheel (better for cutting plastics)
- Pipe cutter
* Three-sided drafter's ruler
Plunger rod
- 1/2" cpvc
- 1/2" cpvc cap
- 1-1/4" OD 1/4" ID washers
- 1/4" screw
- PVC cement OR superglue
- [k26] spring
Plunger head <- don't feel obligated to follow this exact design
- 1-1/2" OD 1/4" ID (or smaller) rubber washer
- 1-1/4" OD 1/4" ID (or smaller) rubber washer
- 5/6" OD 1/4" ID (or smaller) rubber washer
- 2x 1-1/4" OD 1/4" ID washers
- Spacer (can be any size you want, as long as the nail fits)
- 1/4" bolt, 5/8" long
- 1/2" CPVC cap
- epoxy putty
- Silicone grease
Plunger tube and stock
- 1-1/4" sch40 PVC
- 1-1/4" PVC cap
- 3/4" PVC endcap
- 4x 10-24 set screws, 1/2" long (5/8" and 3/4" also works)
Trigger
- Heavy-duty clothespin
- 1-3/4" roofing nail
- Metal L bracket
- zip-ties
- Epoxy putty
- Hot glue
Priming handle
- 2x 1-1/2" PVC coupler
- 1/4" bolt, 5/8" long <- DO NOT USE BRASS OR ALUMINUM
- Tape or glue
Handle
- Donation blaster
- 1-1/2" PVC
- 1/4" set screws,
- 4x 6-32 screws, 1/2" long (3/8" or 1/4" are be better, but sort of difficult to find)
- Epoxy putty
- Hot glue
Construction
Since this is a sister blaster to the Quixote, many of the construction techniques and materials are identical. If I neglect to describe certain features (e.g., the handle, spring rest) it is because those features were described in great detail in the Quixote writeup. Here is an overview of the internals.

Start with the plunger rod. The plunger head is a standard superlative plunger head. Follow the link to Rork's guide if you don't know how to build these. I use 1/4" bolts for SNAP plunger heads, and my materials list reflects that. The Quixote writeup includes some more tips and tricks.
Don't feel obligated to use this design, there are all sorts of ways to build plunger heads.

Slide a [k26] onto your plunger rod, along with a spring rest. Past the spring rest, place another endcap, drill and tap a 1/4" hole into it, and fasten a 1-1/4" washer. This will act as a priming surface for the priming bolt. Make sure the plunger rod extends a bit past the spring rest, so that the endcap doesn't collide with it. Eventually, you need to glue or mechanically fasten this to the plunger rod, but wait until you have the rest of the blaster built before you do that.

Set screws are required to hold the spring rest in place, since the priming handle slides over this section. I would recommend using four 10-24" set screws. I originally just used two 6-32 set screws, but they began to deform the plastic (normally, the heads of the screws would provide a lot more support).


The priming handle is mostly identical to what I used in Quixote, but with a twist: you can position the screw such that the ridge in the coupler provides some extra support.

Cut the slot. If you have 6.5" of draw, the slot needs to be at least 7" long (due to the width of the bolt). Start right at the edge of the spring rest.

Attach the trigger and handle. You can use a zip-tie to hold the trigger. Note that you cannot use thru holes to hold the handle - you would be poking holes in your plunger tube! Instead, use a snap-on handle and a ton of hot glue. Hot glue is deceptively strong when applied liberally.
At this point, you should install the plunger rod, spring and priming handle. Test to make sure the blaster primes and fires.

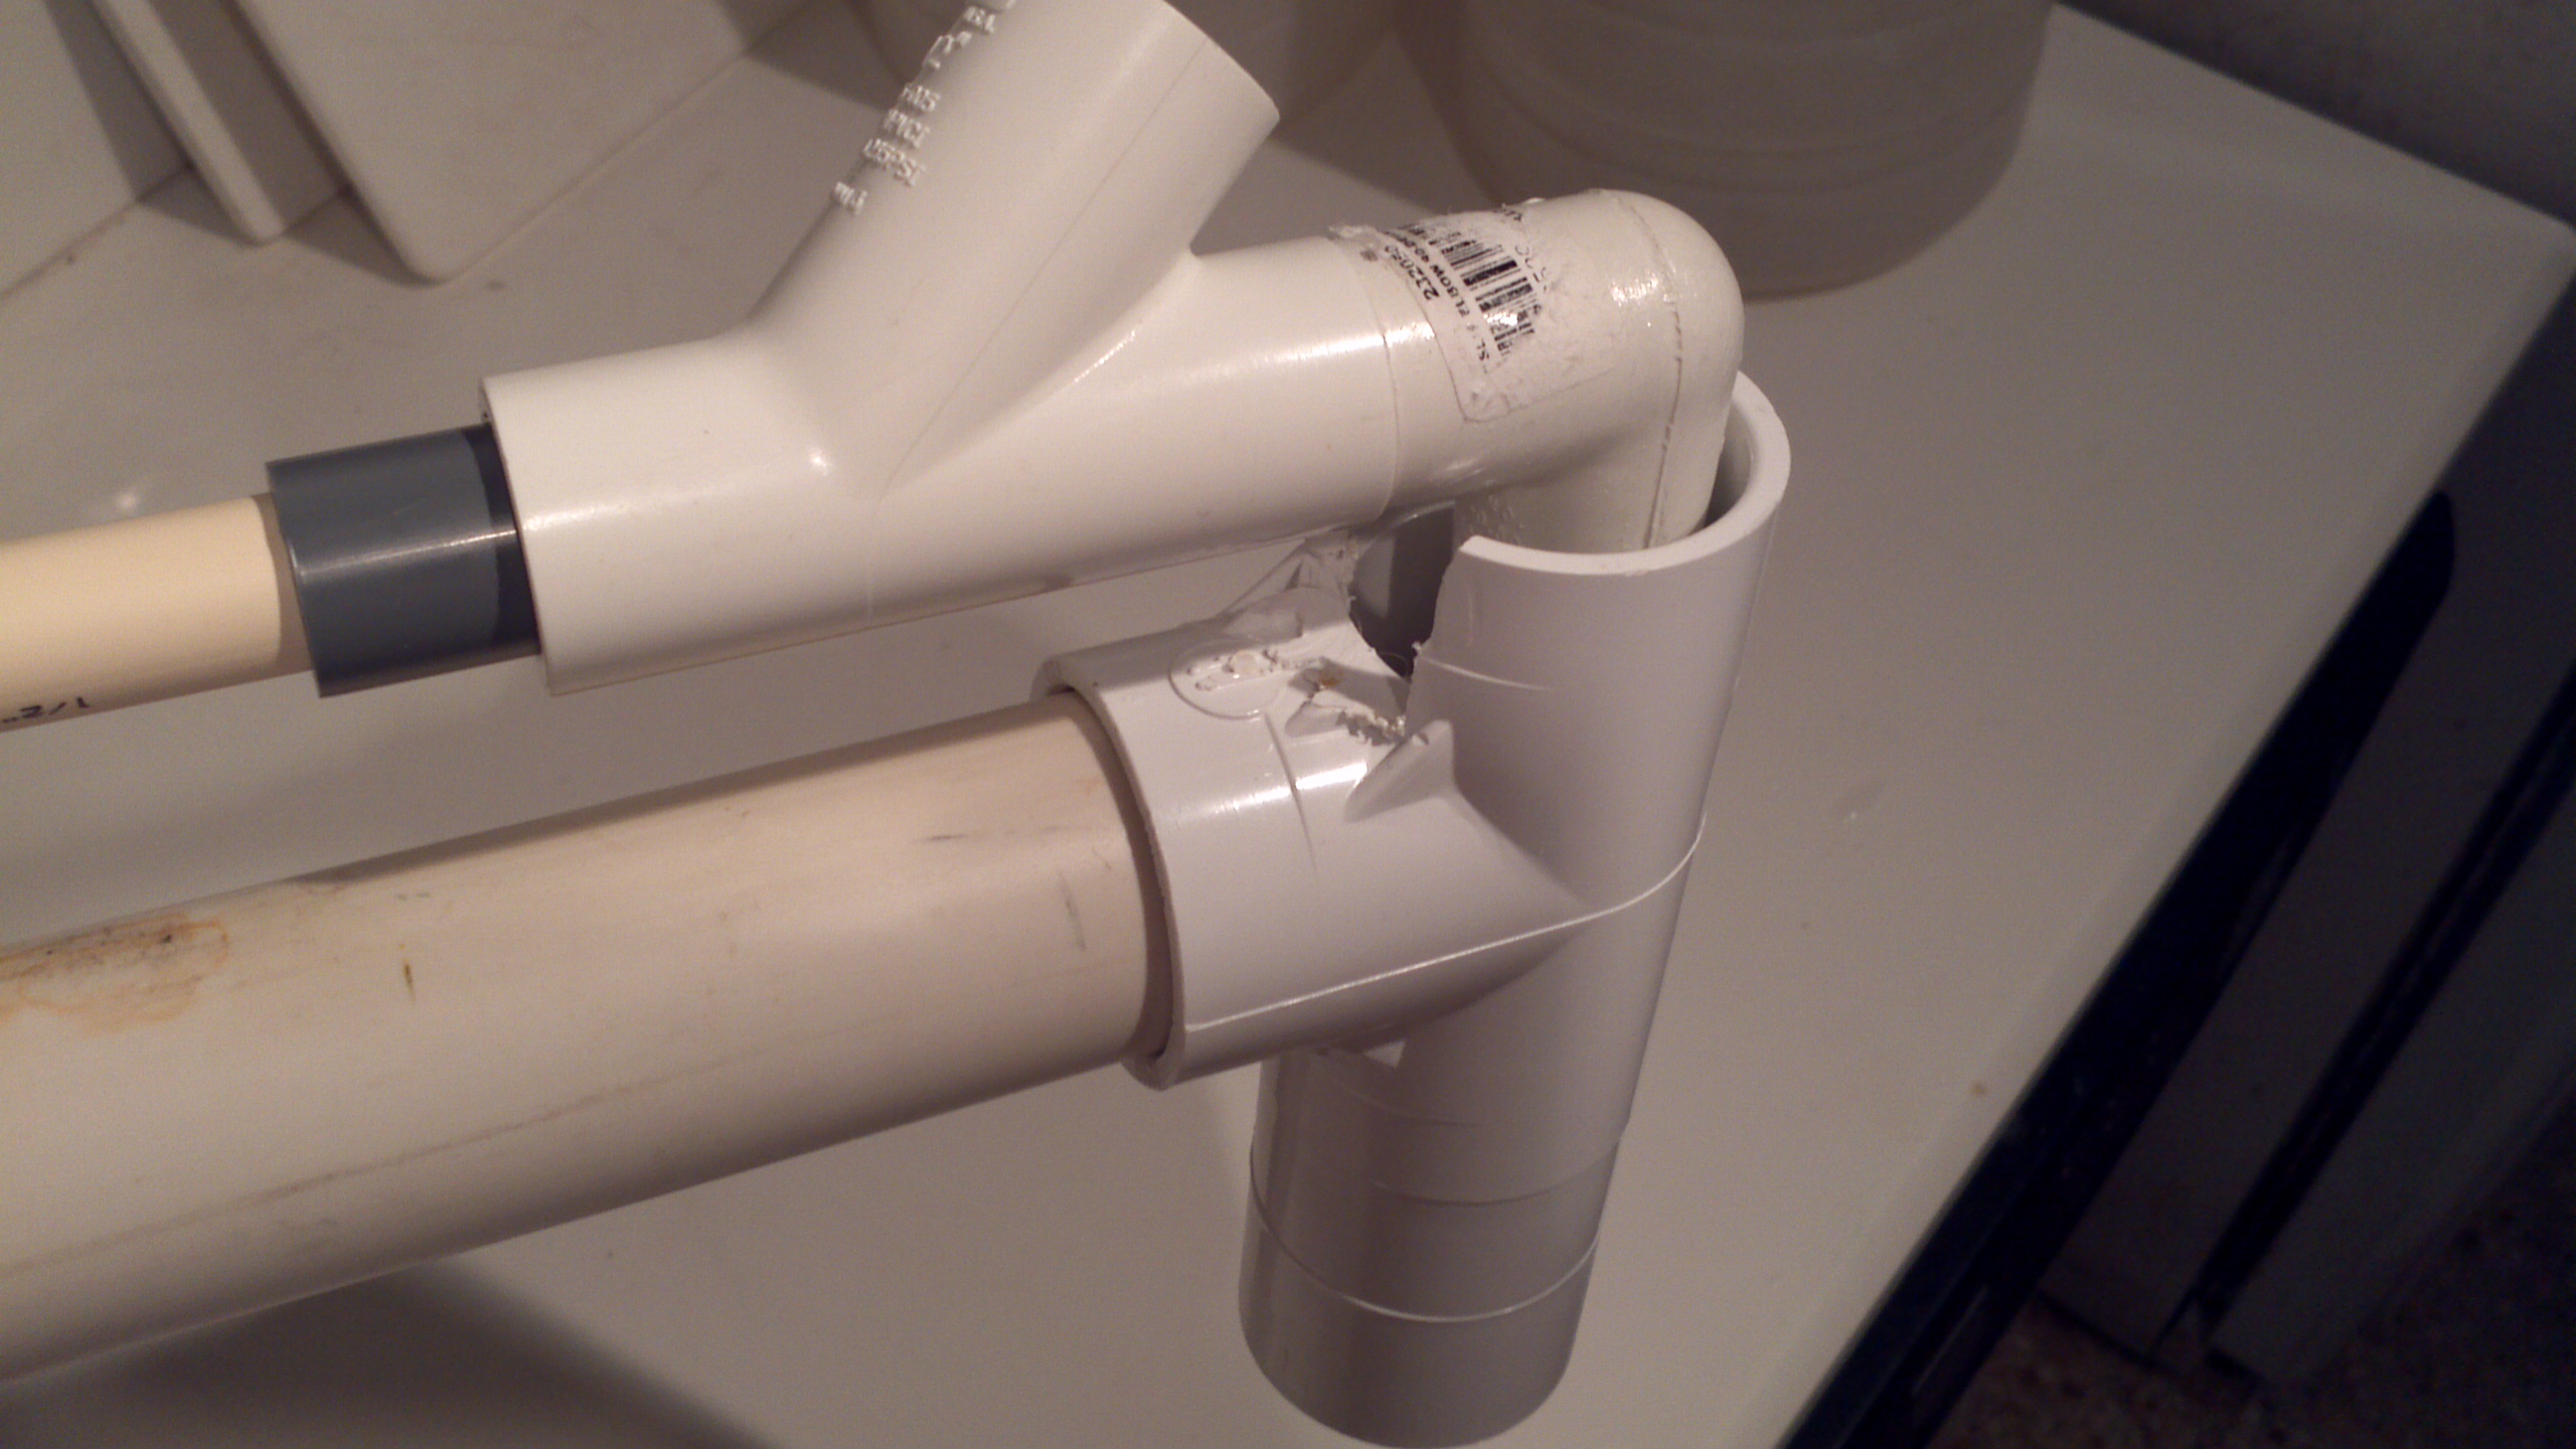
Now comes the tricky part: you need to mount the hopper and barrel. Glue an endcap onto the back, and then cut a 1/2" hole into the top of it. Cut another 1/2" hole into the underside back end of a hopper, at a 45 degree angle. This is important: the hopper must lean outwards from you, or else it gets in the way of your face.
I sealed everything together using a gigantic blob of hot glue. The rear opening of the hopper was sealed using a plug and even more hot glue. Some of you may erotically massage this, but I find it quite servicable. Everything seals perfectly, and it is very strong (so strong that I couldn't even pry it apart to get internal pictures for this writeup).
One last thing: you should put a dart stop into the back of the hopper. A couple darts got sucked into the plunger tube during the couple hours this blaster was used at the war.

Add a support for the barrel - it flops around otherwise. Use whatever is laying around the shop.

Lubricate the plunger head with silicone grease - accept no substitute. Run the plunger head through the blaster a few times to get it lubed up, adding a little bit each time. I would recommend using some tape to secure the barrel and hopper.
Done. It clocks in at 230fps on my chrono. Push to prime. It is a surprisingly accurate blaster, partly due to the lack of "kick" inherent in this layout.


