
EDIT: I'm gonna build Fun Size first, I just realized I have most of the parts here. But your design will likely be next. Thanks!
Edited by arfink, 21 June 2011 - 11:58 AM.

Member

Posted 21 June 2011 - 11:53 AM
Edited by arfink, 21 June 2011 - 11:58 AM.
Member

Posted 21 June 2011 - 12:35 PM
Edited by Ozymandias, 21 June 2011 - 12:35 PM.
Contriberator
Posted 21 June 2011 - 08:18 PM
Edited by Carbon, 23 February 2015 - 09:40 AM.
Contriberator
Posted 22 June 2011 - 10:01 AM
Contriberator
Posted 23 June 2011 - 10:18 PM
Edited by Carbon, 23 February 2015 - 09:41 AM.
Member

Posted 26 June 2011 - 01:09 PM
Contriberator
Posted 26 June 2011 - 01:51 PM
Member

Posted 25 August 2011 - 09:21 AM
Edited by shardbearer, 25 August 2011 - 09:35 AM.
Contriberator
Posted 25 August 2011 - 08:22 PM
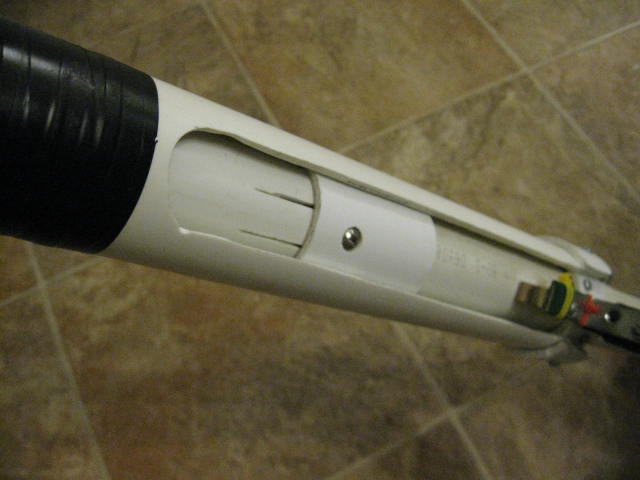
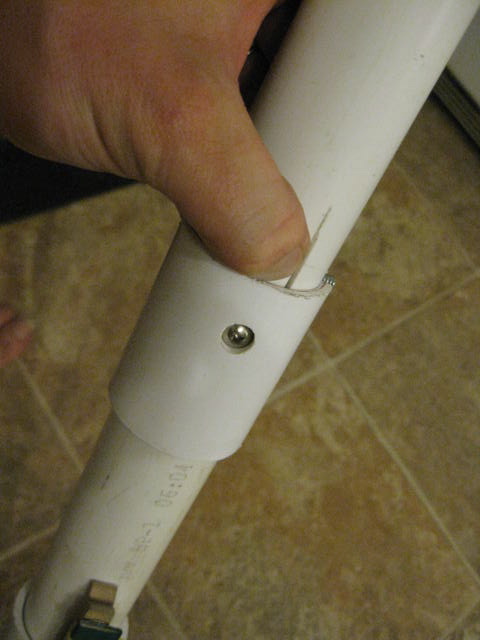
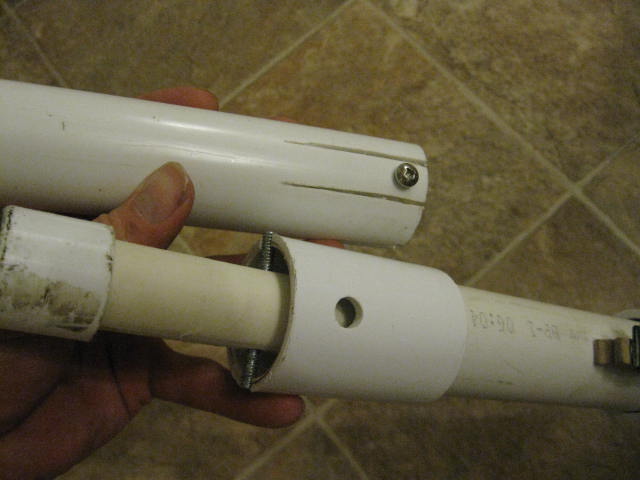
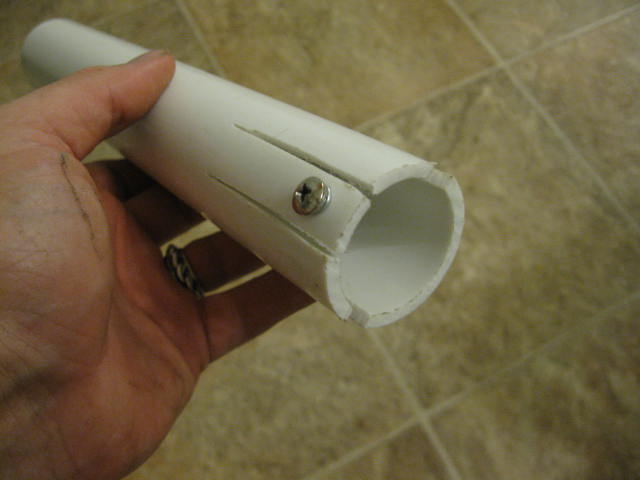
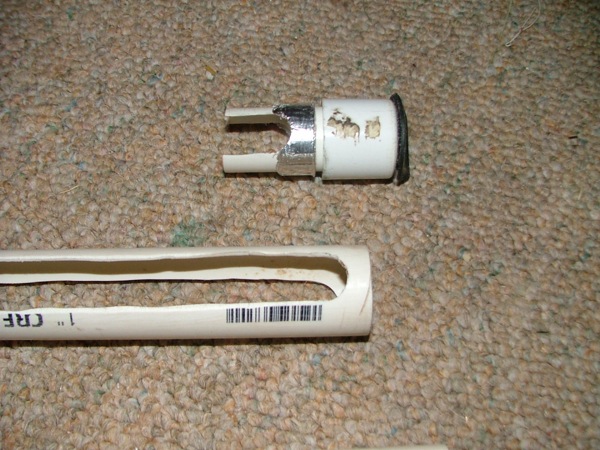
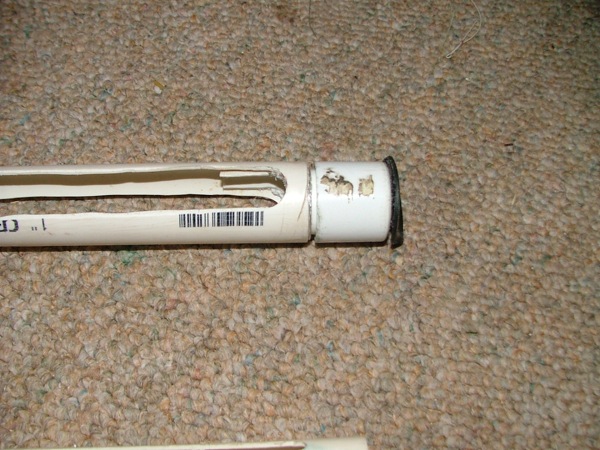
I think that using a 1" plunger rod with a hole instead of a coupler for the catch like the snap carbine would do this blaster some good. Maybe thinwall to reduce weight.
Extension springs are sort of a brave new world, so I'm not exactly sure. I think they'll work, but you'll definitely want to use a stronger catch than what I'm currently using....they're wider than my spring, but .080 is pretty burly.The 9654K447 and the 94135K45. Both are 8" long with 5.5" travels, 41/64" in diameter, just a bit to big to fit in sch 40 .75", but would fit thinwall or 1" just fine. They have loads of 29.1 and 25.3 lbs respectively. You think this is too much?
Member
Posted 25 August 2011 - 10:13 PM
Edited by shardbearer, 25 August 2011 - 10:31 PM.
Contriberator
Posted 26 August 2011 - 09:18 AM
Member

Posted 26 August 2011 - 01:18 PM
Member
Posted 26 August 2011 - 05:11 PM
Contriberator
Posted 20 September 2011 - 11:04 PM
I think that using a 1" plunger rod with a hole instead of a coupler for the catch like the snap carbine would do this blaster some good. Maybe thinwall to reduce weight.
Edited by Carbon, 20 September 2011 - 11:07 PM.
Contriberator
Posted 23 September 2011 - 11:16 PM


Edited by Carbon, 23 February 2015 - 09:45 AM.
Member
Posted 24 September 2011 - 04:21 PM
Edited by Bchamp22795, 26 September 2011 - 03:08 PM.
Contriberator
Posted 25 September 2011 - 09:39 PM
Why not do the original 1/3" plunger, but add the hole right after the ridge just like in the 1" version for the catch.
Member
Posted 26 September 2011 - 04:33 PM
Why not do the original 3/4" plunger, but add the hole right after the ridge just like in the 1" version for the catch. This would keep the strong catch but reduce friction from the 1" pvc. You can also maintain the tool-less field stripping capability.
Member
Posted 26 September 2011 - 09:58 PM
But I would not use the coupler so it doesn't wear and you don't have to make it.
0 members, 1 guests, 0 anonymous users


